|
|||
|
|
~ The bLog Home ~ |
||
| Continue with August 2007> | |||
|
SATURDAY, JULY 6, 2007 |
|||
|
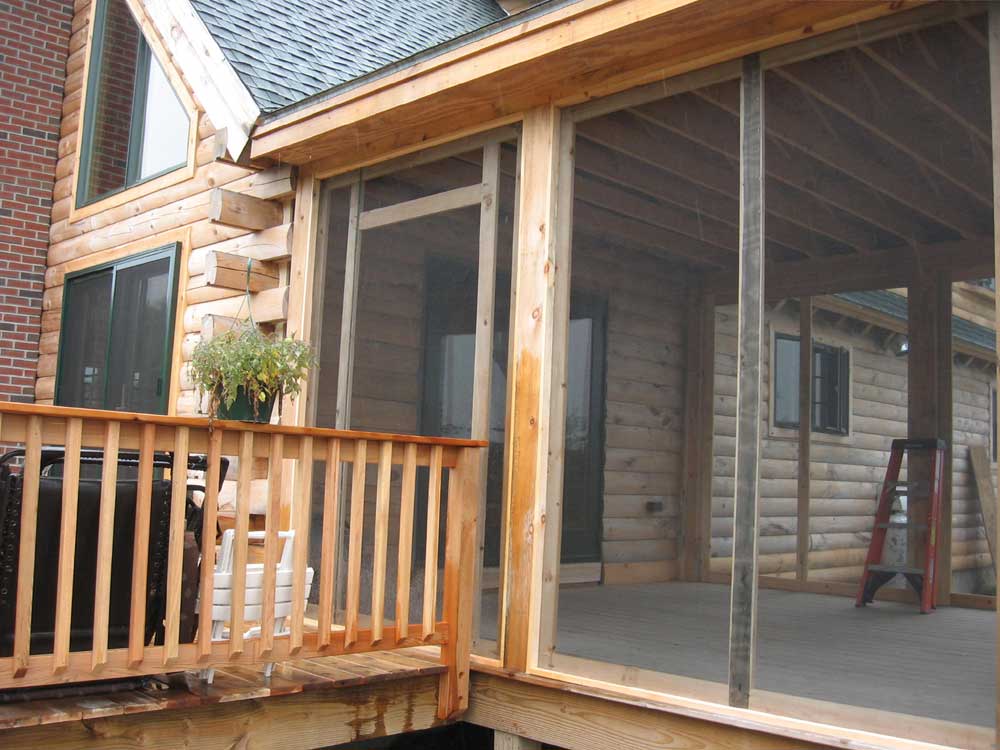
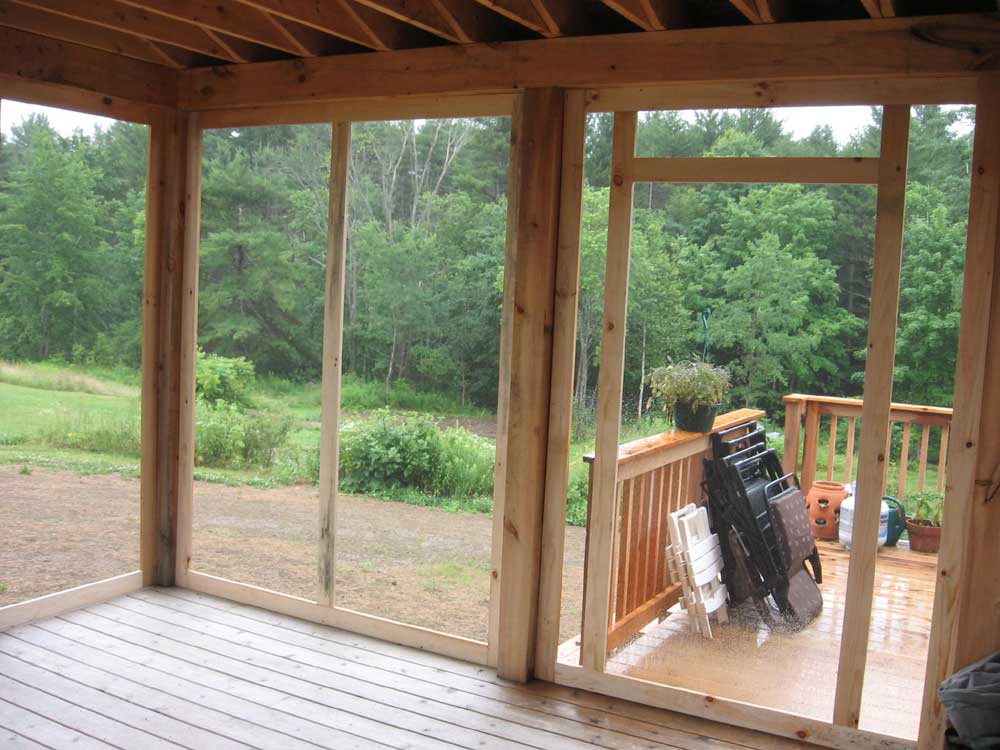
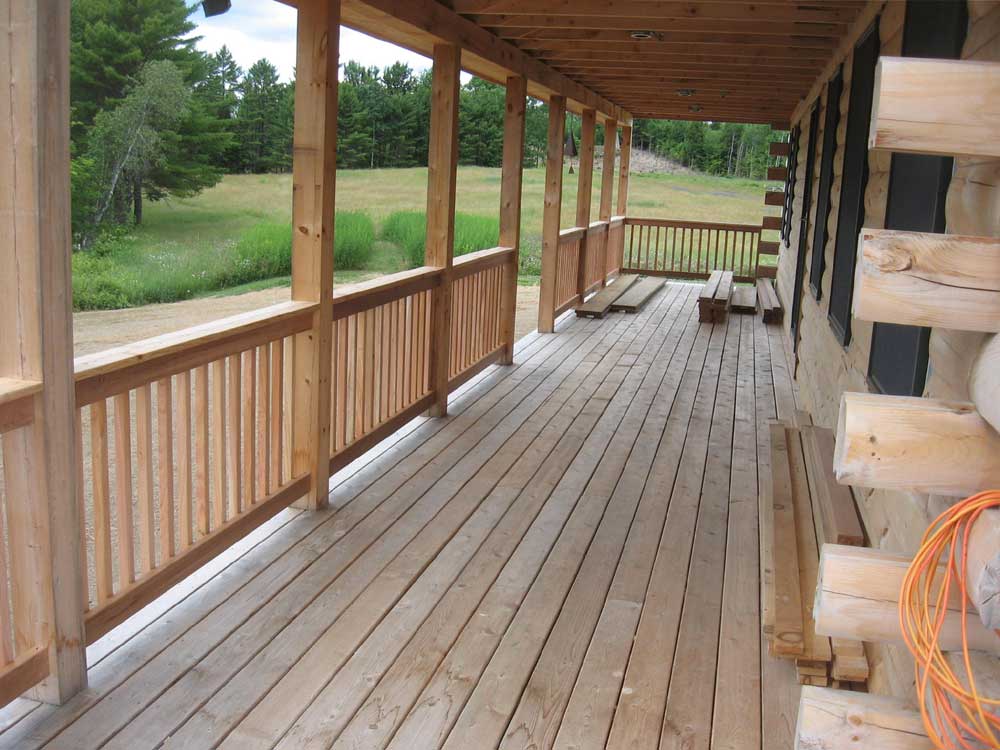
With the deck railing now complete and
off my mind, I could turn to another project that had been remaining
naggingly undone: the screen porch. With summer flying
by, I thought it might be nice if somehow I could actually screen in
this room before the season ended. Plus, the materials were on
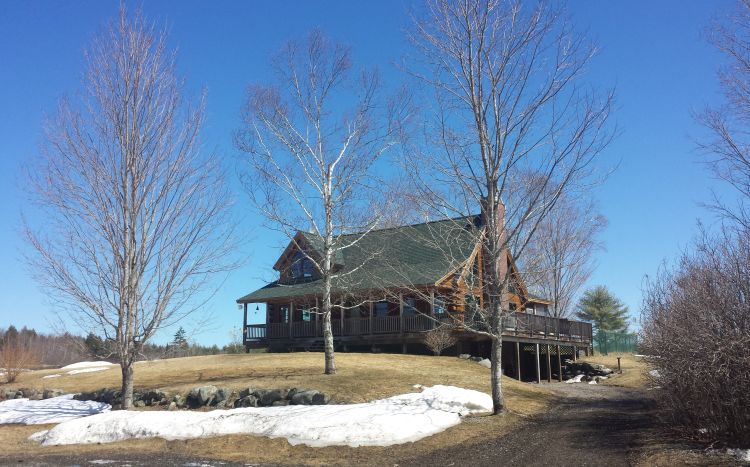
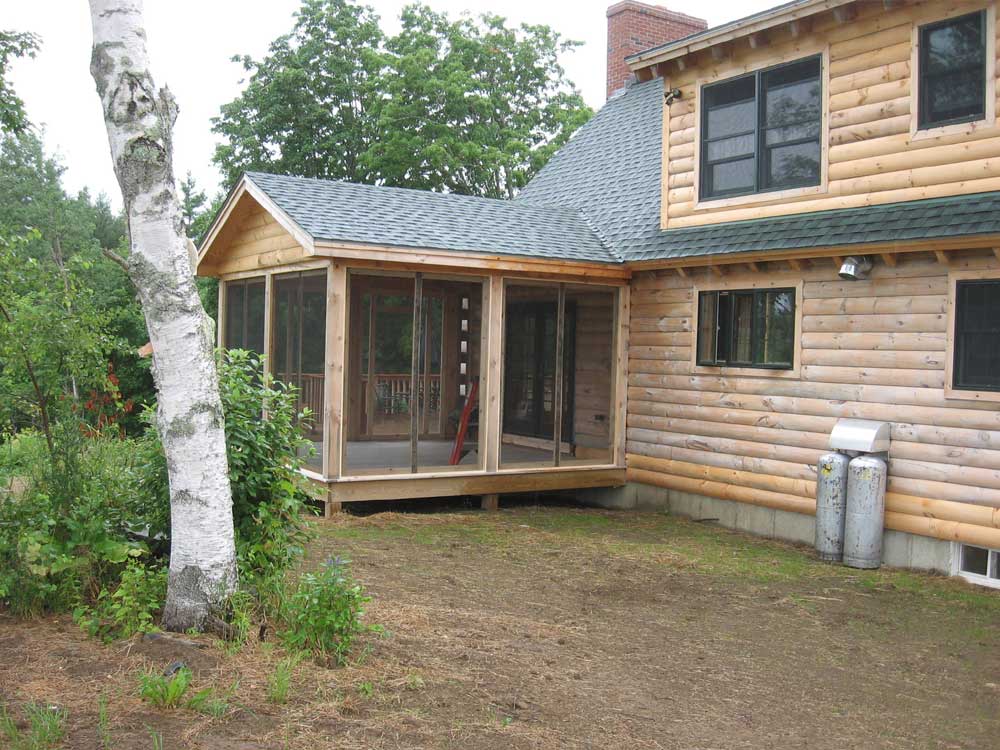
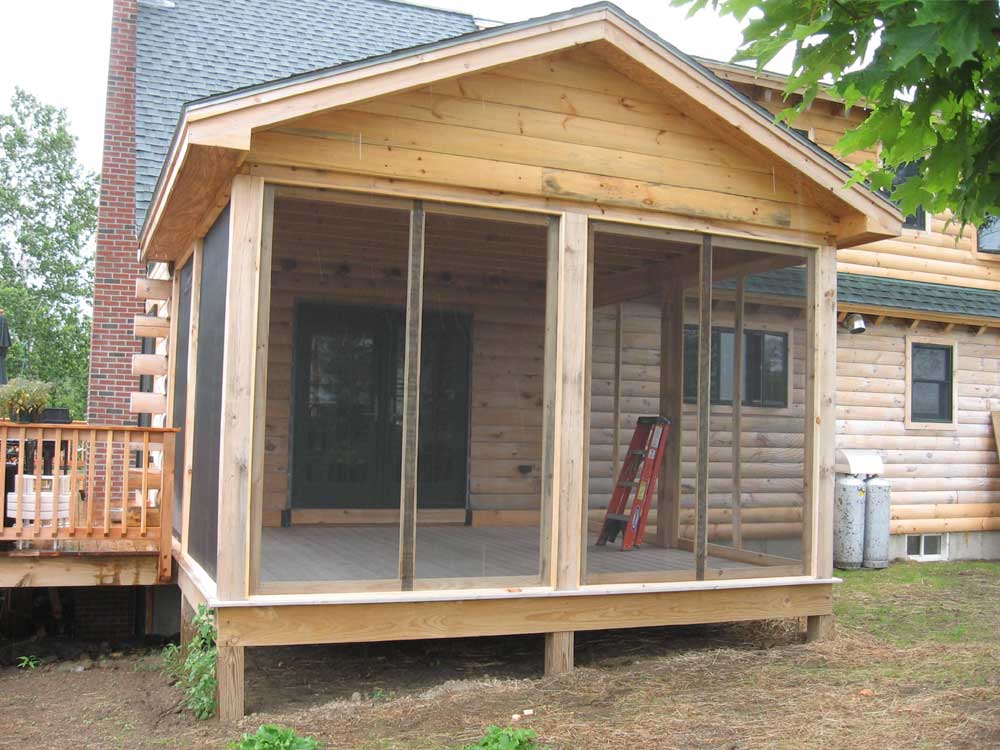
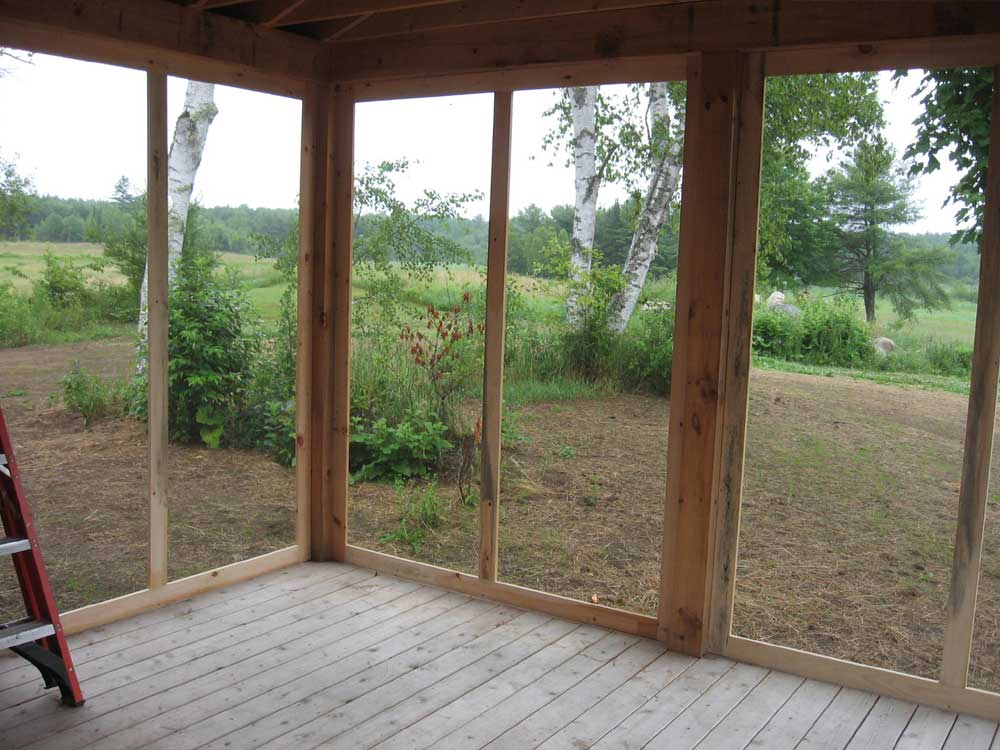
site and weren't getting any younger. I elected to build panels for each of the 6 openings between the large posts supporting the porch roof. Therefore, screening in this room became an operation in repetition and mass production. I began my measuring all the spaces. While the heights of each were consistent and four of the openings were identical in width, one of the openings was a bit narrower, and the final opening leading to the exposed southern deck would require a door opening, and was also narrower than any of the rest. With this information, I pre-cut pieces of 3-1/2" wide pine stock to the proper lengths, and then assembled all the frames with stainless steel screws driven into pocket holes. Once I had all the frames assembled (5), I installed cleats on the insides of the openings, and then, with one frame at a time flat on the floor, applied the screening before tilting the frame into the appropriate opening and securing with stainless screws. In this manner I worked around and completed all frames; some exterior trim will still be required to cover the center stile of each frame, where the two widths of screening meet. Finally, I built the last section, which incorporated a door opening for an eventual screen door. With no time at the moment to build a door, but wanting to enclose the entire porch with screening so that we could begin opening toe French doors leading to the porch (which had no other screening and therefore had not been able to be left open to date), I simply framed the opening and covered the entire thing with screening; later, when I build the door, I'll cut out the screening in way of the door opening. It was a long, but ultimately satisfying, days' work, and one more major item to cross of the list. |
|||
|
|
|||
|
SUNDAY, JULY 1, 2007 |
|||
|
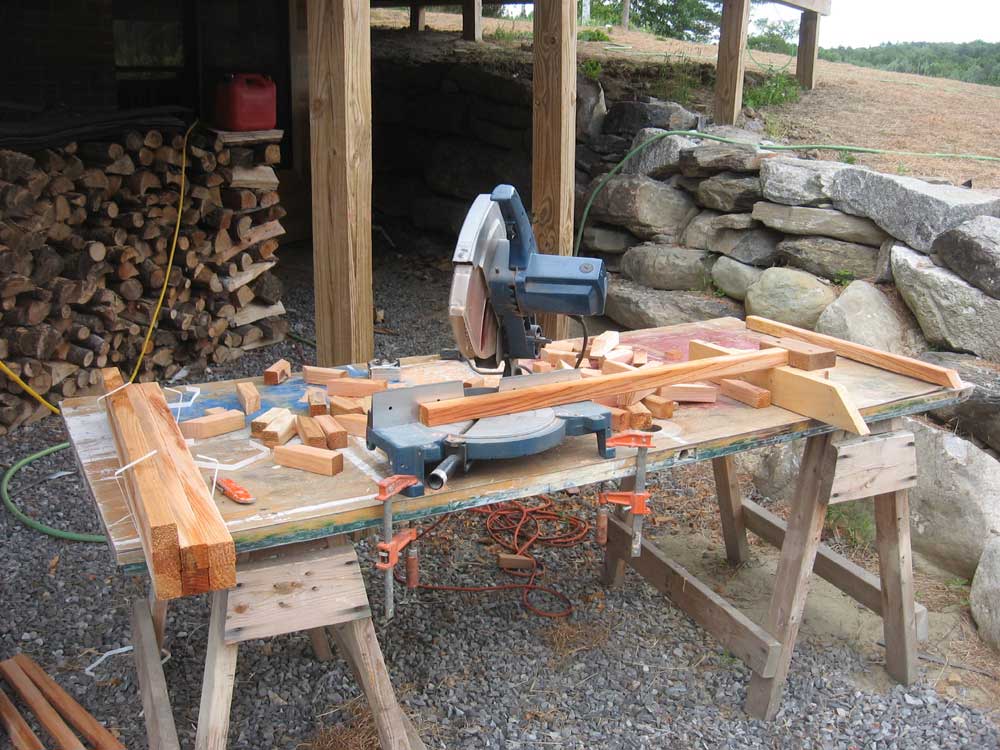
I got started right away this morning
with the balusters. My original plan was to pre-cut all the
balusters needed, then install them; I wasn't sure how the
installation was going to go, since I didn't know how the baluster
spacing was going to work out or how long each part of the process
would take. Still, I hoped to make good progress. My first step was to set up my chop saw for the repetitive cuts required. After measuring the height of all the rail sections to determine an average, given the slight inconsistencies that inexorably creep in, I cut a test baluster with a flat cut on the top and a 45° bevel on the bottom. I made sure it fit properly in all the rail sections. Once I was satisfied, I screwed a block to the workbench to act as a stop block at the proper length, so that all I had to do to cut the pieces was set them in place tightly against the stop and trim the bottom edge at the angle required. With this setup, I cut 2 or 3 bundles of the balusters (9 in each bundle); I first cut all the pieces square at the top, and then angled the saw and trimmed the bottoms. Next, I laid them out on the first rail section (I started at the far back corner) to determine how to space them. |
|||
|
|
|||
|
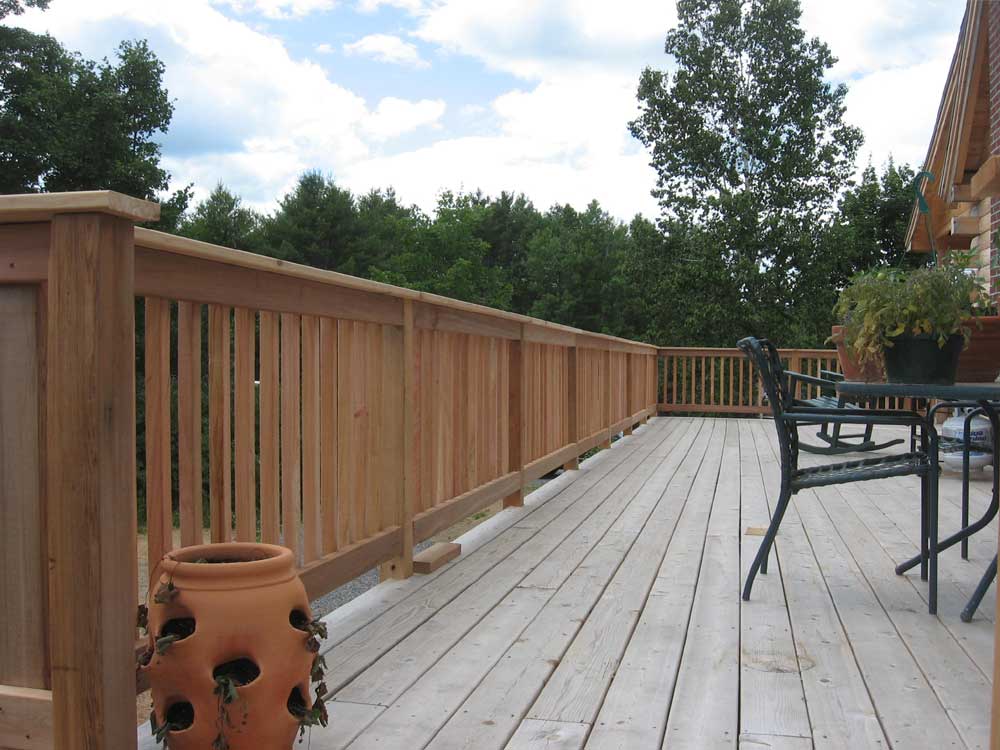
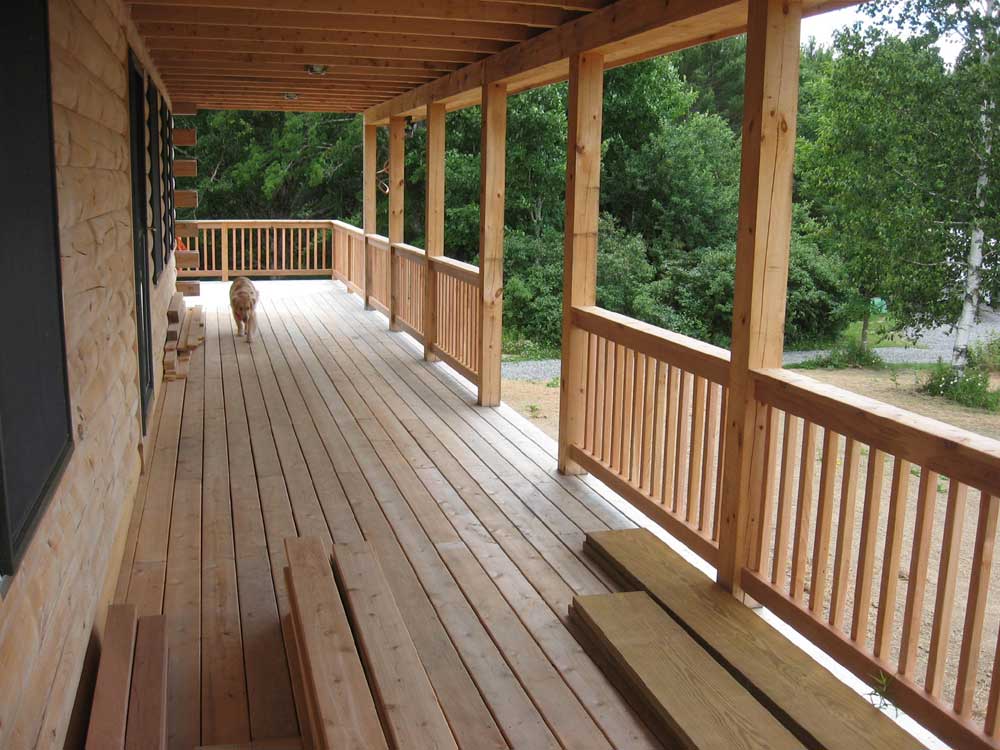
I wanted to use a 2x4 block as a
spacer, since a 2x4 is 3-1/2" wide, or about the perfect space
between balusters. So with the balusters laying on the bottom
rail, I test-spaced them across, and was pleased to find that the
spacing worked out nearly perfectly and evenly between the posts.
With that determination made, at least for the first section, I
decided to nail the balusters up and see how things looked.
This went quickly using an air finish gun with 2-1/2" stainless
steel finish nails. I laid out the balusters for the second rail section, and found that again they spaced out evenly between the posts, so with this information in hand I decided that it was unnecessary going forward to pre-space the balusters before nailing. Continuing in the same fashion, I nailed up the remaining balusters that I had cut, working from the ground outside the deck for now; much of the deck was too high for this, so I'd have to continue working from the deck surface itself. I returned to my work station to cut more balusters. At this time, I determined that it was unnecessary to square cut the tops of the pieces, since they butted up closely to the underside of the caprail and were not directly visible. Also, one end of the baluster stock tended to be a finer cut than the other, so by properly orienting them in the saw I could cut off the bad end while making the angle. Eliminating the square cut greatly sped up the process but didn't diminish the finish quality of the installation, and it took little time to buzz off the bottoms of the balusters at the required angle. So I proceeded in this manner, pre-cutting 4 bundles of balusters at a time (36) and then nailing them up. Splitting the tasks like this helped avoid undue tedium. The work went quickly, the only frustration being my lousy Craftsman nail gun, which sometimes fails to properly push the stick nails forward with each shot, meaning that when the trigger is actuated no nail comes out. The fix for this is to apply light pressure to the spring after each shot, but this requires an additional hand and is inconvenient. Oiling the mechanism doesn't help; the gun is junk, but I found that installing only one set of nails, rather than the two that the gun will hold, all but eliminated this problem (a long-standing problem that has frustrated me through the whole house project). It was soon clear that I could easily finish the balusters today; in fact, it took only a few hours to install balusters around the entire deck, completing the job. Work went slowest on the main part of the deck, where I had to nail the balusters in from the deck itself; once I turned the corner at the front and finished the first section, though, I could move back out to the ground and work, which was easier. The baluster spacing continued to work out almost perfectly in each section. |
|||
|
|
|||
|
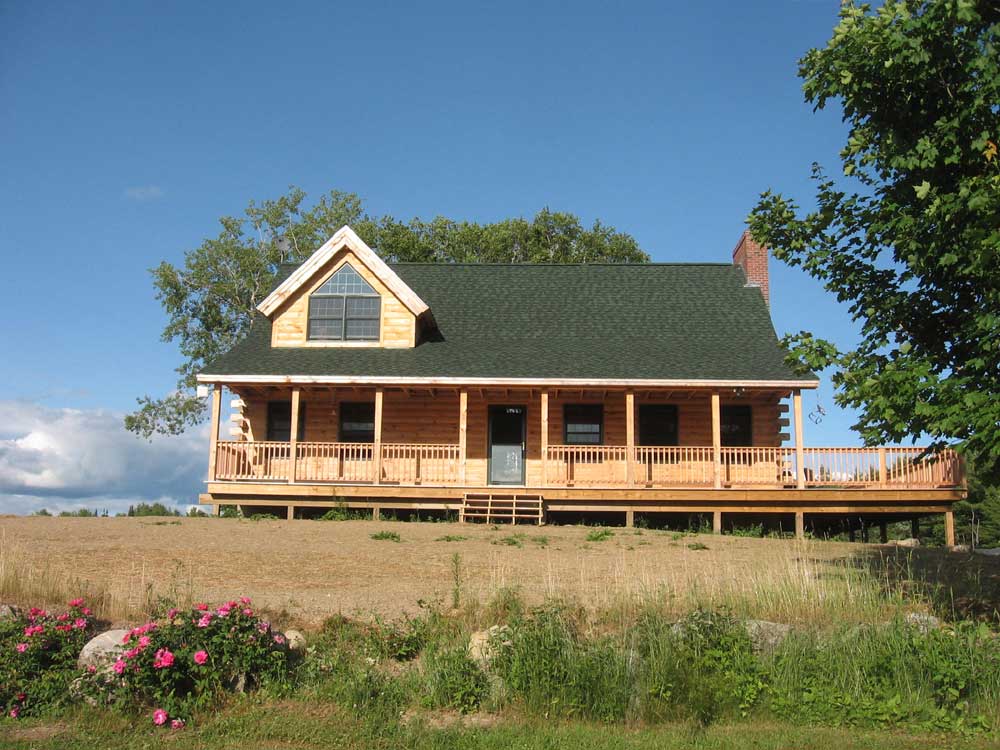
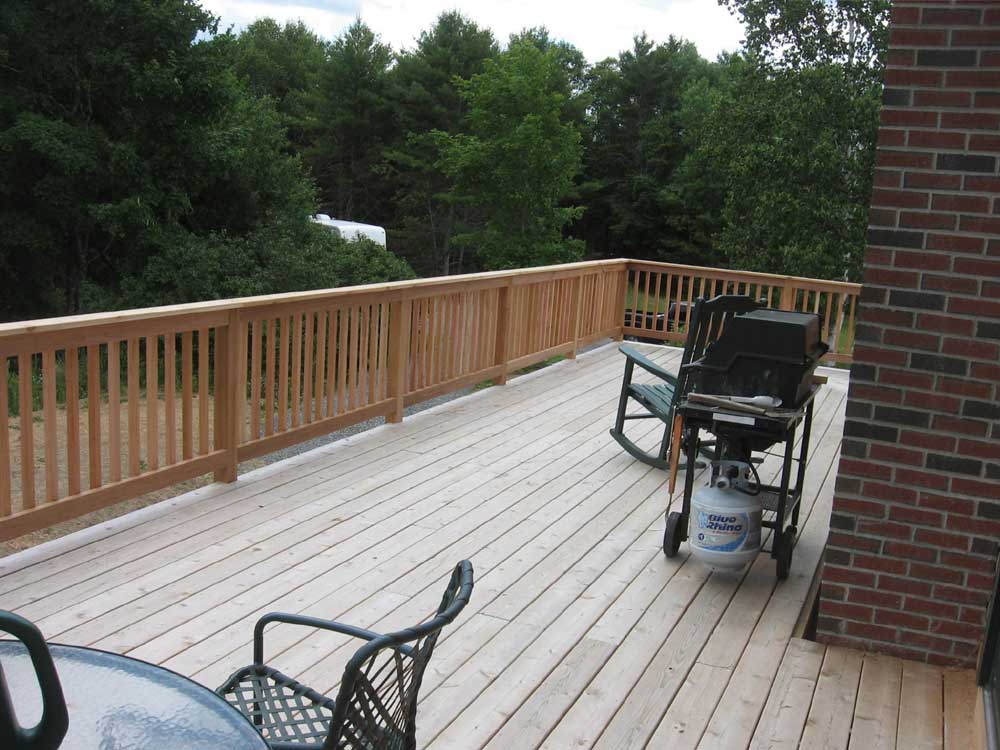
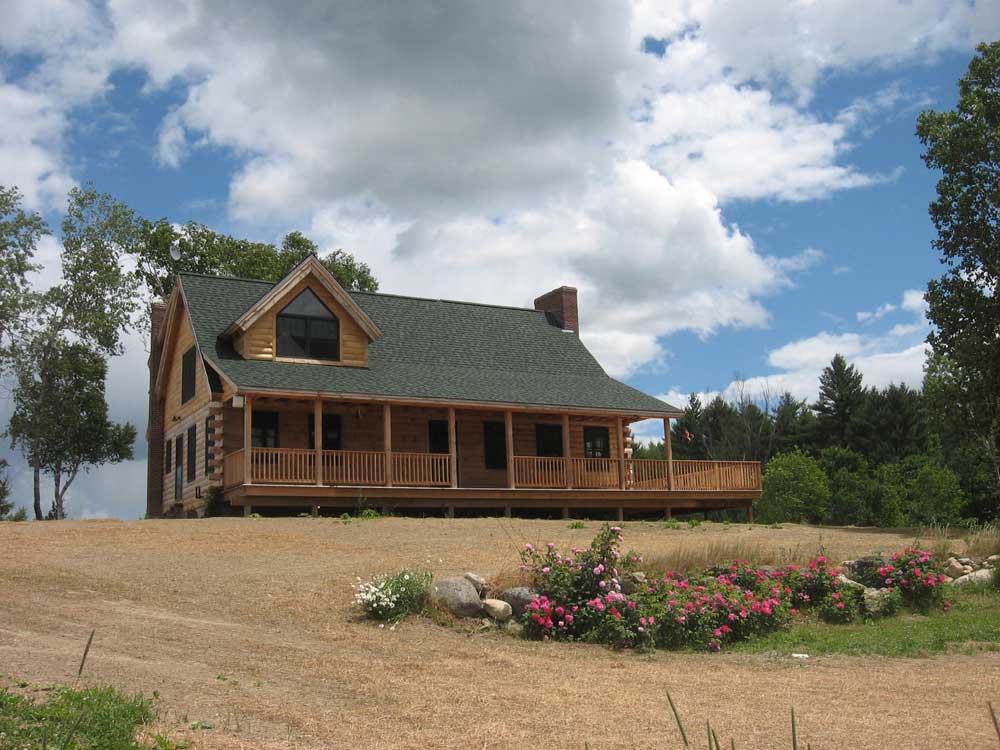
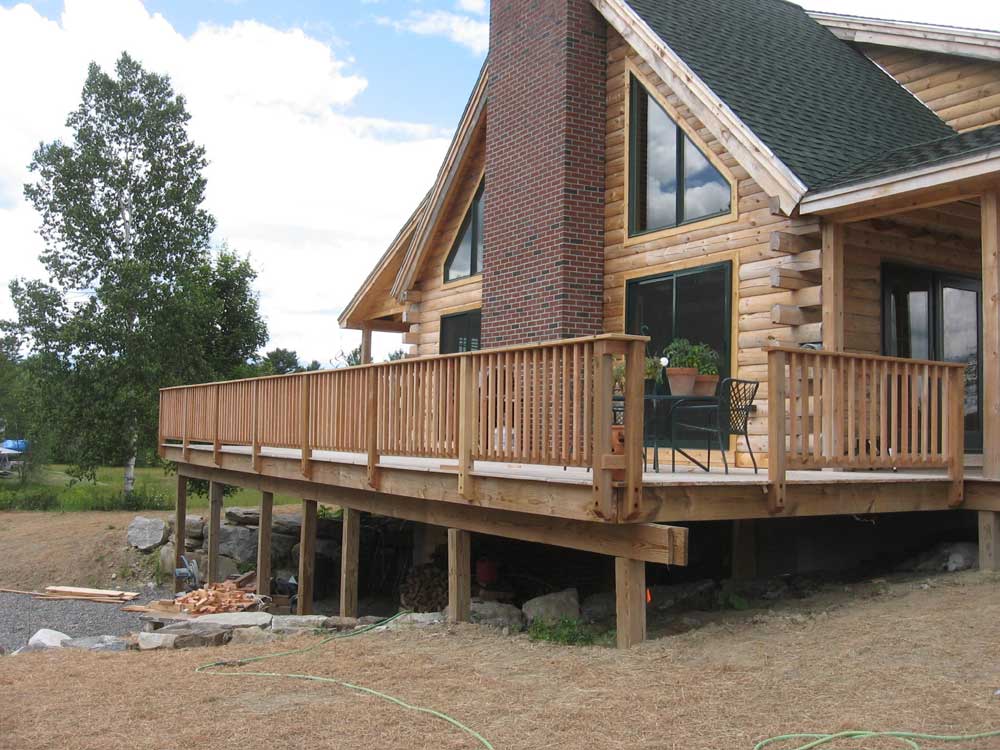
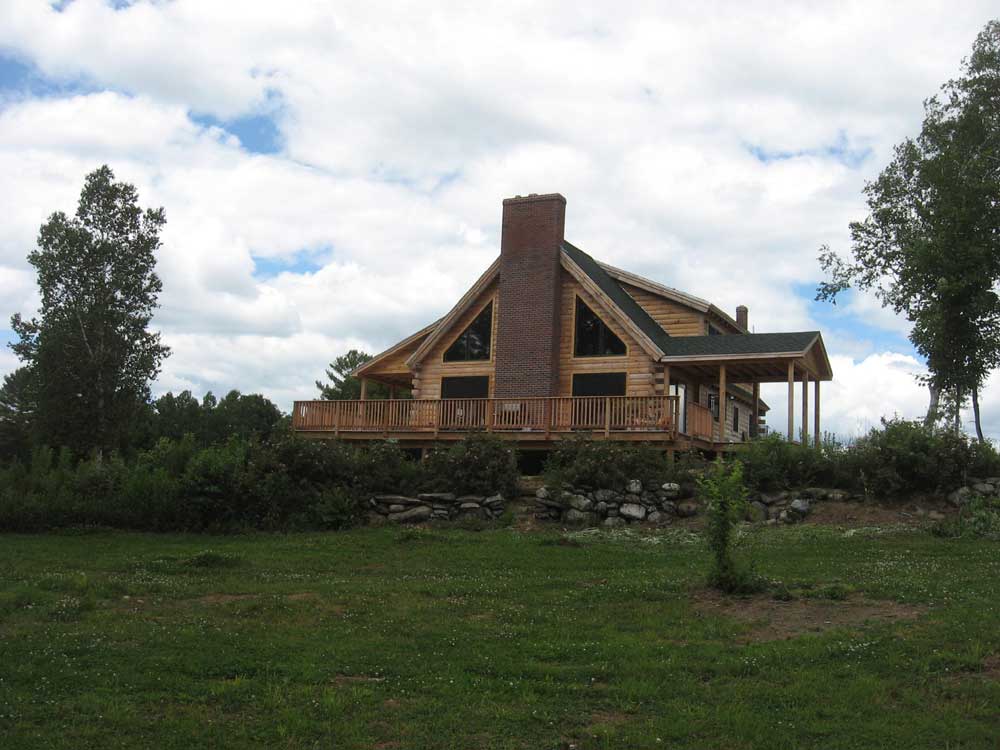
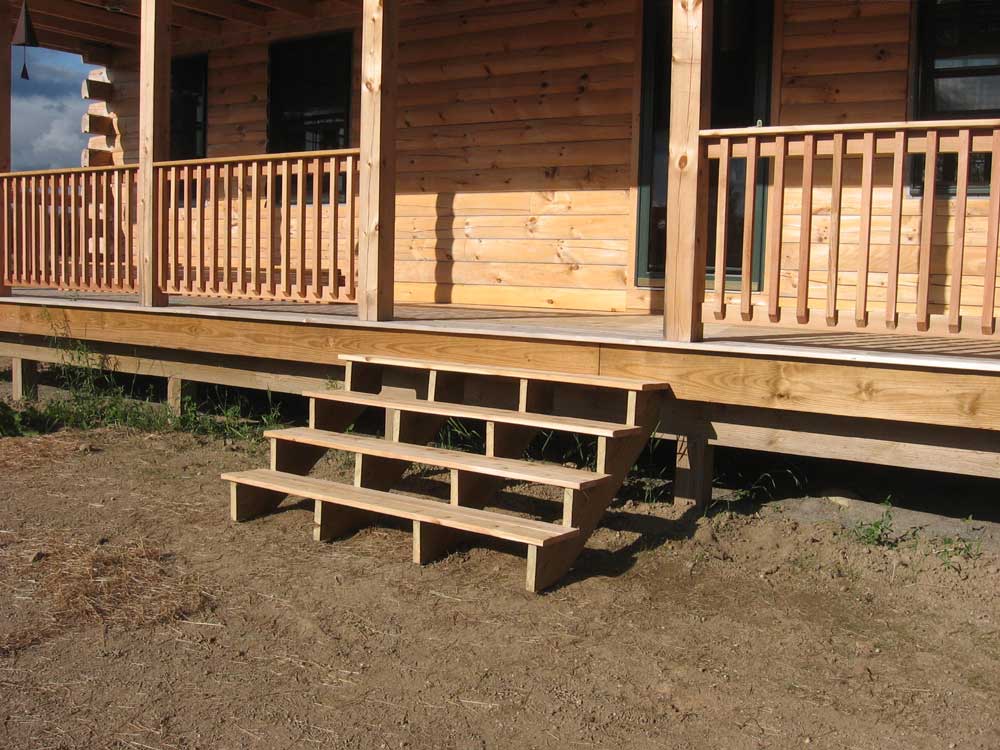
Even after cleaning up the roughly 250
cut ends, I found I had plenty of time in the day to build two
sets of stairs to the deck: first the back set, at the far
corner, and then the front steps. I built simple stairs using
pressure treated 2x12s for stringers and 5/4 x 6 red cedar treads.
The stairs still need railings, but finally we can come and go off
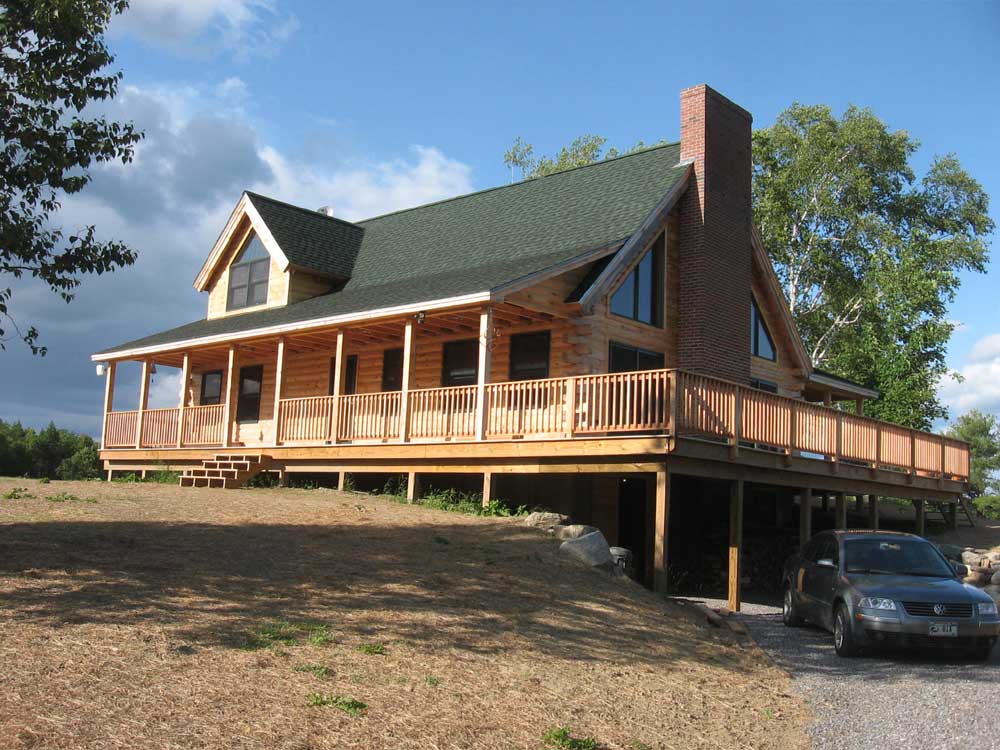
the porch and deck with ease. I was really pleased with how the railing turned out. Frankly, it exceeded my visual expectations, and actually enhanced the appearance of the deck and house from all angles. Plus, the insurance company would be happy. |
|||
|
|
|||
|
|||