Phase 2:
Framing
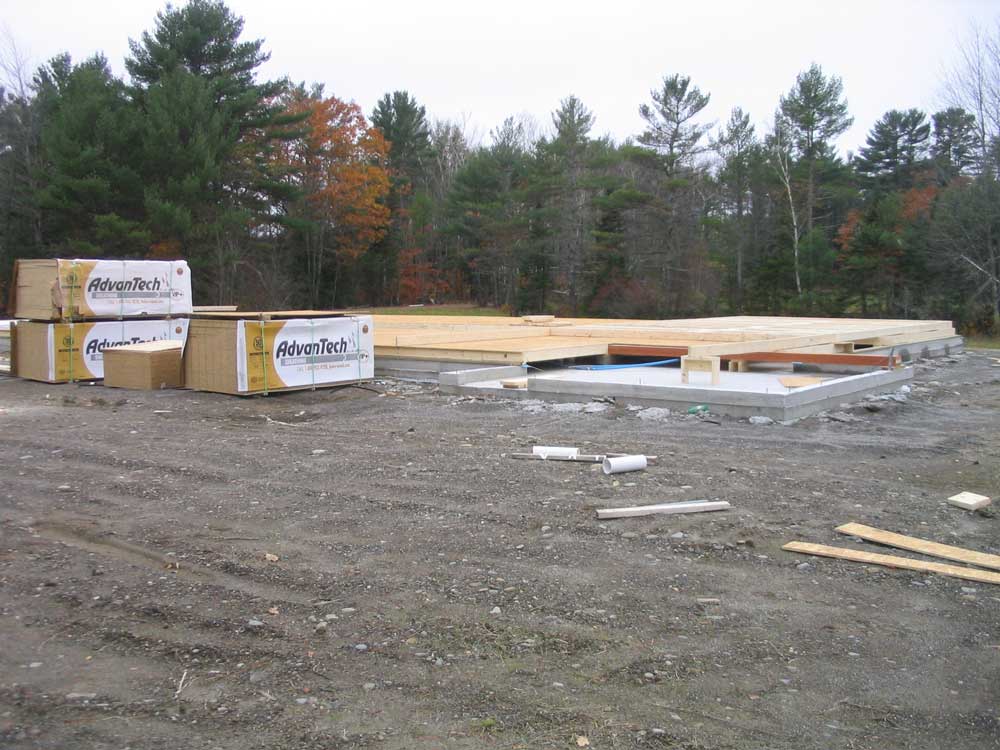
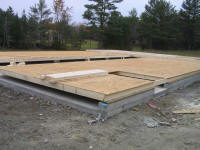
With the foundation complete,
and all necessary infrastructure in place, it was time to
think about framing. Because of the size of the
building, coupled with a need for various tools, staging,
and efficiency, I decided early on that I would not attempt
the major construction myself, choosing instead to go with
my trusted builder, Bob, for the major framing and making
the building weather tight. From there, I planned to
finish off the structure myself. |
Shop Home
Page
Shop
Planning
Phase 1: Site Prep and Foundation
Phase 2: Framing
Phase 3: Finish Work
Phase 4: Shop Setup |
 Bob
had to finish up a job on which he was working before he
could get over to the site to begin construction in
earnest, but the first step basically occurred on
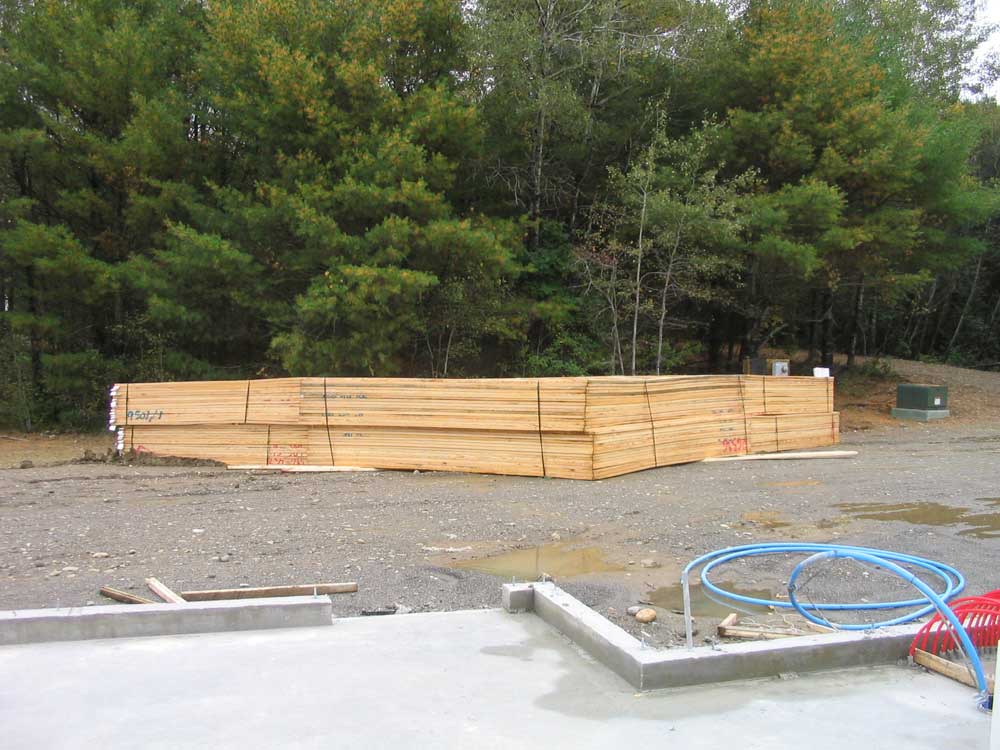
October 10, 2005, when the roof trusses arrived on site.
Bob had ordered these nice and early so that there would
be no delays when they were needed; we had run into some
minor truss-related delays back in 2003 when building
the shop in North Yarmouth, so this time would be
different. Bob
had to finish up a job on which he was working before he
could get over to the site to begin construction in
earnest, but the first step basically occurred on
October 10, 2005, when the roof trusses arrived on site.
Bob had ordered these nice and early so that there would
be no delays when they were needed; we had run into some
minor truss-related delays back in 2003 when building
the shop in North Yarmouth, so this time would be
different.
The
weather didn't cooperate for the remainder of October,
blessing us with three weeks of nearly unbroken rain,
fog, and general misery. Bob fell behind schedule,
but finally on October 24, he was ready to begin, as
materials had been delivered to the site. |
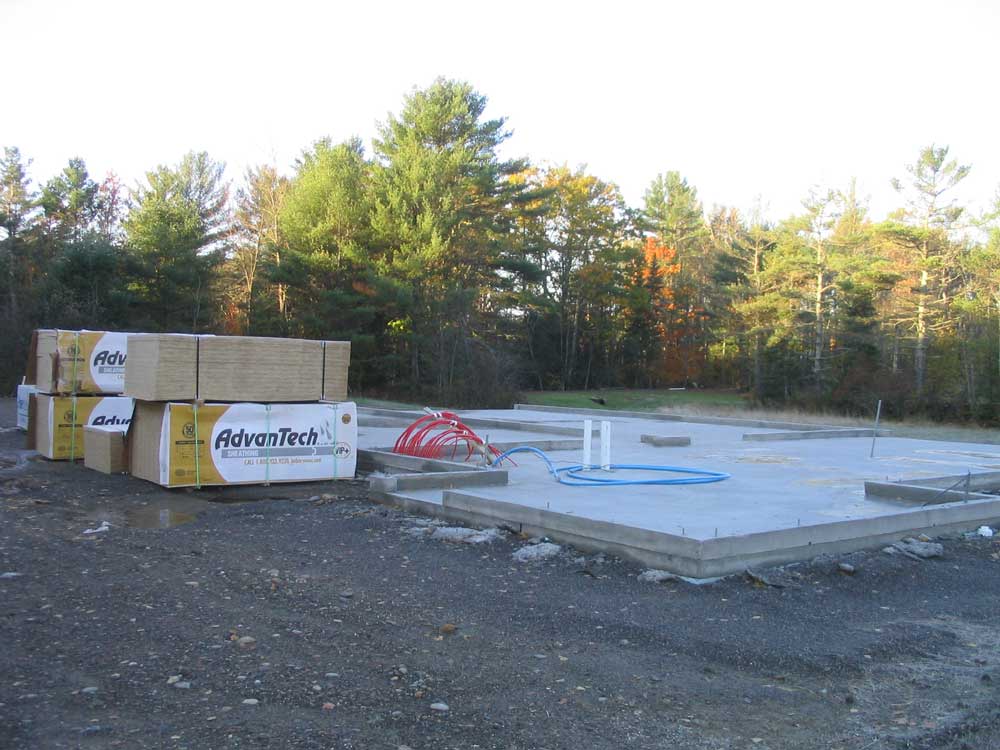
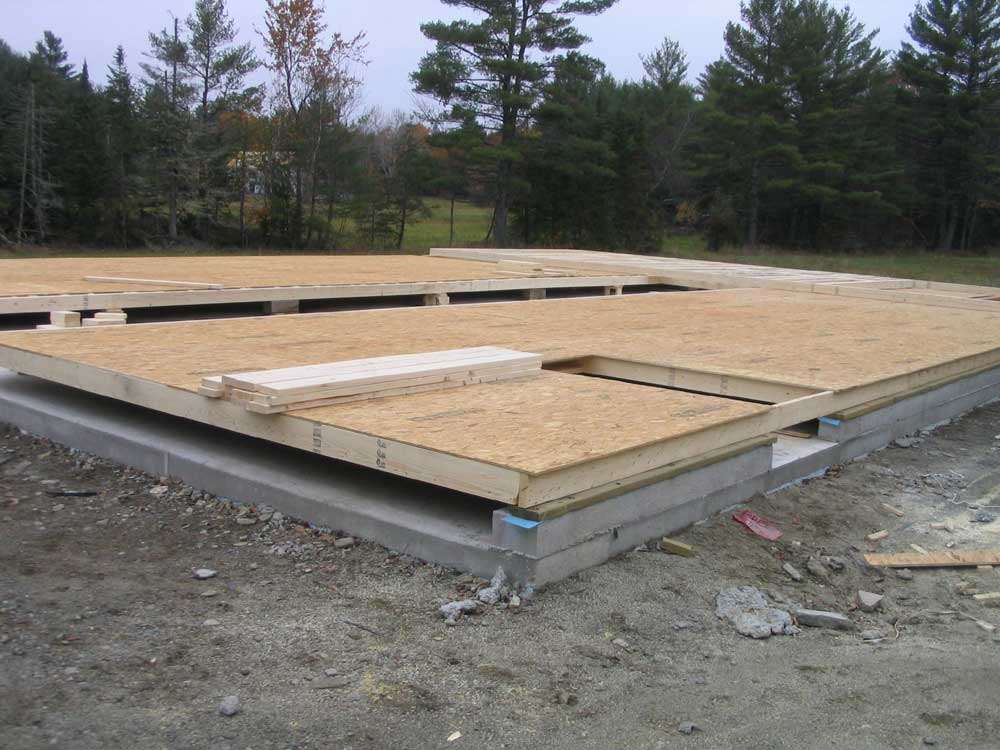
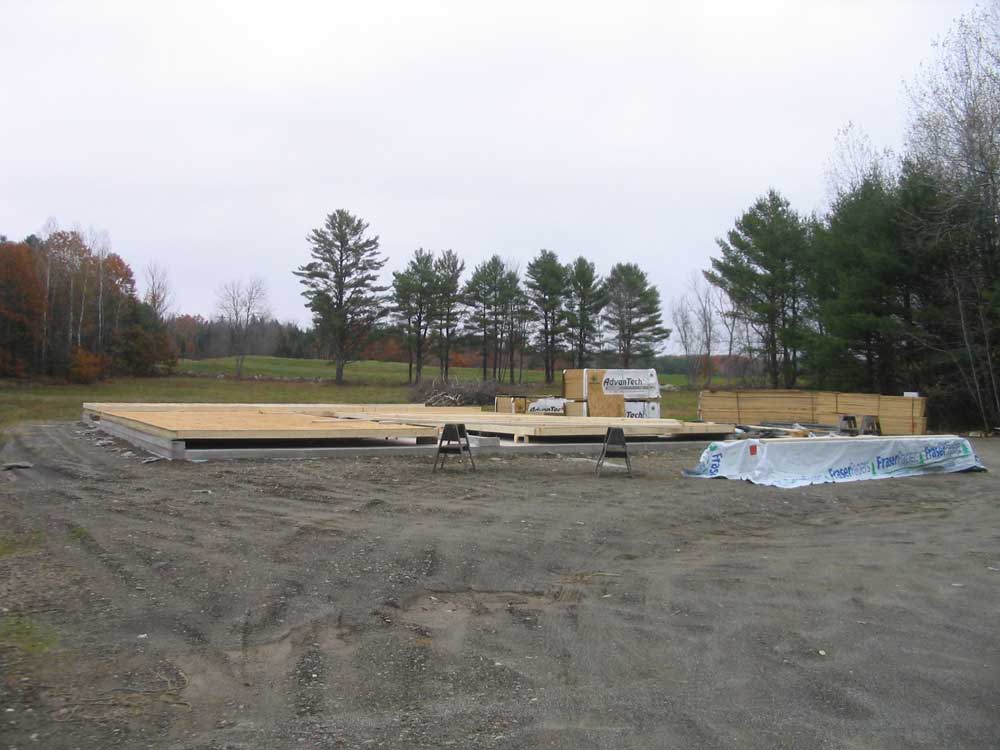
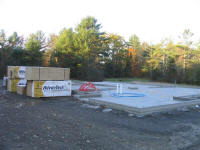
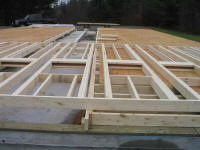
Tuesday the 25th was
another miserable washout, and Wednesday not much
better, but on Thursday, framing began in earnest, with
Bob ready to spend his first full day on the site.
I was onsite in the morning to discuss some of the
window placements and other pre-framing details, but
left before any framing had been truly begun. My
photos from the day show only the piles of framing
materials waiting in rapt anticipation. |
|
 |
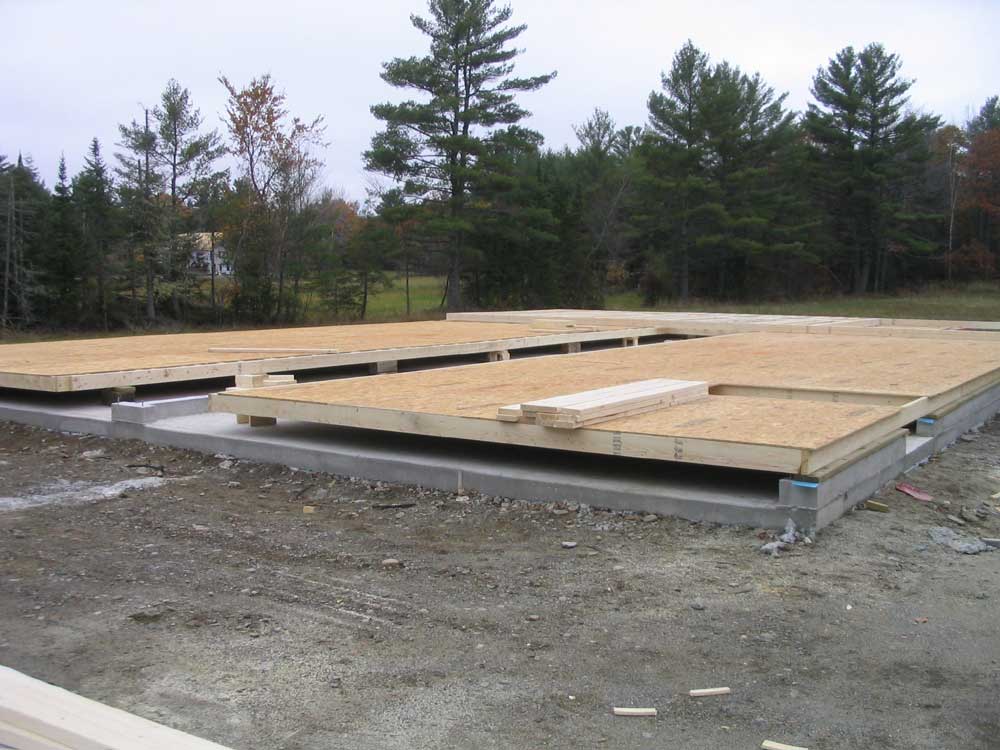
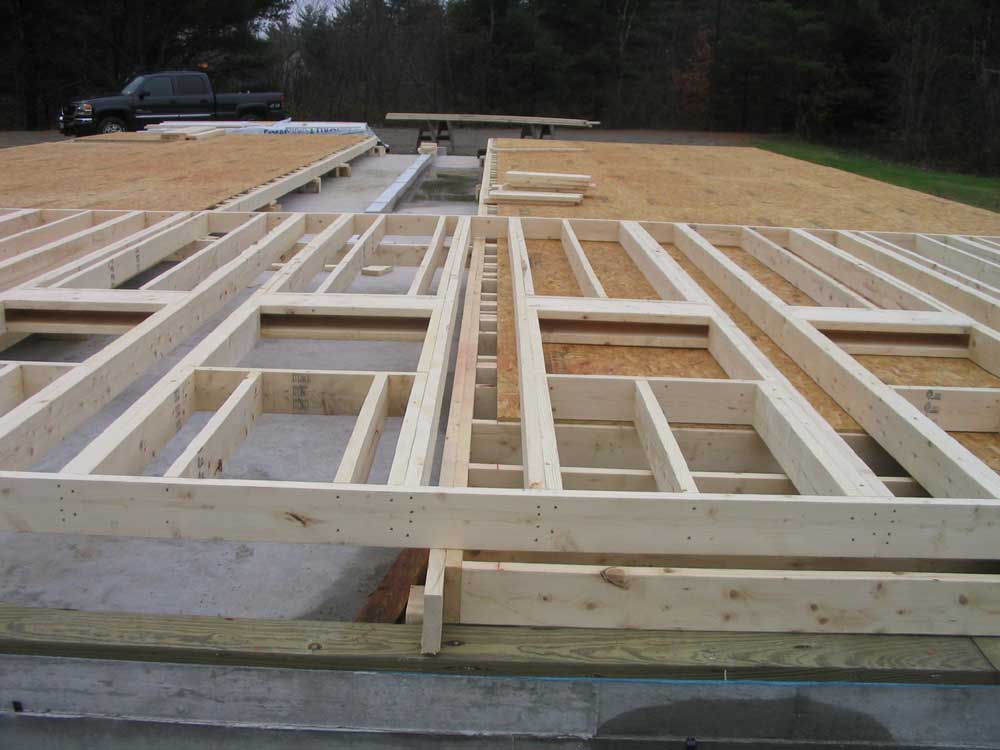
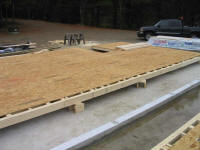
Things started to move on Halloween. The weather
was beautiful--abnormally warm, with sunny skies and
light winds--and during the course of the first week of
November, this pleasing weather held, with no rain or
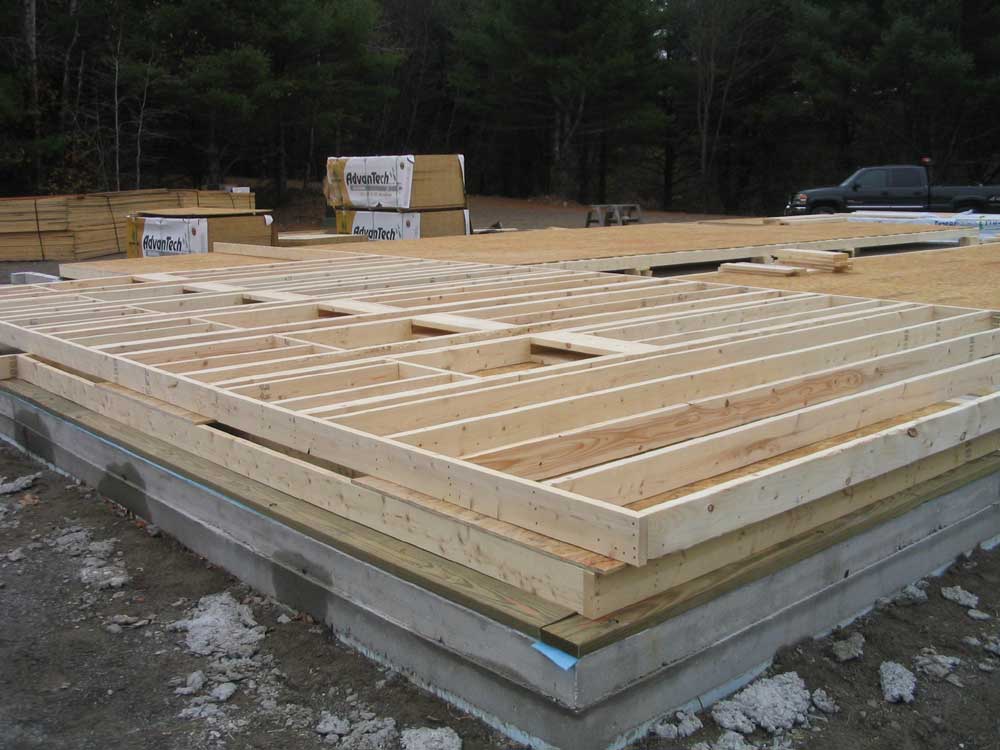
cold. By the end of the week, Bob had framed and
sheathed both long shop walls, and had framed the back
shop wall. With the major walls complete, it
looked like the job was well on track for raising the
walls within another week or so, as the only work
required before that was sheathing the back wall, and
sheathing and trimming the two end truss gables (to make
the job easier with down hand work, and prevent the need
for this difficult work to be performed high in the air
on ladders or staging later).
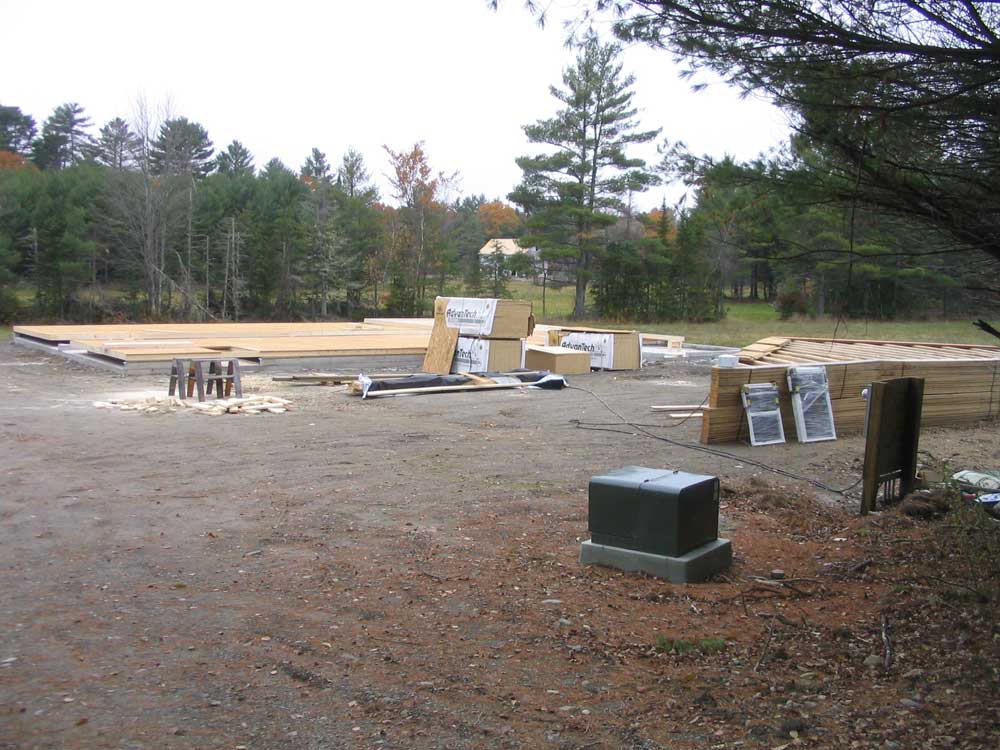
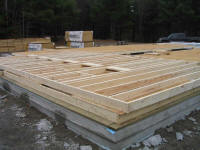
The photos below show some
of the various aspects of the framing as of Saturday,
November 5, 2005. Watch for additional framing
details later, once the walls are stood up.
|
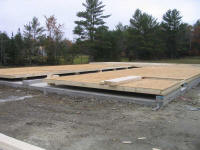
A view from the front right corner, looking
back, showing the overall wall framing. |
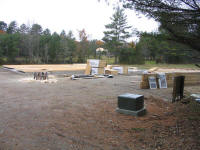
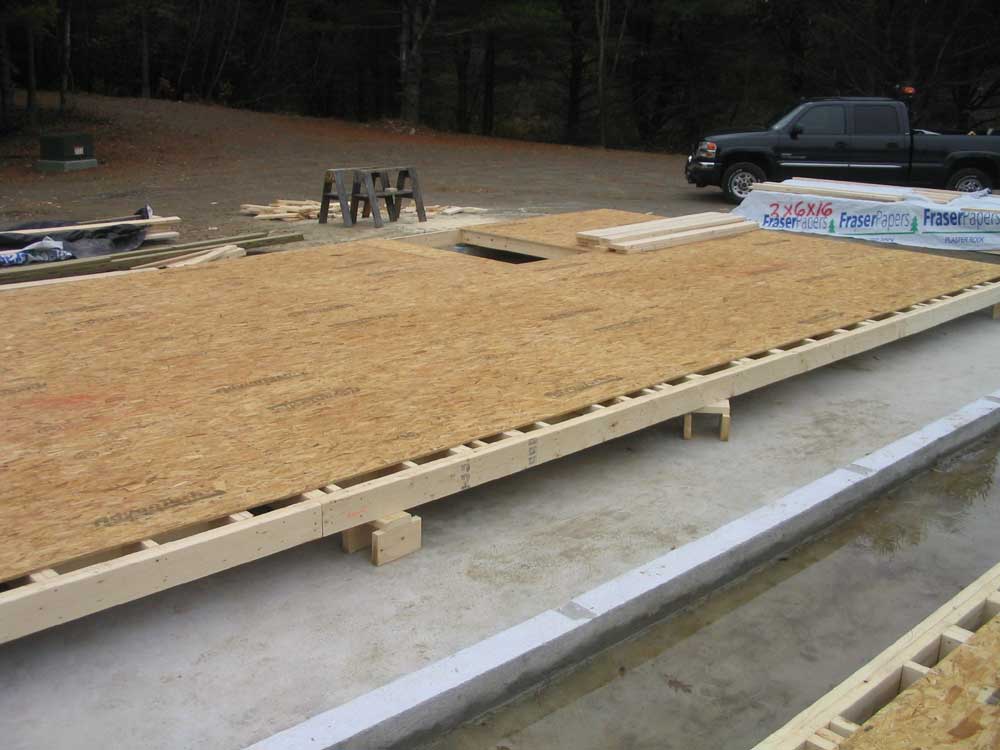
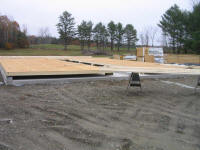
A distant view of the job site from the right
side. |
A distant view of the job site from the back
right corner. |
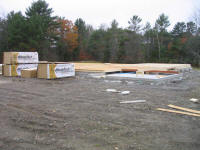
The back wall of the shop, looking towards the
front of the building. |
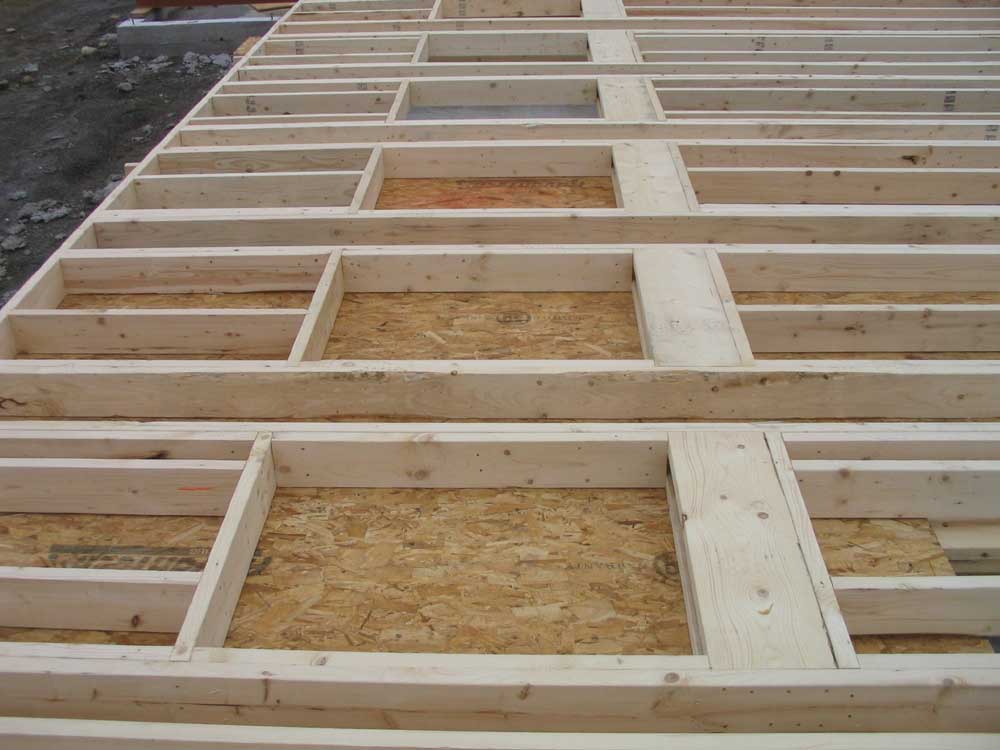
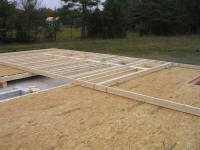
The righthand long wall, looking towards the
front. There are window openings framed
into the upper portion of the wall, but you
can't see them because of the sheathing. |

The window openings framed into the back shop
wall. |
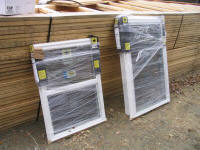
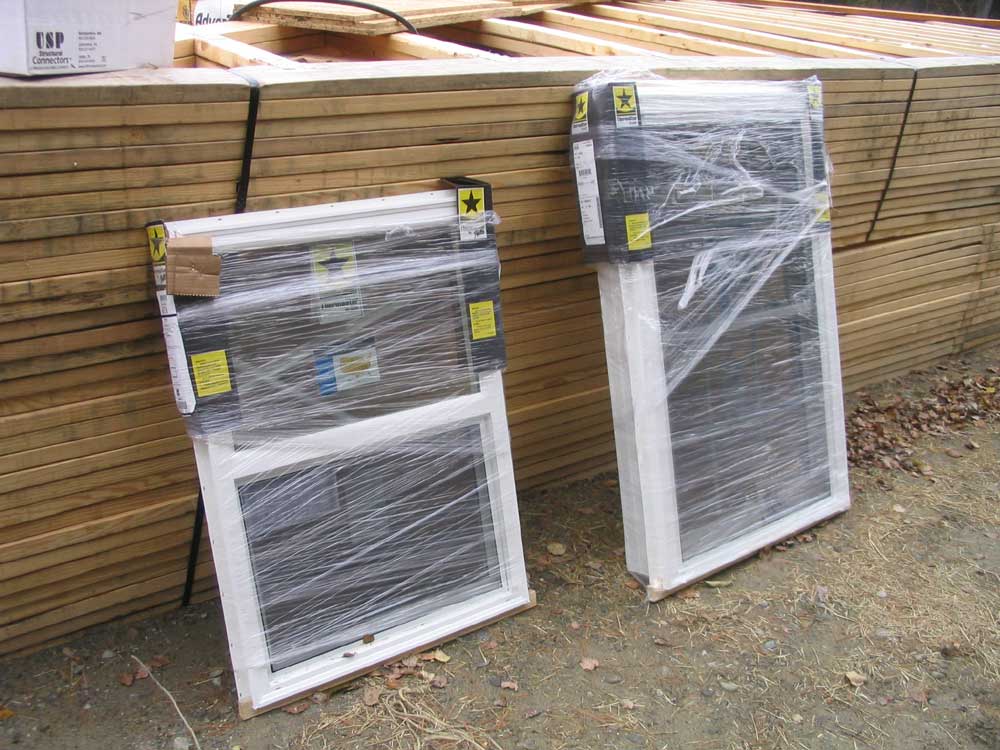
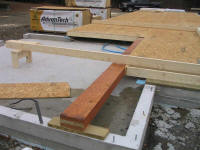
The two window types that will be installed in
the new shop. The basic, smaller size on
the left will be used in both shop bays as well
as the workshop, while the larger, hgiher-end
window size will be used in the office.
|
Another view of the back shop wall, from the
back left corner of the building. |
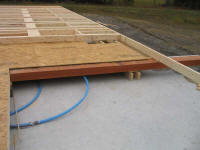
This shows one of the two LVL beams that will
help support the back right corner of the shop
where the office is "inserted" into the corner.
The beams allow the office to have clear space
with no posts. |
Here's another view of the LVL beam.
(Laminated Veneer Lumber) |

Another view of the window openings in the back
wall. Sheathing still needs to be applied
here. |
The back wall, framed on top of the two side
walls beneath. |

This shows the lefthand long shop wall.
Window openings are framed into the upper
portion of this wall, all along along the
righthand side in the picture. |
A view from the front left corner. |
A view from the front right corner, showing the
man door opening there. |

A distant view from the front. |
|
Click here to continue... |
|
This page was originally
posted on October 12, 2005.
|
|