Phase 3: Finish
Work
|
Shop Home
Page
Shop
Planning
Phase 1: Site Prep and Foundation
Phase 2: Framing
Phase 3: Finish Work
Phase 4: Shop Setup |
|
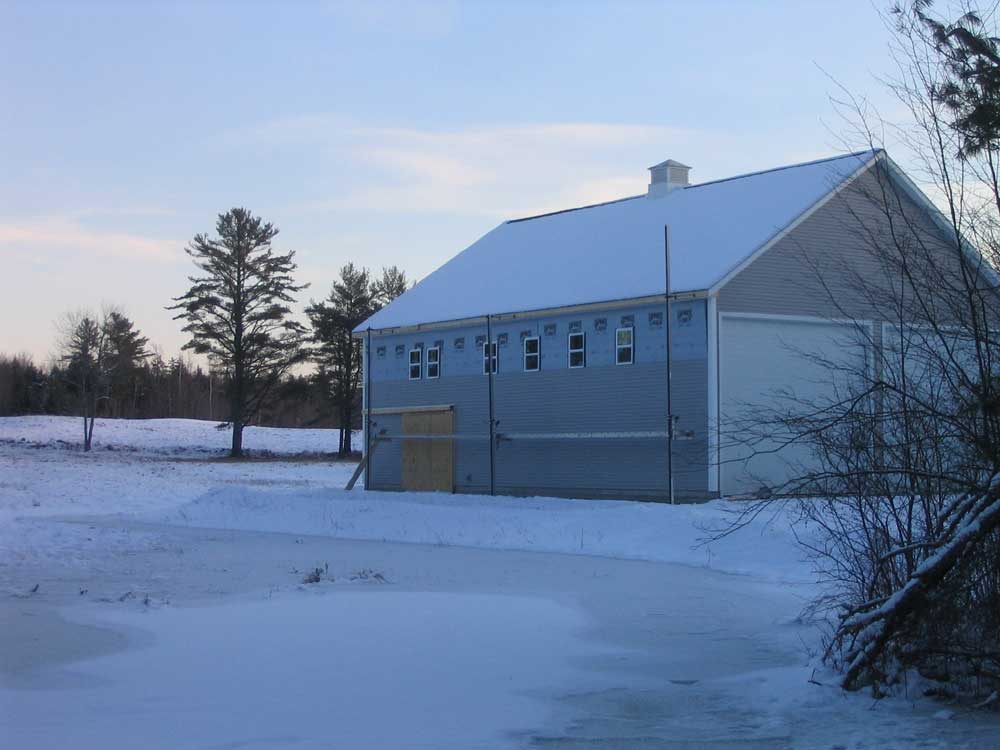
Windows and Doors
With an inclination for
plenty of natural light, as well as experience with
clerestory windows in the old shop, numerous window
openings were a must. At the time of construction,
I was unsure how many windows I wanted to install, so
after consultation with Bob, we decided to frame in a
large number of openings in both boat bays, as well as
the woodshop area in the back. With the openings
in place, I could choose to install as many or as few
windows as I desired--now or in the future. |
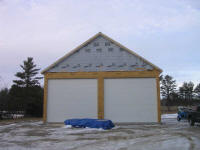
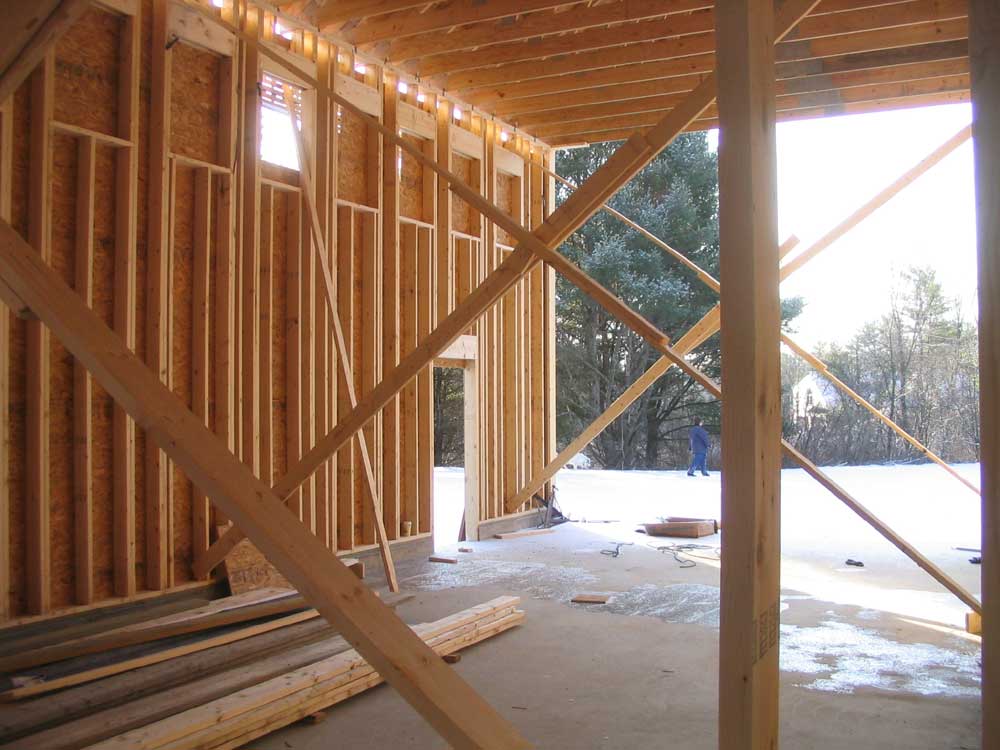
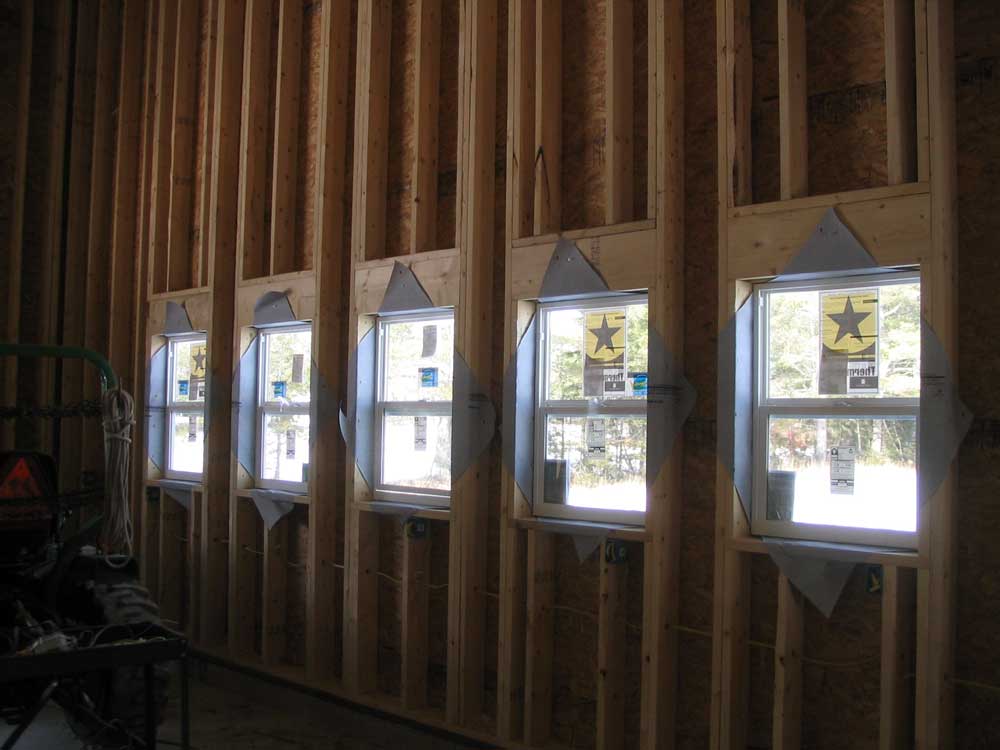
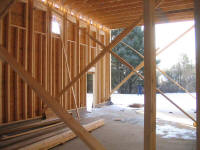 Of course, I may have gone overboard. With
clerestory windows framed with 16" between them, all
along both long walls of the building, the number of
openings was significant--as was the amount of framing
in each wall as a result. Each boat bay ended up
with 9 openings, while the shop bay in the back featured
6 openings closer to floor height (4' off the finished
floor), as well as three clerestory openings on the west
wall, and two on the east wall, in the future finishing
room area. Obviously, I would not be able to--nor
want to--install all of these windows. Of course, I may have gone overboard. With
clerestory windows framed with 16" between them, all
along both long walls of the building, the number of
openings was significant--as was the amount of framing
in each wall as a result. Each boat bay ended up
with 9 openings, while the shop bay in the back featured
6 openings closer to floor height (4' off the finished
floor), as well as three clerestory openings on the west
wall, and two on the east wall, in the future finishing
room area. Obviously, I would not be able to--nor
want to--install all of these windows. |
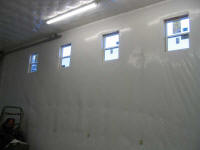
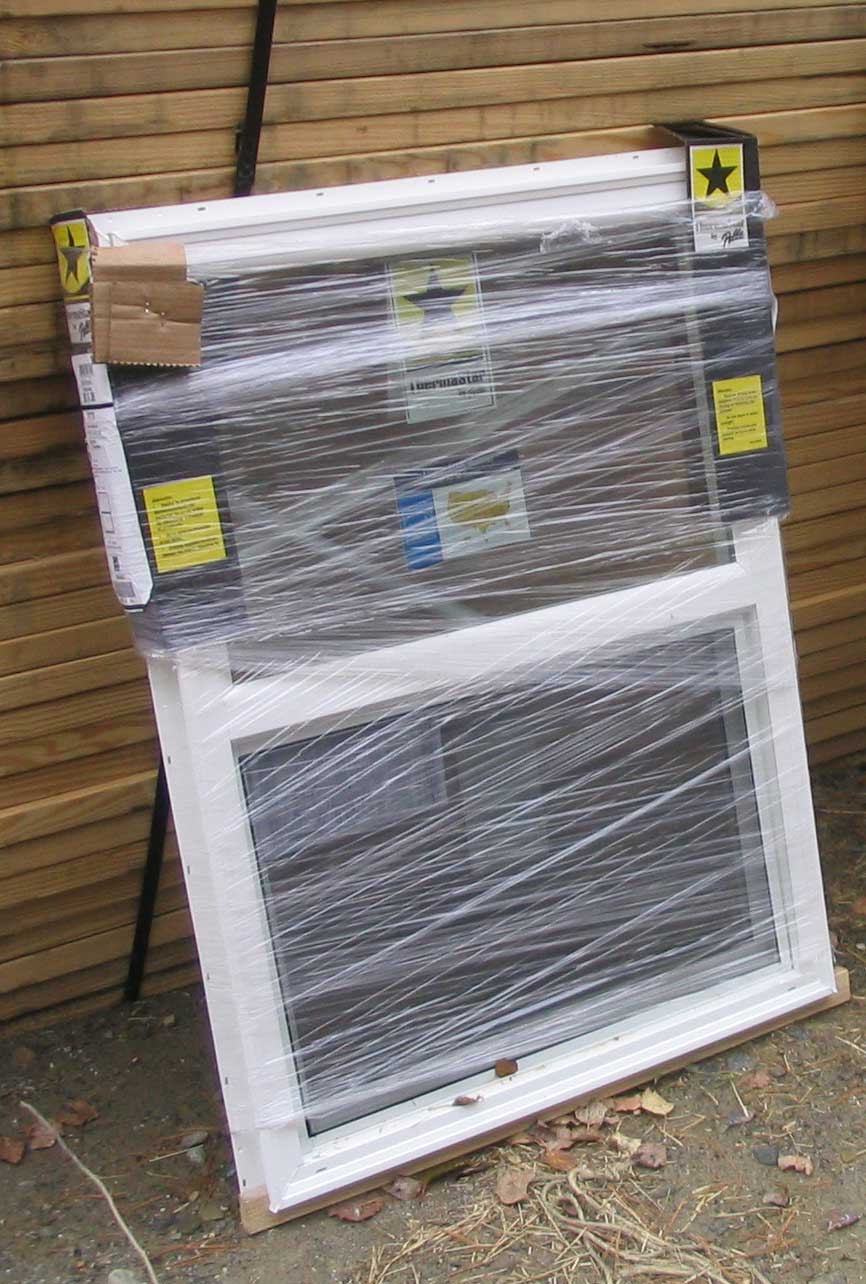
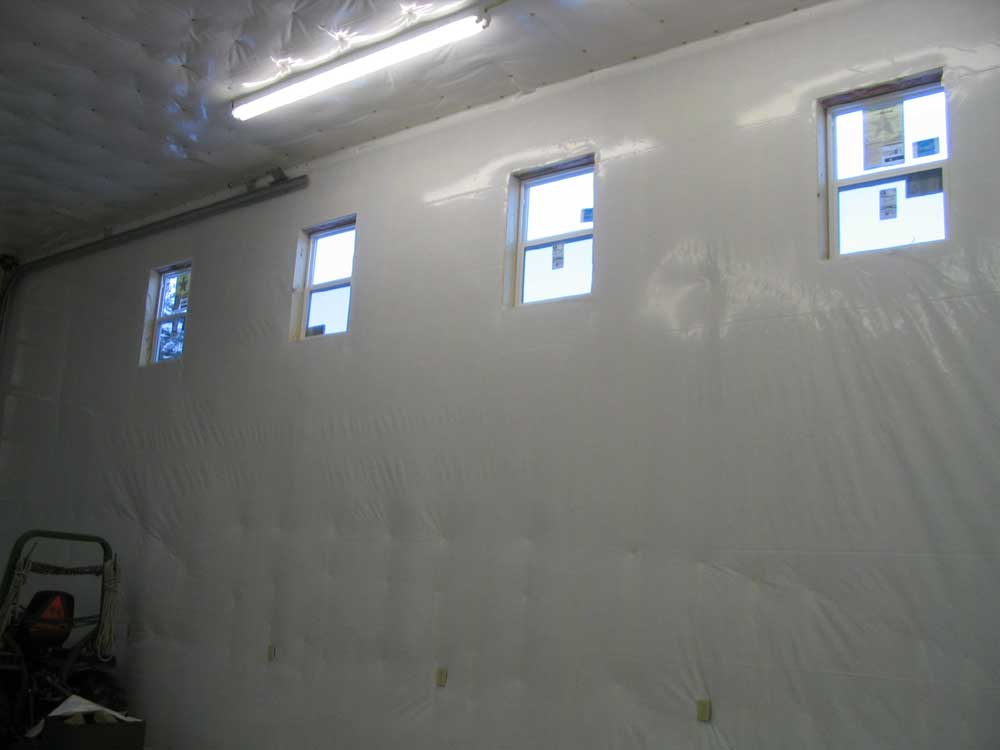
 For the clerestory and shop windows, I chose a basic
single hung Pella Thermastar 28" x 38" all-vinyl window
with integral brickmold and J-channel on the exterior
(to accommodate the planned vinyl siding). I chose
these windows for their size and low price; since they
would never be opened, located so far from the floor, a
simple single hung design made sense. For a
utility window, they looked rather nice, and I preferred
them to the
sliding windows that I used in my old shop. For the clerestory and shop windows, I chose a basic
single hung Pella Thermastar 28" x 38" all-vinyl window
with integral brickmold and J-channel on the exterior
(to accommodate the planned vinyl siding). I chose
these windows for their size and low price; since they
would never be opened, located so far from the floor, a
simple single hung design made sense. For a
utility window, they looked rather nice, and I preferred
them to the
sliding windows that I used in my old shop. |
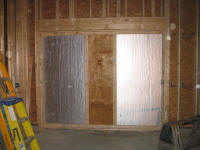
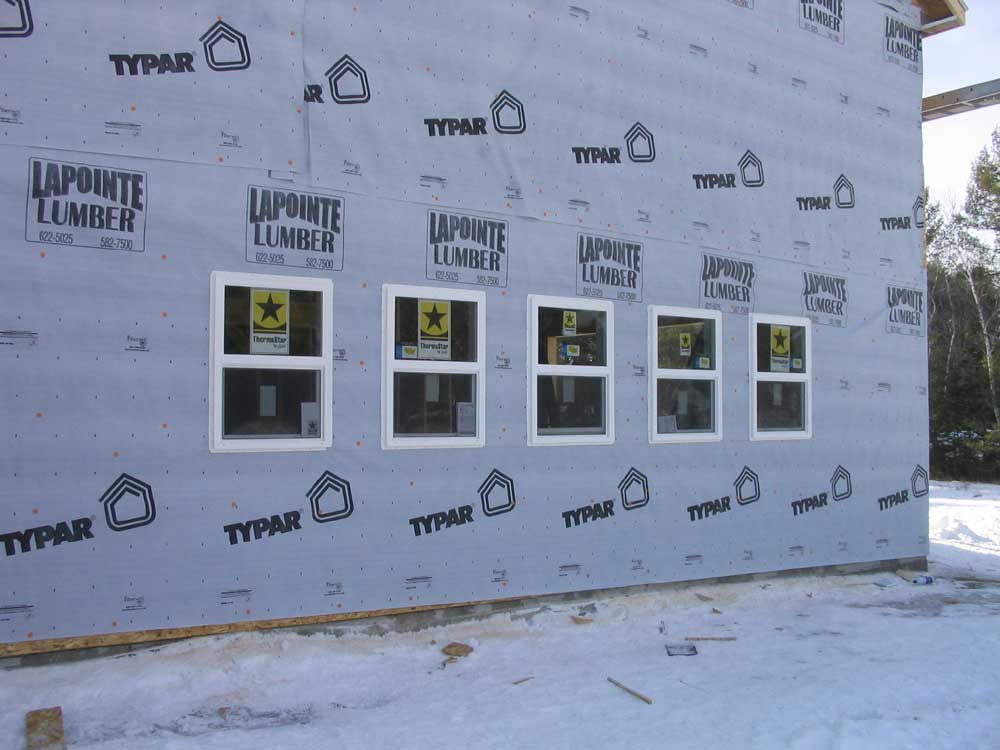
I had to order number of the smaller windows for the
shop spaces, but did locate five of them, which Bob
promptly installed in the woodshop in the back. |
|

 |
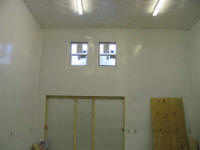
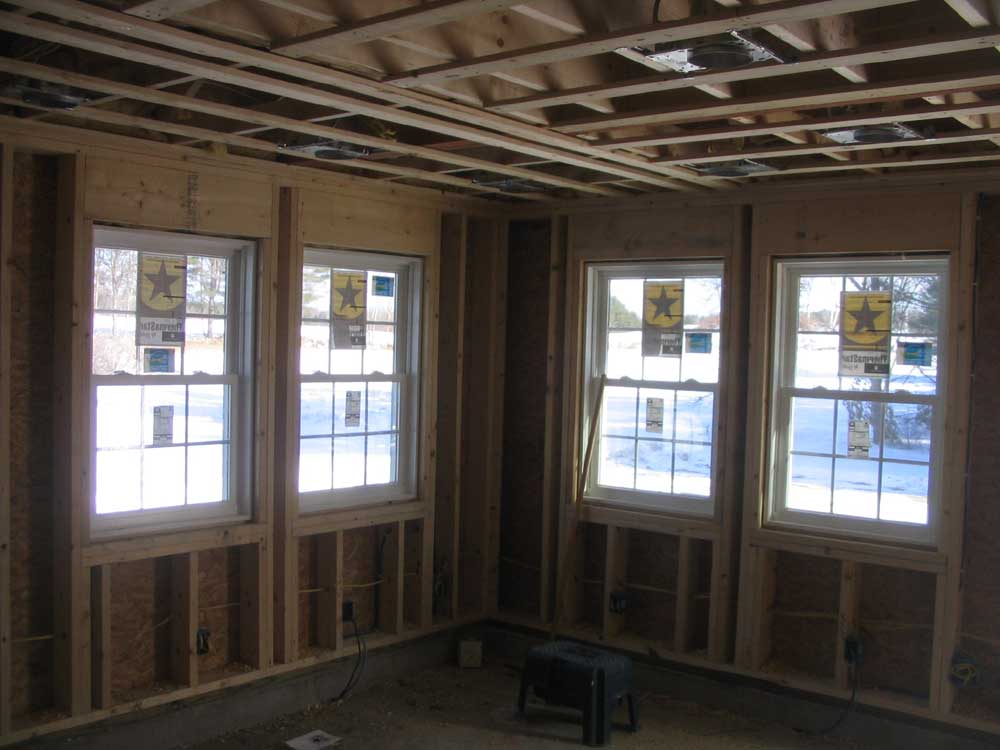
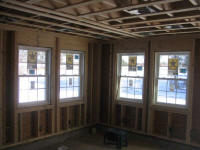 In the office, I decided on four larger, higher end
double hung Pella Thermastar 32" x 48" windows, centered
on the eastern corner. These locations (two on
each wall, with the corner in between) afforded the best
views of the field beyond, and also allowed some wall
space on one wall for shelving, file cabinets, or the
like. The spacing also conveniently avoided the
important studs supporting the laminated beams that in
turn supported the back corner of the main building,
into which the office space was "inserted". In the office, I decided on four larger, higher end
double hung Pella Thermastar 32" x 48" windows, centered
on the eastern corner. These locations (two on
each wall, with the corner in between) afforded the best
views of the field beyond, and also allowed some wall
space on one wall for shelving, file cabinets, or the
like. The spacing also conveniently avoided the
important studs supporting the laminated beams that in
turn supported the back corner of the main building,
into which the office space was "inserted". |
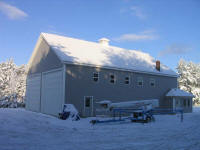
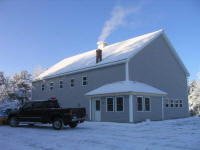
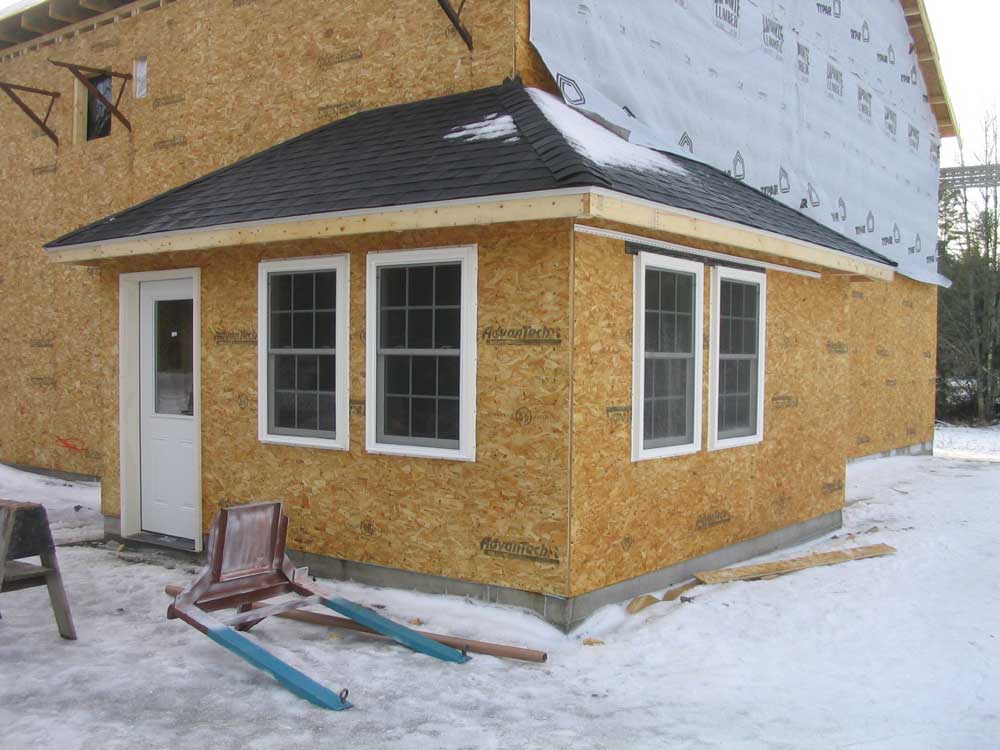
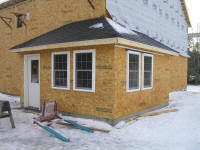 Soon after completing the waterproof roofing membrane,
Bob and Rod worked one day to install the actual roof
shingles on the office hip roof. With that done,
there was no reason not to install the office windows,
so in they went, followed several days later by the
office door. This helped make the office a
sort of warm haven during a couple especially cold weeks
in December. Soon after completing the waterproof roofing membrane,
Bob and Rod worked one day to install the actual roof
shingles on the office hip roof. With that done,
there was no reason not to install the office windows,
so in they went, followed several days later by the
office door. This helped make the office a
sort of warm haven during a couple especially cold weeks
in December. |
 I thought the new windows were pretty nice for what they
were--hardly top-of-the line, but still a very good
quality all-vinyl window, with integral grilles,
insulated low-E glass, full screens, and other good
features. I thought the new windows were pretty nice for what they
were--hardly top-of-the line, but still a very good
quality all-vinyl window, with integral grilles,
insulated low-E glass, full screens, and other good
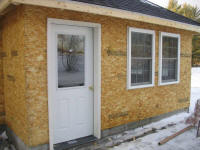
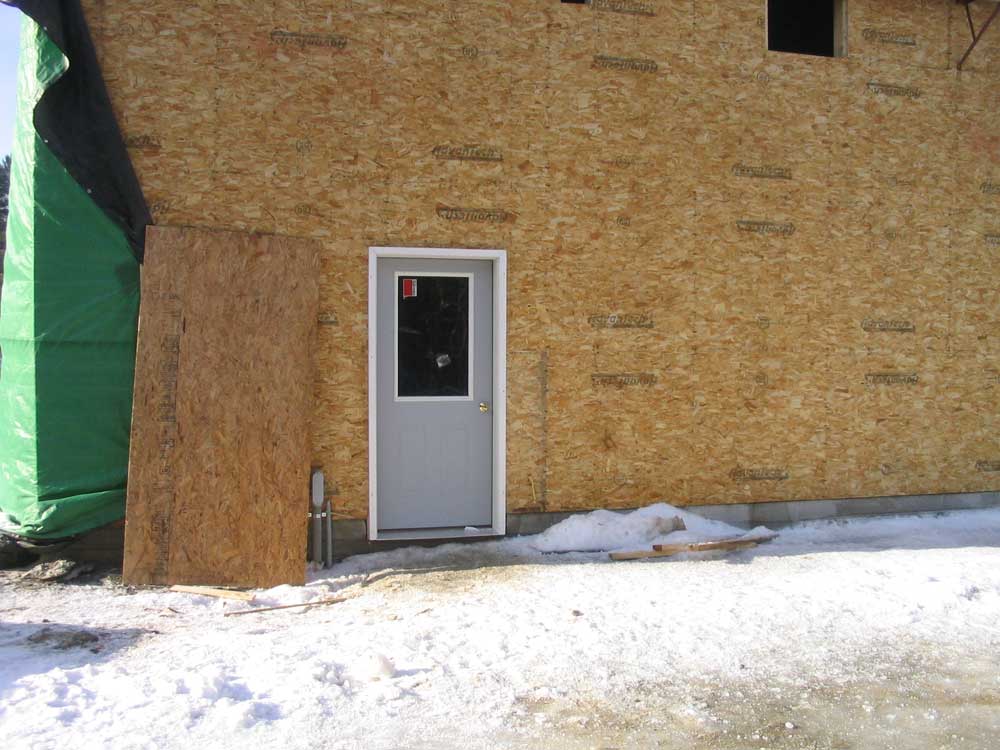
features.The
office door was a basic fiberglass entry door
incorporating a large window. There was a similar
door at the front end of boat bay 2, the bay on the
eastern side of the building (right side as you face the
front). |

|
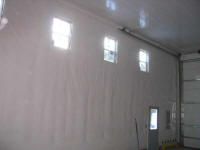
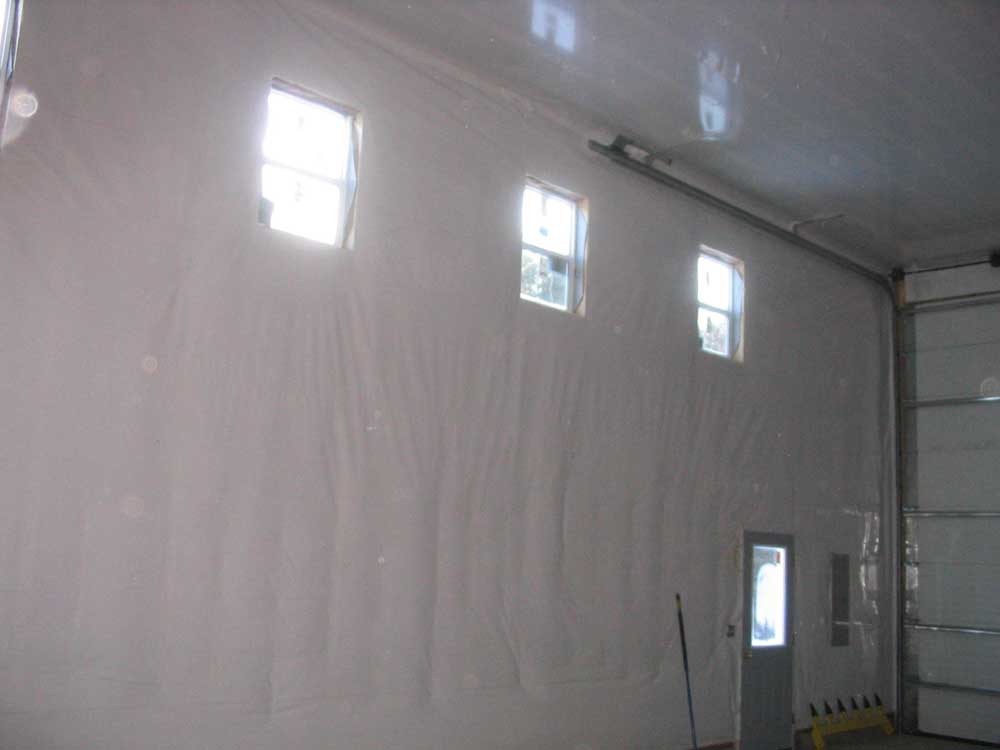
 Thanks
to inefficient ordering and a supply problem, it took
many weeks before I could obtain the 10 windows to fill
the clerestory openings in the two shop bays. I
originally ordered the windows before Christmas, only to
find two weeks later that the order had never been
placed. I ensured that the order was placed at
that time, but it still took nearly three weeks for all
the windows to come in, causing frustrating--if hardly
life-threatening--delays. As the windows arrived,
sometimes one or two at a time, I brought them
immediately up for installation. Thanks
to inefficient ordering and a supply problem, it took
many weeks before I could obtain the 10 windows to fill
the clerestory openings in the two shop bays. I
originally ordered the windows before Christmas, only to
find two weeks later that the order had never been
placed. I ensured that the order was placed at
that time, but it still took nearly three weeks for all
the windows to come in, causing frustrating--if hardly
life-threatening--delays. As the windows arrived,
sometimes one or two at a time, I brought them
immediately up for installation. |
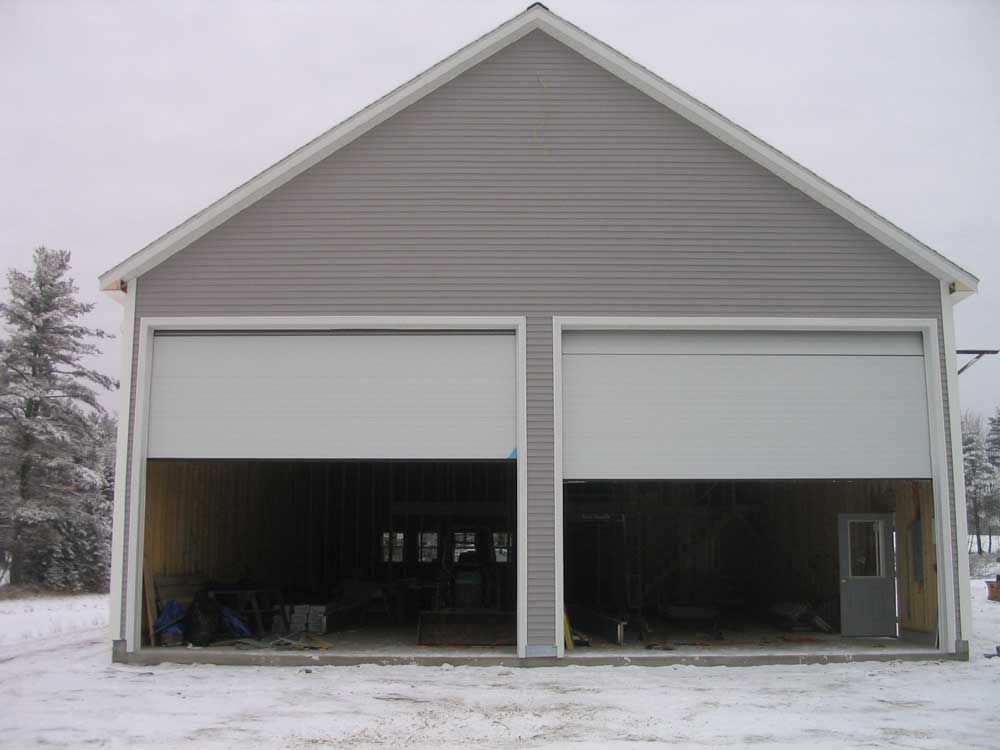
 Finally,
in the last full week of January, all the windows had
arrived, and all the openings in the building were
finally filled properly. Finally,
in the last full week of January, all the windows had
arrived, and all the openings in the building were
finally filled properly. |
|
|
|
|
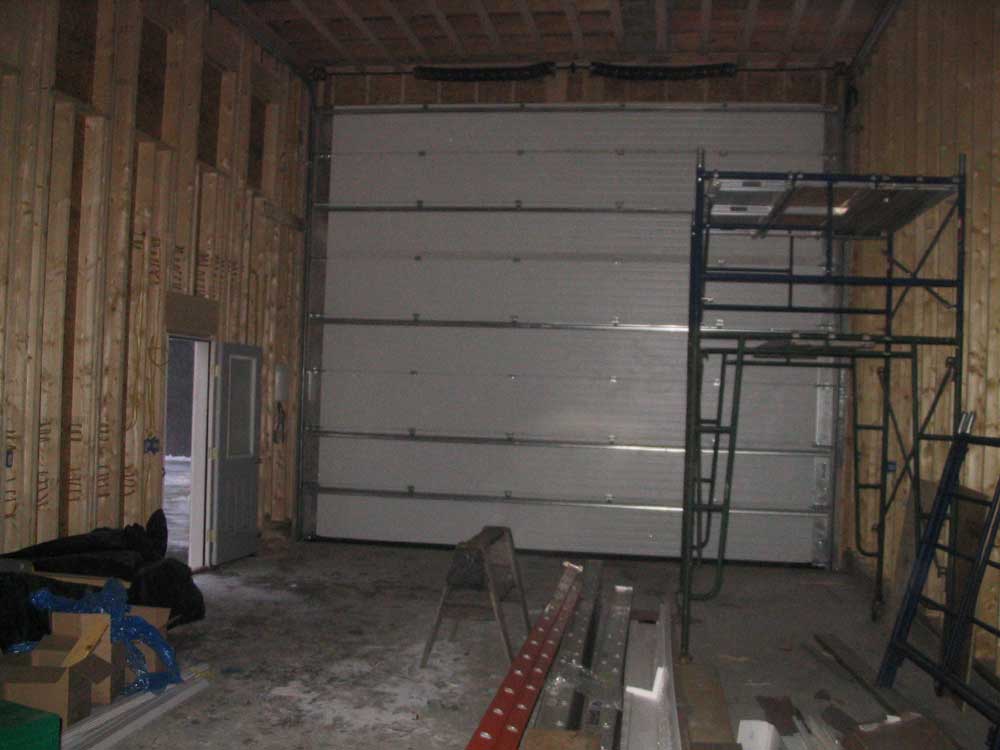
| Garage
and Shop Doors
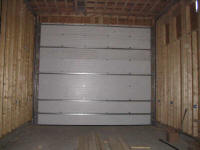
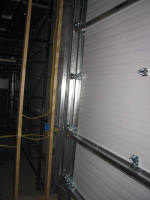
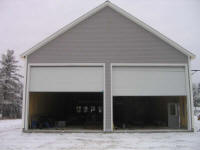
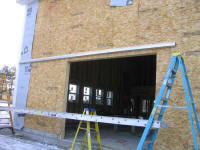
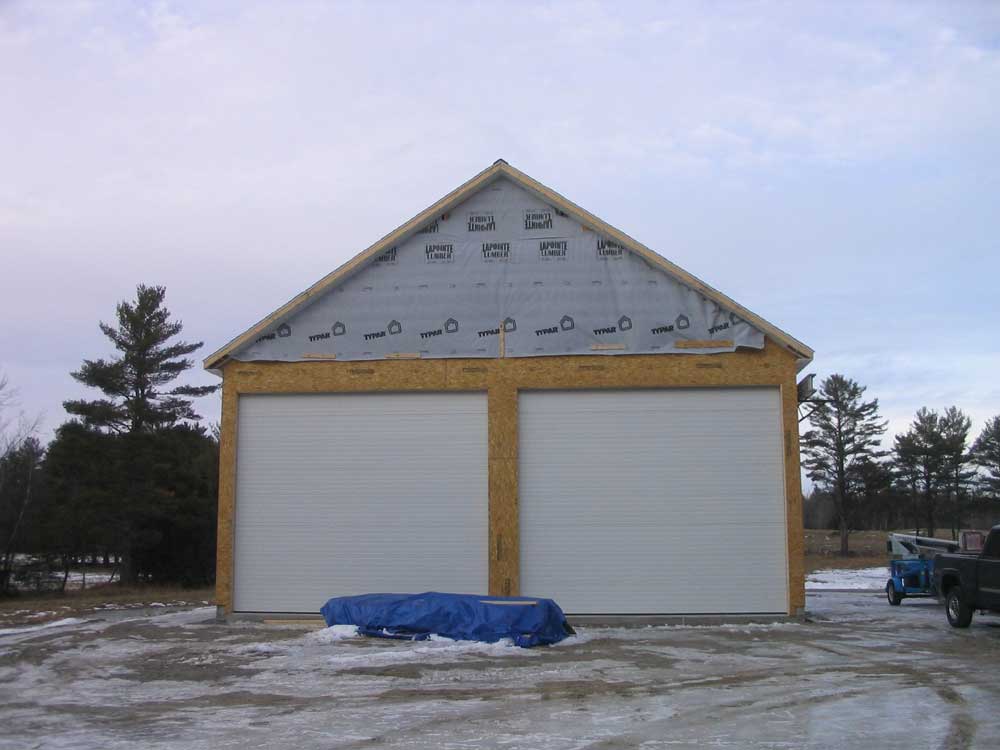
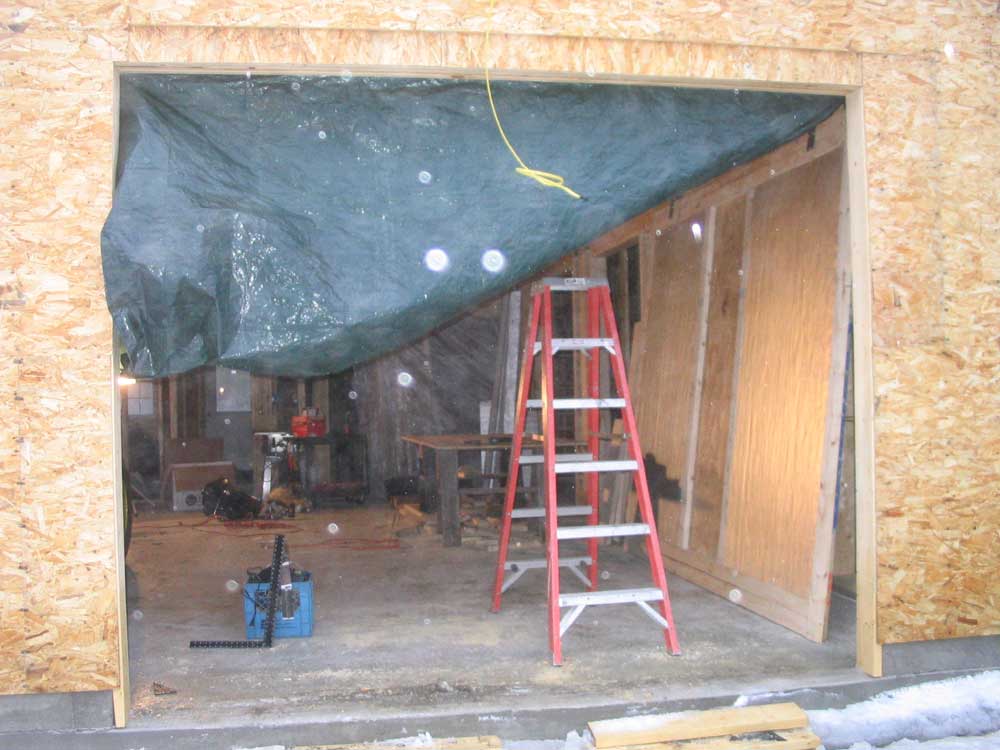
 After
some research, I decided upon steel commercial overhead
doors for the shop bays. The cost was not nearly
as terrible as I would have guessed, and they looked
like the best option. I specified manual chain
hoist and as large a size as possible given the space
available. This ended up allowing doors that were
15'-6" tall and 18' wide--virtually the whole wall. After
some research, I decided upon steel commercial overhead
doors for the shop bays. The cost was not nearly
as terrible as I would have guessed, and they looked
like the best option. I specified manual chain
hoist and as large a size as possible given the space
available. This ended up allowing doors that were
15'-6" tall and 18' wide--virtually the whole wall.
I put a deposit on the
doors in October, but with the delays in construction
the building wasn't ready for them until December.
After some administrative-type delays (not hearing back
promptly from the door contractor), we eventually
settled on an installation date beginning December 27.
The installation would take two days. |
|

|
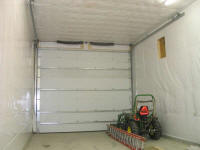
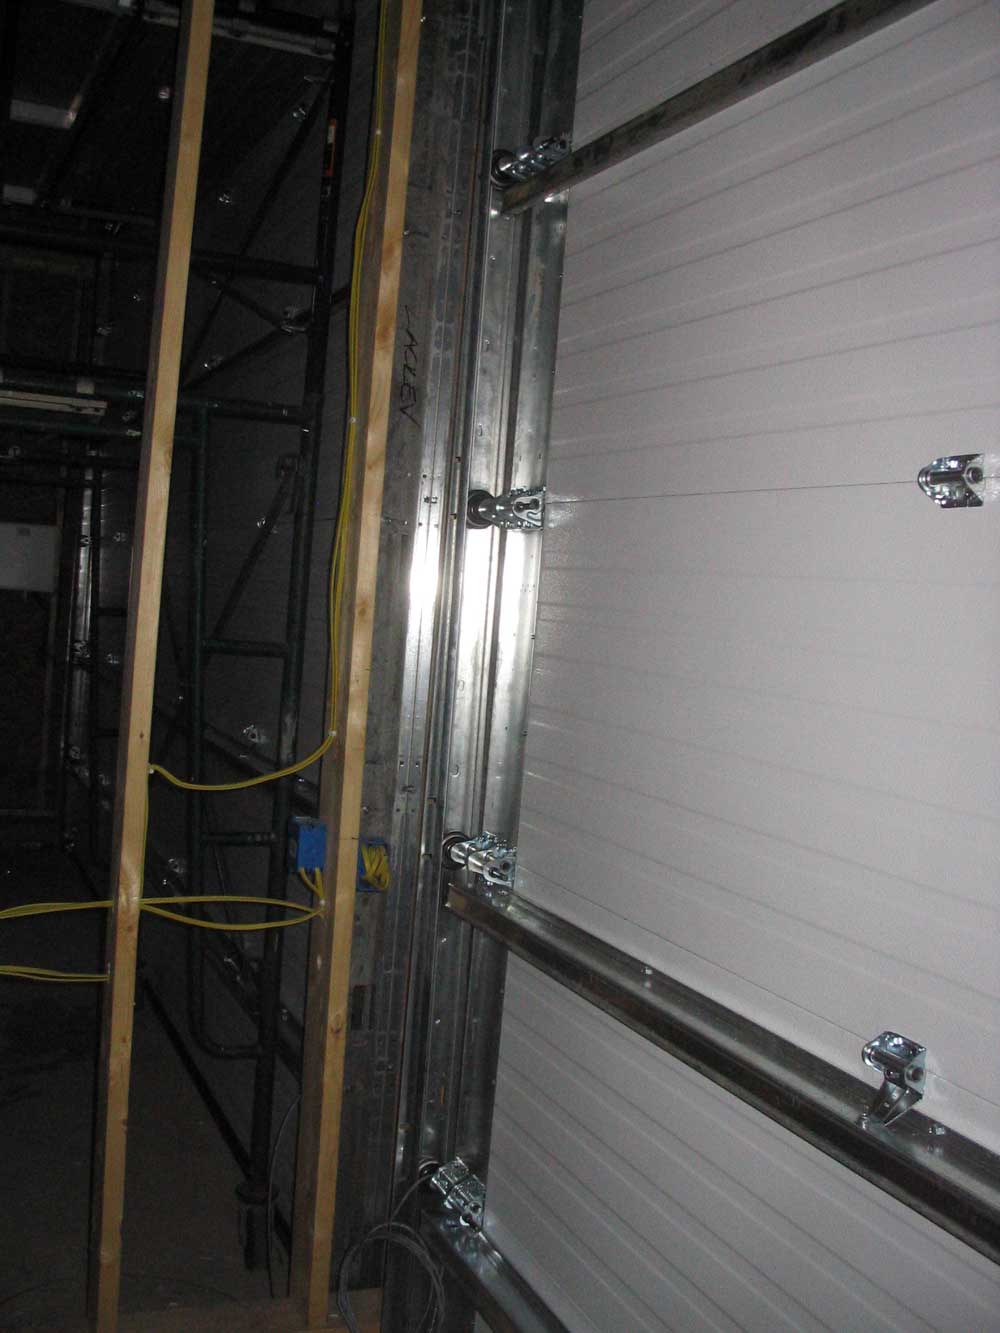
 I
didn't closely watch the installation, but it seemed
fairly straightforward, just as it might be to assemble
a residential-type garage door. At the end of two
days, the job was done, and I was very pleased with the
doors and their operation. The chain hoists were
effortless, and the doors rose themselves with the
assist from large torsion springs. What a pleasant
difference from the balky wooden/roller doors in the old
shop! The only problem I could identify was that
the doors, when opened, were so close to the ceiling as
to prevent any lights from being installed in the first
16' of the shop. I figured I'd find some way
around this, but that was for later. I
didn't closely watch the installation, but it seemed
fairly straightforward, just as it might be to assemble
a residential-type garage door. At the end of two
days, the job was done, and I was very pleased with the
doors and their operation. The chain hoists were
effortless, and the doors rose themselves with the
assist from large torsion springs. What a pleasant
difference from the balky wooden/roller doors in the old
shop! The only problem I could identify was that
the doors, when opened, were so close to the ceiling as
to prevent any lights from being installed in the first
16' of the shop. I figured I'd find some way
around this, but that was for later.
|
|
 |
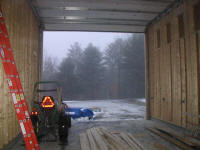
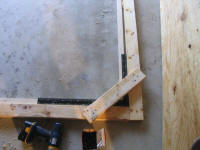
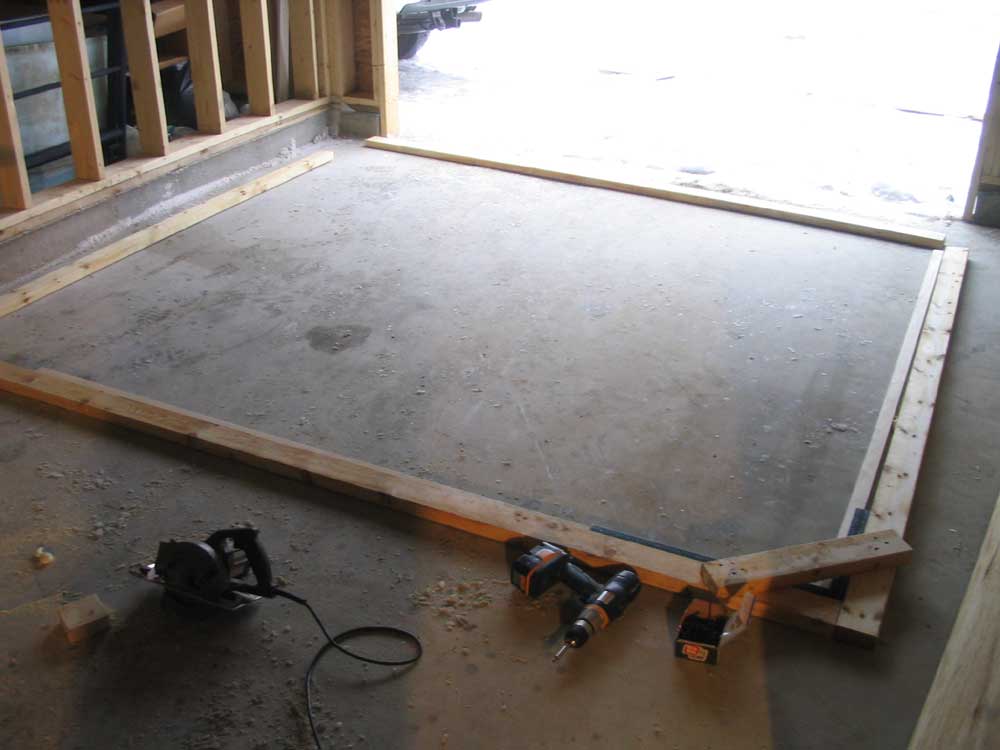
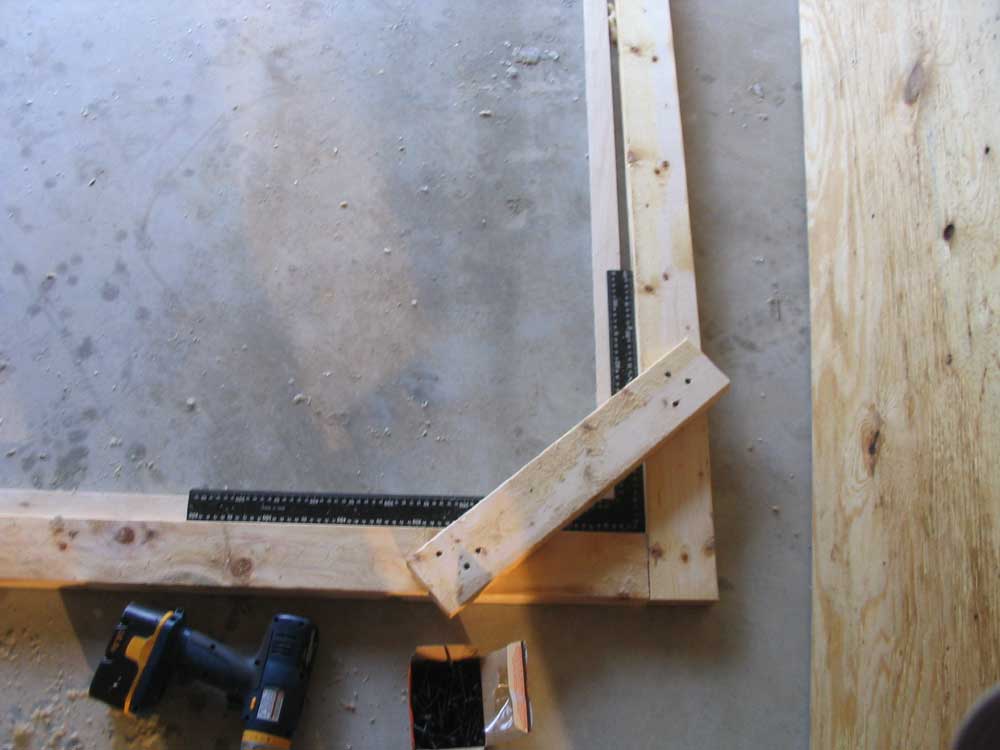
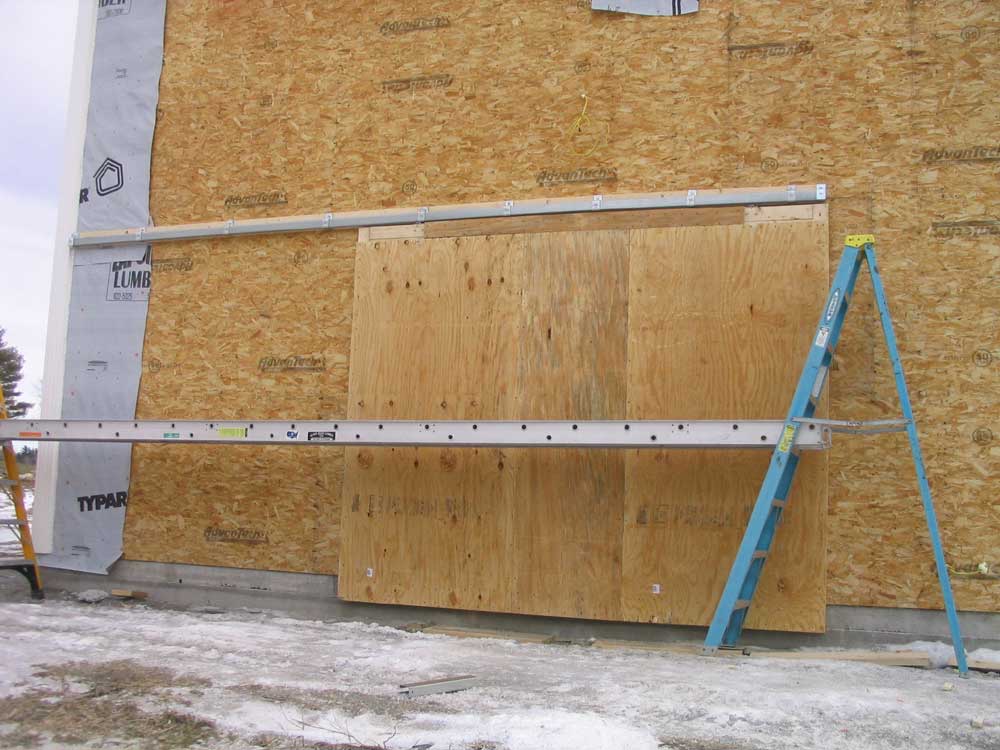
 In
the woodshop, I planned a basic 10' x 8' wooden door on
standard barn door rollers. I built the door with
a 2x4 framework, which I screwed together with temporary
braces after checking each corner for squareness.
Once the frame was built and secured together, I turned
it over, so the temporary braces faced down, and applied
sheets of 3/4" CDX plywood to the other side, securing
them with screws. This held the framework in
position, so I could remove the temporary braces.
The braces were designed to allow me to just make simple
butt joints with the dimensional lumber; otherwise,
there was no way to hold it together at the joints.
All the strength and resistance to racking comes from
the plywood sheathing.; the frame is to add thickness
for the hanging hardware, and to allow the addition of
foam insulation. In
the woodshop, I planned a basic 10' x 8' wooden door on
standard barn door rollers. I built the door with
a 2x4 framework, which I screwed together with temporary
braces after checking each corner for squareness.
Once the frame was built and secured together, I turned
it over, so the temporary braces faced down, and applied
sheets of 3/4" CDX plywood to the other side, securing
them with screws. This held the framework in
position, so I could remove the temporary braces.
The braces were designed to allow me to just make simple
butt joints with the dimensional lumber; otherwise,
there was no way to hold it together at the joints.
All the strength and resistance to racking comes from
the plywood sheathing.; the frame is to add thickness
for the hanging hardware, and to allow the addition of
foam insulation. |
|
|
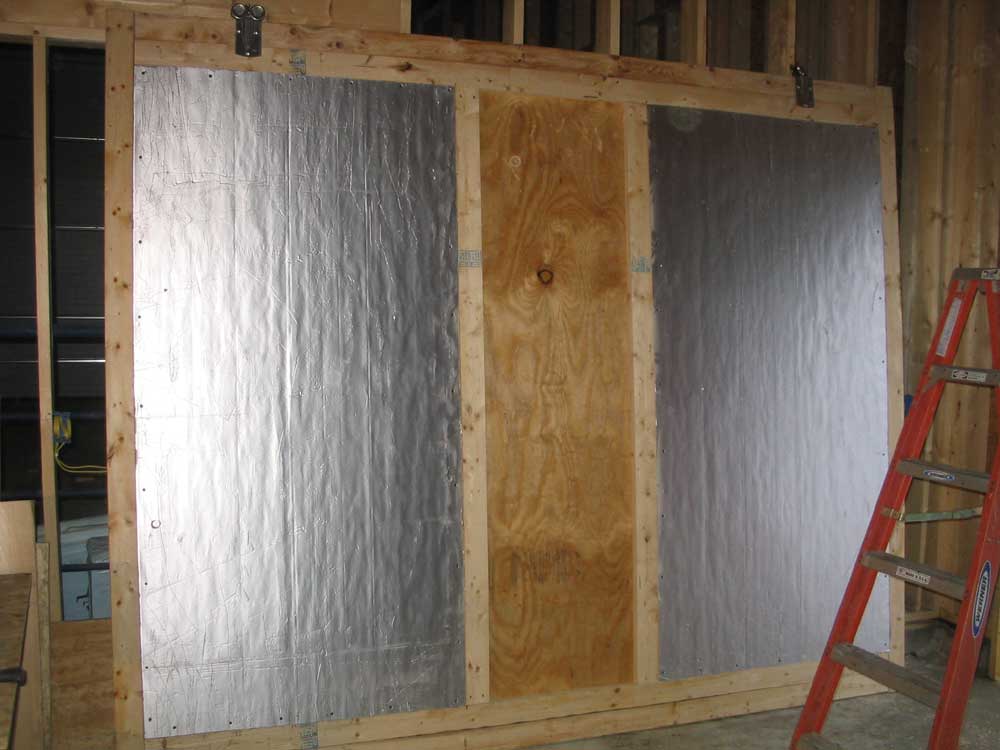
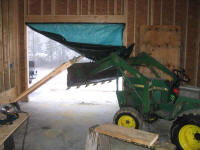 The
completed door was very heavy, and I pondered for a time
how to lift it so that I could access the bottom
(inside) side, remove the braces, and install the
insulation board. Then I eyeballed my tractor,
sitting conveniently in the same shop bay, and, after
some quick rearranging of the junk and debris around,
used the tractor's bucket to raise the door into a
standing position against the wall, where I removed the
bracing and installed two additional 2x4 frame members
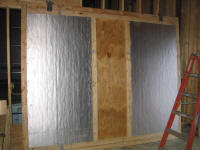
to support the plywood seams. Then, I installed
1-1/2" thick foil-covered foam insulation inside the
door frame members; I didn't buy enough, which is why
the center panel is unfilled in these photos. The
completed door was very heavy, and I pondered for a time
how to lift it so that I could access the bottom
(inside) side, remove the braces, and install the
insulation board. Then I eyeballed my tractor,
sitting conveniently in the same shop bay, and, after
some quick rearranging of the junk and debris around,
used the tractor's bucket to raise the door into a
standing position against the wall, where I removed the
bracing and installed two additional 2x4 frame members
to support the plywood seams. Then, I installed
1-1/2" thick foil-covered foam insulation inside the
door frame members; I didn't buy enough, which is why
the center panel is unfilled in these photos. |
|

|
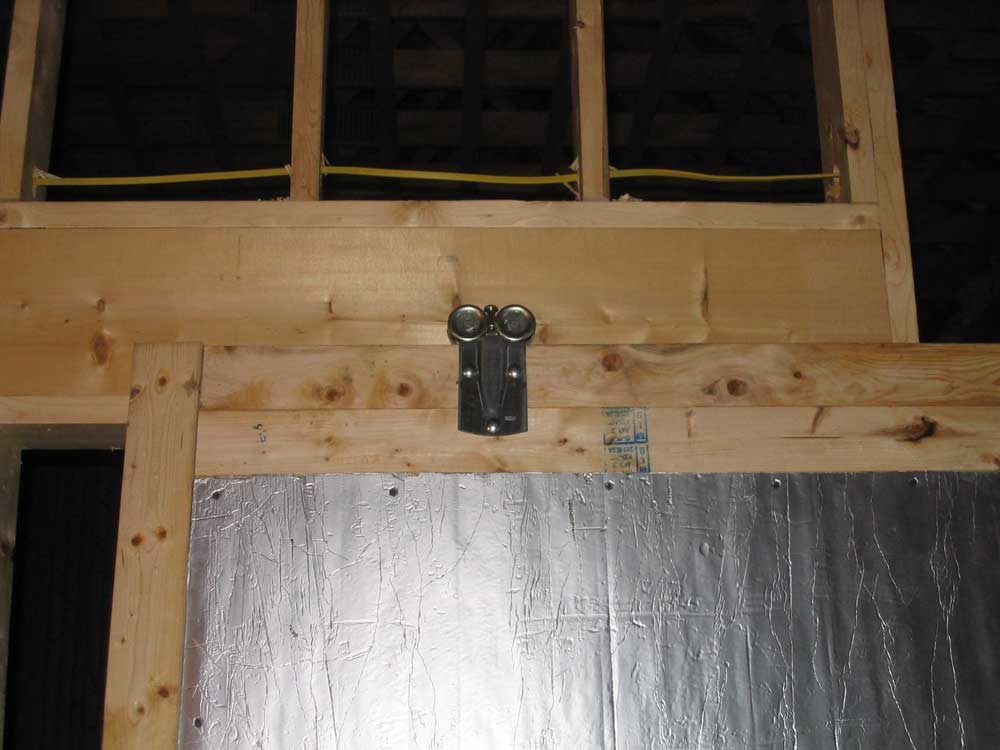
 For
hardware, I used basic rolling barn door hardware,
available at any farm store. It was easy to
install with just three bolts for each of the two
rollers. Since it was very wet outdoors on the day
I built the door, I couldn't install the overhead track
and hang the door, so I left it inside for the time
being. For
hardware, I used basic rolling barn door hardware,
available at any farm store. It was easy to
install with just three bolts for each of the two
rollers. Since it was very wet outdoors on the day
I built the door, I couldn't install the overhead track
and hang the door, so I left it inside for the time
being.
|
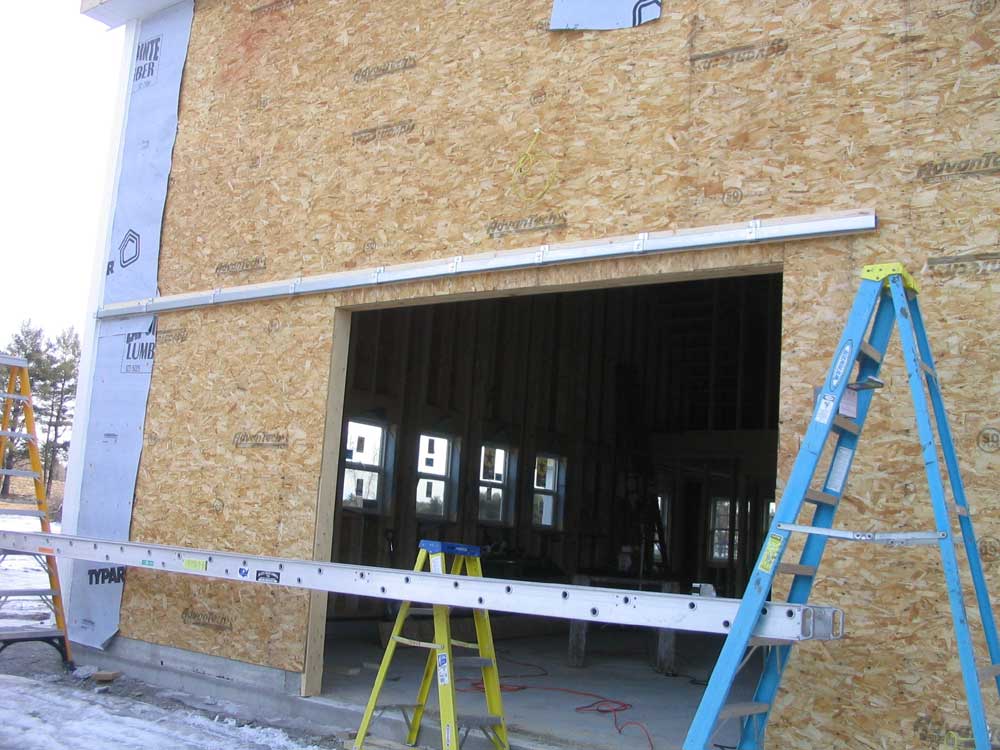
 A
couple days later, I returned to install the track and
hang the door. I was looking forward to filling
this final large hole in the exterior of the building. A
couple days later, I returned to install the track and
hang the door. I was looking forward to filling
this final large hole in the exterior of the building.
After setting up some
staging outside, I began by determining the height of
the track. With the height of the door, the
distance of the rollers above the door, and the height
of the track and brackets as factors, I determined the
top level of the brackets, about 8-1/2" above the door
opening. After striking a level line, I nailed up
a pine ledger/spacer board. The 3/4" space would
allow the door to slide easily by the exterior siding
without interference, and prevent any binding or damage. |
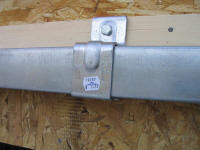
 Next,
I installed the first two brackets at the far end of the
track, beginning with an end bracket with a sealed side,
but not before I measured and marked for the stud
locations. I installed each bracket with a
supplied lag screw into the studs, using an impact gun
to drive them home, with the top edge of the brackets
located right at the top edge of the ledger board. Next,
I installed the first two brackets at the far end of the
track, beginning with an end bracket with a sealed side,
but not before I measured and marked for the stud
locations. I installed each bracket with a
supplied lag screw into the studs, using an impact gun
to drive them home, with the top edge of the brackets
located right at the top edge of the ledger board.
With two of the brackets
installed, I fed the first section of track in, and then
slipped on the remaining brackets for that section.
The brackets are designed to be installed 24" on center,
but because of the stud spacing available I had to vary
this a little. At the end of the track rail, I
installed a special splice bracket, which incorporates
setscrews that I tightened into holes in the track ends
to hold the track securely. |
 Then,
I repeated the process with the second track section.
I left the second end bracket off for the time being, so
that I could install the door from the open end.
Also, the track was overly long, and I planned to cut
off the excess once the door was hung and I could
determine the exact location of the end bracket.
This completed, for now, the track installation, and I
moved on to hang the large door. Then,
I repeated the process with the second track section.
I left the second end bracket off for the time being, so
that I could install the door from the open end.
Also, the track was overly long, and I planned to cut
off the excess once the door was hung and I could
determine the exact location of the end bracket.
This completed, for now, the track installation, and I
moved on to hang the large door. |
 Working
alone, and with some effort, I managed to slide the door
diagonally out through the door opening; once it was out
enough, and the pesky roller hardware had cleared the
opening, I held it upright using the tractor bucket and
rotated the door completely out of the opening, leaning
it against the wall in its proper orientation.
Then, with the door more or less stable, I used the
tractor to carefully push the door towards the open end
of the track, until the second roller (in other words,
the first roller to be installed) was clear of the open
track end. Working
alone, and with some effort, I managed to slide the door
diagonally out through the door opening; once it was out
enough, and the pesky roller hardware had cleared the
opening, I held it upright using the tractor bucket and
rotated the door completely out of the opening, leaning
it against the wall in its proper orientation.
Then, with the door more or less stable, I used the
tractor to carefully push the door towards the open end
of the track, until the second roller (in other words,
the first roller to be installed) was clear of the open
track end.Now
the fun began. I had to lift the door several
inches and get the rollers started in the track.
Because of a nearby slope and very icy conditions, I
could not realize the utility of the tractor and its
helpful bucket nearly as much as I wanted, as I feared
that I'd not be able to control the tractor on the
slope, and that it would slip on the ice. I nearly
slipped on the ice a dozen times during the process,
enhancing my mood. (It was 17° out.)
Of course, I meant to
bring my hydraulic jack, but left it at home, so instead
I used scrap lumber to jack the door up a few inches as
required and get the roller more or less aligned with
the track. The issue was complicated by the fact
that the roller, left to its own devices, would flop
around. Eventually, I thought I had it, and moved
around to the tractor to push the door gently. To
my horror, I watched as the door--all 80 square feet of
it--flopped over in slow motion to the ground,
flattening a stepladder (but not me) beneath it.
(The ladder survived, amazingly.) |
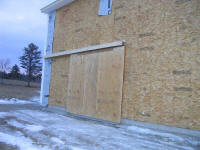
 I
soon had the door raised up vertically again, using the
same process I used inside the shop when I first built
it, and then within a short time managed to actually
succeed in getting the first roller started in the
track. From there, it was a simple matter to roll
the door along and then get the second roller installed,
completing the installation. Forgive me if there
are fewer pictures of this whole process than there
might be. I
soon had the door raised up vertically again, using the
same process I used inside the shop when I first built
it, and then within a short time managed to actually
succeed in getting the first roller started in the
track. From there, it was a simple matter to roll
the door along and then get the second roller installed,
completing the installation. Forgive me if there
are fewer pictures of this whole process than there
might be. |
 Now,
I located the final end bracket for the track, cut the
track and ledger board beneath off to the proper length,
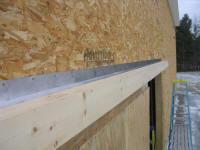
and installed the last bracket. Then, I continued
by building a simple valance over the track, using two
pine boards. I installed aluminum flashing over
the seam between the top board ("roof") and the side of
the building, which would later be covered by the
siding. The simple valance would help keep the
door weathertight from above, and also served as trim to
cover the metal rail and brackets. Now,
I located the final end bracket for the track, cut the
track and ledger board beneath off to the proper length,
and installed the last bracket. Then, I continued
by building a simple valance over the track, using two
pine boards. I installed aluminum flashing over
the seam between the top board ("roof") and the side of
the building, which would later be covered by the
siding. The simple valance would help keep the
door weathertight from above, and also served as trim to
cover the metal rail and brackets. |
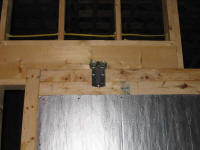
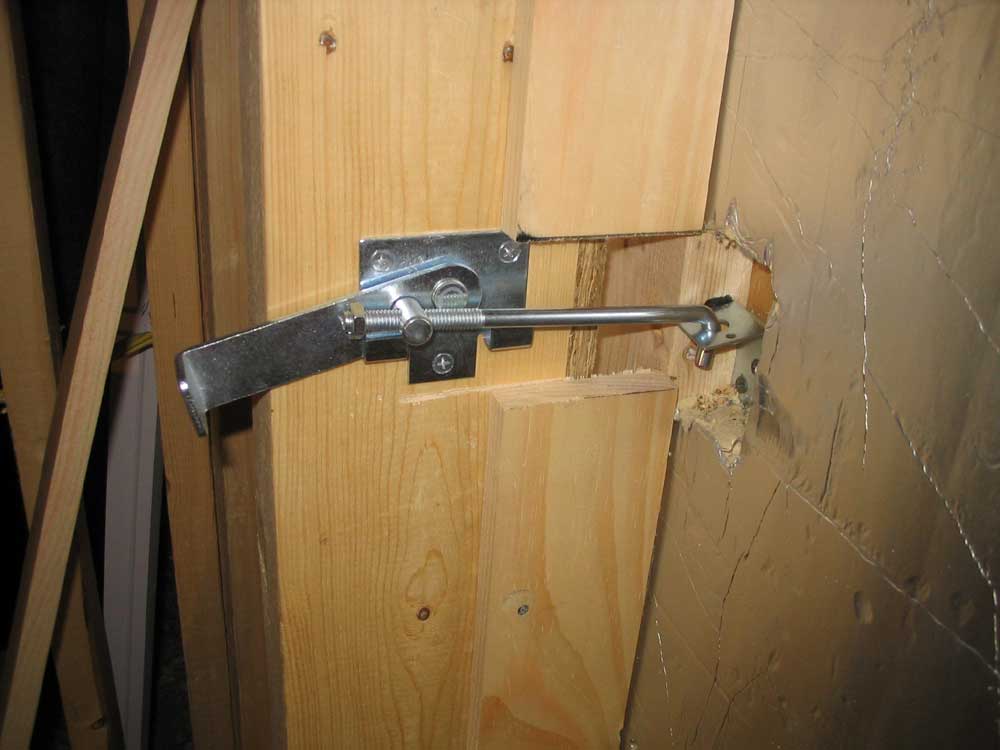
 Finally,
I installed--temporarily, as it would turn out--two
latches on the inside of the door. I determined
early on that it would be a temporary installation, as I
lacked the proper fasteners to truly install these
strong latches properly. With some temporary
drywall screws, I installed them well enough to serve
for now, and made mental notes as to the materials
required to properly install them the next time I
arrived. Finally,
I installed--temporarily, as it would turn out--two
latches on the inside of the door. I determined
early on that it would be a temporary installation, as I
lacked the proper fasteners to truly install these
strong latches properly. With some temporary
drywall screws, I installed them well enough to serve
for now, and made mental notes as to the materials
required to properly install them the next time I
arrived. |
|
|
All that is required to complete the door is some
exterior siding and trim (TBD), and a final piece of
insulation to fill the center area inside. |
| |
|
Click here to continue... |
| |
This page was originally
posted on December 21, 2005.
|
Updates |
12/30/05 |
| |
1/1/06 |
|
1/28/06 |
| |
|
|


