| Bolero
Project |
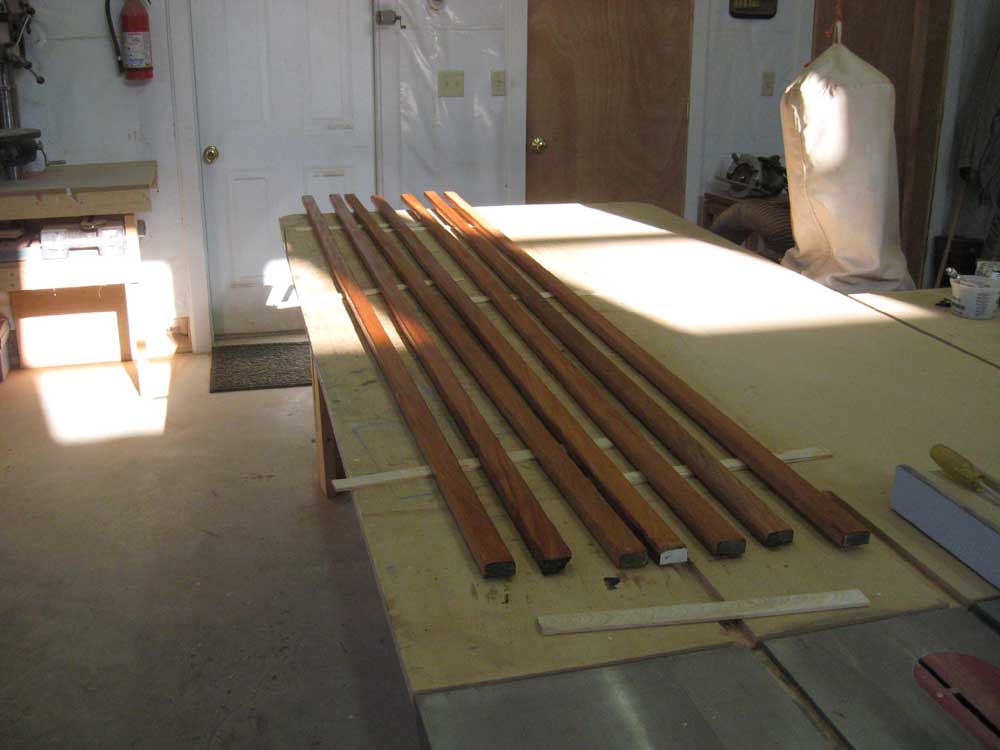
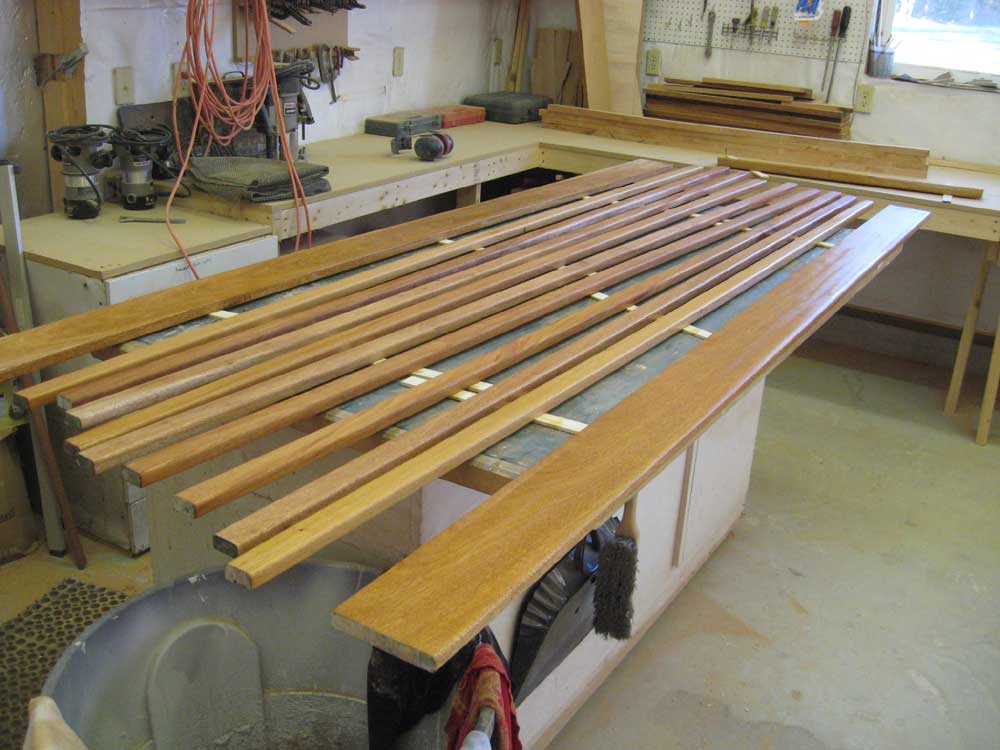
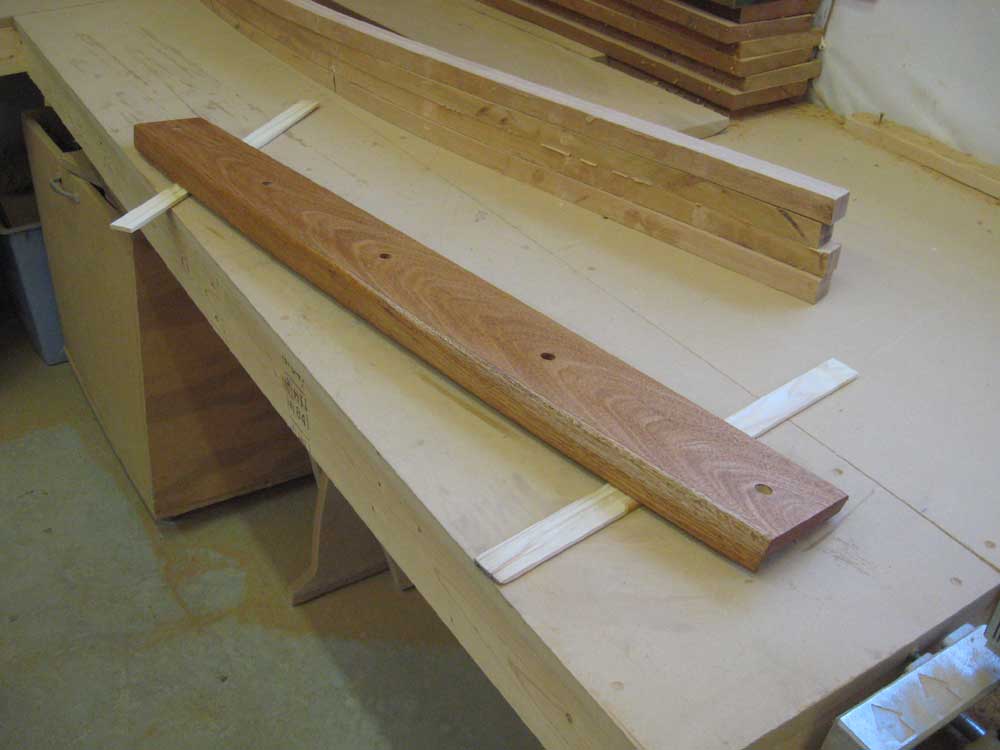
Friday, May 2, 2008 I spent most of the day sanding and milling. I had a pile of rough-sized boards from last week that now needed to be shaped and sanded so that I could continue the various constructions. Choosing studiously to ignore--for now--the huge pile of ceiling strips awaiting my sander's attention, I turned to the cockpit seat slats instead. For each slat, I needed to round over the two top edges (those that would be facing up in the finished product) and then sand the pieces smooth for the initial coats of varnish. Working with smaller sub-piles of the milled strips, I first went through and milled all the 1/4" roundover edges with my router, and then sanded the strips with 120 and 220 grit paper, usually getting through about 3 strips before needing to change my paper. Despite the deceptively diminutive size of the strips--1-1/2" wide, 3/4" thick, and 8' or so long--each piece required about 10 minutes to complete, between routing and sanding with the various grits. In two sanding sessions--morning and afternoon--I managed to get through roughly half of my pile of cockpit slats, as well as the two wider fiddle boards that would be about the first pieces to actually get installed when the time came. I left the second half of the pile for another day, and at the end of the day after cleaning things up I applied a sealer coat of varnish to all sides of the strips and other boards that I'd sanded. |
|
|
|
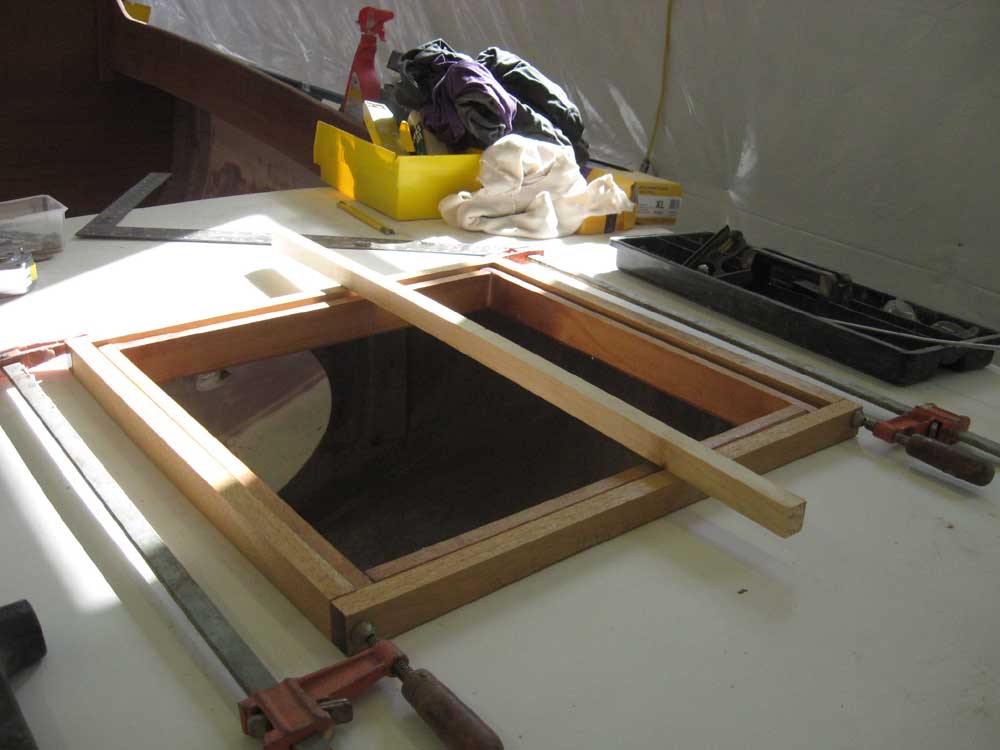
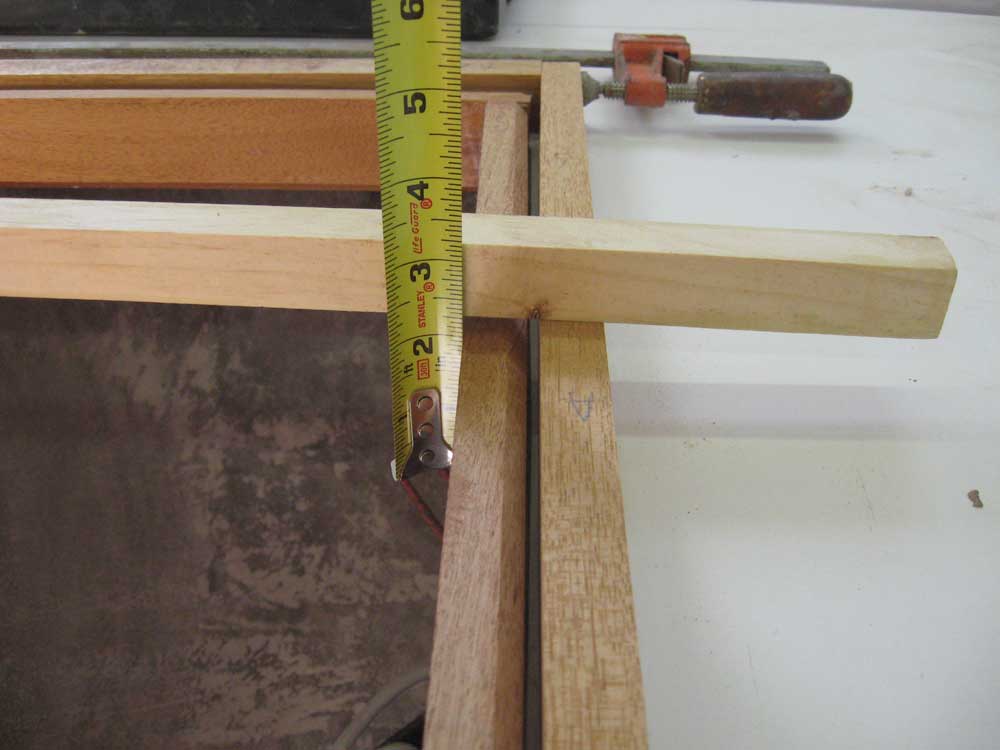
I also continued work on the aft deck hatch. With the deck frame now installed, if still incomplete (it required some cleanup and sanding), I could begin to build the hatch itself, since its size was entirely dependant on the installed size of the deck frame. After taking some measurements, I cut the four side pieces for the hatch to size and clamped them together in the proper orientation. Then, I placed the clamped-up frame on deck in its ultimate position and used a scribe to trace the deck's profile onto the outside of the frame. Since I wanted the top of the hatch to be able to seal against a gasket on the deck frame when complete, I set the scribe so that the amount of material I removed would leave just a bit space above the deck frame, leaving room for the gasket material. The deck shape in this area was somewhat unique in that not only was there camber from side to side, affecting the forward and after faces of the frame, but there was also a sweep/sheer to the longitudinal shape of the deck, creating a hollow that I also had to accommodate. |
|
|
|
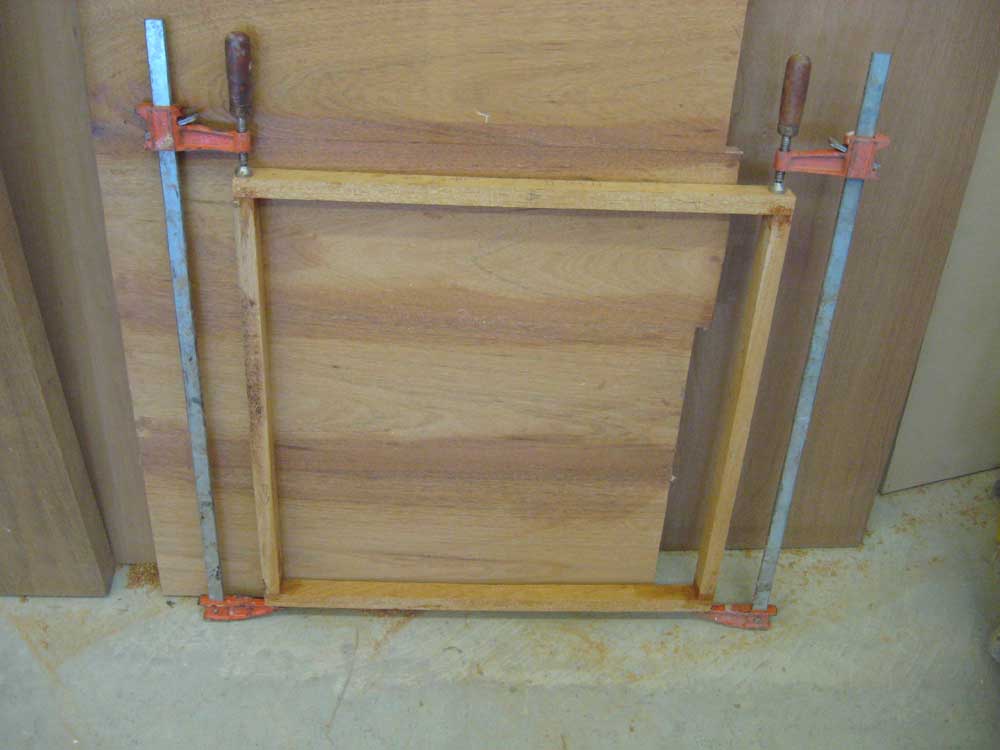
I removed the piece to my bench and made all the cuts, then reclamped the frame together for a test fit before gluing. The cuts fit well, allowing for a bit of fine-tuning that would occur as I sanded and cleaned up the piece after all the glue-ups were complete, so I epoxied and clamped the frame together just before the end of the day, so that I could continue work on it during the next work day. |
|
|
|