|
|
~MENU~ |
| Home |
| The Concept |
| The Boat |
| Bringing Her Home |
|
Weekly Progress Log |
|
Daysailor Projects |
| The Boat Barn |
| Resources |
| Other Sites |
| Email Tim |
|
|
| To a Bare Hull: Exterior (Page 2) |
|
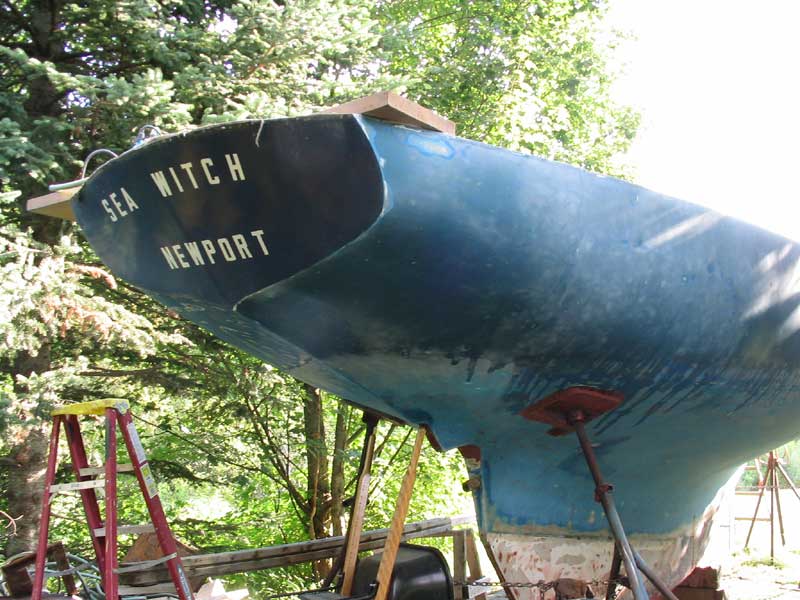
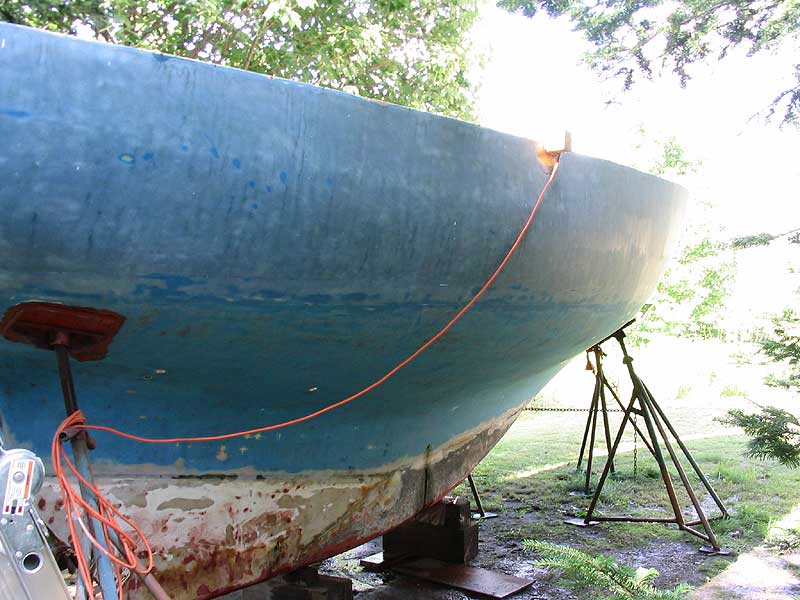
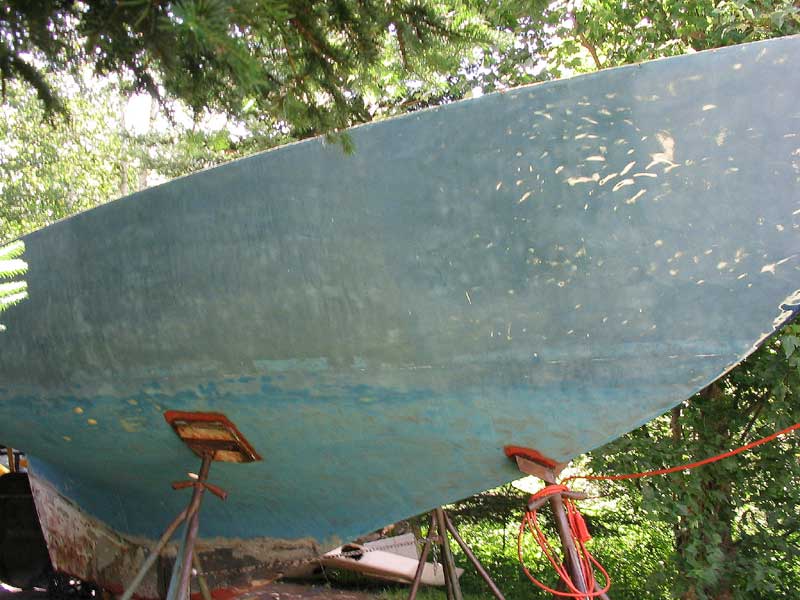
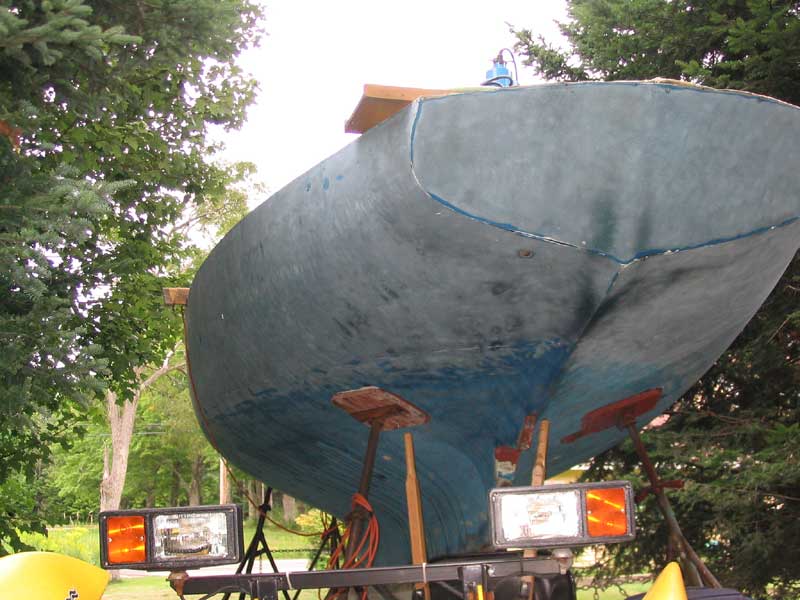
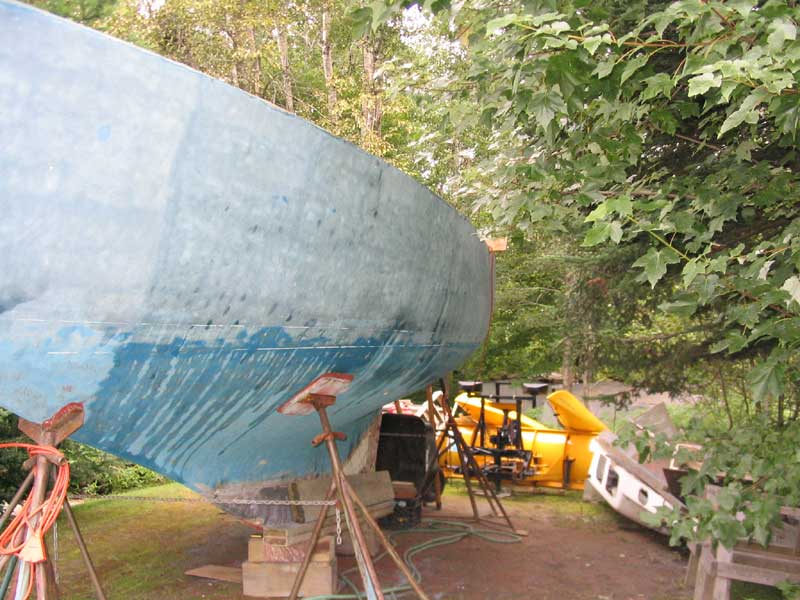
July 28, 2003 The topside paint on #100 is Awlgrip, reportedly applied in 1985. It is tough stuff. I found it was effective to scuff the surface lightly (light being a relative term, of course) with my big 7" grinder equipped with 40 grit paper on an 8" soft-pak Stikit disc. The powerful grinder and sharp paper worked to break the surface. The hull wasn't particularly fair to begin with, so I wasn't too worried if I should sand too far in any area. Still, I used great care and a light touch with the grinder to avoid making more work for myself later. Once I had the surface broken and partially sanded, I switched to my Porter Cable 5" random orbit, equipped with 40 grit paper. This tool allowed me to sand off all the paint and primer, down to the gelcoat beneath. The paper scratched the gelcoat harshly, of course, but I was planning to skim coat the hull for fairing purposes anyway. From the staging I had set up, I sanded from the gunwale to about halfway to the waterline, switching sanding paper often to keep new, sharp grit. Once I finished a large section at the top of the hull, I moved down to ground level to sand the lower portions, down to the waterline where I had left off sanding when I stripped the boottop. Still, it was a substantial amount of work to sand off the tough Awlgrip. I sanded the entire starboard side, except for a small section about 2' long at the aftermost part of the hull and counter, which I couldn't reach properly with the ladder and staging set up as is. As I moved along, I also sanded the rough tabbing above the cutline at the top of the hull, left over from deck removal. I carefully sanded any protrusions flush with the molded top of the hull laminate.
|
|
|
|
Now,
I could concentrate on grinding out all the unwanted paint and structure
on the interior of the boat. Click here to
continue. |
|
|