|
|
~MENU~ |
| Home |
| The Concept |
| The Boat |
| Bringing Her Home |
|
Weekly Progress Log |
|
Daysailor Projects |
| The Boat Barn |
| Resources |
| Other Sites |
| Email Tim |
|
|
| Unbuilding: Deck Removal | |||
|
In a short period of time, it's amazing the sort of irreversible destruction one can wield with a power saw. |
Interior Demolition | ||
| Engine Removal | |||
| Parts Removal | |||
| Deck Removal | |||
| Wednesday, June 4, 2003
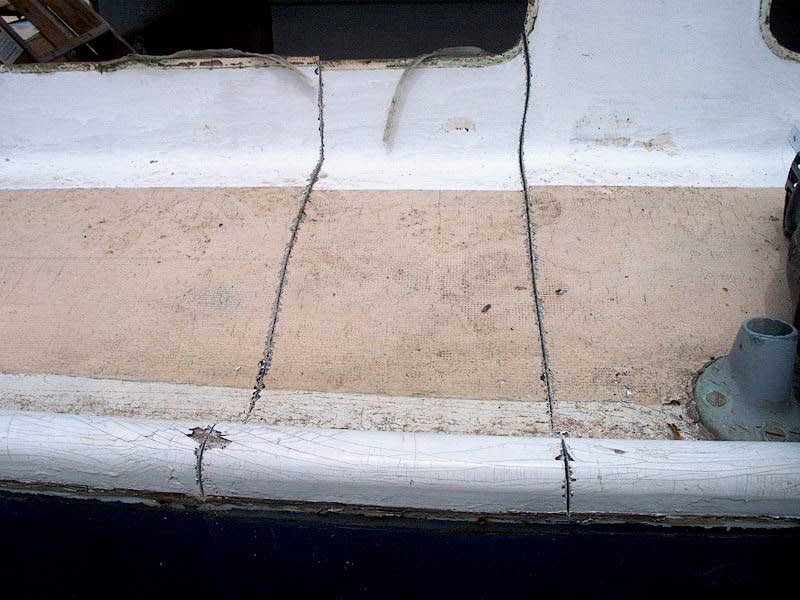
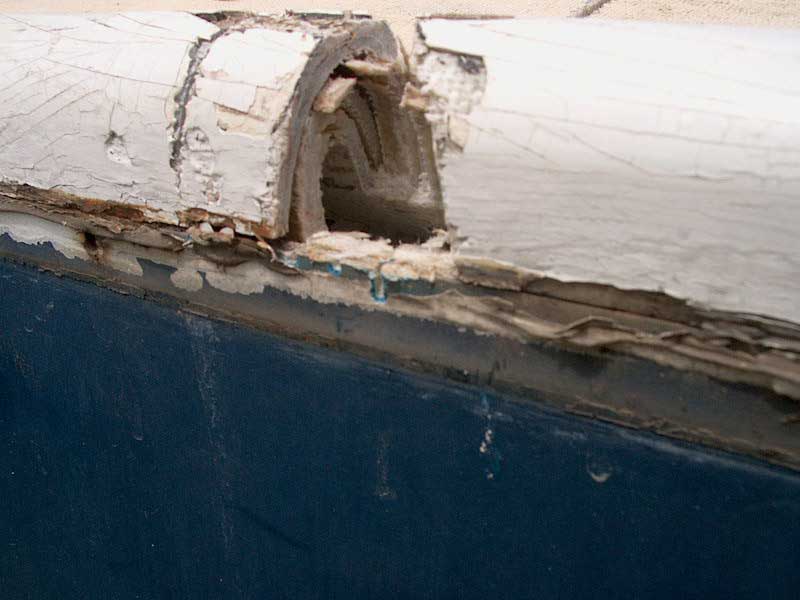
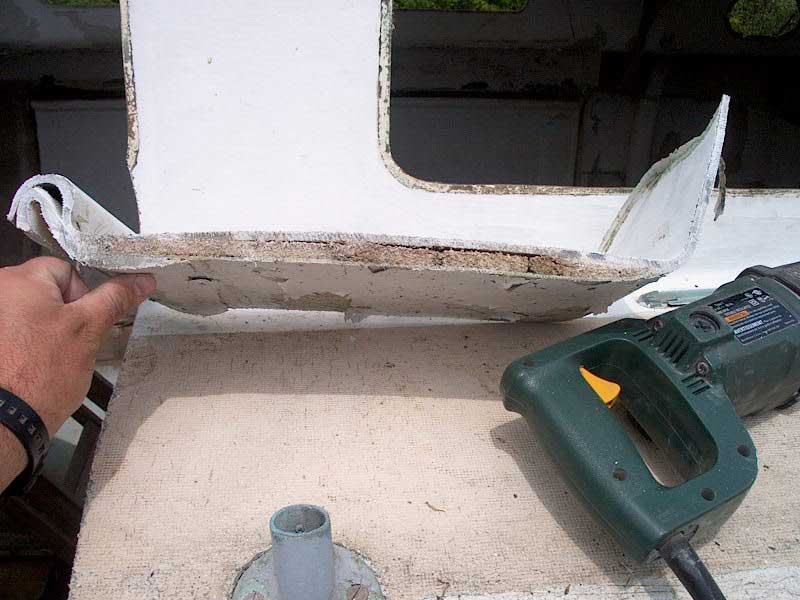
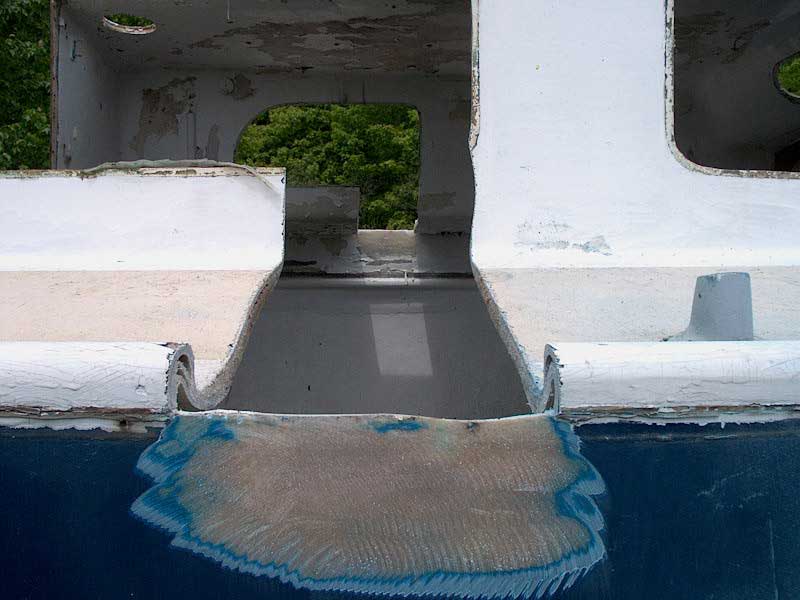
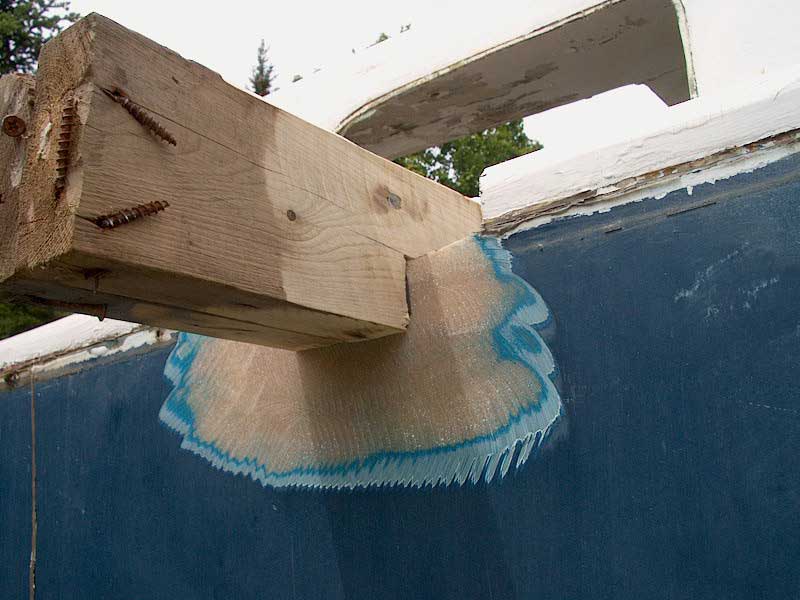
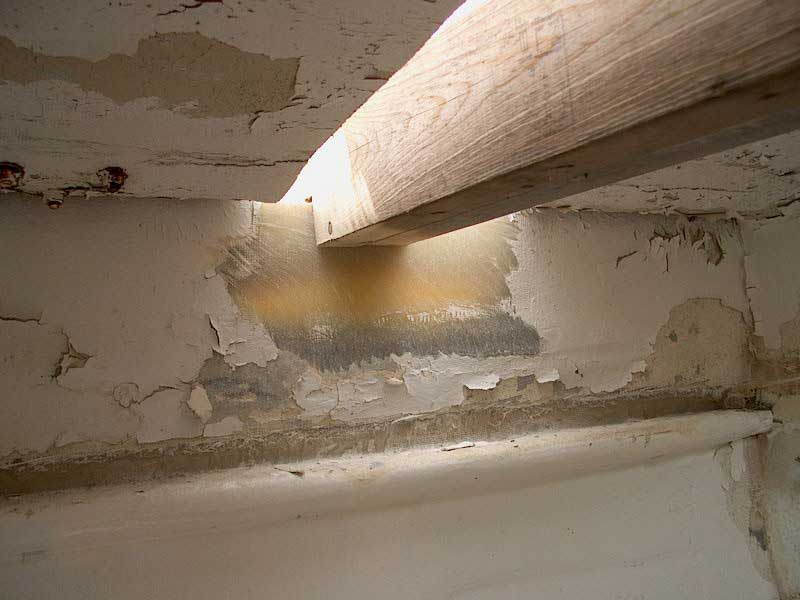
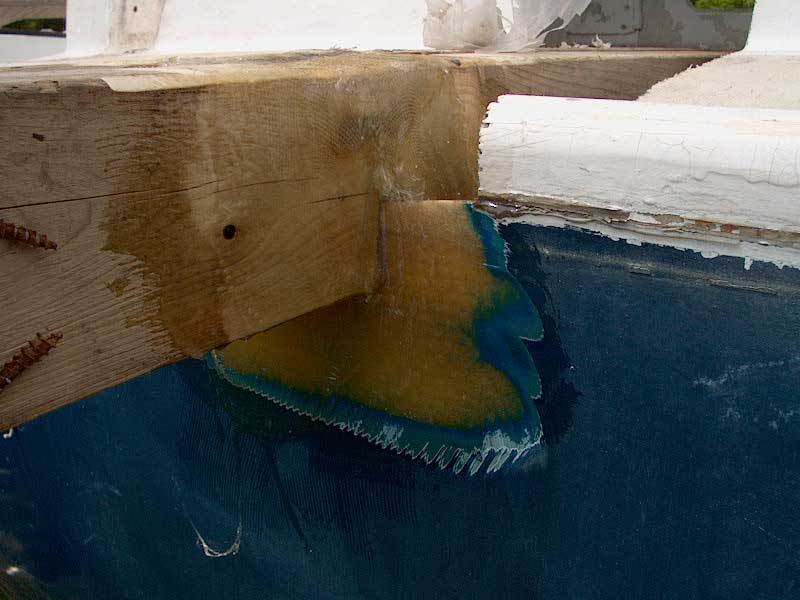
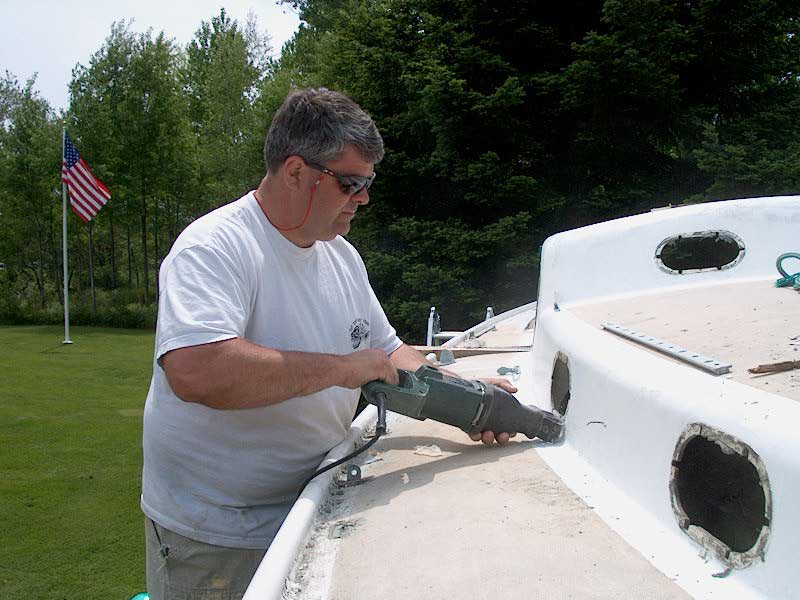
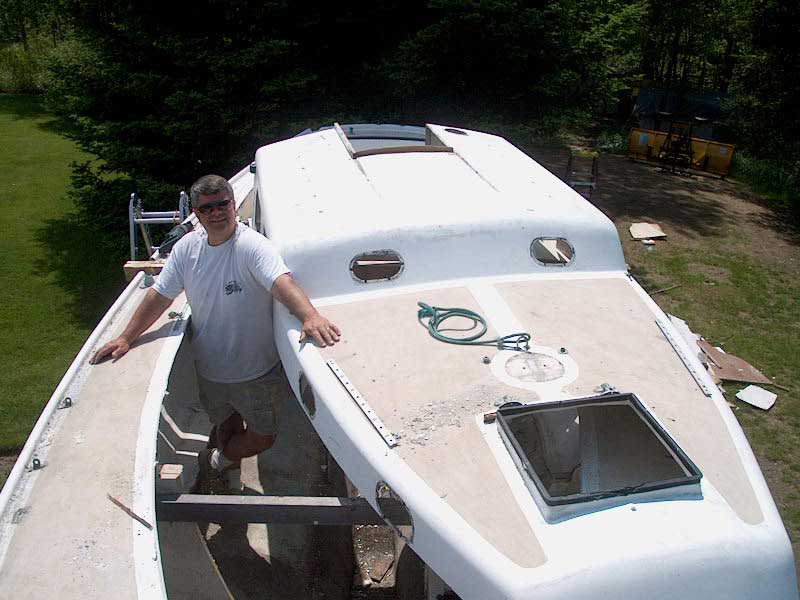
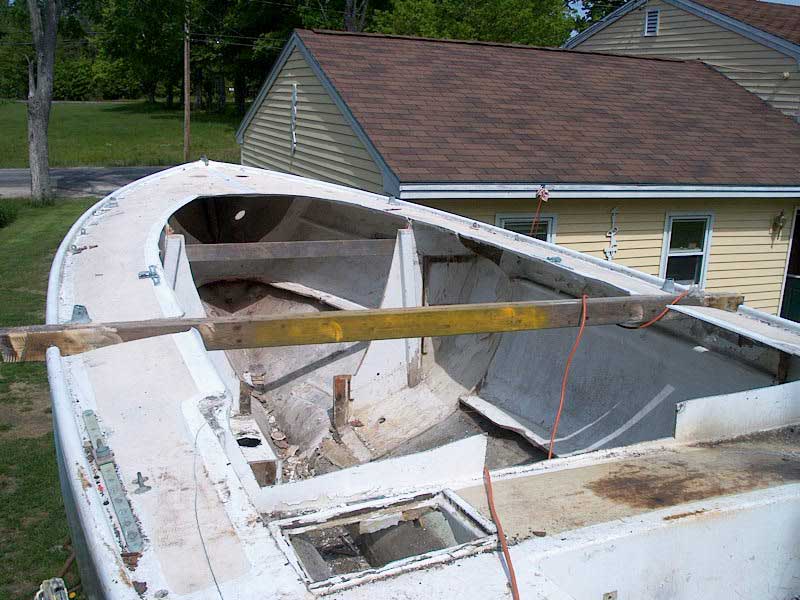
Removing the deck was something that I had obviously been anticipating since the onset of the project. When and how were questions that were somehow unimportant throughout--I knew that, eventually, the day would come when the deck would come off. But I didn't realize it would end up being quite so spur-of-the-moment! On Tuesday evening, I had emailed Nathan, a friend and fellow Triton owner who had indicated he was interested in helping with the deck removal. I was feeling close to being ready, and wanted to see what his schedule was like so I could try to plan a day. Neither of us was particularly interested in wasting any good sailing days, but at the same time it was necessary that the weather be at least dry, so that the electric tools used wouldn't be a problem. I figured we would try to get it done within a week or so. Wednesday morning, I headed out to work early, still with no clear indications of when we might get together to cut the deck off. A few possibilities had been tossed around for consideration, but we hadn't firmly settled on anything. When I got home in the late morning, I found a series of emails from Nathan awaiting, the general gist of which were that he had ended up unexpectedly free for the afternoon, and was gung-ho to come over and get to work. So, just like that, deck-removal day arrived! While on some level I was prepared, it was still a quick decision, and after confirming, I scrambled to get things ready for the afternoon ahead. I wasn't overly concerned about the shape of the hull changing when the deck was removed, but I wanted to take some precautions nonetheless. To that end, I had left some of the original bulkheads at least partially installed, to help ensure the hull would maintain its proper shape till I could decide on locations for new bulkheads as needed. But in addition, all along, I had envisioned installing athwartships bracing in a few places to ensure that the gunwale wouldn't have any tendency to bend inwards. With deck removal only a couple hours away, I now had to install these braces. With most of the main bulkhead (the one beneath the mast step) still in place and tabbed to the hull, it was a simple matter to install a 2x4 brace across the top to prevent any inward flexing. Using great care and finesse, I (ahem) nailed the 2x4 to the bulkhead. (The bulkhead is obviously slated for complete removal later.) Brace #1 was complete. Next, I moved on to the most important brace, which I intended to install at about maximum beam. this corresponded roughly to the forward edge of the aftermost port in the main cabin. With a reciprocating saw, I cut slots through the lower part of the cabin trunk and through the sidedecks to the toerail on each side, essentially removing a 6" slice of the deck on each side. These slots were designed to expose the gunwale and top of the hull so that I could install the brace through the area. It was easy to cut through the decks, and I widened a small area at the toerail so that I could then turn the saw sideways to cut carefully along the natural hull-deck seam, thus freeing the deck section. A surprising amount of fiberglass tabbing was inside the toerail securing the hull and deck together, as seen in the second picture. |
|
|
|
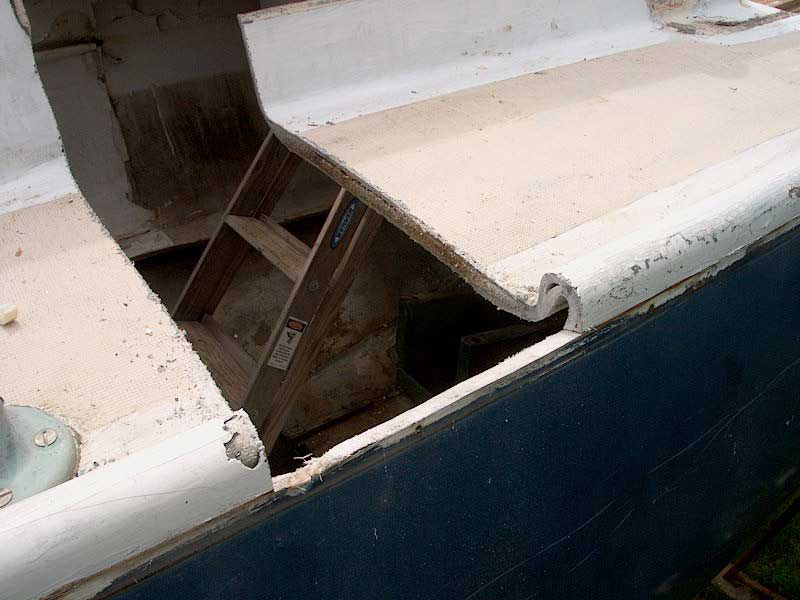
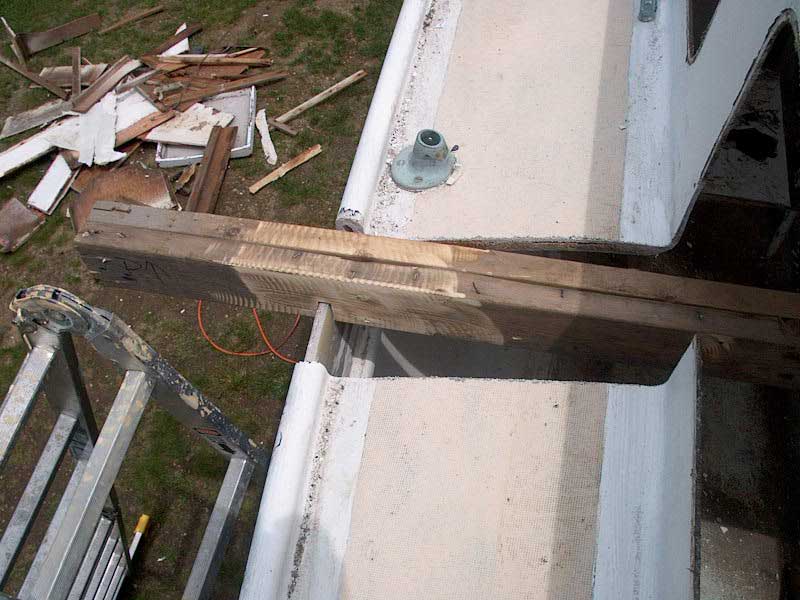
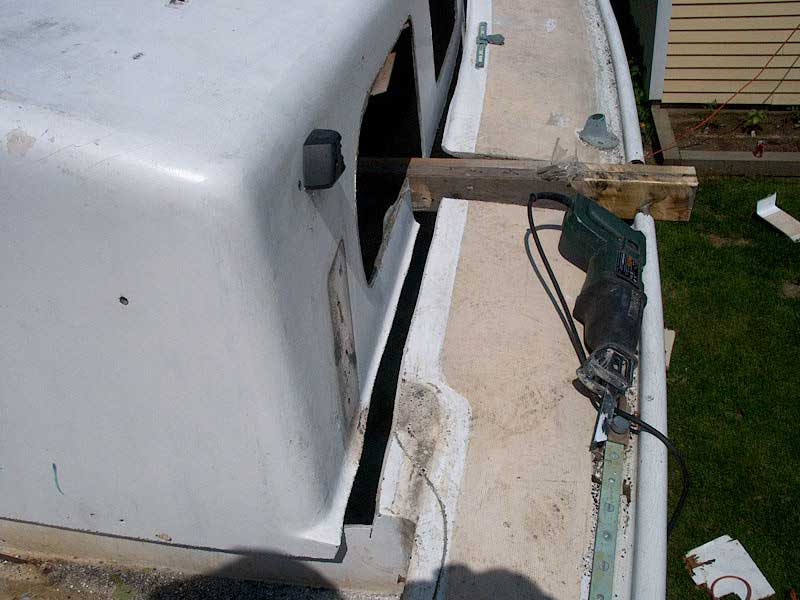
After repeating this process on the other side, I used a small grinder to remove the paint inside and outside the hull in way of each cutout. To ensure that my cross beam would remain in place, I planned to temporarily fiberglass them in place, and I wanted to ensure a decent bond. Next, I took two 10' 2x4s left over from Glissando's project shed and spiked them together to form a 4" thick (OK, OK...more like a true 3", I know) beam. I laid this across the hull through the slots and marked the thickness of the hull on each edge. Then, with a circular saw, I cut out notches through about half the thickness of the beam, to allow it to set over the top of the hull, therefore securing it nicely in place. Then, I ground the wood clean and slightly rounded the top edge, and fiberglassed each end in place with two layers of cloth and polyester resin. Yes, polyester--this is temporary only, and the tabbing is only in place to ensure that the beam cannot pop out accidentally. I mixed the resin nice and hot, so it cured in only a few minutes. By this time, Nathan had arrived, so I had finished my prep work in the nick of time. |
|
|
|
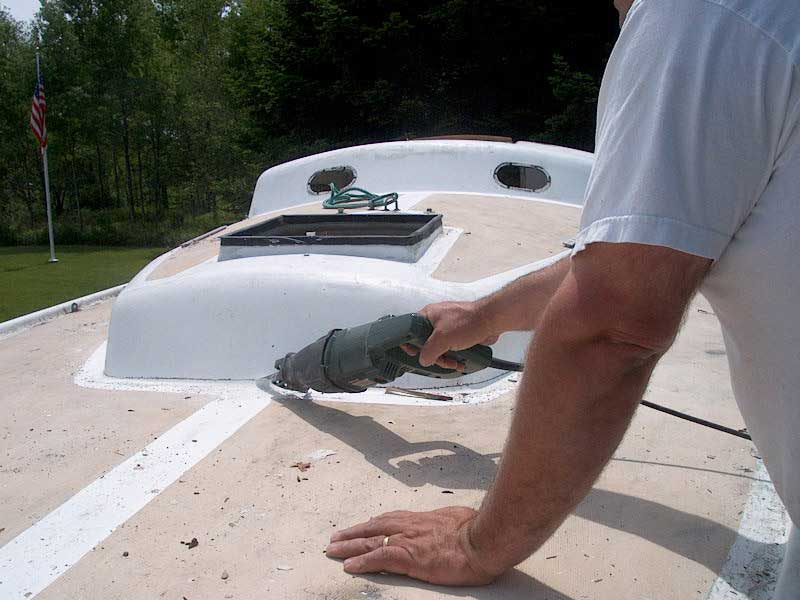
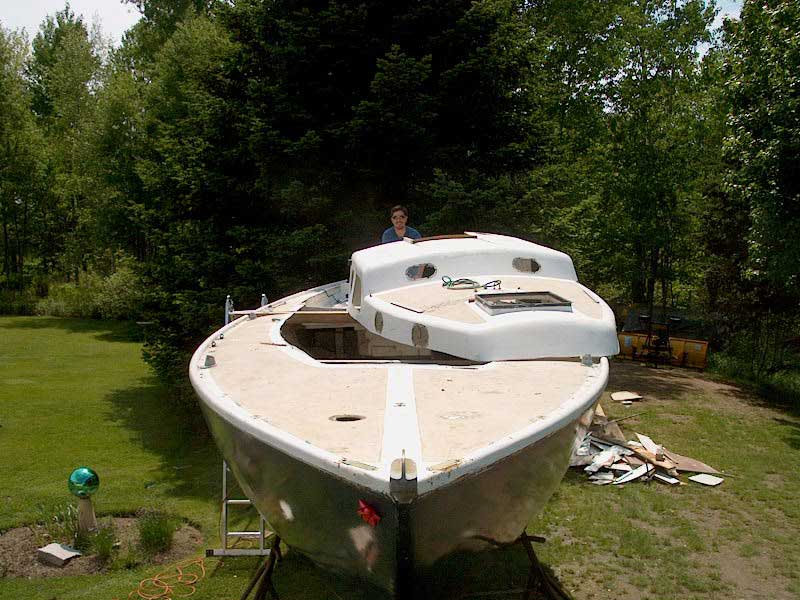
With two cross beams in place, more or less dividing the boat into thirds, I deemed it to be sufficient for now, and we began preparations for cutting. With two of us on hand, it seemed reasonable that the cabin trunk could be removed in one piece. Either way, it was obvious that the cabin trunk was the first thing that had to go. There was little else to do except make the cut, so from some hastily-erected staging I went to work with the say, cutting roughly along the line between the cabin trunk and sidedecks. We cut all the way from the cockpit to nearly the centerline of the foredeck, leaving only an inch or two connected for now, just to hold things in place till we were ready. Soon, all the cuts were made, and with a modicum of trepidation I sawed through the last remaining bits. It turned out to be anticlimactic, since the cabin trunk didn't crash through the hole created; the slightly raised edges held in nicely in place till we were ready to actually lift it out of the way. |
|
|
|
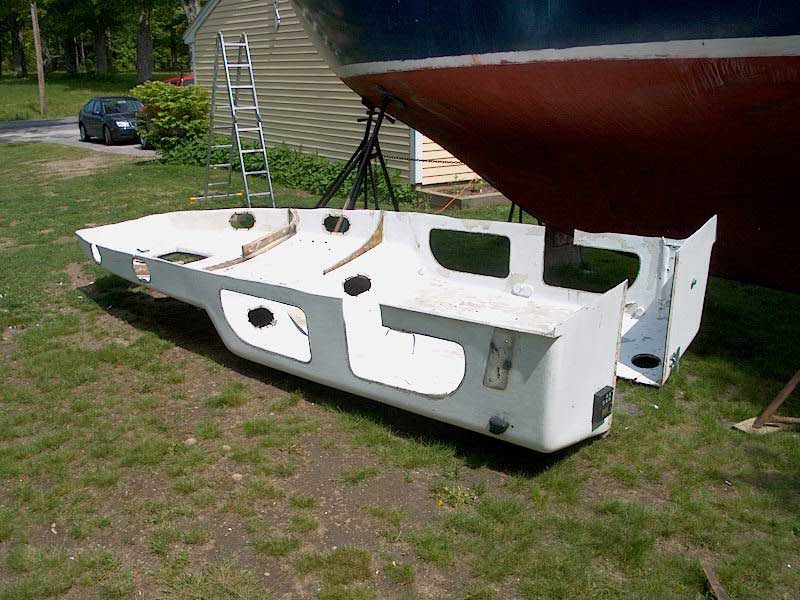
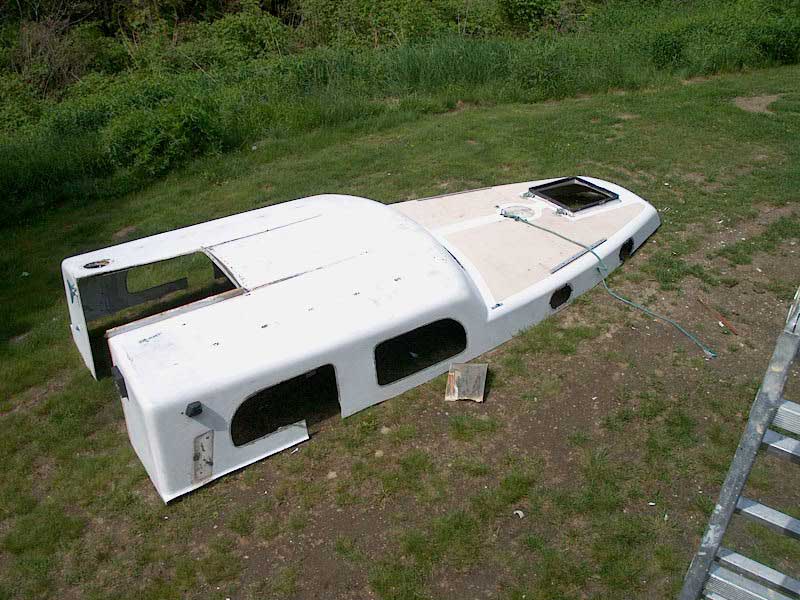
The entire cabin trunk was surprisingly light, and we were easily able to move the forward portion up and over to the side. Then, from underneath, I could lift and slide the after end high enough to rest on the sidedeck. From this point, we slid it slowly over the edge and then, in one fell swoop, let it crash to the ground beneath, where it landed upside down. |
|
|
|
|
|
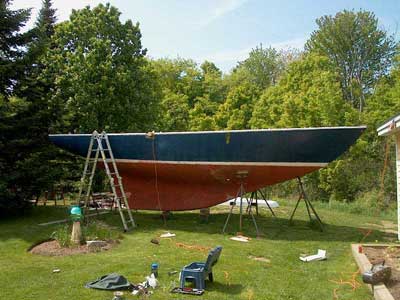
With the cabin trunk off, the boat immediately took on a sleek appearance from the ground, as you could now not see the decks from that angle. It was amazing to see the boat like this, with the cabin trunk gone and sitting strangely on the ground beside the boat. With a simple cut, that took all of 10 minutes to complete (including "out-loud thinking" time), it seemed as if we were well on our way to having the whole deck off. But surprisingly, the rest of the deck removal was more difficult, and more time consuming. |
|
|
|
|