|
|
~MENU~ |
| Home |
| The Concept |
| The Boat |
| Bringing Her Home |
|
Weekly Progress Log |
|
Daysailor Projects |
| The Boat Barn |
| Resources |
| Other Sites |
| Email Tim |
|
|
| From a Bare Hull: Initial Hull Preparations | |||
| Sidebar: Staging | |||
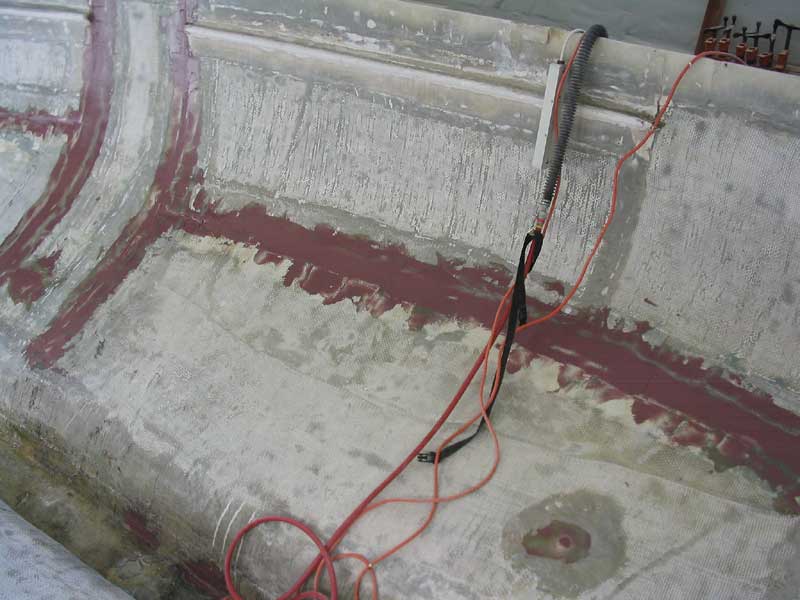
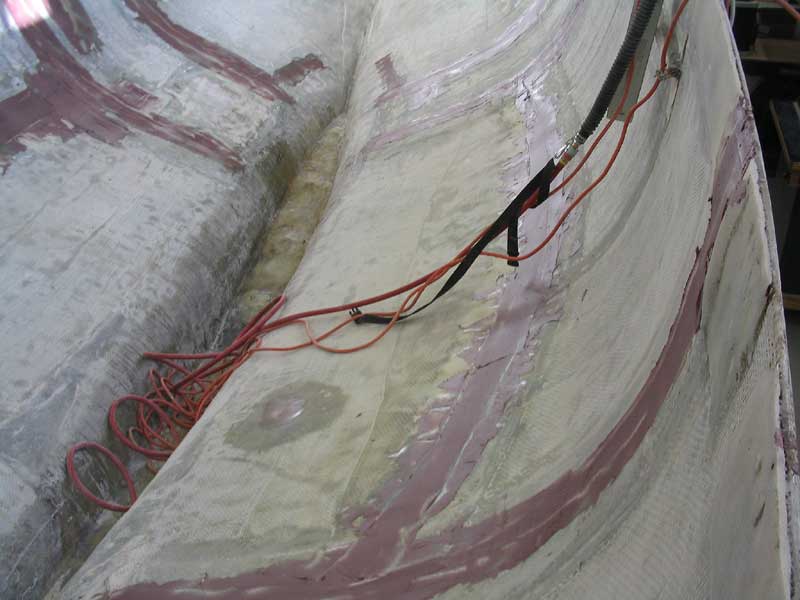
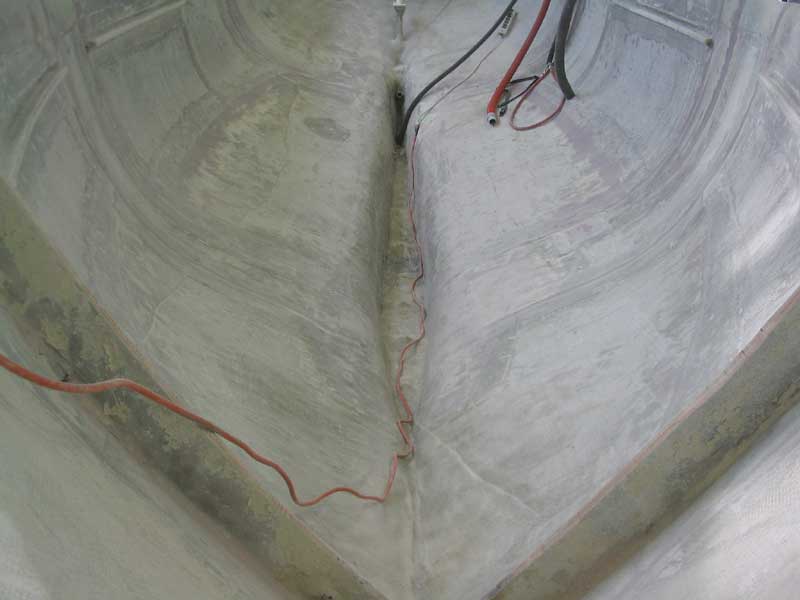
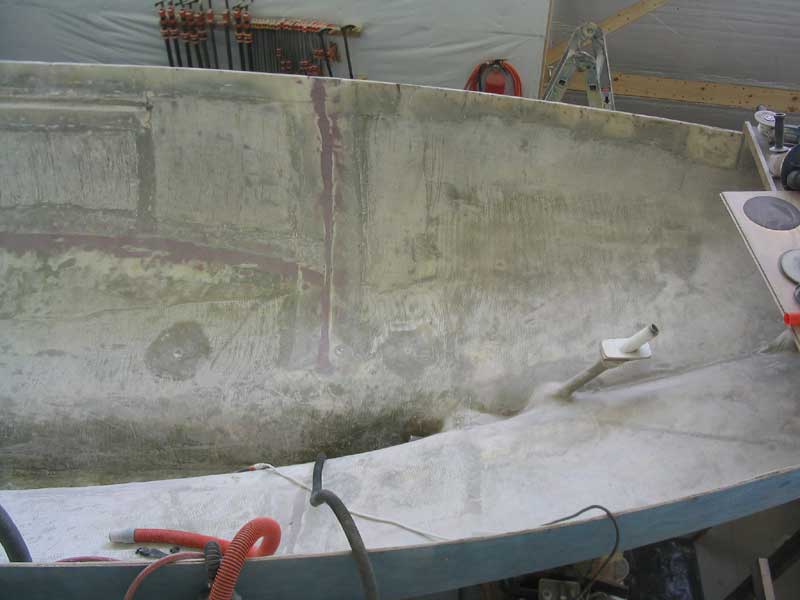
Filling the Bulkhead Slots Removal of the various bulkheads, settees, and other structural and interior members left narrow slots and rough edges in the inside of the hull, mostly where I had cut the old tabbing for their removal. Removing the remaining tabbing was not practical; what remained was thick, heavy, and well-bonded to the hull. Before continuing with new construction, I wanted to get the inside of the hull as smooth as possible, to help make all future processes that much easier. |
 I decided to simply fill and fair the existing
slots and edges with thickened epoxy. I began by prepping the areas
in question, vacuuming out residual dust and debris and cleaning the
mating surfaces with acetone. Then, I mixed up a large, quite stiff
batch of epoxy thickened with microbaloons and cabosil, and troweled it
into the slots and along the joints where needed. I also completed
filling any through hull fittings that hadn't been done earlier. It
took me two bucketfuls of the epoxy mixture (using 24 oz. epoxy and 12 oz.
hardener in each batch) to complete the job. I wasn't overly fussy
about the application, as it was only the inside of the hull, not a finish
surface that would require perfection. But still, I tried to get the
smoothest, fairest application possible to ensure a quality job and ease
of attaching structural members and joinerwork later. I decided to simply fill and fair the existing
slots and edges with thickened epoxy. I began by prepping the areas
in question, vacuuming out residual dust and debris and cleaning the
mating surfaces with acetone. Then, I mixed up a large, quite stiff
batch of epoxy thickened with microbaloons and cabosil, and troweled it
into the slots and along the joints where needed. I also completed
filling any through hull fittings that hadn't been done earlier. It
took me two bucketfuls of the epoxy mixture (using 24 oz. epoxy and 12 oz.
hardener in each batch) to complete the job. I wasn't overly fussy
about the application, as it was only the inside of the hull, not a finish
surface that would require perfection. But still, I tried to get the
smoothest, fairest application possible to ensure a quality job and ease
of attaching structural members and joinerwork later. |
|
|
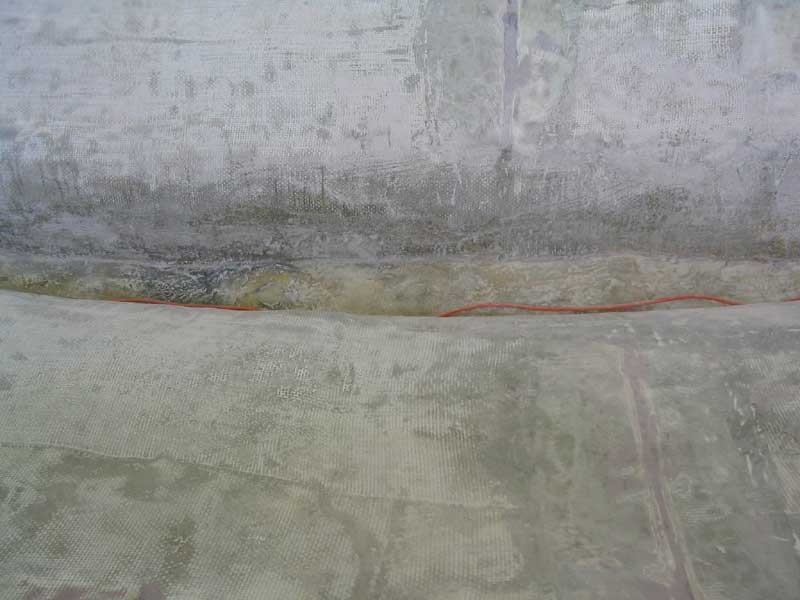
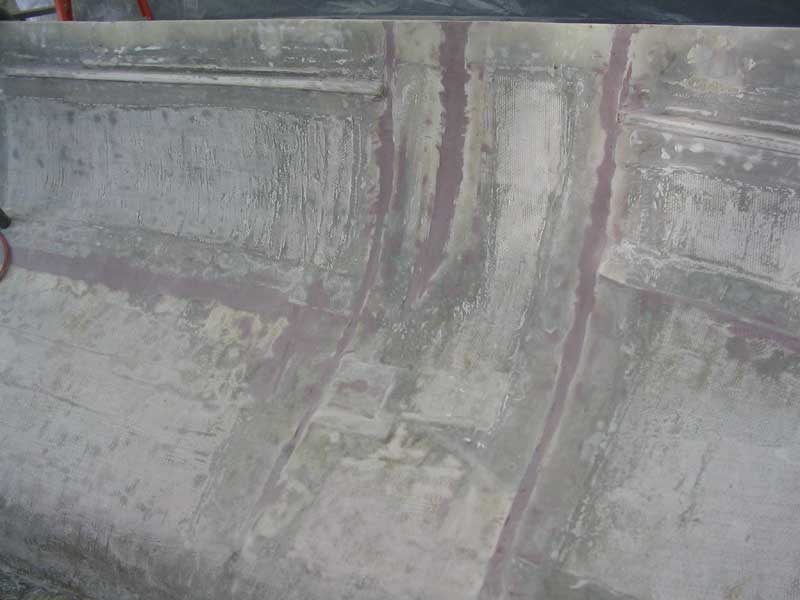
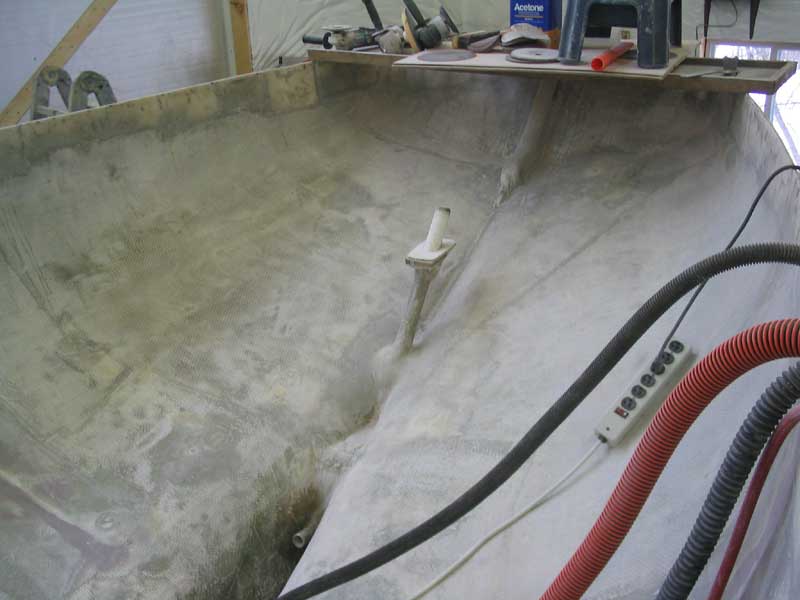
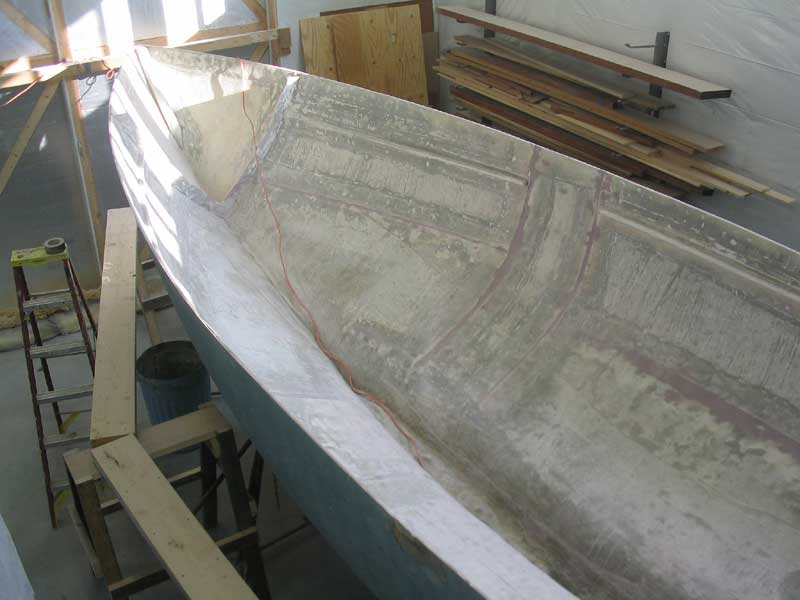
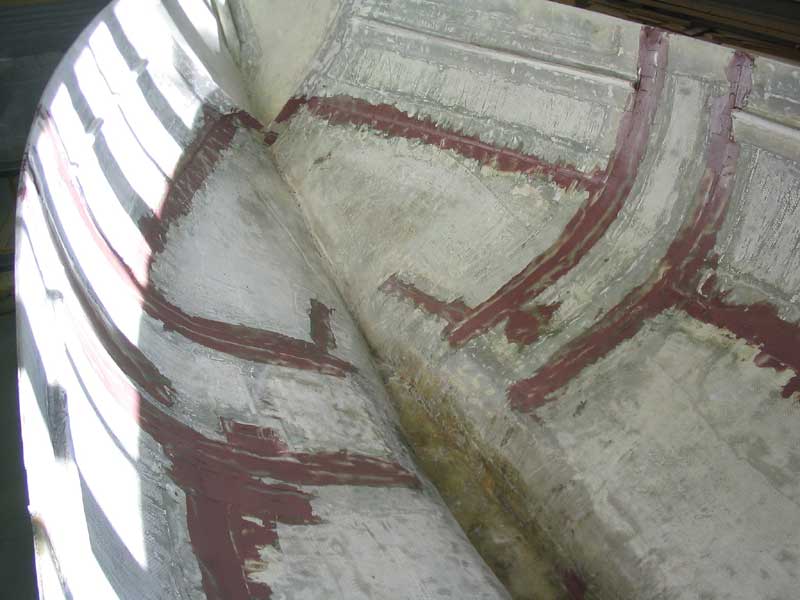
 After the epoxy had sufficient time to cure, I
returned and sanded the filled areas smooth and flush with the surrounding
surfaces. This job took a surprisingly long time, longer than I had
anticipated, but in the end I had a hull interior that, finally, was
smooth and relatively consistent in appearance. I also sanded the
bilge areas, which I had not done earlier. I wore my new supplied
air respirator, which worked incredibly well; I was extremely pleased with
its performance. The supplied air was fresh, clean, and, best of
all, kept the mask from fogging up. It took some getting used to the
hose, but the sacrifice was worth it. After the epoxy had sufficient time to cure, I
returned and sanded the filled areas smooth and flush with the surrounding
surfaces. This job took a surprisingly long time, longer than I had
anticipated, but in the end I had a hull interior that, finally, was
smooth and relatively consistent in appearance. I also sanded the
bilge areas, which I had not done earlier. I wore my new supplied
air respirator, which worked incredibly well; I was extremely pleased with
its performance. The supplied air was fresh, clean, and, best of
all, kept the mask from fogging up. It took some getting used to the
hose, but the sacrifice was worth it.
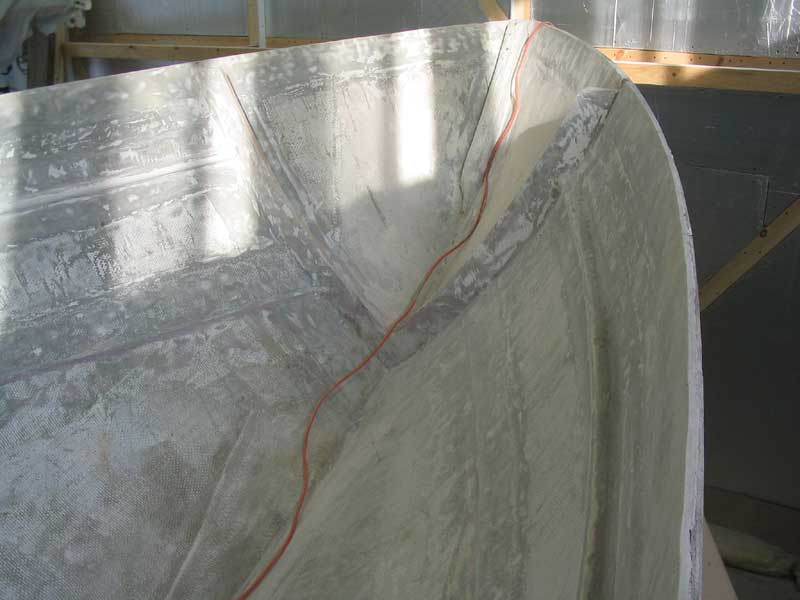
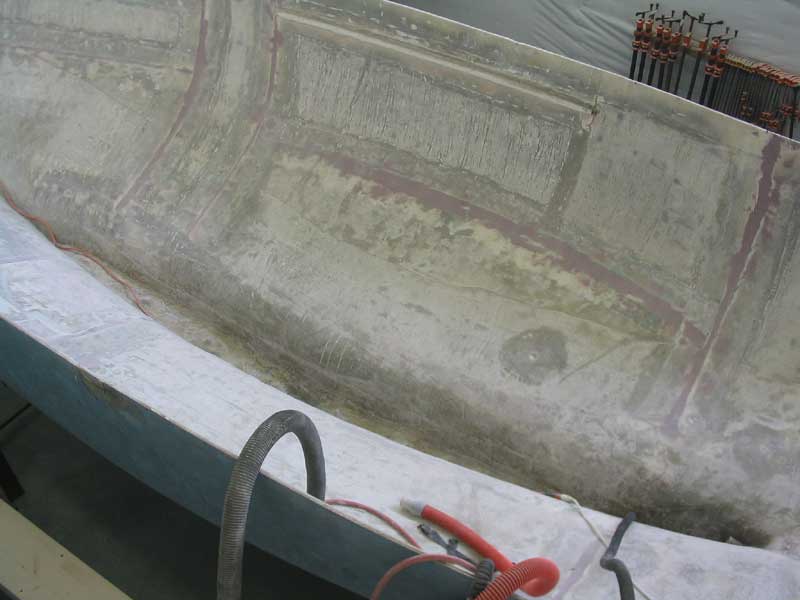
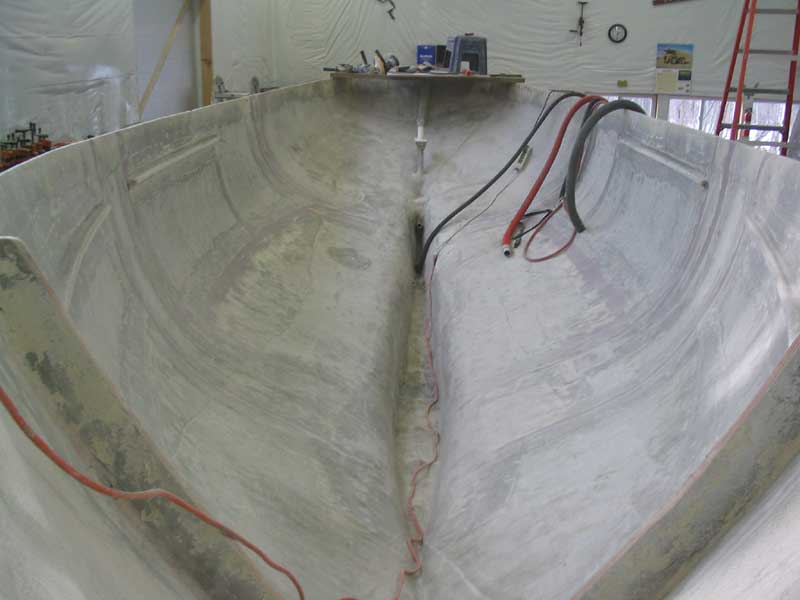
Click here for a brief sidebar about the supplied air system details. Because the completion of this sanding was the absolute final thing remaining before new work commenced (on deck framing), I took pictures ad nauseum, and posted them all here as a sort of failsafe after my extraordinary computer crash that occurred around the same time and resulted in the complete loss of 8 months of photos--except for the (thankfully) numerous ones posted here on the web. What follows are the last glimpses of the completely bare, prepped hull. |
|
|
|
|
|
|
|
|
|
|
With the interior of the hull bare, empty, and fully prepped, it was time to get serious about building the new deck framing and interior structure. |