|
|
~MENU~ |
| Home |
| The Concept |
| The Boat |
| Bringing Her Home |
|
Weekly Progress Log |
|
Daysailor Projects |
| The Boat Barn |
| Resources |
| Other Sites |
| Email Tim |
|
|
|
From a Bare Hull: The Hull |
|
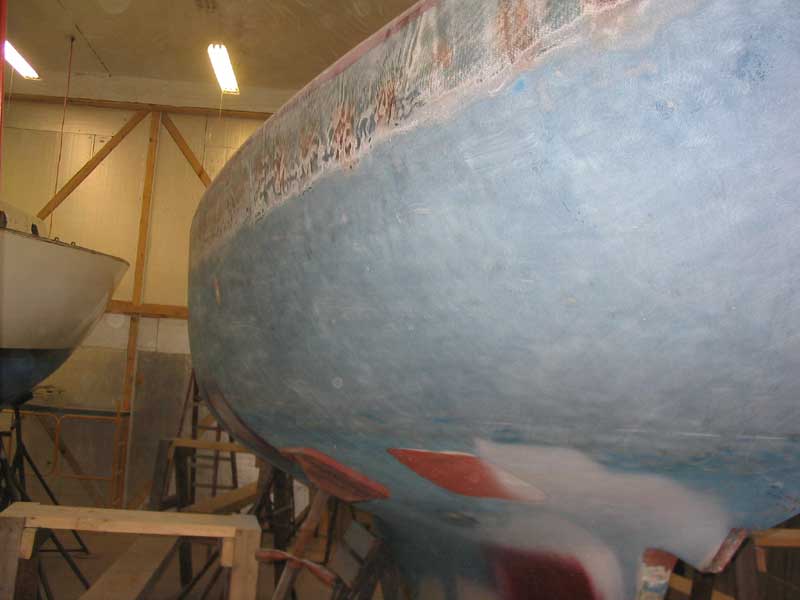
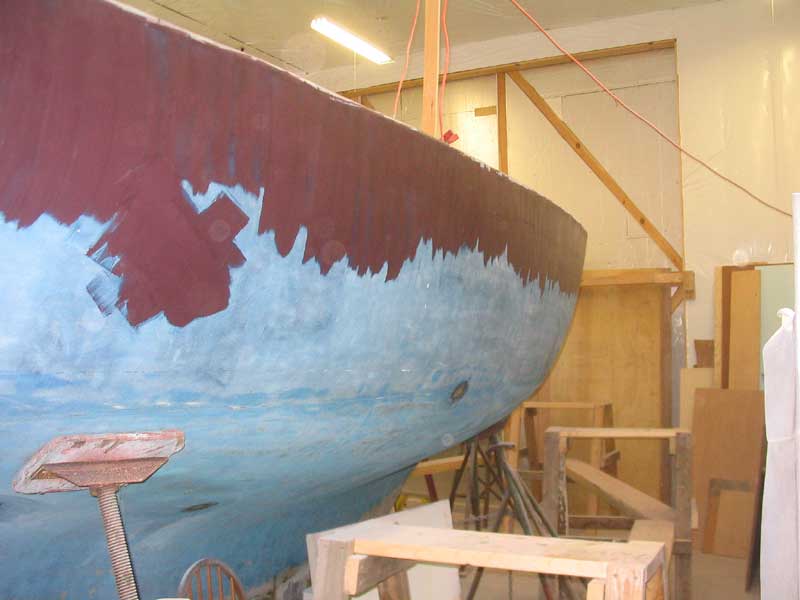
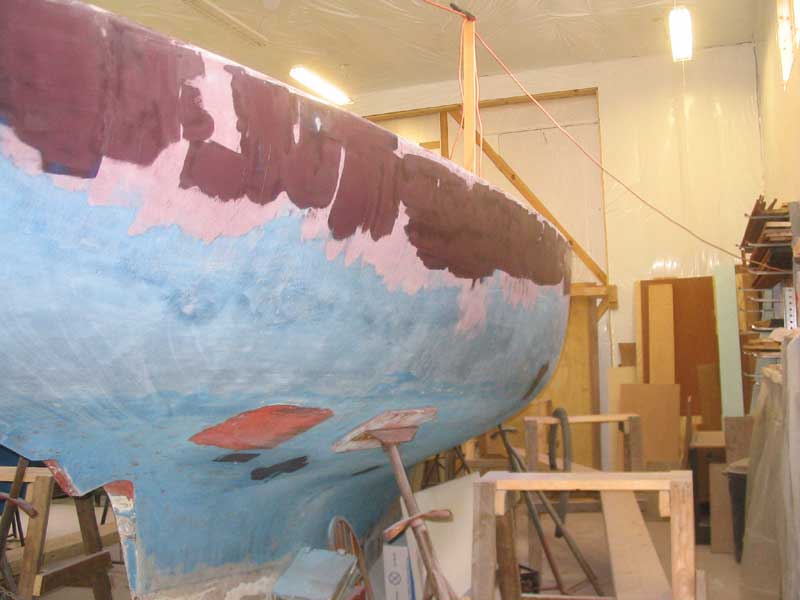
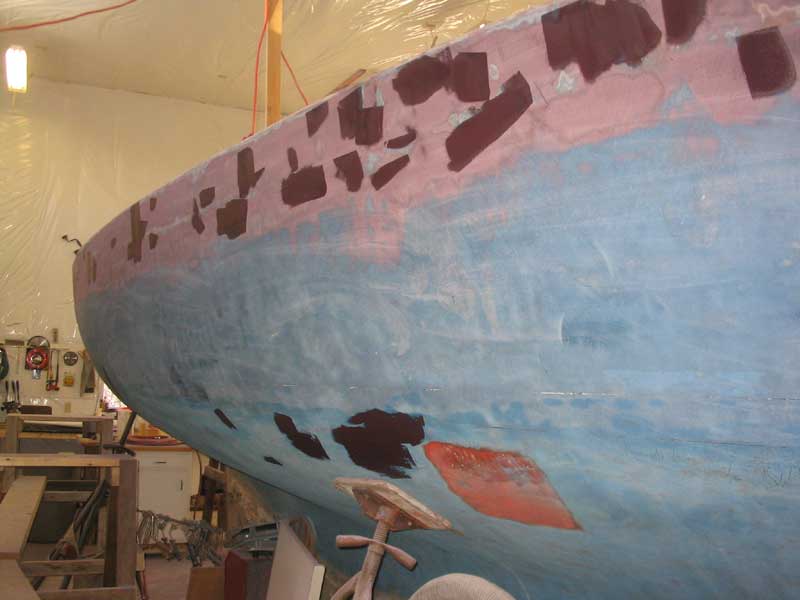
Fairing and Surfacing During the unbuilding stage of the project, I ground all the old paint off the hull, leaving behind a rough-sanded gelcoat surface. The new fiberglass on the deck, which wrapped about 6" onto the hull, also created an uneven surface, which was compounded by the still somewhat dished out areas where I had covered and filled the boltheads securing the sheer clamp. Substantial fairing, smoothing, and surfacing was certainly in order. |
|
|
 To
begin, I applied a coat of QuikFair with a plastic squeegee,
basically running the squeegee from top to bottom in a vertical fashion to
spread a thin coat of fairing compound over the fiberglass wrap at
the top and then down onto the hull a fair bit. There were too many
low spots and too much unevenness at this stage to even consider any
attempts to actually fill all these low spots; instead, I intended the
first coat to just begin to fill the deeper low spots, possibly fill some
of the shallower areas and the weave of the fiberglass cloth, and, most
importantly, to act as a signal coat which, when sanded, would truly
highlight the areas requiring the most work. To
begin, I applied a coat of QuikFair with a plastic squeegee,
basically running the squeegee from top to bottom in a vertical fashion to
spread a thin coat of fairing compound over the fiberglass wrap at
the top and then down onto the hull a fair bit. There were too many
low spots and too much unevenness at this stage to even consider any
attempts to actually fill all these low spots; instead, I intended the
first coat to just begin to fill the deeper low spots, possibly fill some
of the shallower areas and the weave of the fiberglass cloth, and, most
importantly, to act as a signal coat which, when sanded, would truly
highlight the areas requiring the most work. |
 Despite
my earlier complaints and reservations about QuikFair, I decided to
continue using it not only because I had it in stock, but also because it
actually was rather good for use in these thin, skim-coat fairing
applications. I found that mixing the product on a flat board was
effective, and some plastic measuring cups with handles minimized the mess
when obtaining the two parts from their containers. None of this
stuff is particularly neat, after all. Despite
my earlier complaints and reservations about QuikFair, I decided to
continue using it not only because I had it in stock, but also because it
actually was rather good for use in these thin, skim-coat fairing
applications. I found that mixing the product on a flat board was
effective, and some plastic measuring cups with handles minimized the mess
when obtaining the two parts from their containers. None of this
stuff is particularly neat, after all. |
 I
applied the first coat over the entire hull--again, not even attempting to
make this any sort of final fairing application. When the job was
complete, I left the material to cure overnight before sanding. I
applied the first coat over the entire hull--again, not even attempting to
make this any sort of final fairing application. When the job was
complete, I left the material to cure overnight before sanding. |
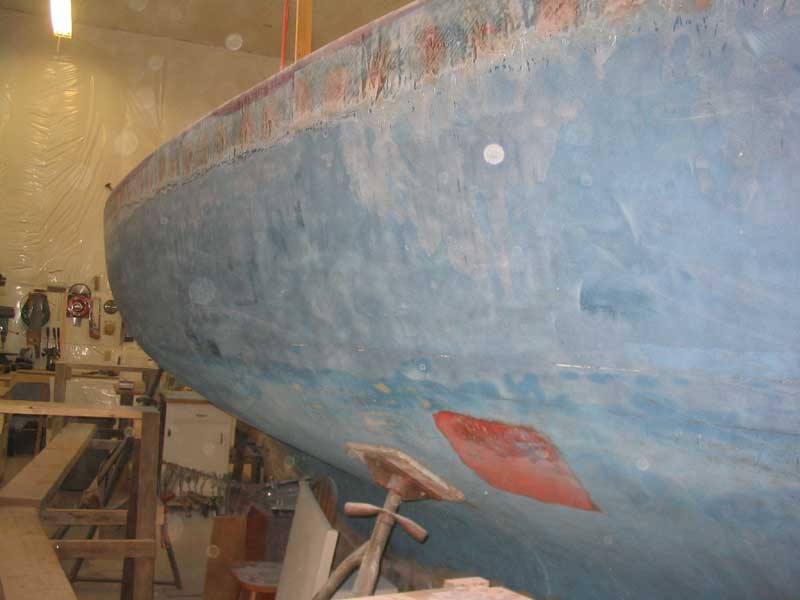
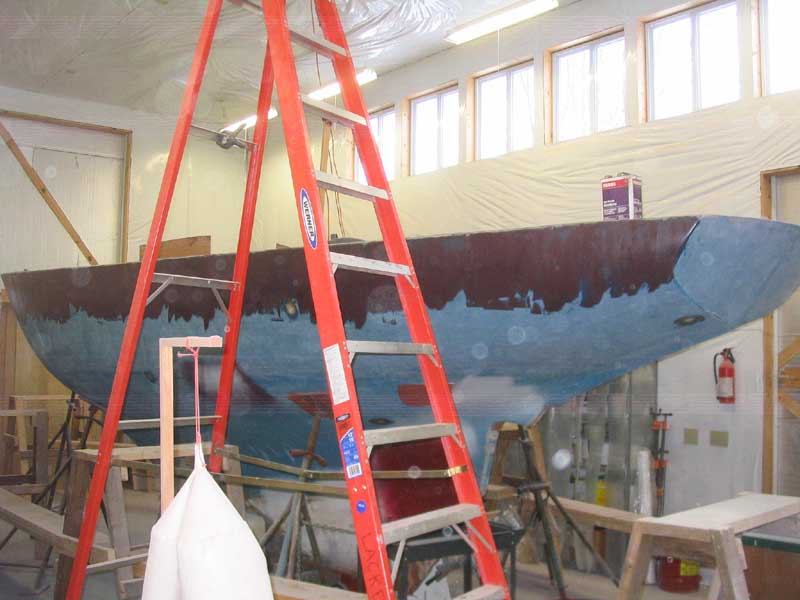
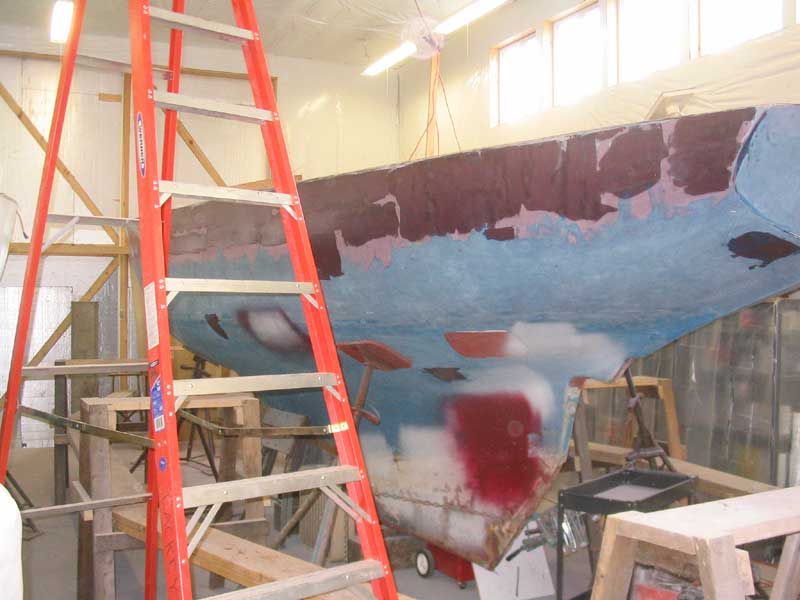
 It
was too early in the stage to consider using the hand longboard to sand,
since there were undoubtedly more low spots than high. Therefore, I
used a vibrating sander with 40 grit sandpaper to sand the surface and
perform the first, coarse fairing. The sander was non-aggressive
enough to be safe for use, and the firm pad, coupled with quick and
continual movement of the sander, enabled the sander to be an effective
enough fairing tool at this stage. I sanded only enough to truly
highlight the low spots, stopping when raw fiberglass appeared at the top
edge, which was relatively fair. I moved the sander in a variety of
directions over the filled areas and was pleased with the results. It
was too early in the stage to consider using the hand longboard to sand,
since there were undoubtedly more low spots than high. Therefore, I
used a vibrating sander with 40 grit sandpaper to sand the surface and
perform the first, coarse fairing. The sander was non-aggressive
enough to be safe for use, and the firm pad, coupled with quick and
continual movement of the sander, enabled the sander to be an effective
enough fairing tool at this stage. I sanded only enough to truly
highlight the low spots, stopping when raw fiberglass appeared at the top
edge, which was relatively fair. I moved the sander in a variety of
directions over the filled areas and was pleased with the results. |
 Later,
one or two subsequent filling sessions down the road, I imagined that the
low areas would be filled enough to then allow use of the longboard to
truly fair in the upper half of the topsides. Until I reached a
point using mechanical sanders where there were virtually no low spots
remaining, however, I felt it didn't make sense to wear myself out sanding
by hand. Later,
one or two subsequent filling sessions down the road, I imagined that the
low areas would be filled enough to then allow use of the longboard to
truly fair in the upper half of the topsides. Until I reached a
point using mechanical sanders where there were virtually no low spots
remaining, however, I felt it didn't make sense to wear myself out sanding
by hand. |
 After
the sanding was complete, I vacuumed the surface free of dust and cleaned
with solvent to prepare for a second coat. After
the sanding was complete, I vacuumed the surface free of dust and cleaned
with solvent to prepare for a second coat. |
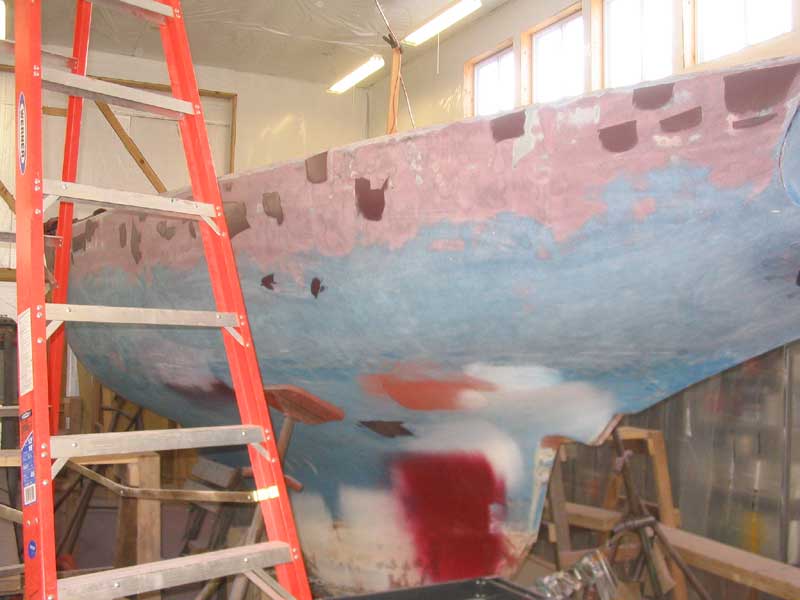
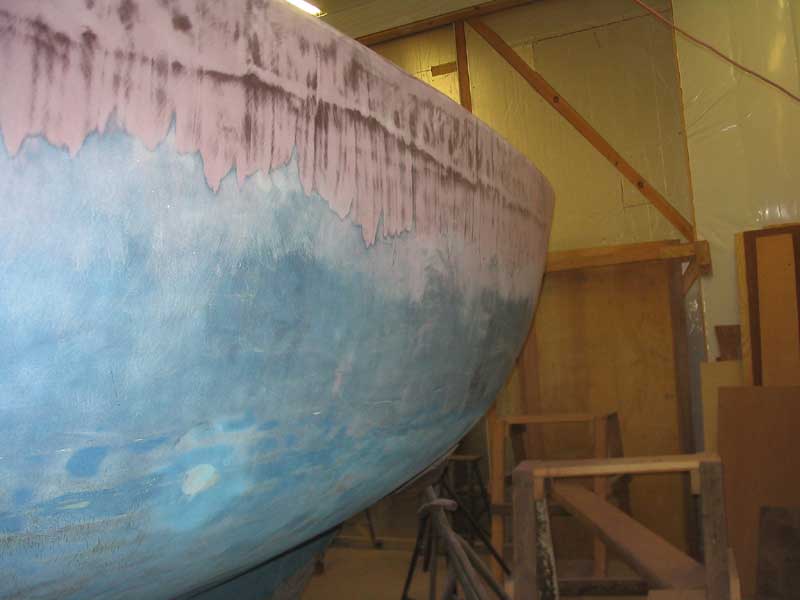
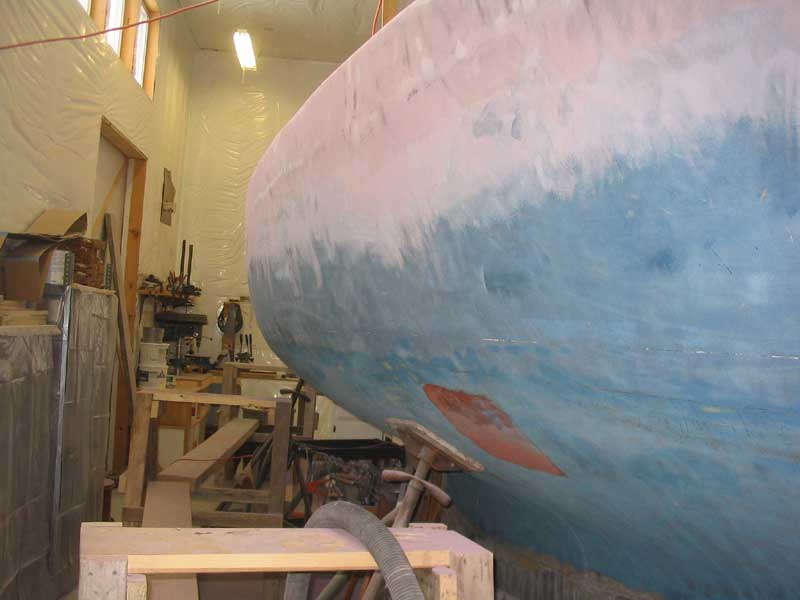
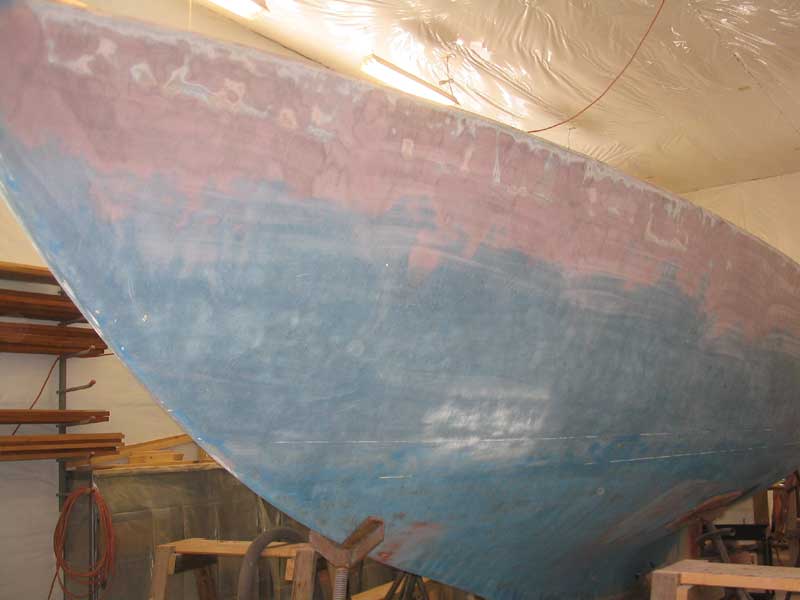
 The
second coat of fairing compound actually ended up using more material than
the first, since now I had a better idea of where the low spots were, and
therefore made more of an effort to fill them. The most significant
area requiring filling (and ultimately fairing) was the area directly
beneath the edge of the fiberglass that wrapped over the top of the hull
from the deck. In some areas, the fiberglass layer was fairly
uneven, and these spots also required significant filler. The
second coat of fairing compound actually ended up using more material than
the first, since now I had a better idea of where the low spots were, and
therefore made more of an effort to fill them. The most significant
area requiring filling (and ultimately fairing) was the area directly
beneath the edge of the fiberglass that wrapped over the top of the hull
from the deck. In some areas, the fiberglass layer was fairly
uneven, and these spots also required significant filler. |
 I
worked my way around the hull and filled all areas as best I could.
When complete, the results looked better than the first time around (as
they should). I
worked my way around the hull and filled all areas as best I could.
When complete, the results looked better than the first time around (as
they should). |
 The
next day, I sanded the second application of filler, using the same basic
process as before. The second coat did a pretty good job smoothing
the entire surface, and there were only a few low spots remaining after
the areas were sanded. The
next day, I sanded the second application of filler, using the same basic
process as before. The second coat did a pretty good job smoothing
the entire surface, and there were only a few low spots remaining after
the areas were sanded. |
 My
goal in these early stages of fairing was to smoothly incorporate the new
fiberglass into the remaining topsides surface, and to obtain a roughly
fair profile. With the second application, I neared completion of
this initial stage of the fairing project. My
goal in these early stages of fairing was to smoothly incorporate the new
fiberglass into the remaining topsides surface, and to obtain a roughly
fair profile. With the second application, I neared completion of
this initial stage of the fairing project. |
 However, a few low areas remained, most notably at a few of the butt
joints between widths of the new fiberglass. Therefore, I cleaned
and prepared the surface for application of a third, minimal layer of
QuikFair, this time concentrated only in the dozen or so low areas. However, a few low areas remained, most notably at a few of the butt
joints between widths of the new fiberglass. Therefore, I cleaned
and prepared the surface for application of a third, minimal layer of
QuikFair, this time concentrated only in the dozen or so low areas. |
|
|
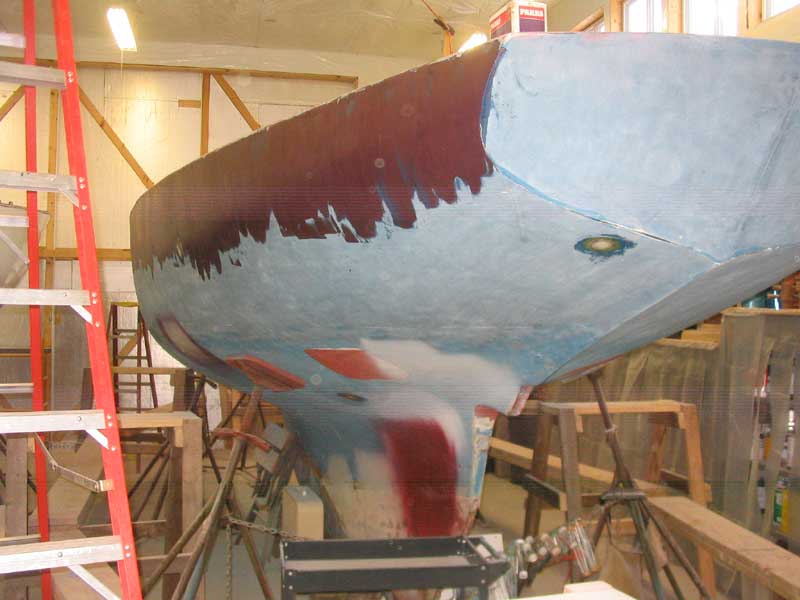
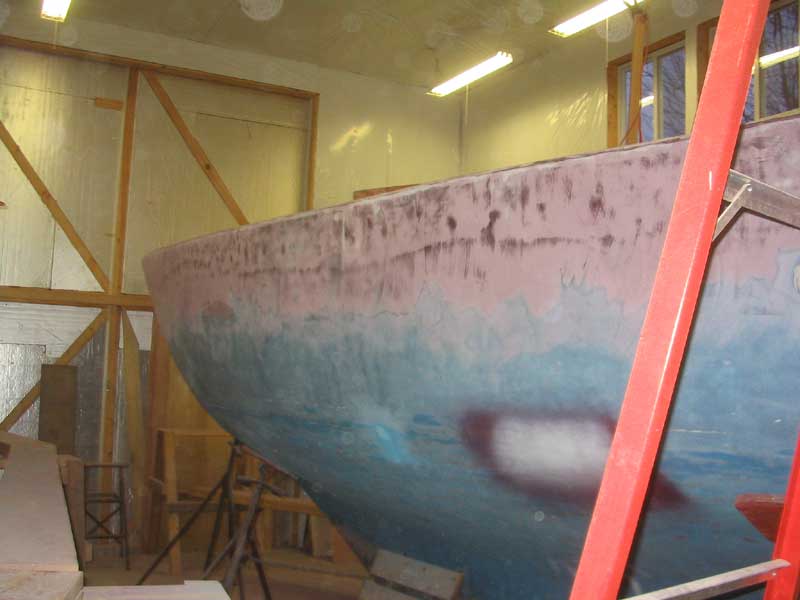
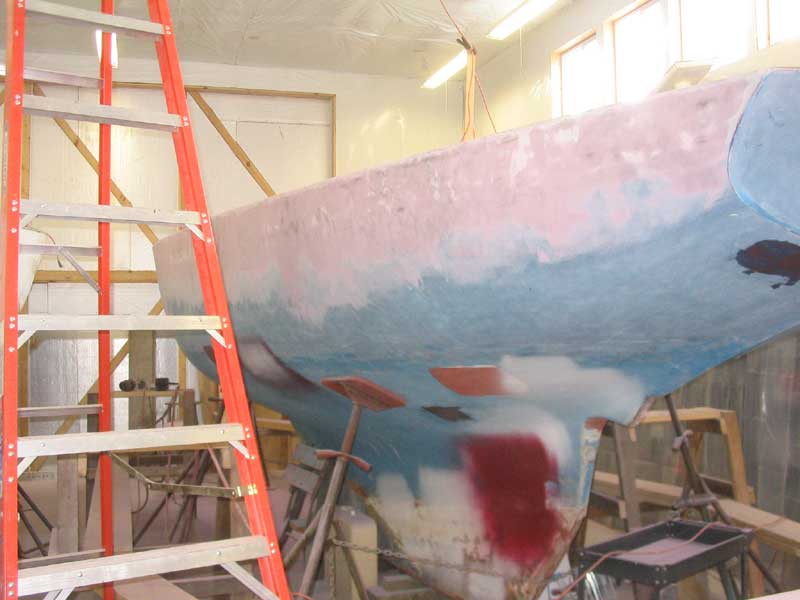
 When
the new filler cured, I sanded the hull a third time. I concentrated
on the filled areas, but also worked to continue the overall fairing
process, incorporating the new fiberglass near the deck edge into the
shape and contours of the hull. When
the new filler cured, I sanded the hull a third time. I concentrated
on the filled areas, but also worked to continue the overall fairing
process, incorporating the new fiberglass near the deck edge into the
shape and contours of the hull. |
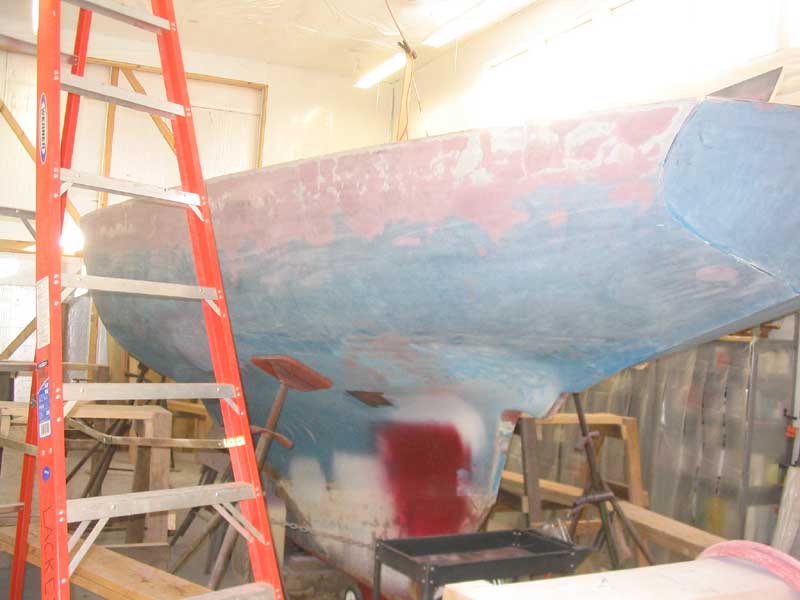
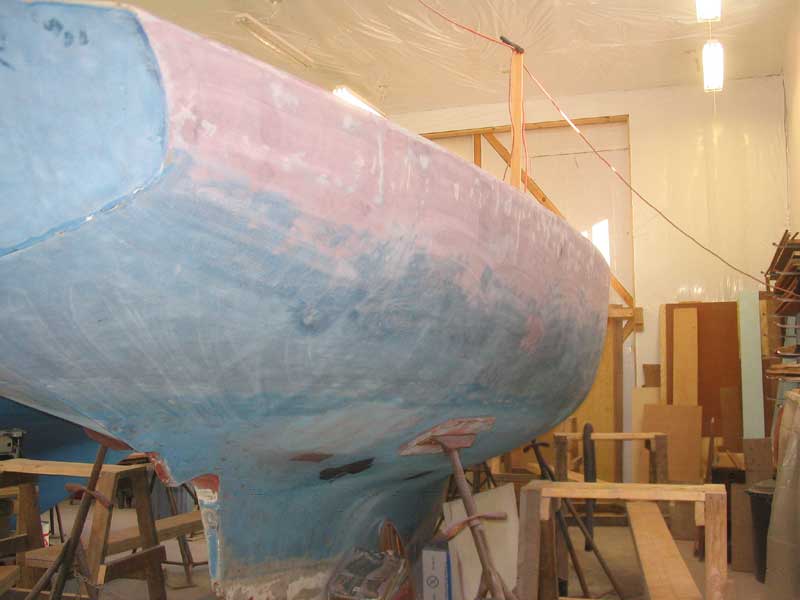 When
I finished, the hull appeared to be relatively smooth and fair to the
naked eye, but I knew there were low spots around from when I ground the
paint off the hull earlier, and from other sanding and repairs. When
I finished, the hull appeared to be relatively smooth and fair to the
naked eye, but I knew there were low spots around from when I ground the
paint off the hull earlier, and from other sanding and repairs. |
 Please
click here to continue> Please
click here to continue>
|