|
|
~MENU~ |
| Home |
| The Concept |
| The Boat |
| Bringing Her Home |
|
Weekly Progress Log |
|
Daysailor Projects |
| The Boat Barn |
| Resources |
| Other Sites |
| Email Tim |
|
|
| From a Bare Hull: Bulkheads (Page 4) |
|
Hull Leveling | Basic Layout | Chainplate Bulkhead | Mid Bulkhead | After Bulkhead | Fillets & Tabbing | Limbers |
Midships Bulkhead (Continued) 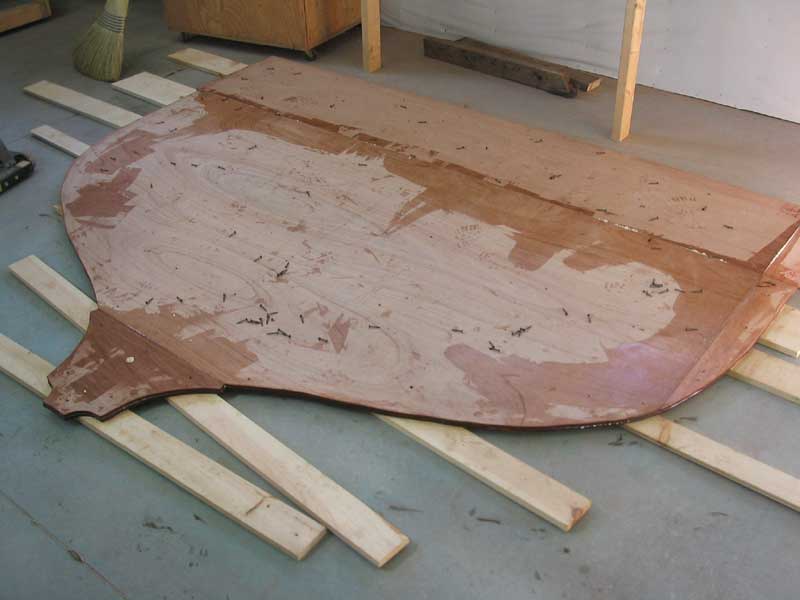 The next day, the epoxy was cured, so I
removed all the screws and cleaned up the bulkhead by sanding off any
excess epoxy from the seams, screw holes, and edges. I also took
that time to even out the edges of the two layers as needed. After
an hour or so of sanding and prep, the bulkhead was ready to make the
short--but difficult--trip up into the boat and into position. The next day, the epoxy was cured, so I
removed all the screws and cleaned up the bulkhead by sanding off any
excess epoxy from the seams, screw holes, and edges. I also took
that time to even out the edges of the two layers as needed. After
an hour or so of sanding and prep, the bulkhead was ready to make the
short--but difficult--trip up into the boat and into position.
|
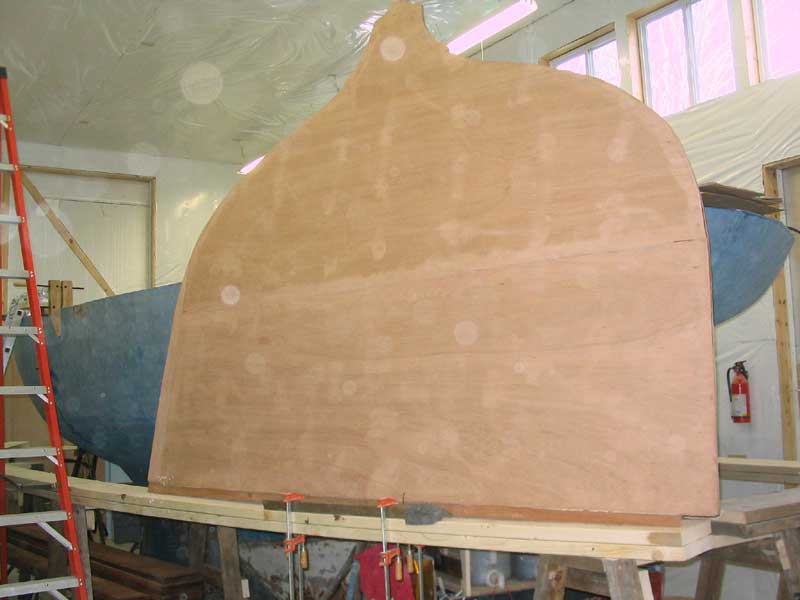
 Getting the huge bulkhead up into the boat
by myself was not particularly easy. It was too heavy and unwieldy
to lift by myself--it measured over eight feet wide, about 7 feet tall at
its highest, and contained the better part of three sheets of 3/8"
plywood, all told. I found that by rolling the large cabinet on
which the bulkhead was currently resting over near the staging surrounding
the boat, I could lift one edge onto the staging and then raise the other
end up so it leaned against the hull. Close, but still a long way
from being where it needed to be. Getting the huge bulkhead up into the boat
by myself was not particularly easy. It was too heavy and unwieldy
to lift by myself--it measured over eight feet wide, about 7 feet tall at
its highest, and contained the better part of three sheets of 3/8"
plywood, all told. I found that by rolling the large cabinet on
which the bulkhead was currently resting over near the staging surrounding
the boat, I could lift one edge onto the staging and then raise the other
end up so it leaned against the hull. Close, but still a long way
from being where it needed to be. |
|
|
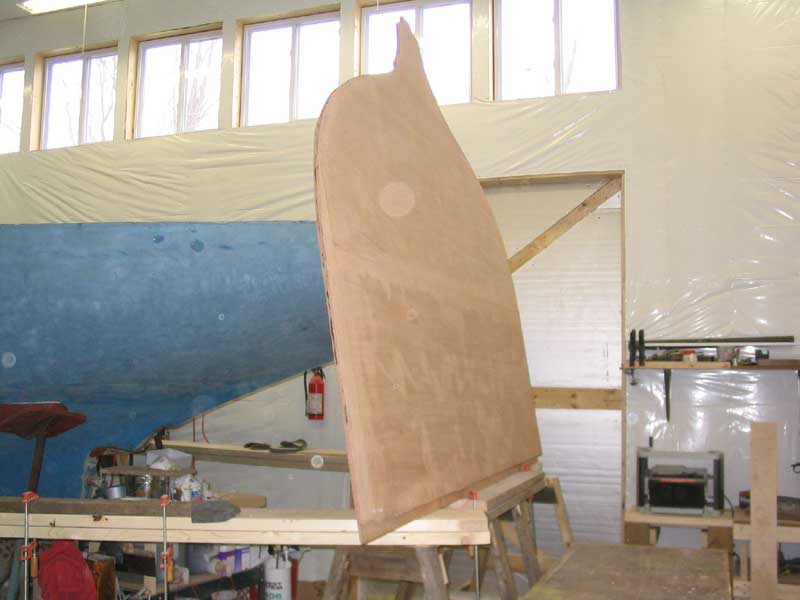 The bulkhead was now supported upside
down on the staging near the port quarter of the boat. Now I had to
get it inside the boat, turned the proper direction, and into place.
After contemplating the issue, I decided to pull the inverted bulkhead
around to the staging behind the transom. From there, with
considerable effort, I managed to get it up onto the hull, temporarily
supported by some boards that I laid across the open hull. The bulkhead was now supported upside
down on the staging near the port quarter of the boat. Now I had to
get it inside the boat, turned the proper direction, and into place.
After contemplating the issue, I decided to pull the inverted bulkhead
around to the staging behind the transom. From there, with
considerable effort, I managed to get it up onto the hull, temporarily
supported by some boards that I laid across the open hull. |
 Now
the problem was that the wrong side of the bulkhead was facing up, so I
couldn't just slide the whole thing forward and then erect it into
place. Instead, I had to spin it around, and then figure out a way
to flip the whole thing end for end. Given the size and heft of the
thing, this proved to be difficult, but I finally got it done with no
injuries, deaths, or broken bulkheads. Once the bulkhead was flipped
the correct way, it was a relatively simple matter to pull it forward,
over the temporary brace at the bulkhead location, and get it oriented
vertically into the space. It fell into place with a significant
bang, but ended up in the right place with only minor adjusting necessary. Now
the problem was that the wrong side of the bulkhead was facing up, so I
couldn't just slide the whole thing forward and then erect it into
place. Instead, I had to spin it around, and then figure out a way
to flip the whole thing end for end. Given the size and heft of the
thing, this proved to be difficult, but I finally got it done with no
injuries, deaths, or broken bulkheads. Once the bulkhead was flipped
the correct way, it was a relatively simple matter to pull it forward,
over the temporary brace at the bulkhead location, and get it oriented
vertically into the space. It fell into place with a significant
bang, but ended up in the right place with only minor adjusting necessary. |
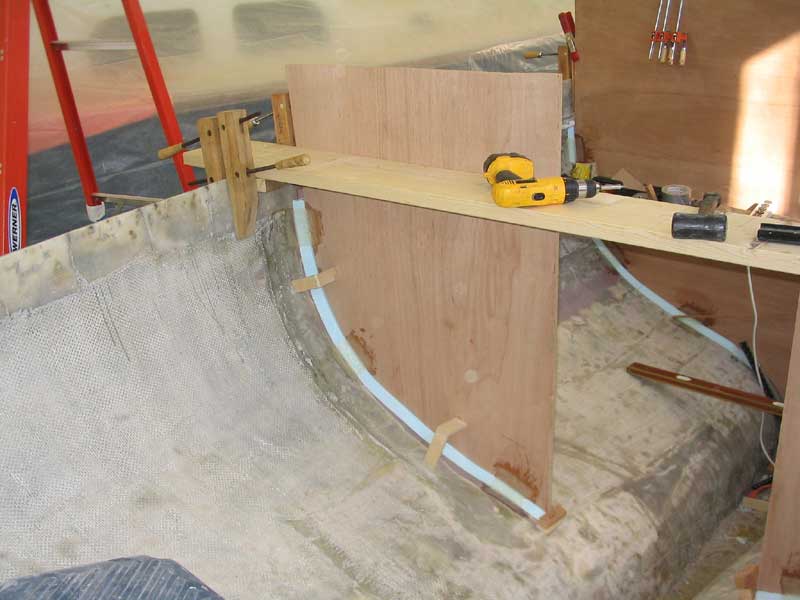
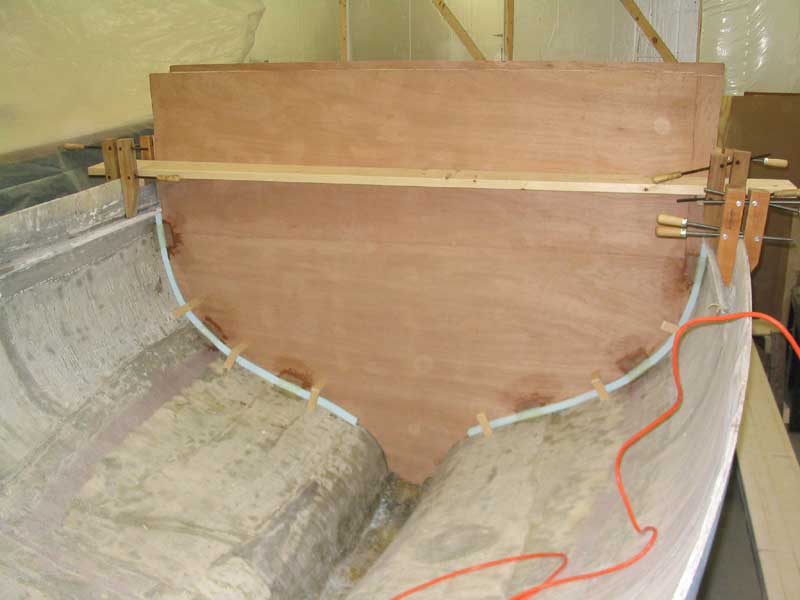 After
aligning and plumbing the bulkhead as needed, I secured it in place with
my usual short pieces of tabbing, after holding the bulkhead in place with
screws and more of the inverted L-shaped blocks. I left it to cure overnight,
and in the morning, when the tabbing was cured, I moved the temporary beam
aft to the location of the next--and final--set of bulkheads, about six
feet aft. After
aligning and plumbing the bulkhead as needed, I secured it in place with
my usual short pieces of tabbing, after holding the bulkhead in place with
screws and more of the inverted L-shaped blocks. I left it to cure overnight,
and in the morning, when the tabbing was cured, I moved the temporary beam
aft to the location of the next--and final--set of bulkheads, about six
feet aft. |
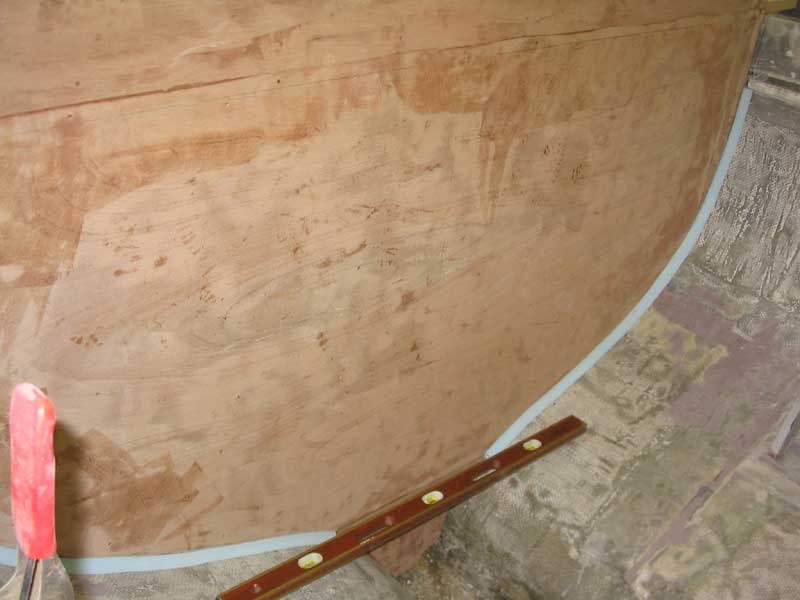
Aftermost Bulkheads I located the final set of bulkheads six feet aft of the large midships bulkhead, near the location of a bulkhead from the original design. Similar to the forward, chainplate bulkhead, the aftermost bulkhead was in two halves, with an opening in the center.
|
I sized the two sections of the aft bulkhead so that the inner edge was about three feet from the hull, and extended the tops of each side well above the eventual deck height for later trimming. |