
110 Cookson Lane | Whitefield, ME 04353 | 207-232-7600 | tim@lackeysailing.com
November, 2011
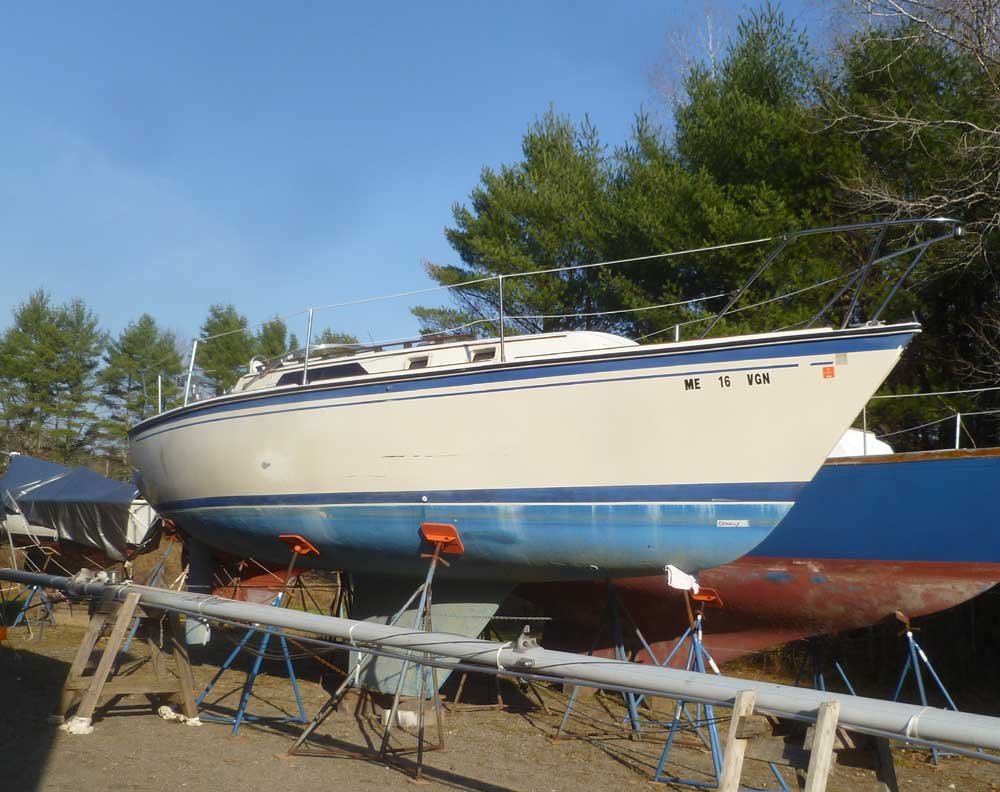
Box of Rain, a 1984 O'Day 30' sloop, came to the shop in late 2011 with a short list of maintenance and improvements required by hew new owner.
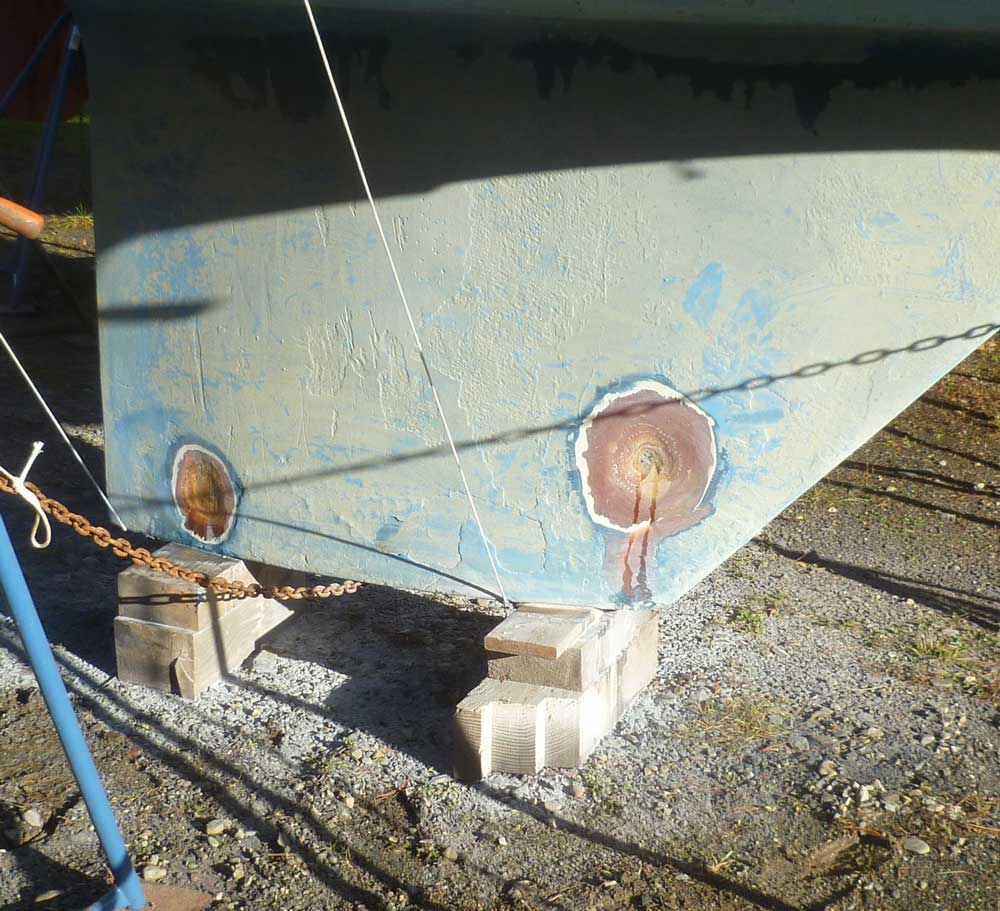
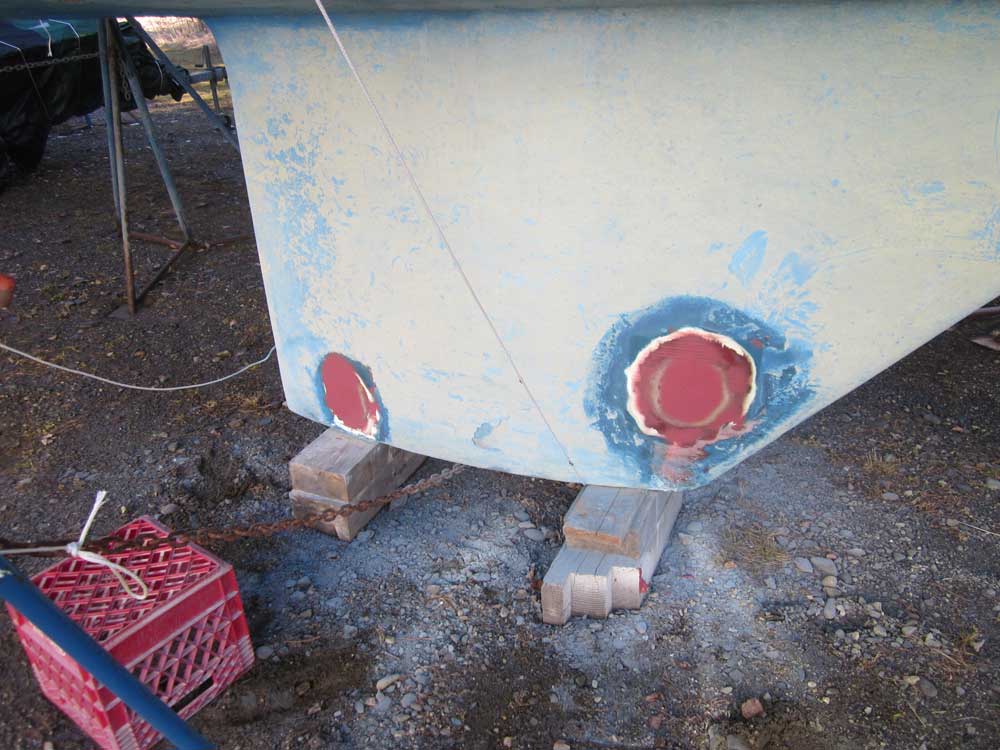
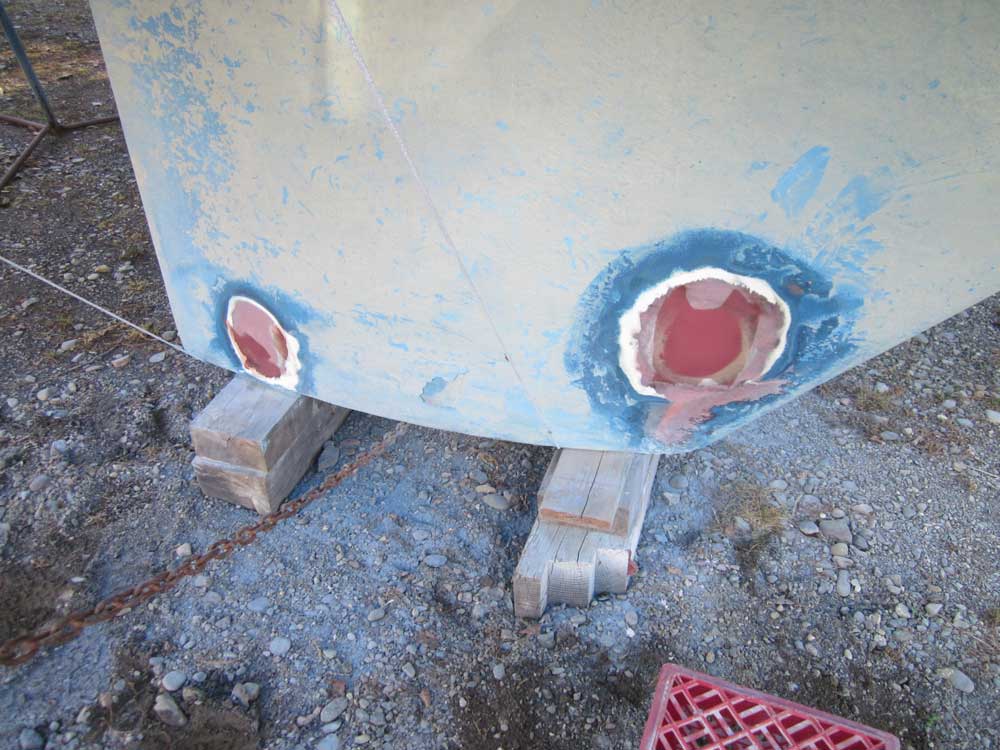
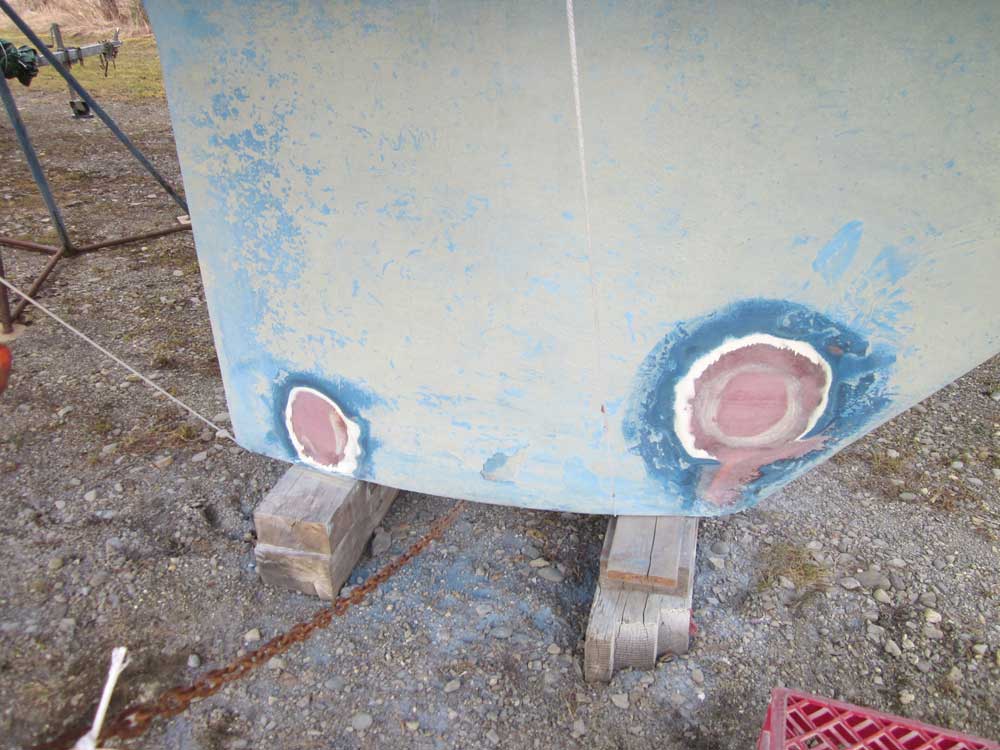
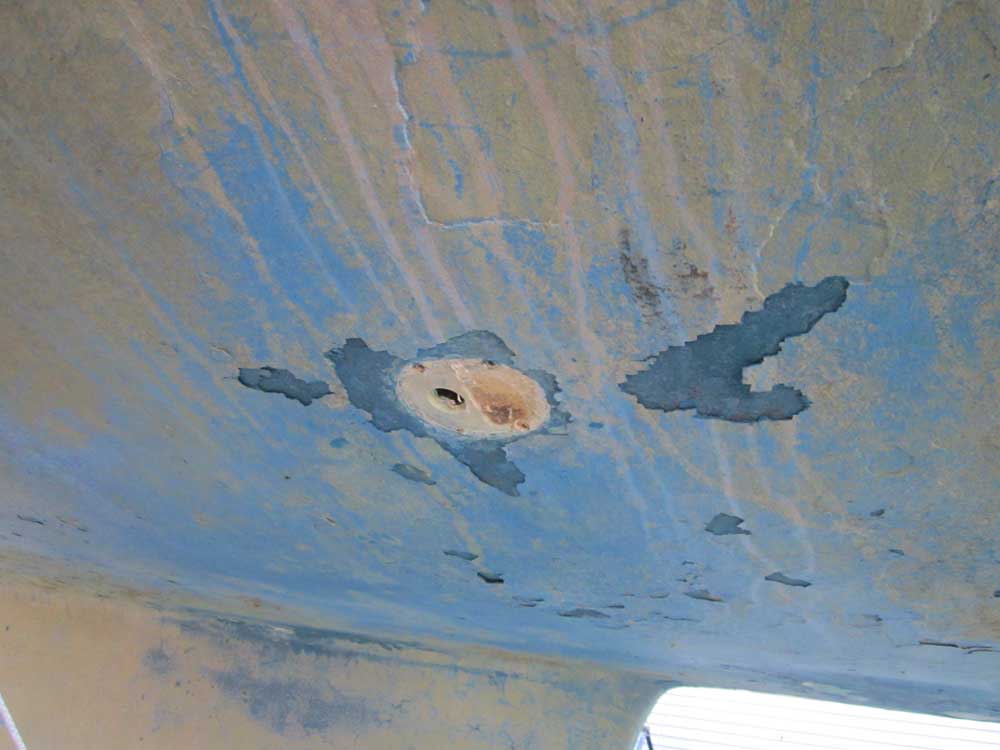
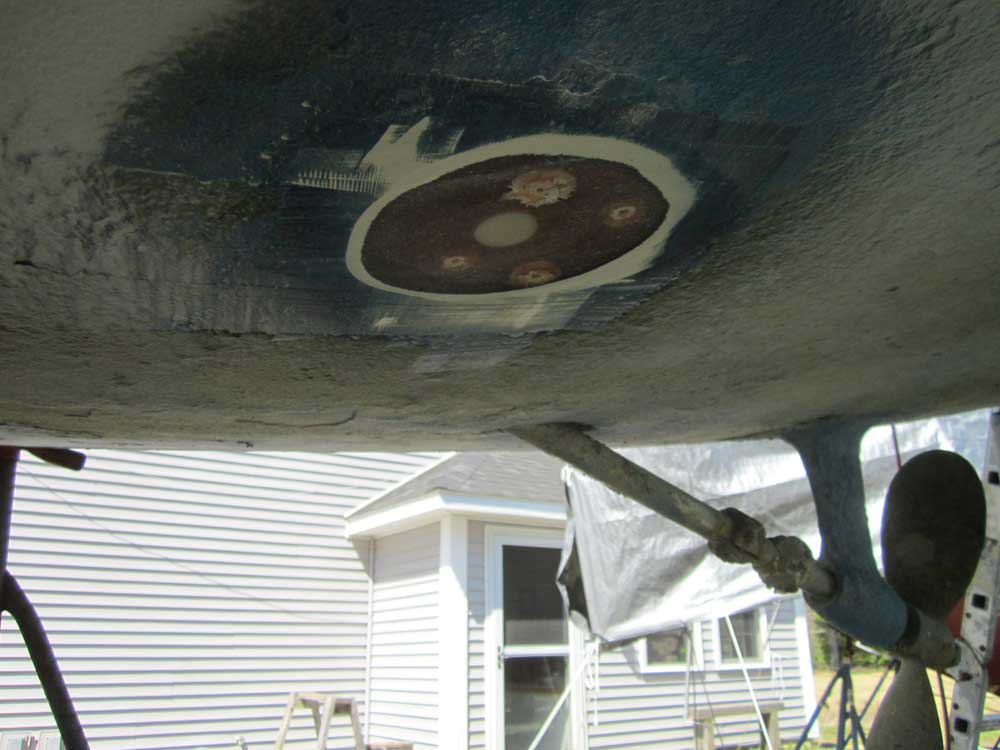
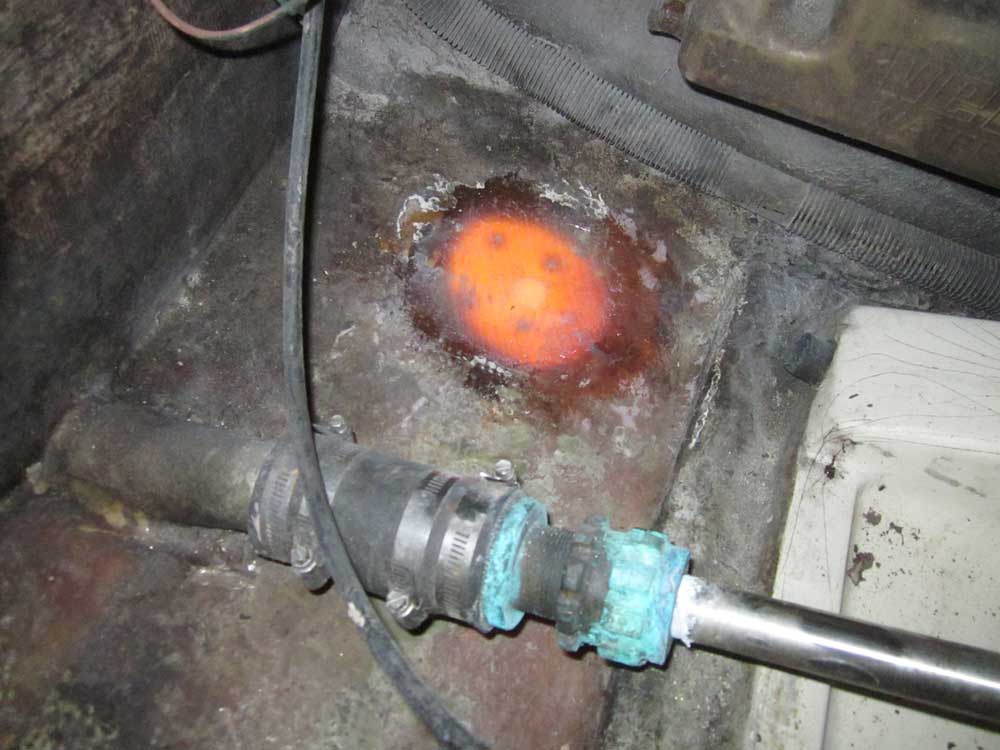
One of the tasks at hand was to address two areas on the encapsulated keel where moisture was seeping from within. So before winter set in, I ground out these two areas to allow any remaining moisture to drain and evaporate during the cold, dry winter.
March, 2012
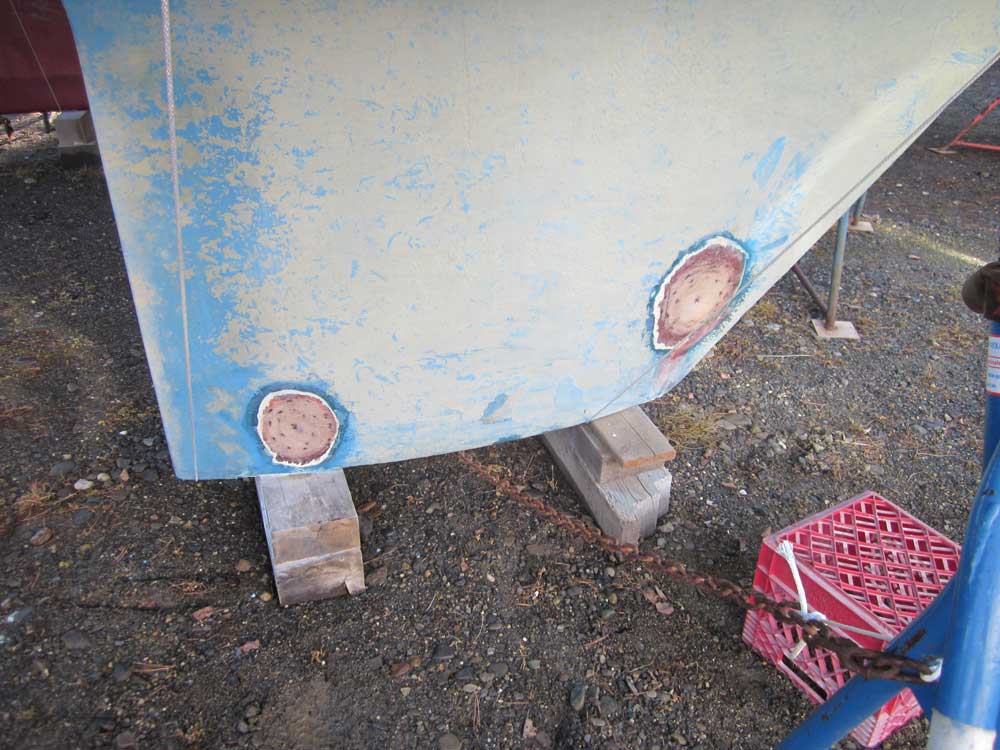
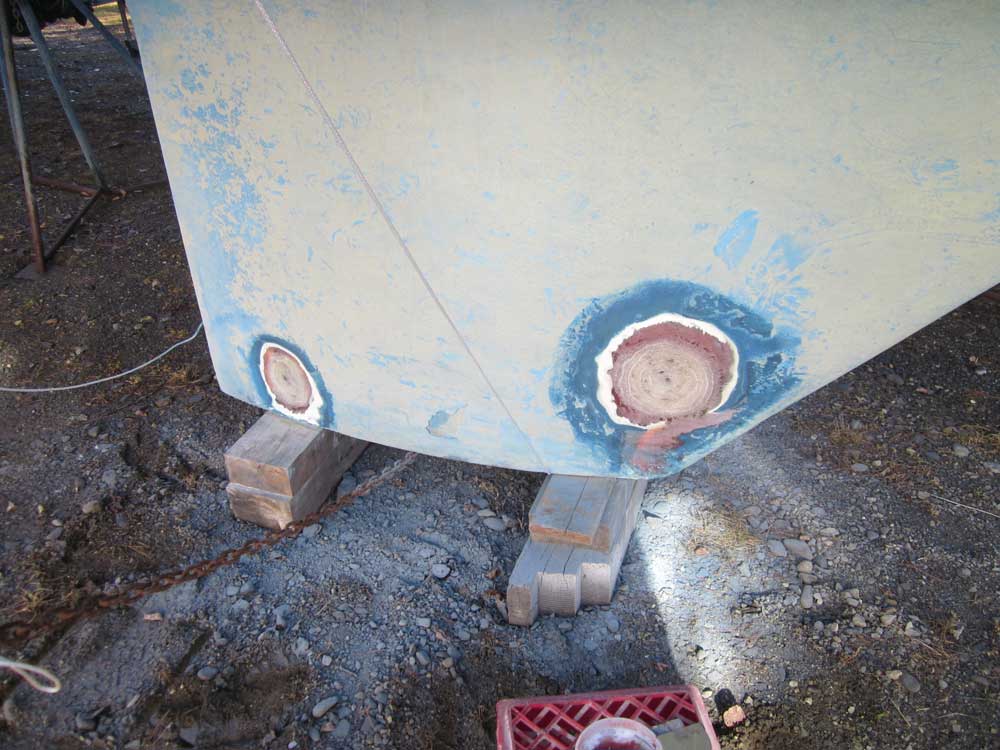
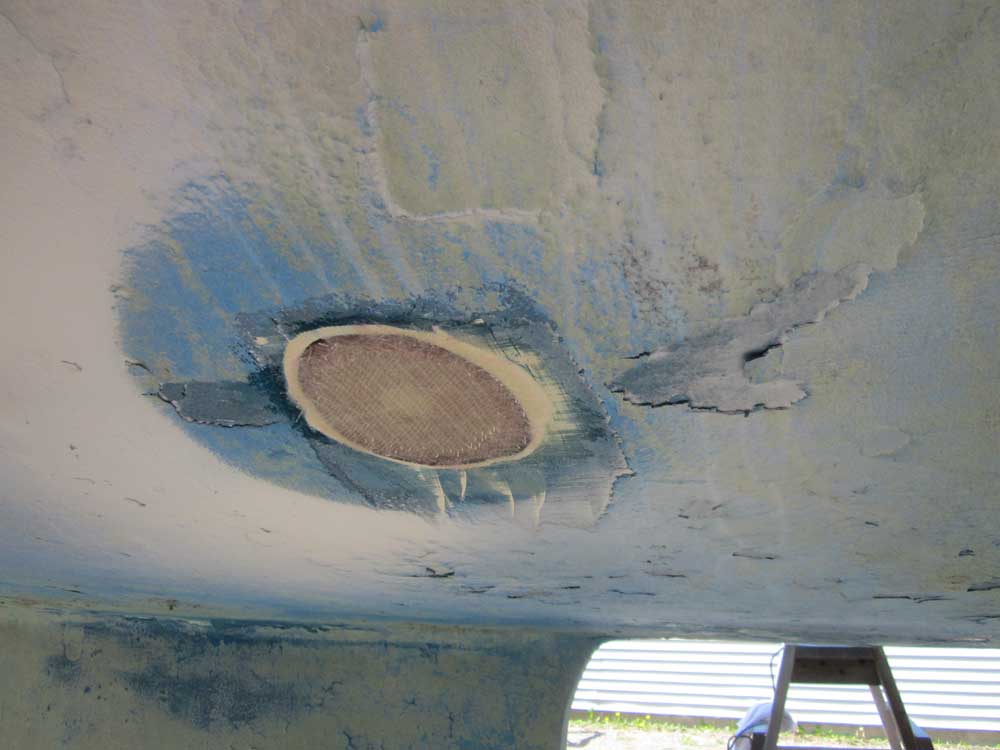
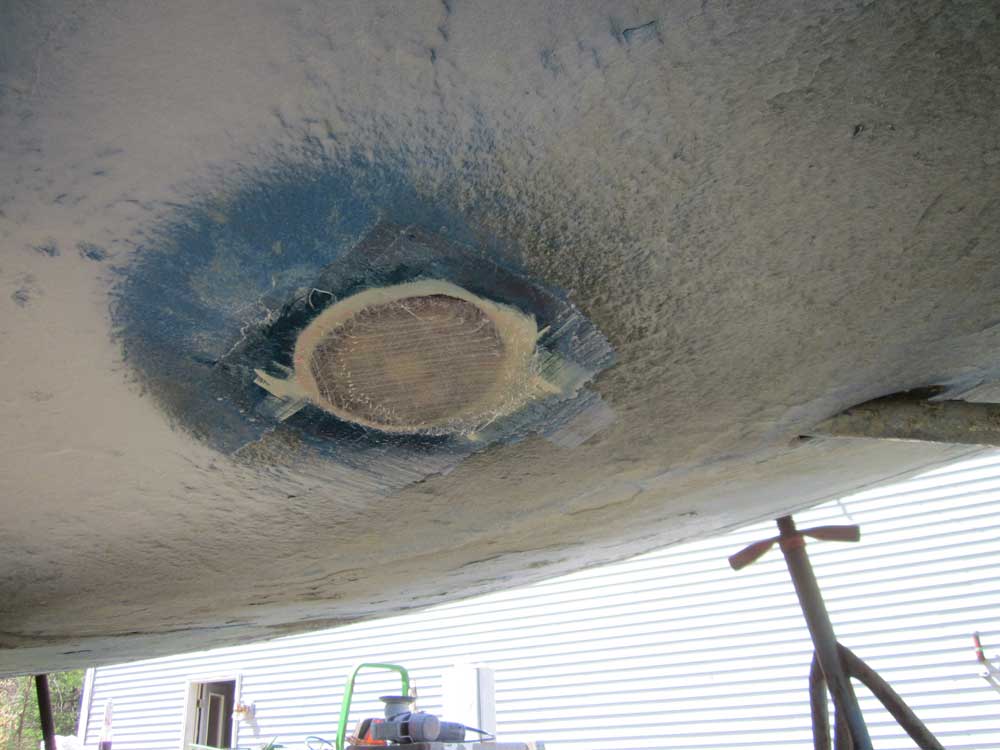
During a week of summer-like warmth in March, I took the opportunity to complete the keel repair. There'd been no additional discharge for some time, so I cleaned up the previously-ground areas and filled them with multiple layers of new fiberglass and epoxy resin till they were flush with the adjacent areas. This required from 4 to 8 layers.
Afterwards, I sanded, filled, and faired the two patches smooth with the surrounding keel.
Friday, April 6, 2012 (1 hour)
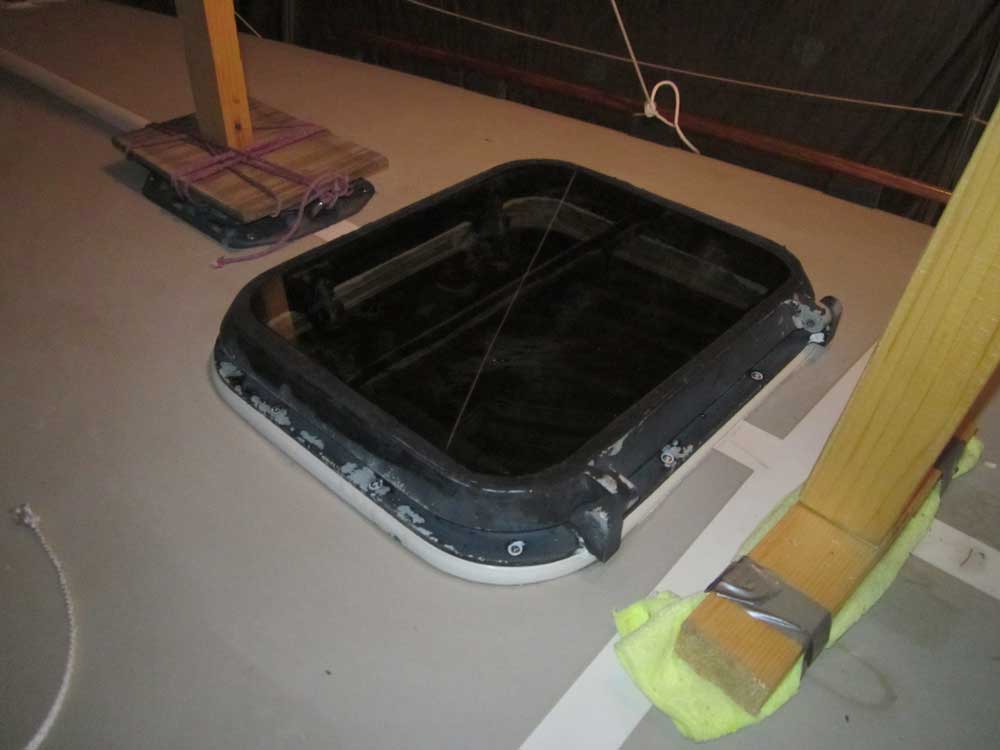
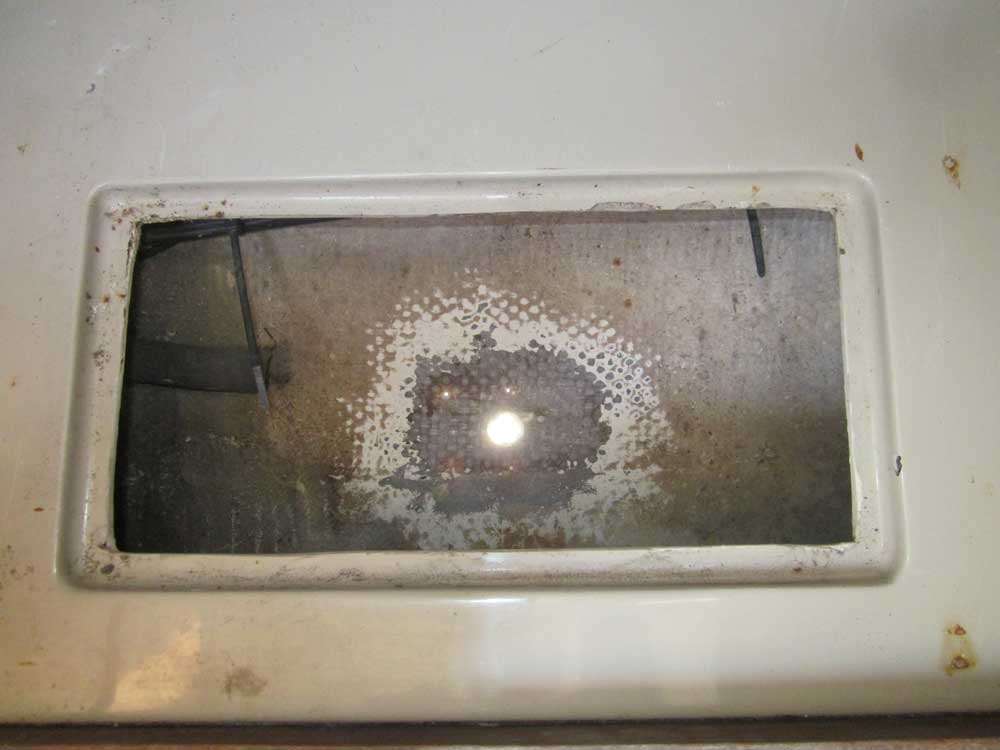
During the winter, we'd removed the overhead hatch in the main cabin, which needed a new lens and which had been leaking into the cabin. With the hatch back on hand with its new lens by early April, I prepared for its installation by reaming out the exposed (well, semi-coated with whatever material O'Day had used on the inside of the cabin liner) core from around the edges of the hatch opening, and installed thickened epoxy in the gap to seal the area.
Wednesday, April 11, 2012 (3.25 hours)
I installed the hatch in a heavy bed of sealant with new screws, cleaning up the squeezeout on the exterior, but leaving the bead that formed on the inside of the hatch flange to cure before removing it.


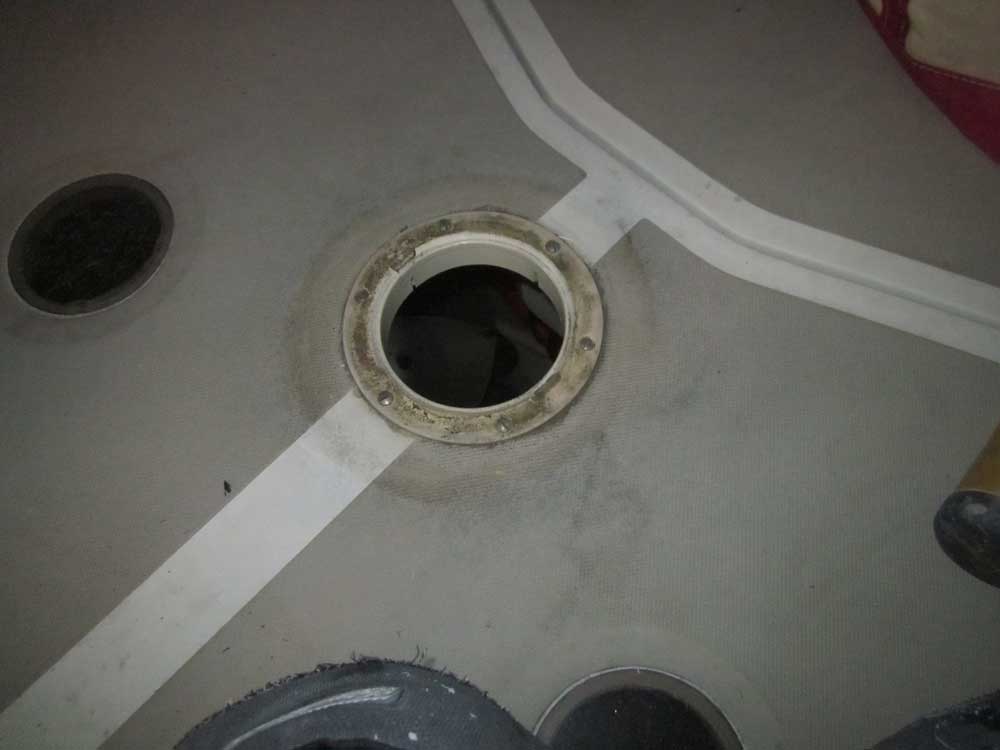
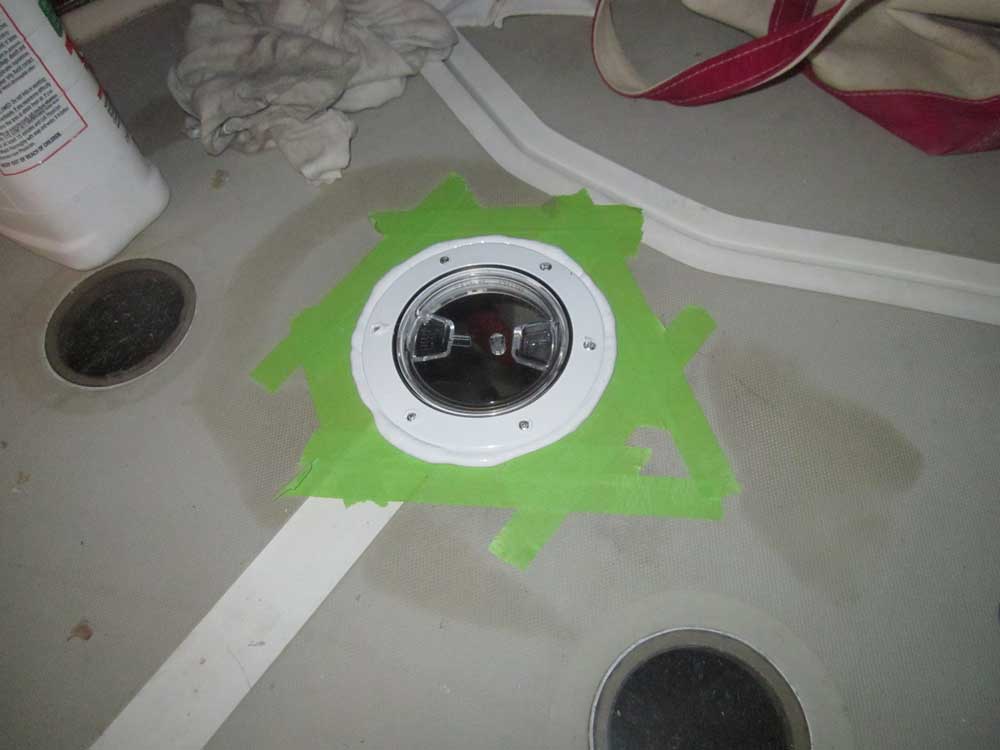
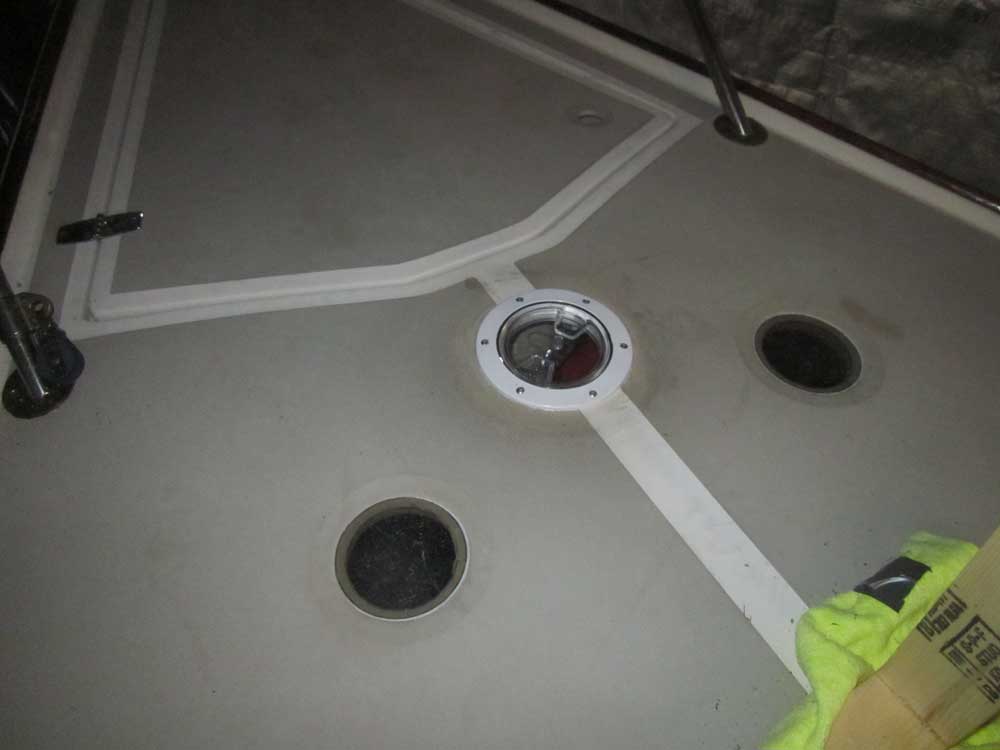
There was an old, broken, and sun-damaged solar vent fitting on the foredeck, and the owner requested that I simply replace it with a clear plastic deck plate. After removing the old fitting and sealant, I prepared the inside of the hole with epoxy, then installed the new deck plate with plenty of new sealant.
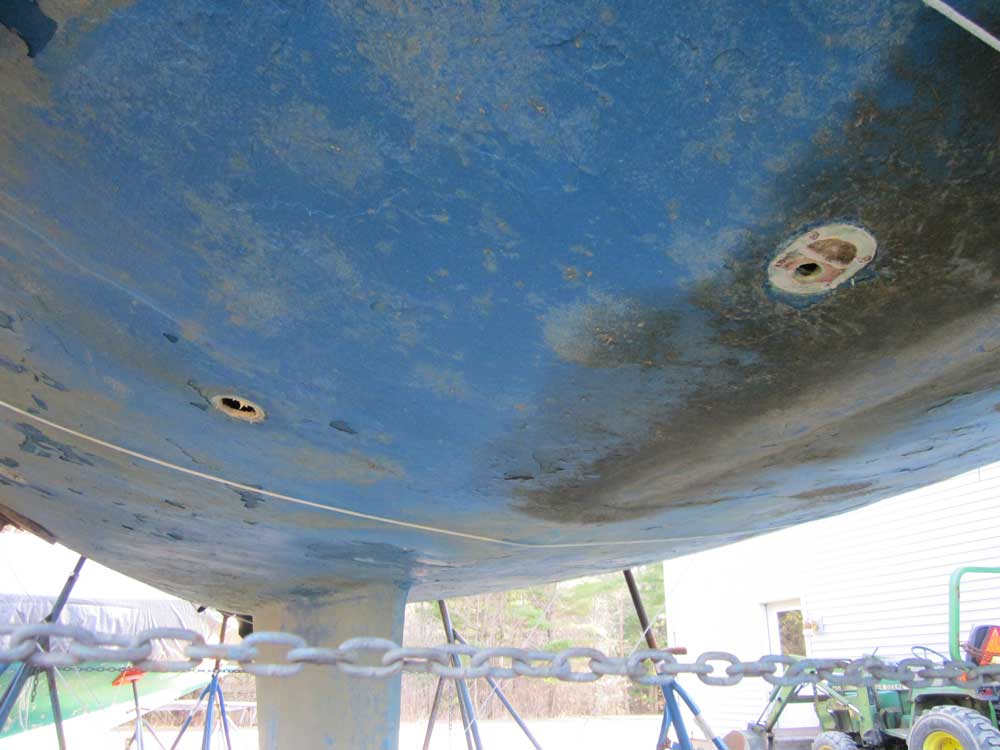
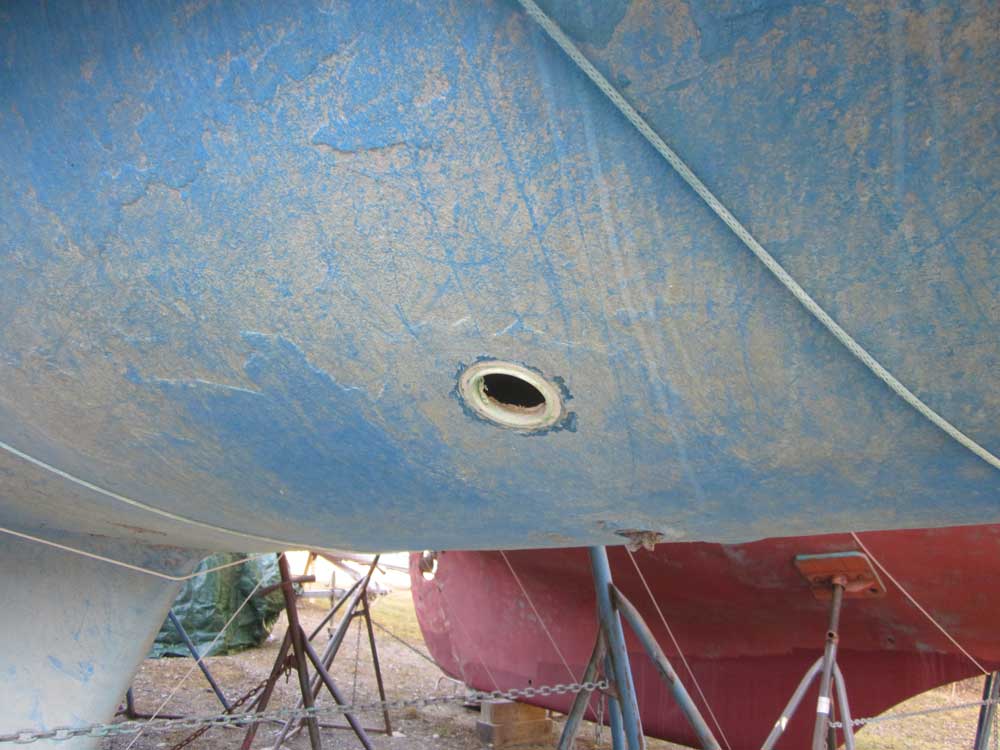
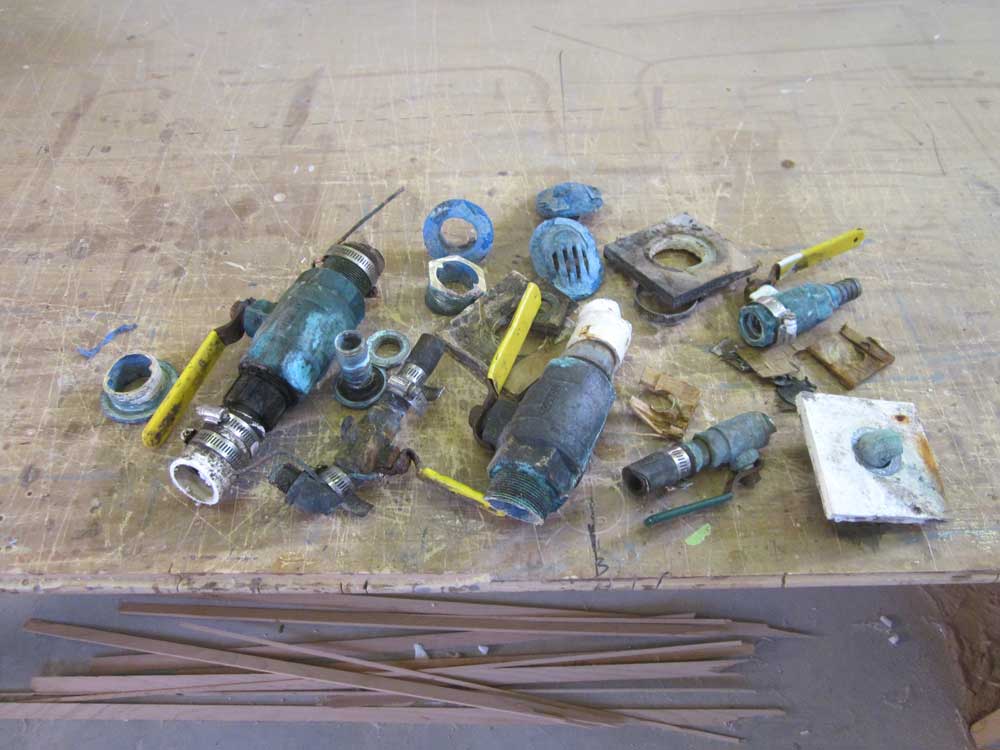
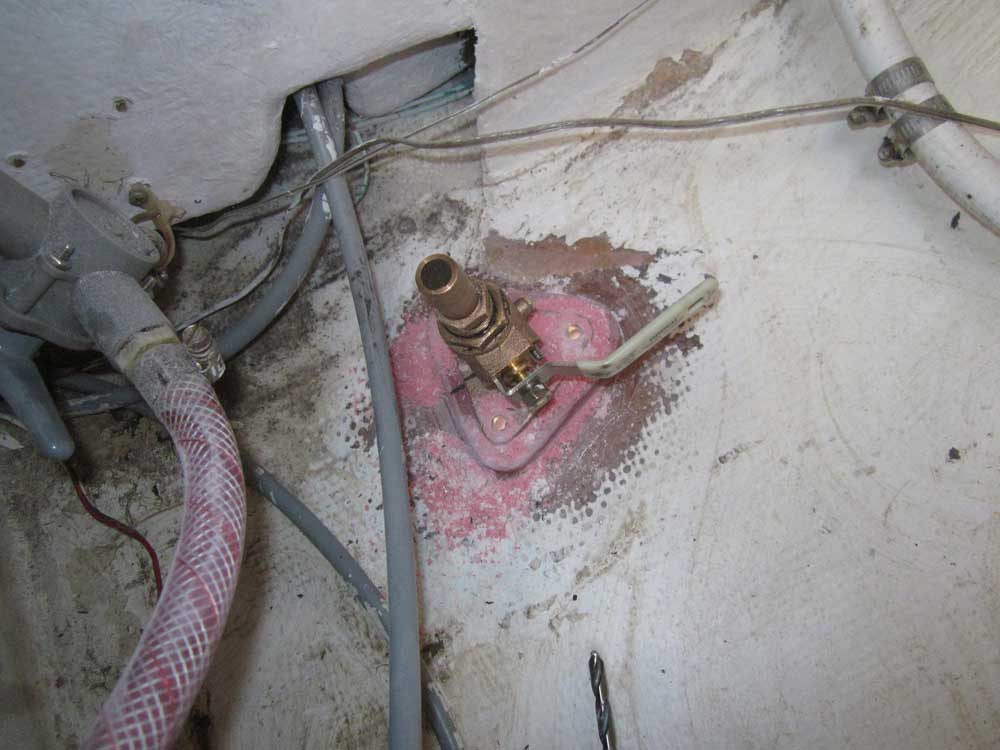
One of the main upgrades requested by the owner was to replace all the existing through hull fittings, which were the usual production-boat style comprising bronze (brass, in one case) ball valves screwed tenuously to the top two threads of bronze through hull fittings, and coated in rust and corrosion.
The first one I removed, the head intake, gave me false hope for the others: I was able to easily unscrew the valve body, and then the through hull nut, from the inside, and the fitting was gone in just a couple minutes. Alas, none of the others would be so forthcoming, forcing me to cut them all from the inside--a simple task complicated by the access in several places, but I prevailed, and with only a few scars managed to remove all fittings in an hour and a half or so.

Monday, April 16, 2012 (4.5 hours)
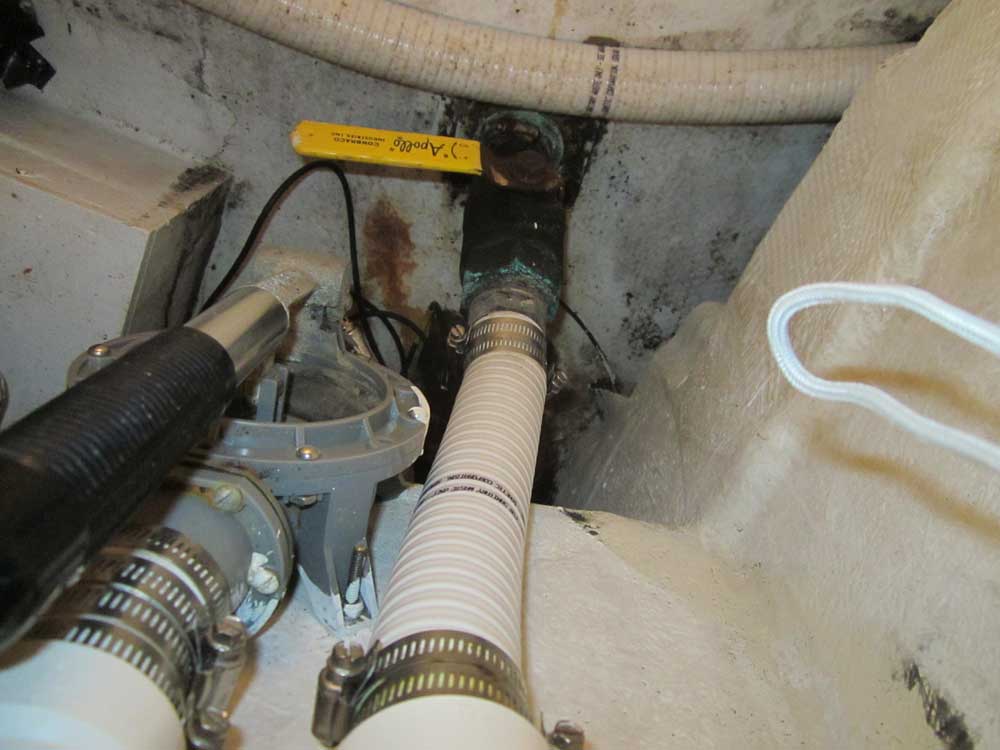
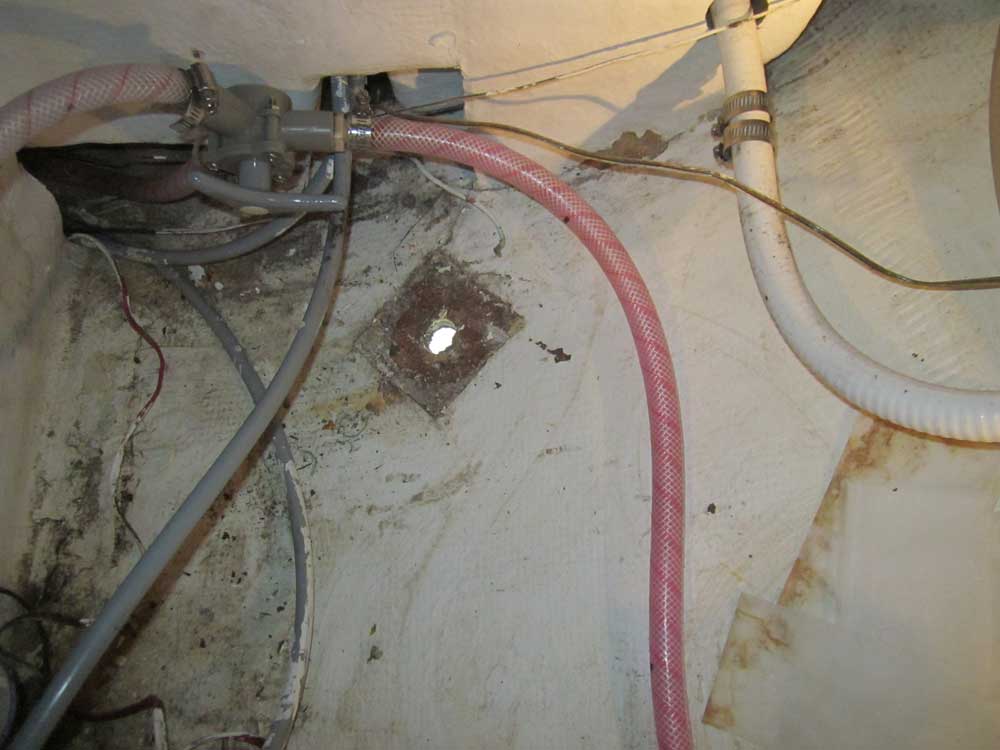
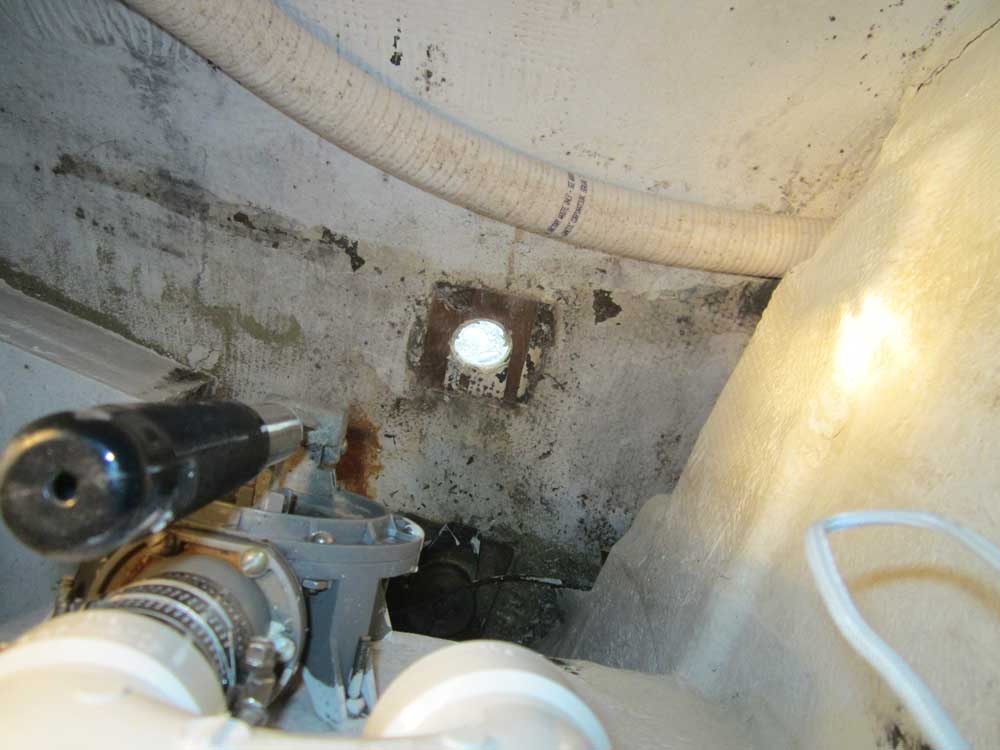
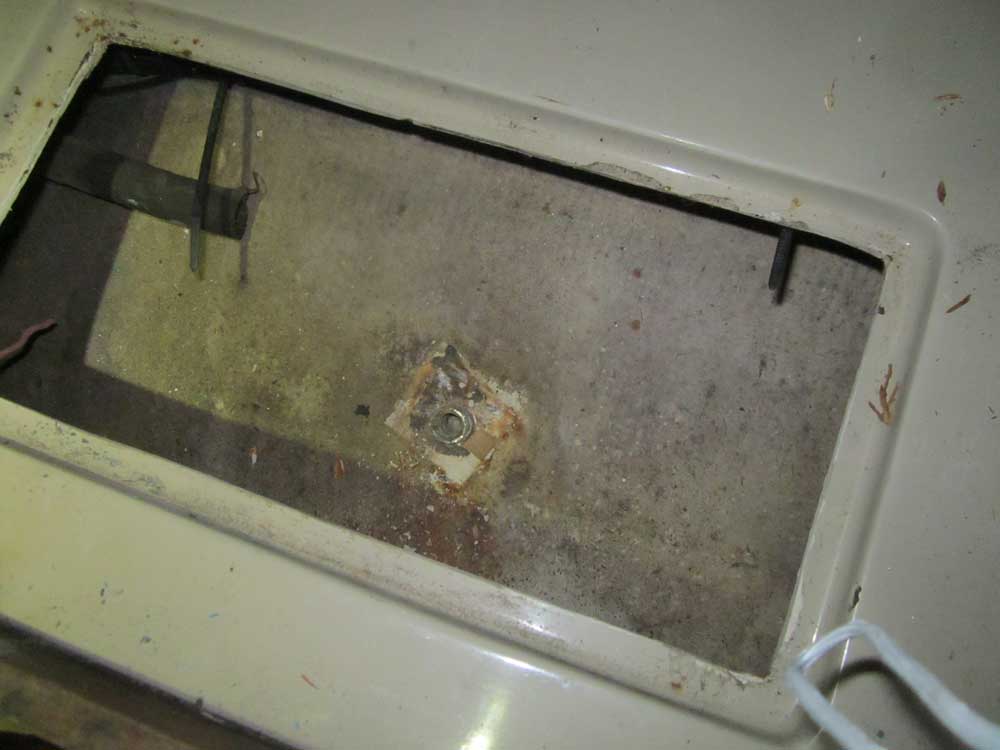
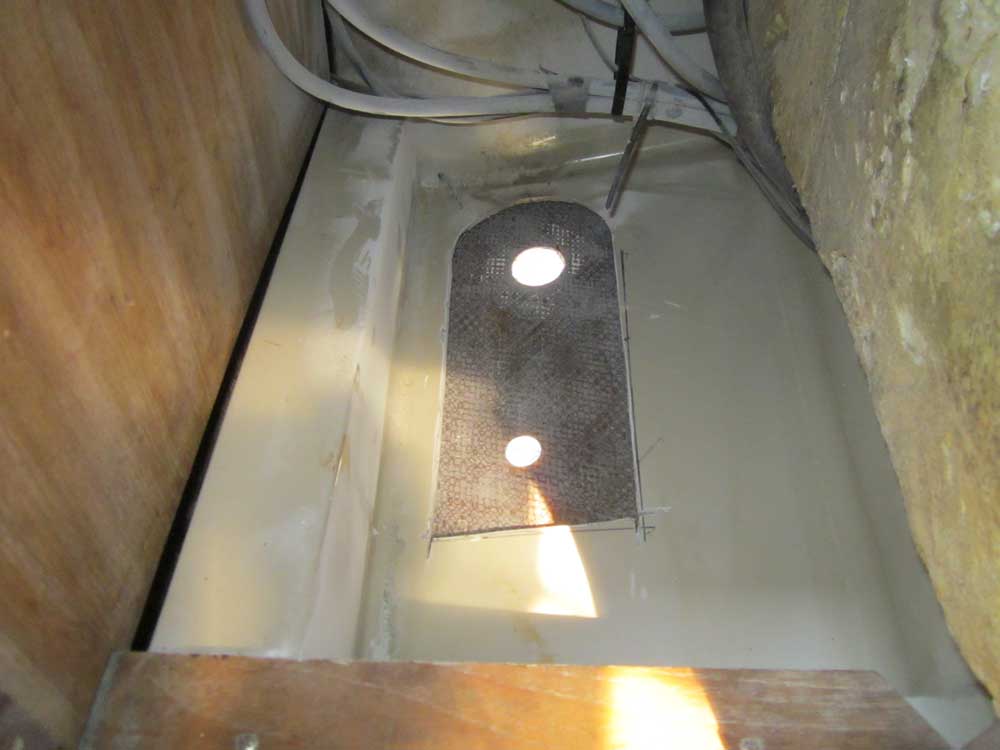
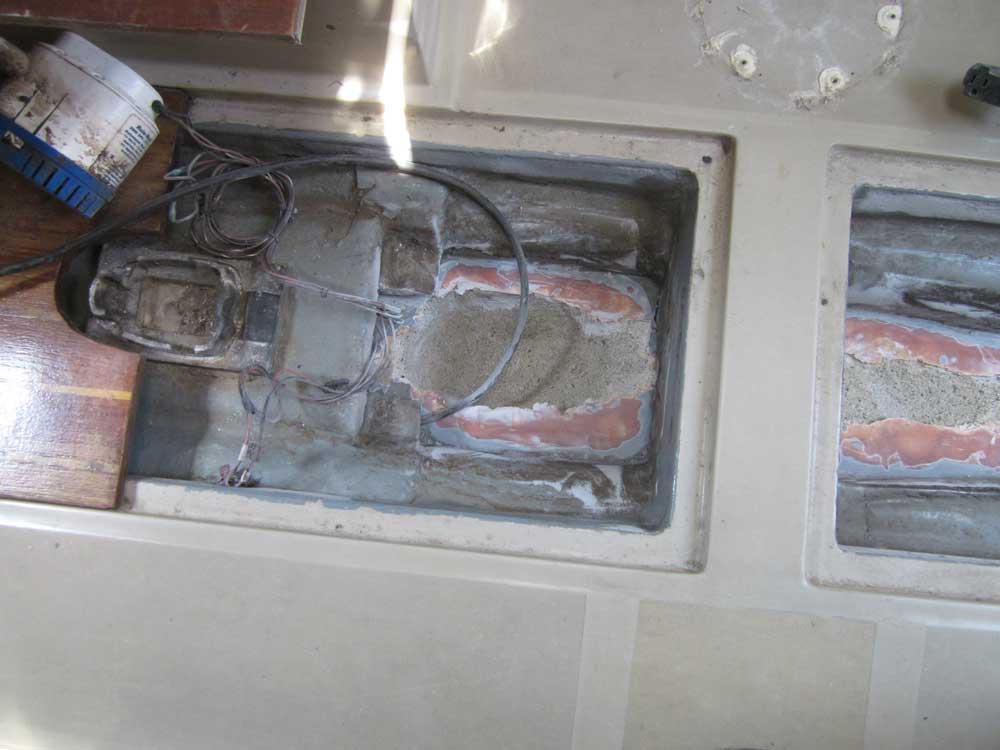
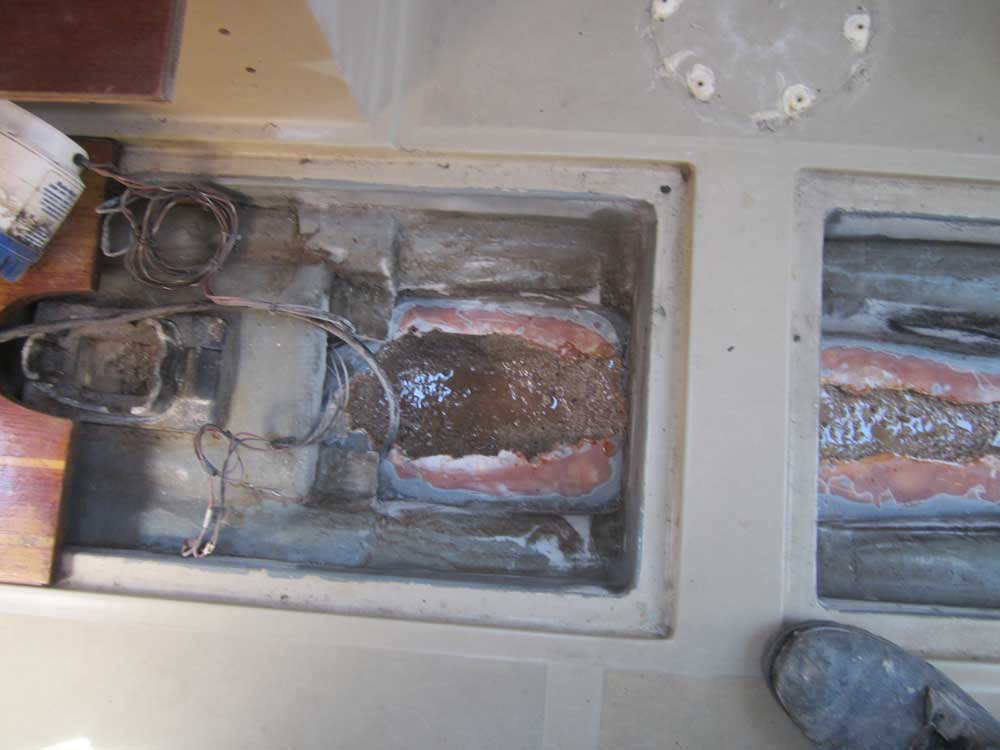
With a sander, I cleaned up the insides of all the existing through hull openings, removing debris and old paint to prepare the inside of the hull for either patching (for two of the openings) or new fiberglass backing blocks for the through hulls. The owner requested that I move the engine intake, which had been located inconveniently behind the engine, to the locker beneath the galley sink where it'd be easily accessible. This required that I cut out some of the fiberglass liner in the locker, which I did with grinder and a cutoff wheel.


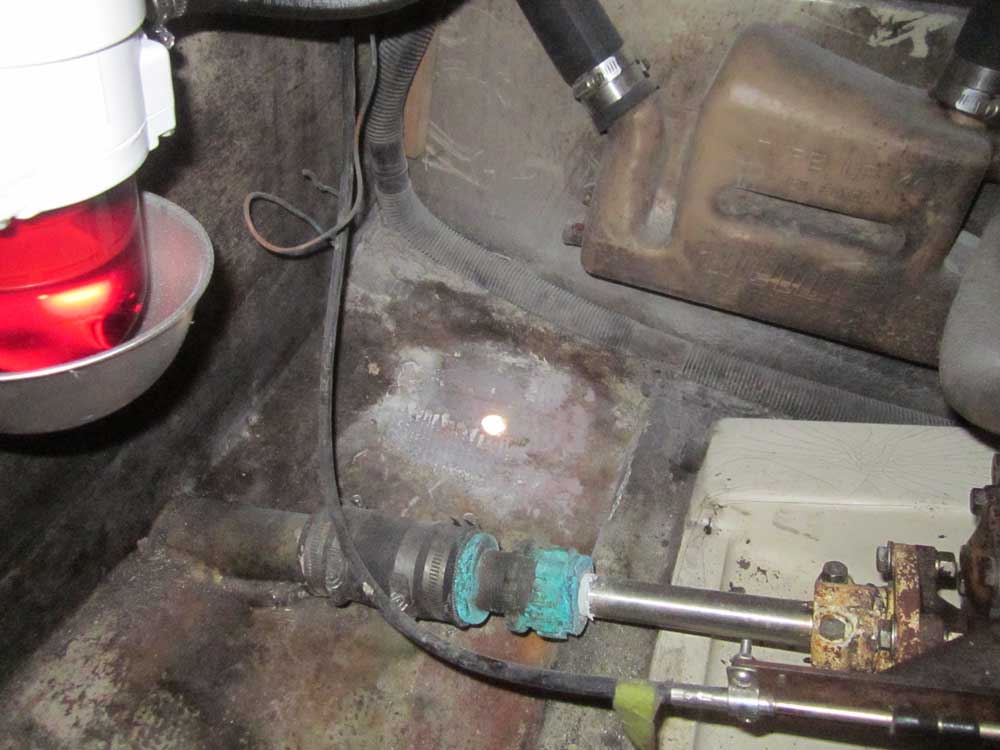
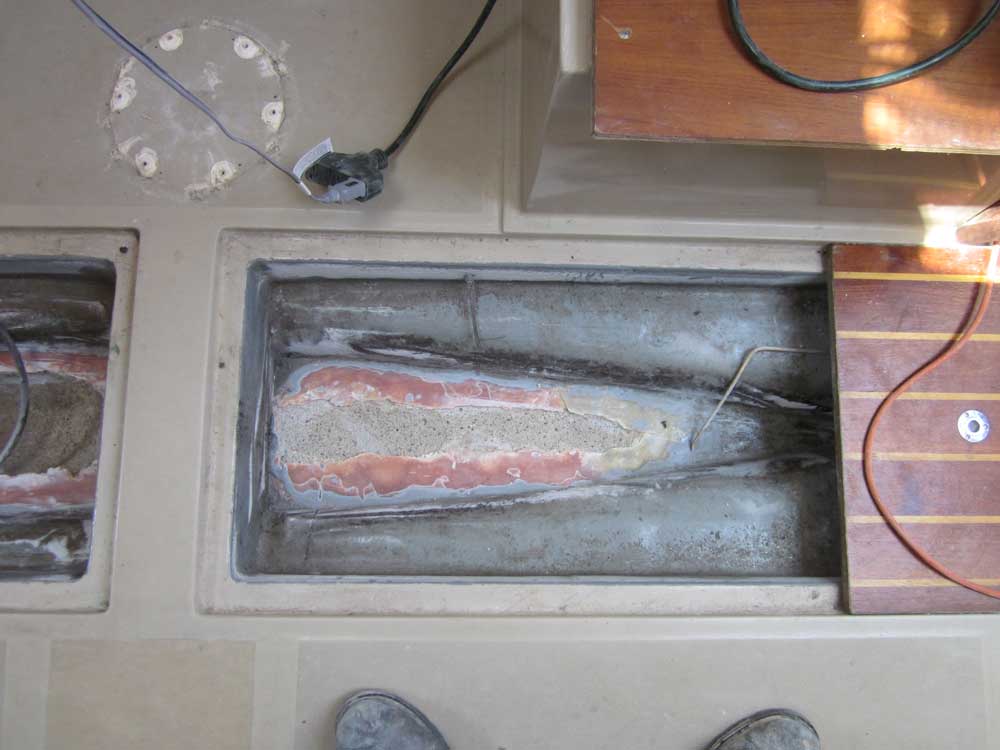
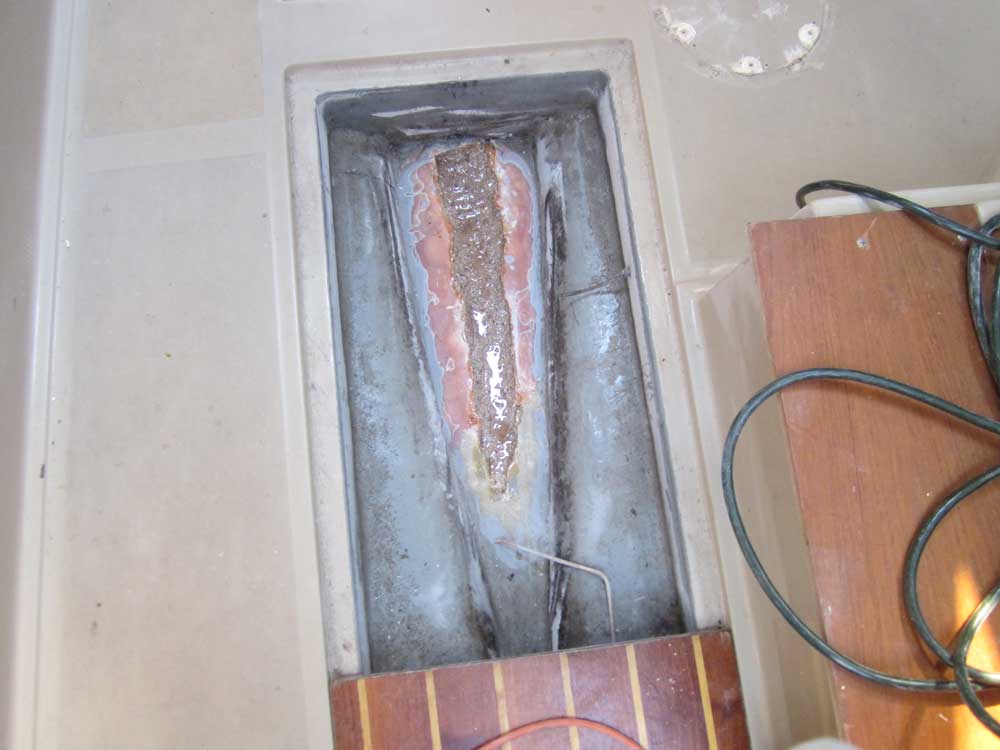
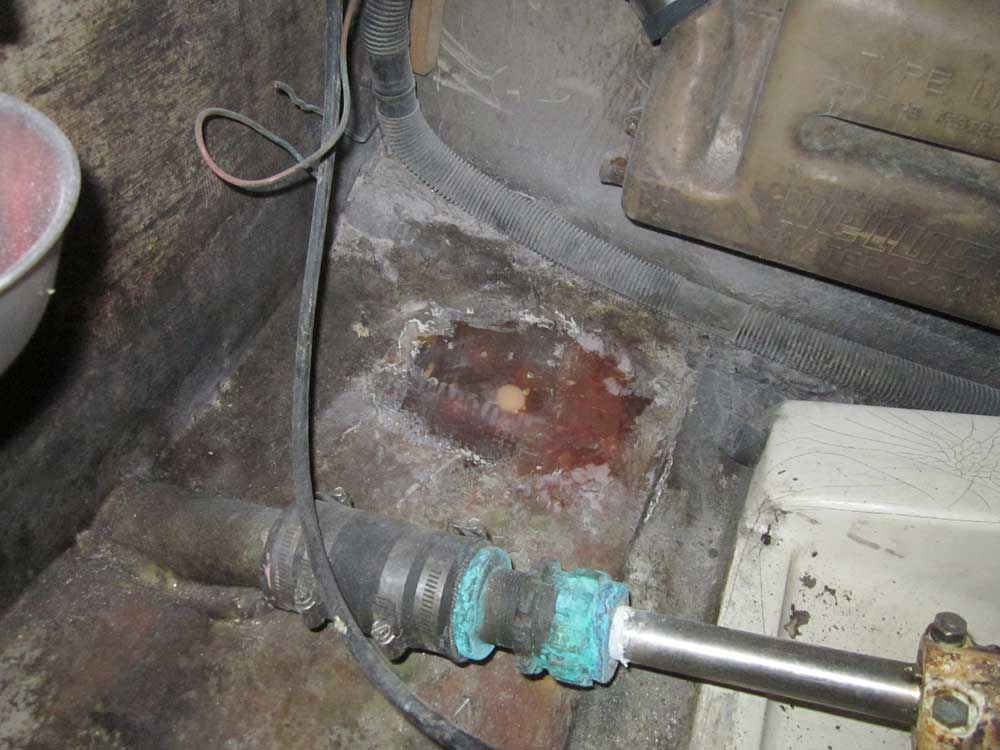
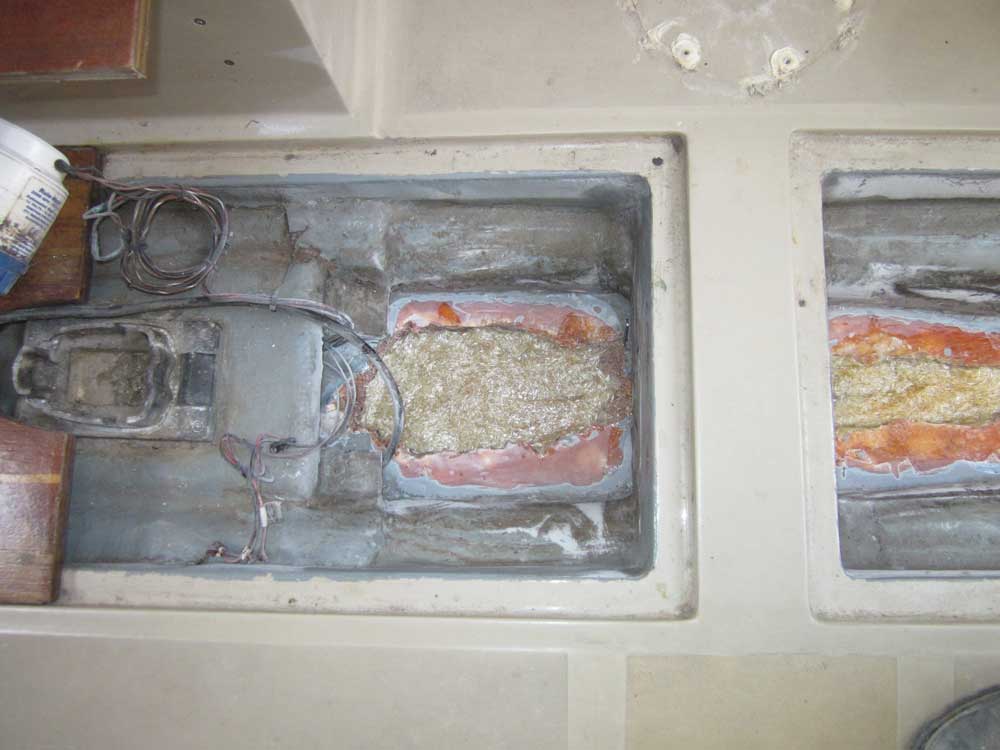
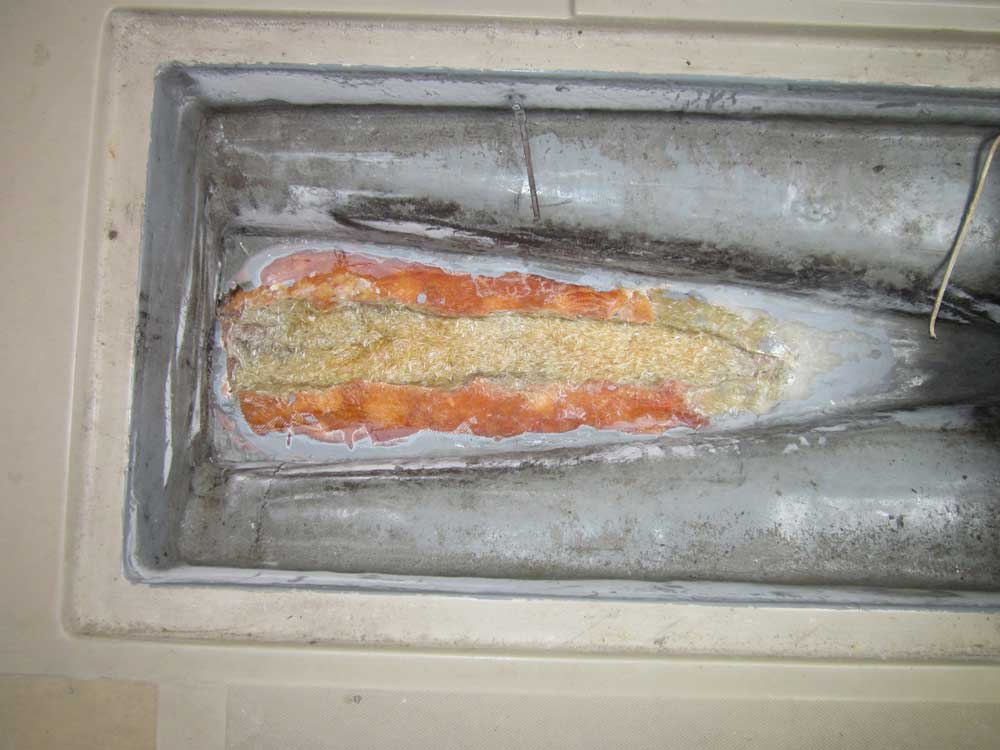
While I was making a mess, I prepared a section of the bilge for new fiberglass. Earlier, the owner had chipped away some damaged fiberglass in this area, exposing sandy concrete filler in the encapsulated keel. Picking up where he left off, to prepare for an eventual overlay of new material, I ground the edges of the area to remove gelcoat and debris. Later, I coated the exposed concrete with epoxy resin to hopefully begin to seal and stabilize the surface for future steps; it was like painting a sandbox, but ultimately did what I needed it to do.
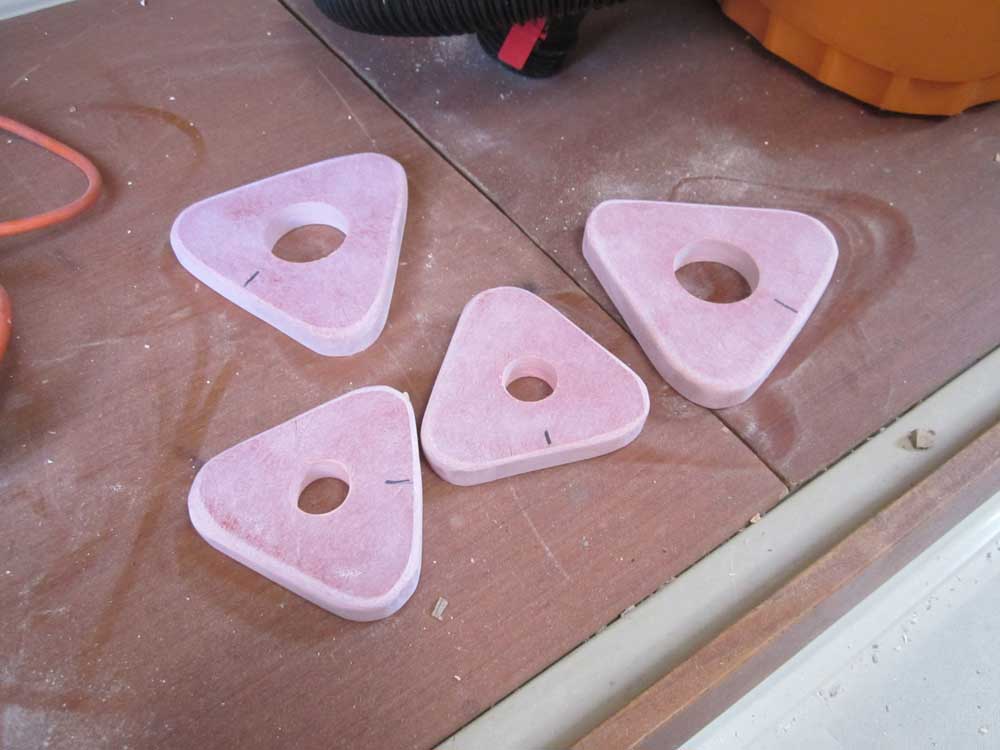
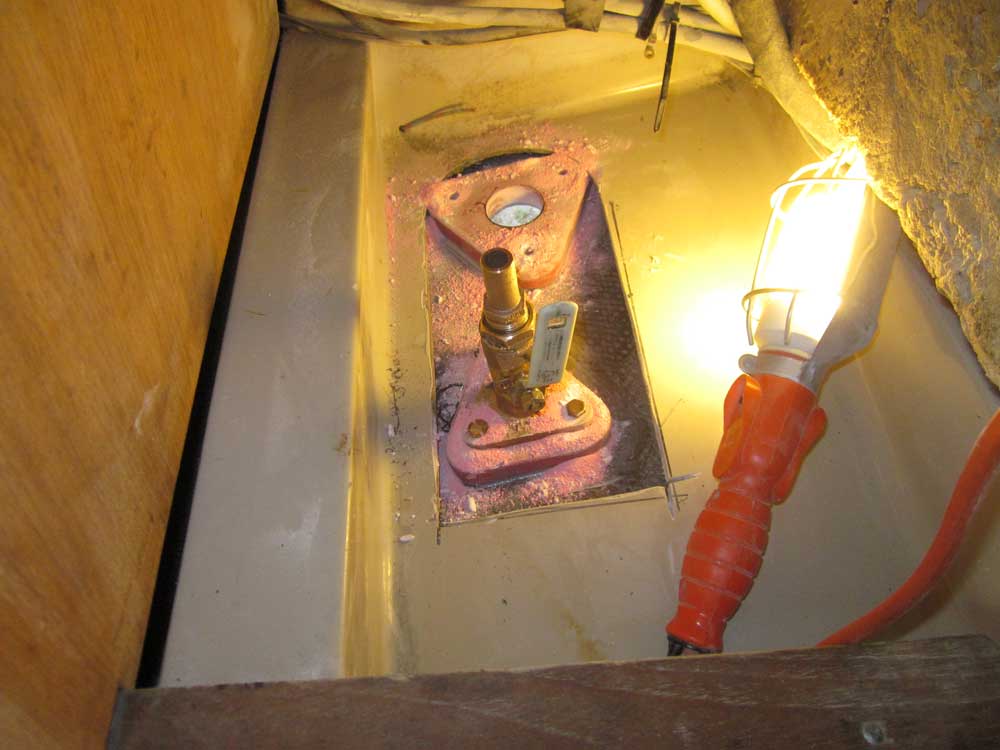
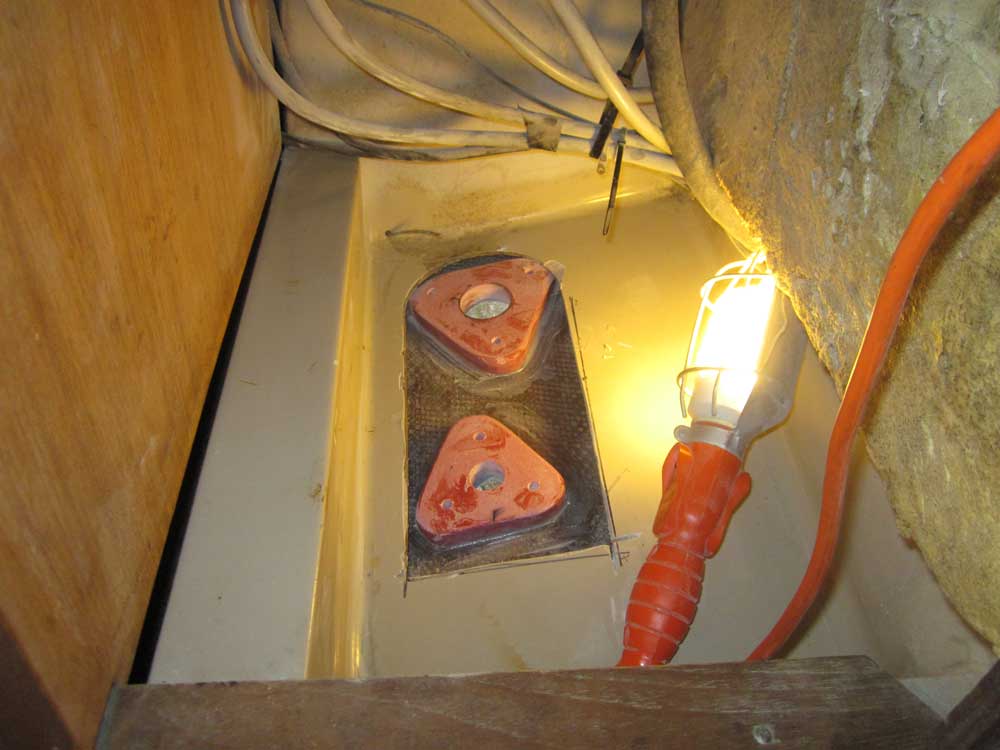
For the four new through hulls, I prepared backing blocks of 3/4" prefabricated fiberglass.
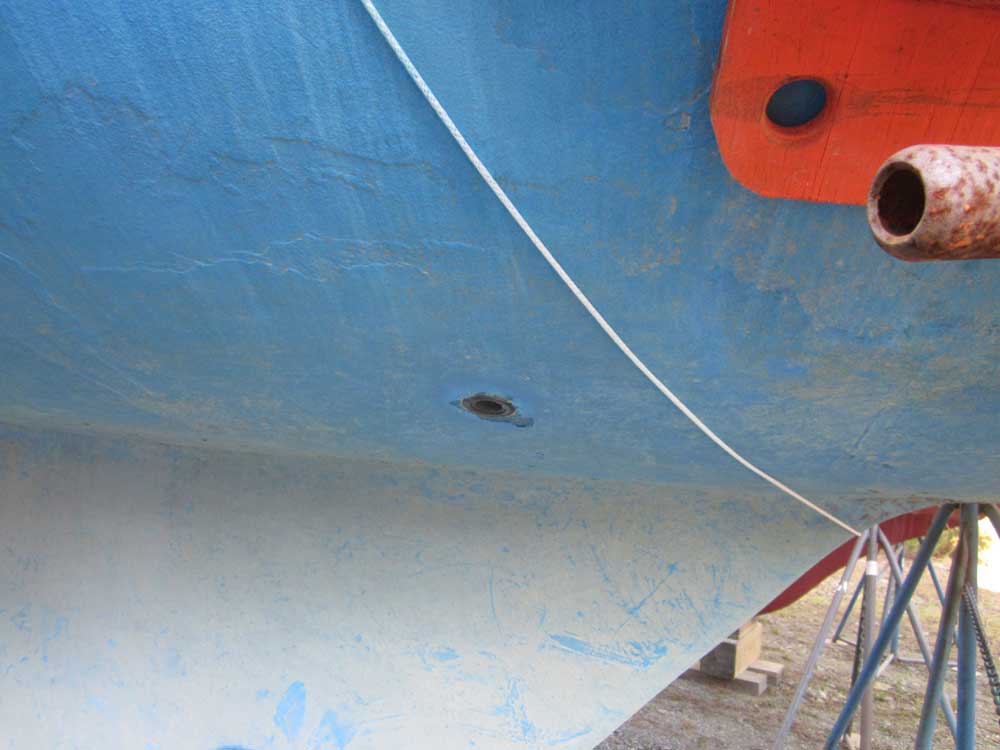
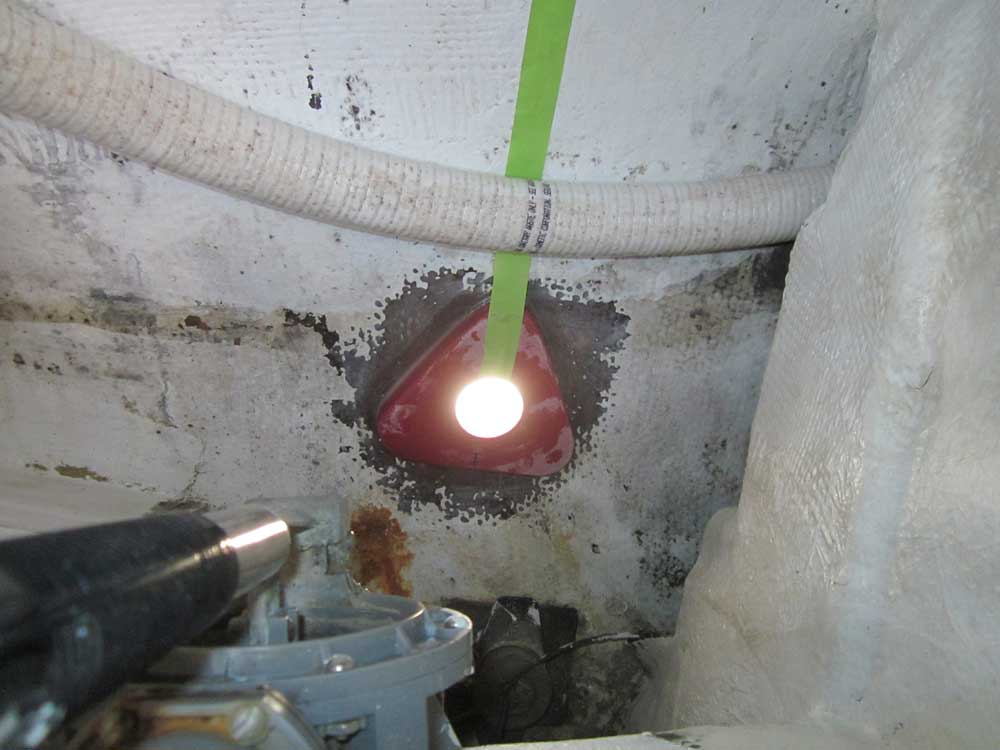
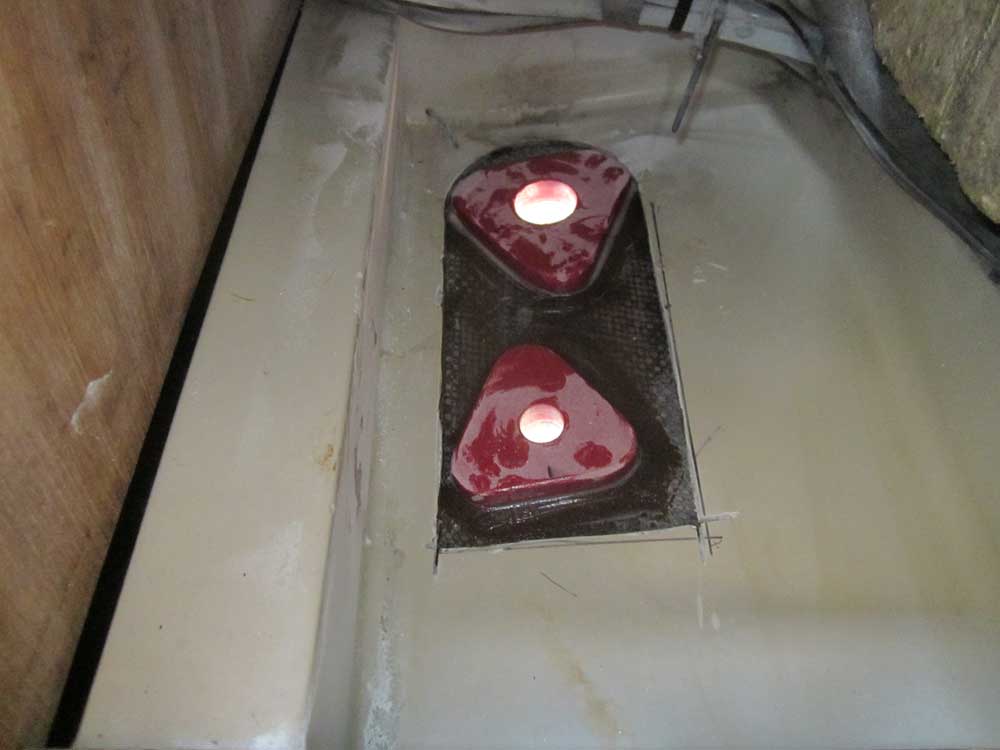
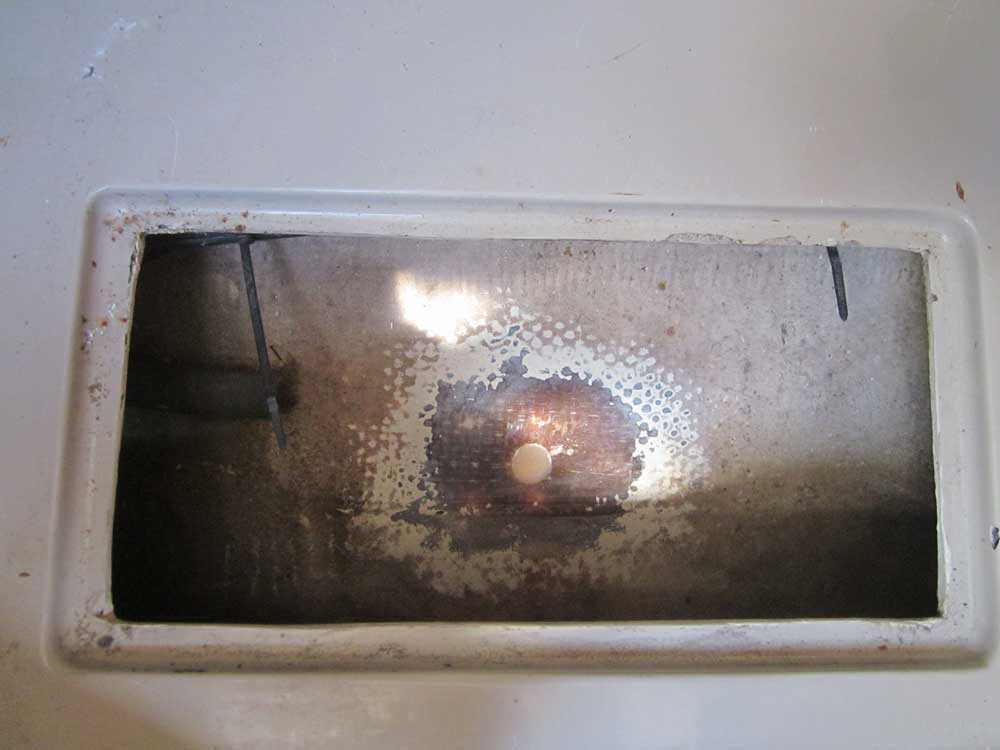
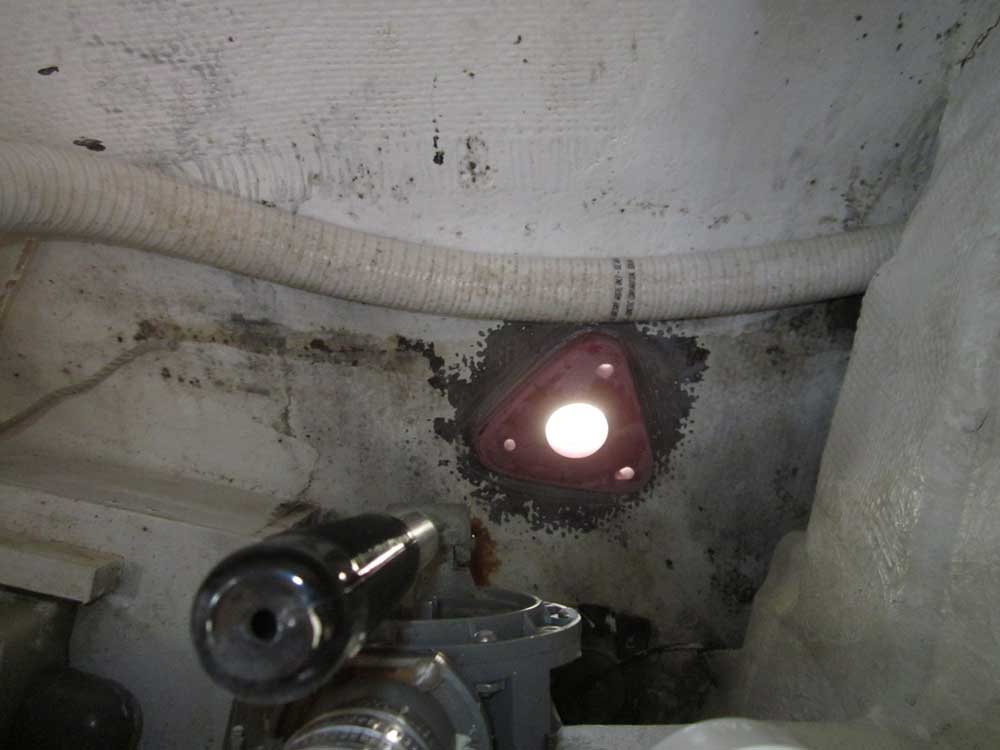
After cleaning the inside of the hull and the insides of the existing holes, I installed the backing blocks in a bed of epoxy adhesive. For the two small through hulls that would no longer be used, I masked over the holes from outside and filled the holes with the thickened epoxy, the first step in patching.

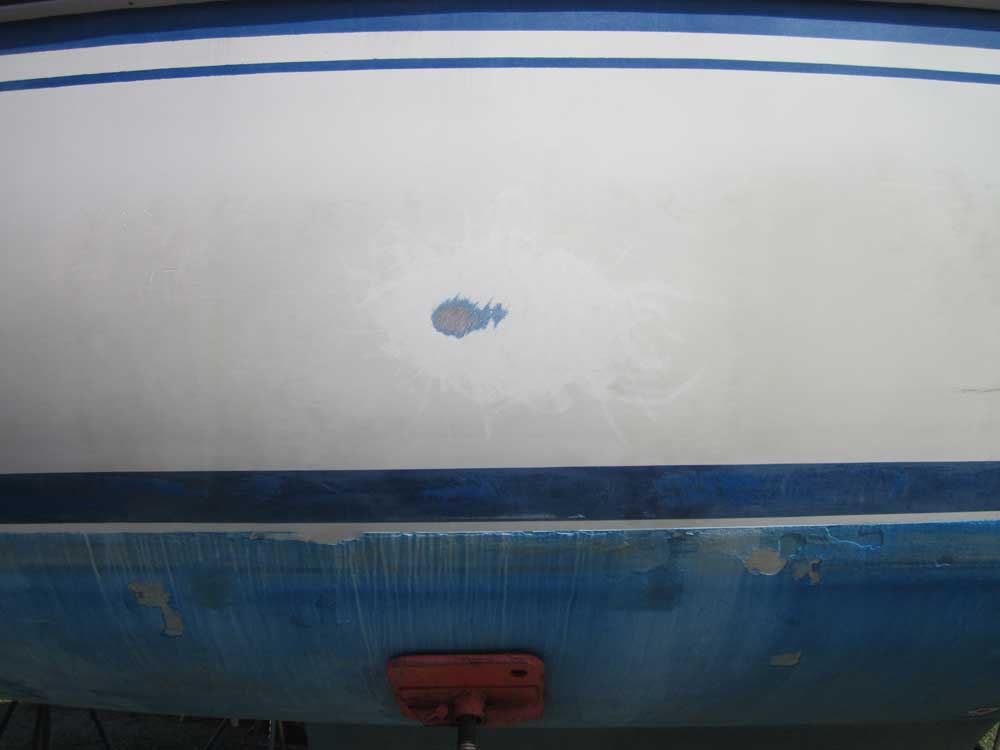
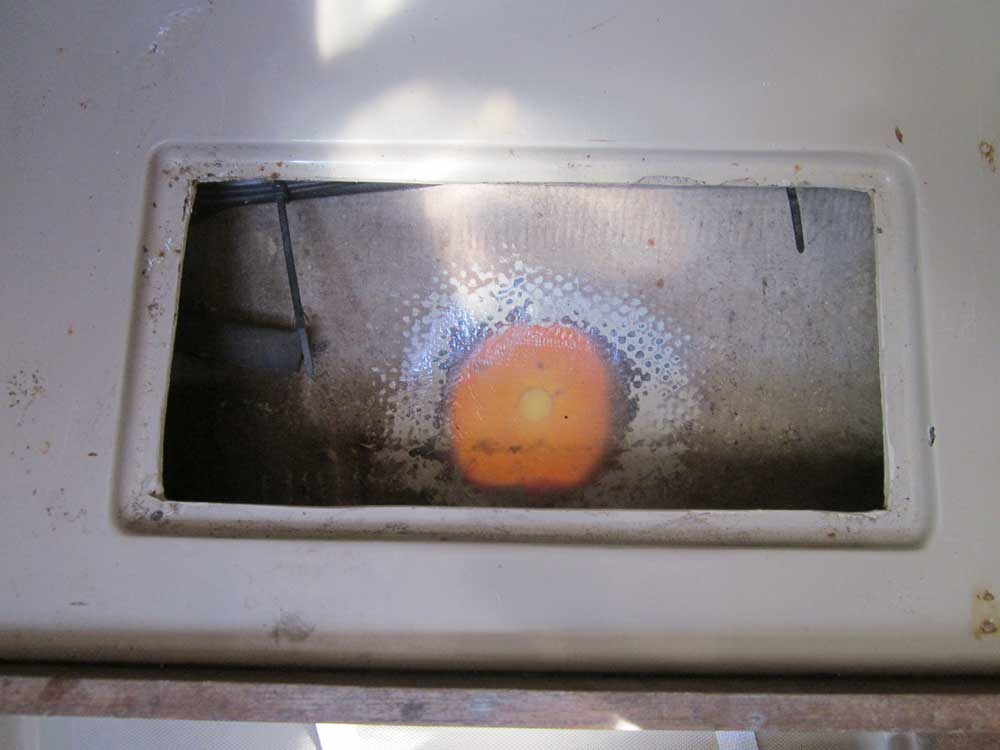
The starboard topsides featured an abraded area where the boat had come against a dock or other obstruction, and we planned to patch and blend in some gelcoat to match as closely as possible the original. To begin the process, I applied some filler to take care of porosity in the exposed laminate, and also some minor scratches around the main damage. This photo shows the area in question before completing any work.
Tuesday, April 17, 2012 (4.75 hours)
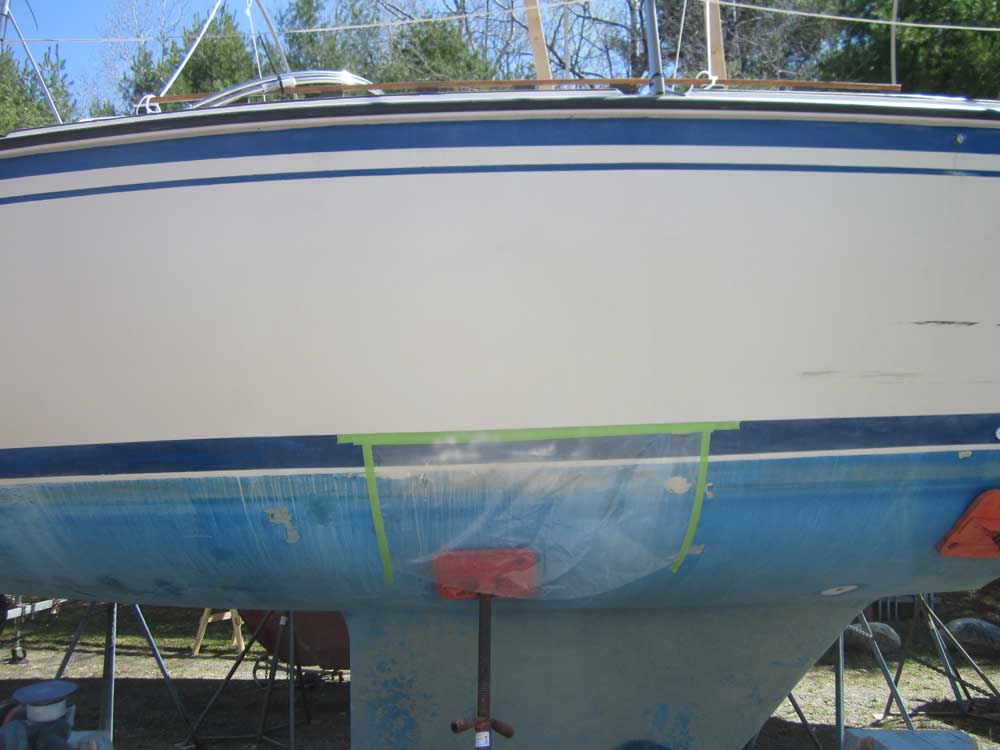
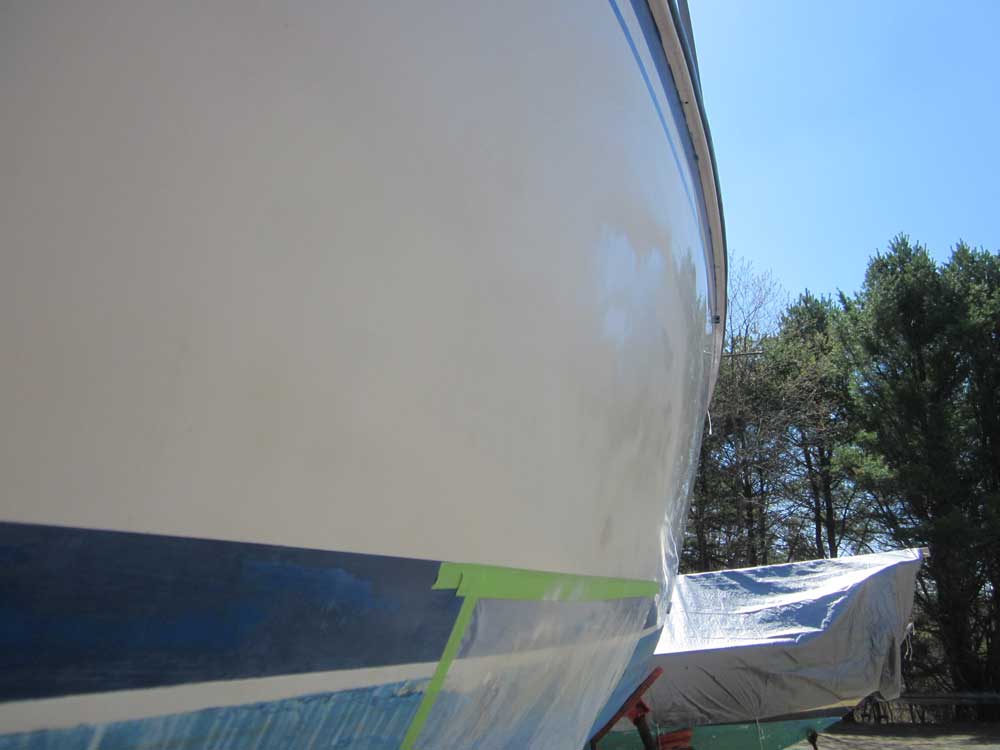
After lightly sanding the filler over the topsides patch, and otherwise preparing the area, I applied a light coat of color-matched gelcoat, obtained to match the original color of the boat. The match was very good considering the age of the original gelcoat. I applied a spray coat of PVA as an oxygen barrier (not shown here), then left the patch to cure before continuing.
I lightly sanded and cleaned up the seacock backing blocks as needed to remove any excess epoxy, then prepared the outsides of all the openings by removing the bottom paint around each fitting. For the two abandoned through hull holes that I'd filled yesterday, I ground out a dished area several inches across to accept new fiberglass, which I installed afterwards, with layers on both the outside and inside of the old holes.

Continuing work on the bilge area, I began to fill the void left by the removal of some of the old concrete. For this filler, which was intended only to bring the area flush with the surrounding fiberglass, I used polyester resin mixed with choppings to form a solid mass, and installed the material in several lifts of about 1 qt. total mixed volume over the course of the day, slowly bringing the void up to the level of the surrounding areas; the incremental approach prevented excess heat buildup. By the end of the day, there was room for probably one more application, which I'd do on the 'morrow.
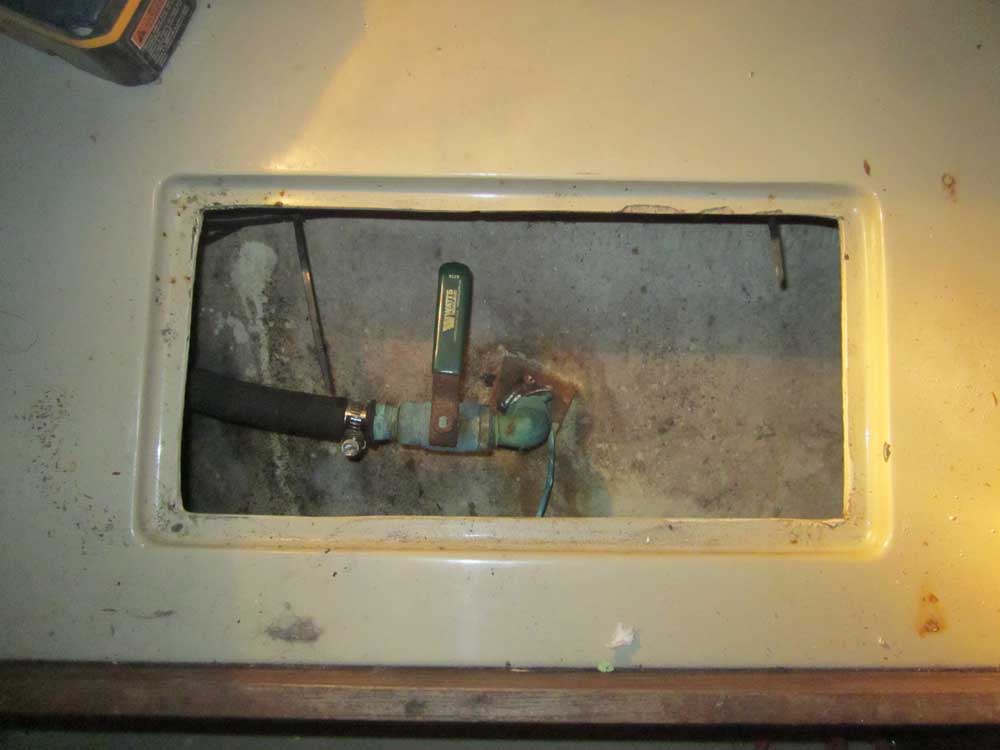
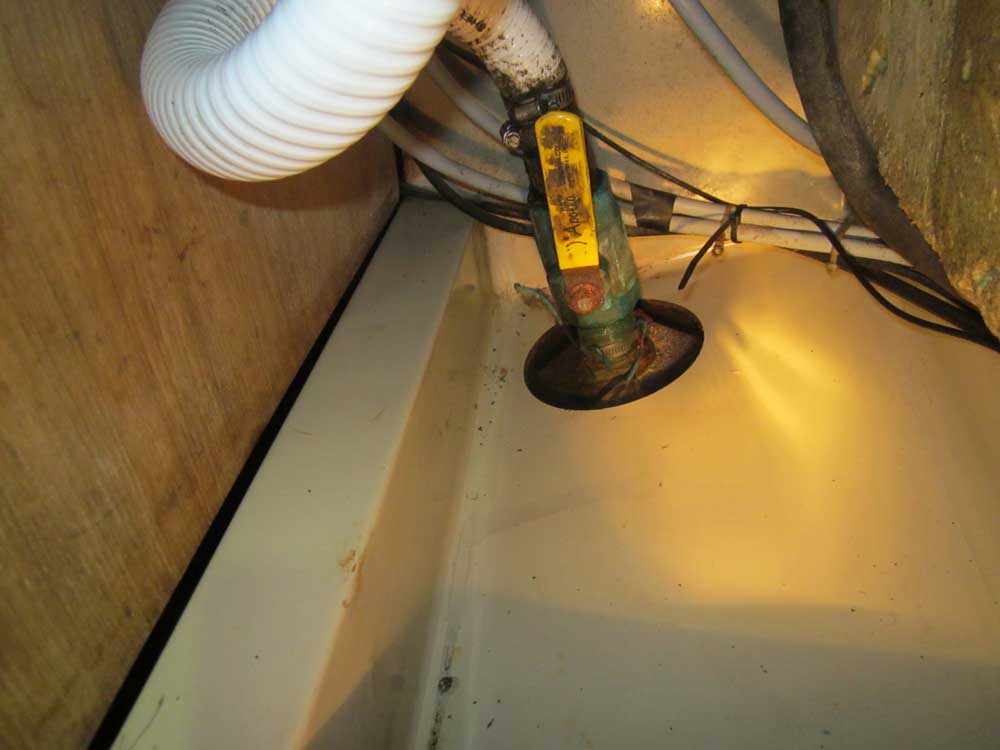
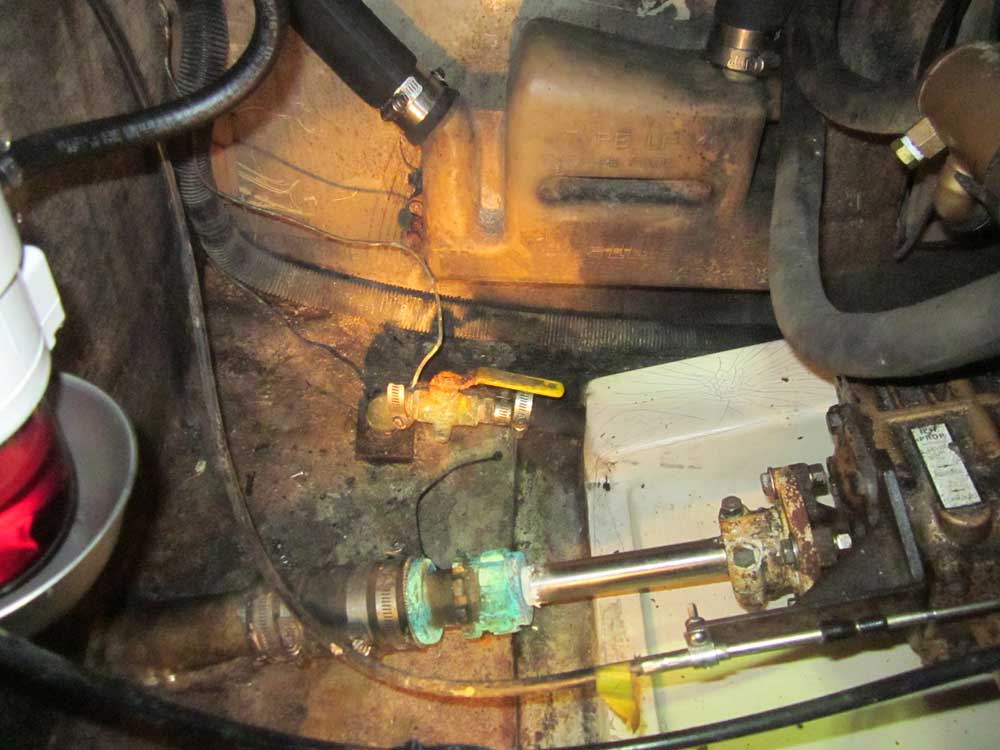
Throughout the remainder of the day's work, I prepared the four new seacocks and through hulls for installation, beginning by preassembling the valves, flange adapter bases, and pipe-hose connectors.
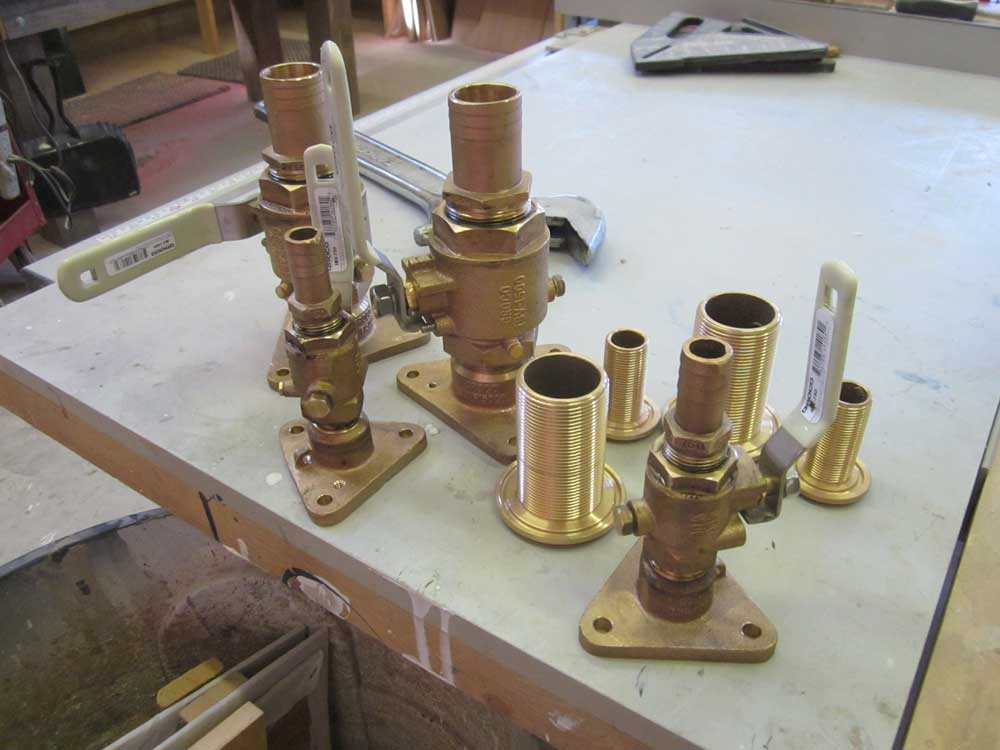
The two 1-1/2" fittings would require that the through hulls be cut a bit shorter to accommodate the overall thickness of the hull and backing block, so with the fittings pushed through from the outside I made some reference marks for later cutting. The 3/4" fittings did not require shortening.
This complete, I dry-installed the various fittings and drilled for the flange mounting bolts, a relatively simple theoretical process that took much longer thanks to difficult access in some areas, but by the end of the day I had all the bolt holes prepared, and would be ready to install the fittings permanently after only a few minor additional steps.

Continue to Page 2 >
