
110 Cookson Lane | Whitefield, ME 04353 | 207-232-7600 | tim@lackeysailing.com
Westsail 667 | Wednesday, November 13, 2013
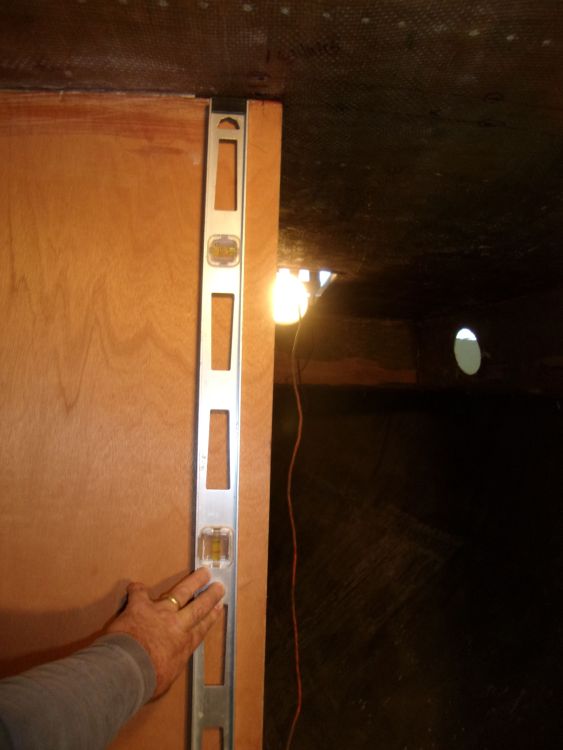
To get started, I banged away the glued-on support blocks and removed clamps and screws that we'd used to secure the bulkheads in place while the epoxy cured overnight. With that done, I prepared to cut the inside vertical edges of both main bulkhead sections to their final dimensions, and plumb; we'd left these intentionally oversized to allow a fudge factor and to make it easy to get a nice, plumb inside edge in exactly the right place.
Exactly the right place began with a new mark 3/4" outboard of the centerline on the port main bulkhead, as dictated by Westsail guidance. This demarked the edge of the passageway in the bulkhead. With this mark determined, I plumbed a line down with a level, then jigsawed to the line.
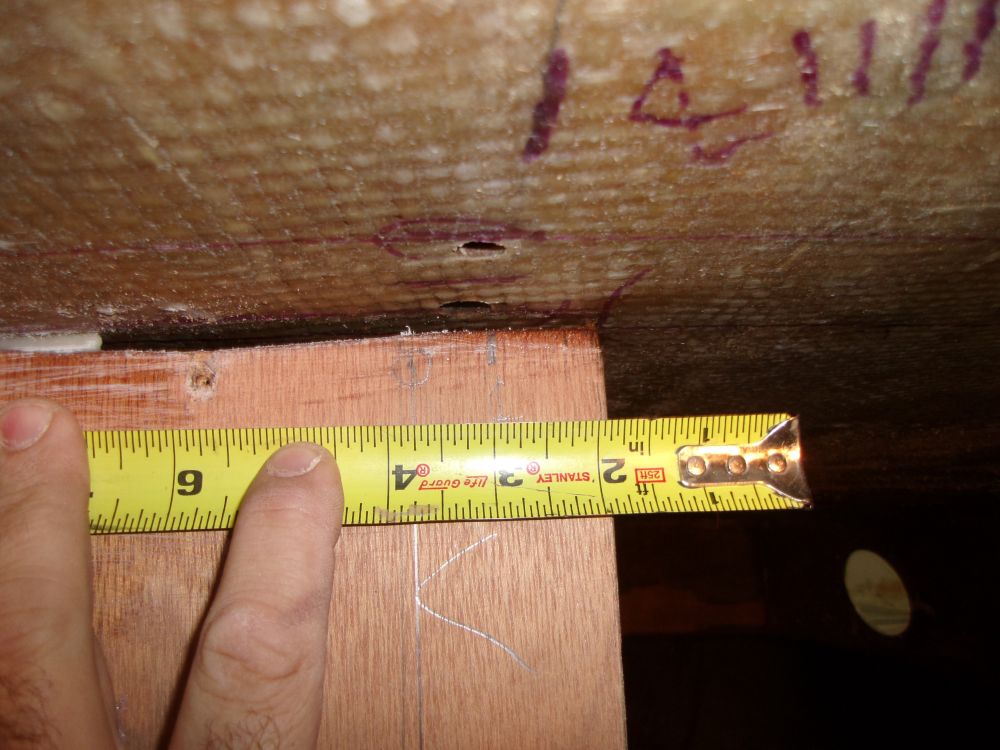

Once the first (port) side was cut, I measured to the starboard side the prescribed distance--in this instance 19-3/4"--to locate the starboard edge of the opening, and repeated the process of striking a plumb line and cutting the bulkhead to the new marks. This created the rough opening for the passageway.
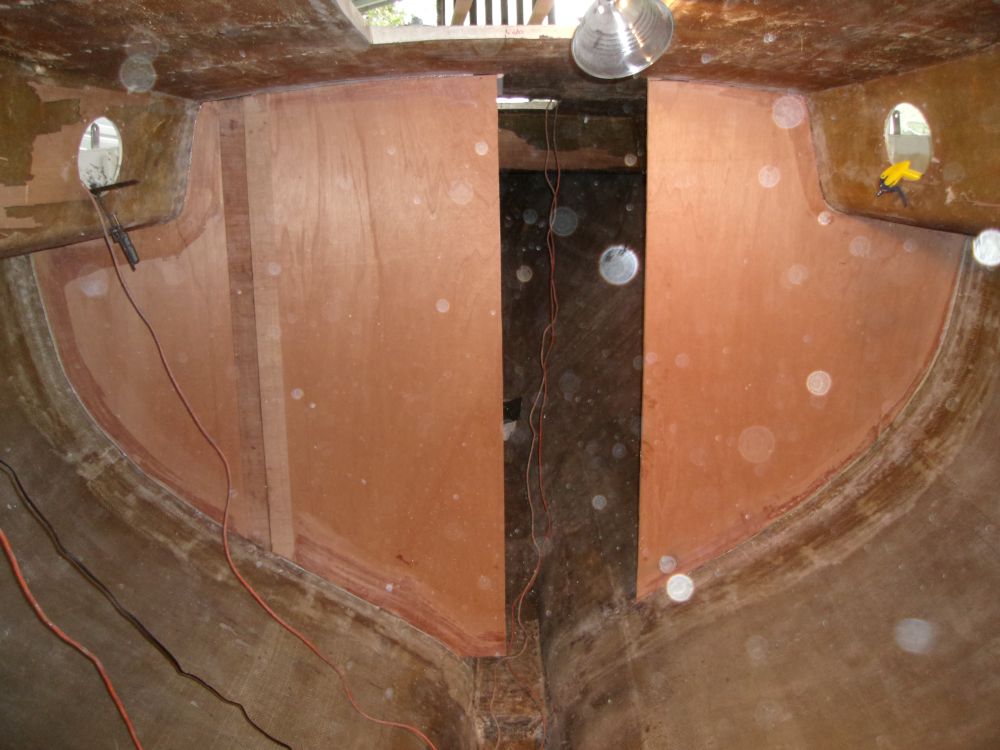
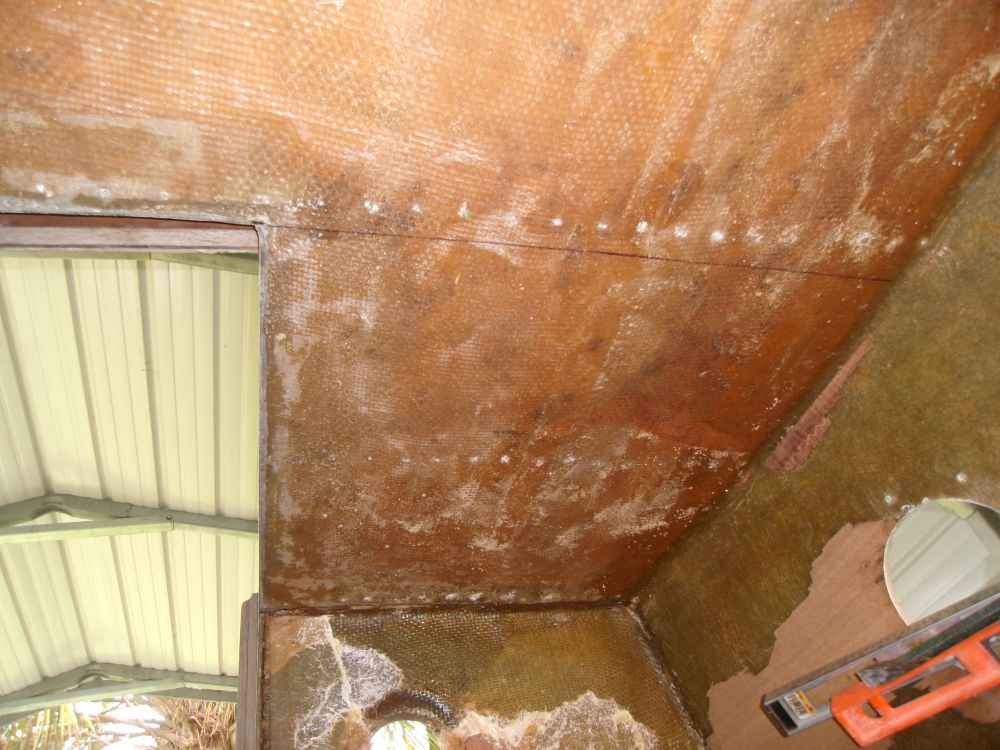
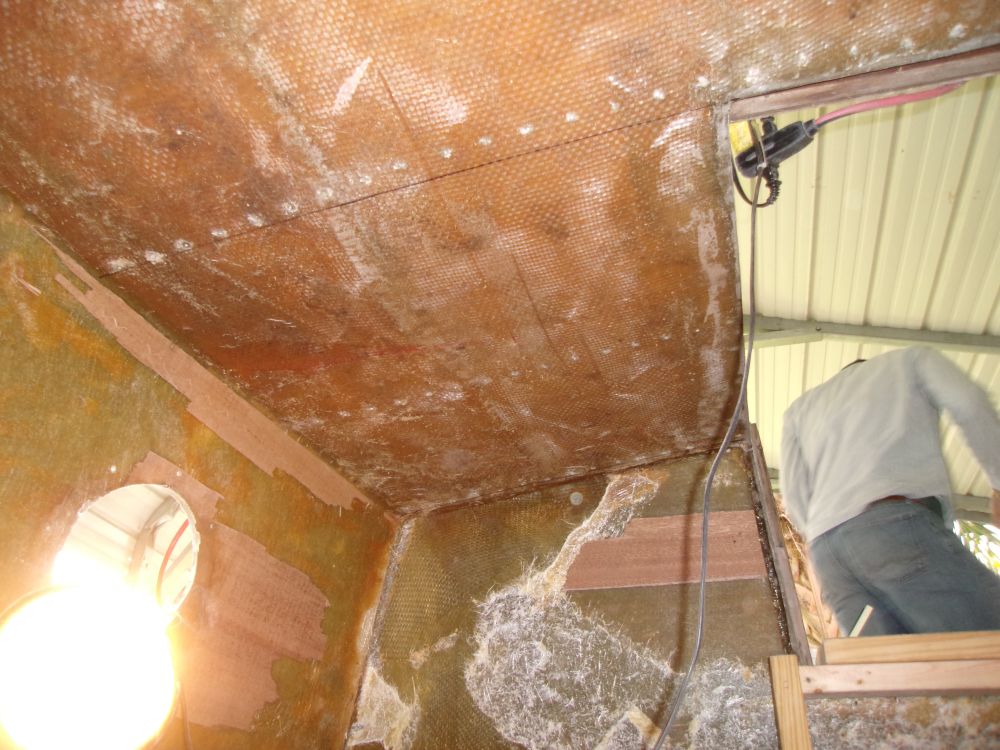
Meanwhile, Brian water-washed and lightly sanded the epoxy visible at the edges of the bulkhead, preparing these areas for future bonding steps that we'd get to in the near future, and afterwards we pried away a section of 1/2" veneer plywood over the aft end of the cabin trunk, a tired old veneered that hung awkwardly down below the cabin trunk and needed to go; then we cleaned up the interior a bit to get organized for the next task: templating and installing the bulkhead at the aft end of the cabin, demarking the engine room beyond.
Here, once more, we required a bit of thought and initial layout to get going. While the Westsail build manual guidance gave some basic measurements, there was not necessarily any specific reason to feel bound exactly to this information, other than in the most general sense, so with that information in mind, but also the three-dimensional realities of the situation first and foremost, we eventually determined where the bulkhead should fall. Now we had to ensure accuracy of its position in terms of being parallel to the main bulkheads at the other end of the cabin.
Fortunately, during earlier layout we'd determined that the hatch openings were square and otherwise aligned within reasonable expectations of accuracy, so it was relatively straightforward to transfer some measurements aft along the overhead to just forward of the cabin trunk's after bulkhead, from which we used a plumb bob to drop the marks to the hull.
This position was still further forward than the bulkhead wanted to be--it needed to be just beneath the forward edge of the bridgedeck--so we offset the plumbed marks a certain distance aft to bring the layout marks to the proper position, more or less where the old bulkhead (which we removed earlier in the week) had been, but now more accurately positioned. We checked the final position with a plumb bob, this time to essentially transfer the marks back up to the bridgedeck to ensure that the bulkhead would ultimately land where desired.
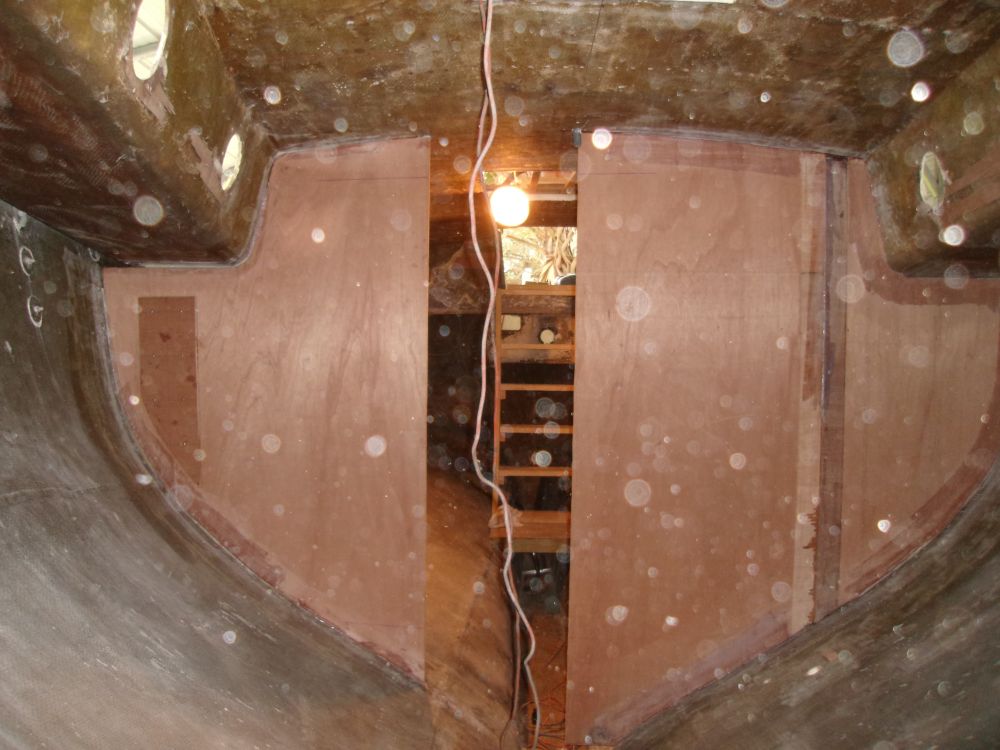
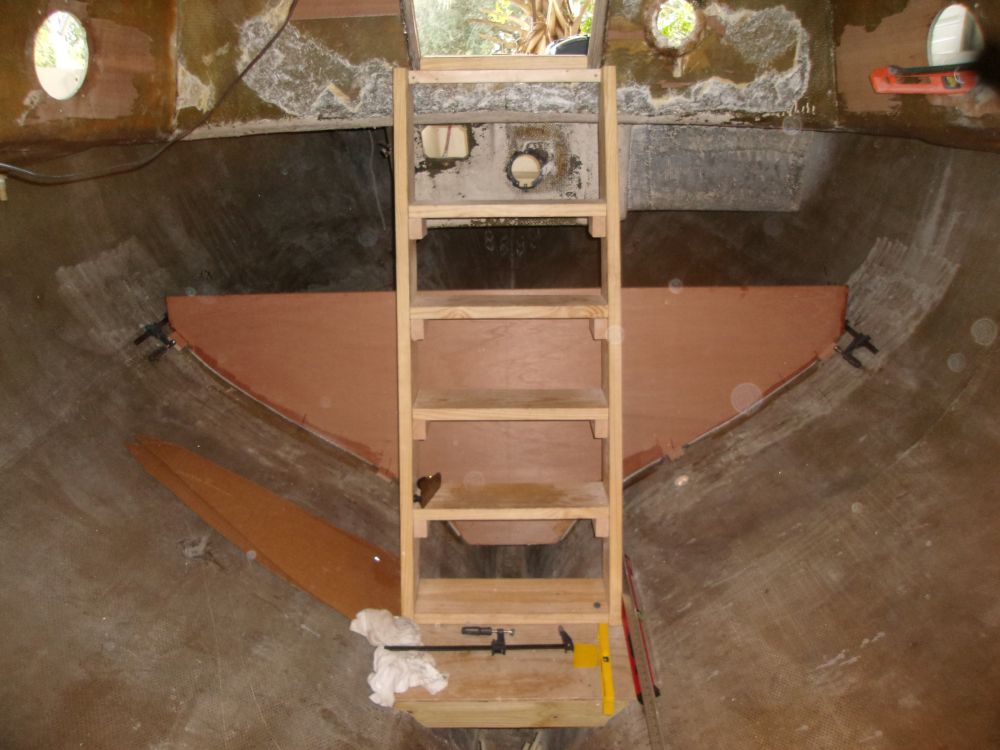
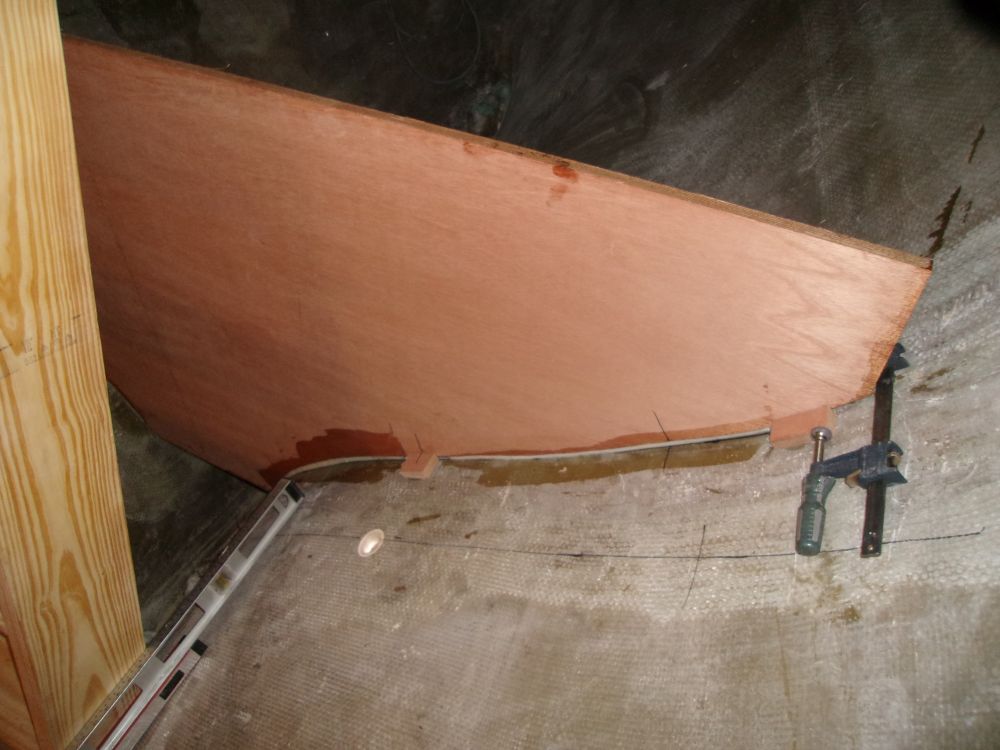
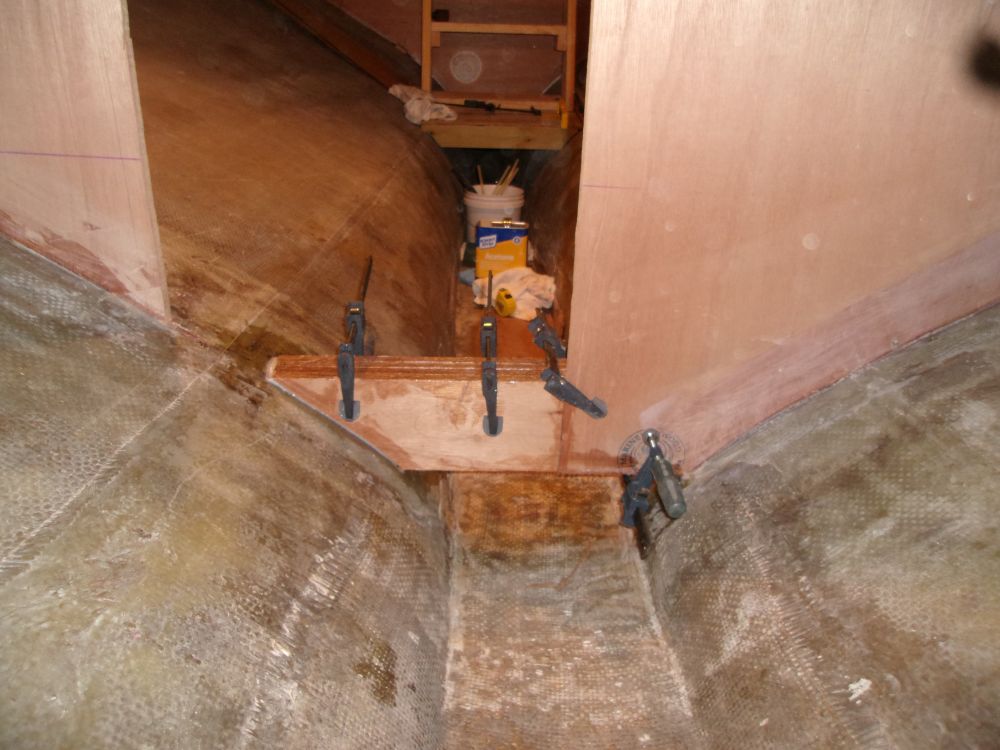
The final bit of pre-layout was to determine the lowest point of the bulkhead section we were working on. This large bulkhead would eventually be comprised of several different pieces: the main section on which we were currently working; a second section above that would extend the bulkhead to the bridgedeck; and a smaller section to extend into the depths of the bilge to close off the area. With a maximum width of 40" in order to get the piece through the companionway, this formed our main benchmark, coupled with a desire to avoid projecting the section too deeply into the bilge (a narrow section), which would be wasteful of material. In addition, keeping the bulkhead as high as possible for now would mean that the top filler section (extending to the bridgedeck) could hopefully remain less than 24" in width, allowing half a sheet of plywood to fill in the remaining space (or one full sheet for both sides of the wide bulkhead0
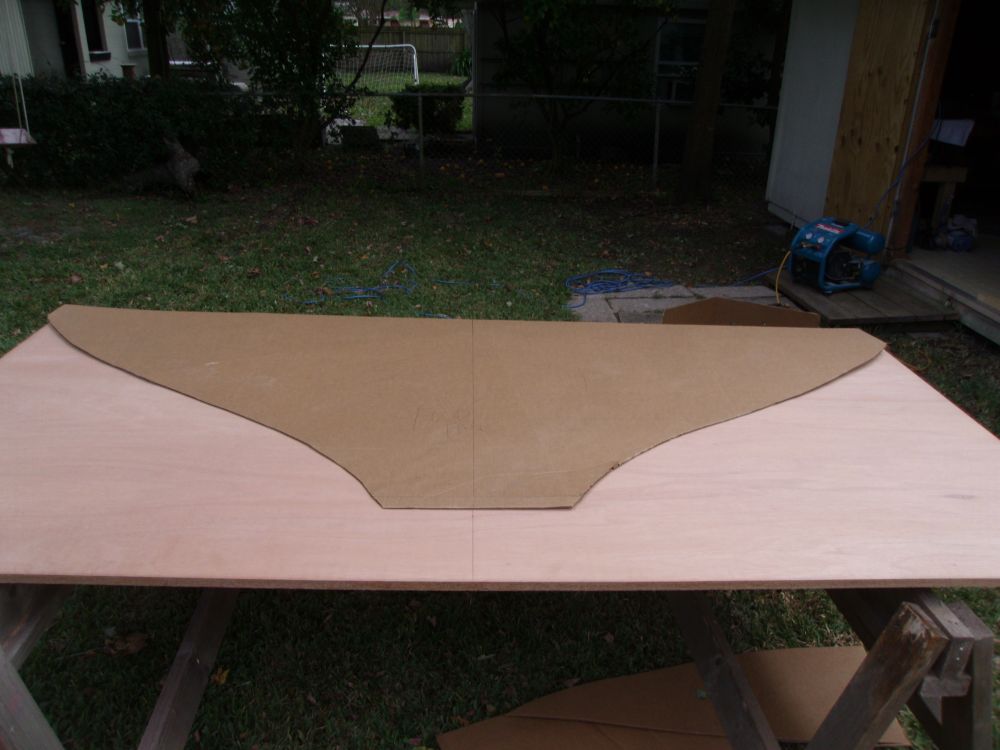
Enough details. With the lower extent determined more or less arbitrarily based on the above ideals, I used the cardboard to create a template, paring away the material by eye, scribing when possible, and slowly improving the fit of the template cut by cut, bit by bit, till it fit the space tightly and well.
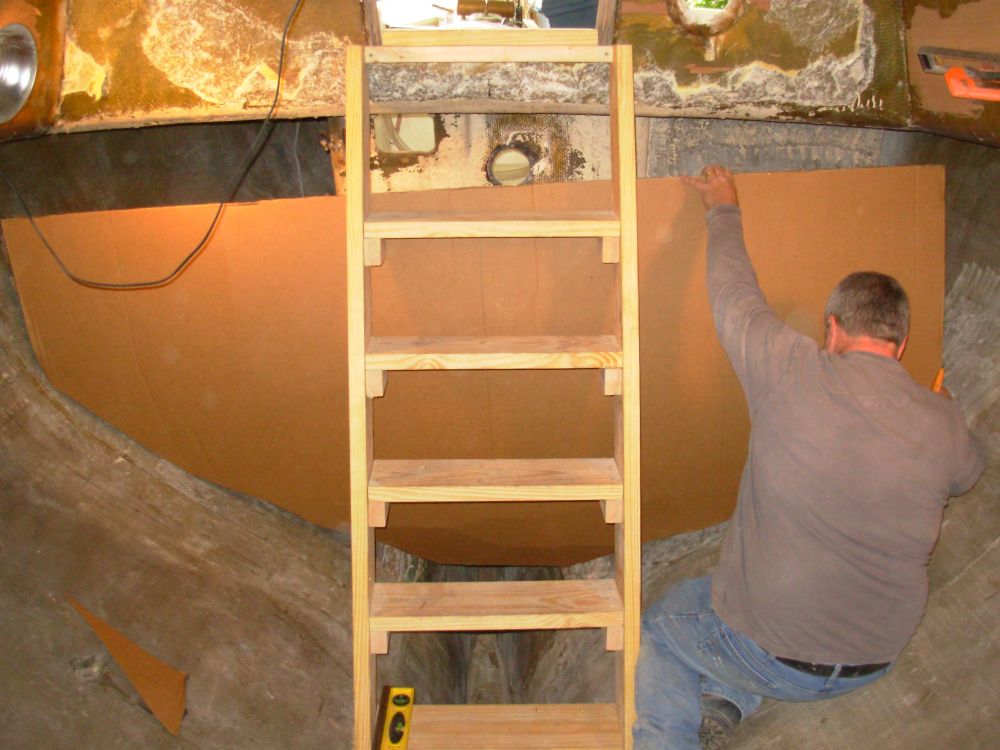
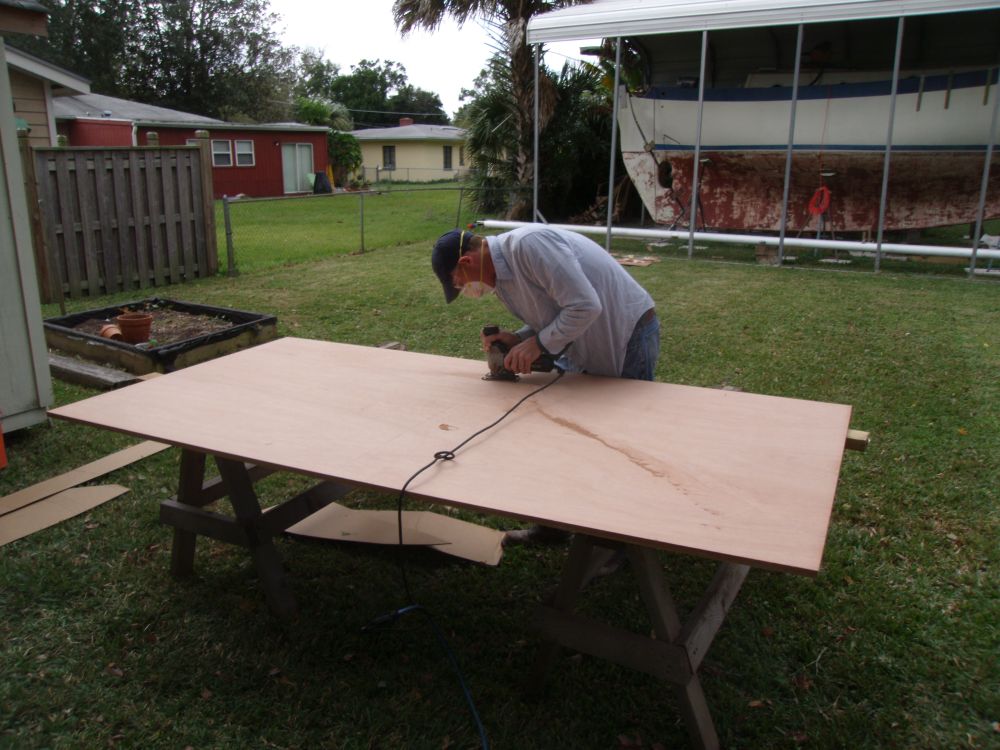
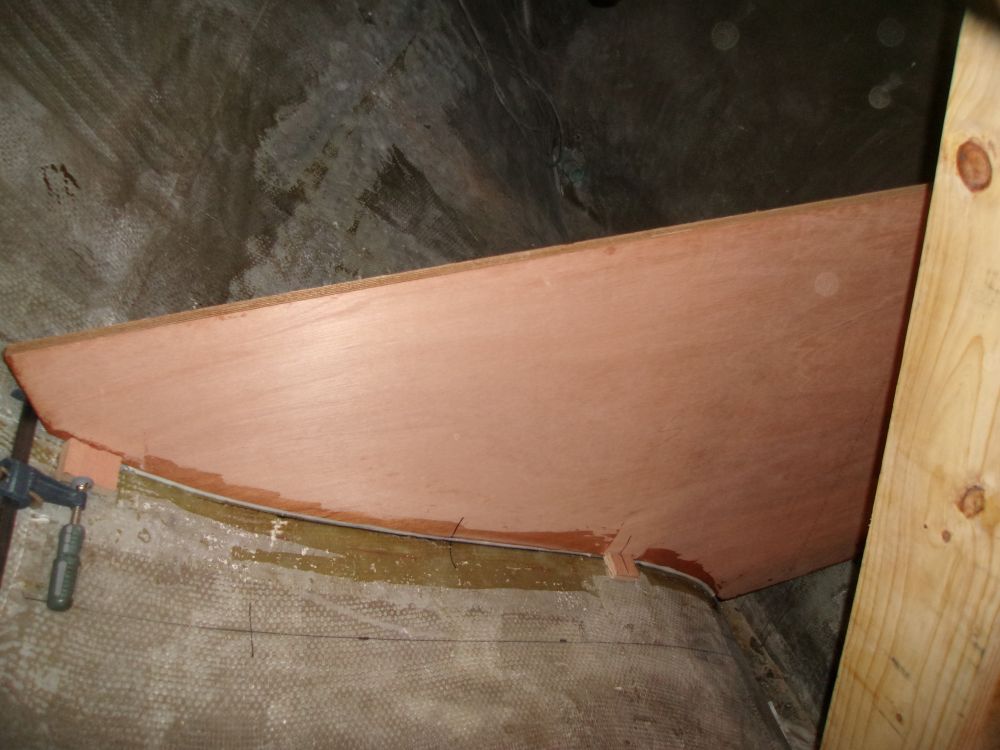
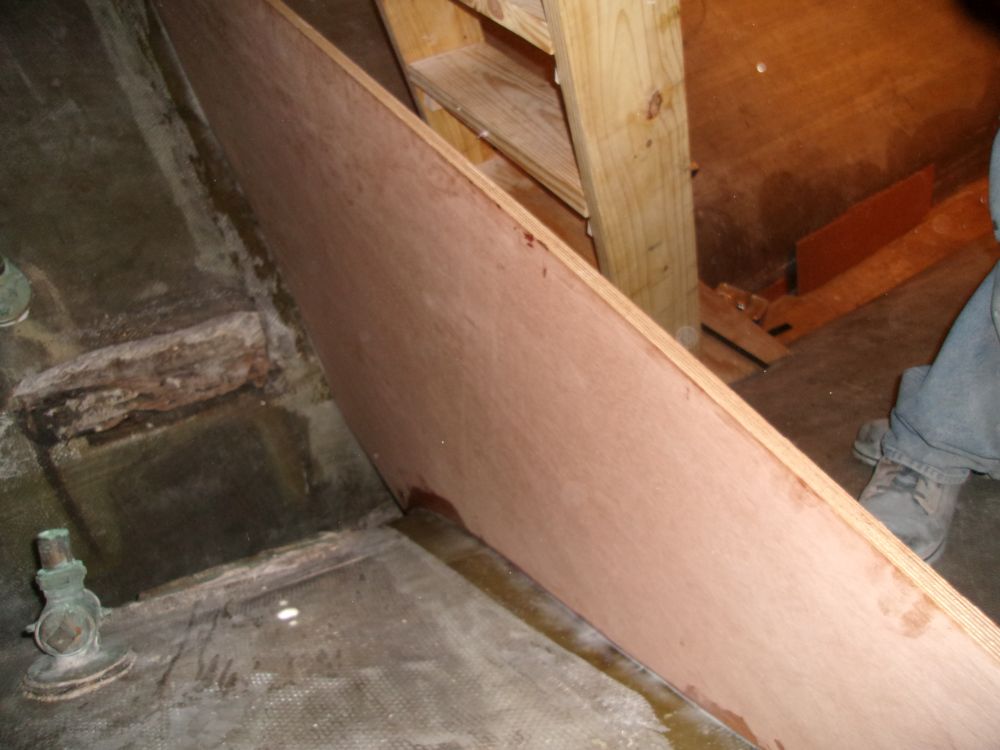
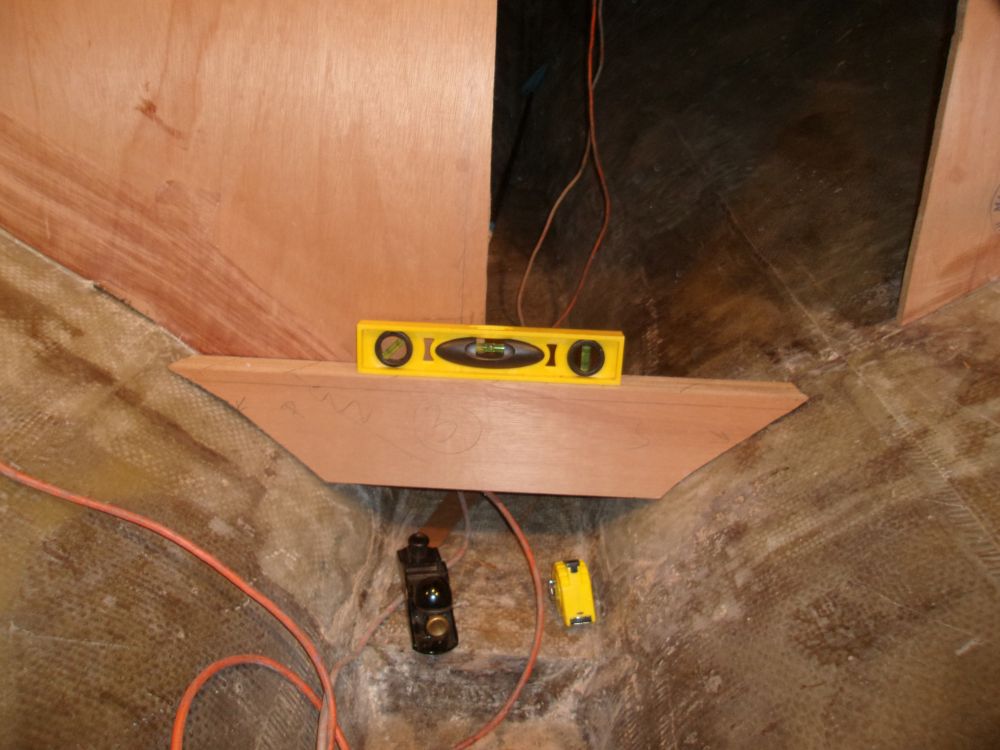
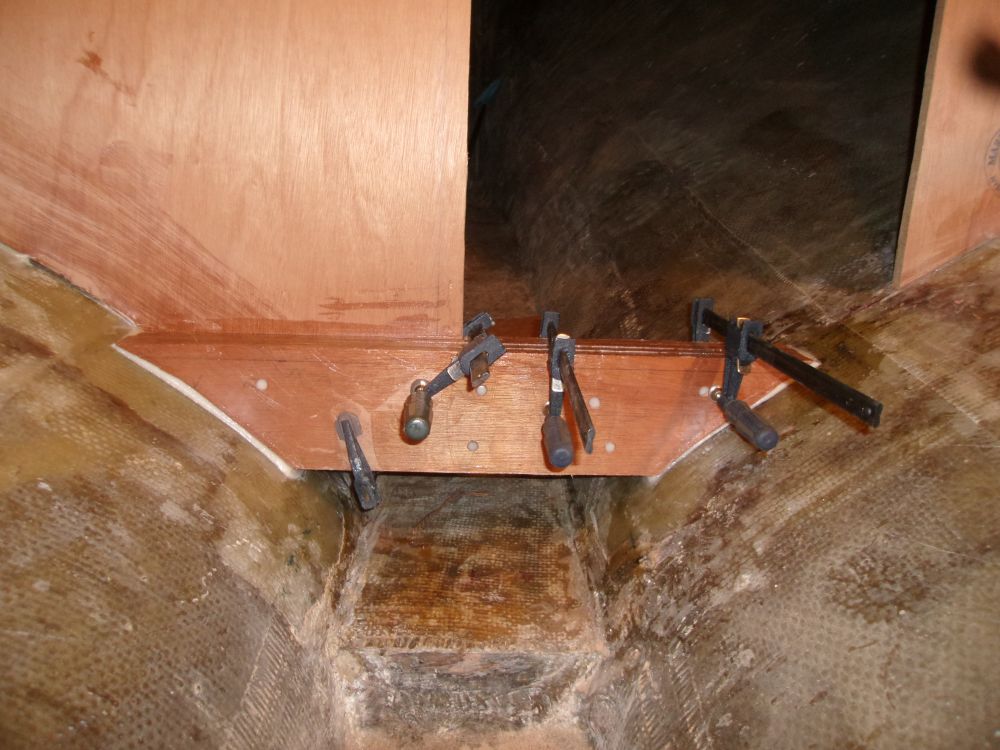
Transferring the template to a new sheet of plywood, and tracing its outline--keeping the overall height at 40"--Brian then cut out the shape, and we lugged the sheet to the boat for a test fit. The actual bulkhead fit the boat very well, and required no adjustments. After eyeballing the fit and seeing no need for changes, I aligned it to the marks and held it plumb while Brian hot-glued in some support blocks to maintain its position now and during the tacking stage, and I made some reference marks to help align the bulkhead during gluing.
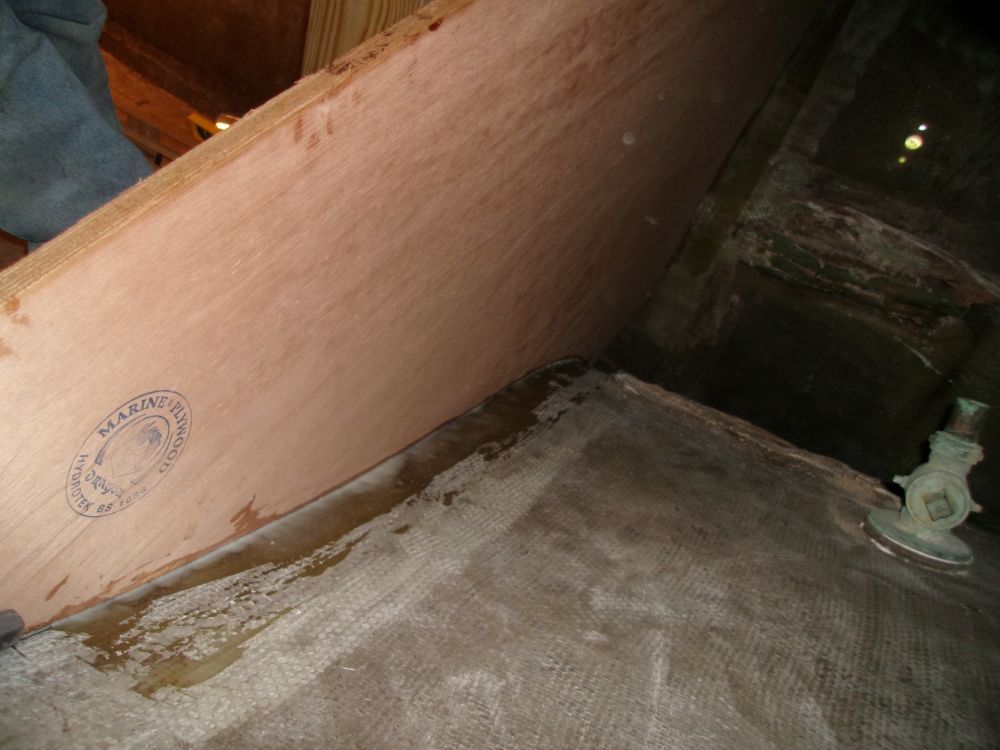
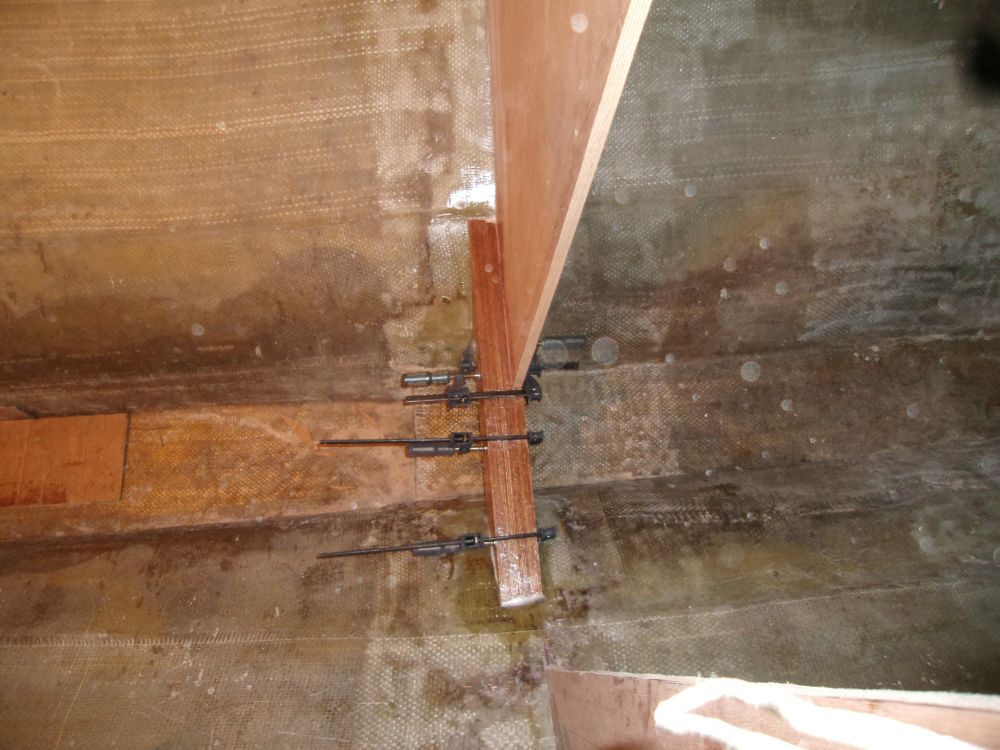
After solvent-washing the bulkhead edge and the hull, and epoxy-coating the plywood end grain, we secured the bulkhead in a bed of thickened epoxy adhesive, clamping it to the support blocks with the face plumb and the top surface level.

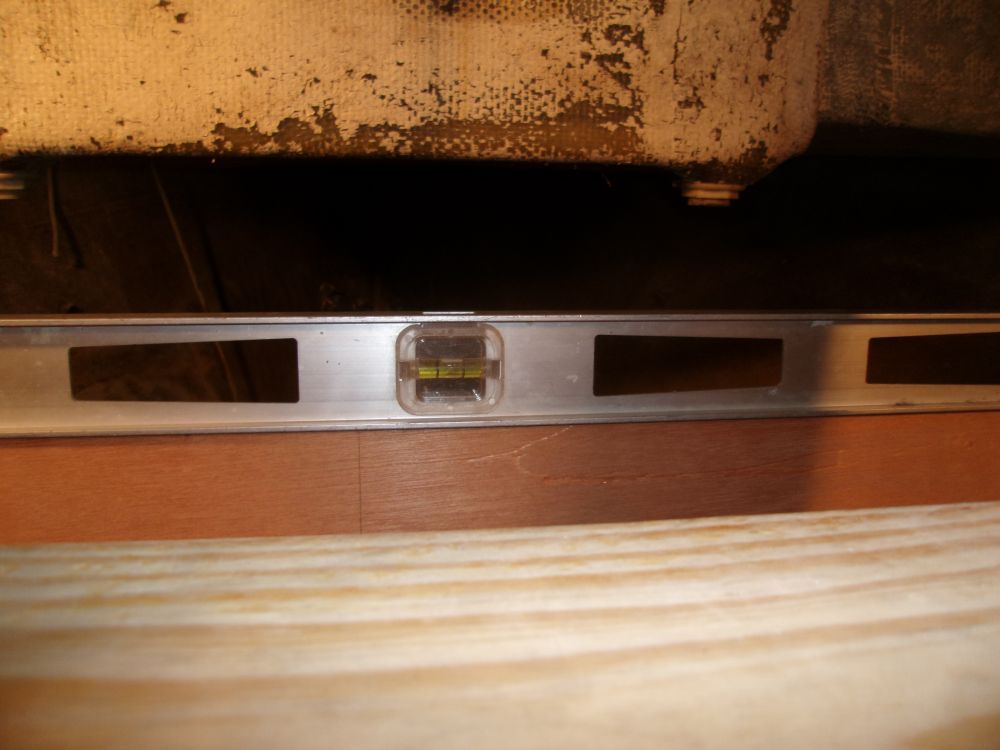
Next on the agenda was the cabin sole initial layout. There were several key considerations that we had to work through in order to determine the height of the cabin sole: overall headroom potential; space beneath the sole for a pair of water tanks specifically designed for the Westsail 32, and with a certain minimum height clearance requirement; and the desired width of the sole, at the passageway, and for general layout purposes. All this took a fair bit of discussion, rough measuring, and other consultation before we could strike what seemed like a benign, simple line on the main bulkhead, a line that, taking into consideration the finished surfaces of the overhead and cabin sole, would leave about 6'-3" headroom at the forward end of the main cabin (higher at the aft end, thanks to the rise of the cabin trunk as it extended aft), and also leave more than sufficient clearance beneath the sole for required structure and the prefabricated water tanks.
A few sessions with cardboard and basic templating techniques led to the construction and installation of the forwardmost cabin sole support member, which we chose to build from three layers of 18mm marine plywood (offcuts from the bulkheads), laminated together with screws and epoxy before gluing them in place with additional epoxy. We added a fourth layer in line with the bulkhead, and clamped the assembly in place while the epoxy cured. Later, we'd add two additional layers forward of the bulkhead to support the cabin sole in the forward cabins.
Next we got into a detailed discussion on the head forward bulkhead, which the plans showed 36" forward of the main bulkhead on the port side. Complicating this installation were several factors, including Brian's hope to use a prefabricated shower pan in the head, as well as puzzling out exactly how that might work (still not determined as of this writing, but the details of same are too complicated to get into here), along with various other considerations that always seemed to rear their ugly heads during the most outwardly simple of installations--it's all connected, always.
Eventually, however, we determined the position of this bulkhead and, in a manner similar to that already described earlier in this project, we laid out various reference points and plumbed up/down as needed to achieve the basis for templating the bulkhead from cardboard, which we managed to eke in during the last guises of natural light. As with the other bulkheads in this boat, the overall width exceeded the available dimensions of the companionway, so once more there'd be a two-piece bulkhead with a splice.
Wanting to progress the project little further, Brian cut out the first of the two sections, and I laid out for another dado to accept tabbing to secure the two sections, the chosen means of securing these two sections in order to maintain the cleanest appearance and installation. With daylight gone, Brian routed out these dados, the last major task of the day.

Total Time on This Job Today: 9.5 hours (times two)
