
110 Cookson Lane | Whitefield, ME 04353 | 207-232-7600 | tim@lackeysailing.com
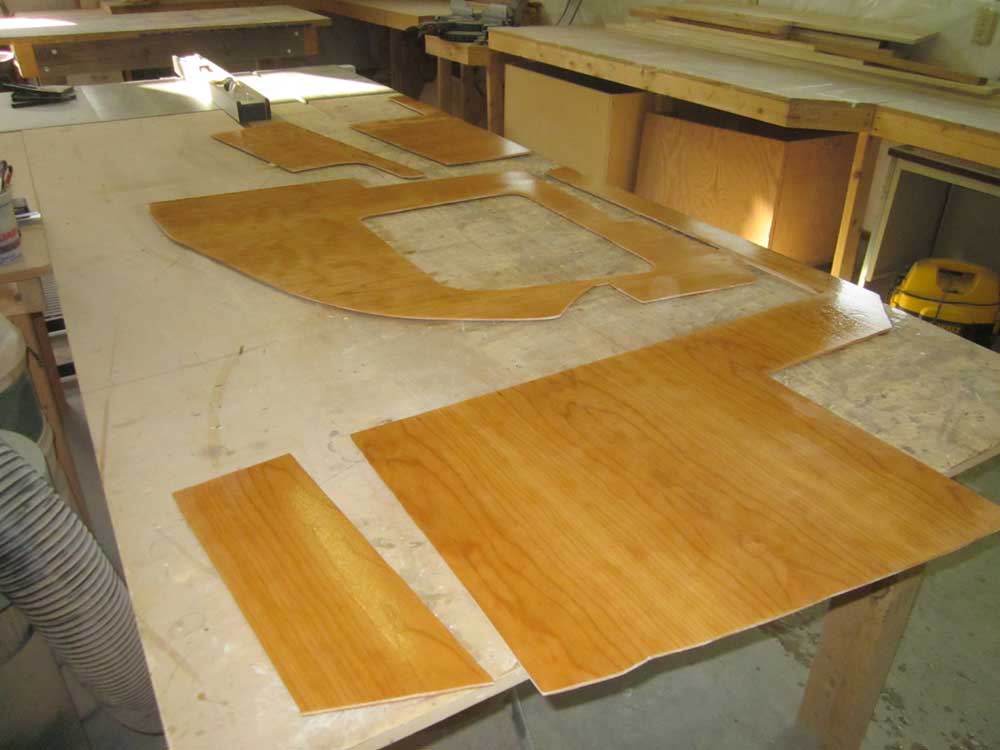
I began back on the cherry paneling I'd been working on last time. I had one piece that required final fitting and an additional cut. Afterwards, I cleaned up and lightly sanded the faces of the panels, solvent-washed both sides, and applied a coat of epoxy to the back, bonding side of the panels, leaving them to cure for a while before continuing.
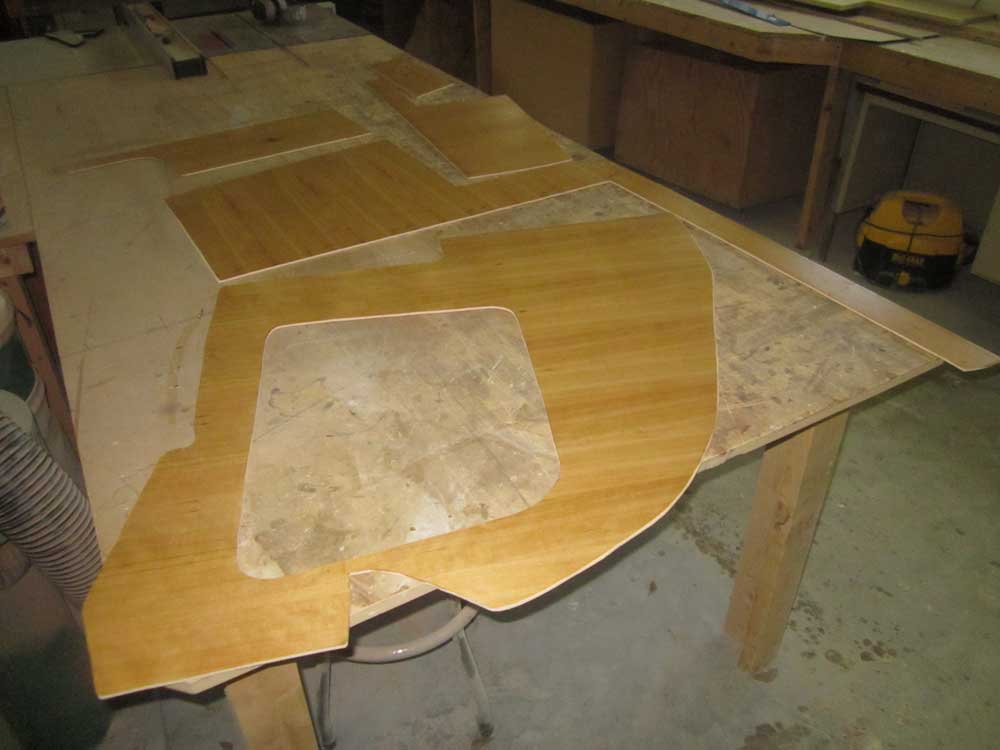
I spent the bulk of the day's time working on the main cabin overhead, and the ceiling (hull liner) in the forward cabin. During and earlier undocumented work session, I'd milled a series of 12mm plywood strips one inch wide to use for the supports for the overhead and ceiling, but now I needed to lay out the supports and, ultimately, install them.
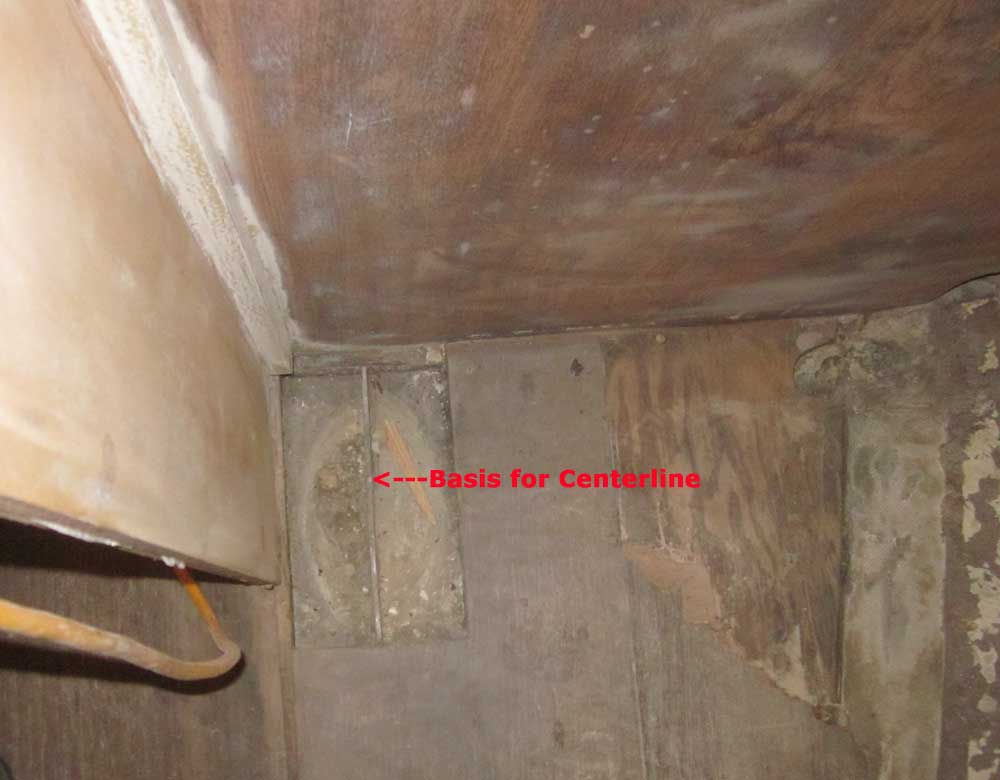
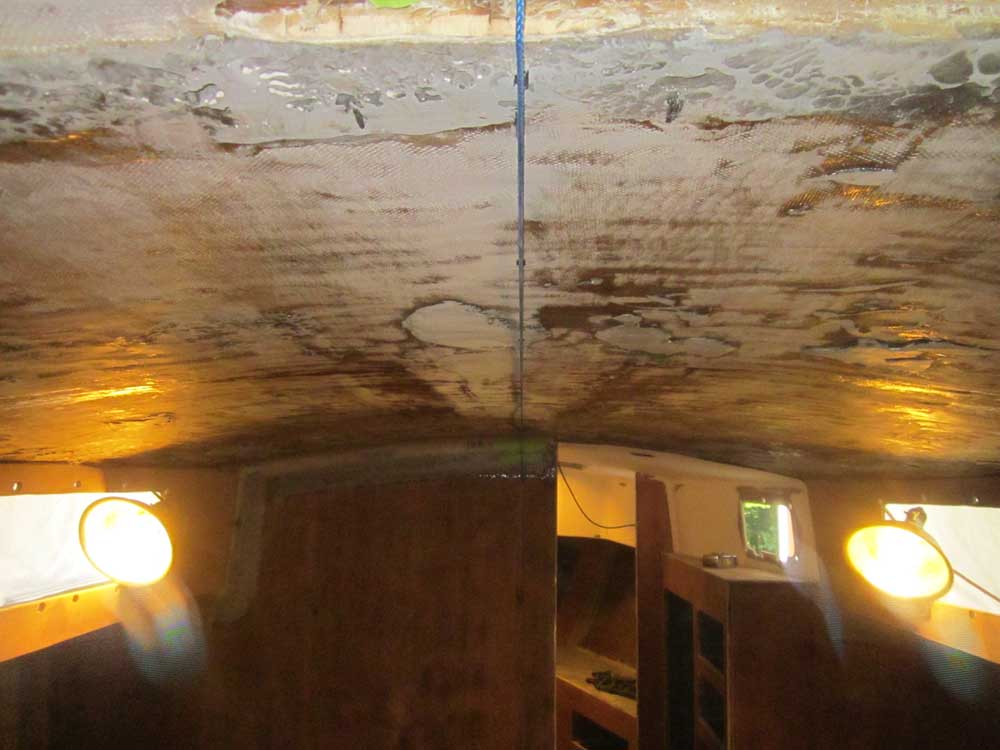
Beginning with the main cabin overhead, I determined a centerline, from which all other related layout would derive. Since nothing on any boat is truly symmetrical, determining a baseline standard, whether centerline, plumb, or level, requires a certain leap of faith and, more importantly, specific user intervention. In this case, after measuring across the cabin and overhead in a number of different ways and achieving varied "centerline" results, I decided the best criterion for centerline determination had to be the mast step, located on the other side of the main bulkhead.
I struck a plumb line up from the center of the mast step, then transferred this mark to the other side of the bulkhead by drilling a small hole through the wood. Then, on the other side, I struck a new plumb line to demark centerline.
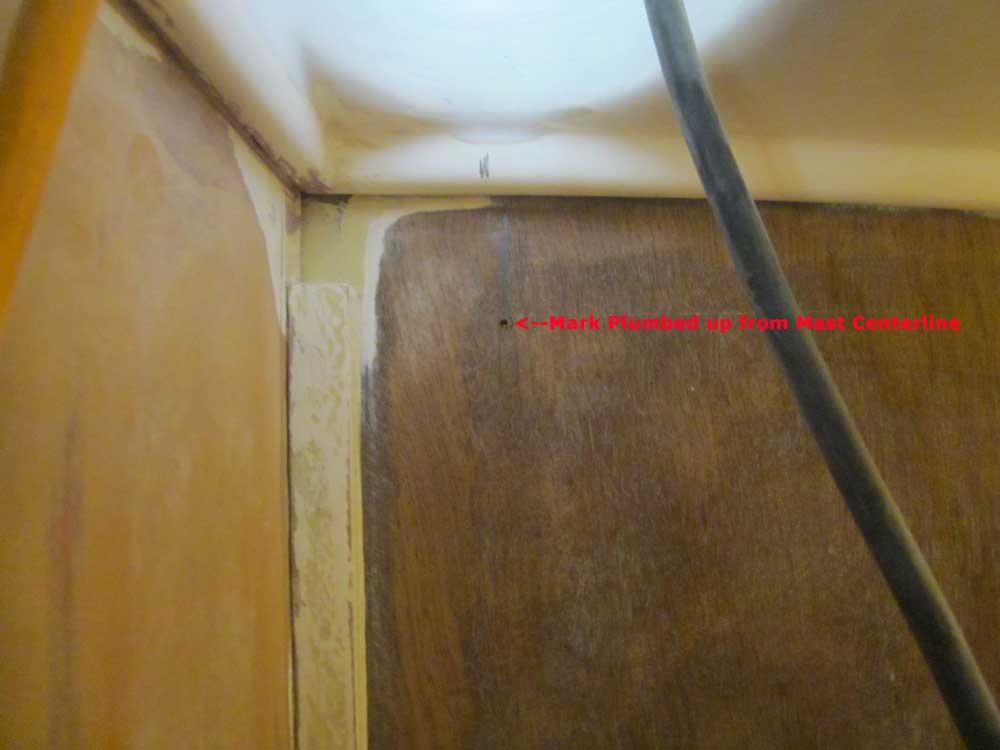
At the after end, several measurements and eyeball reality checks eventually helped me determine what I'd call the centerline from here on out; since the companionway was offset to starboard this mark did not correspond with the centerline of the companionway.
I strung a line between the two points, taping it tightly in place, and used it to mark the final centerline, which I drew on the overhead. The pencil marks on the overhead do not stand out well in these photos, unfortunately.
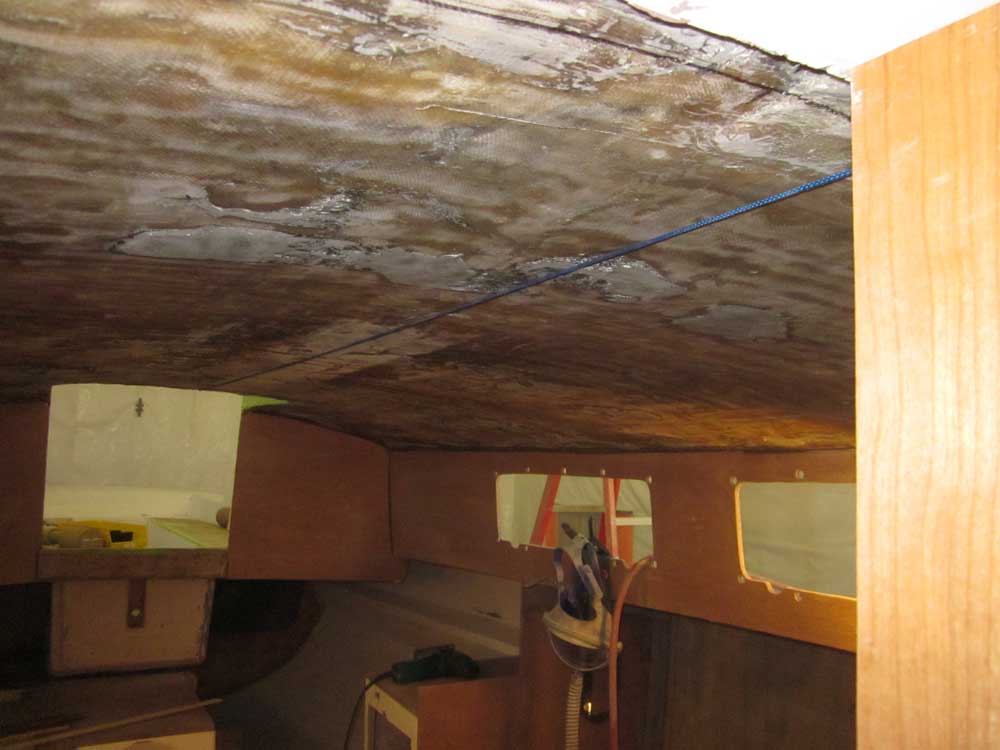
After various measurements and calculations, I determined the spacing for the transverse overhead support strips. The overhead was slated to be a combination of plywood panels along the outboard and aft edges (for wiring and other access), along with beaded, solid wood strips over the main portion of the cabin, but even spacing for the support strips was still the order of the day.
With the spacing determined, I used a square to strike the layout marks off the centerline at each location. Later, depending on need, I might add longitudinal pieces here and there if required to support certain edges or for other purposes, but for the moment my focus was on the main transverse pieces. Again, the layout marks are here, but don't show up well on camera.
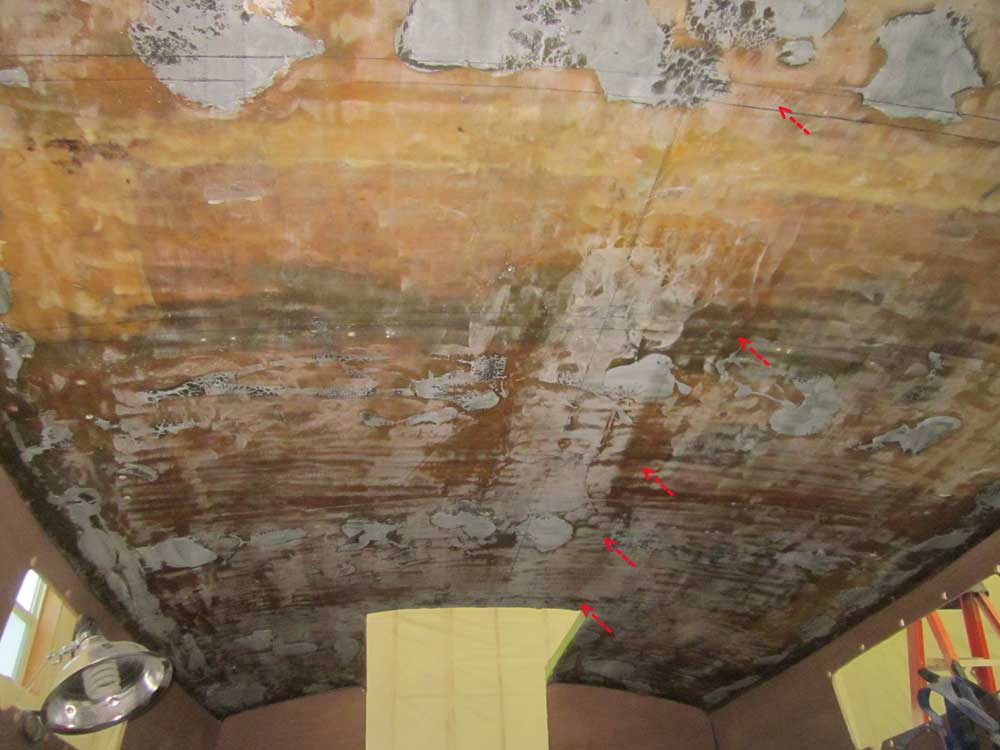
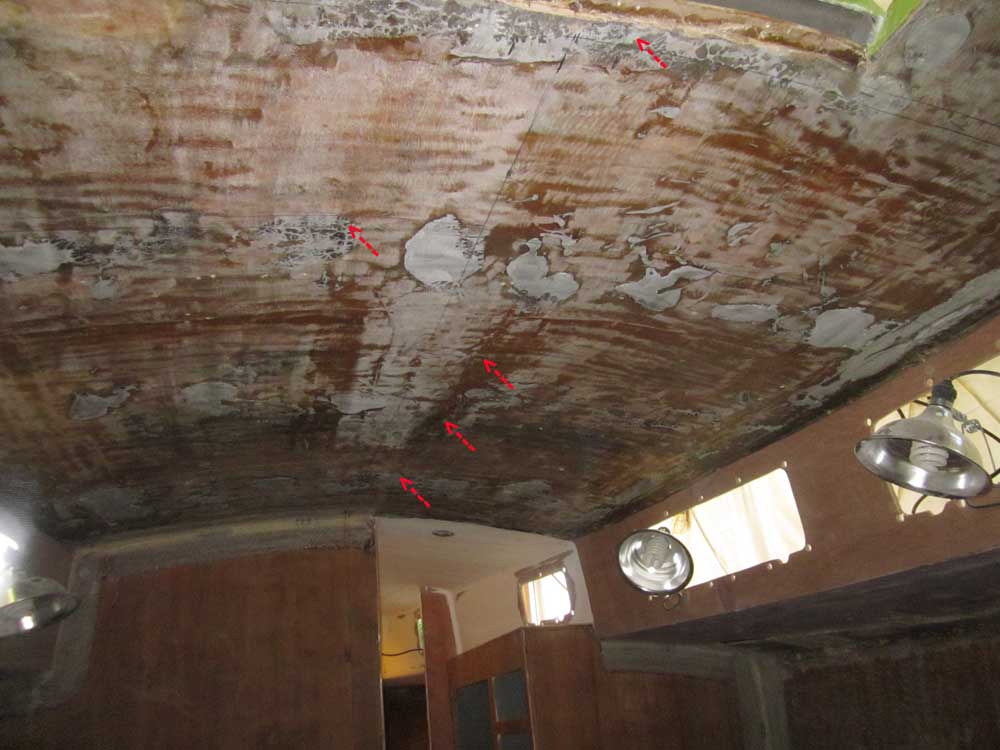
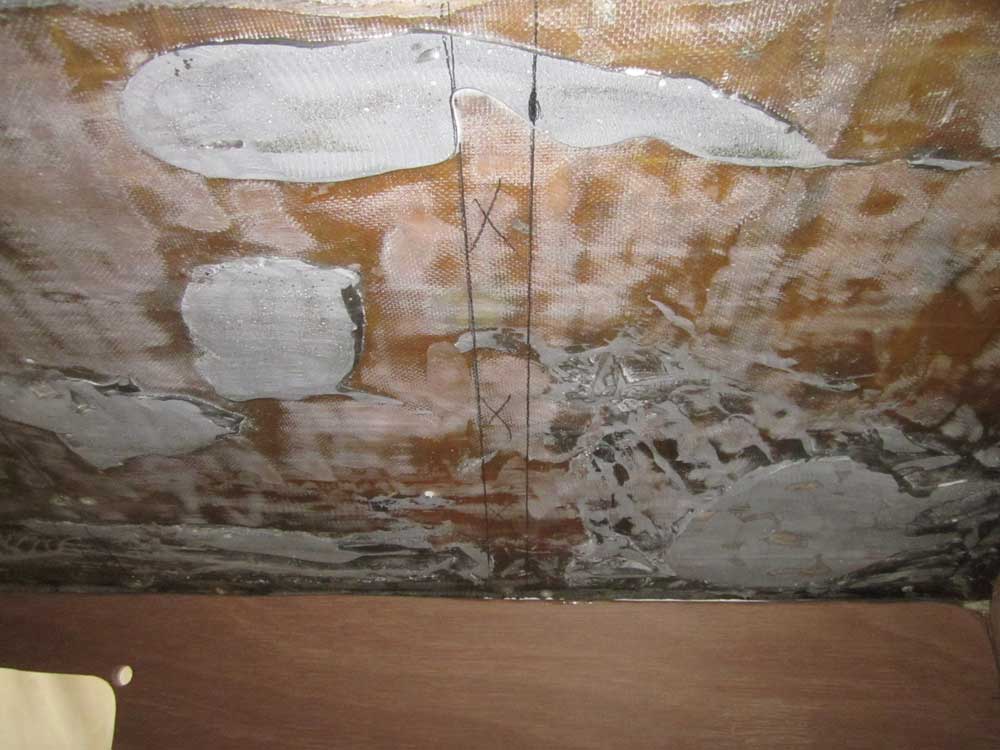
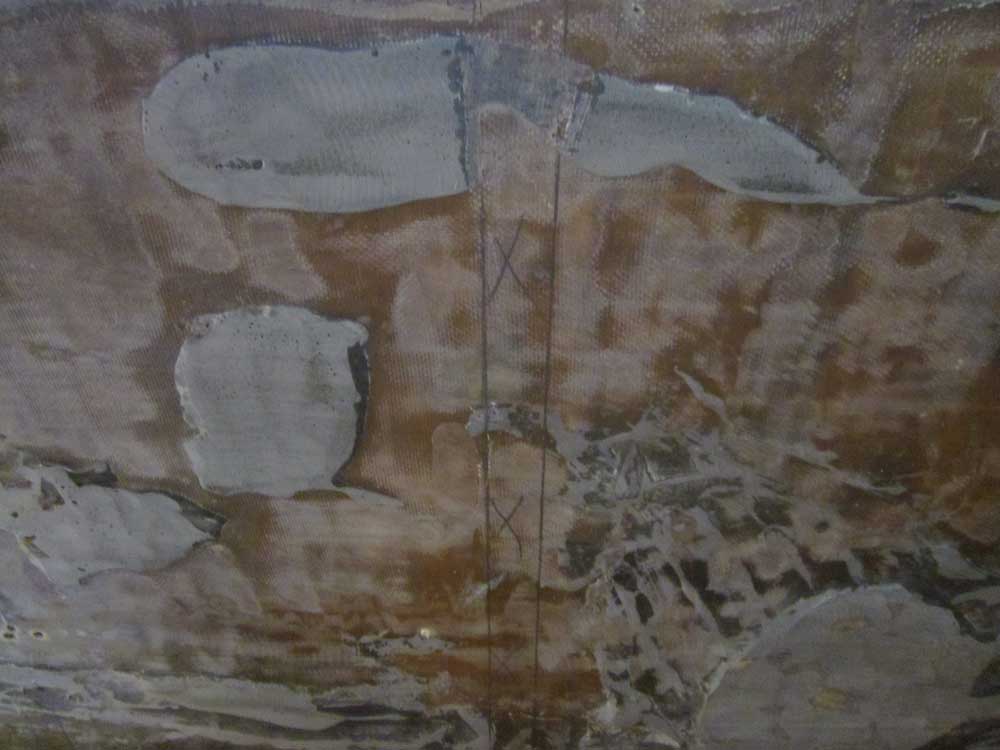
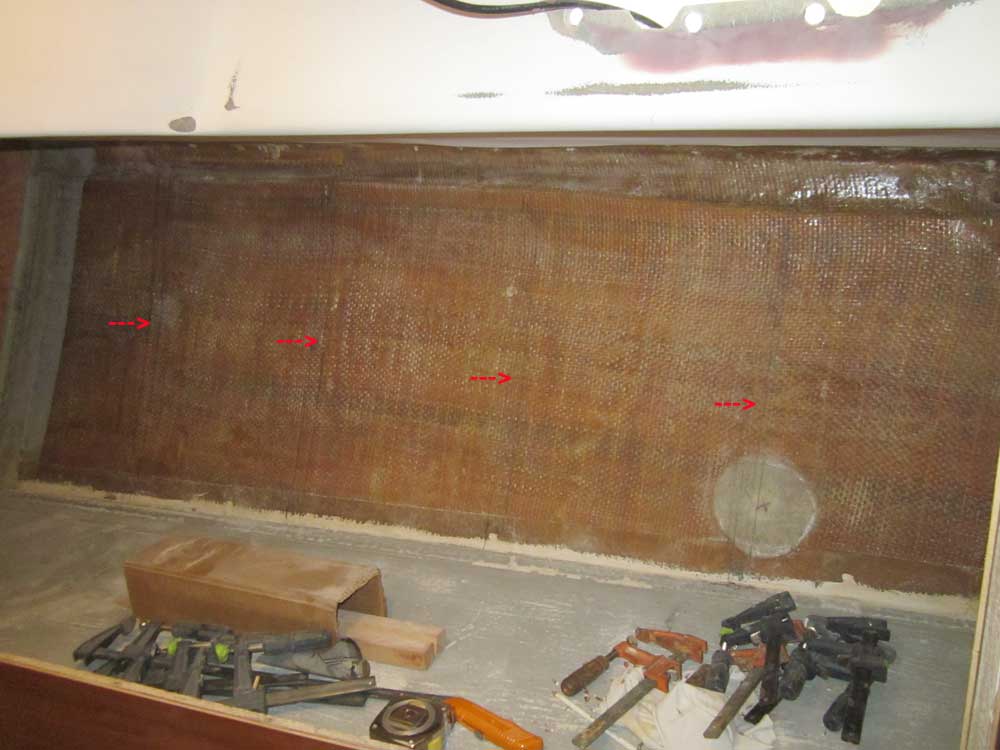
Various blobs of old adhesive and resin littered the overhead; earlier, I'd ground some of these away, and otherwise sanded the overhead, but some of the masses were now in the way of the new support strips. So as required, I chipped away the old adhesive or other debris in way of the layout marks, which would give the strips a cleaner path. These photos show one such area, before and after chiseling away the old material. Fortunately, there were only a half dozen or so individual areas requiring this process.
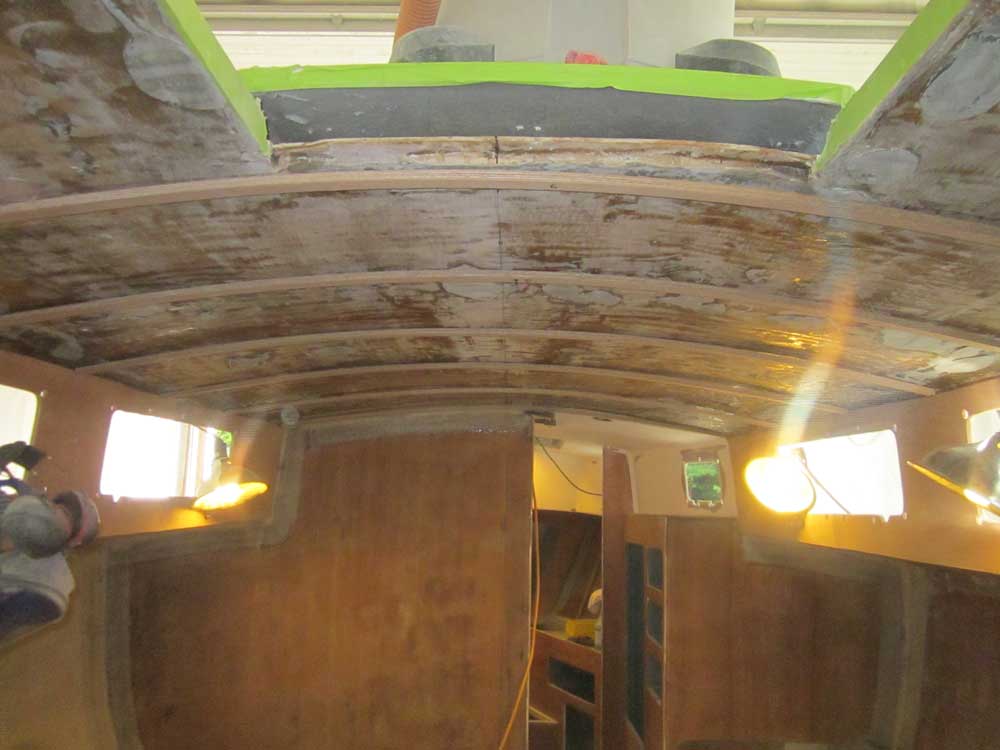
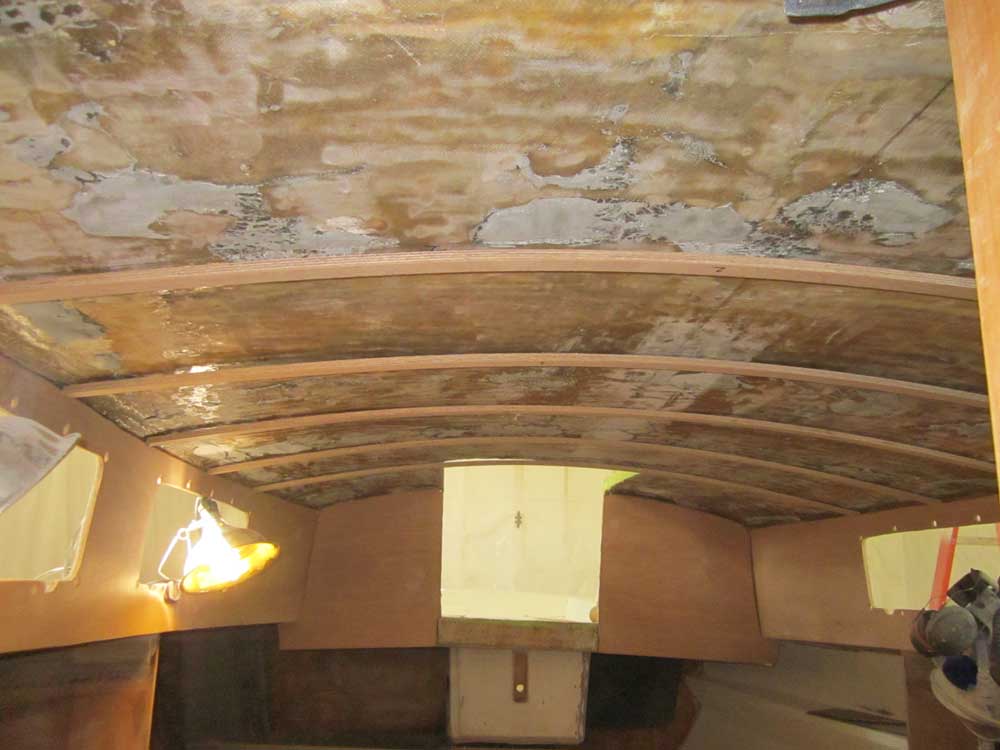
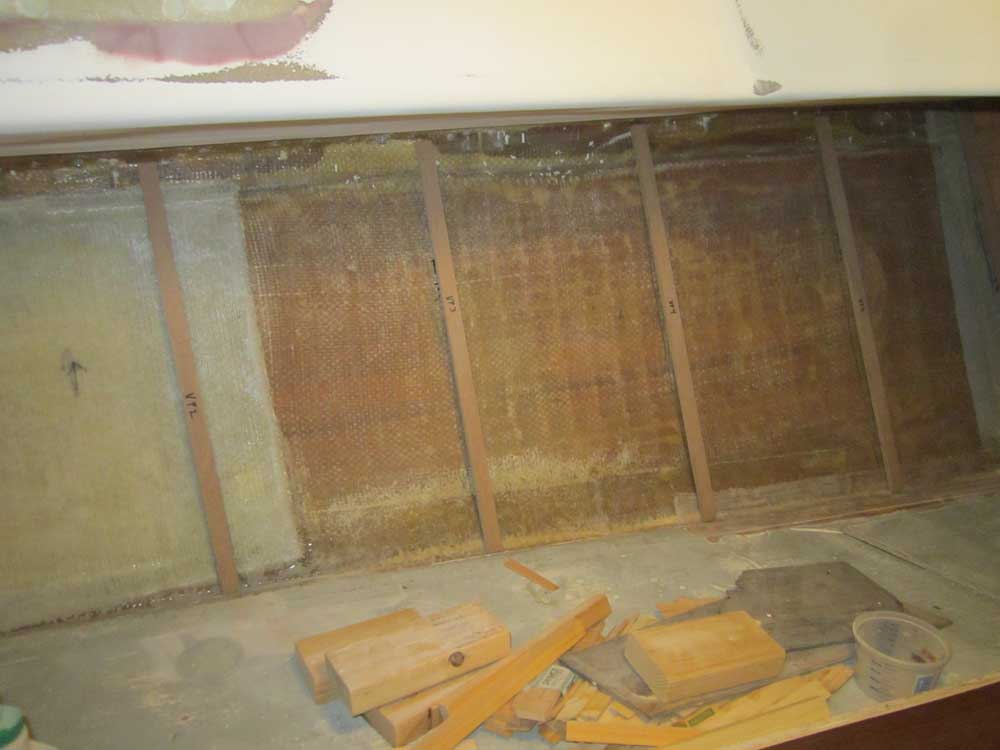
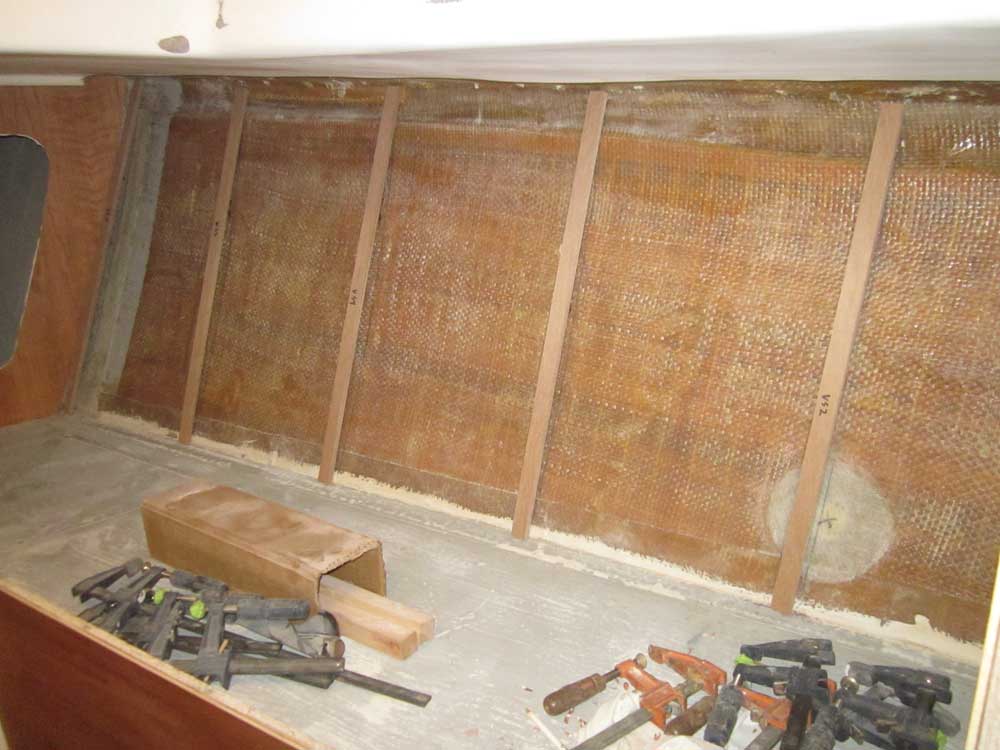
Finally, I measured and cut to length the various pieces to correspond with my layout. In these photos, the main transverse strips are simply being held in place by friction against the cabin sides; I left the pieces in place for now to begin to take on some of the curvature of the overhead before final installation.
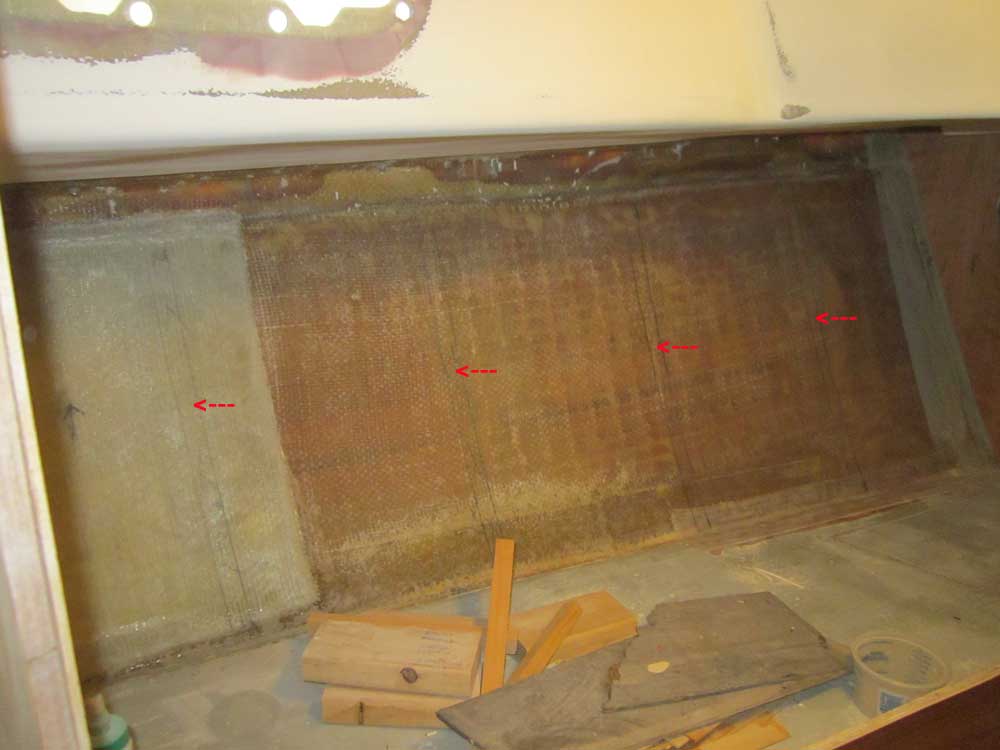
In the forward cabin, I repeated a similar process to lay out the ceiling support strips against the hull. After various calculations, I determined my spacing and struck the required layout lines on each side, then cut the plywood strips to fit, setting them dry in position to simulate their final installation.
The epoxy on the back sides of the after cabin panels had cured enough by this point that I could flip the panels over and apply a sealer coat of varnish to the face veneer.
Total Time on This Job Today: 7.5 hours
