
110 Cookson Lane | Whitefield, ME 04353 | 207-232-7600 | tim@lackeysailing.com
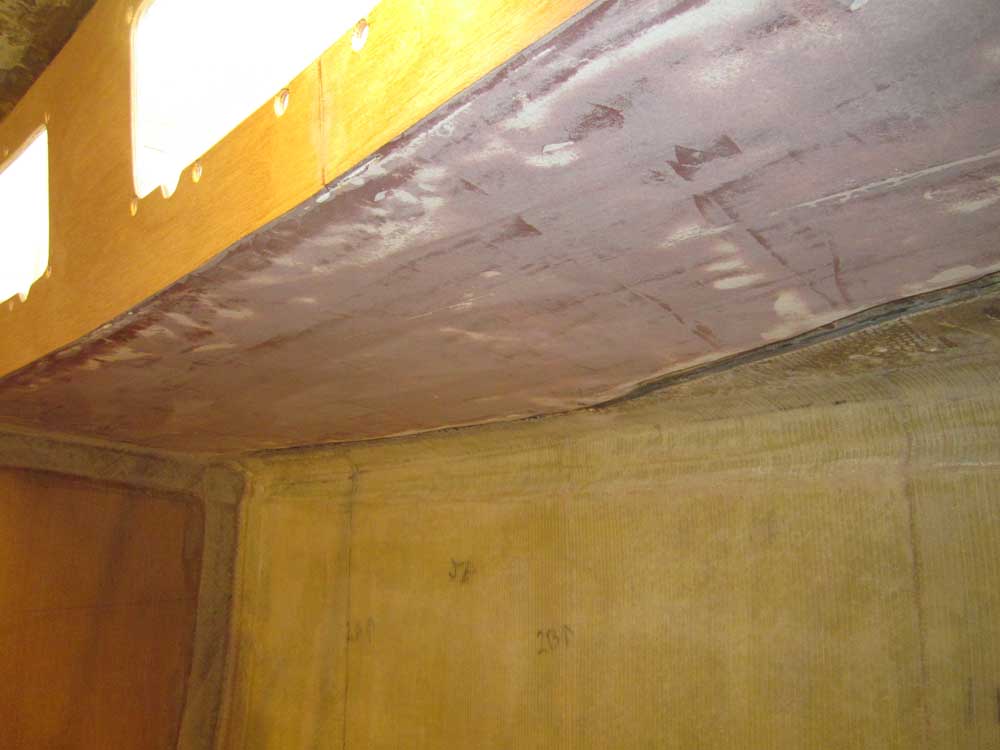
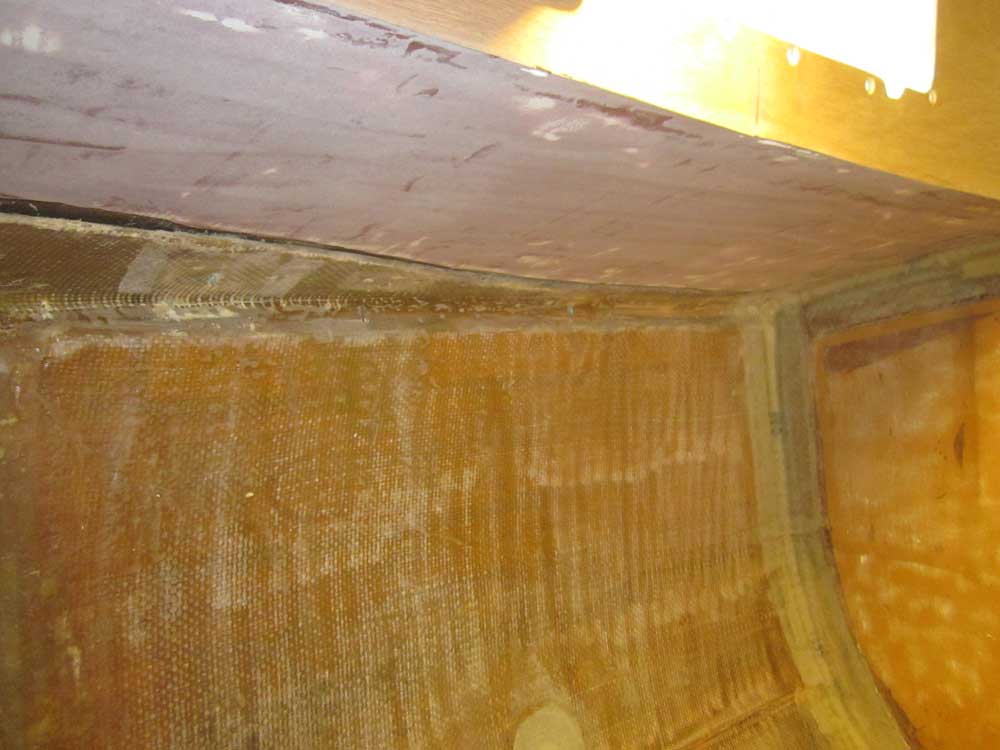
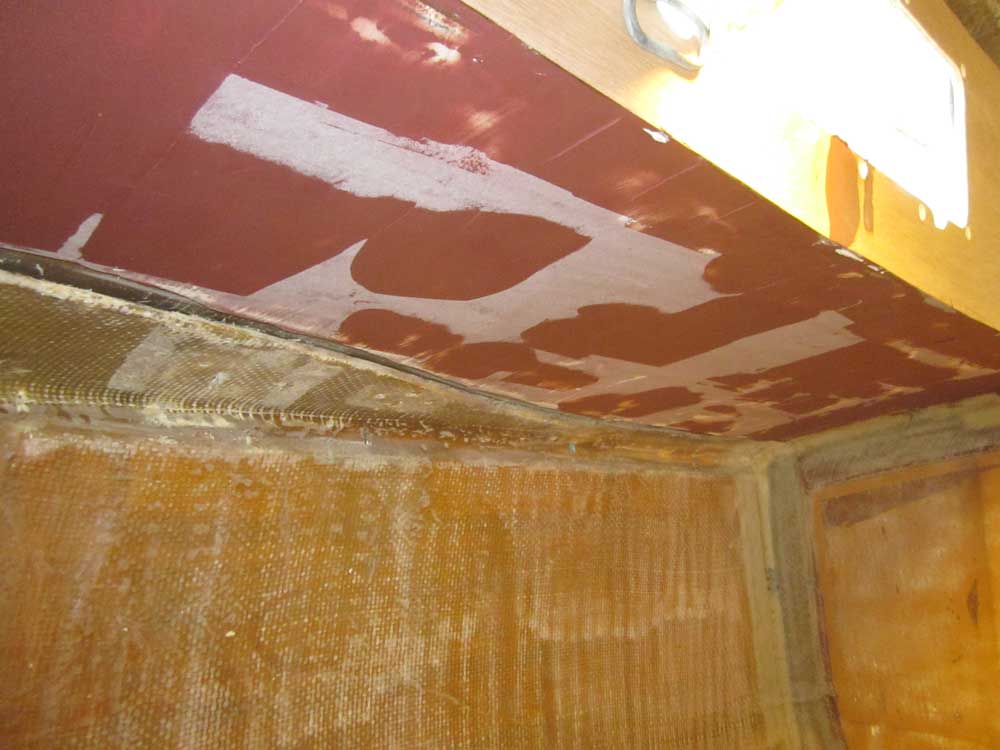
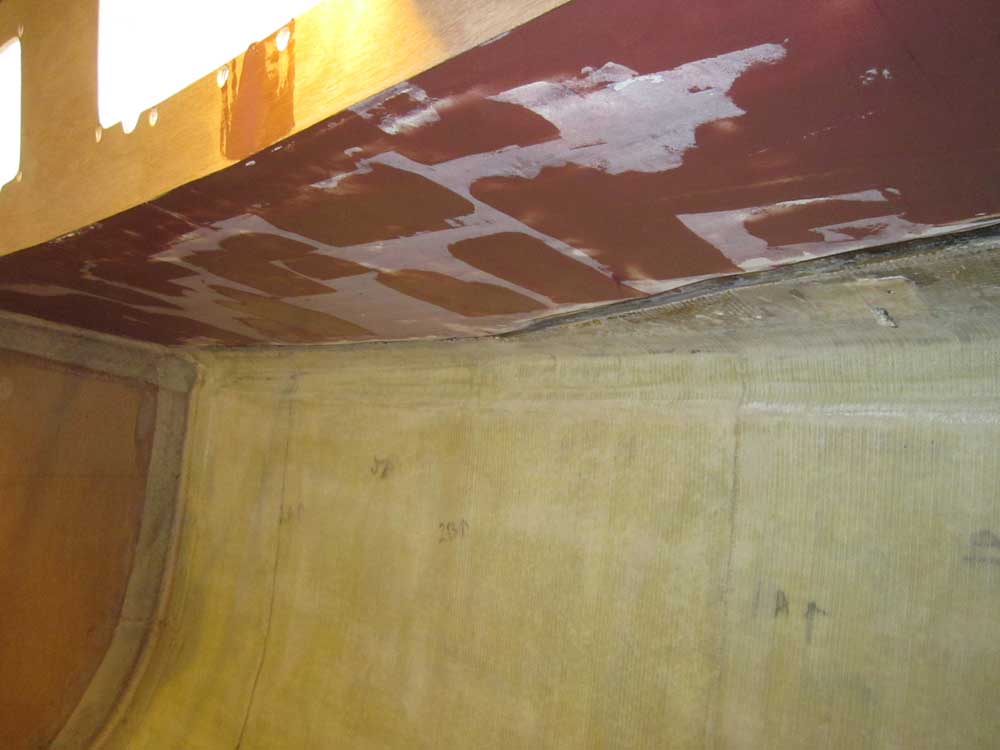
The first order of business was to sand all the overheads and undersides of the deck and cockpit well to begin the process of smoothing the areas that I skim-coated last time. (Why yes, I do get to have all the fun.) While I strove, as always, to make the application as smooth and even as possible, as anticipated there were numerous low spots requiring additional attention after the first round of sanding.
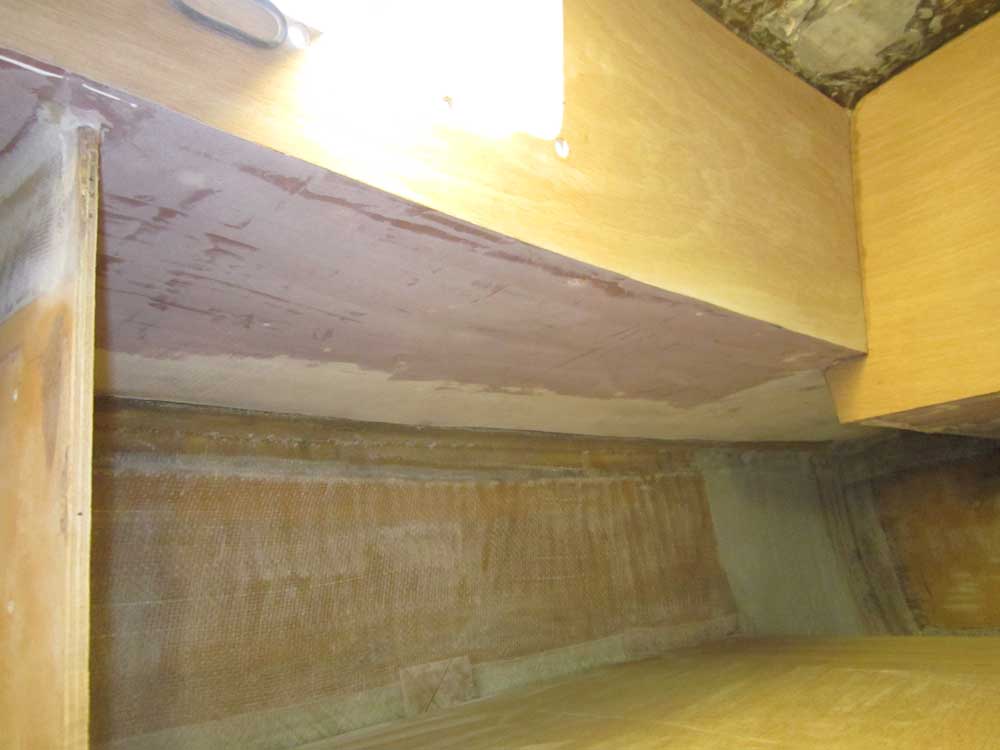
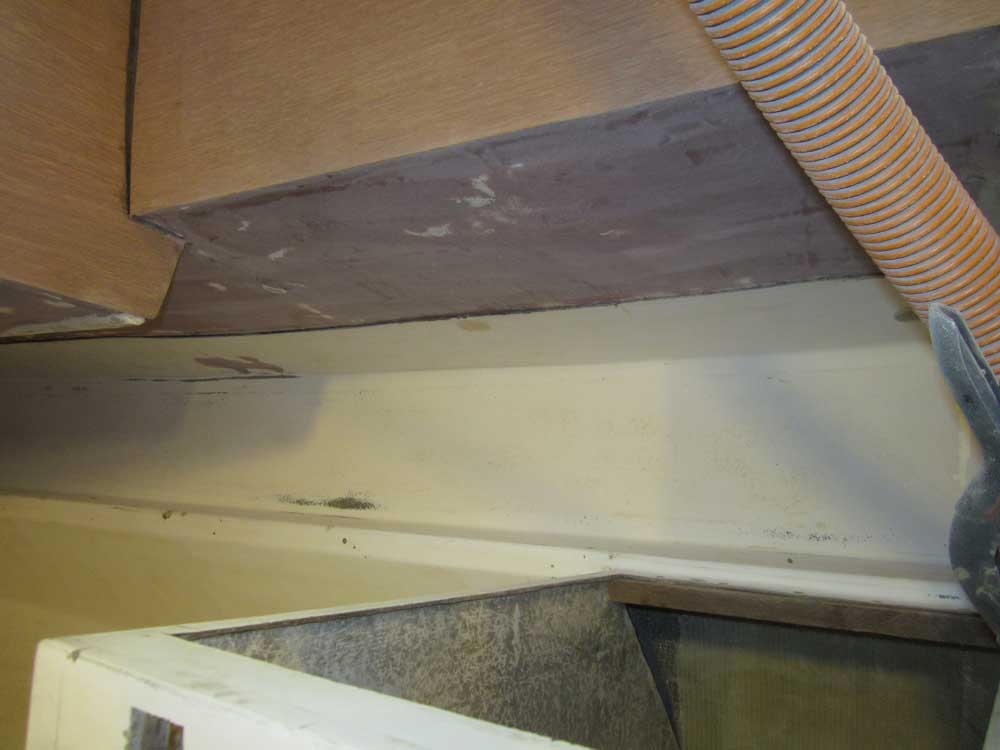
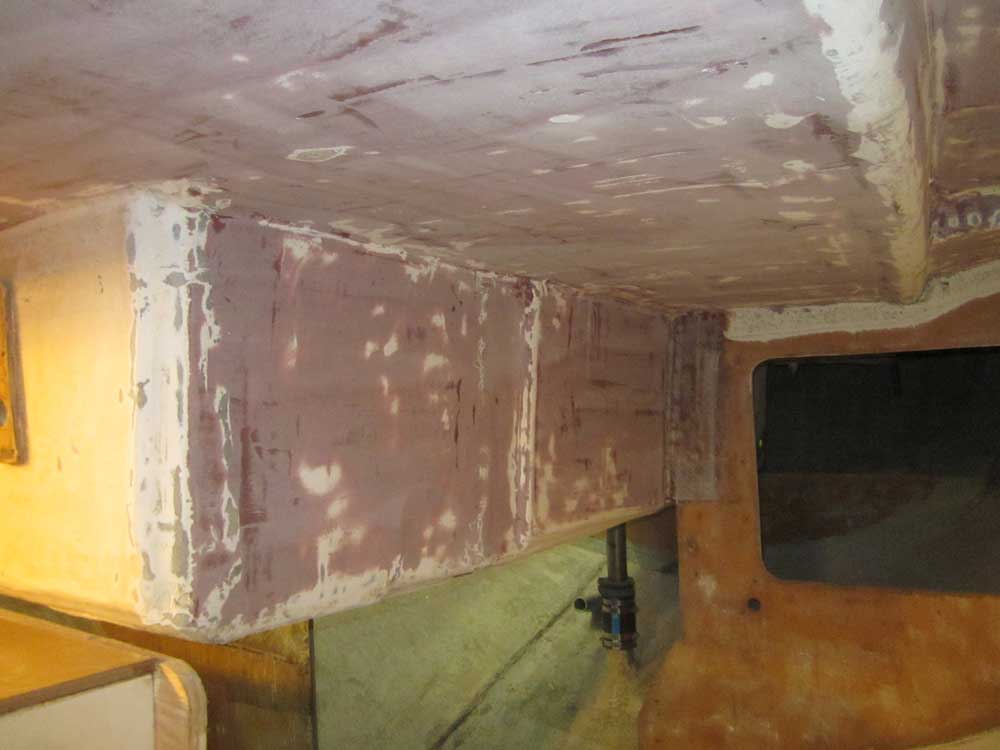
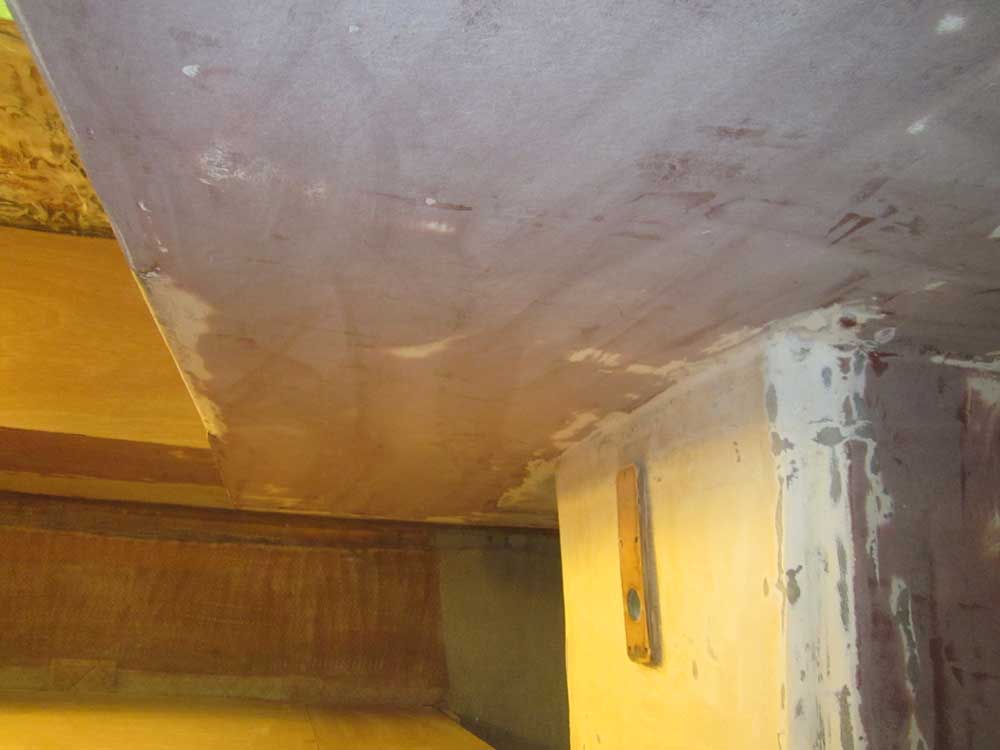
After cleanup, I applied a second coat of fairing filler as required.
Meanwhile, I removed the clamps and braces from the two bulkheads in the forward cabin.
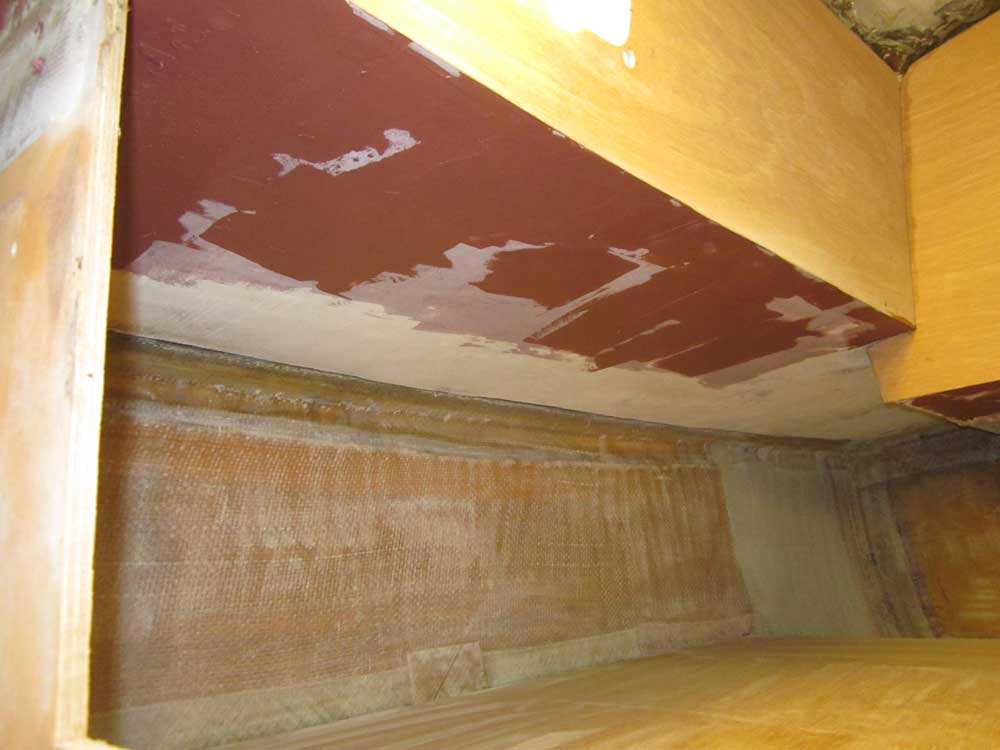
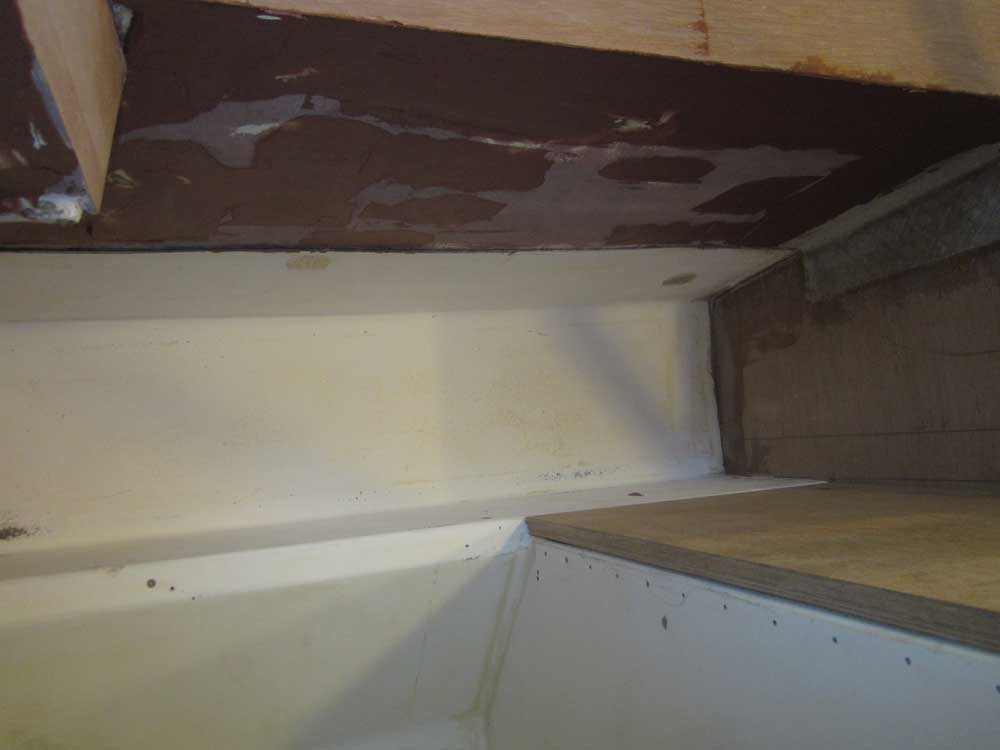
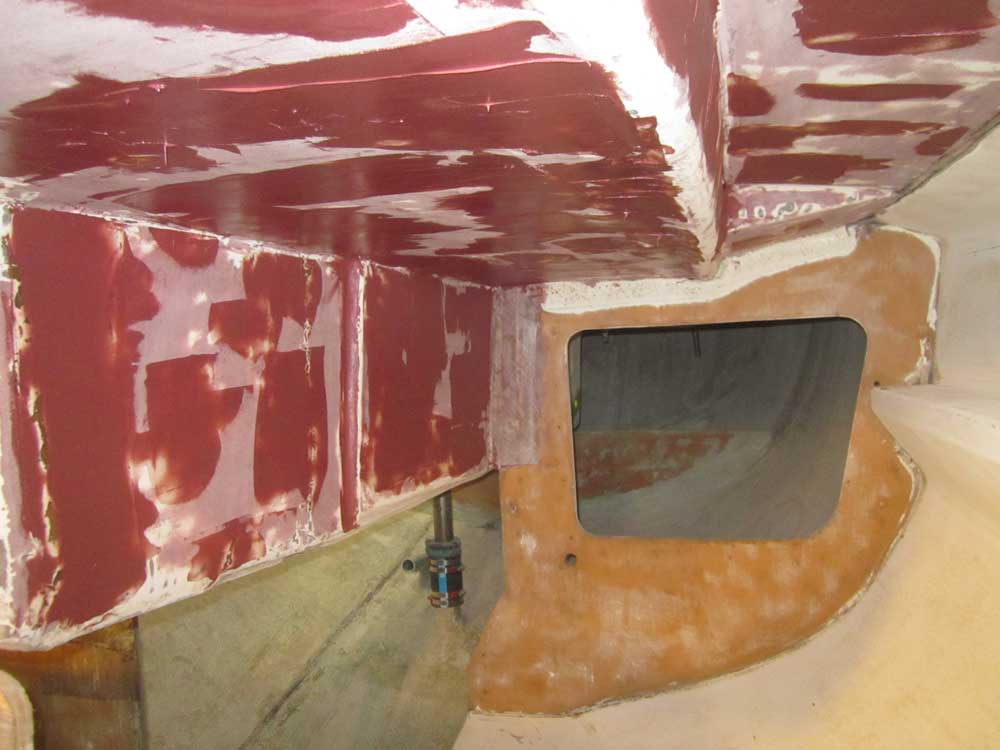
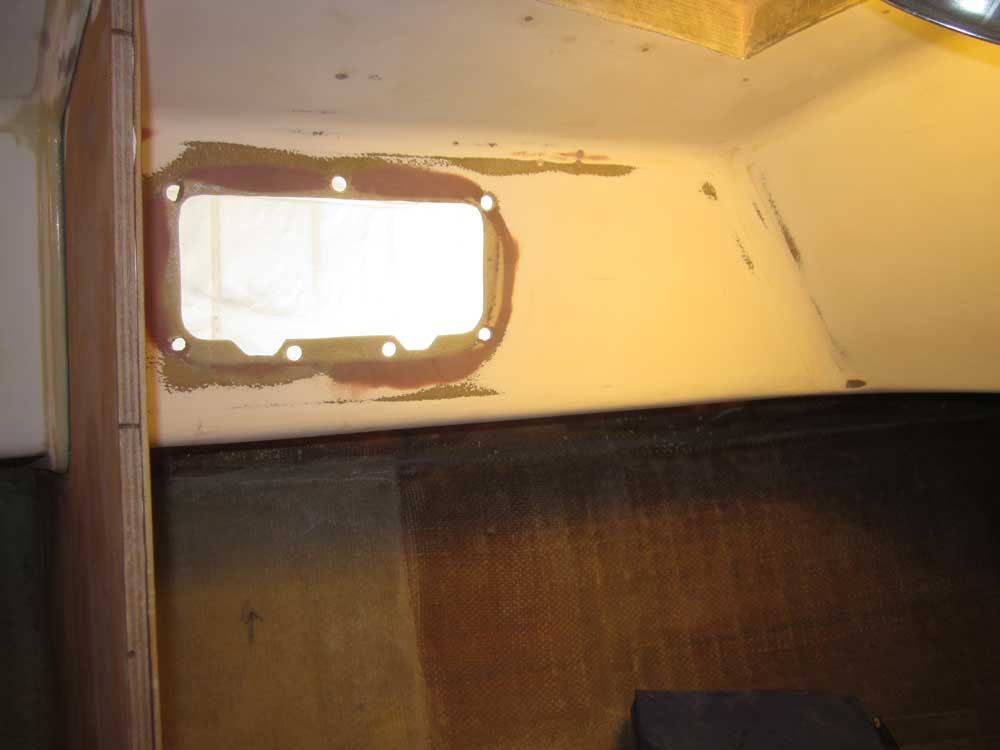
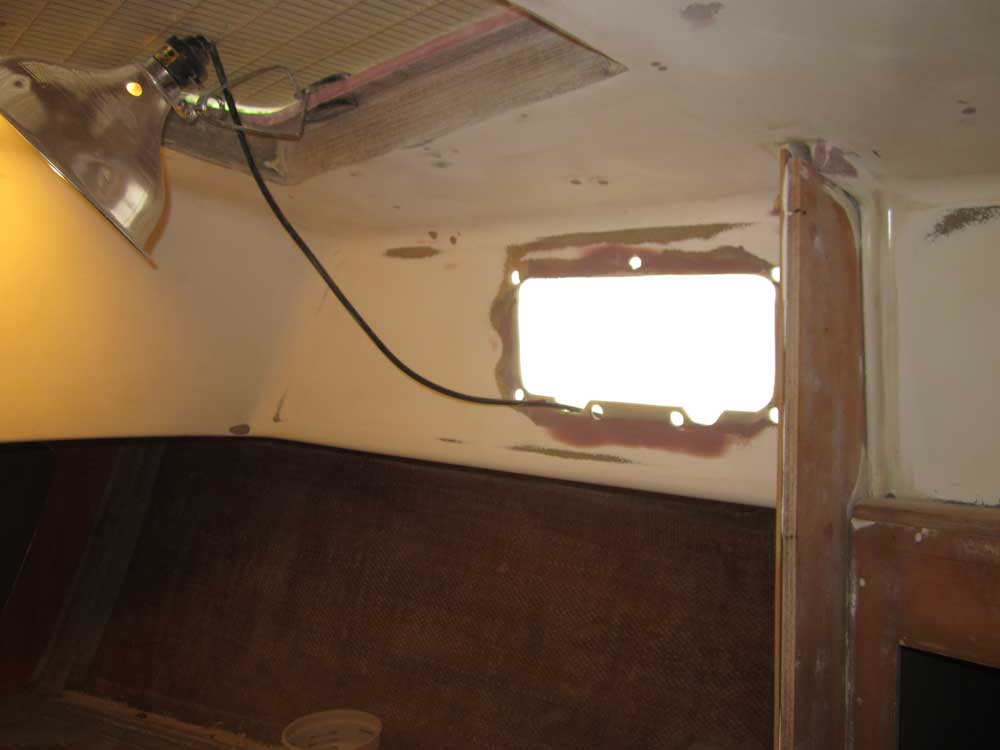
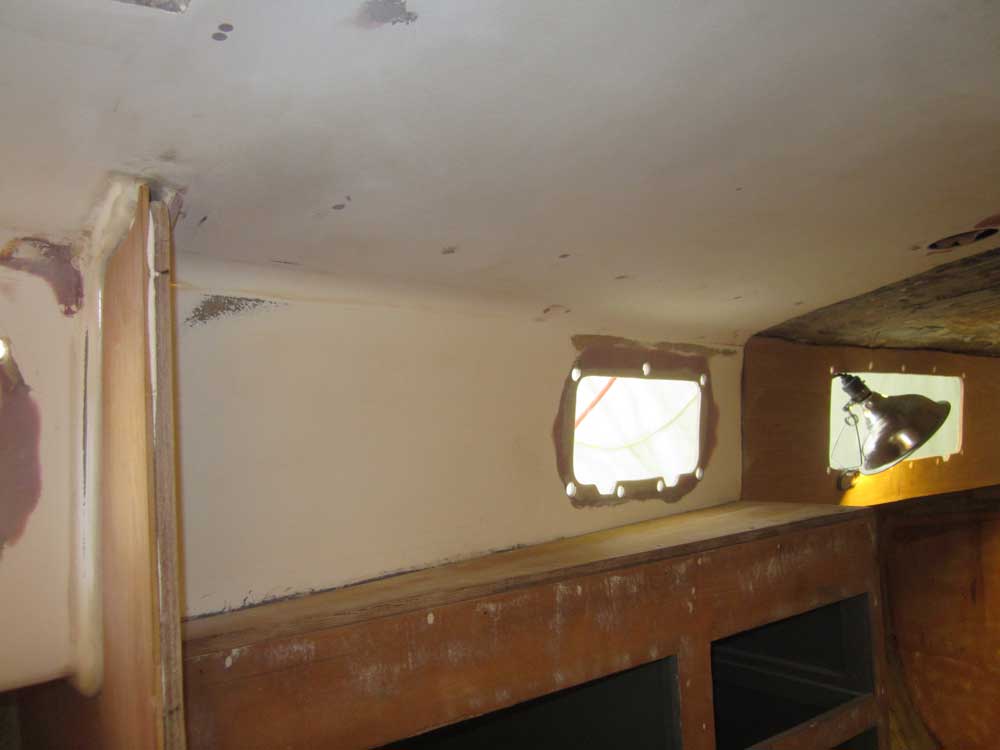
The molded fiberglass overhead in the head, passageway, and forward cabin required another round of light sanding to smooth the last application of filler to the old fastener holes and around the ports. This completed the main filling work here, though these areas would receive several more rounds of sanding to prepare them for primer and paint.
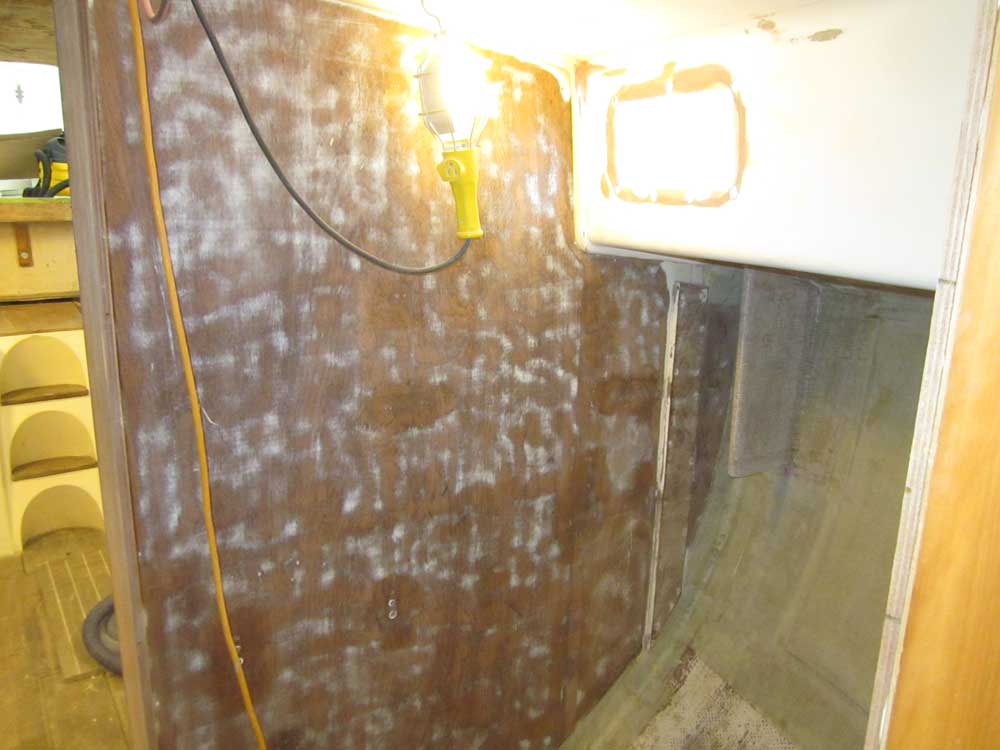
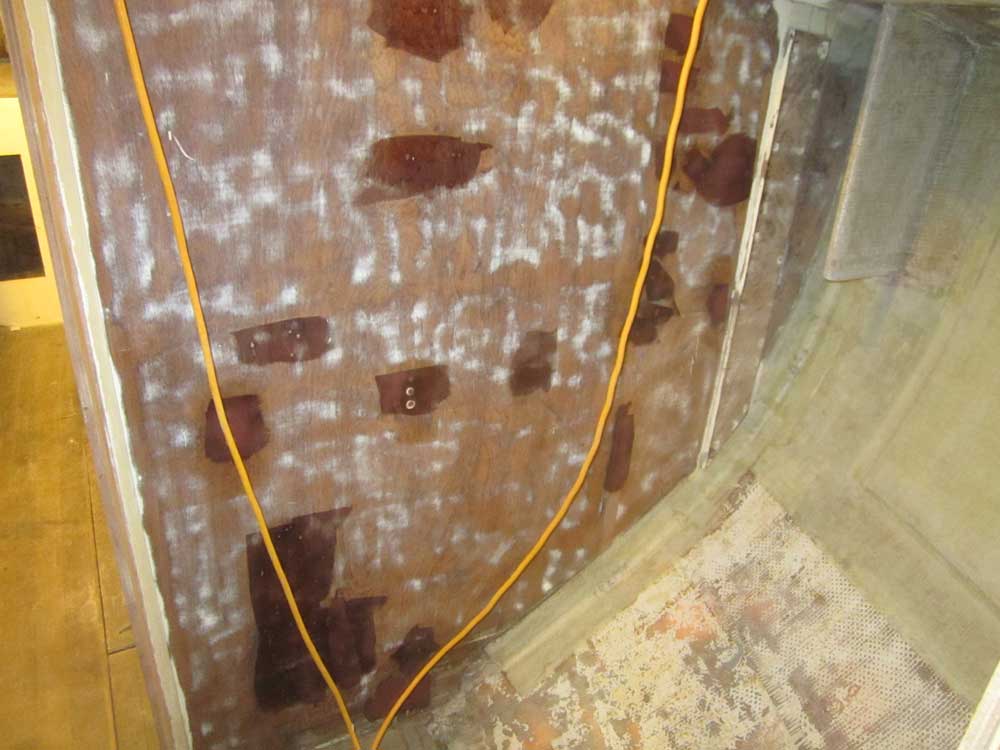
The vertical bulkheads in the head required a second round of filler in the screw holes as I continued that process.
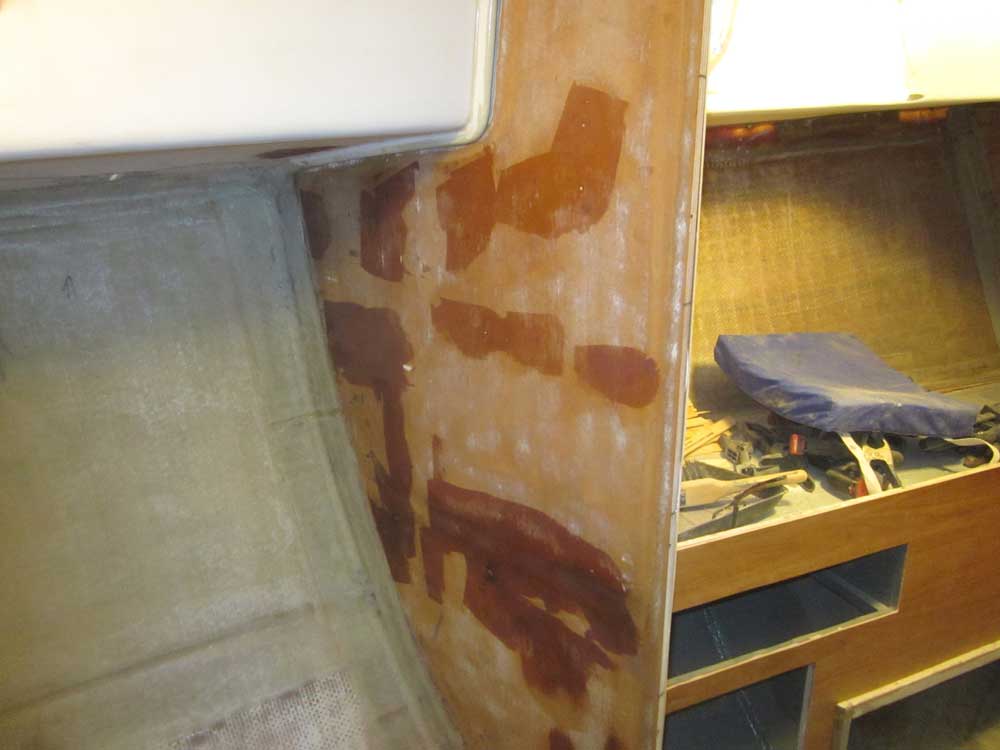
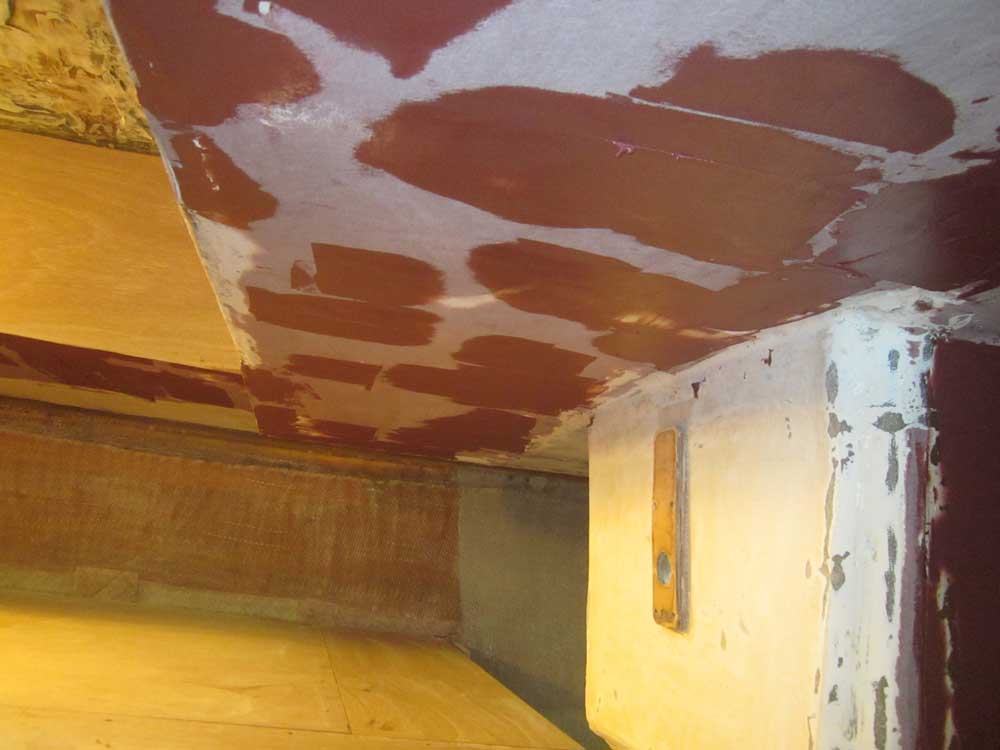
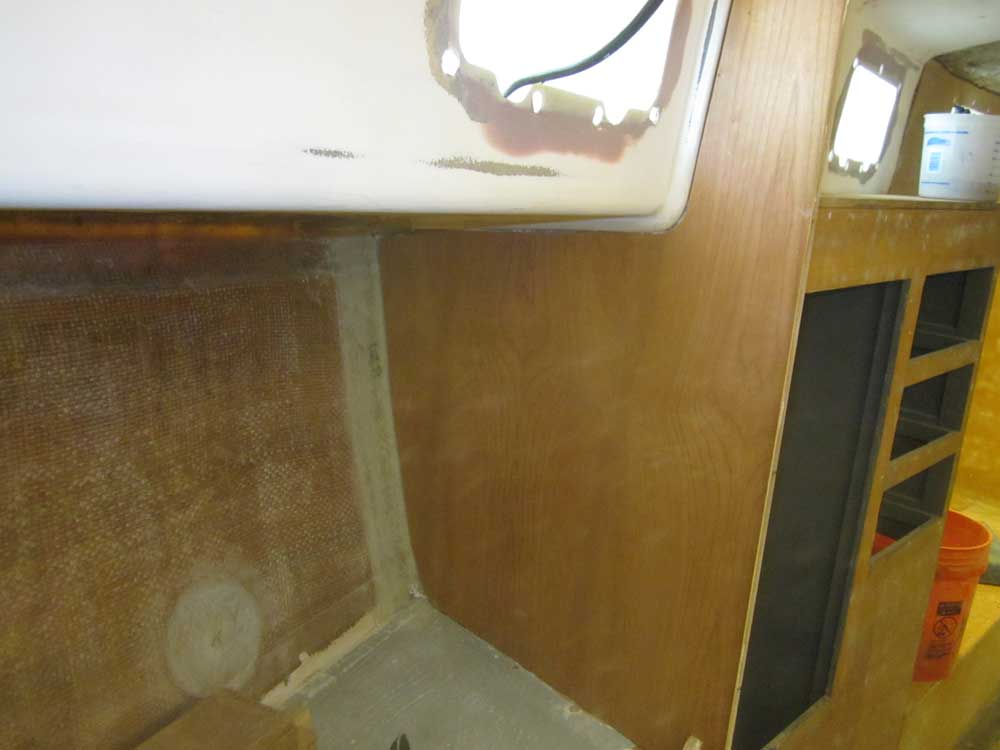
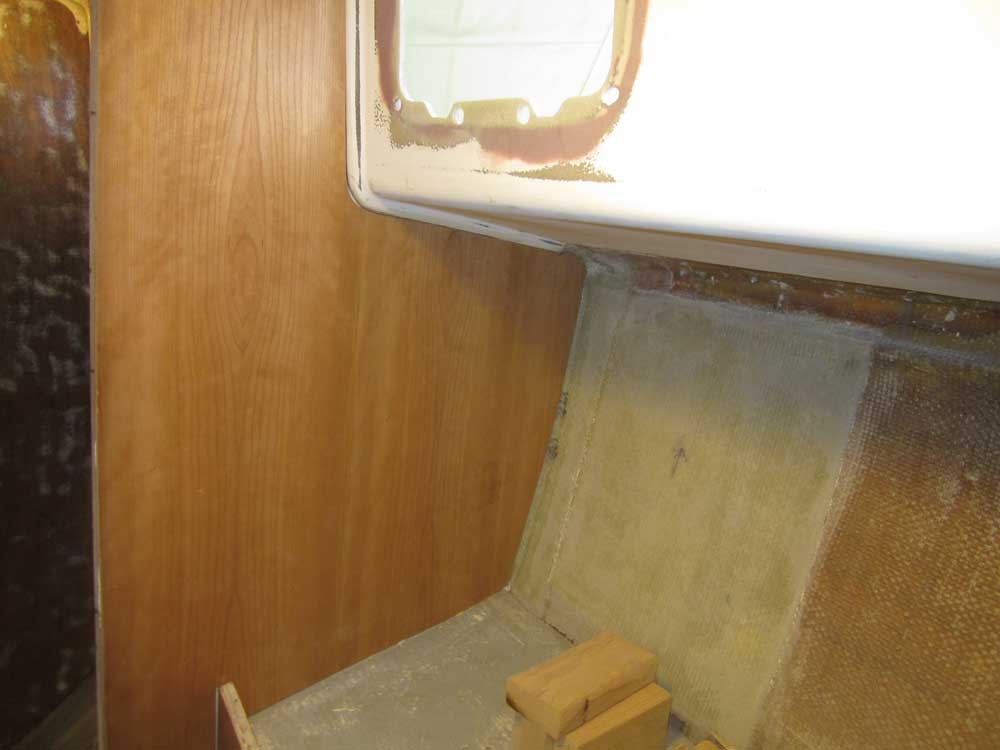
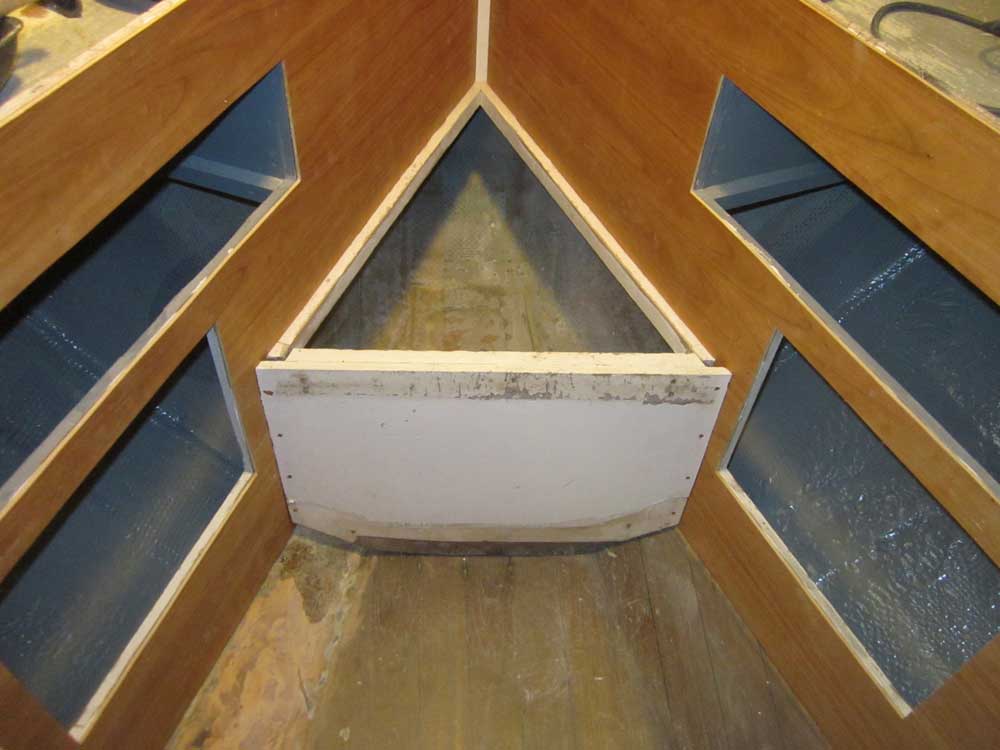
Next on the "new wood" agenda was a small vertical bulkhead in the forward cabin, this one defining the end of the raised step or seat between the berths. The support cleats from the original structure were still in place, and I began by test-fitting the old plywood bulkhead so I could use it as a pattern. Because of the new veneers on each side, I had to trim the original piece a bit for a proper fit. (This photo shows it before trimming.)
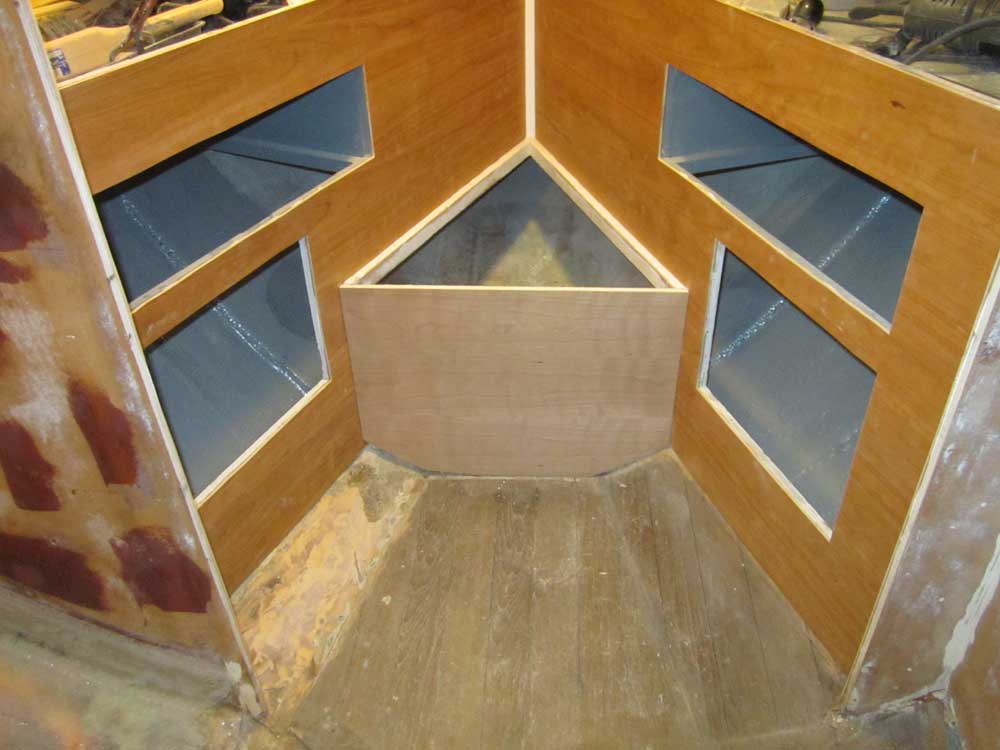
Once I was satisfied with the "pattern", I transferred it to a piece of 1/2" cherry plywood, and cut out the new piece, fitting it into place as needed. The section of old cabin sole to port had fallen out long ago, but I planned to reinstall it as a base for the final cabin sole--which would also fill the gap seen at that edge of the new vertical bulkhead.
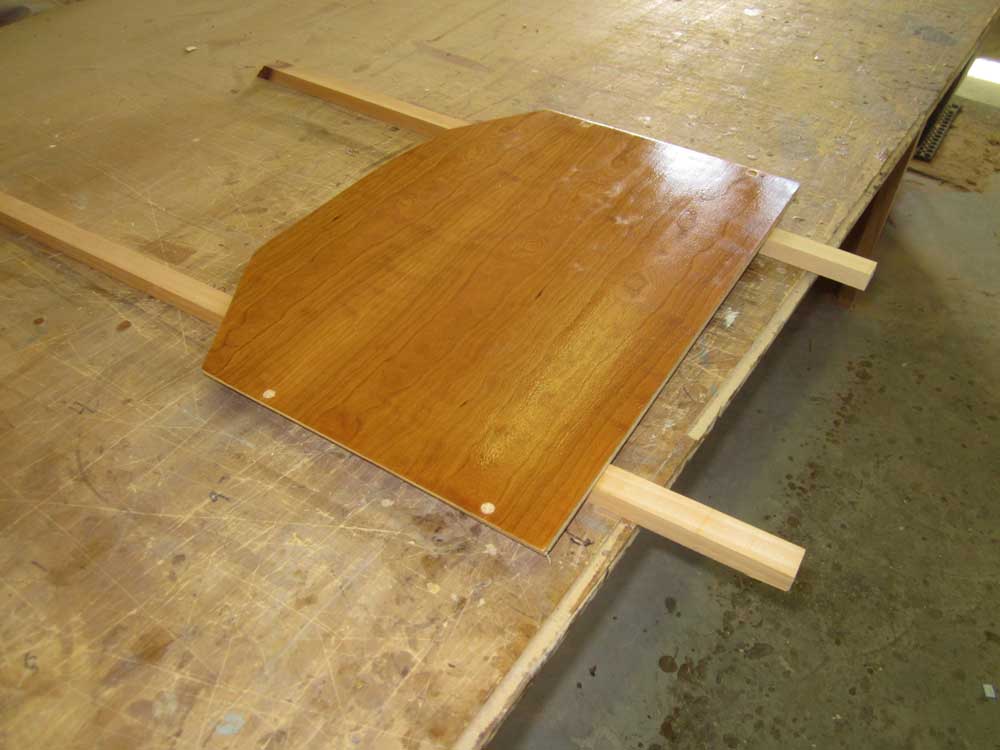
Finally, I marked and drilled screw and bung locations for fasteners to secure the panel in place later, the applied a sealer coat of varnish to the face of the panel.
Total Time on This Job Today: 7 hours
