
110 Cookson Lane | Whitefield, ME 04353 | 207-232-7600 | tim@lackeysailing.com
< Back to Page 1
Wednesday, April 18, 2012 (7.5 hours)
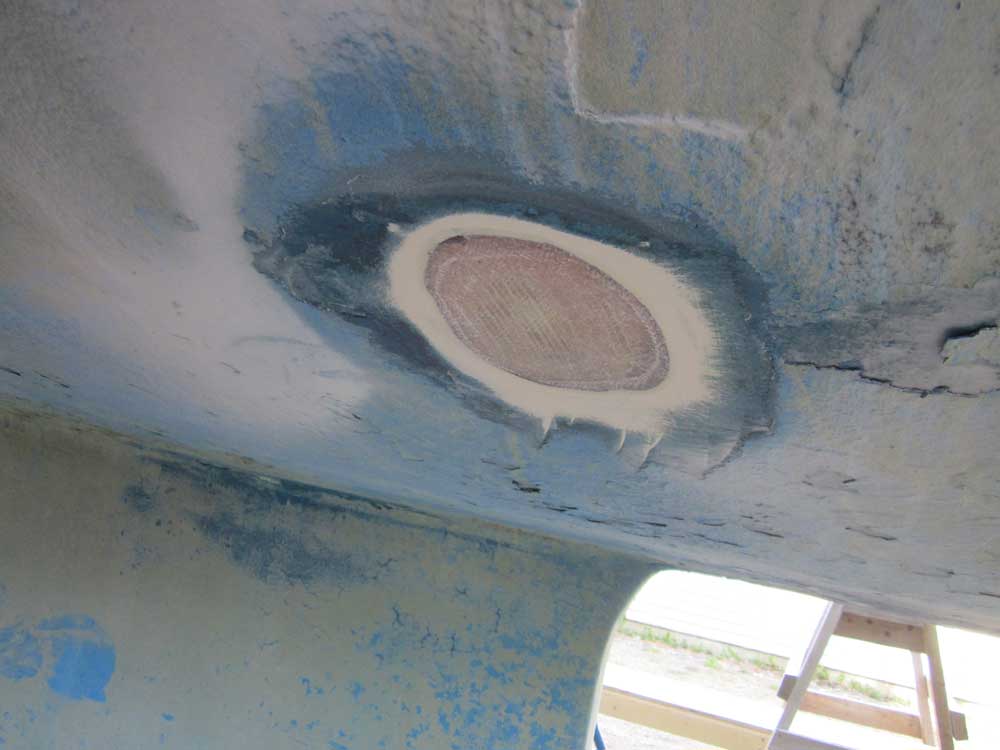
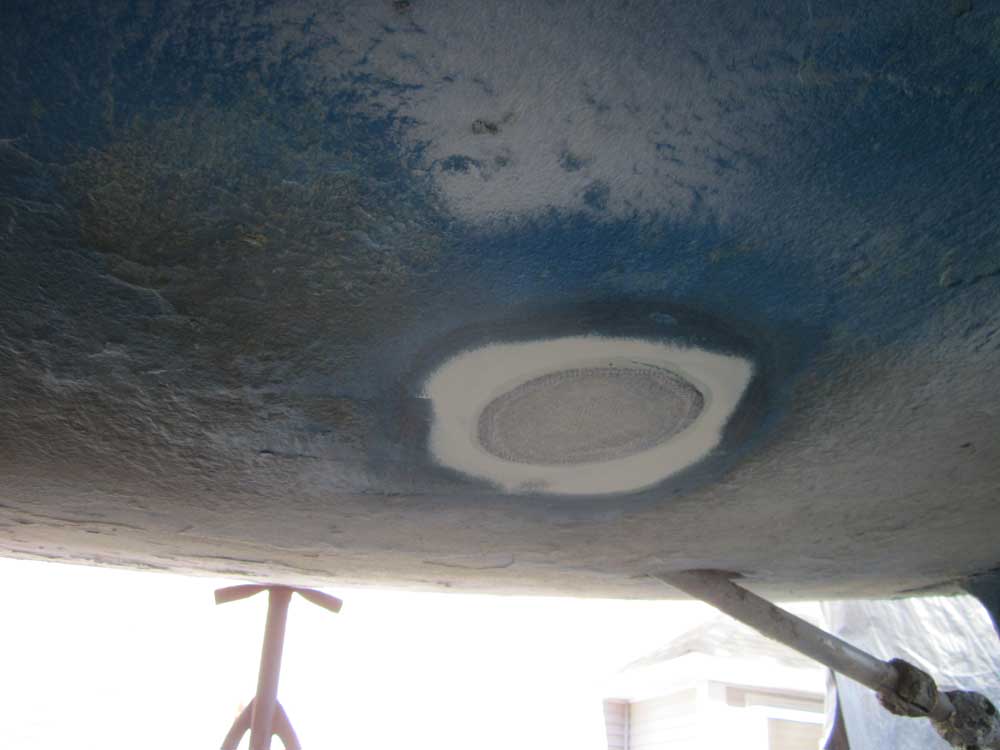
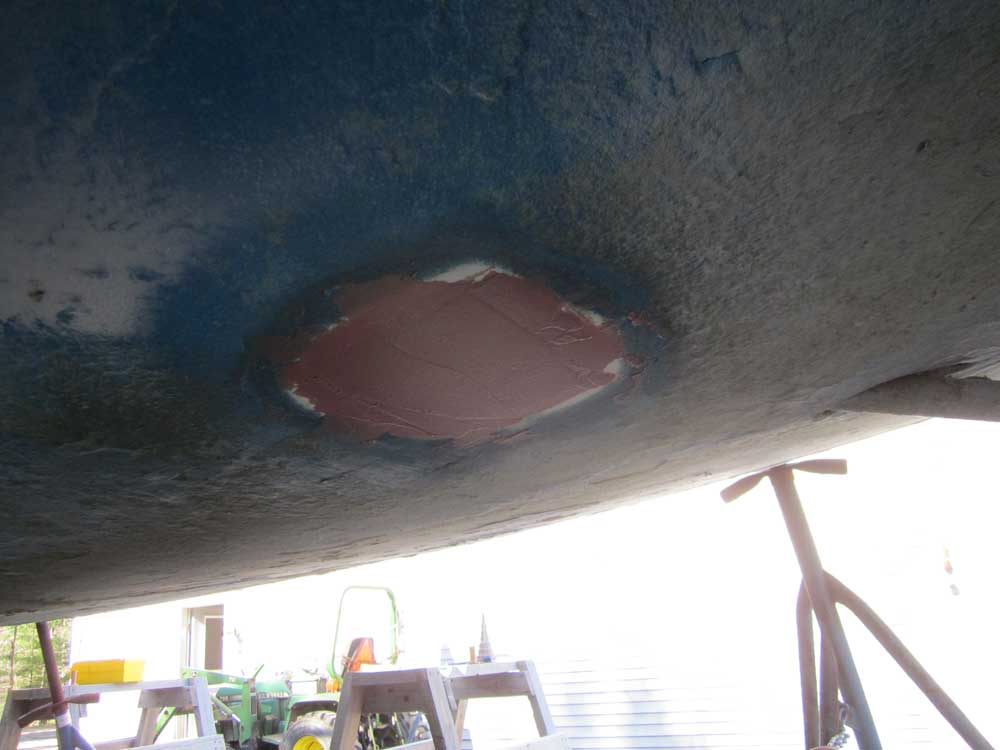
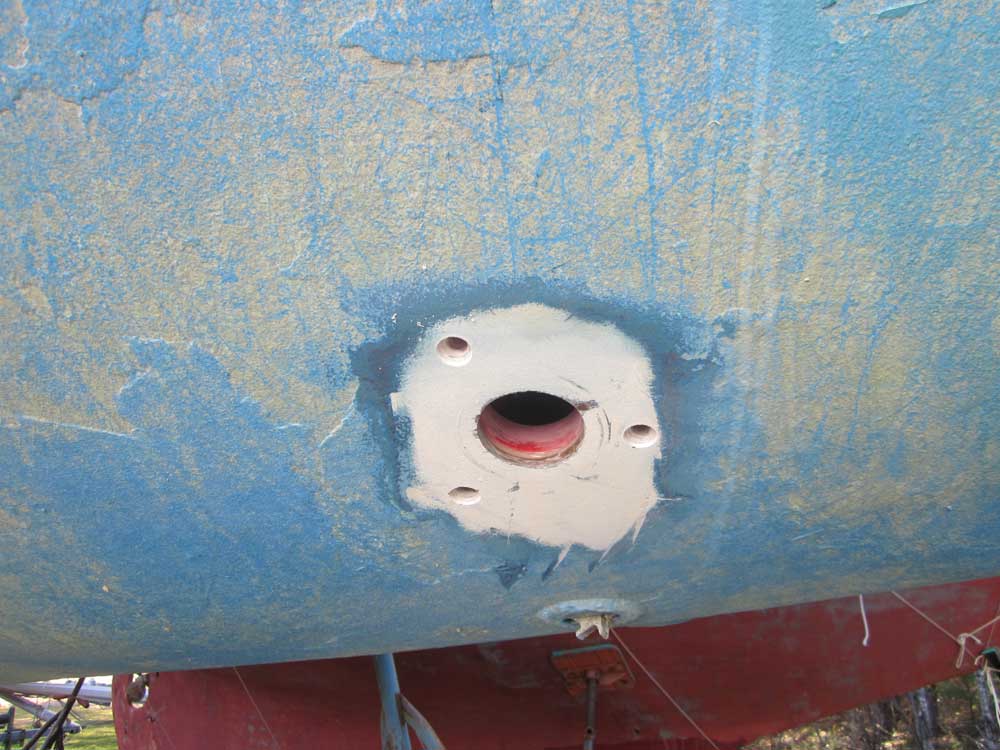
To get started, I washed and sanded the fiberglass patches over the two unused through hulls, and, on the exterior, applied a coat of fairing compound.

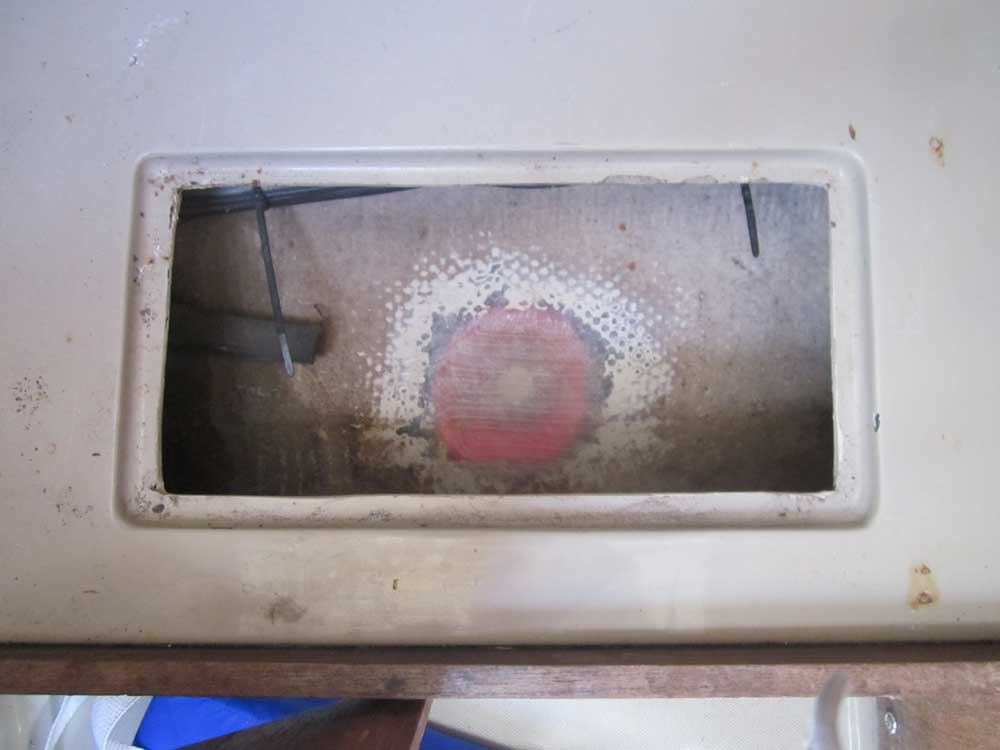
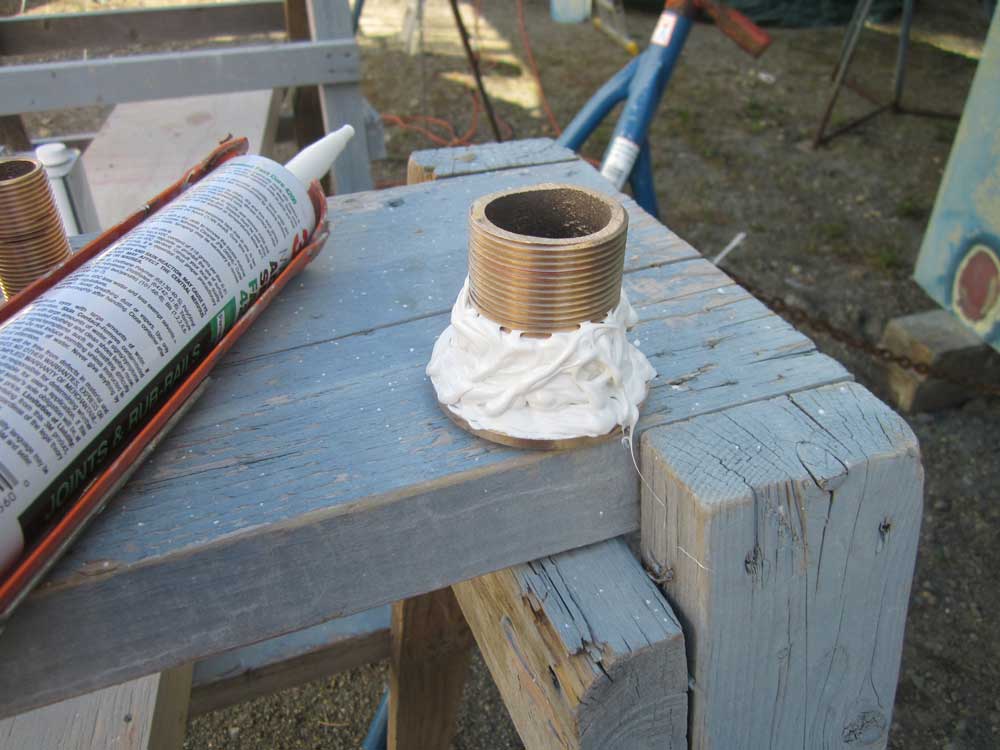
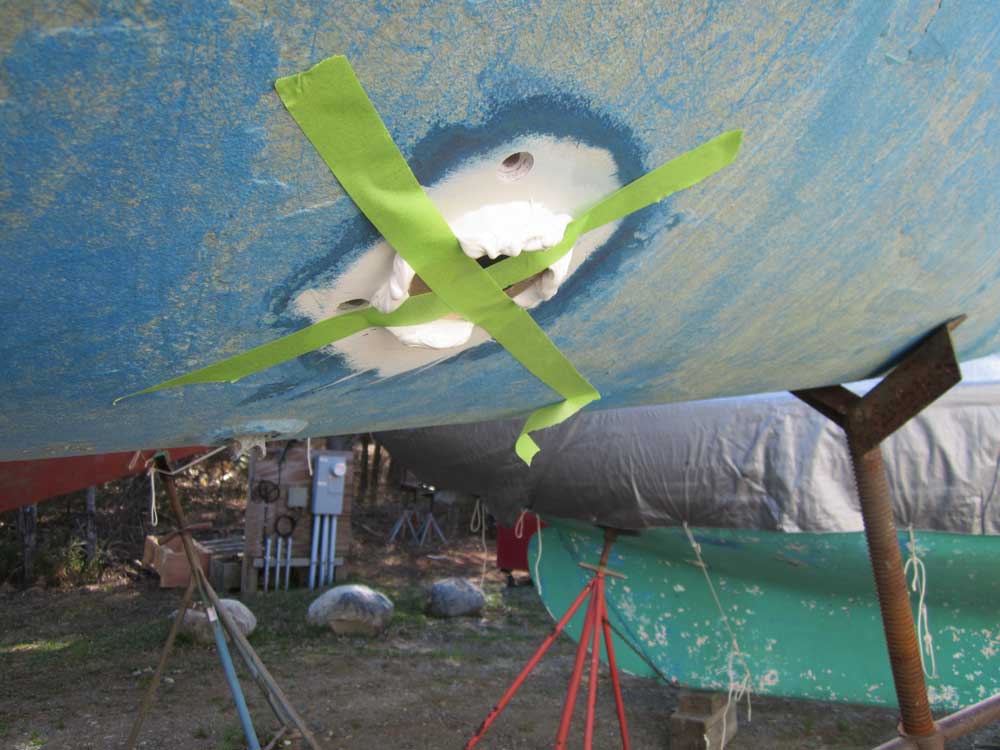
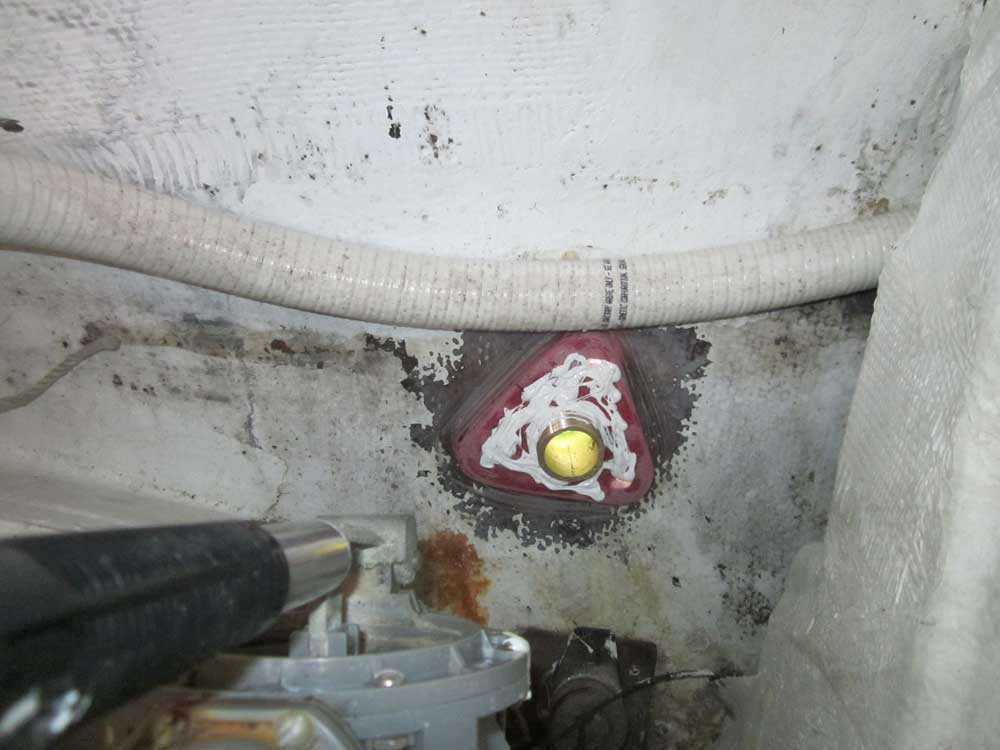
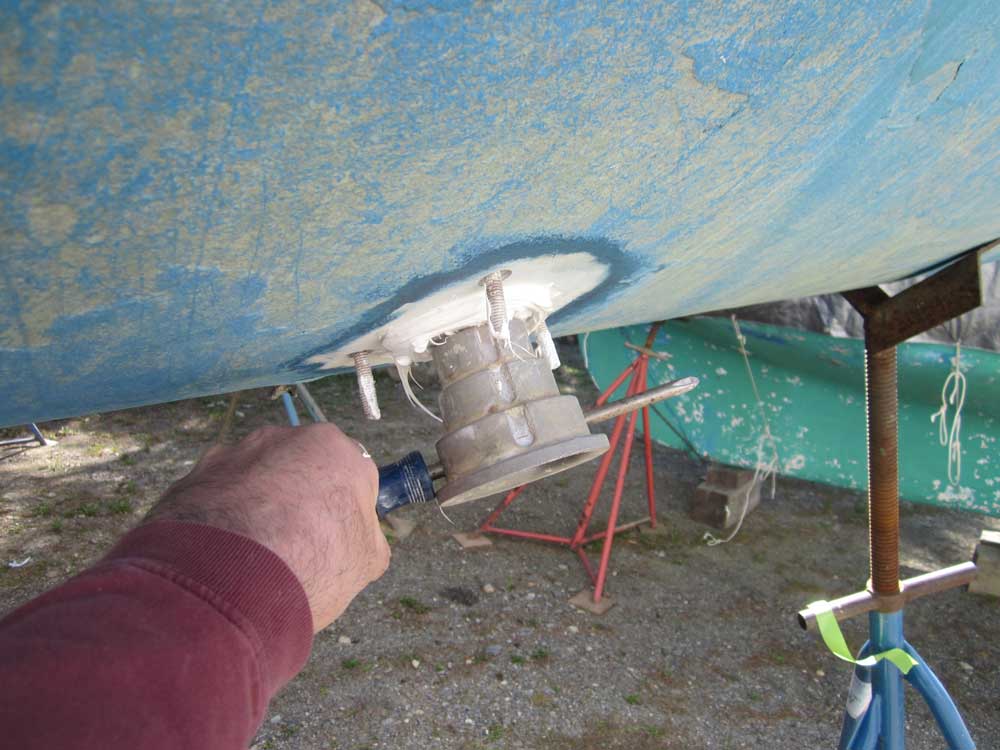
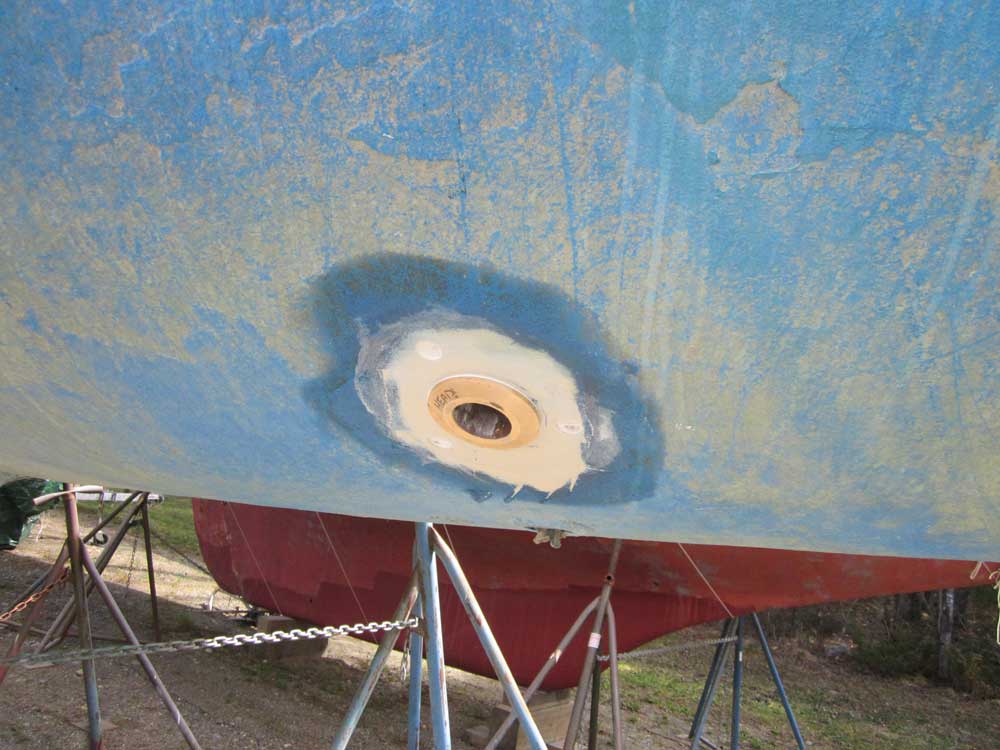
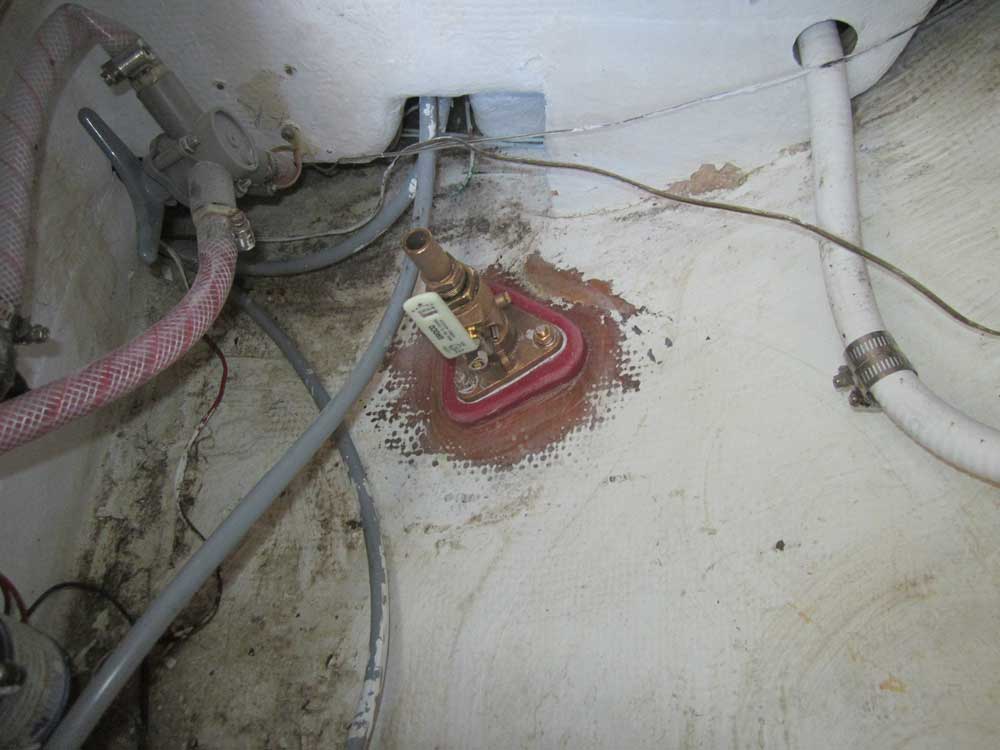
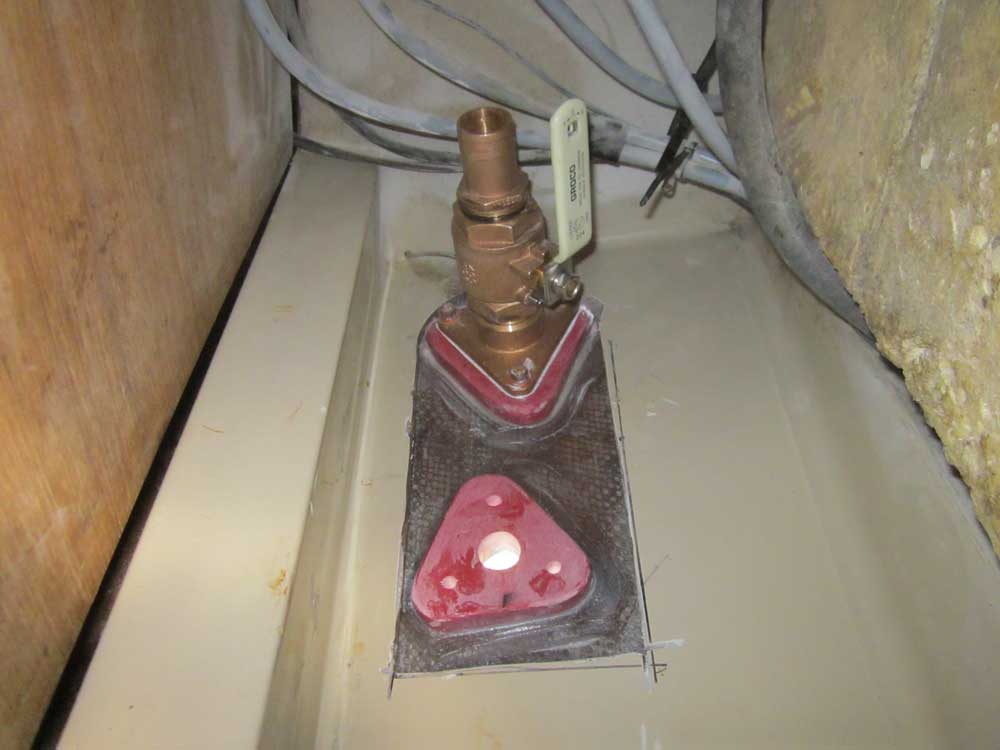
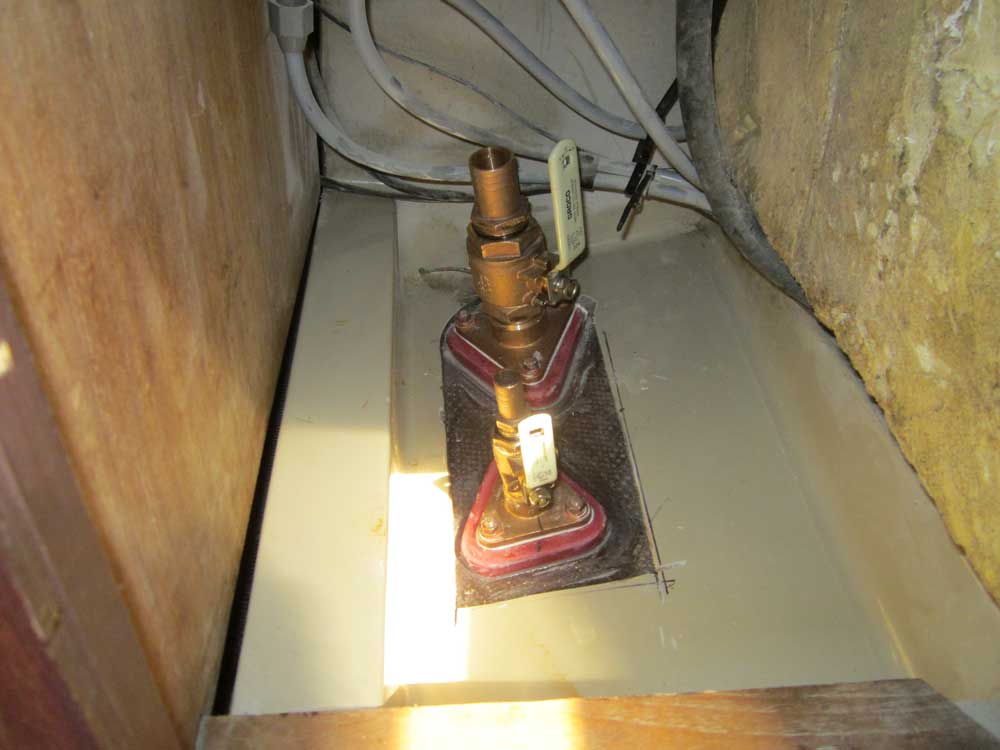
Next, I made final preparations for installing the four new through hull fittings and seacocks. The bolt holes required countersinks on the outside so the fasteners could sit flush, so I finished up that work and gathered tools and materials. Then, I installed the four fittings with polyurethane sealant and bronze fasteners.

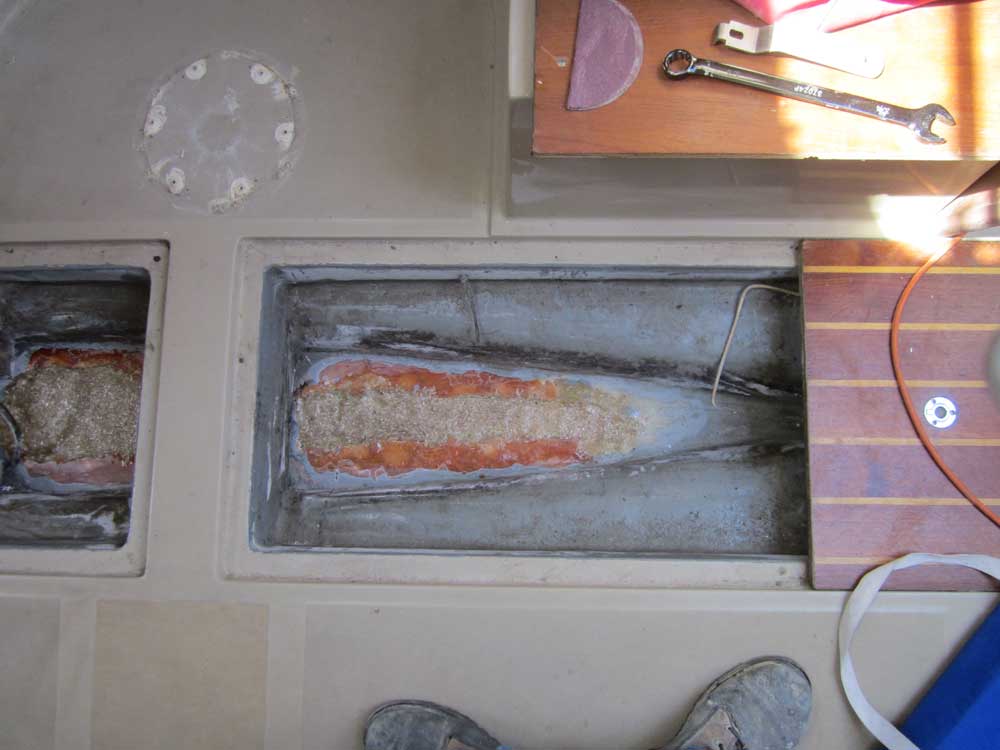
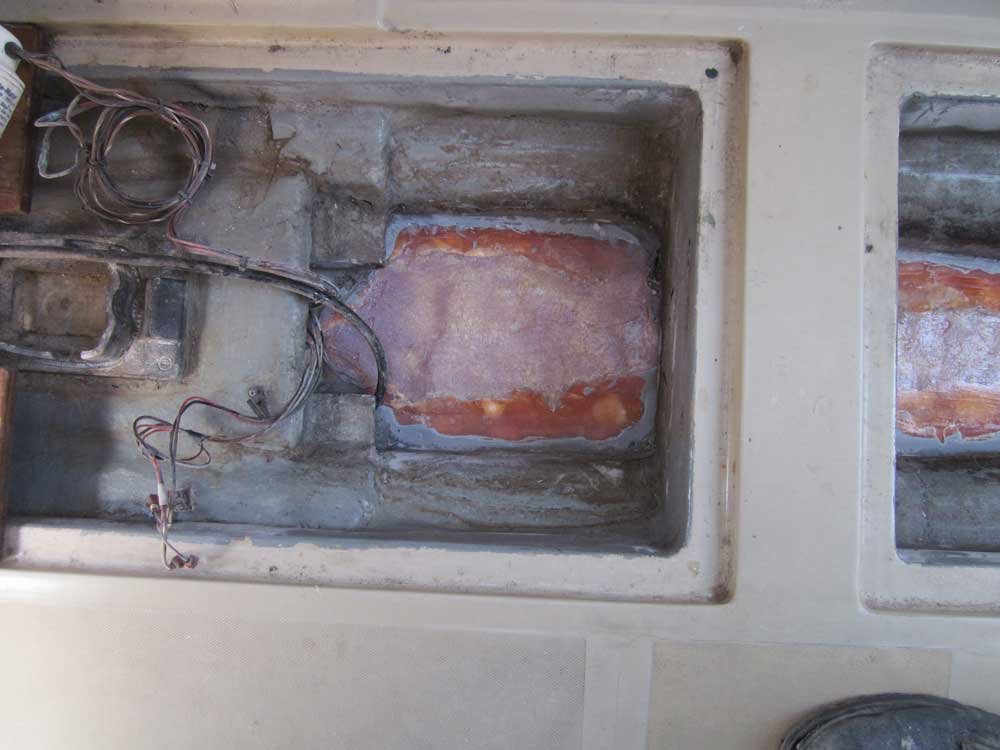
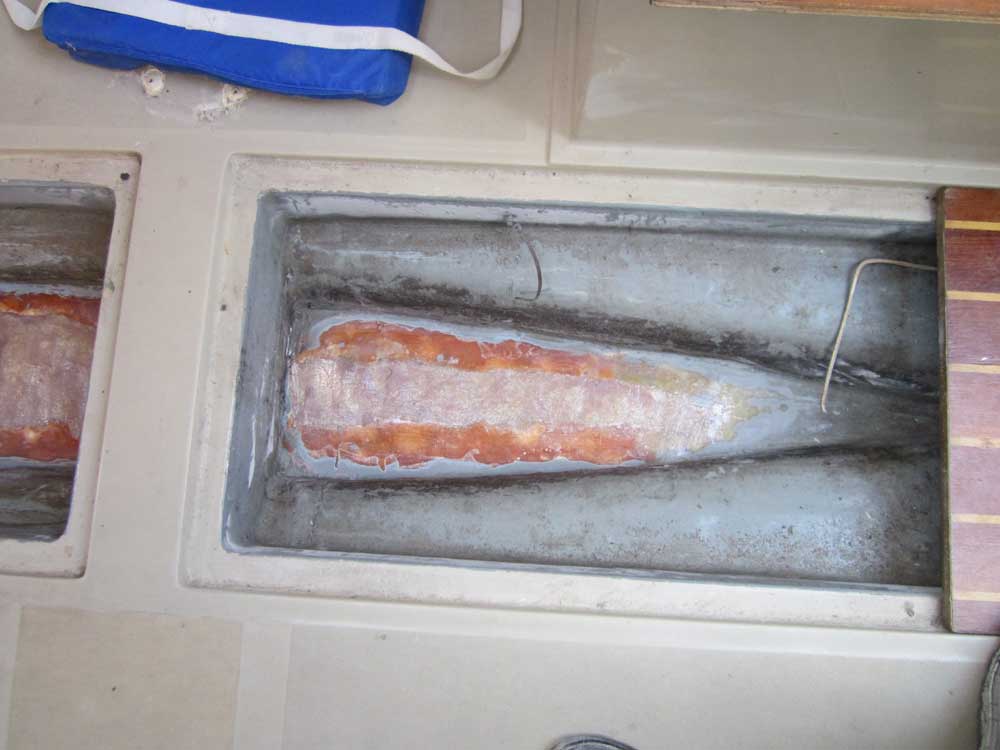
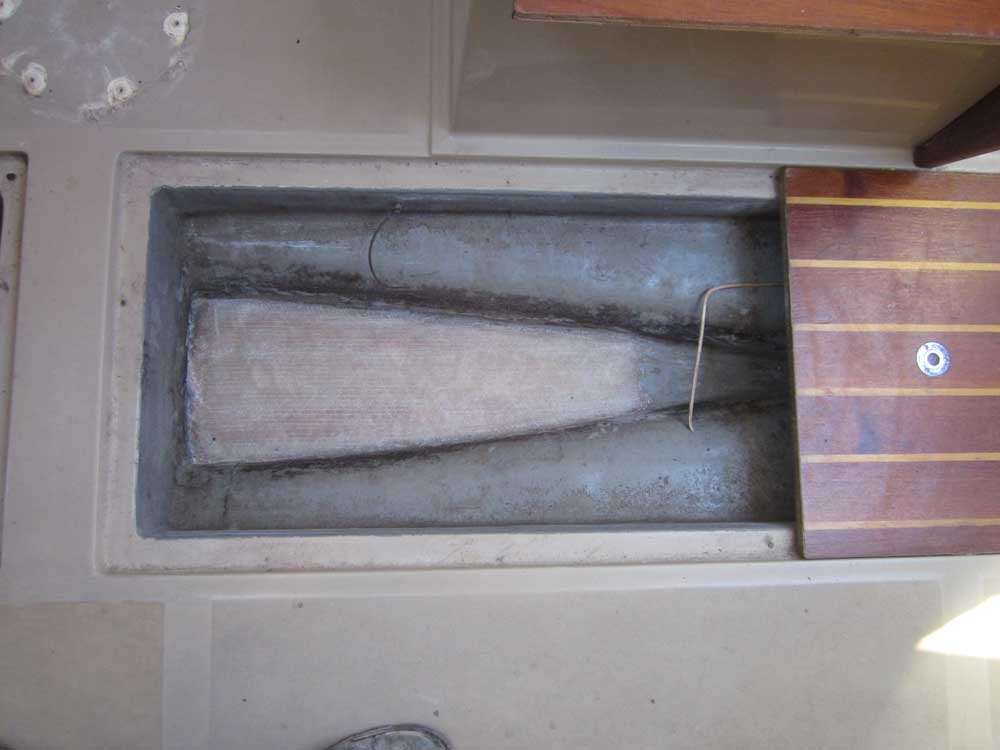
There was room for one more application of resin mixed with choppings in the bilge, which brought the voids flush. Later, when the final layer had cured, I sanded the rough surface and applied a final bit of polyester resin thickened with cabosil to smooth the surface a bit more. Once that had cured, and after a final light sanding (one endearing quality--perhaps the only--of polyester is that it cures quickly vs. epoxy), I applied two layers of heavy fiberglass with epoxy resin over the entire areas.

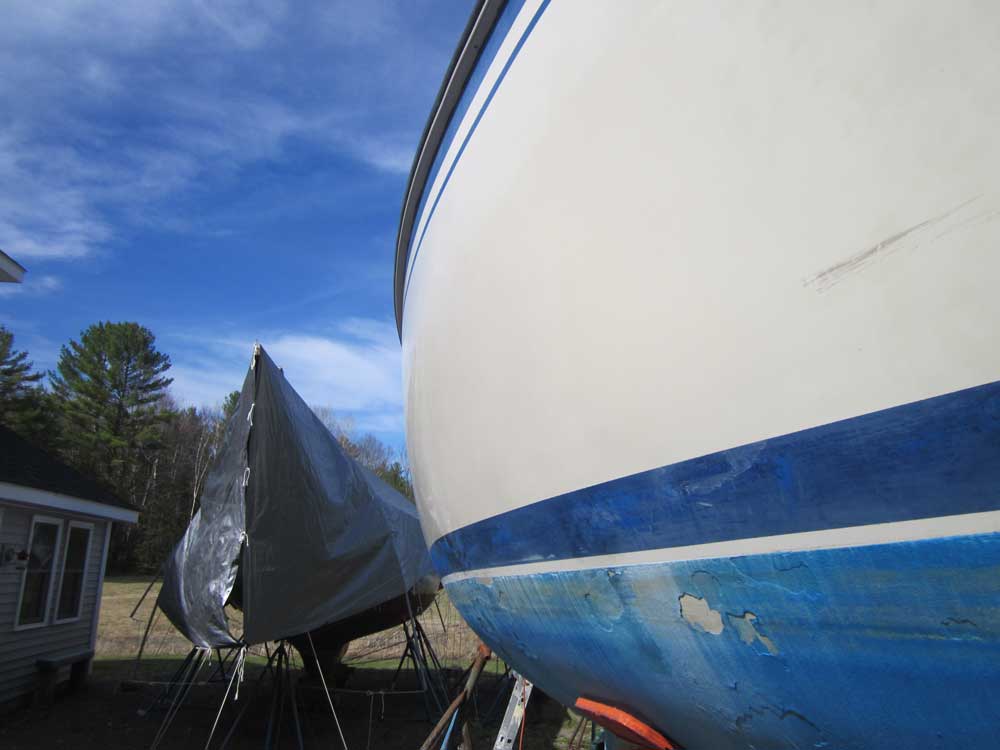
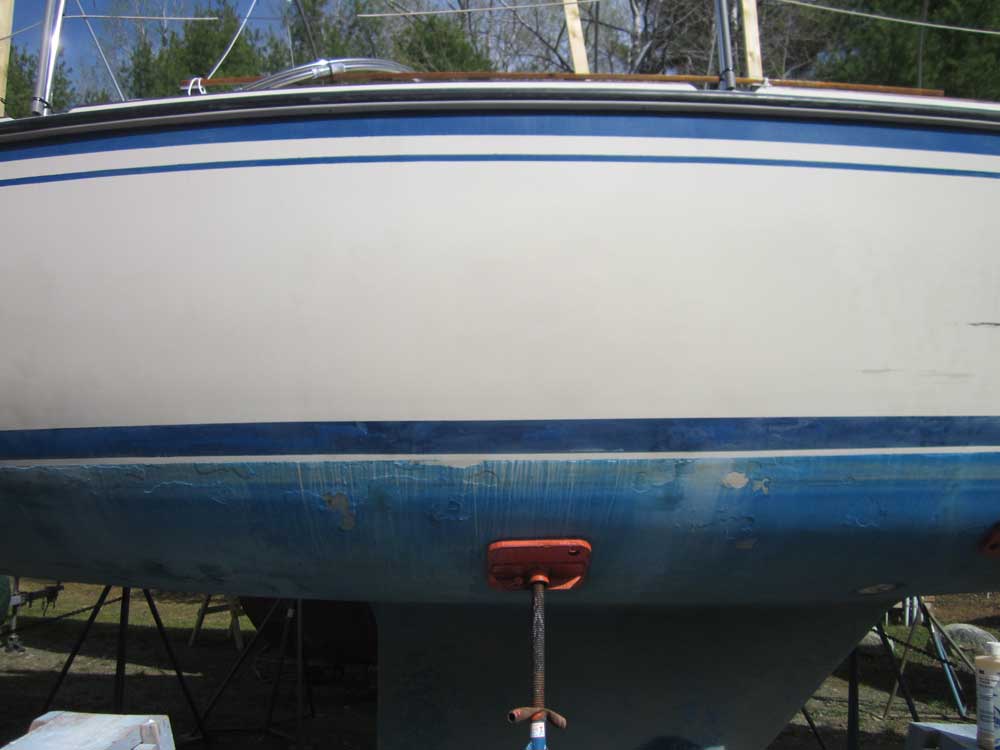
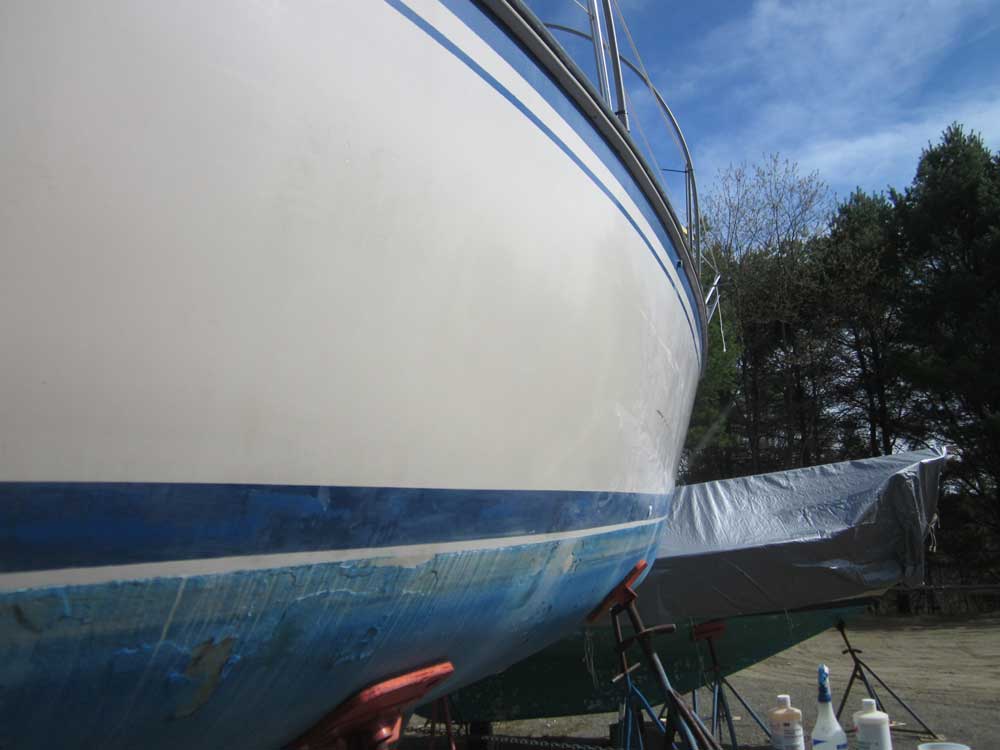
On the starboard topsides, I wet-sanded and buffed the new gelcoat, completing the small repair.
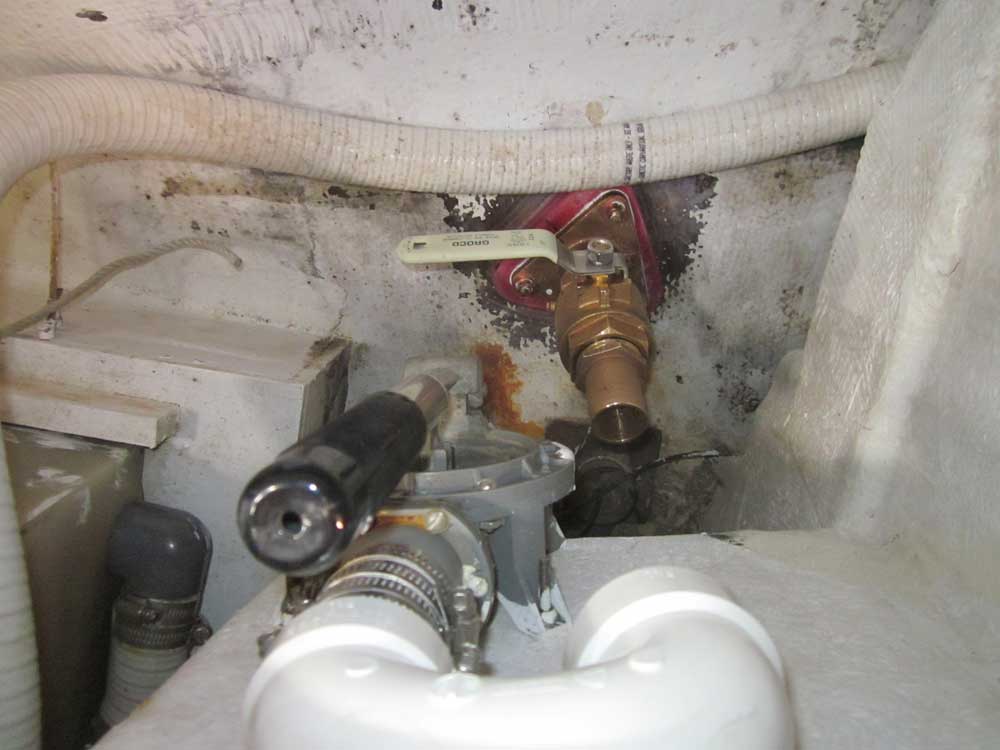
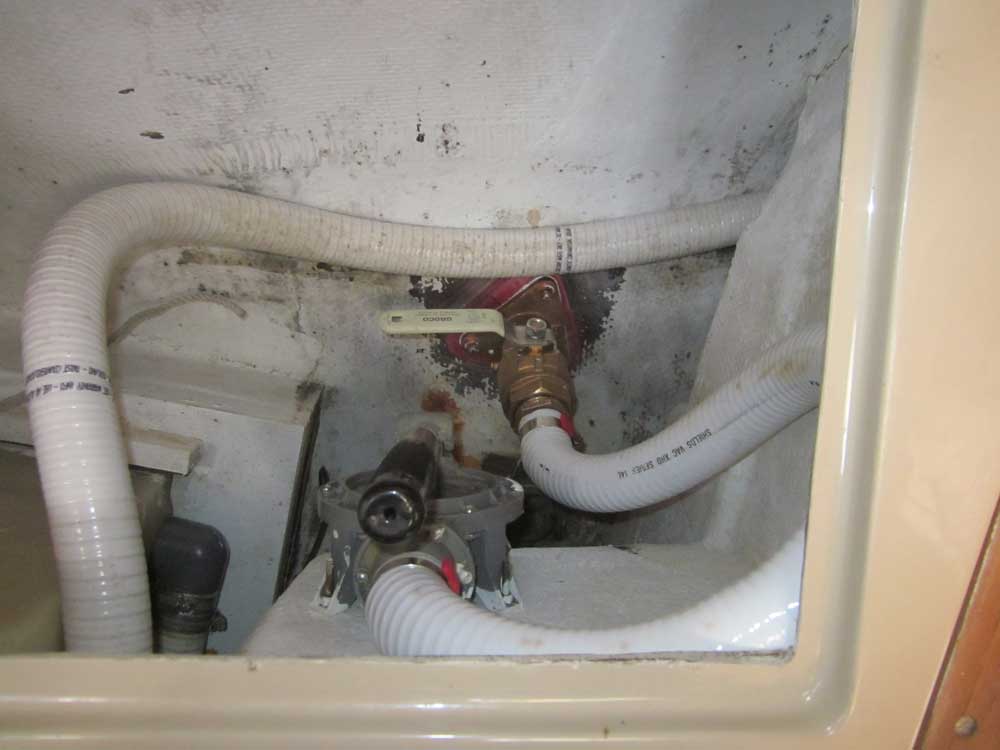
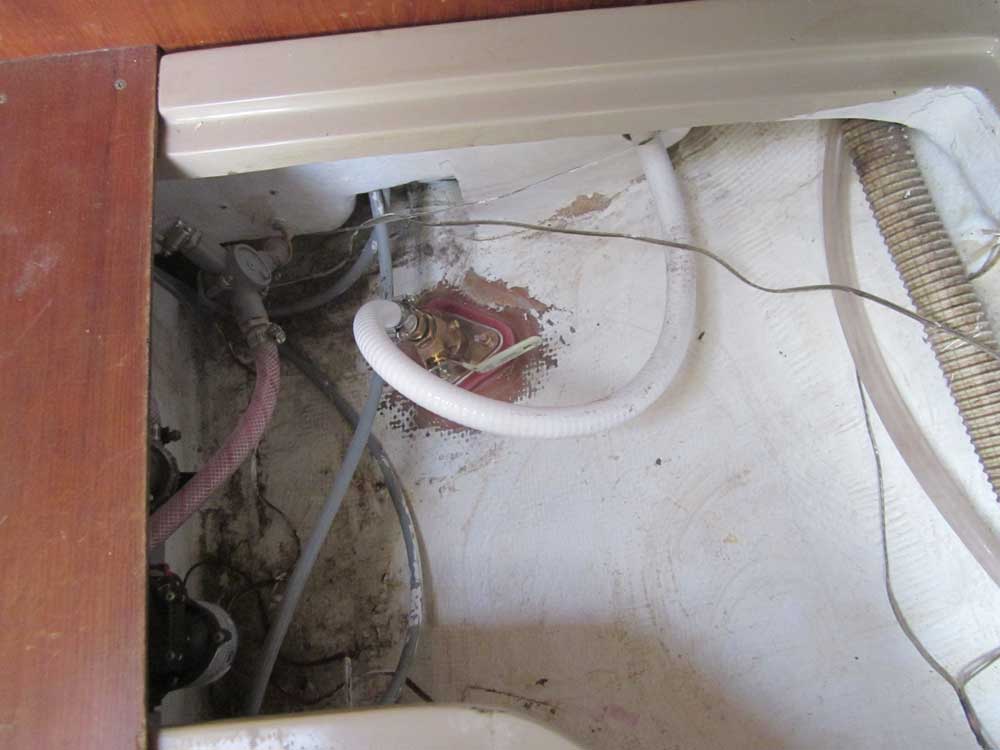
With the new through hulls in place, I installed new hoses for the head discharge and galley sink, and resecured the existing head intake hose. The new engine intake required a new hose and sea strainer; I had the sea strainer on hand, but didn't have the correct hose in stock, so I ordered what I needed for later installation. Meanwhile, I made some measurements and notes about a couple remaining small interior projects that I'd wrap up in the near future.
Thursday, April 19, 2012 (3.5 hours)
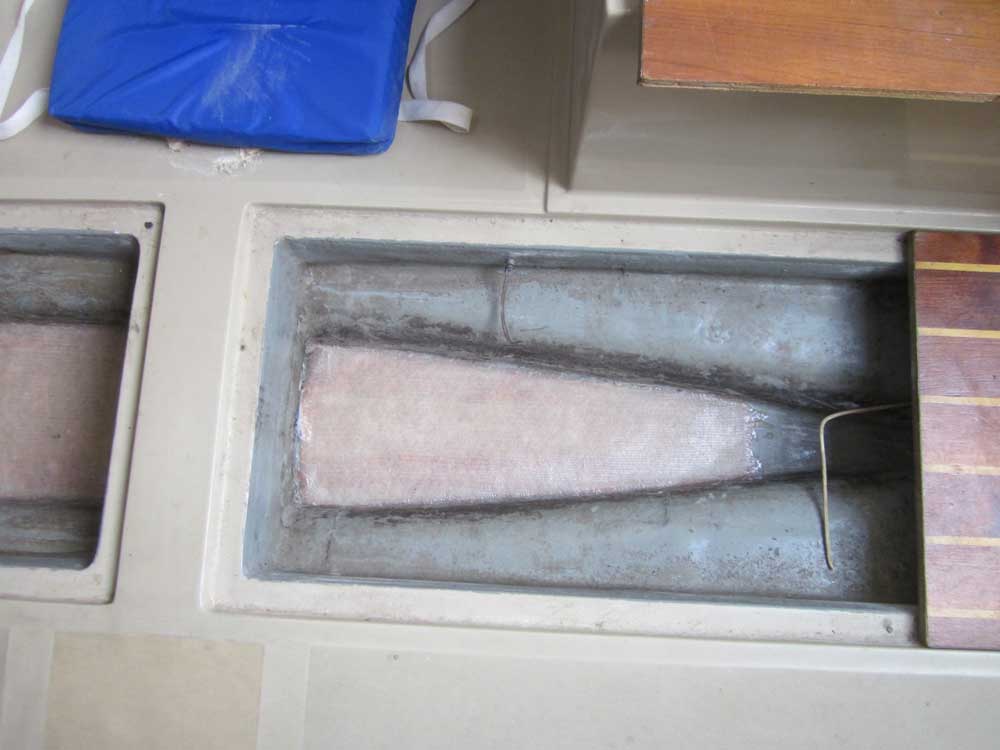
After a water wash and quick sanding, the bilge work was complete. I also sanded the two through hull patches, where I'd applied fairing compound earlier, and with that complete I coated the patches with plain epoxy resin to seal the fairing compound (no pictures, sorry).

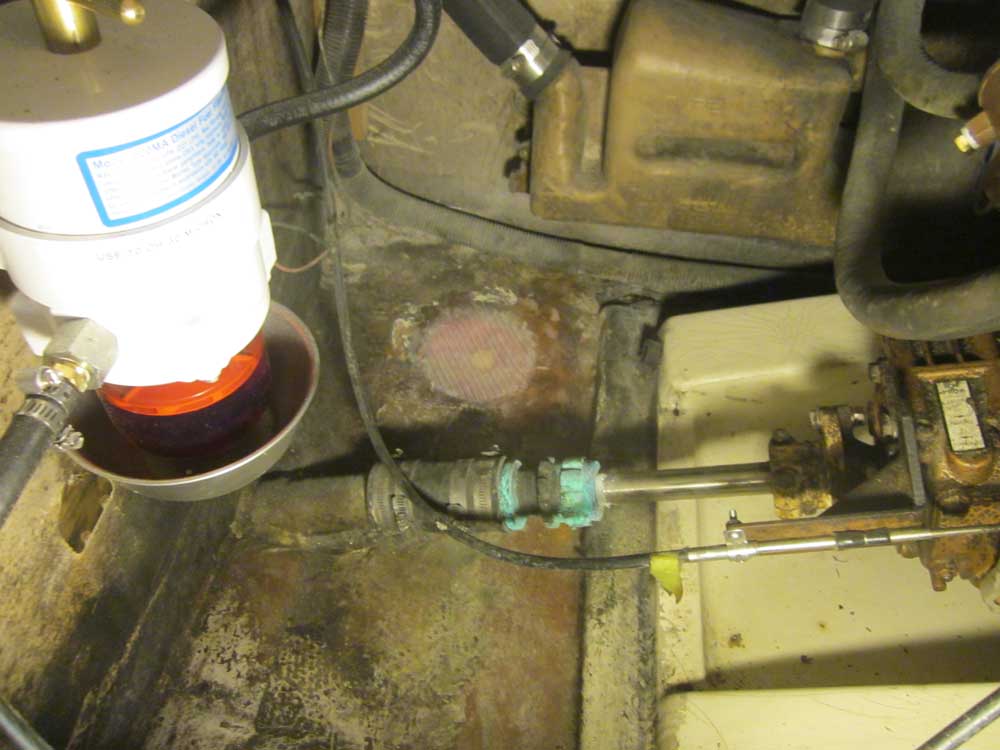
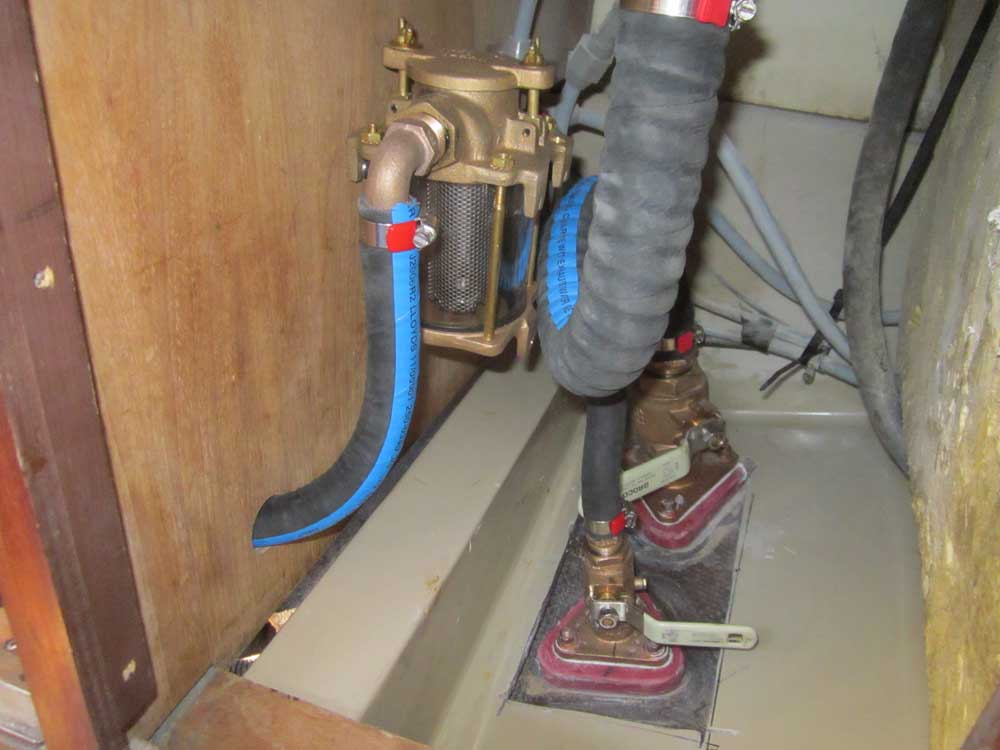
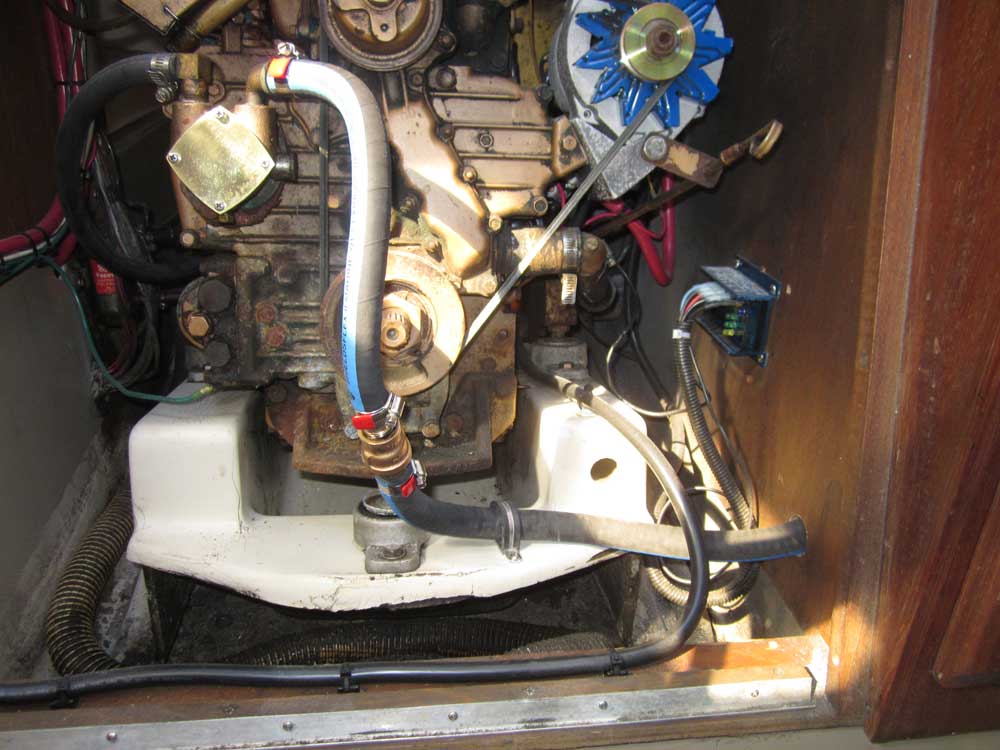
I spent most of the afternoon working on a punch list to finish up most of the jobs required. To begin, I installed a new bronze raw water strainer in the locker beneath the galley sink, near the newly located engine intake. Then, I ran new hoses to the engine itself. Because the raw water pump on the engine required a 5/8" hose, while the rest of the system was 3/4", I had to adapt the hose down with some bronze fittings.
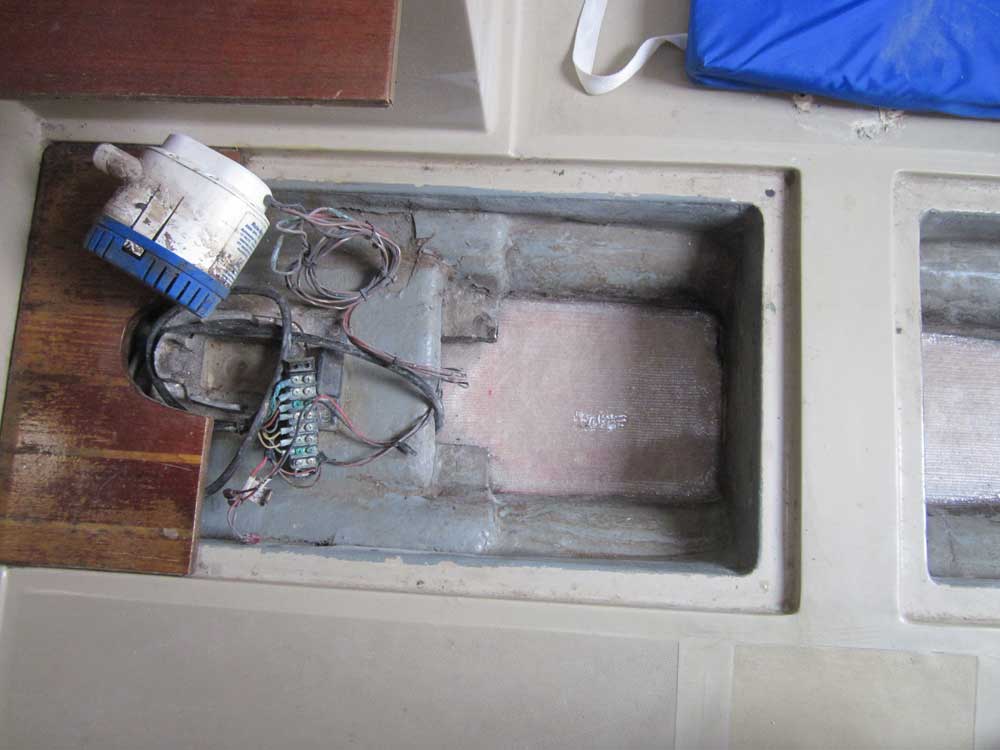
I ordered a new electric bilge pump to replace the non-functioning one in place; to prepare for its arrival next week, I ran new lengths of bilge hose into the sump, as well as a new length of hose for the manual pump. I'd complete the bilge pump installation once the new pump arrived.
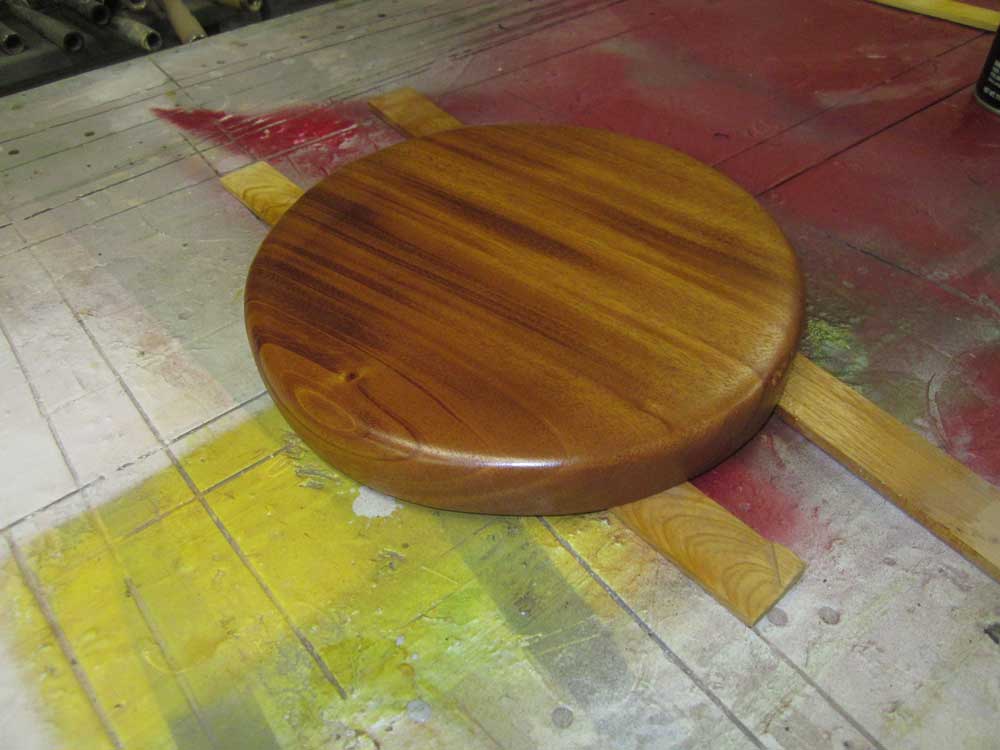
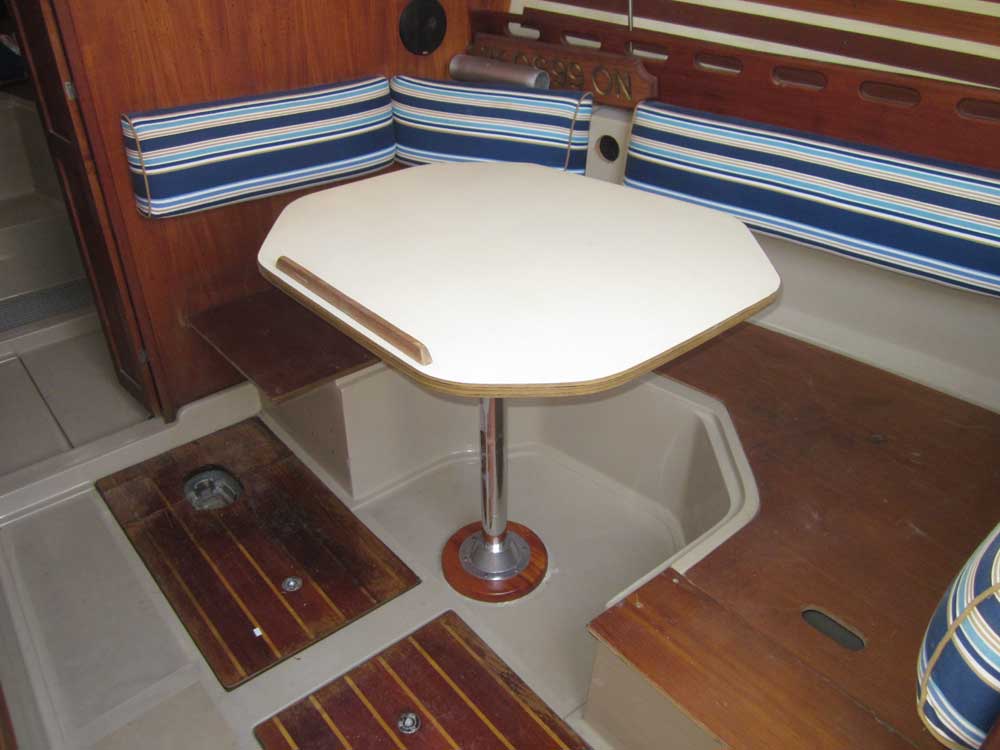
A couple small jobs remained. One, mounting new hardware for the removable, convertible table in the dinette, required a round wooden base to cover some old holes in the cabin sole, so from a piece of scrap mahogany I cut and shaped the required disc and started the finishing process so I could install it soon.
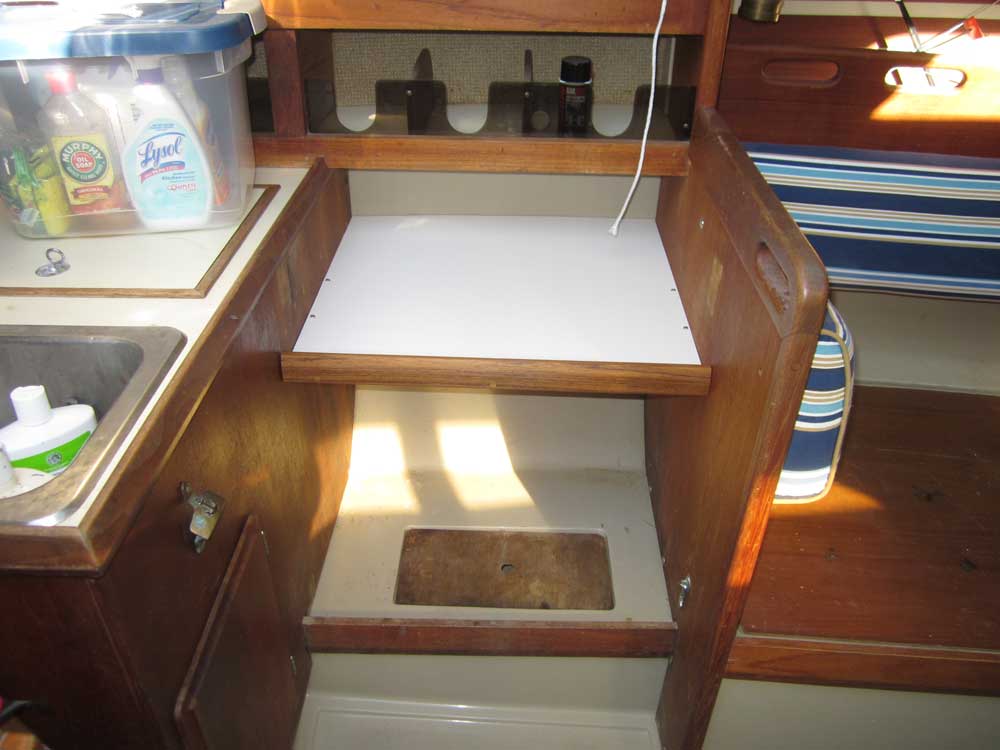
In place of a since-removed gimballed stove, the owner requested a simple shelf in the stove area, which he could use for storage or for a portable stove. I began shelf construction by cutting a piece of 1/2" plywood to fit the opening, planning to cover the top with white Formica, with teak trim to match the interior. I'd wrap up this project next time.
Friday, April 20, 2012 (3.5 hours)
The owner was on hand for much of the morning, during which time we went over some things and completed two small projects from the remaining list: rebed the traveler, which had been leaking into the quarterberth; and replacing the diesel fuel deck fill.
Afterwards, I wrapped up preliminary work on the basic shelf for the galley area, which would fill in the old stove area and provide a place for a new portable stove and/or stowage. I cut a shelf from 1/2" plywood, then scribed the outboard end to fit the hull before installing white Formica over the exposed surface. I milled a teak fiddle for the exposed edge, then installed the shelf with hardwood cleats beneath. Nothing fancy, but effective. I oiled the teak trim to match the existing woodwork.
The table base was ready for final installation. I drilled and tapped bolt holes into the cabin sole for machine screws, and slightly oversize pilotholes through the wooden base, then installed the base with stainless steel screws; the underside of the sole was inaccessible for bolting. I secured the matching top socket to the table with screws, and the reinstallation of the table was complete.
Other than final installation of a new electric bilge pump, which was on order and due Monday, my work list was complete for now.
