
110 Cookson Lane | Whitefield, ME 04353 | 207-232-7600 | tim@lackeysailing.com
Ashantee | Monday, April 6, 2015
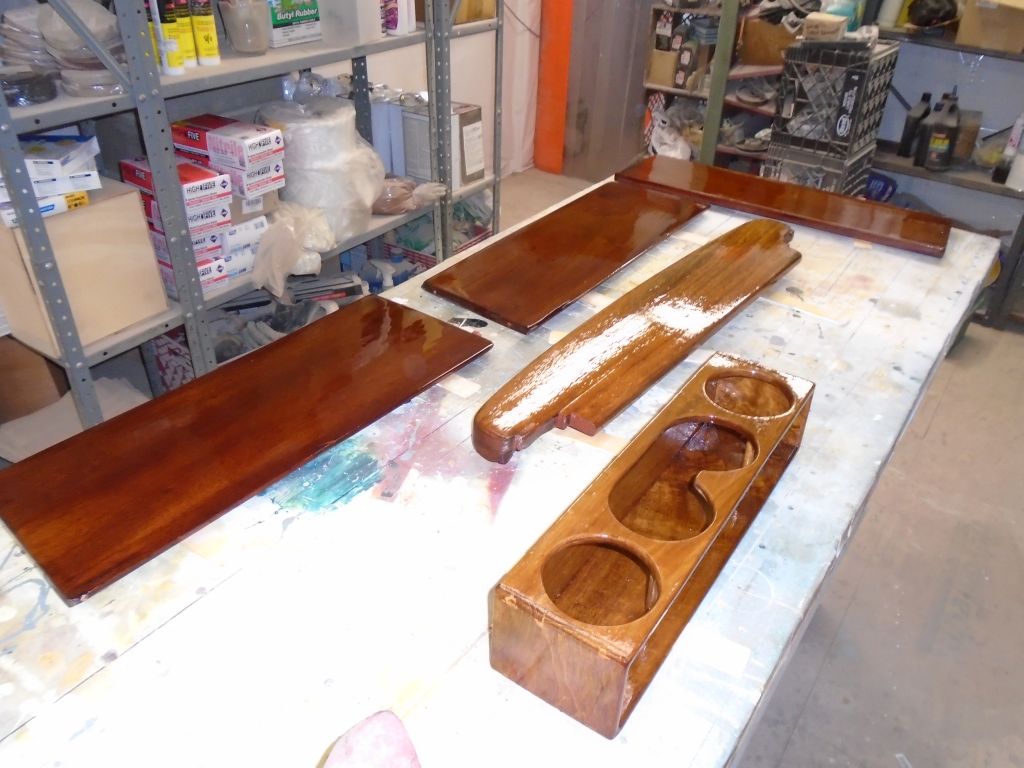
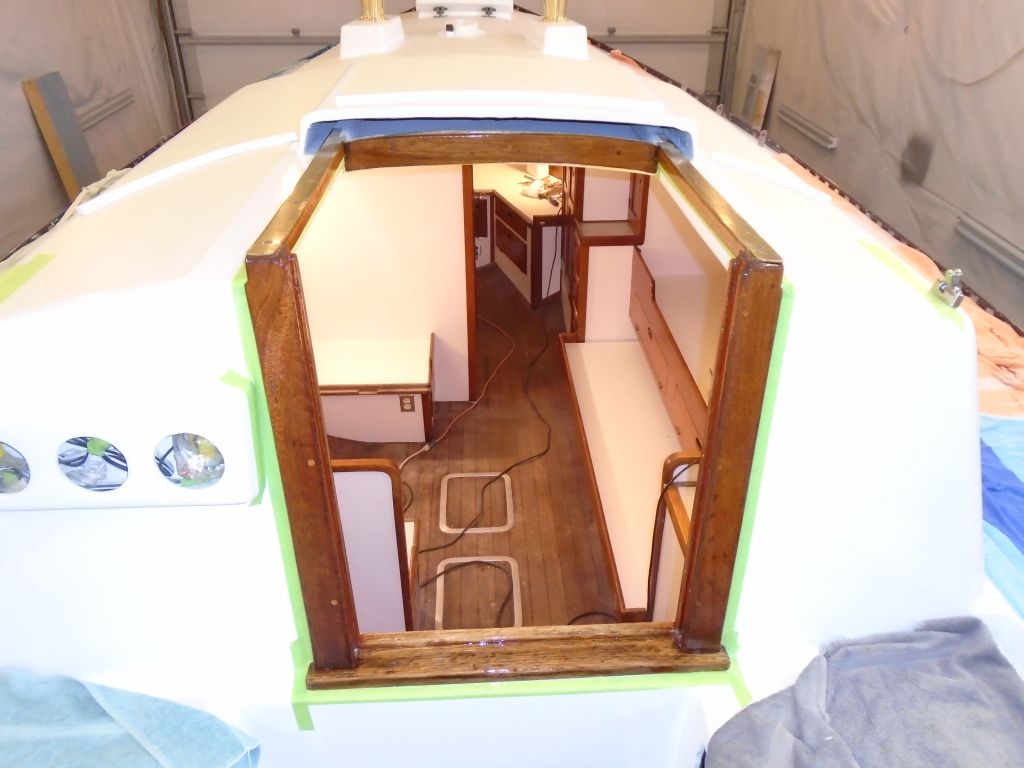
Over the weekend, I managed a coat of varnish on the companionway trim and related pieces that I'd been working on.
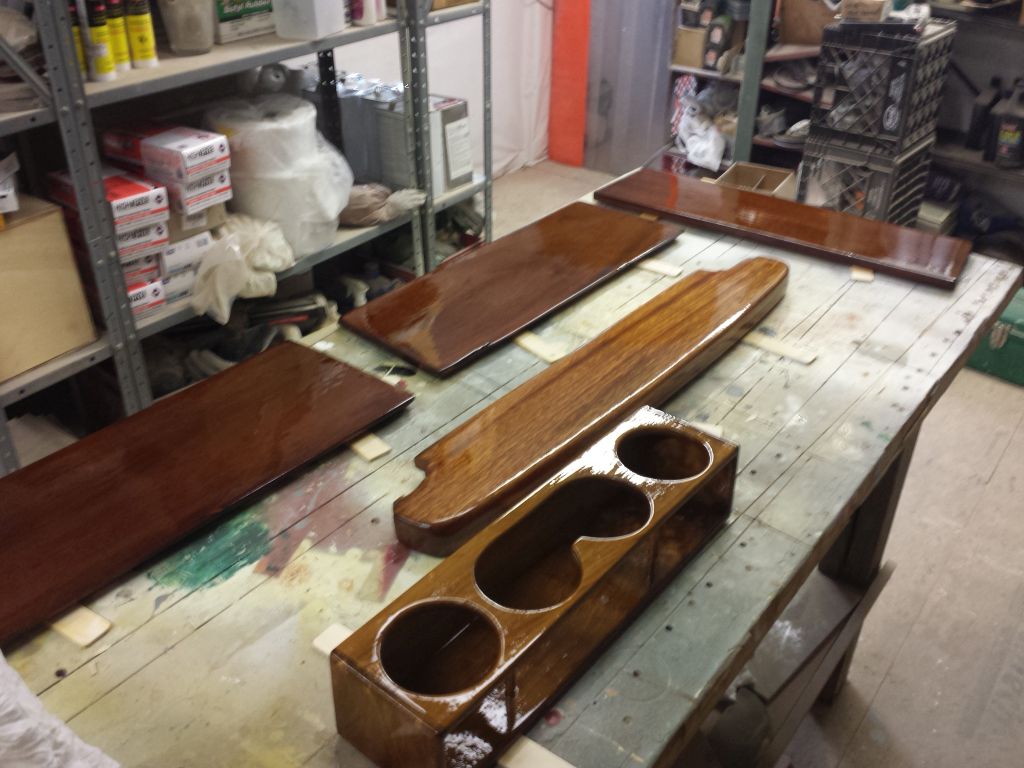

After lightly sanding the brightwork first thing, to prepare it for another coat at the end of the day, I began by removing the cockpit coamings. Jason had been at the boat in my absence last Friday to finish up the dodger template work, so with the immediate need for the coamings now past, I wanted to start the varnish work and get them ready for final installation soon.
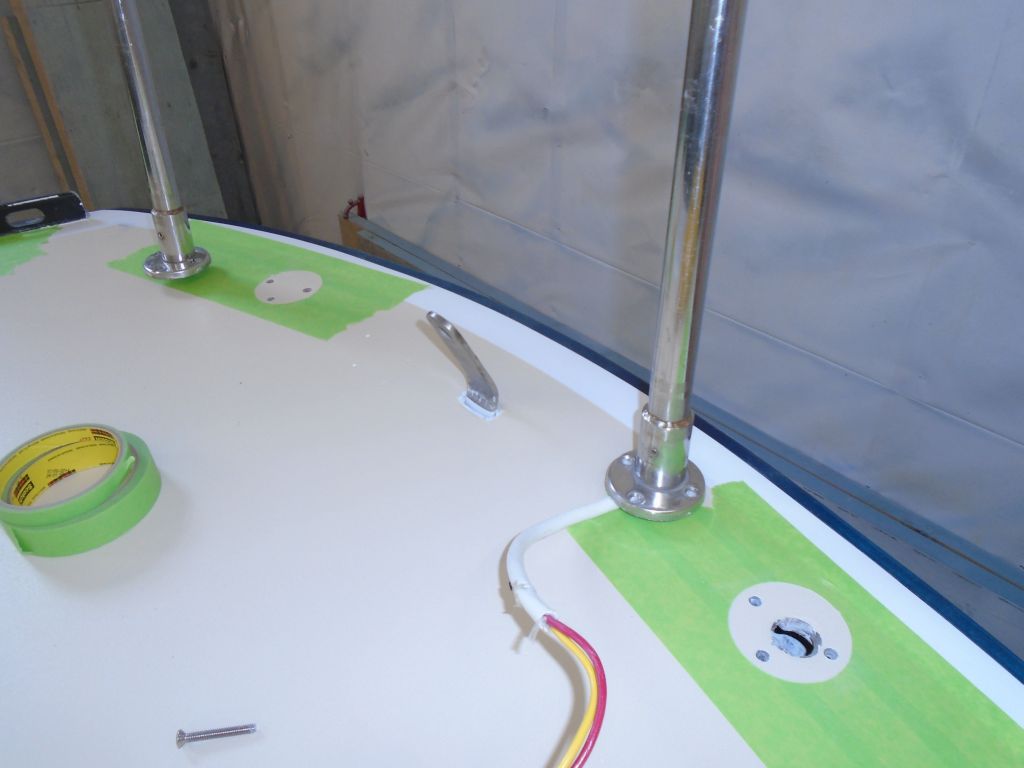
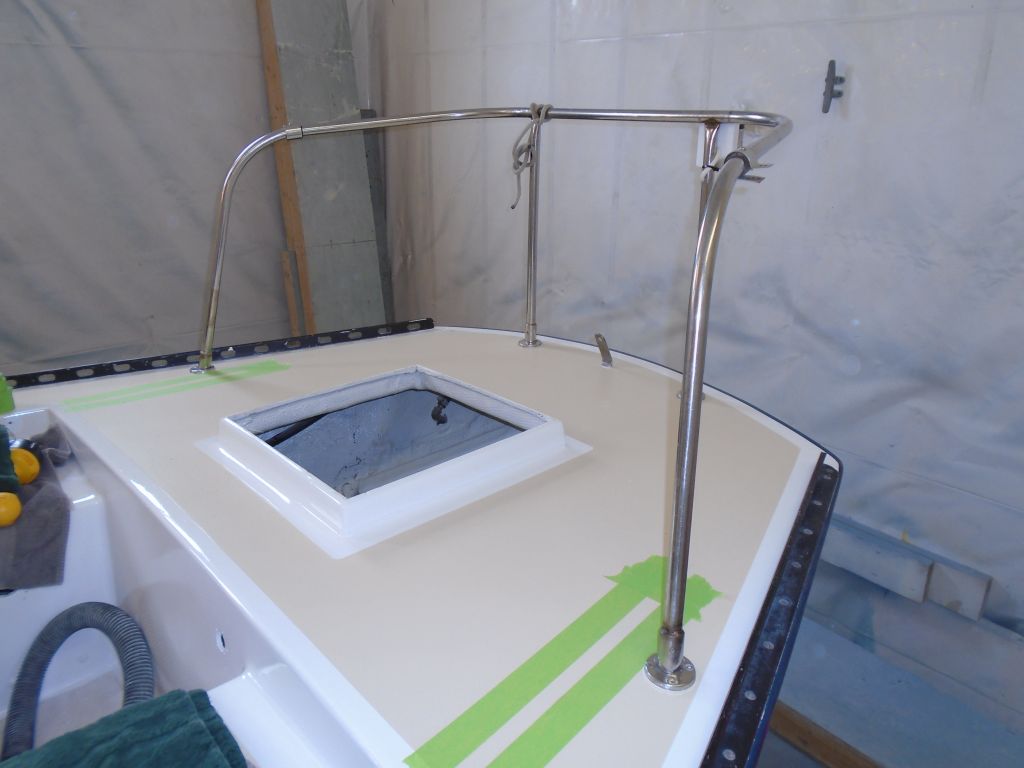
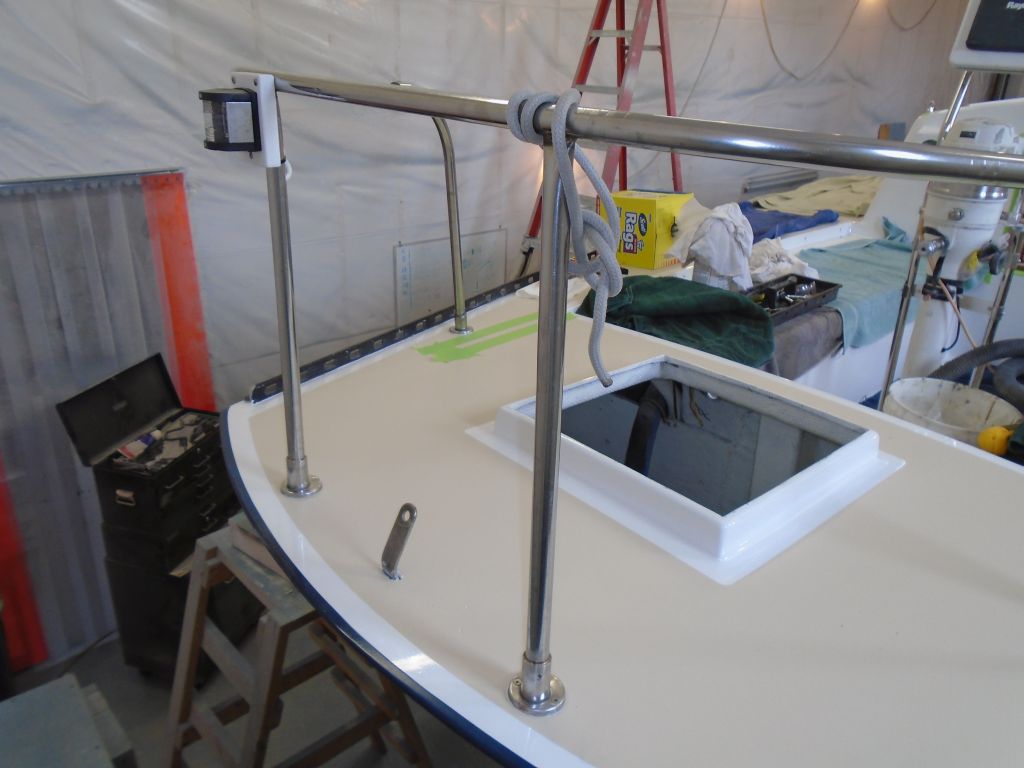
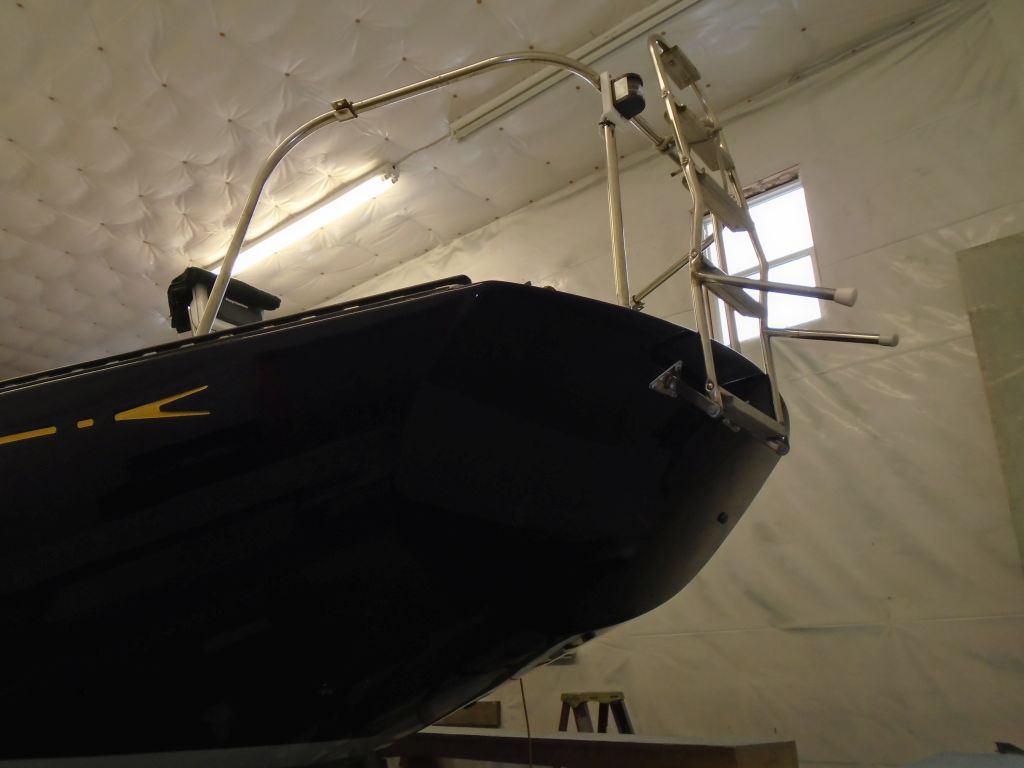
I spent most of the day installing hardware, this time at the stern of the boat. I started with the stern pulpit. During deck work, I'd left a large existing hole in the deck where the stern light wires had passed through, so with that initial guideline I could reposition the pulpit where it needed to be.
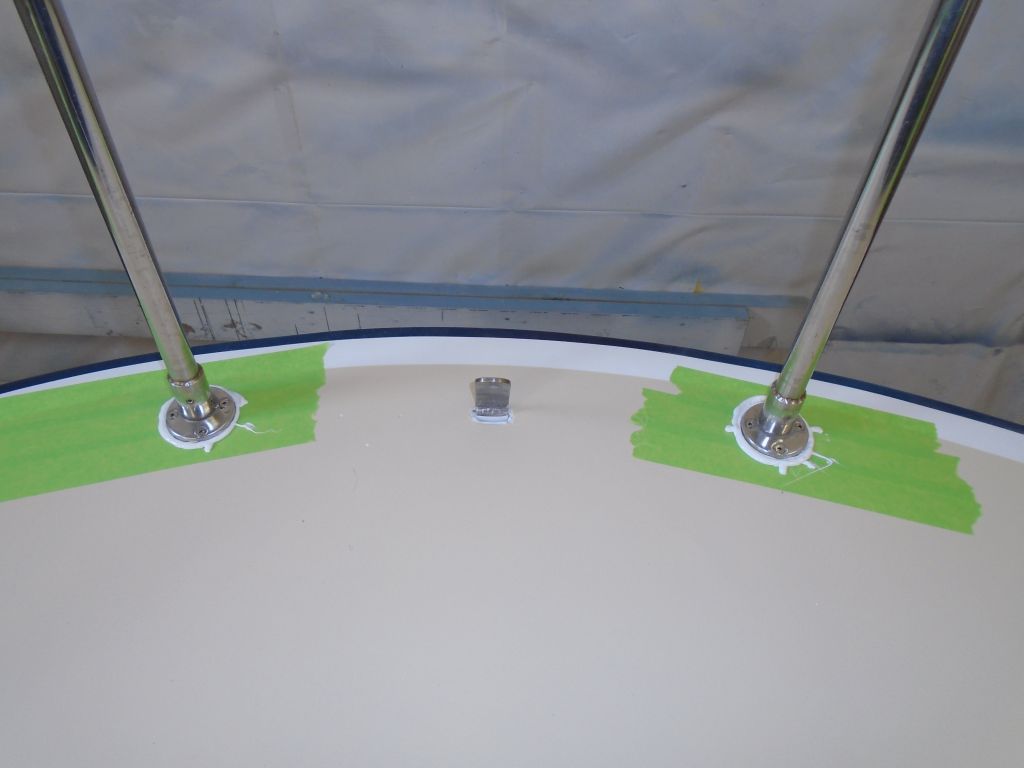
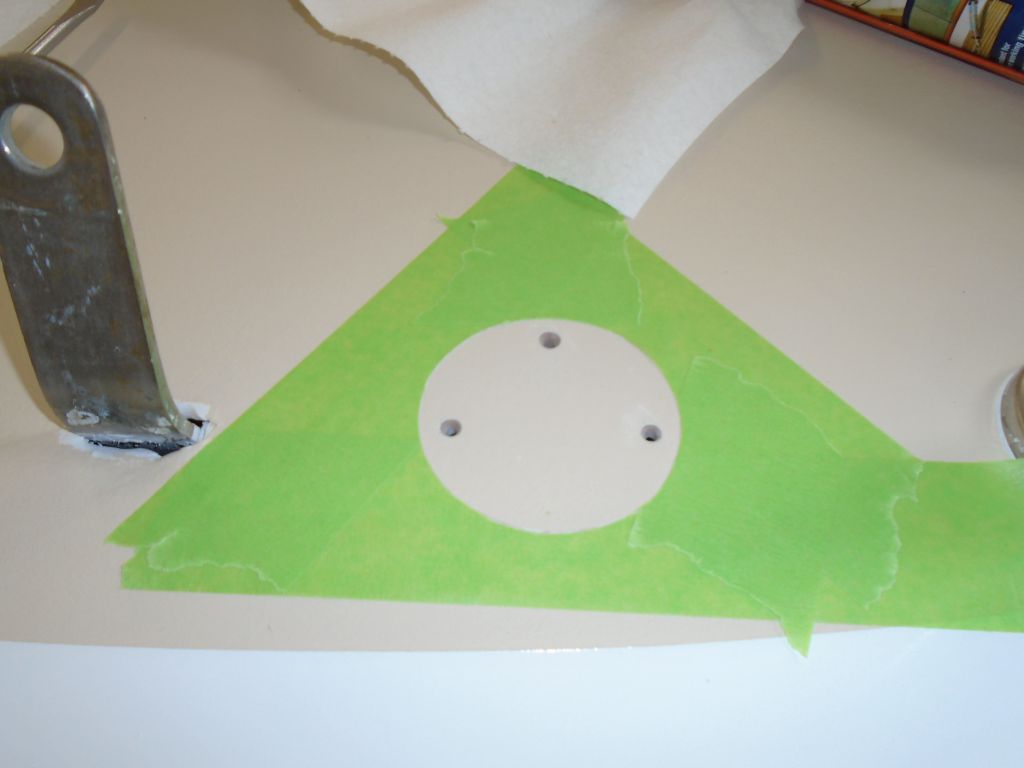
masked off large areas of the deck where I thought the bases would land, then positioned the pulpit so I could pin it in place with a single screw at each base location; I drilled and tapped these holes for machine screws. With the two after bases located and temporarily secured, I could spread the forward ends of the pulpit a bit as needed to bring the bases so they were located evenly from the toerails on each side.
Afterwards, I drilled and tapped the additional holes in each base (three per base), and finished them off with small countersinks before vacuuming up the mess.

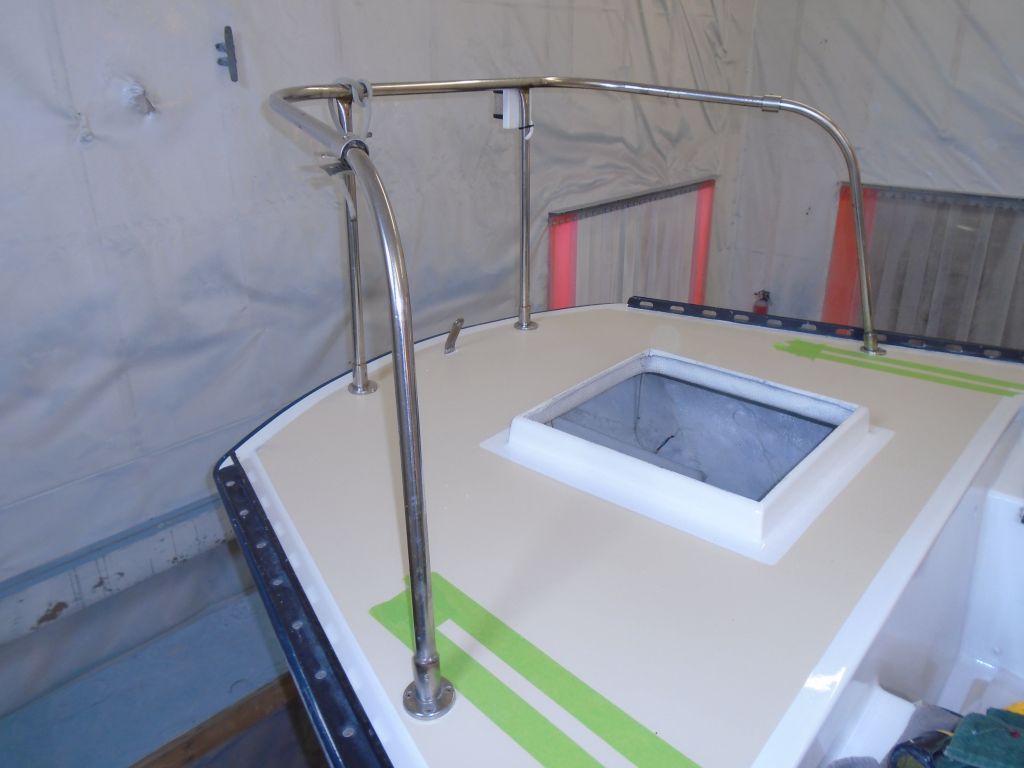
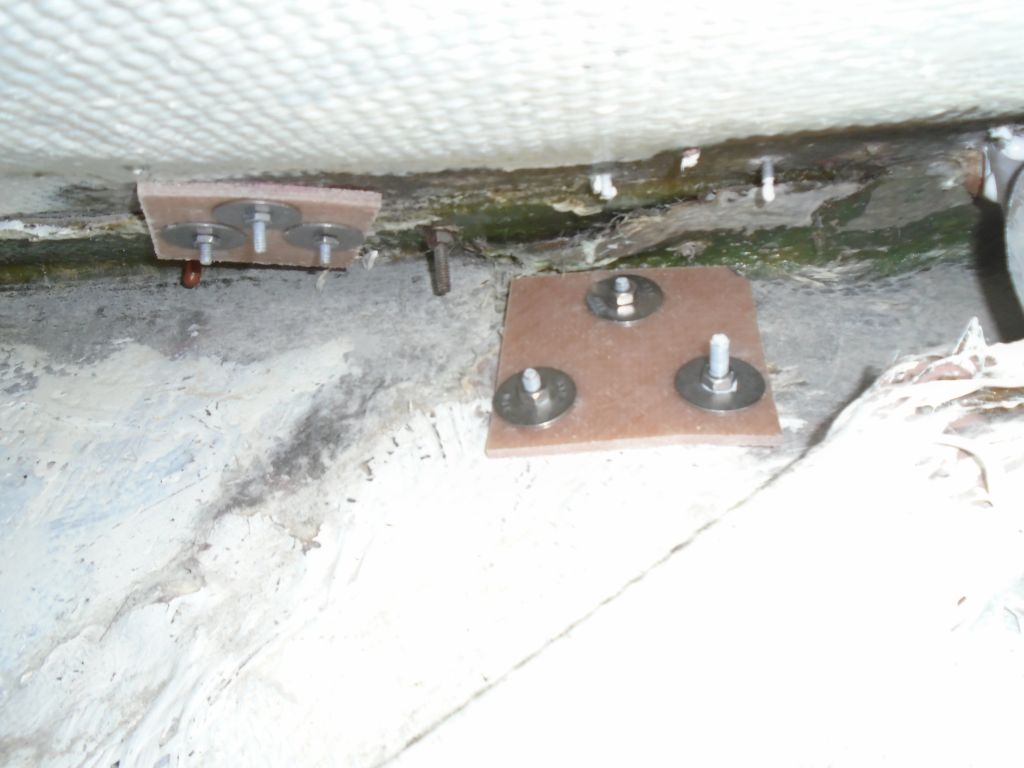
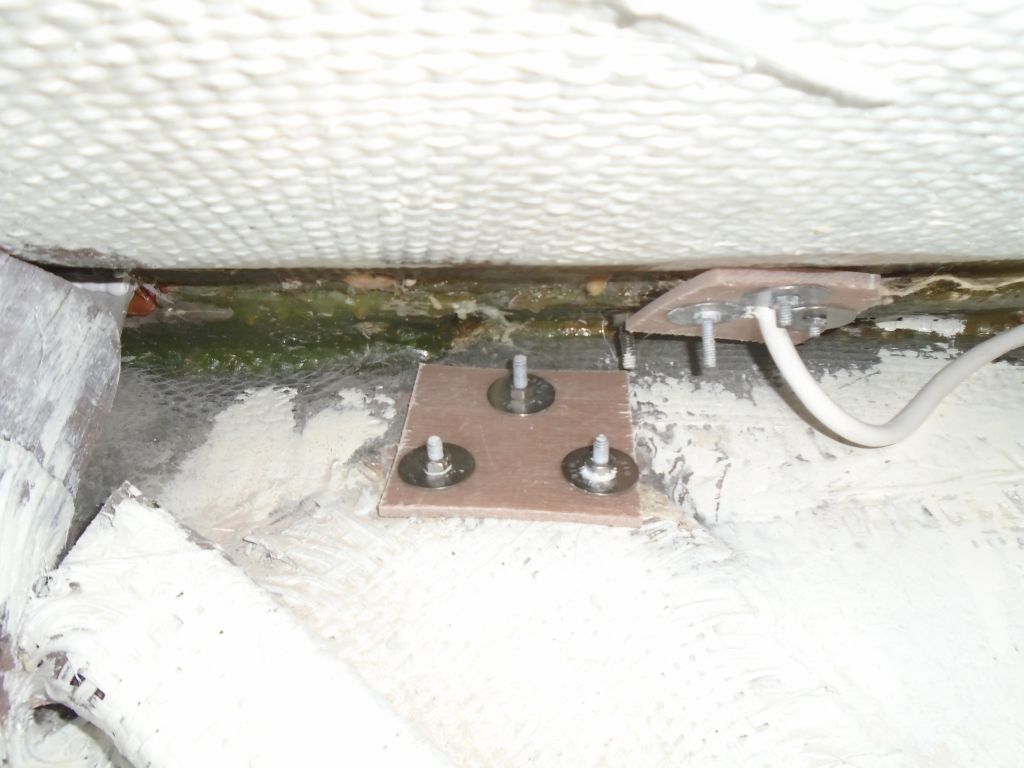
I installed the pulpit with plenty of sealant and new fasteners, with new fiberglass backing plates and fender washers beneath.
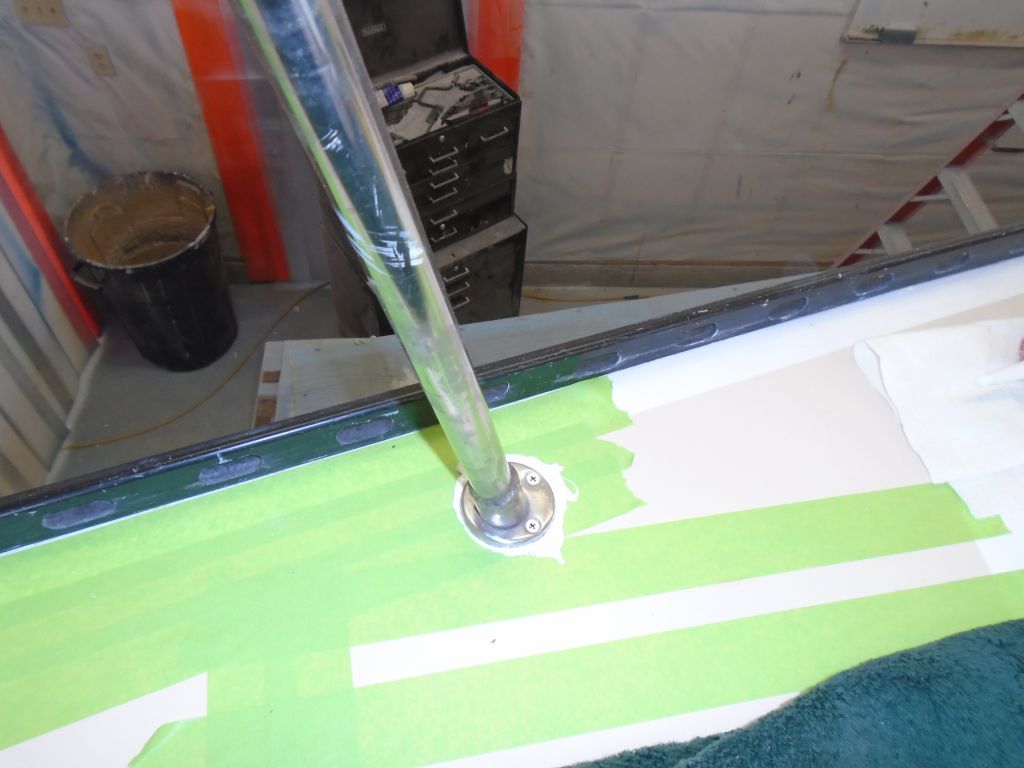

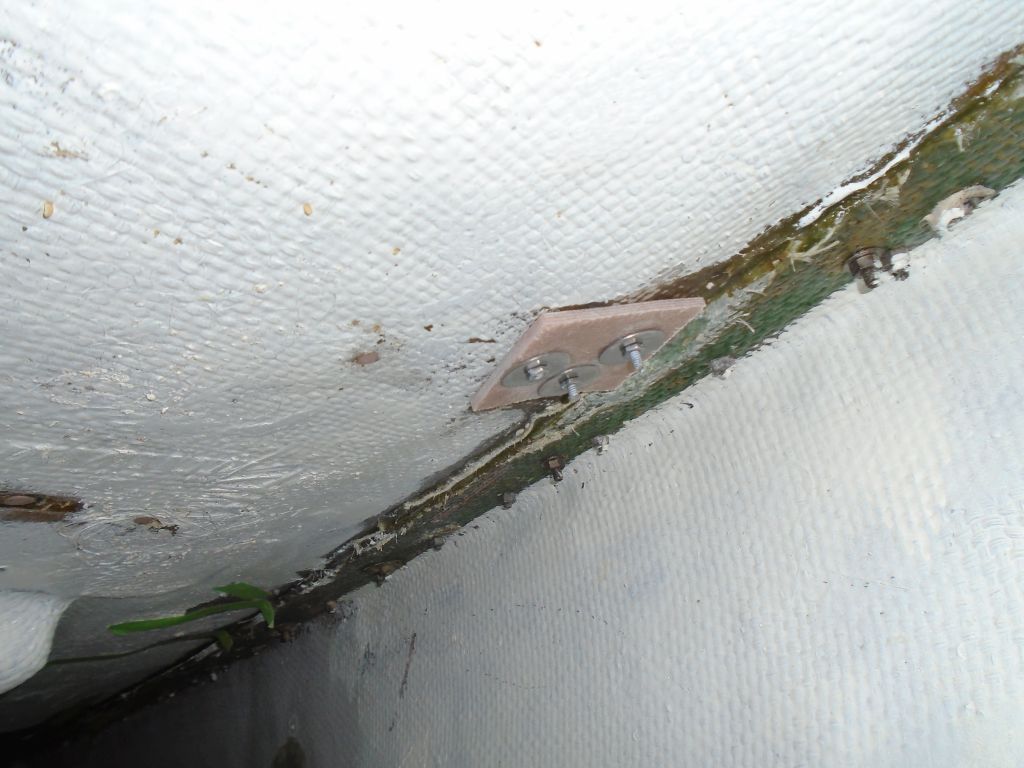
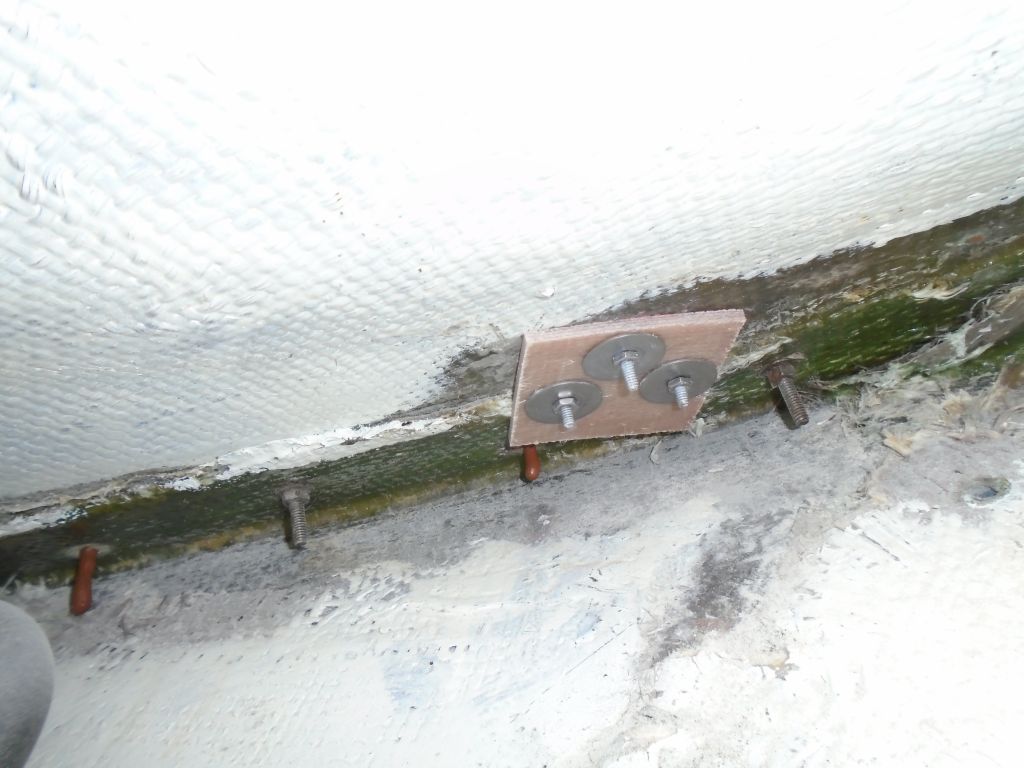


Once I'd tightened all the fasteners appropriately, I cleaned up the excess sealant, completing the installation. Sometime later I'd come back and reconnect the stern light wiring in the lazarette.
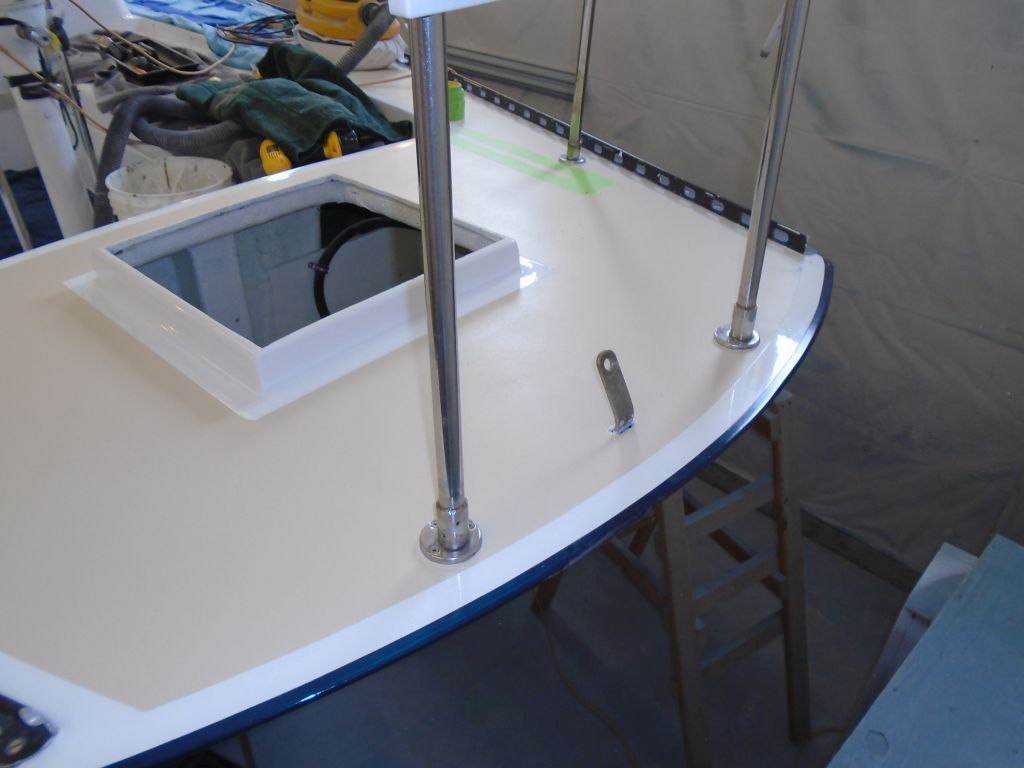
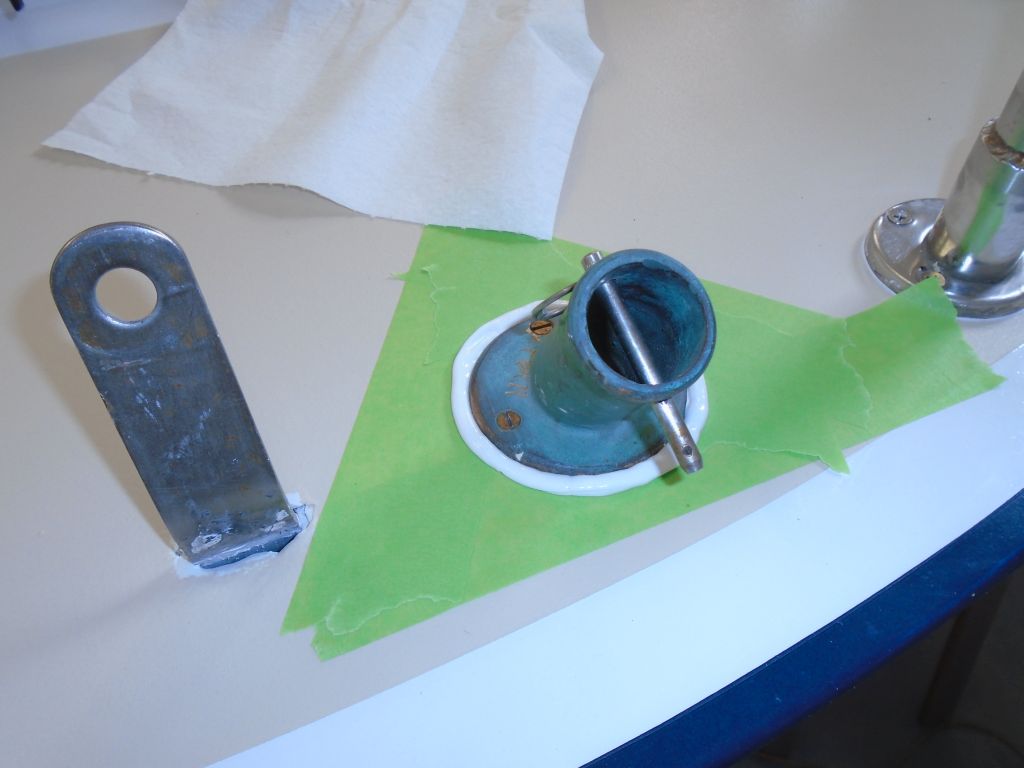
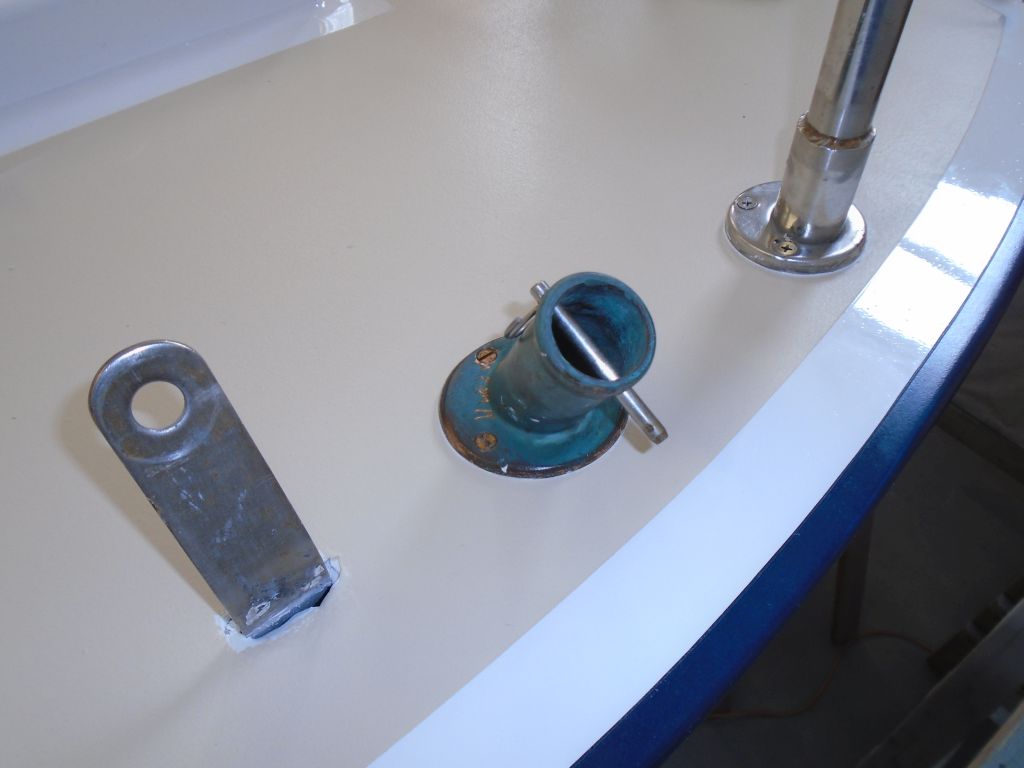
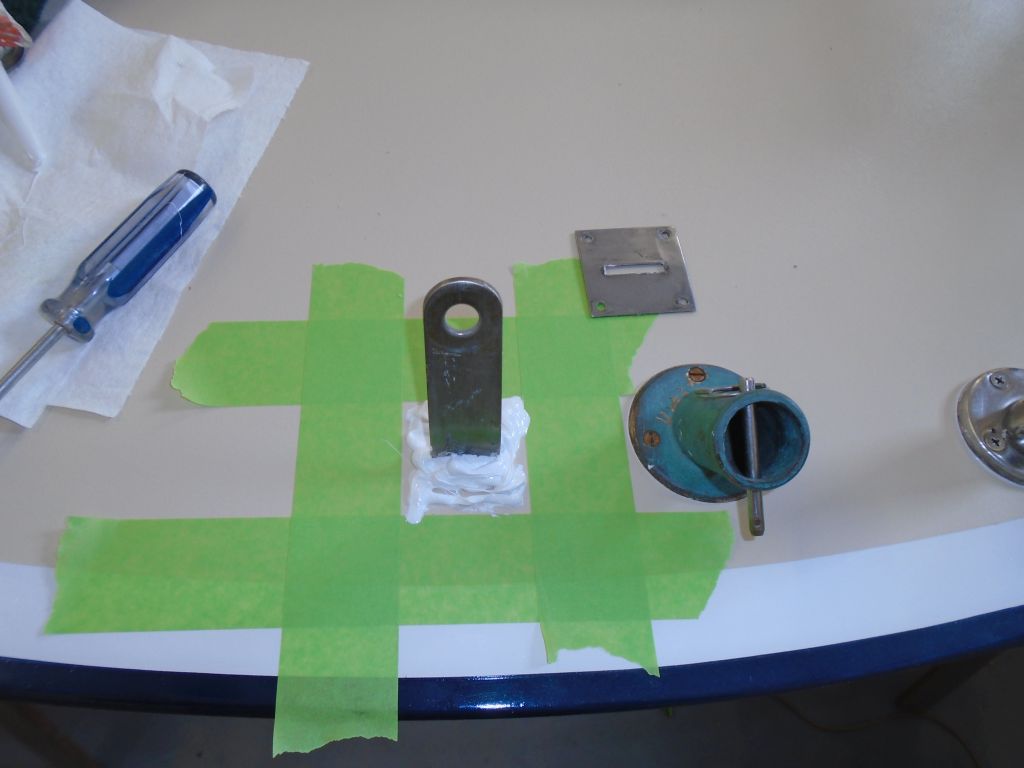
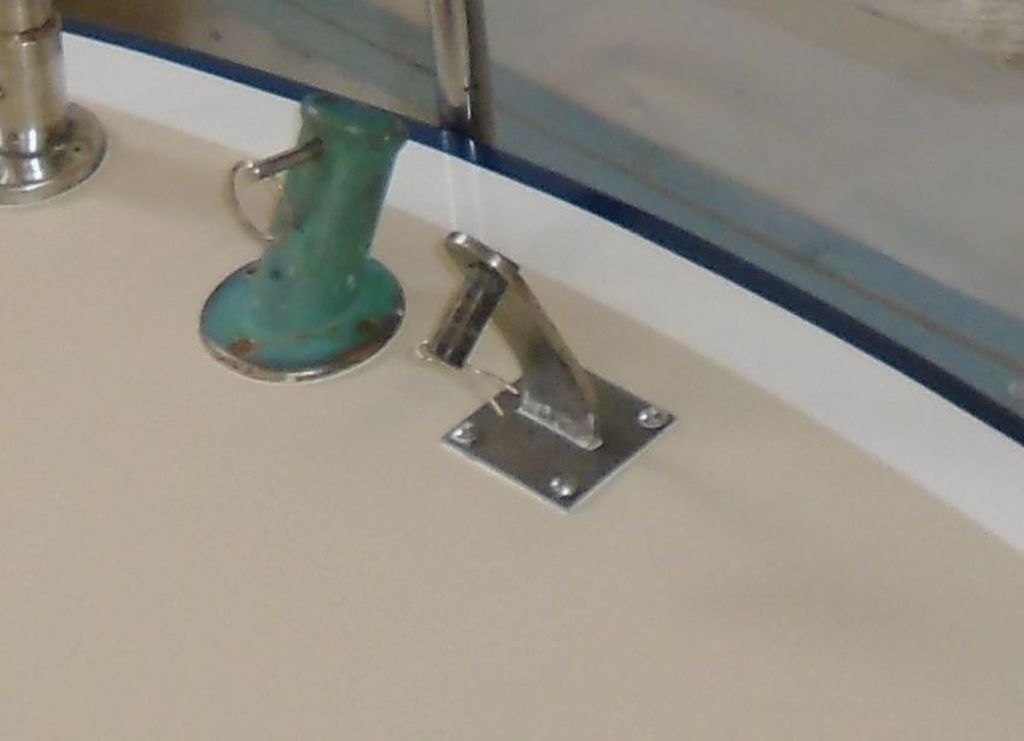
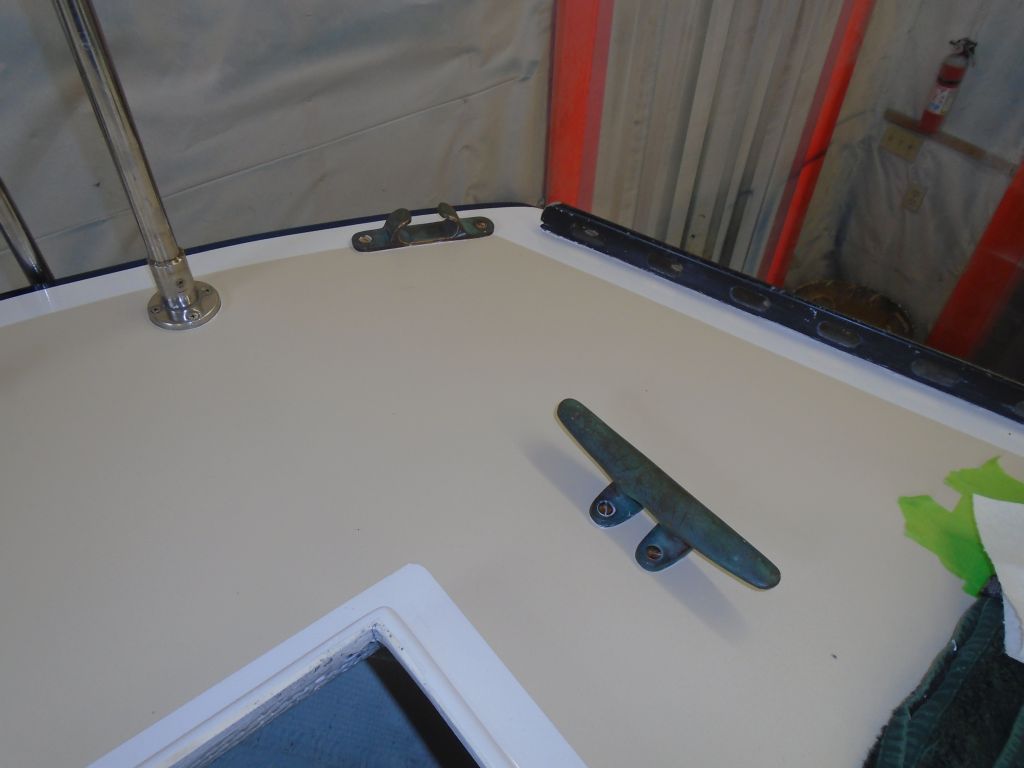
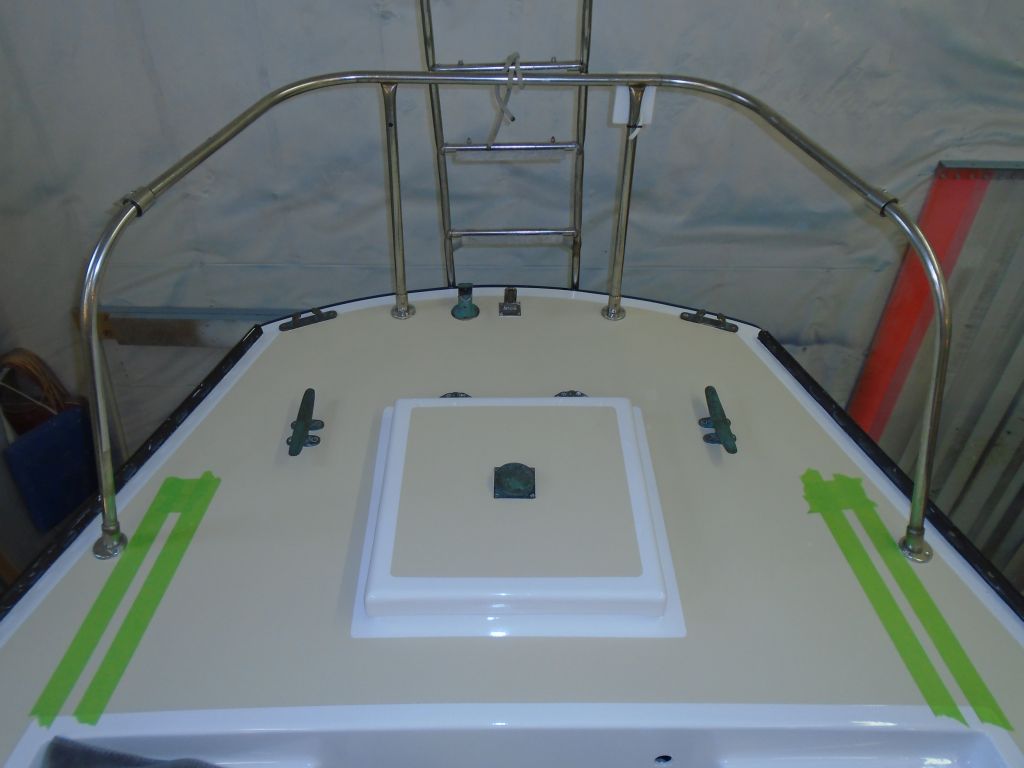
I'd pre-marked the hole locations for the flagpole socket, and now I prepared them for bronze machine screws and installed the socket with plenty of sealant. Then, I installed the backstay chainplate cover, drilling the deck to accept four small machine screws to secure the plate along with its sealant.
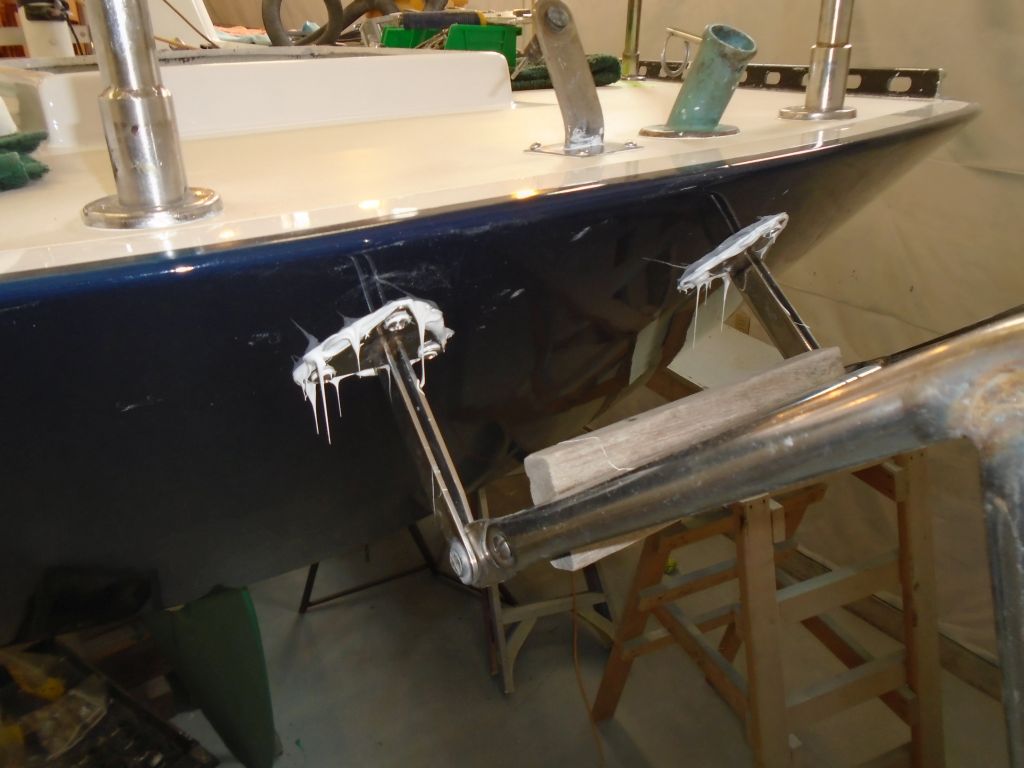
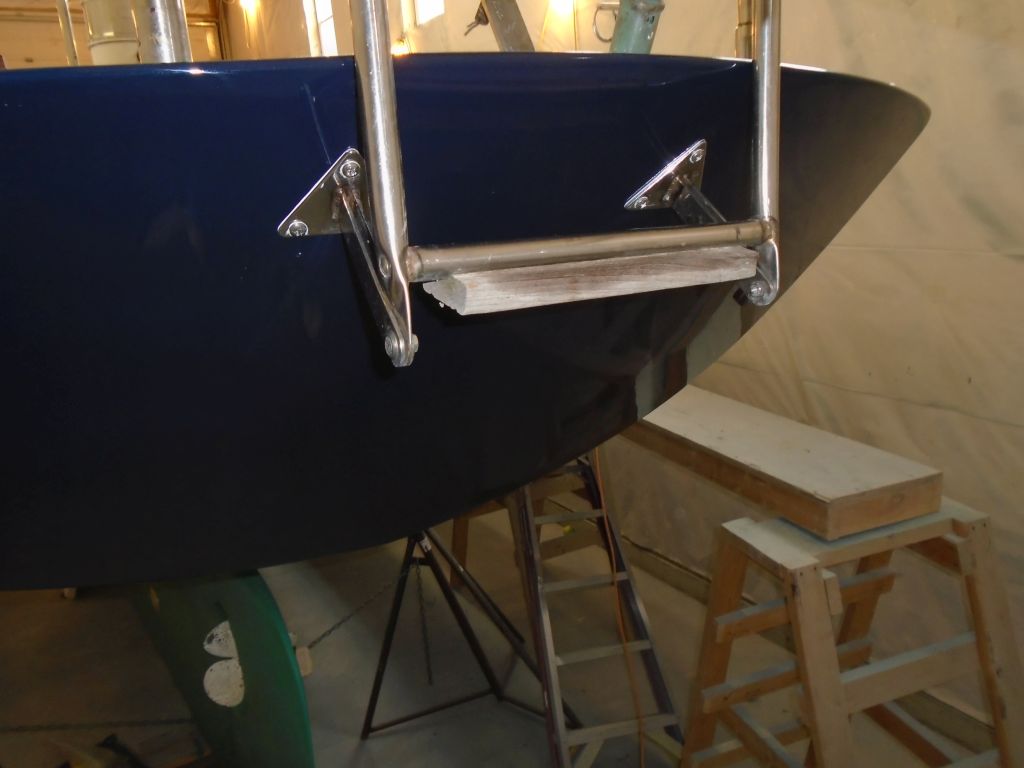
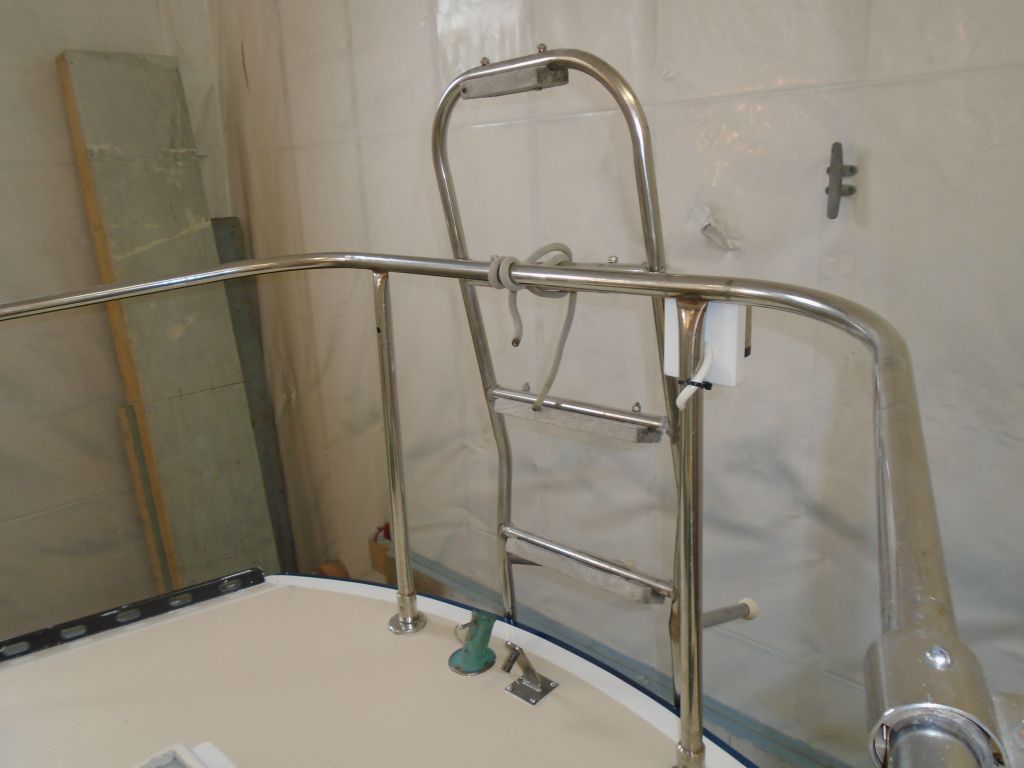
Next, I installed the stern ladder. I'd left its original fastener holes intact. I used new fiberglass backing plates and fender washers within.
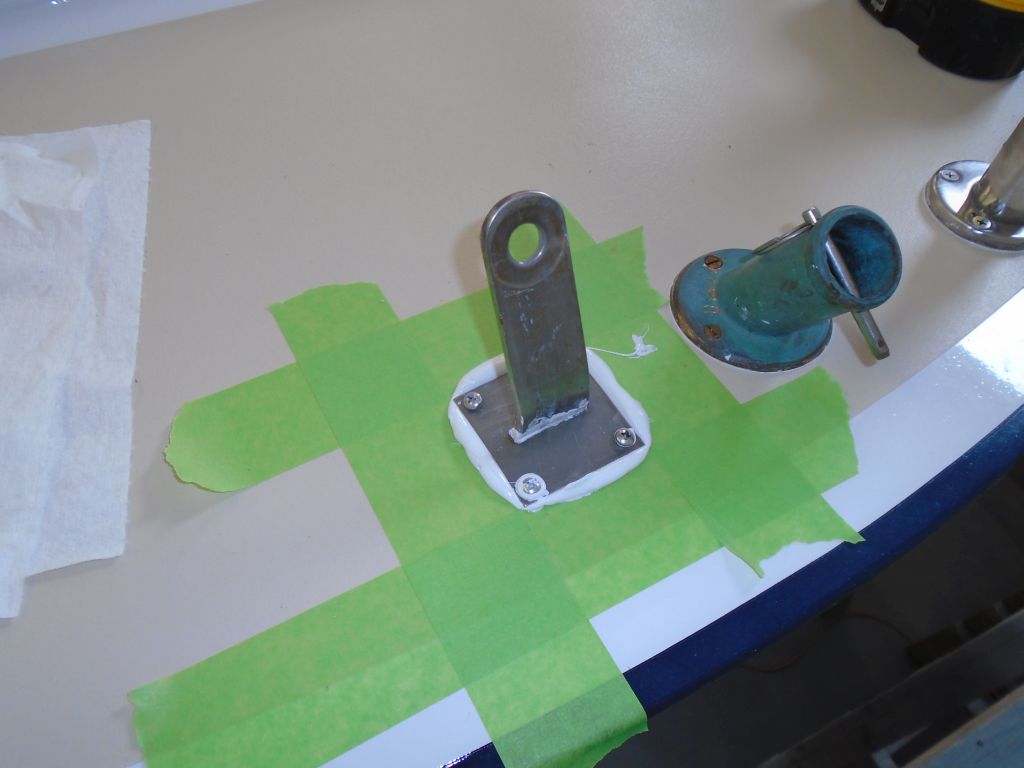
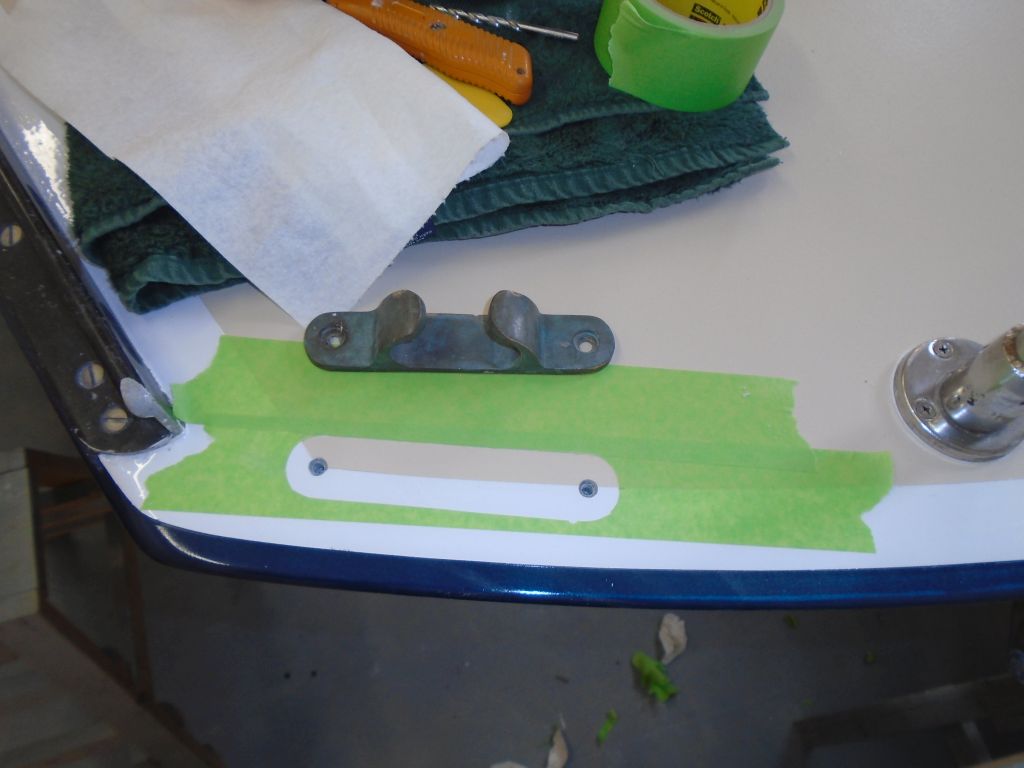
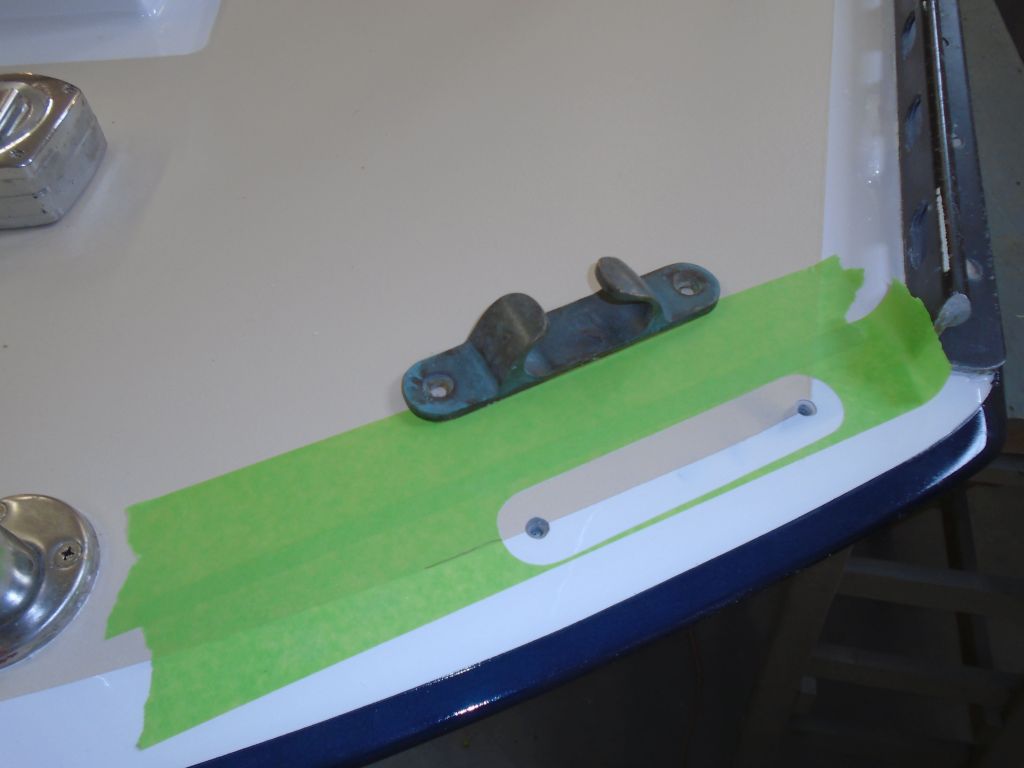
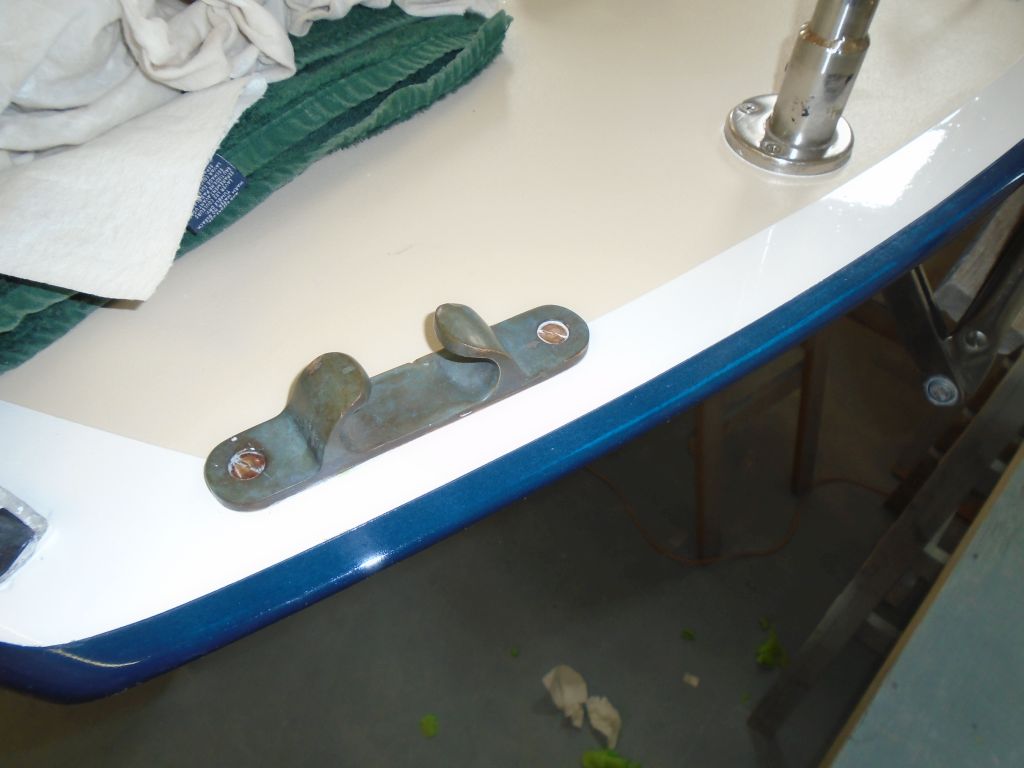
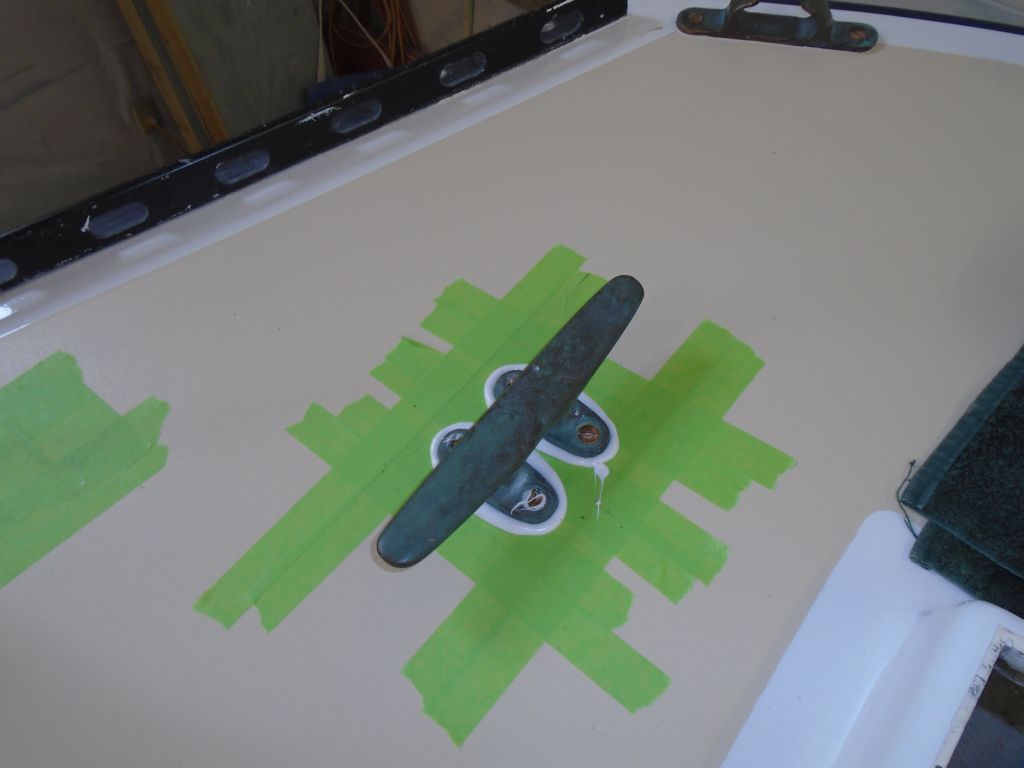
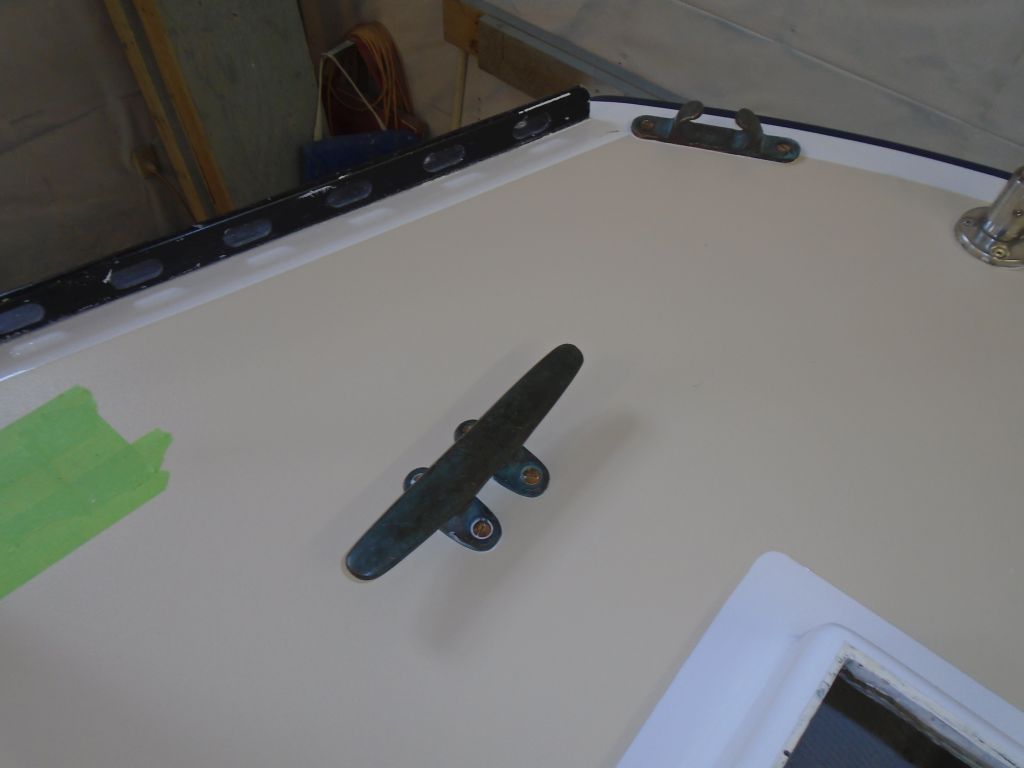
I located the bronze stern chocks near the taffrail corners, and installed them in newly-tapped holes with sealant and bronze bolts.
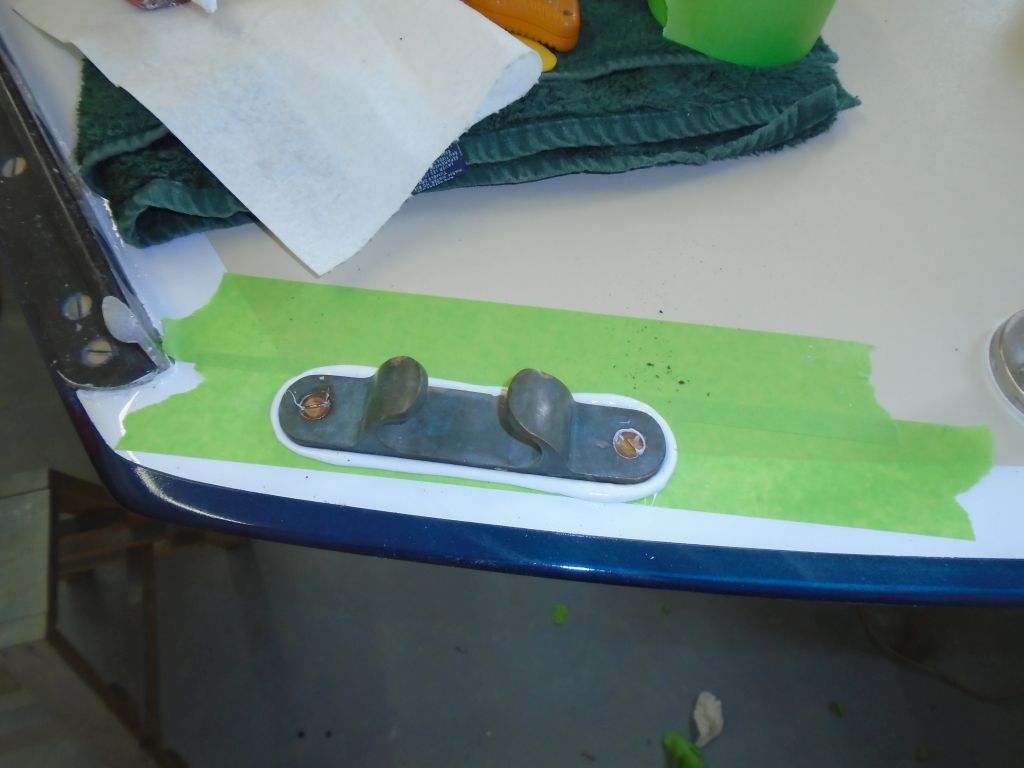
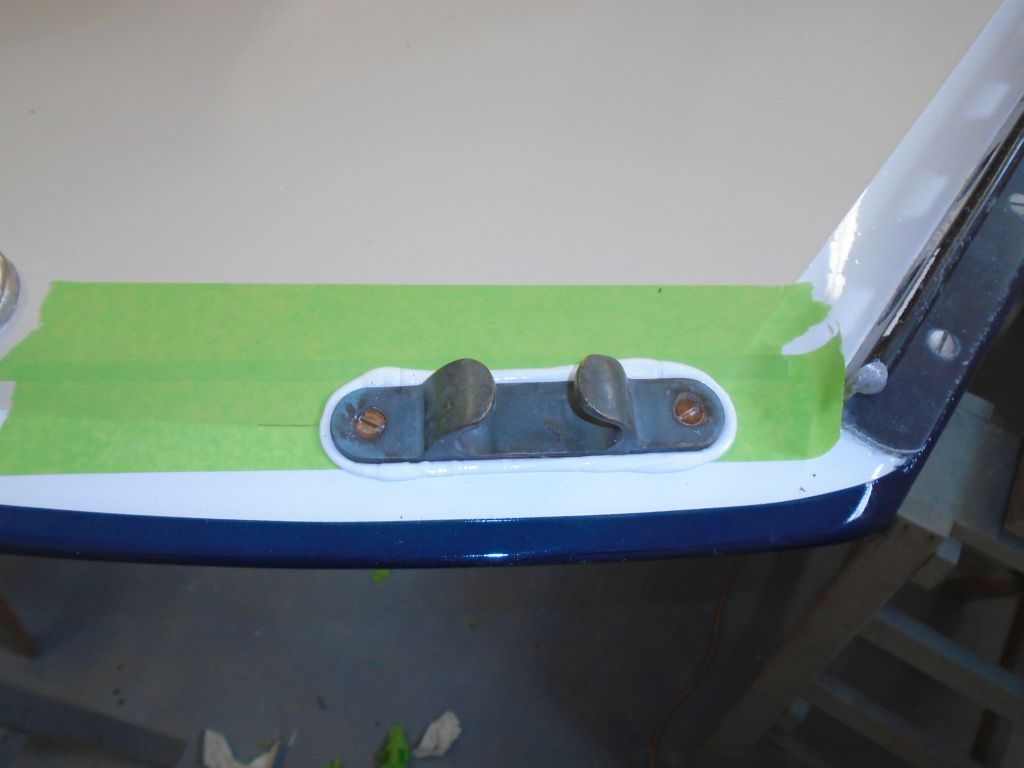

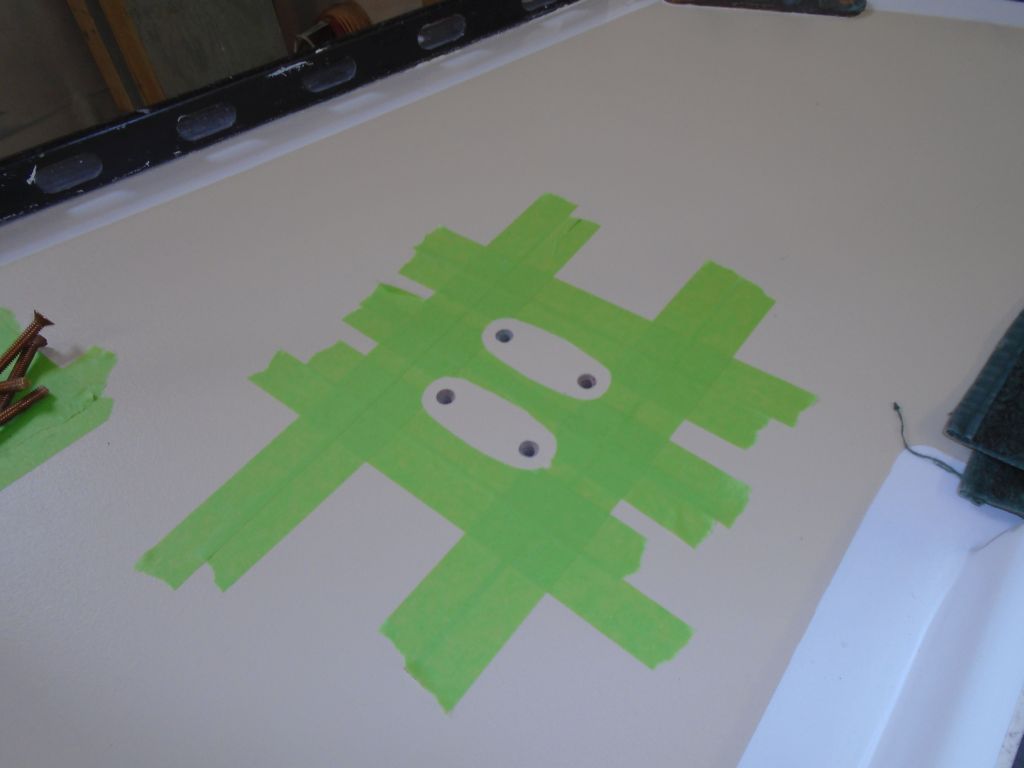
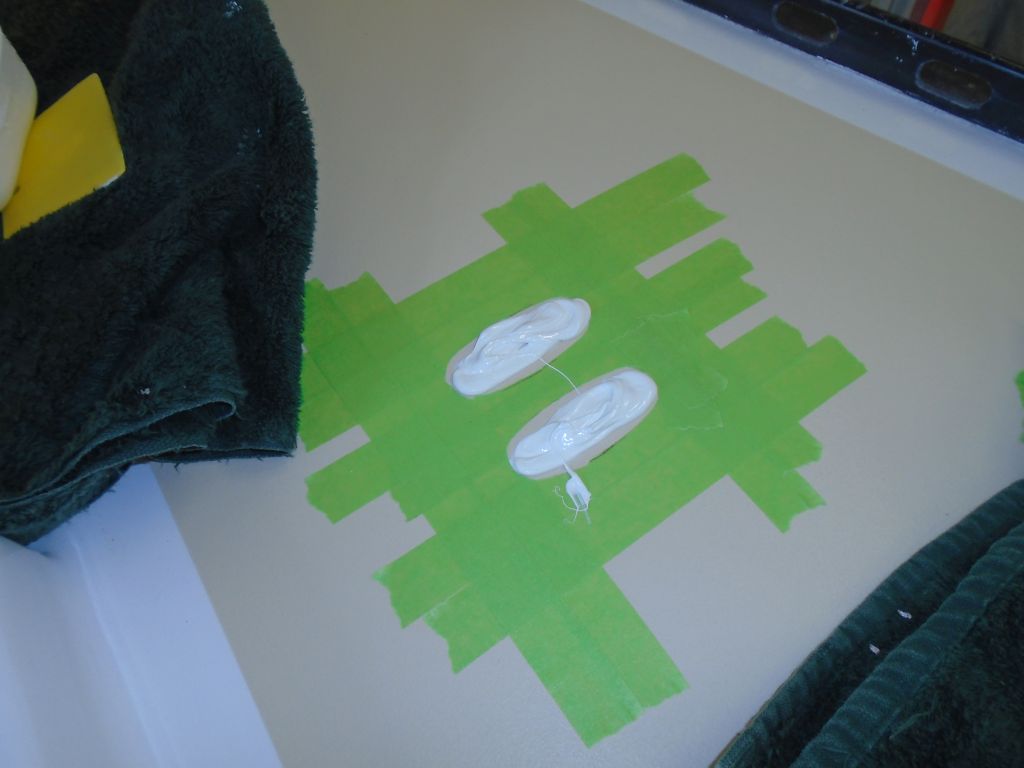
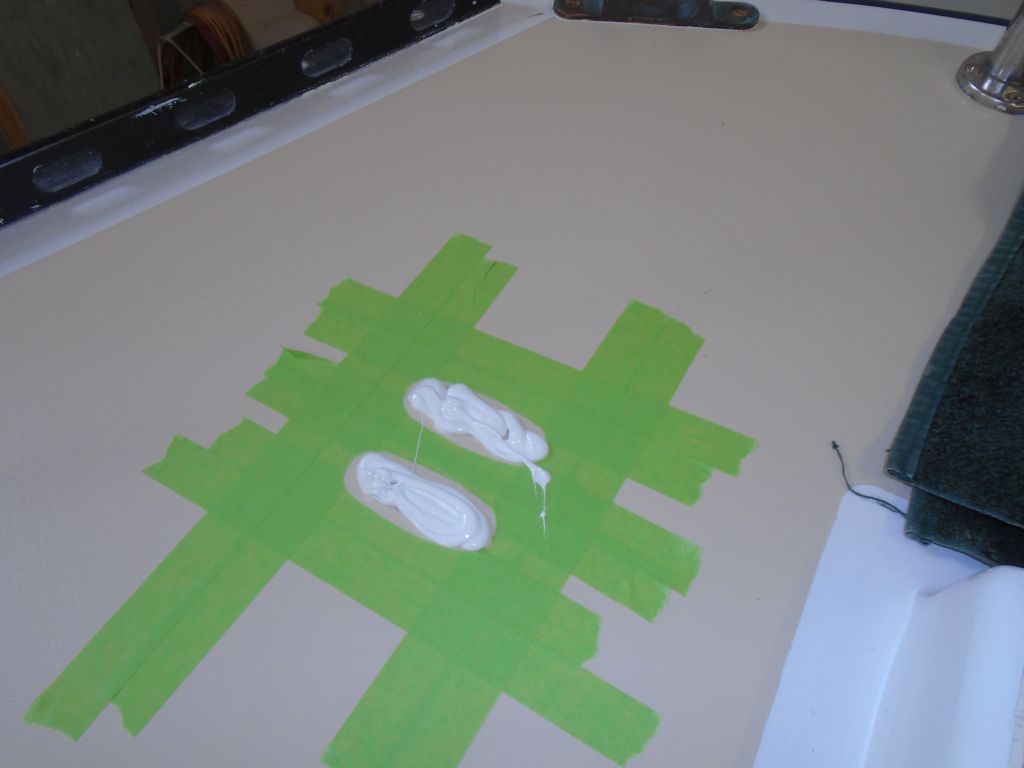
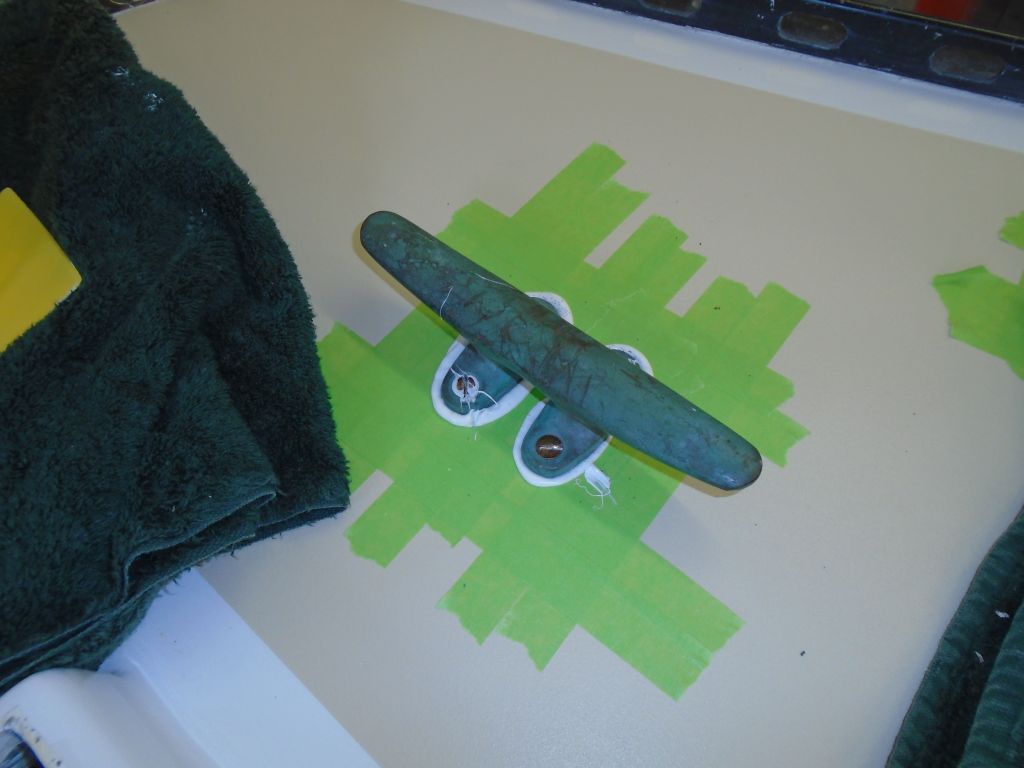
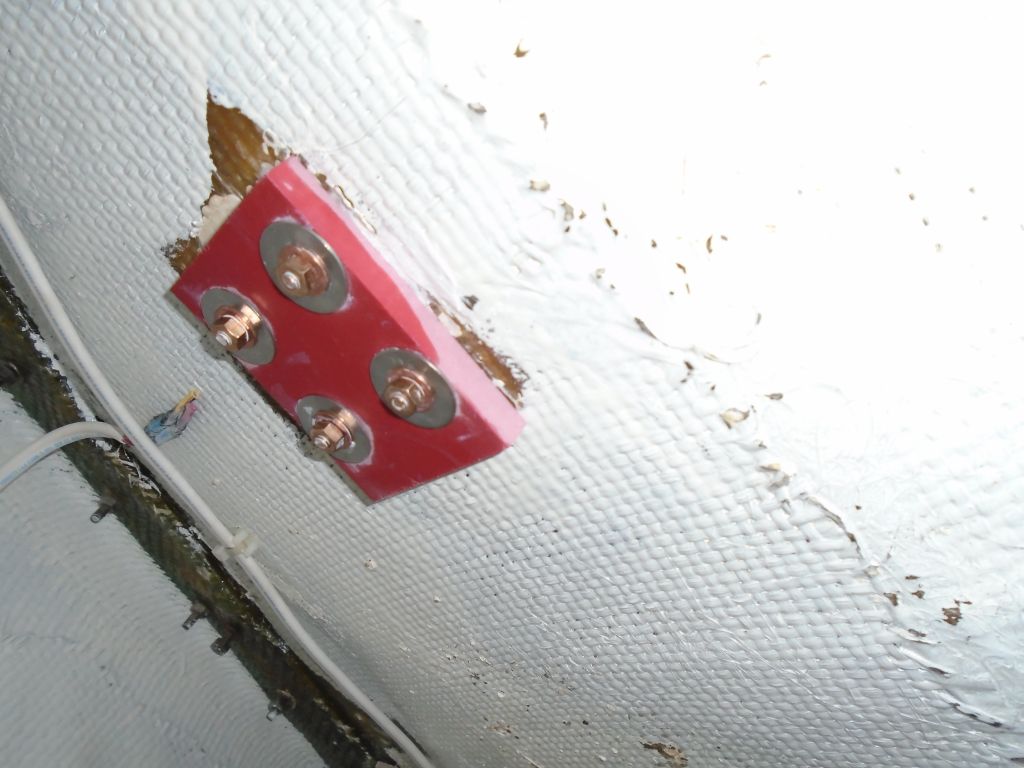
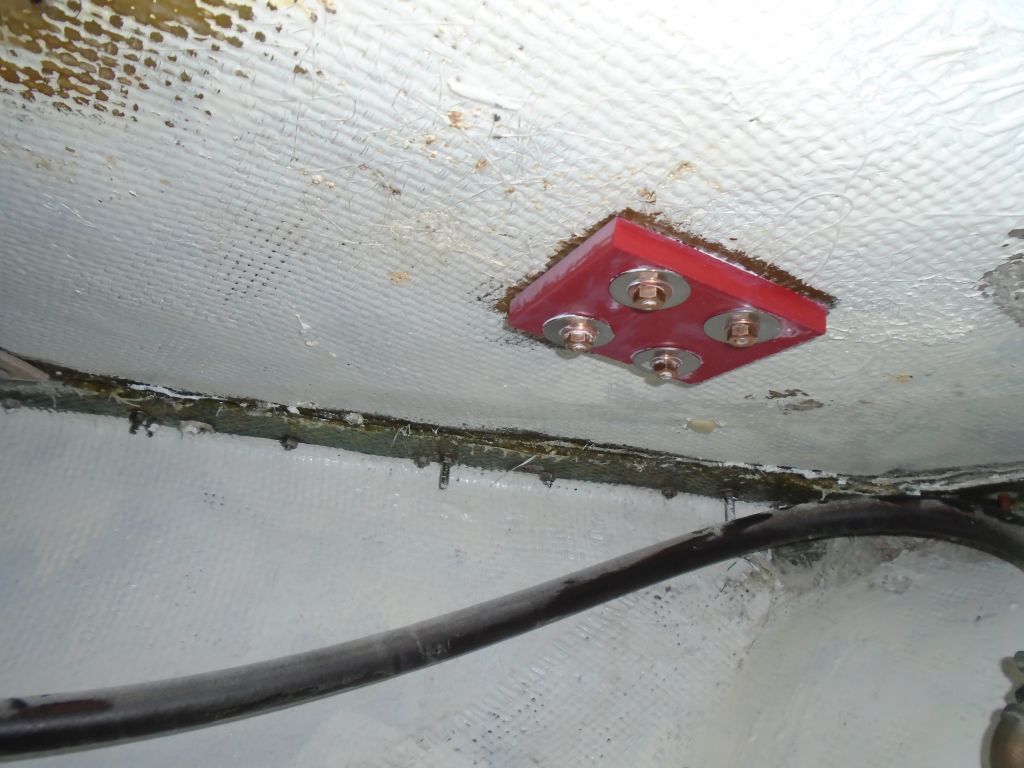
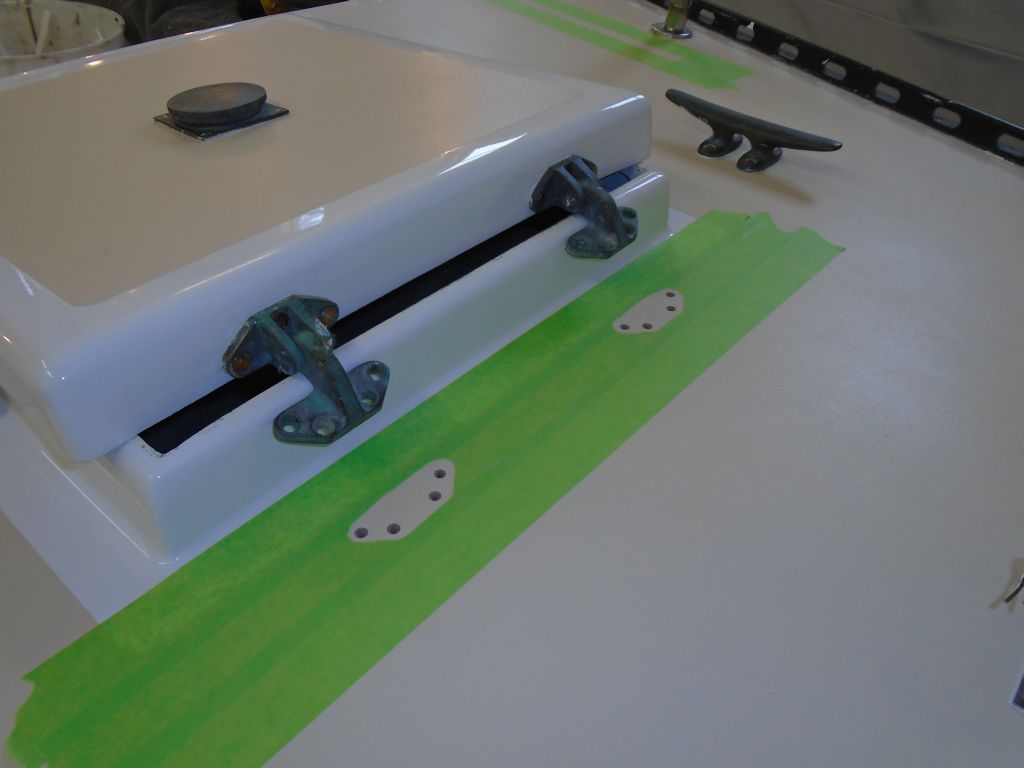
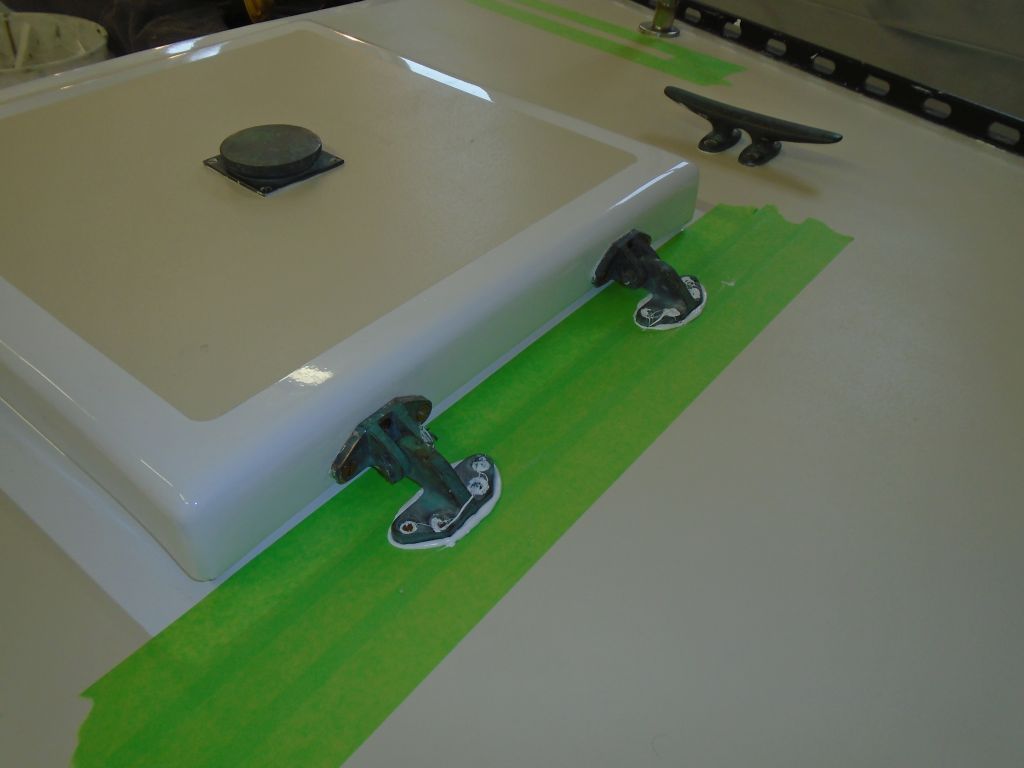
Before deck painting, I'd overbored and filled with epoxy the fastener locations for the stern cleats and lazarette hatch hinges, and, for the cleats, I'd marked the hole locations for reference. So final installaion now was straightforward with all the usual fastener-preparation steps, sturdy new backing plates, and new fasteners.
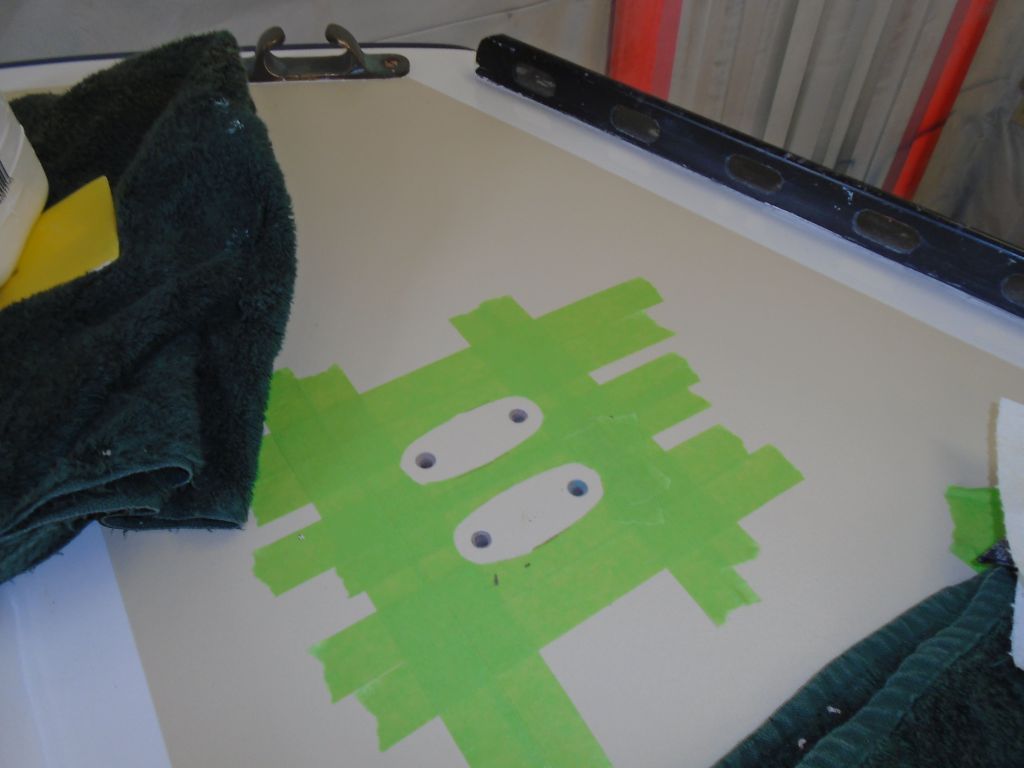
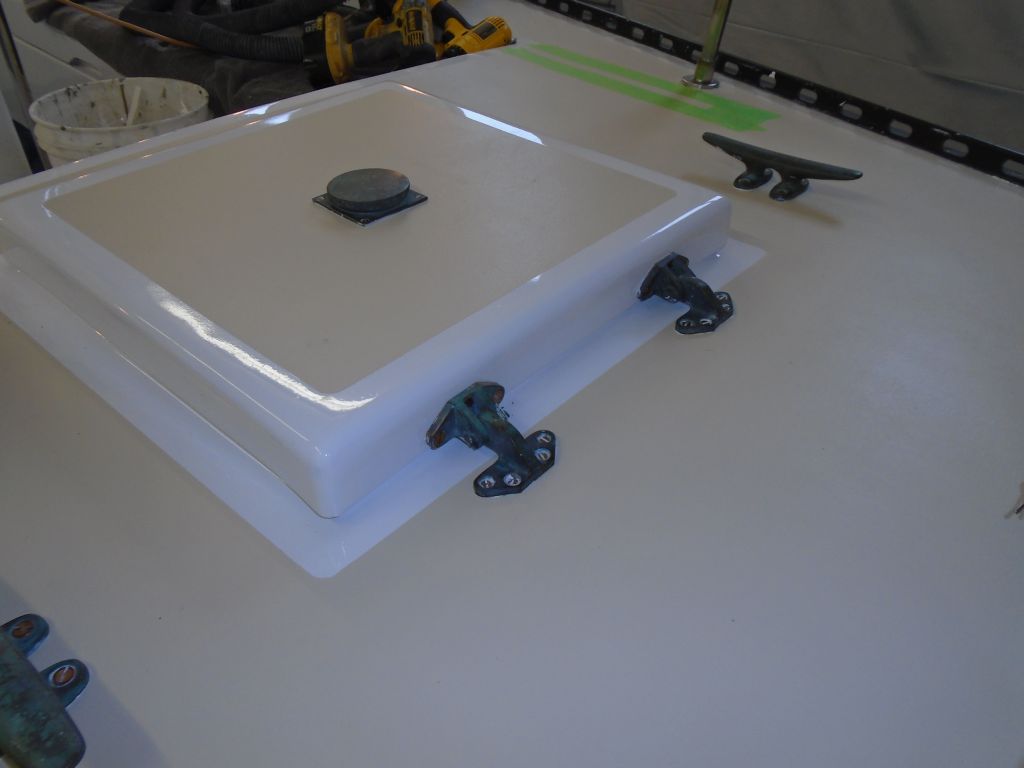
Finally, I installed the lazarette hatch hinges, wrapping up all the hardware on the poop deck except the traveler and a hatch latch, which I'd install in due course.
To finish up the day, I applied another coat of varnish to everything currently underway.
Total Time Billed on This Job Today: 8.25
Hours
0600 Weather Report:
Mostly cloudy, 20°. Forecast for the day: 40°, chance of rain and snow, chance of accumulating snow overnight.
