|
|
~MENU~ |
| Home |
| The Concept |
| The Boat |
| Bringing Her Home |
|
Weekly Progress Log |
|
Daysailor Projects |
| The Boat Barn |
| Resources |
| Other Sites |
| Email Tim |
|
|
|
Systems: Rudder Tube |
|
|
|
|
|
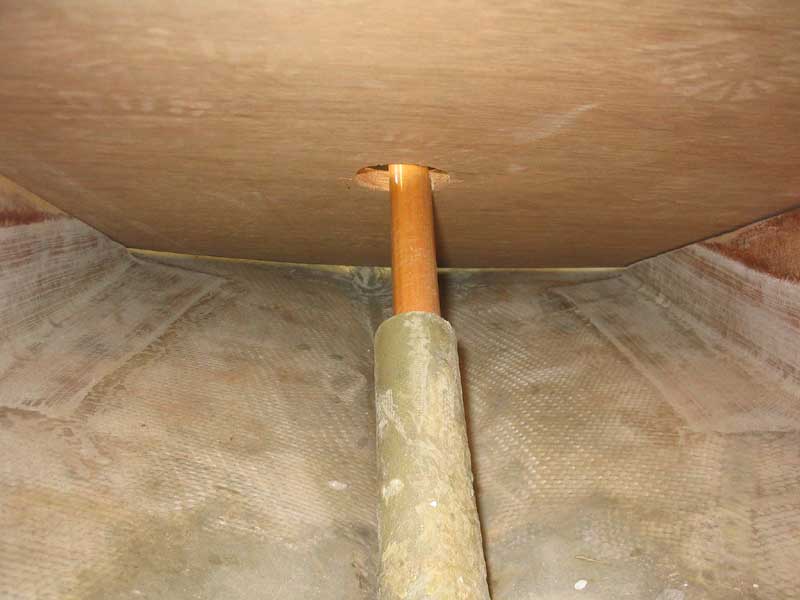
I needed to extend the rudder tube up higher; my cockpit design called for the tiller to mount at seat height, rather than sole height. My first step to prepare for extending the rudder tube came shortly after I had cut the cockpit sole pieces, but before they were permanently installed. Since the rudder tube would have to penetrate the cockpit sole, I'd need to cut a hole in the sole. To locate the hole, I stuck a broom handle into the rudder tube from outside the boat. I couldn't bring myself to take pictures of this, as it seemed to somehow be violating my lady (the boat). I pushed the broom handle up until it contacted the bottom of the cockpit sole, and then marked the location with a pencil. |
|
|
|
|
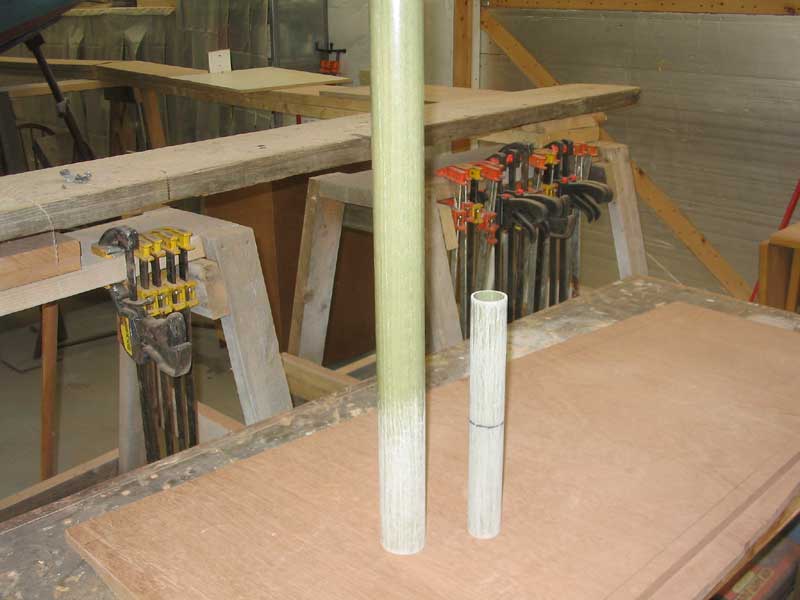
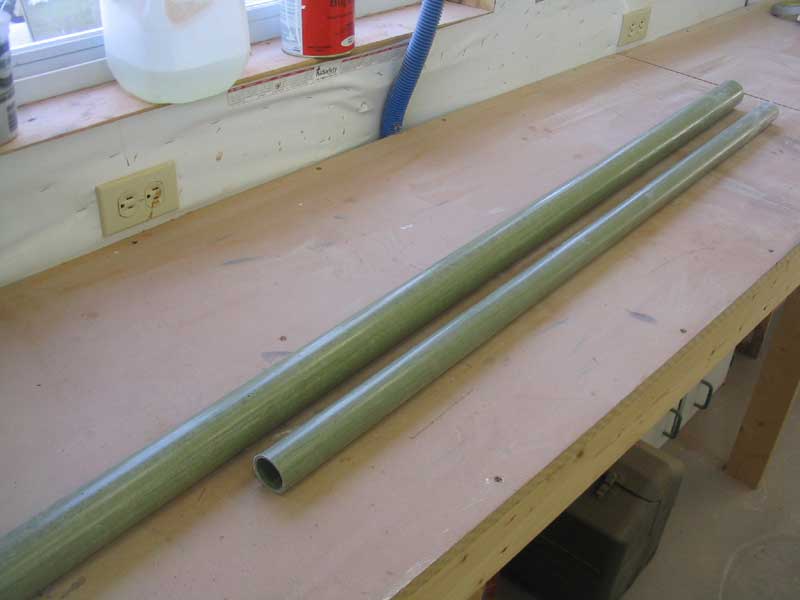 I
found fiberglass tubing at McMaster-Carr, and ordered a 5' section of two
different sizes: 1-1/2" ID (2"OD) and 1-1/4" ID (1-1/2"OD).
Not only did I need the smaller size for the propeller shaft stern tube
later on in the project, but it would also work as an internal sleeve for
extending the larger-diameter rudder tube. I wasn't concerned about
the reduction in internal diameter, as the original rudder tube was
sleeved in several areas, and there was no way my new rudder post was
going to end up larger than the 1-1/4" ID of the smaller tube anyway. I
found fiberglass tubing at McMaster-Carr, and ordered a 5' section of two
different sizes: 1-1/2" ID (2"OD) and 1-1/4" ID (1-1/2"OD).
Not only did I need the smaller size for the propeller shaft stern tube
later on in the project, but it would also work as an internal sleeve for
extending the larger-diameter rudder tube. I wasn't concerned about
the reduction in internal diameter, as the original rudder tube was
sleeved in several areas, and there was no way my new rudder post was
going to end up larger than the 1-1/4" ID of the smaller tube anyway. |
 I
cut off a 12" section of the smaller tubing for an internal sleeve, and
then cut about 24" of the larger tubing to extend the rudder tube upwards.
I left this piece long for later trimming to exact size. After
checking the fit, I sanded the exterior of the smaller tube, and the lower
portion of the larger tube to provide a bonding surface for the epoxy
adhesive and tape to secure the pieces. I
cut off a 12" section of the smaller tubing for an internal sleeve, and
then cut about 24" of the larger tubing to extend the rudder tube upwards.
I left this piece long for later trimming to exact size. After
checking the fit, I sanded the exterior of the smaller tube, and the lower
portion of the larger tube to provide a bonding surface for the epoxy
adhesive and tape to secure the pieces. |
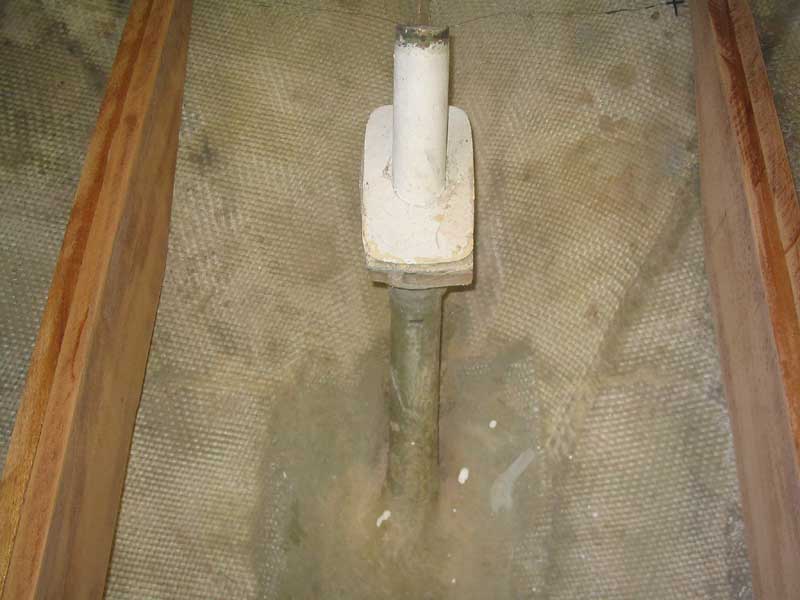
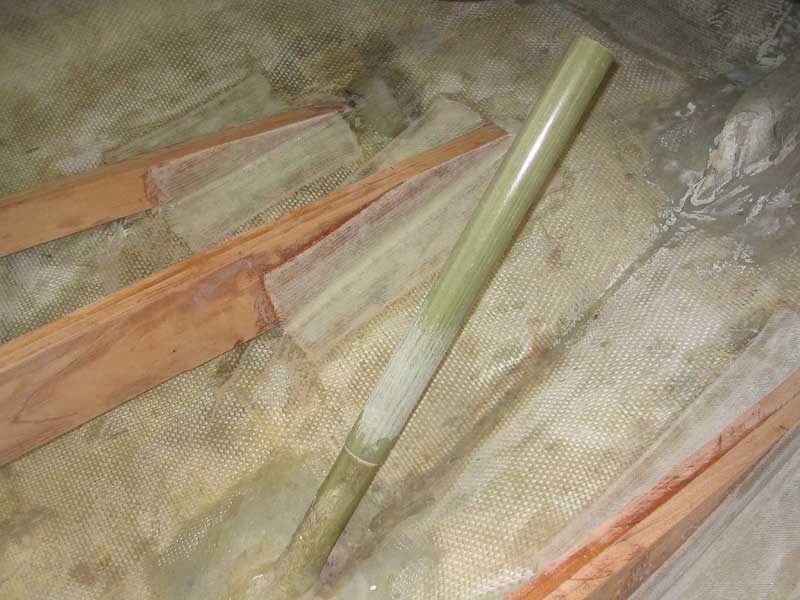 Next,
I installed the smaller, internal tube, sliding it down into the existing
rudder tube stump until about half of the length was inside. After I
had an inch or so inside, I coated the tube with thickened epoxy adhesive;
I refrained from putting this on the end, lest it somehow manage to clog
the inside of the tube at all. Then, I spread more of the epoxy over
the upper, exposed portion of the sleeve, and then slid the
larger-diameter tube over it. I smoothed the remaining epoxy
spillout, and prepared to fiberglass the pieces in place permanently. Next,
I installed the smaller, internal tube, sliding it down into the existing
rudder tube stump until about half of the length was inside. After I
had an inch or so inside, I coated the tube with thickened epoxy adhesive;
I refrained from putting this on the end, lest it somehow manage to clog
the inside of the tube at all. Then, I spread more of the epoxy over
the upper, exposed portion of the sleeve, and then slid the
larger-diameter tube over it. I smoothed the remaining epoxy
spillout, and prepared to fiberglass the pieces in place permanently. |
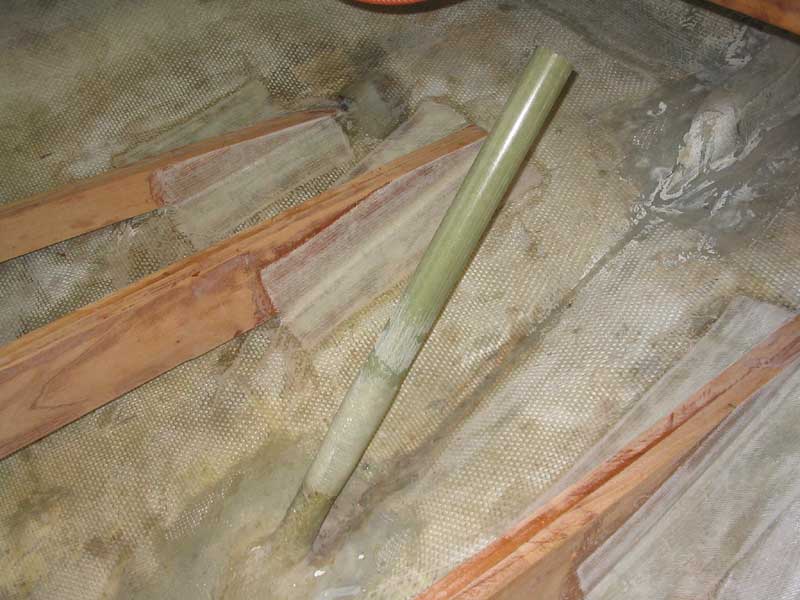 I
wrapped the seam with two layers of 22 oz. biaxial fabric: a strip
of 4" tape, then a strip of 6" tape, each cut to the proper length to go
around the tube once. I rolled out the pieces and left the assembly
to cure, after ensuring that the new section of tubing was straight and
true. I
wrapped the seam with two layers of 22 oz. biaxial fabric: a strip
of 4" tape, then a strip of 6" tape, each cut to the proper length to go
around the tube once. I rolled out the pieces and left the assembly
to cure, after ensuring that the new section of tubing was straight and
true. |
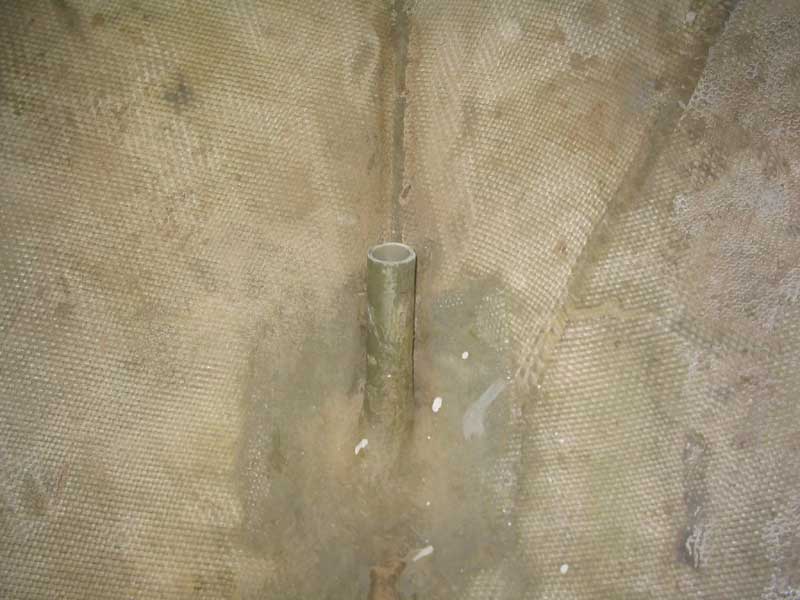
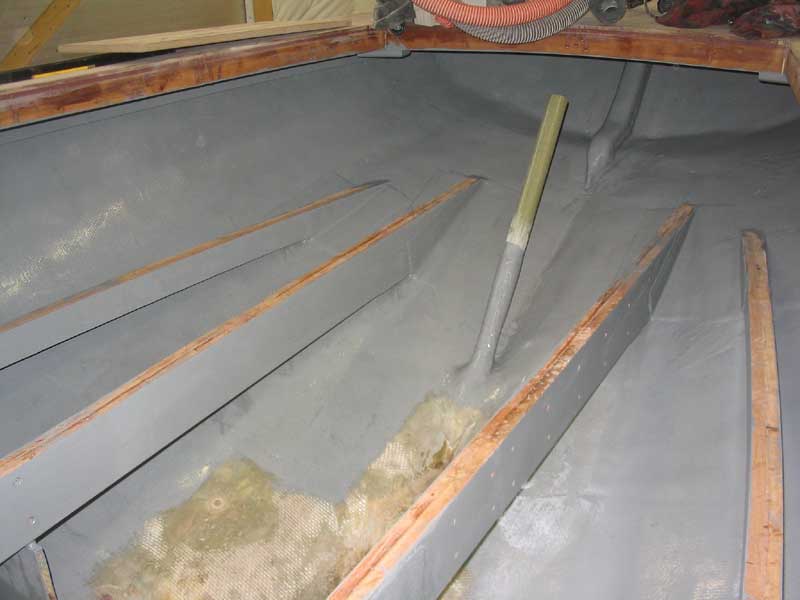 When
the new tabbing cured, I sanded it to remove raw edges, and then painted
the tube up to the level of the eventual cockpit sole. Later, after
the sole was installed, I secured the tube where it passed through the
sole, and faired it in seamlessly. When
the new tabbing cured, I sanded it to remove raw edges, and then painted
the tube up to the level of the eventual cockpit sole. Later, after
the sole was installed, I secured the tube where it passed through the
sole, and faired it in seamlessly. |