|
|
~MENU~ |
| Home |
| The Concept |
| The Boat |
| Bringing Her Home |
|
Weekly Progress Log |
|
Daysailor Projects |
| The Boat Barn |
| Resources |
| Other Sites |
| Email Tim |
|
|
|
From a Bare Hull: Hull Paint (Topcoat) |
| After weeks of hull preparation, the time had come to apply the final topcoats. With another boat in the shop also ready for final paint, there was no sense putting the job off any longer: while painting two boats in short succession was a lot of work, it did mean that I only had to clean and prepare the shop once, which was a big job in itself. |
 On
the day of application, I began by briefly cleaning up the decks, and then
covered the decks in plastic to prevent overspray from the hull paint.
First, I taped along the edge of the deck; the exact location wasn't that
important since I planned to cover the area with a wooden toerail later.
Then, I laid out a sheet of plastic, trimmed it to fit, and taped it
securely in place. On
the day of application, I began by briefly cleaning up the decks, and then
covered the decks in plastic to prevent overspray from the hull paint.
First, I taped along the edge of the deck; the exact location wasn't that
important since I planned to cover the area with a wooden toerail later.
Then, I laid out a sheet of plastic, trimmed it to fit, and taped it
securely in place. |
 Next,
I moved on to clean the shop once more. There was a surprising
amount of fine dust left over from sanding the hull primer, and cleaning
took the bulk of the morning. When I had the shop clean and as
dust-free as it would ever be, I washed down the hull with Alexseal
surface cleaner, carefully removing all traces of dust and contamination.
Using two cloths (and changing them frequently), one flooded in solvent
and the other to quickly wipe the area clean, I put this miserable task
behind me in short order. Finally, I tacked off the hull, using a
light touch with a tack rag. Next,
I moved on to clean the shop once more. There was a surprising
amount of fine dust left over from sanding the hull primer, and cleaning
took the bulk of the morning. When I had the shop clean and as
dust-free as it would ever be, I washed down the hull with Alexseal
surface cleaner, carefully removing all traces of dust and contamination.
Using two cloths (and changing them frequently), one flooded in solvent
and the other to quickly wipe the area clean, I put this miserable task
behind me in short order. Finally, I tacked off the hull, using a
light touch with a tack rag. |
|
Just before beginning to spray, I wet down the entire floor of the shop, to hold down any remaining dust and the naturally-occurring dust from the concrete. Then, I prepared to spray.
|
 With
that annoyance out of the way (but at least now I knew the inner workings
of the spray gun better than ever), I mixed up my paint. After much
consideration, I elected to use snow white paint for the hull, a classic
and traditional look, rather than a dark color, which tended to be my
favorite. I chose white for its universal appeal, classic looks, and
clean appearance--all of which befitted the boat's mission. Plus,
with the boat being prepared for eventual sale, white was unlikely to turn
off any prospective buyers, while dark colors tend to be either loved or
reviled, depending on the person. With
that annoyance out of the way (but at least now I knew the inner workings
of the spray gun better than ever), I mixed up my paint. After much
consideration, I elected to use snow white paint for the hull, a classic
and traditional look, rather than a dark color, which tended to be my
favorite. I chose white for its universal appeal, classic looks, and
clean appearance--all of which befitted the boat's mission. Plus,
with the boat being prepared for eventual sale, white was unlikely to turn
off any prospective buyers, while dark colors tend to be either loved or
reviled, depending on the person. |
 I
had set up a full sheet of plywood covered with plastic as a test bed for
painting, and experimented with the paint mix and gun material controls
until I was happy with the result. Then, I sprayed the first of
three coats on the hull. The first coat was relatively light, to
apply a good base and allow for a "stickier" surface to apply heavier
coats of paint later, hopefully without runs. Despite this, the
first coat looked excellent and leveled beautifully. I was thrilled,
and took a short break before applying the second coat; each topcoat could
be sprayed in rapid succession, with 20-60 minutes between coats. I
had set up a full sheet of plywood covered with plastic as a test bed for
painting, and experimented with the paint mix and gun material controls
until I was happy with the result. Then, I sprayed the first of
three coats on the hull. The first coat was relatively light, to
apply a good base and allow for a "stickier" surface to apply heavier
coats of paint later, hopefully without runs. Despite this, the
first coat looked excellent and leveled beautifully. I was thrilled,
and took a short break before applying the second coat; each topcoat could
be sprayed in rapid succession, with 20-60 minutes between coats. |
 I
was less pleased with my second coat: I didn't have the paint mix quite
right, and there was more orange peel than I would have liked. I
went ahead with a third coat, which came out quite nicely. With
that, the painting was done; each coat took about 30 minutes (or less) to
apply, punctuated with 15-30 minute breaks between coats. I
was less pleased with my second coat: I didn't have the paint mix quite
right, and there was more orange peel than I would have liked. I
went ahead with a third coat, which came out quite nicely. With
that, the painting was done; each coat took about 30 minutes (or less) to
apply, punctuated with 15-30 minute breaks between coats. |
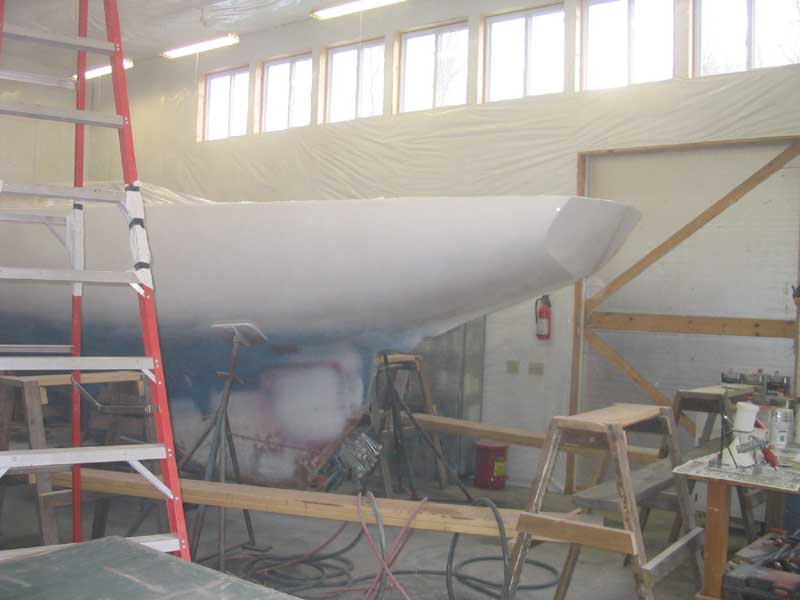
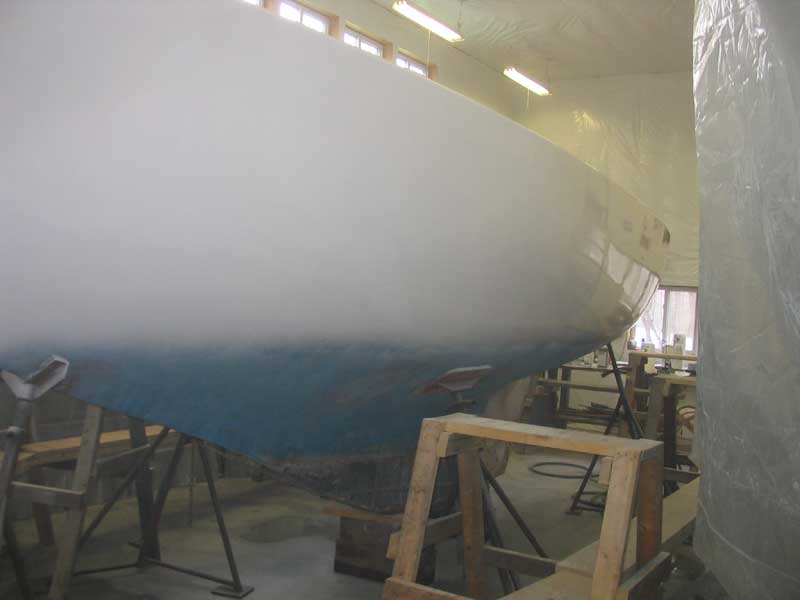
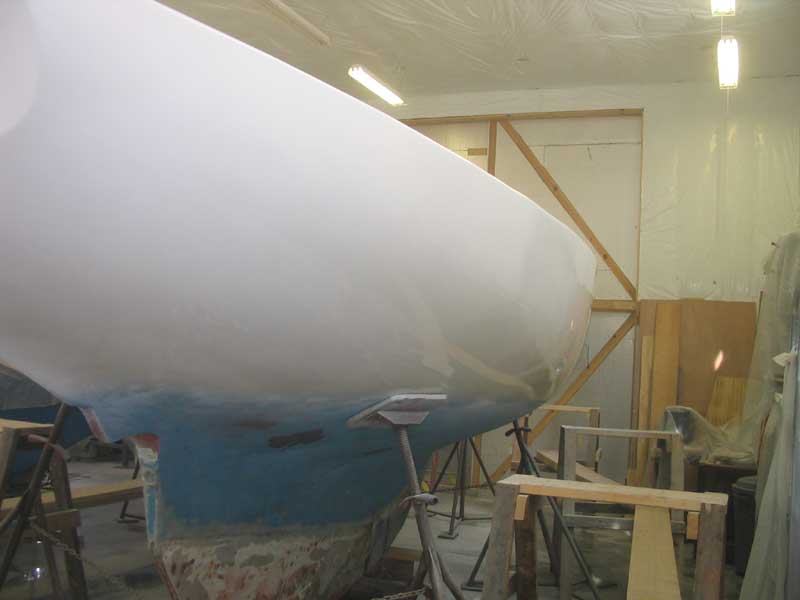
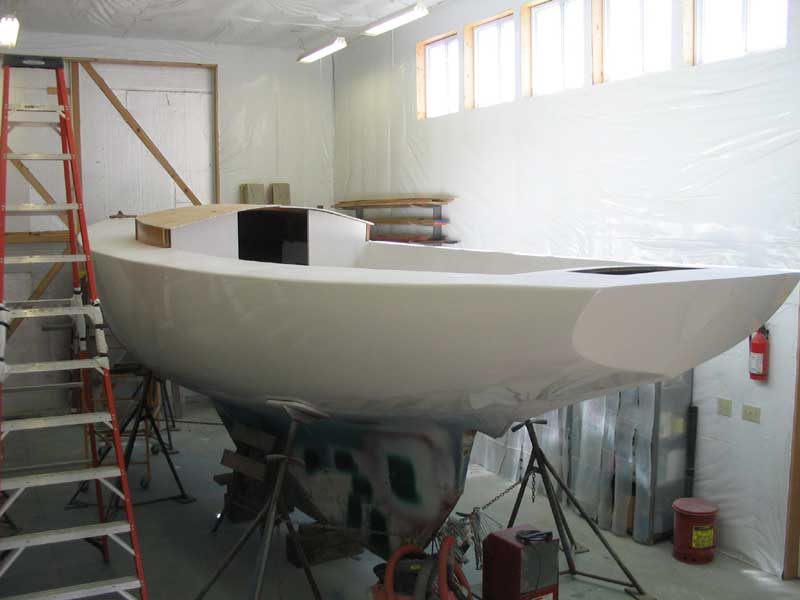
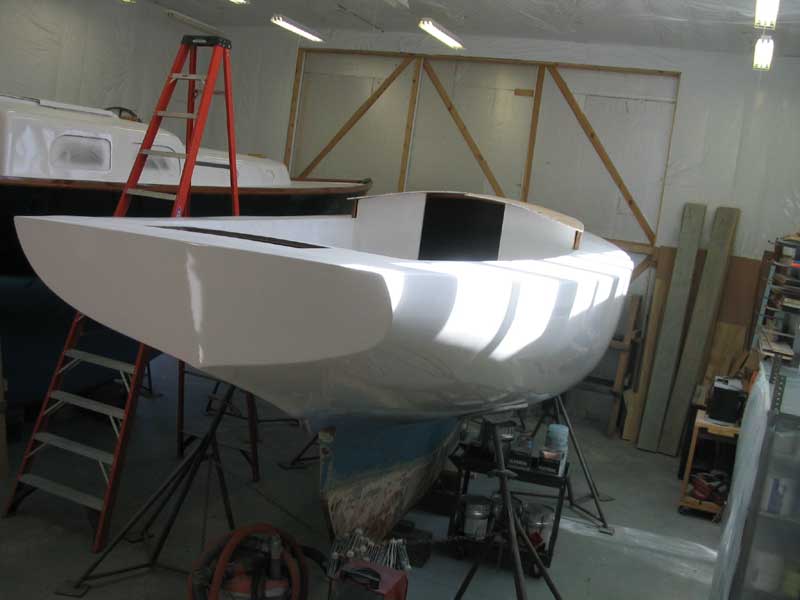
 I
left the painted boat alone overnight and through the next day while the
paint cured. Since the boat had been essentially white when covered
with primer, the transformation with the final coats was not extremely
significant from a distance, but the clean white and high gloss of the
Alexseal paint made the boat look great. Since I didn't know exactly
where my waterline was going to end up, I sprayed the white (and the
primers before) well below the original boat's waterline plane, to ensure
plenty of coverage wherever the waterline ended up being. Later, I
planned a test launch to see exactly how the boat floated, after which I
could paint striping and antifouling. That would come a bit later
on. I
left the painted boat alone overnight and through the next day while the
paint cured. Since the boat had been essentially white when covered
with primer, the transformation with the final coats was not extremely
significant from a distance, but the clean white and high gloss of the
Alexseal paint made the boat look great. Since I didn't know exactly
where my waterline was going to end up, I sprayed the white (and the
primers before) well below the original boat's waterline plane, to ensure
plenty of coverage wherever the waterline ended up being. Later, I
planned a test launch to see exactly how the boat floated, after which I
could paint striping and antifouling. That would come a bit later
on. |
|
|
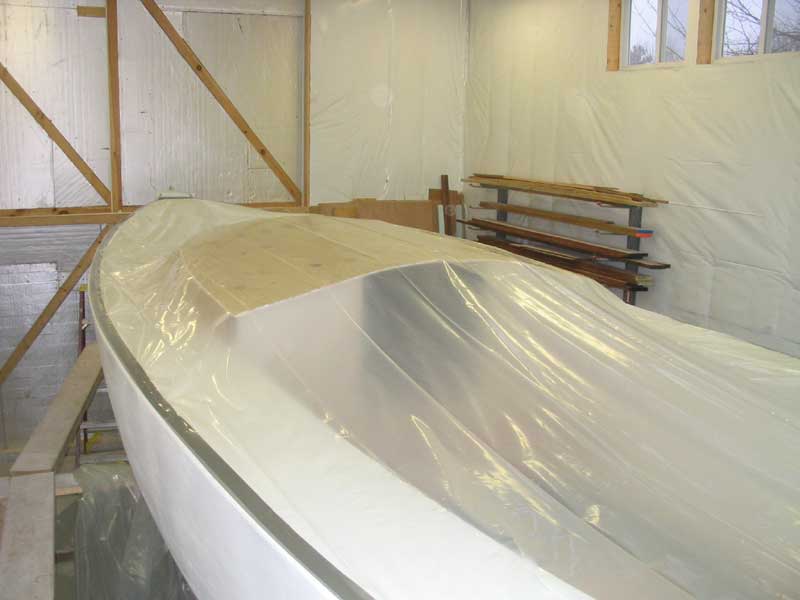
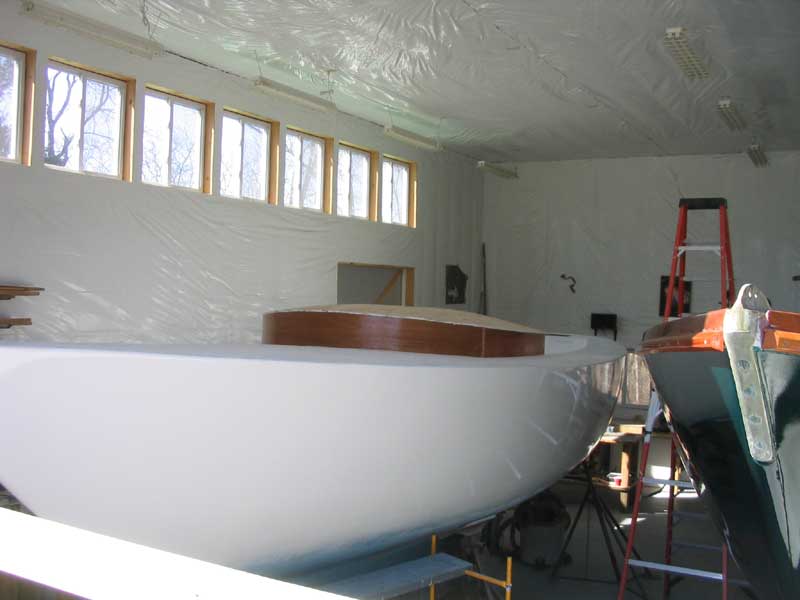
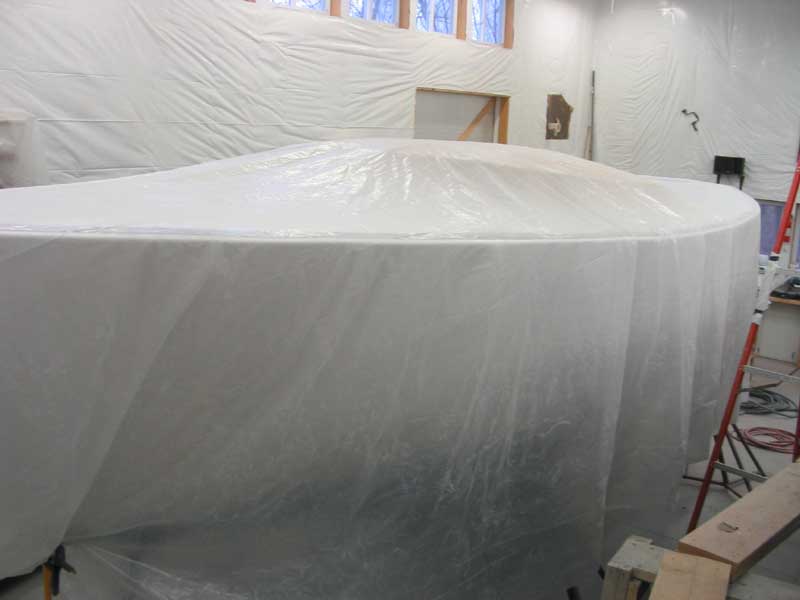 With
more painting planned in the shop, I covered the entire boat in plastic
(loosely draped and secured) to protect against overspray. Late in
the week, with all painting complete, I removed all the plastic and tape,
revealing the entire boat. (As seen in some of the above photos...) With
more painting planned in the shop, I covered the entire boat in plastic
(loosely draped and secured) to protect against overspray. Late in
the week, with all painting complete, I removed all the plastic and tape,
revealing the entire boat. (As seen in some of the above photos...) |