|
|
~MENU~ |
| Home |
| The Concept |
| The Boat |
| Bringing Her Home |
|
Weekly Progress Log |
|
Daysailor Projects |
| The Boat Barn |
| Resources |
| Other Sites |
| Email Tim |
|
|
| From a Bare Hull: Cabin Trunk |
|
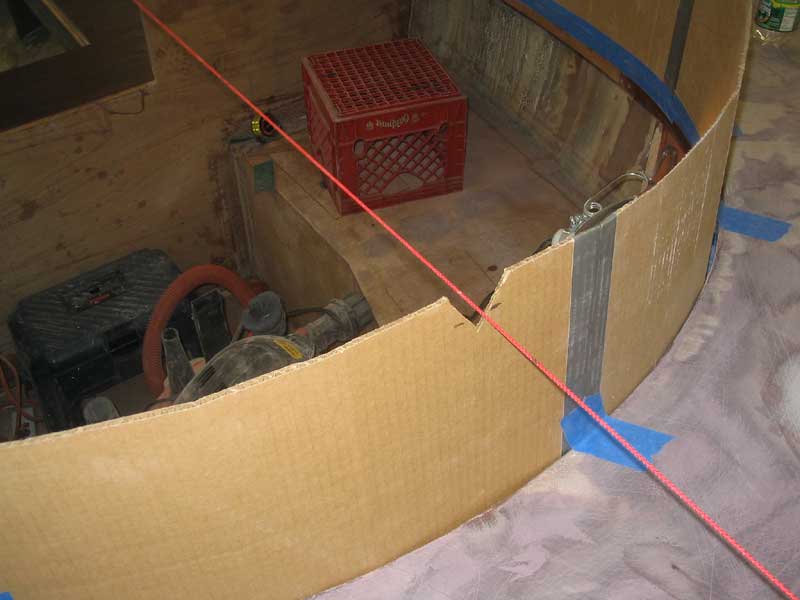
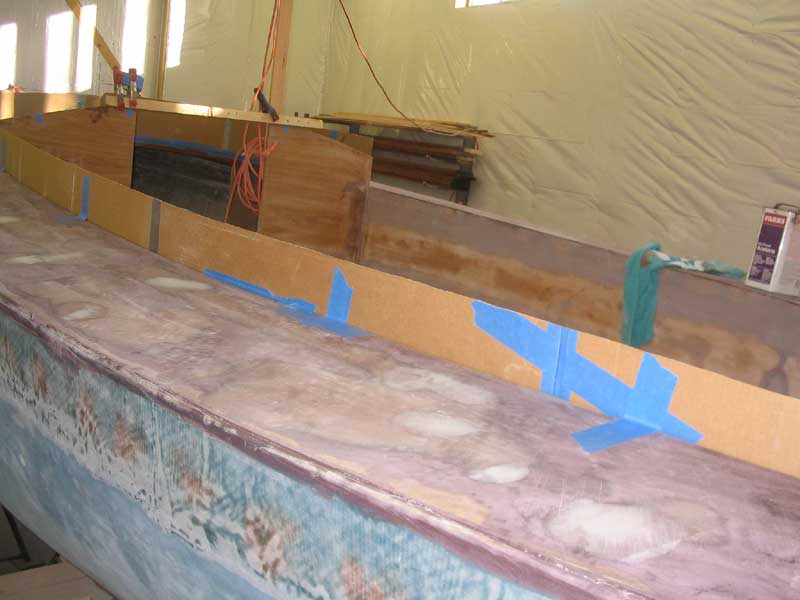
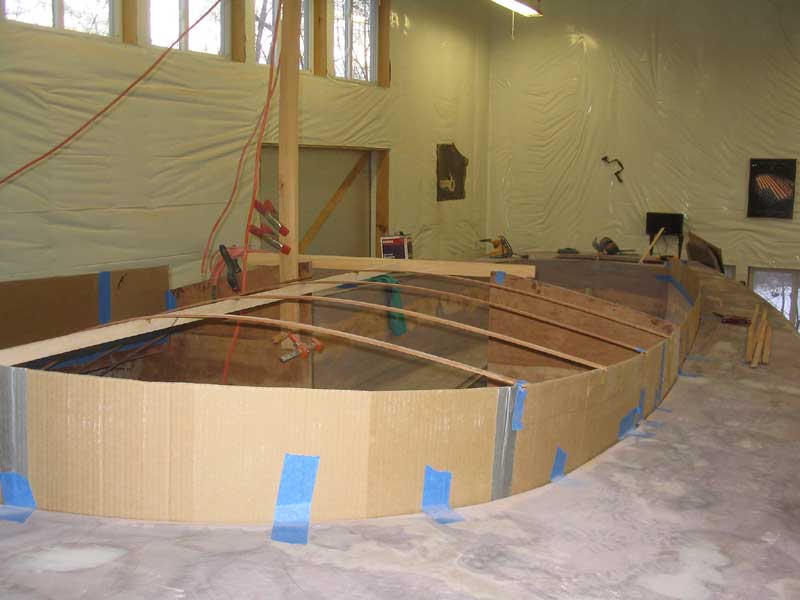
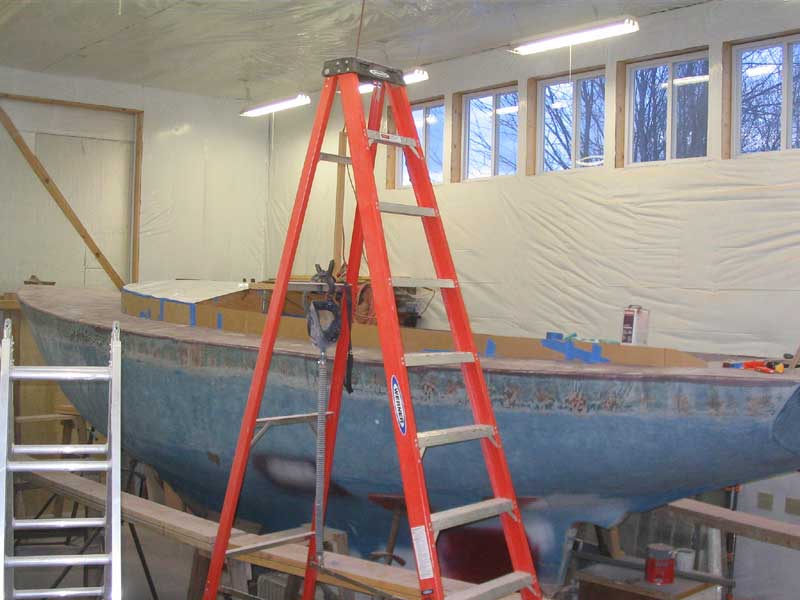
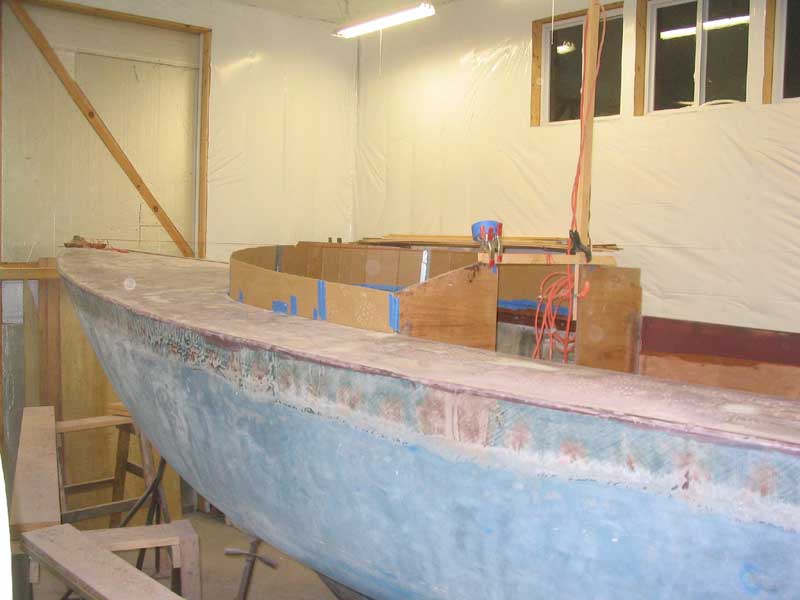
Cabin Trunk Mockup With major construction and fairing work on the decks complete, I decided to construct a mockup of the cabin trunk and cockpit coamings. My reasons for doing this were twofold:
|
 First,
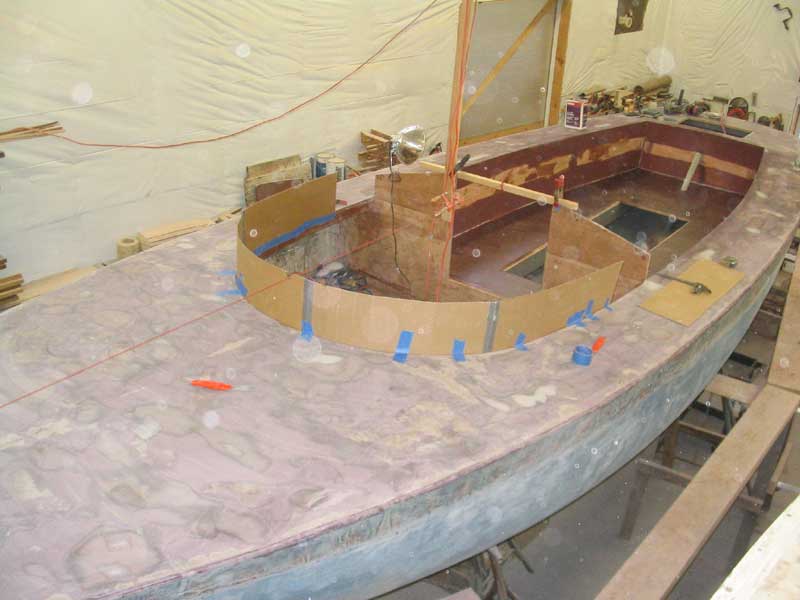
I located some spare corrugated cardboard lying around the shop, and cut a
number of 10" wide strips. I taped these pieces together along their short
ends to make a strip 10" wide and about 12' in length. Then, up in the
boat, I pressed the cardboard into the curved shape defined by the deck edge and
carlin, and taped it into place as required. First,
I located some spare corrugated cardboard lying around the shop, and cut a
number of 10" wide strips. I taped these pieces together along their short
ends to make a strip 10" wide and about 12' in length. Then, up in the
boat, I pressed the cardboard into the curved shape defined by the deck edge and
carlin, and taped it into place as required. |
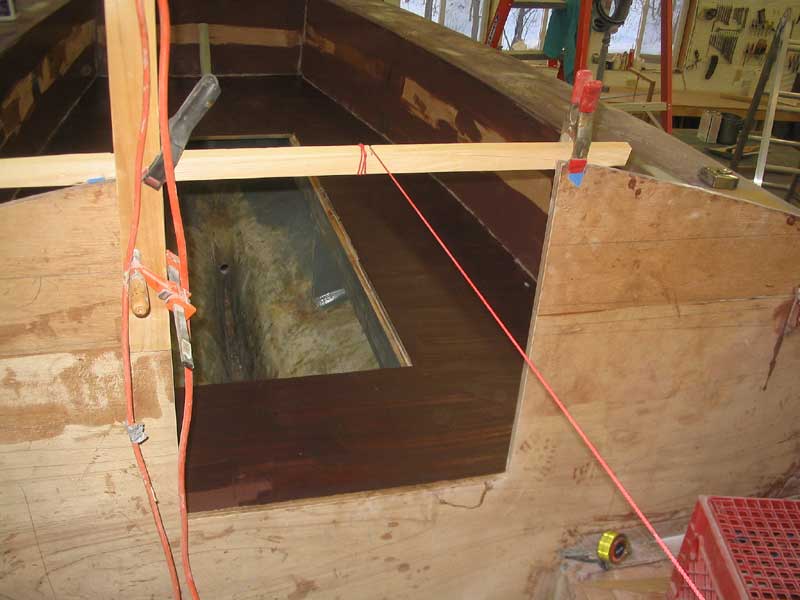
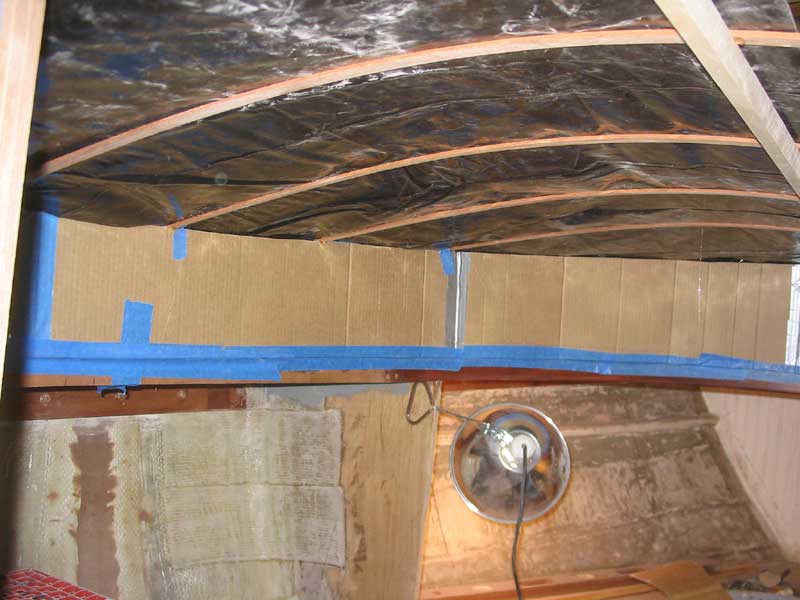
 The
height of the forward edge of the cabin trunk at the centerline of the boat was
predefined by a straight line connecting the highest point of the midships
bulkhead (the centerpoint of the crown) and the stem. An angled coachroof
that follows this line features pleasing visual appearance. To locate this
predetermined height on the cardboard template, I ran a string between the stem
and a board that I fastened over the companionway opening at the appropriate
height (since the high point of the crown was actually in the companionway
cutout). The
height of the forward edge of the cabin trunk at the centerline of the boat was
predefined by a straight line connecting the highest point of the midships
bulkhead (the centerpoint of the crown) and the stem. An angled coachroof
that follows this line features pleasing visual appearance. To locate this
predetermined height on the cardboard template, I ran a string between the stem
and a board that I fastened over the companionway opening at the appropriate
height (since the high point of the crown was actually in the companionway
cutout). |
|
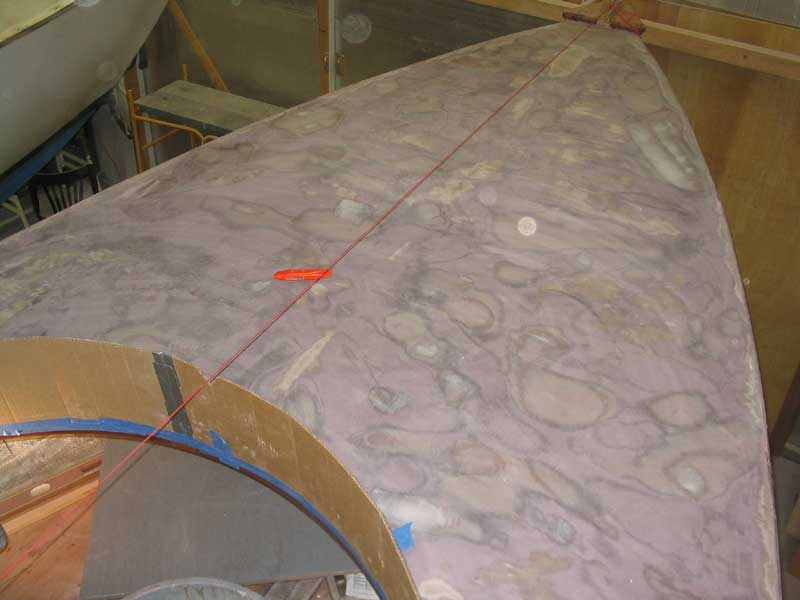
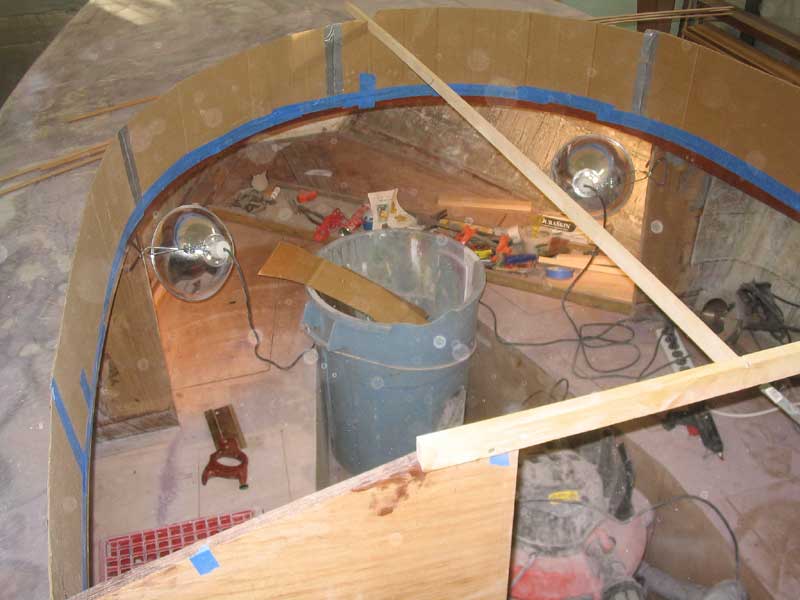
To allow the string to fall in its natural position over the cardboard, I cut a v-shaped notch in the cardboard; then, I marked the height of the string on either side of my new cutout. |
|
|
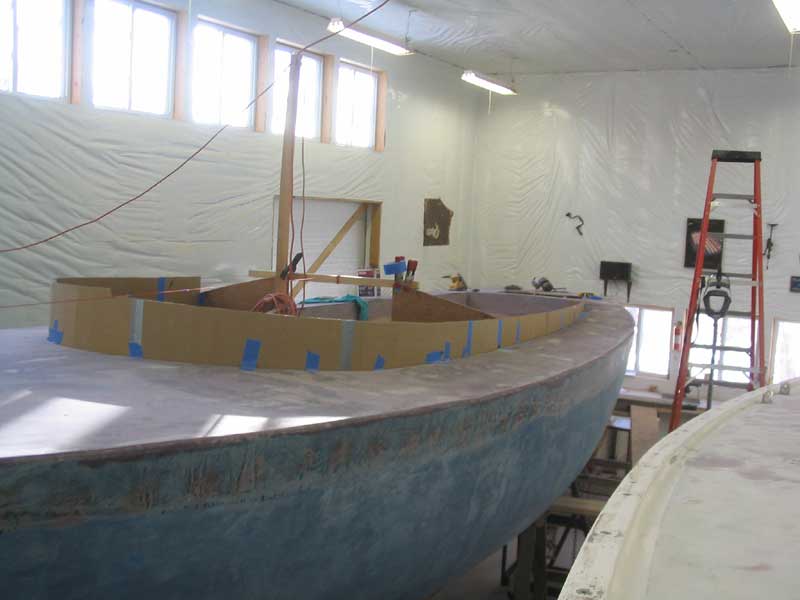
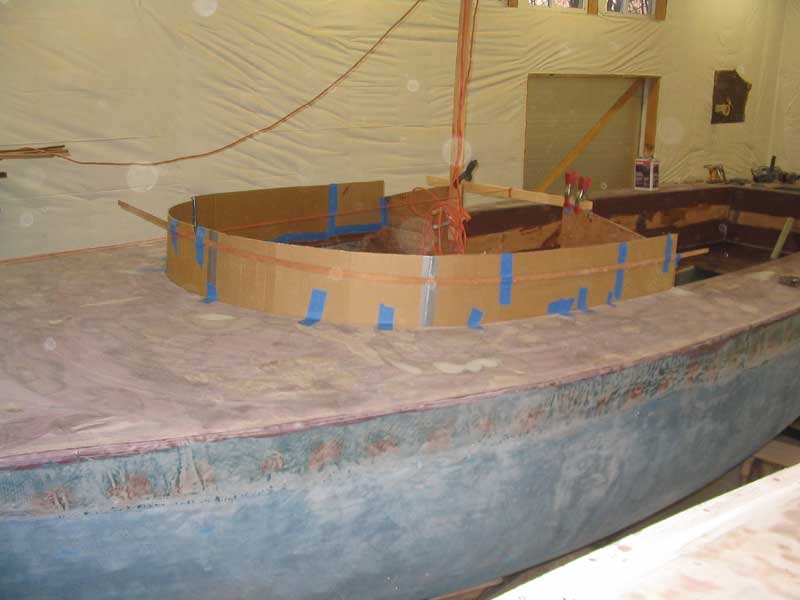 The
cardboard was intentionally too tall for the space, so that I could fine tune a
pleasing, fair shape to essentially bring my conceptual drawing to life.
With a thin mahogany batten, I eyeballed a fair curve running between the two
known fixed points at the midships bulkhead and the centerline height at the
forward edge. With some fine adjustments, I taped the batten in place and
marked the line, after eyeballing it from as many different angles as possible.
For the moment, I laid out the line on the port side only. The
cardboard was intentionally too tall for the space, so that I could fine tune a
pleasing, fair shape to essentially bring my conceptual drawing to life.
With a thin mahogany batten, I eyeballed a fair curve running between the two
known fixed points at the midships bulkhead and the centerline height at the
forward edge. With some fine adjustments, I taped the batten in place and
marked the line, after eyeballing it from as many different angles as possible.
For the moment, I laid out the line on the port side only. |
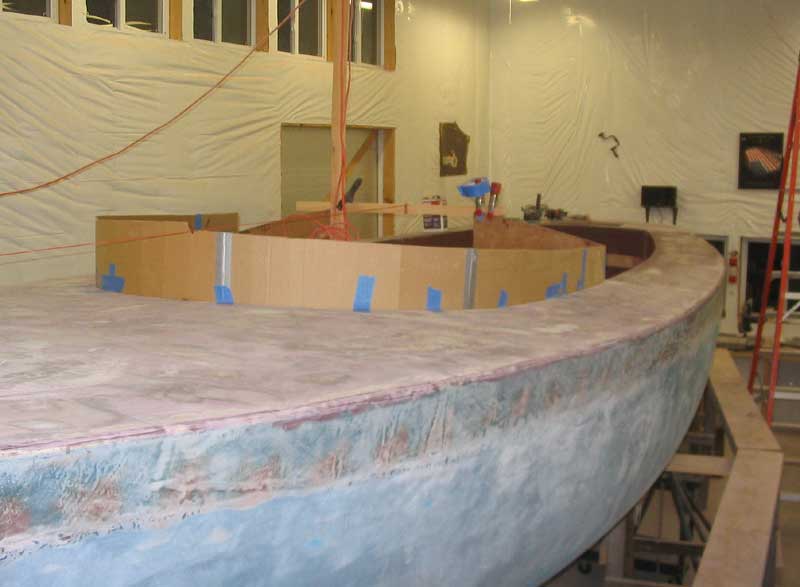
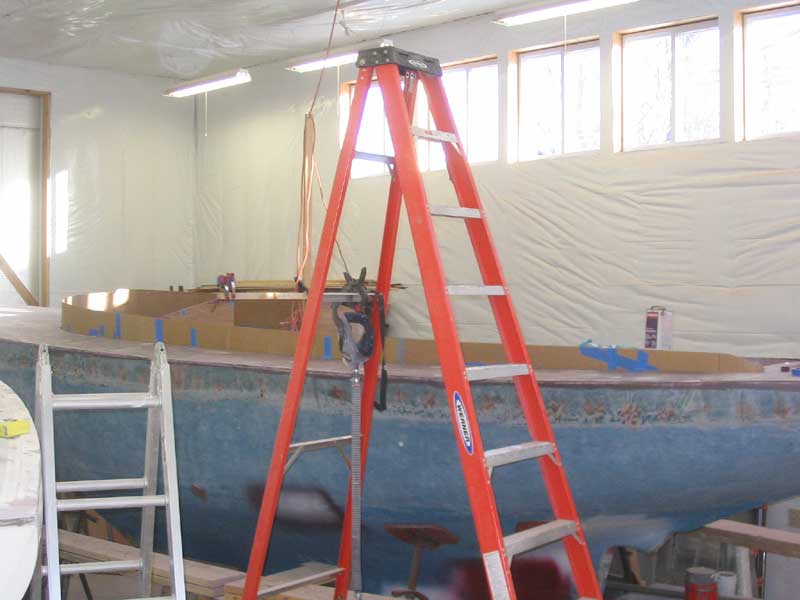
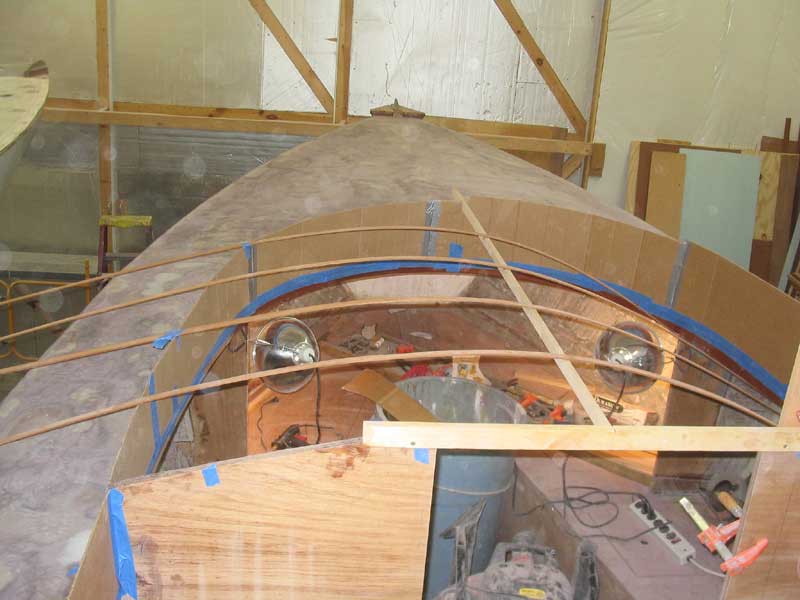
 Next,
I cut the cardboard along the line, using my favorite new tool, the electric
scissors. With the cardboard cut to the line, my first glimpse of the
ultimate shape of the cabin trunk came to life. I tried to visualize the
arc of the coachroof, with some success, but I tried to simulate the general
shape by stringing several pieces of masking tape longitudinally and
transversely across the area; it didn't work particularly well. By this
time, it was the end of the day; pleased with the mockup so far, I called it a
day. Next,
I cut the cardboard along the line, using my favorite new tool, the electric
scissors. With the cardboard cut to the line, my first glimpse of the
ultimate shape of the cabin trunk came to life. I tried to visualize the
arc of the coachroof, with some success, but I tried to simulate the general
shape by stringing several pieces of masking tape longitudinally and
transversely across the area; it didn't work particularly well. By this
time, it was the end of the day; pleased with the mockup so far, I called it a
day. |
|
|
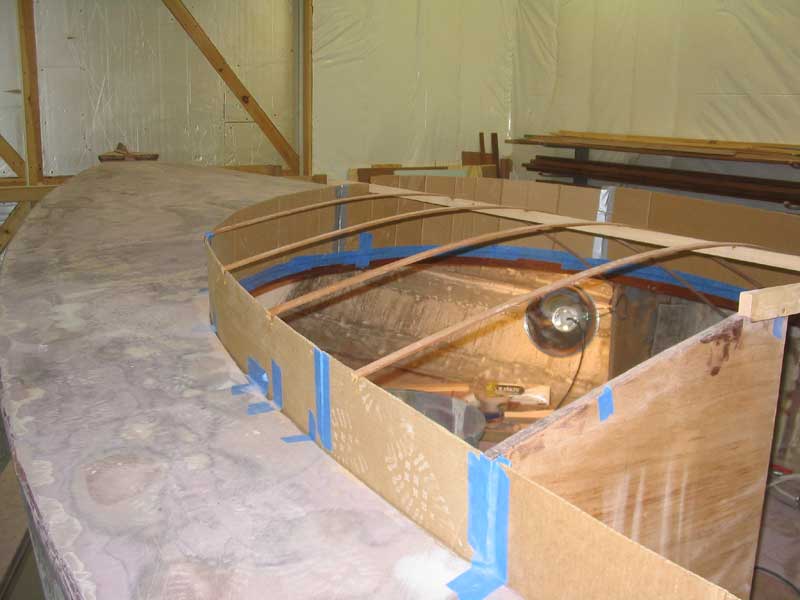
 The
next day, I continued with a mockup of the cockpit coaming. With more of
the 10" wide strips of cardboard, I followed the same basic procedure, laying
out a fair, pleasing line with a batten and cutting it out. Because the
concept called for the cockpit coaming to sweep cleanly--and seamlessly--into
the cabin trunk, I tried to cut a line that followed the contours of the cabin
trunk mockup already in place. The
next day, I continued with a mockup of the cockpit coaming. With more of
the 10" wide strips of cardboard, I followed the same basic procedure, laying
out a fair, pleasing line with a batten and cutting it out. Because the
concept called for the cockpit coaming to sweep cleanly--and seamlessly--into
the cabin trunk, I tried to cut a line that followed the contours of the cabin
trunk mockup already in place. |
|
|
|
|
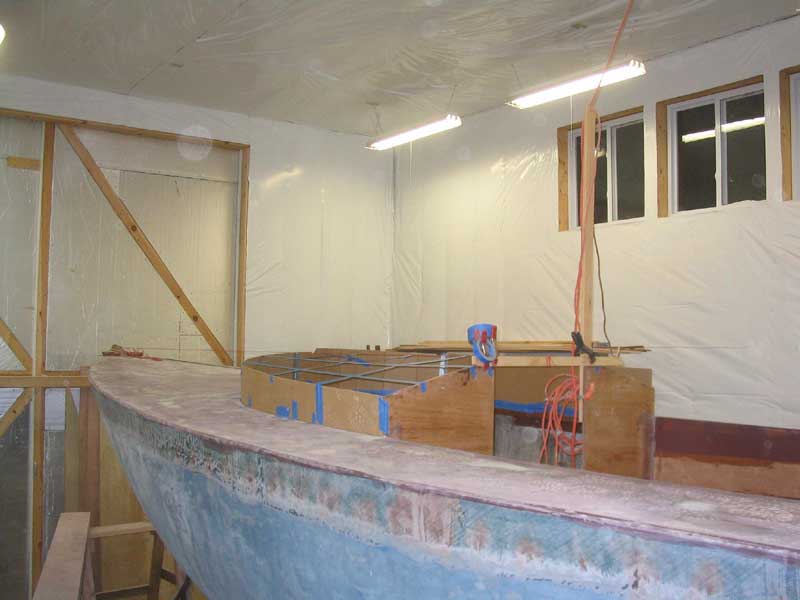
 To
truly get an idea of the overall appearance of the cabin trunk, I decided that I
needed to mock up the coachroof. Replicating the crown of the coachroof
required something more substantial than cardboard. I ended up with a
longitudinal centerline support of wood, which I glued in place between the
cardboard and the midships bulkhead, and then added four curved battens to
simulate deck beams. To
truly get an idea of the overall appearance of the cabin trunk, I decided that I
needed to mock up the coachroof. Replicating the crown of the coachroof
required something more substantial than cardboard. I ended up with a
longitudinal centerline support of wood, which I glued in place between the
cardboard and the midships bulkhead, and then added four curved battens to
simulate deck beams. |
 To
spring the appropriate curvature into these battens, I left them overlong and
bent them across the cabin and beneath the deck on the opposite side. This
was a fair simulation of the designed curvature. I glued each strip in
place with a hot glue gun. To
spring the appropriate curvature into these battens, I left them overlong and
bent them across the cabin and beneath the deck on the opposite side. This
was a fair simulation of the designed curvature. I glued each strip in
place with a hot glue gun. |
|
|
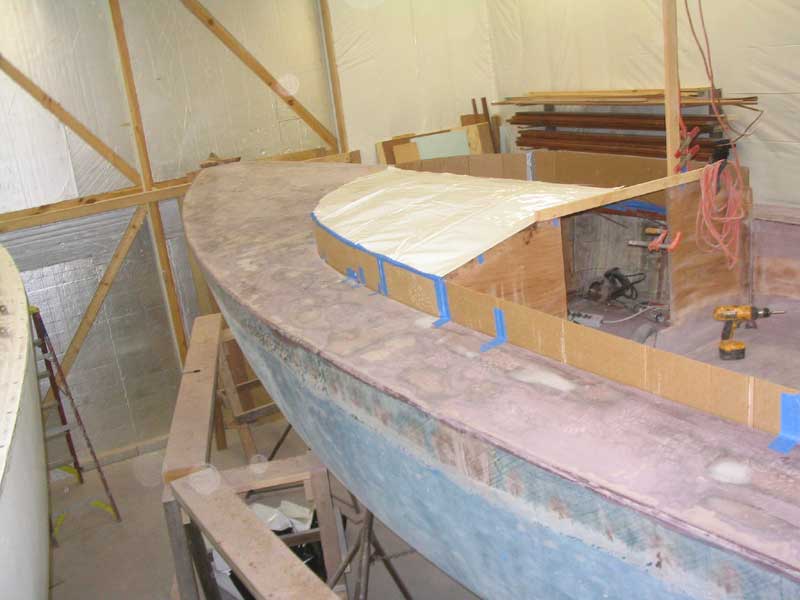
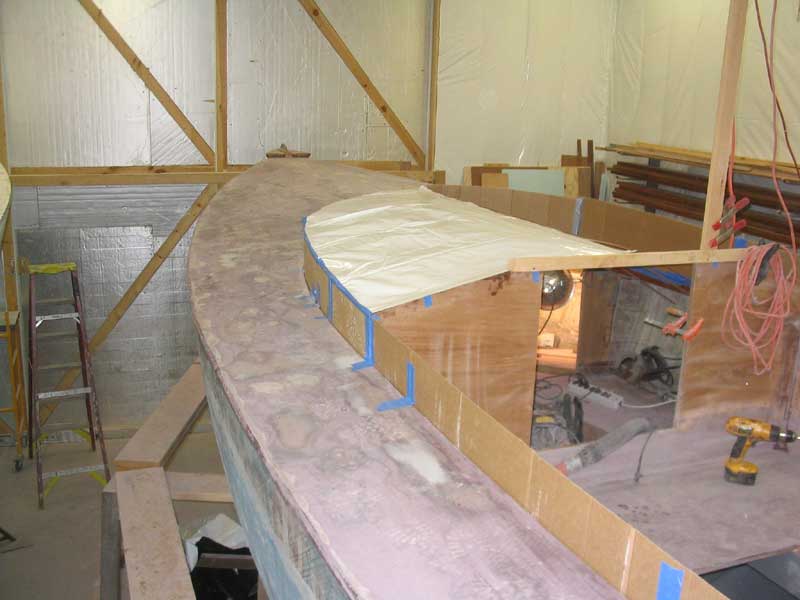 Finally,
I attached some white plastic over the wooden framework, taping and stapling it
to the cardboard sides and wooden framework. When I cut off the excess
plastic, the shape of things to come came to life immediately. Finally,
I attached some white plastic over the wooden framework, taping and stapling it
to the cardboard sides and wooden framework. When I cut off the excess
plastic, the shape of things to come came to life immediately. |
|
|
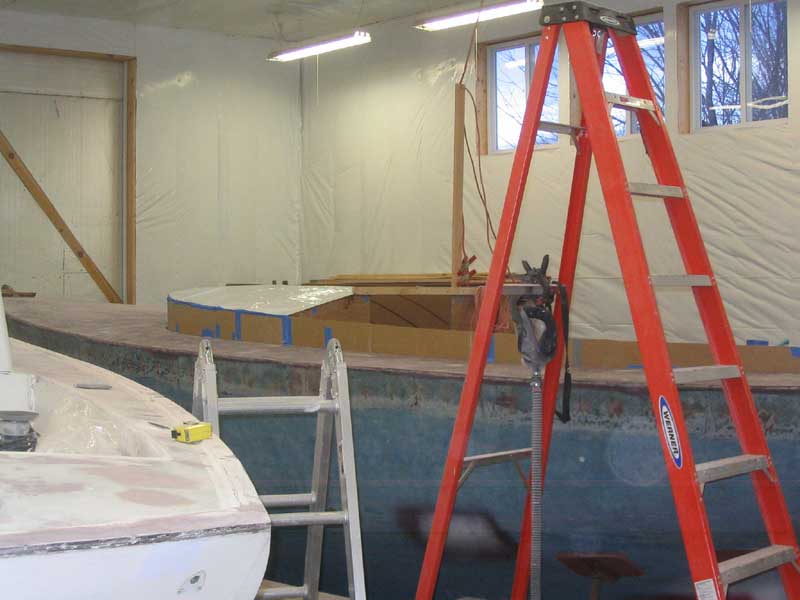
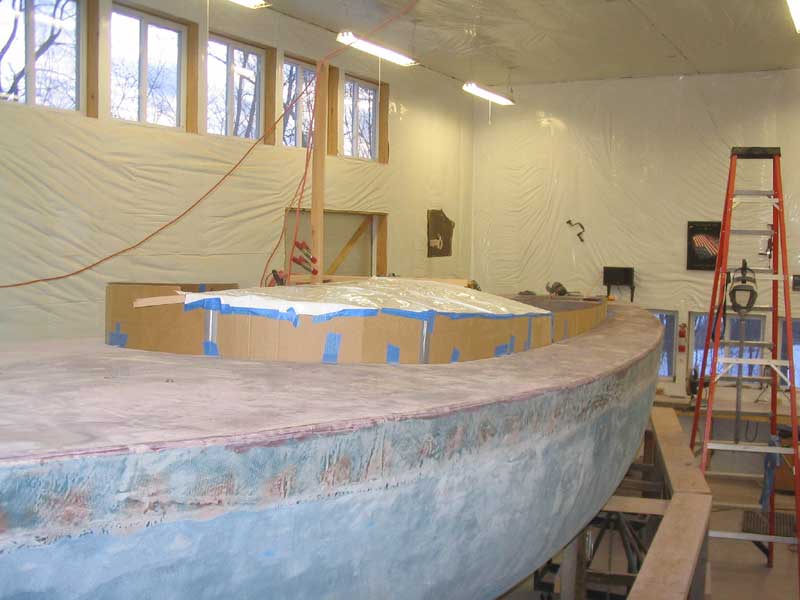 I
eyed the completed mockup critically from all angles, including inside, and
eventually decided that it was an excellent representation of my paper and
mental concepts. I was excited to achieve the first vision of the
completed boat, and looked forward to constructing the cabin trunk of mahogany. I
eyed the completed mockup critically from all angles, including inside, and
eventually decided that it was an excellent representation of my paper and
mental concepts. I was excited to achieve the first vision of the
completed boat, and looked forward to constructing the cabin trunk of mahogany. |
|
|