
|
|
~MENU~ |
| Home |
| The Concept |
| The Boat |
| Bringing Her Home |
|
Weekly Progress Log |
|
Daysailor Projects |
| The Boat Barn |
| Resources |
| Other Sites |
| Email Tim |
|
|
| Boat Barn: Setting up the Boat Shop |
| Barn
Home Page
Setting up a new shop from scratch is fun, especially when starting with a space that is extraordinary in its size and function. My old shop, located inside half of my heated 24x24 garage, was more than adequate, and I had no complaints. When I built the garage and set up the shop in 1996, it seemed awesome. But compared to the bright, high, white, and light-filled space that is the new boat barn, the old shop suddenly seemed dingy, cramped, and intolerable. I was looking forward to starting fresh, once again. As spacious as the boat barn is, obviously most of the space must be dedicated to the storage of up to two boats. Therefore, most of the main shop setup would have to be at the back end of the room--hardly a hardship, mind you, but it was important for me to keep compactness and versatility in mind. I had also learned some shop lessons and shortcomings from my old shop, and determined what equipment was important, and what was not. One of my major goals it to make this shop easy to keep clean, meaning that I intend to create most tool storage within closed lockers and leave spaces open for easy sweeping. |
|
|
|
|
|
|
|
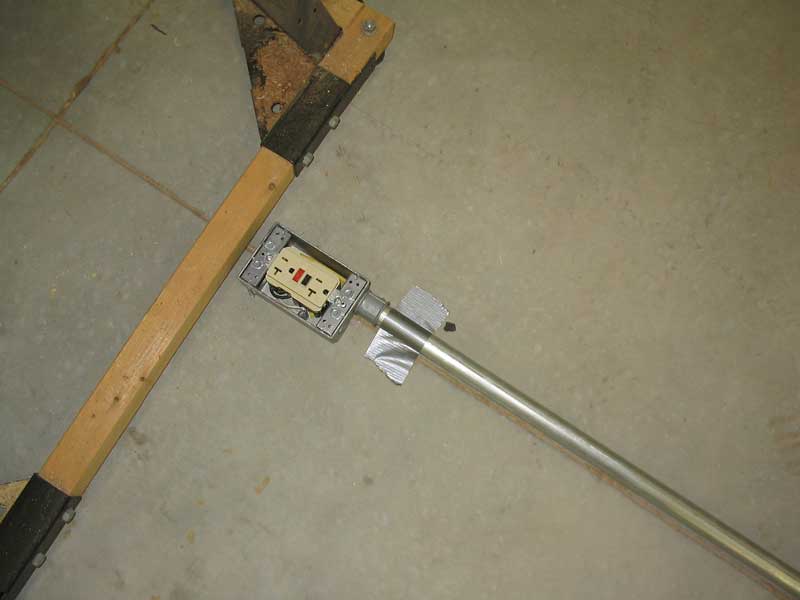
 Because of its overall
length, and the fact that I didn't want to install additional benches
elsewhere lest they interfere with boat access later, I installed my miter
saw in the main bench. I like to install the saw so that its table
is flush with the bench surface, which makes cutting long lengths easy,
and there's no need for expensive and bulky saw extension tables.
This required cutting a hole in the top of the bench and building
additional support structure to hold the saw, but this is the third time
I've set up a bench to accommodate this saw, so it was relatively
straightforward. I positioned the saw close to one end of the bench
(about 9'), to allow for as much unobstructed benchtop as possible, while
leaving enough room even on the short side to accommodate cutting just
about any length of material needed. There's 20' or more on the
other side, so even 16' stock will be easy to handle. Because of its overall
length, and the fact that I didn't want to install additional benches
elsewhere lest they interfere with boat access later, I installed my miter
saw in the main bench. I like to install the saw so that its table
is flush with the bench surface, which makes cutting long lengths easy,
and there's no need for expensive and bulky saw extension tables.
This required cutting a hole in the top of the bench and building
additional support structure to hold the saw, but this is the third time
I've set up a bench to accommodate this saw, so it was relatively
straightforward. I positioned the saw close to one end of the bench
(about 9'), to allow for as much unobstructed benchtop as possible, while
leaving enough room even on the short side to accommodate cutting just
about any length of material needed. There's 20' or more on the
other side, so even 16' stock will be easy to handle. |
|
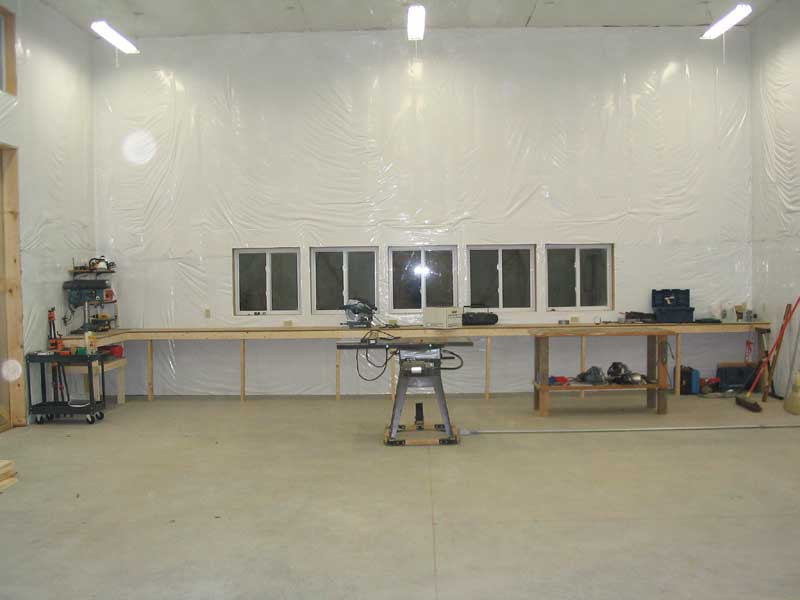
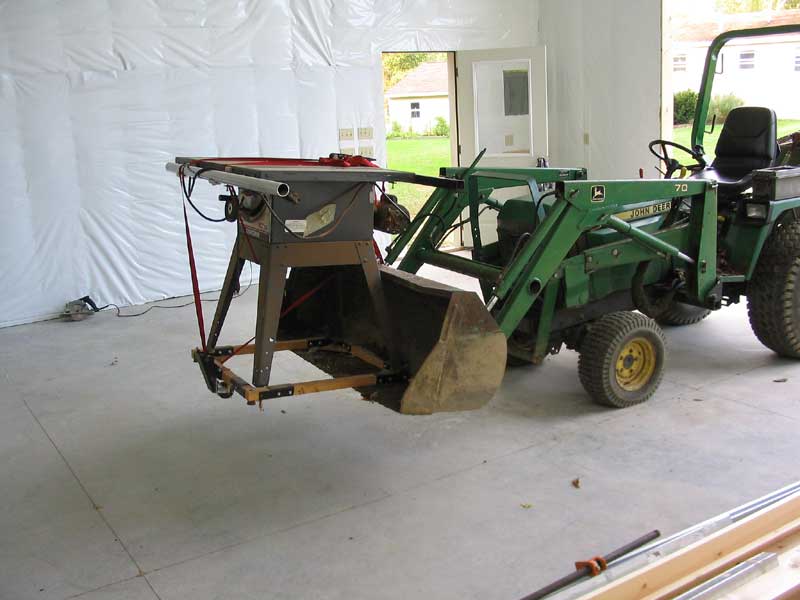
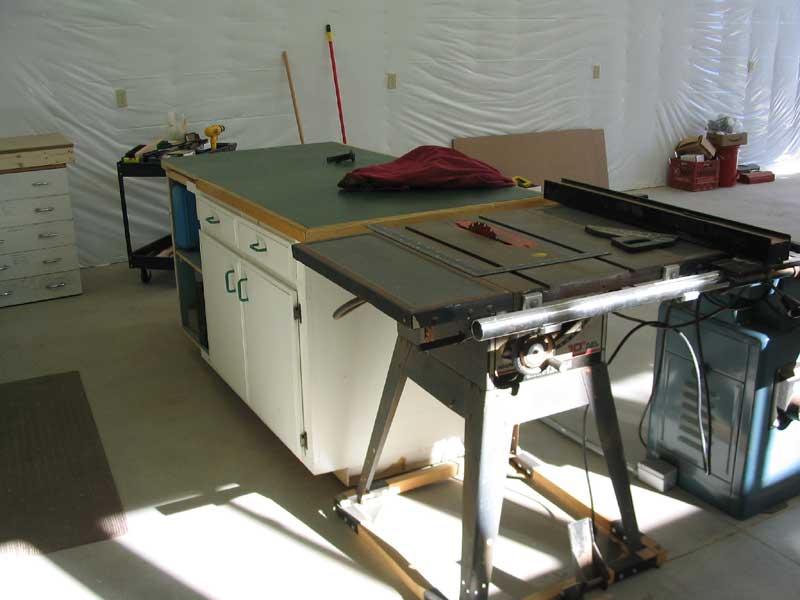
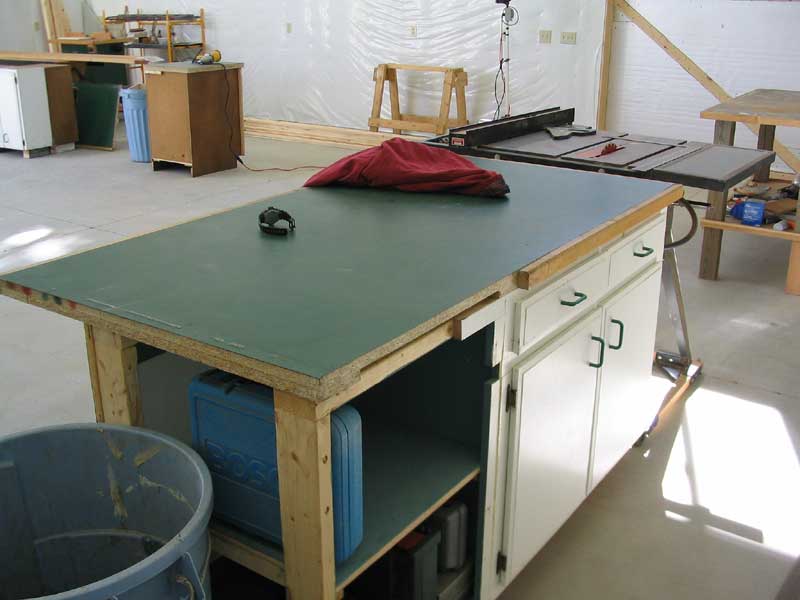
Table Saw and Outfeed Table/Bench
A proper table saw setup requires much room to allow for long lengths of material, sheet goods, and an outfeed table. I've always coveted a Delta Unisaw with acres of smooth Melamine outfeed and side tables, but I don't have that. But I was determined to improve upon my old setup and the "temporary" outfeed table that I built which, of course, ended up being permanent and in use for years. After trying a few iterations of location, I came to the conclusion that the saw would work best if its cutting direction was set up perpendicular to the long dimension of the shop. My original thought had been to place the saw near the back of the shop right on centerline, with an outfeed table extending towards the front doors between whatever boats were in there at the time. Upon further reflection, though, I decided that it would actually work very well oriented the other direction. It would save overall space in the barn, since the outfeed table (which I was to bodge together--see below) could double as a work surface near the main workbench, and there was plenty of room in both directions to accommodate long stock. best of all, the setup would interfere less with the floor space at the front 2/3 of the shop, which is dedicated to boat storage.
|
|
|
|
|
|
|
|
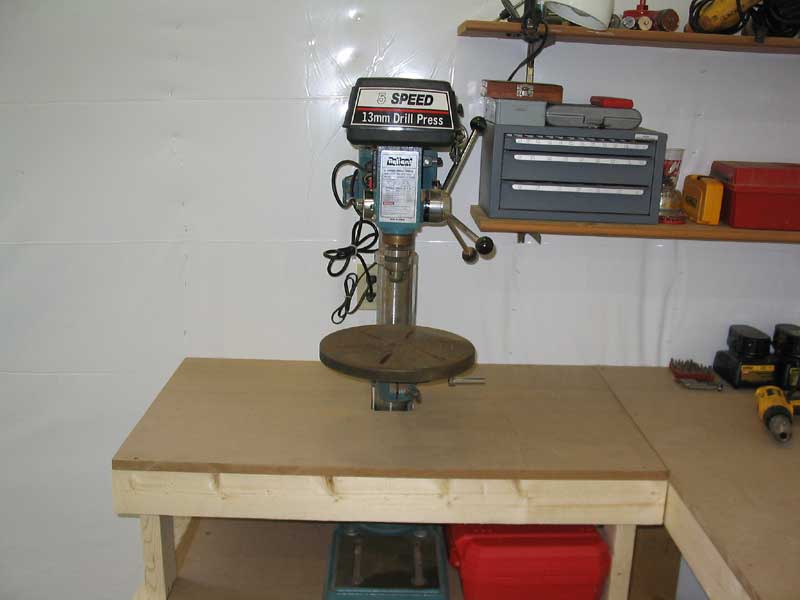
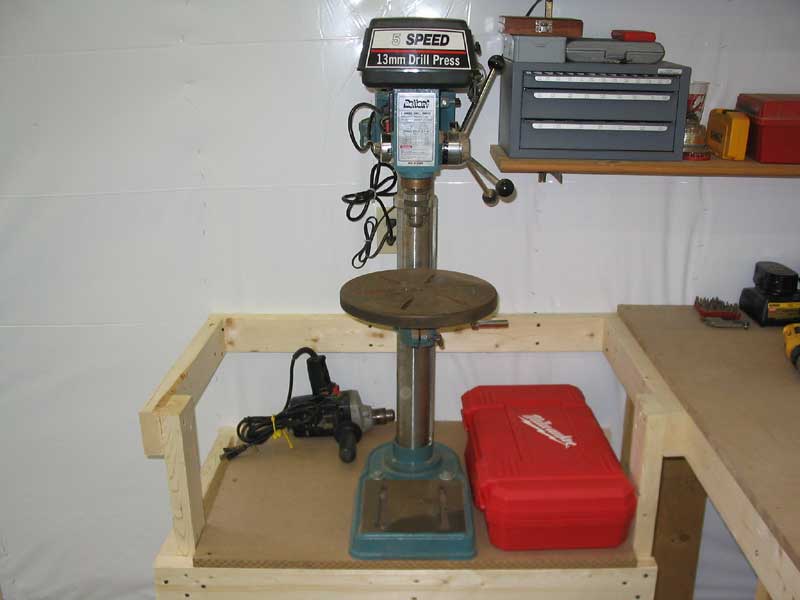
Drill Press and Drilling Station Though it's not a piece of equipment that I used often, nor one that I felt was crucial to set up early in the new shop, I nonetheless installed the drill press in a new bench quite early in the new shop process. The reason: mostly, I just wanted to finish up all bench-building tasks and get things laid out, so I figured I might as well move the drill press. I have a benchtop drill press, and in the old shop it was mounted on top of the normal 36" high bench. This made using the tool awkward, as it was really too high. This time, I decided to create a custom-height bench for the drill press. I built a section of bench in the back corner of the shop, near the side door. The platform on which the drill press is supported is 12" lower than the surrounding bench, lowering the motor and drill controls to a more convenient height. To make the bench and drill press more usable, I also decided to build a removable top section that was at the same height as the remaining bench. The top section can be easily slid out of the way when the drill press table needs to be lowered drastically to accommodate very thick stock, but for 99% of drilling operations, the top section can remain in place. This also created a handy storage area beneath. In the same corner, I installed two open shelves for drill storage, and set up storage for my bit drawers and cordless drills and chargers, keeping all drill-related tools isolated to this one area for convenience. |
|
|
|
|
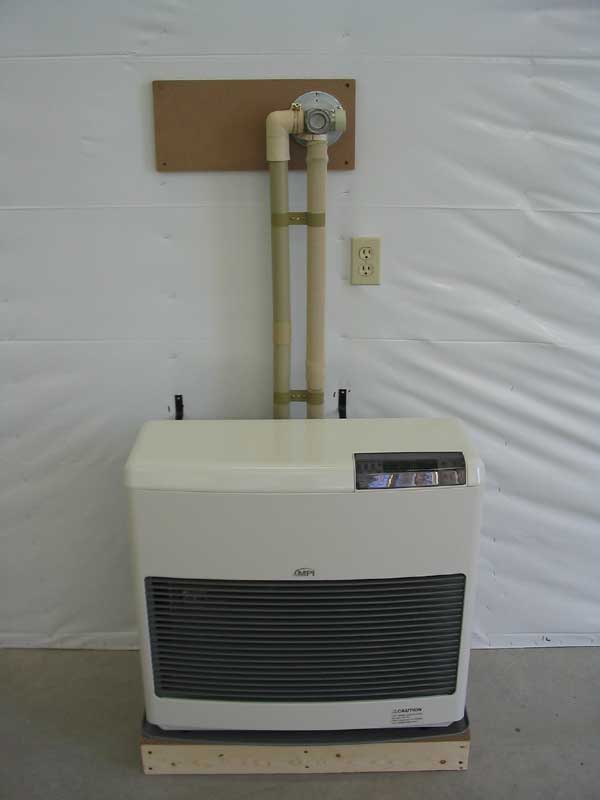
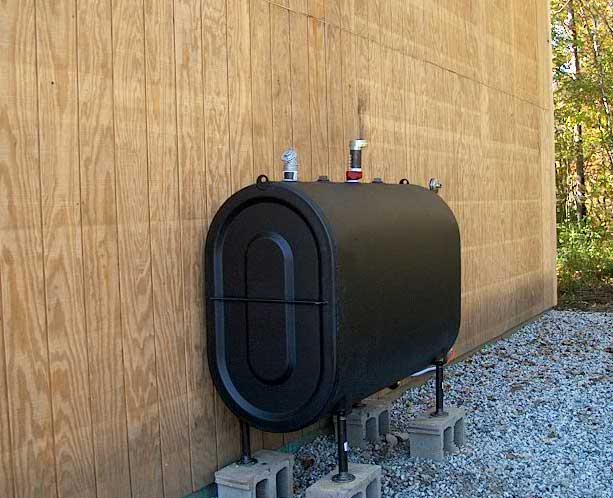
Shop Heat
Installation was a snap. I raised the unit on a basic platform to keep it off the floor, which will have every possibility of becoming wet in the course of shop use. To keep the exhaust vent above the level of the likely snow load outside, I used an extension kit to raise it up about 4' off the floor, well above the ground outside. I installed the heater easily in an afternoon, though the installation remained unfinished since I had no fuel tank at the time.
Bring in the cold and snow. We're ready. |
|
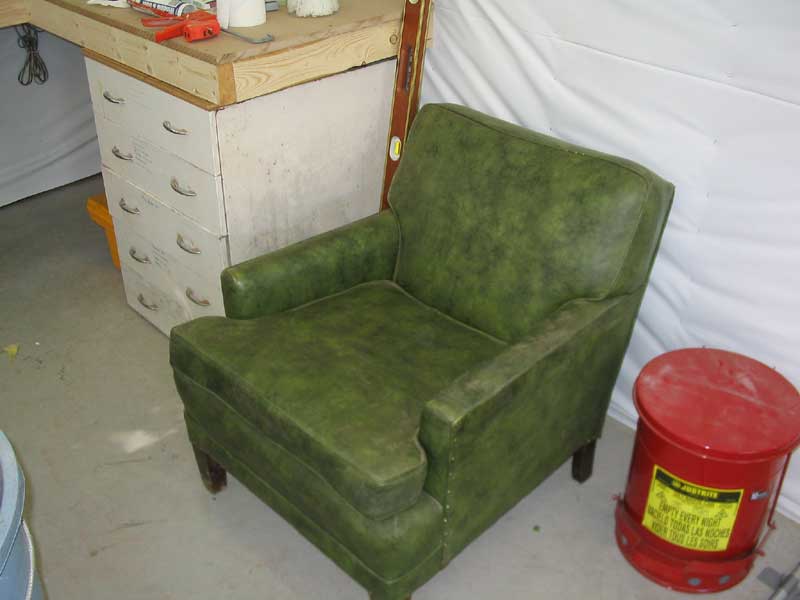
The Thinking Chair
|
|
|
Various Rolling Shop Accessories and Storage Solutions With a large space now totally dedicated to boat work and other workshop-type activities, it was fun to be able to expand outwards from the main bench. As a person who always likes to have the proper tools for any job close at hand while working on that job, I figured it would be helpful to have a few various means of transport--and mobile workstations--to keep tools nearby, and to provide extra working area as necessary. Also, because of the varietal nature of the shop--boats coming in and out, etc.--many of the shop components needed to be on casters so that they could be moved out of the way as necessary, or moved to a more central location as prudent. |
|
|
|
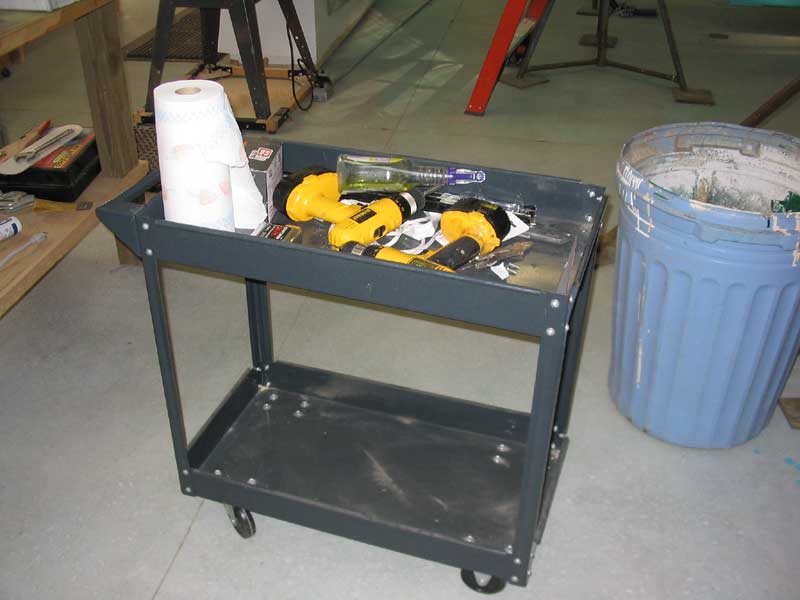
This is my new favorite in the shop. It's a very basic, inexpensive rolling tool tray with a 600 lb. capacity. It's great for loading up with various tools and fasteners needed for a job; then, the whole thing can be rolled right to where it is needed. I ordered it from Northern Tool. I liked this cart so much that I decided to order a second. As soon as the second arrived, I realized I probably should have bought a third, but enough's enough. |
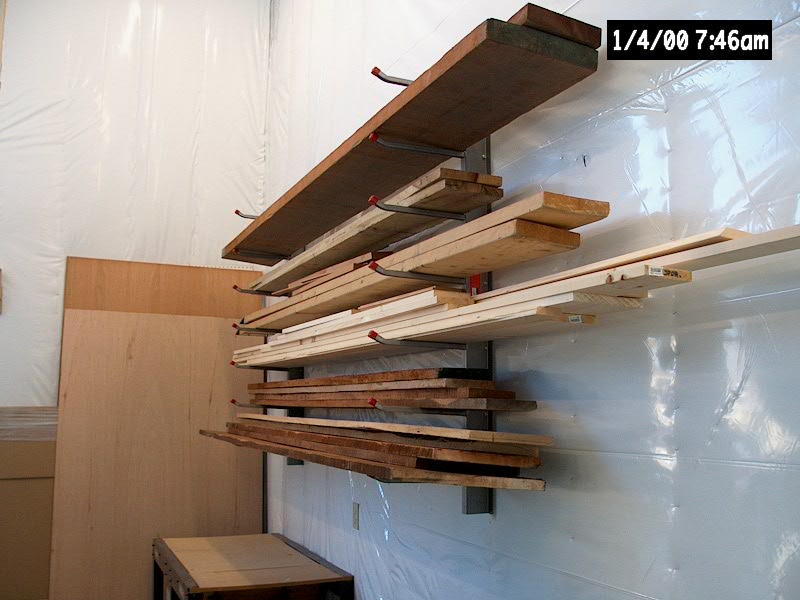 |
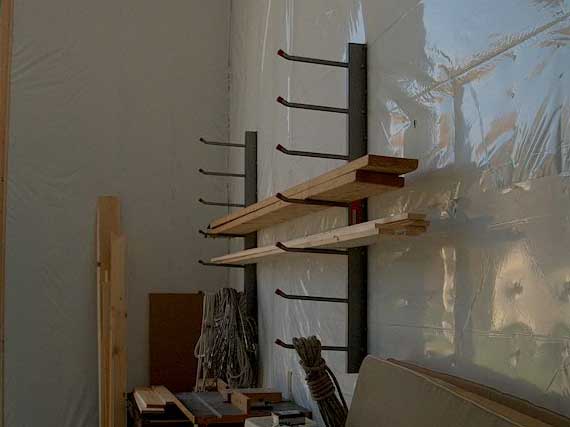
A wood rack is essential. I found this nice, yet inexpensive one, at Northern Tool. |
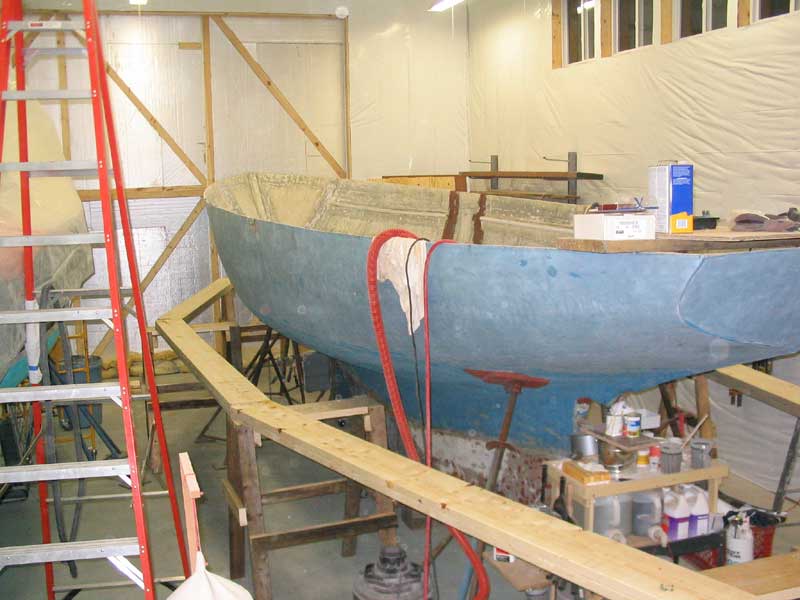 |
This small rolling scaffolding will be handy for working on many jobs on the exterior of the boats. With the planks on the top level, the deck is at waist height--perfect for varnishing, deck work, etc. If needed, the staging folds nearly flat. The way the boats are set up, I can roll it nearly all the way around. I ordered it from Tool Crib. |
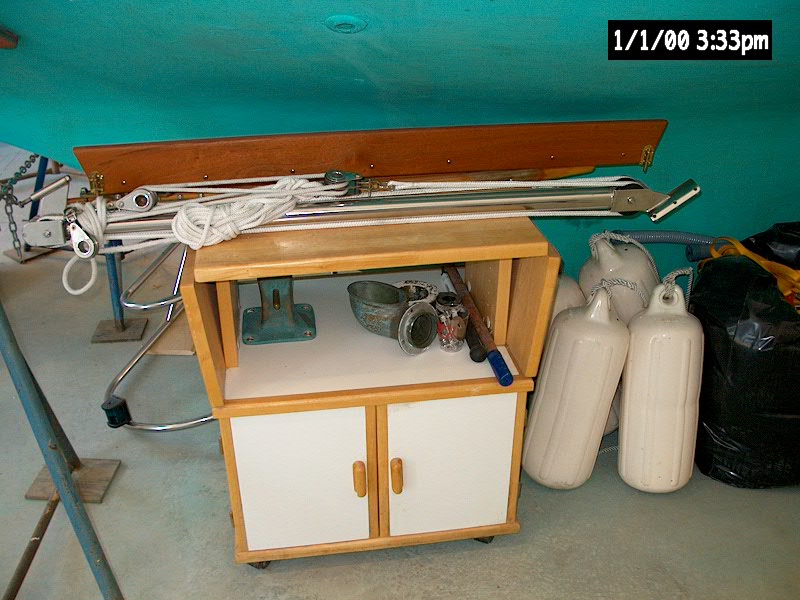 |
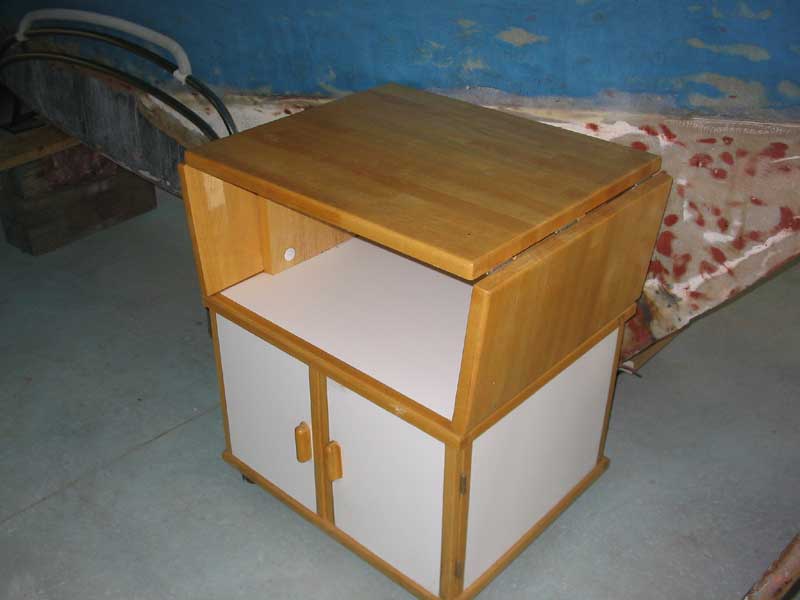
I figured I could find a use for this old microwave cart that had been stored in my garage for years. It rolls, too. In the end, I used it to store some of the gear from Glissando, including fasteners from hardware I removed, and other equipment that required temporary off-boat storage. It's convenient because I can roll it out of the way if needed, but it rolls nicely under the boat and has plenty of room for gear. |
|
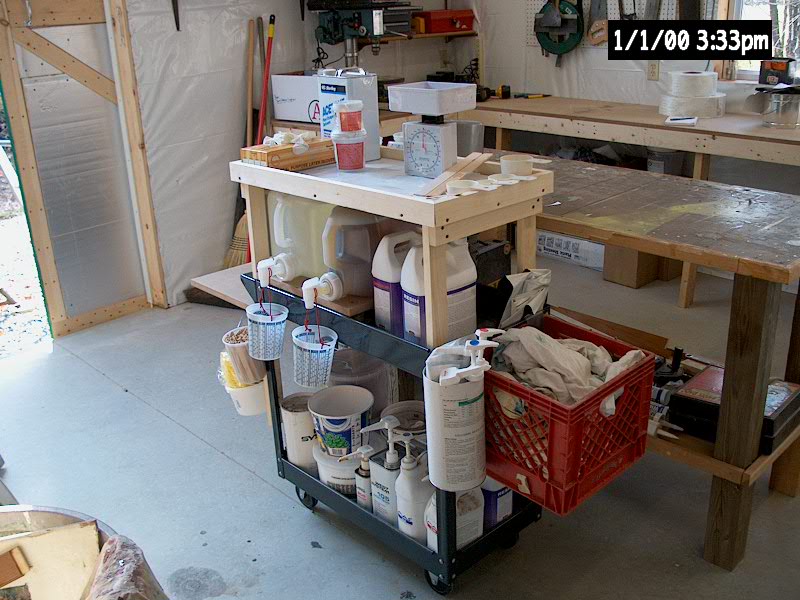
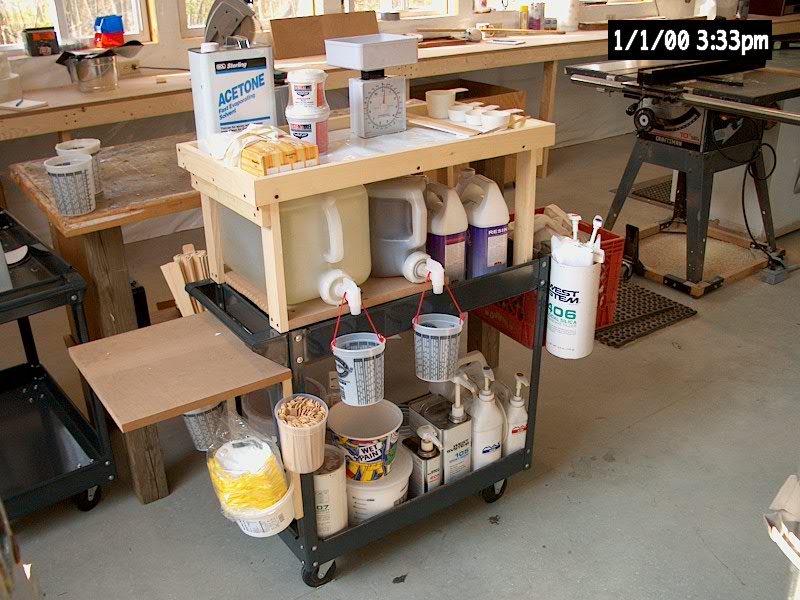
I modified my second rolling shop cart to turn it into a custom epoxy/fiberglass cart. With several different epoxies, the related supplies, and the need to move the products to various parts of the shop, the card should be a convenient boon to production. I stocked up on all those annoying little things that you always seem to be running out of--brushes, mixing sticks, mixing pots, gloves, and the like. To accommodate the variety of supplies, I added a sturdy shelf to one end for use as a mixing and work platform, a storage crate for rags and such, and "custom" racks to the sides for holding mixing pots, brushes, stir sticks, resin pumps, and dust masks. I'm sure that there will be future additions to satisfy some as-yet undetermined needs, and there's plenty of room left to accommodate. However, the day after first putting the cart together, I realized the need for a platform above the resin containers on the top shelf, so I added a new shelf above, which gave me the room to hold the small items that tend to accumulate around these sorts of supplies. |
|
