


September 15, 2017
Scupper 3
Friday
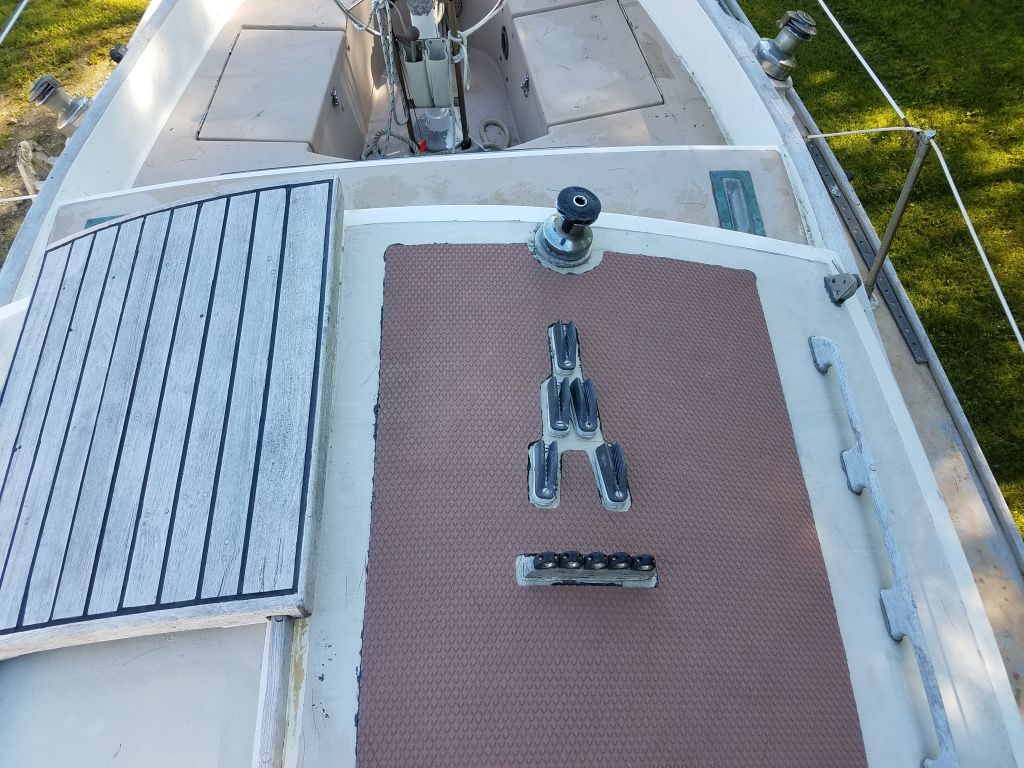
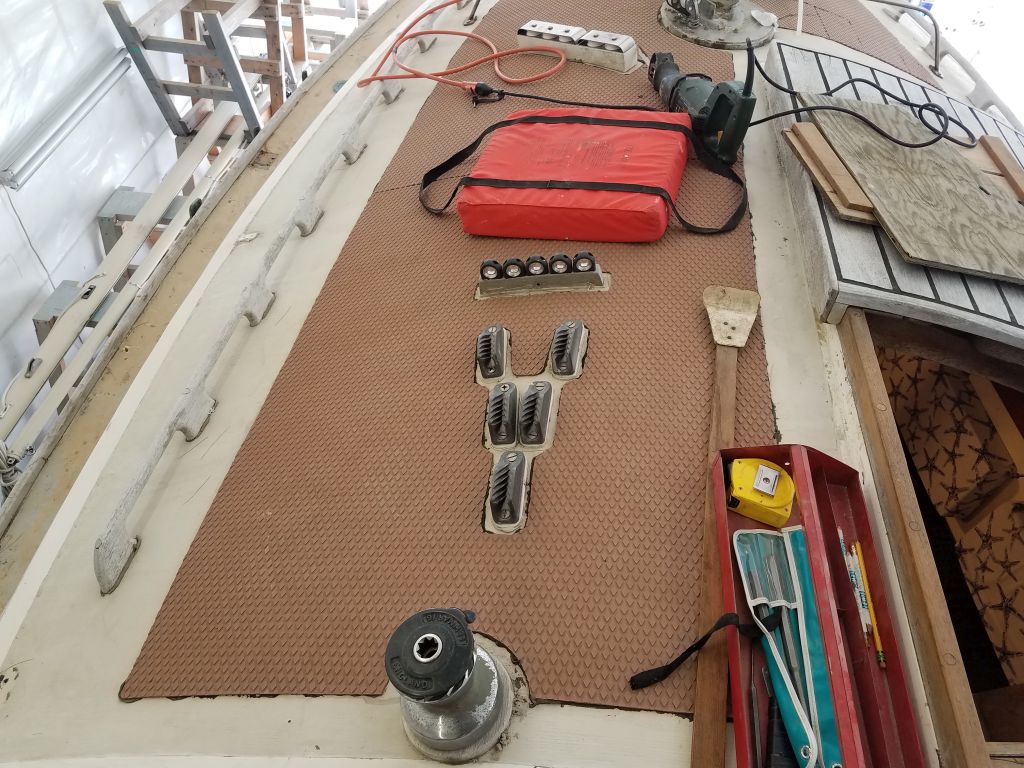
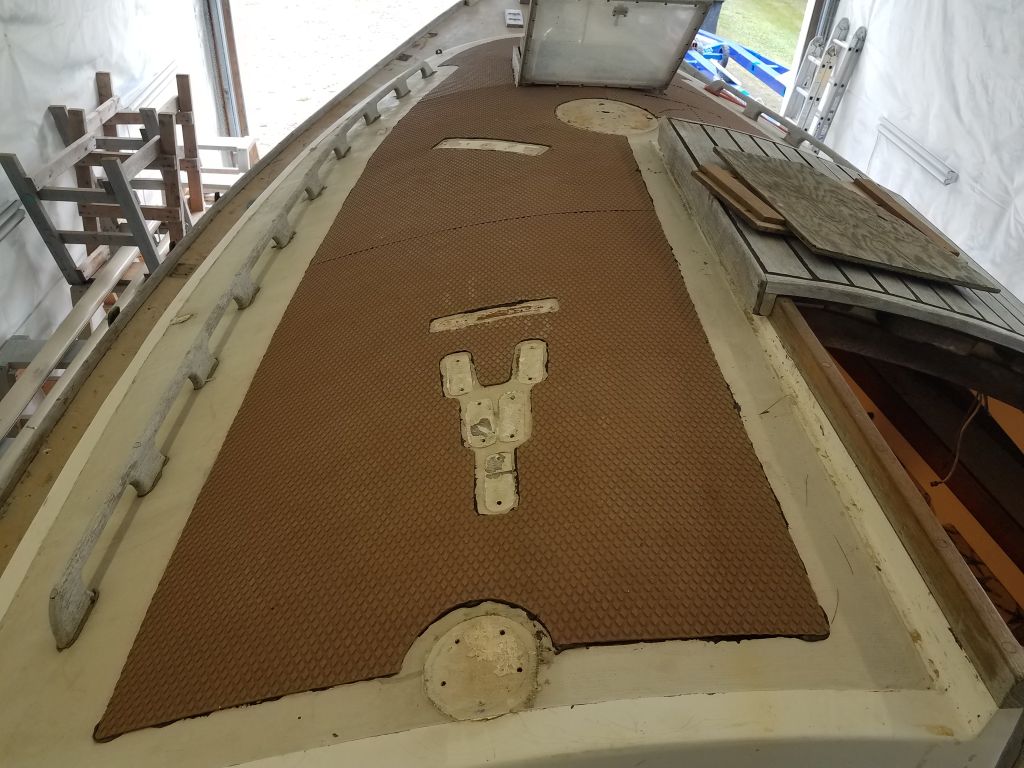
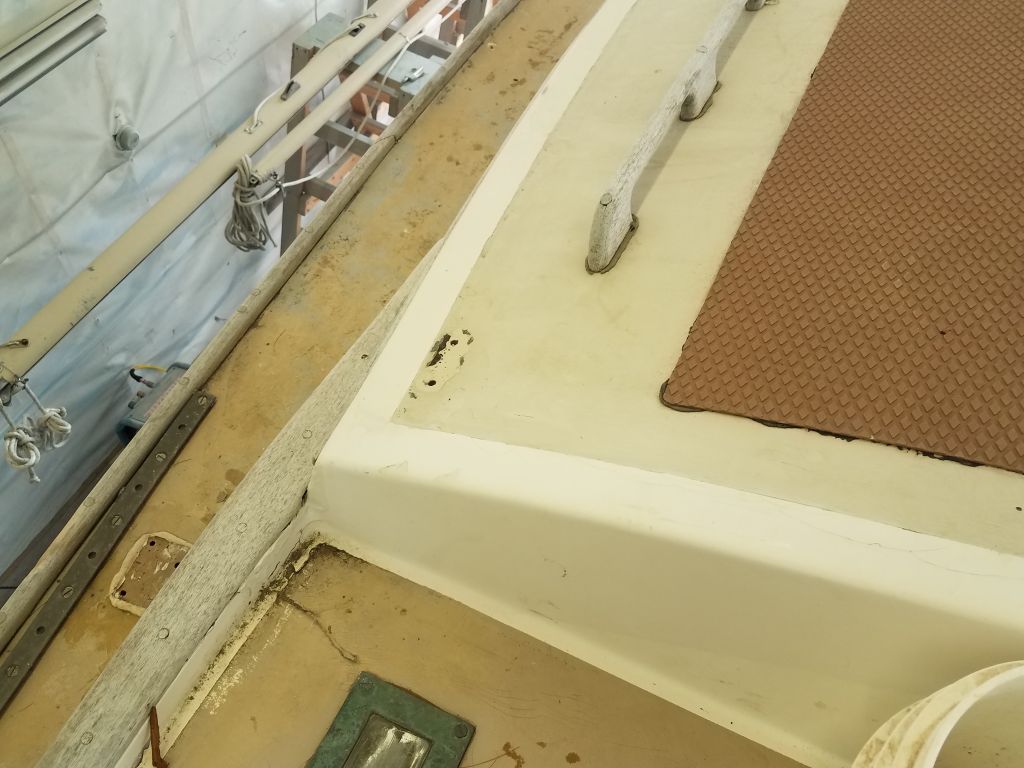
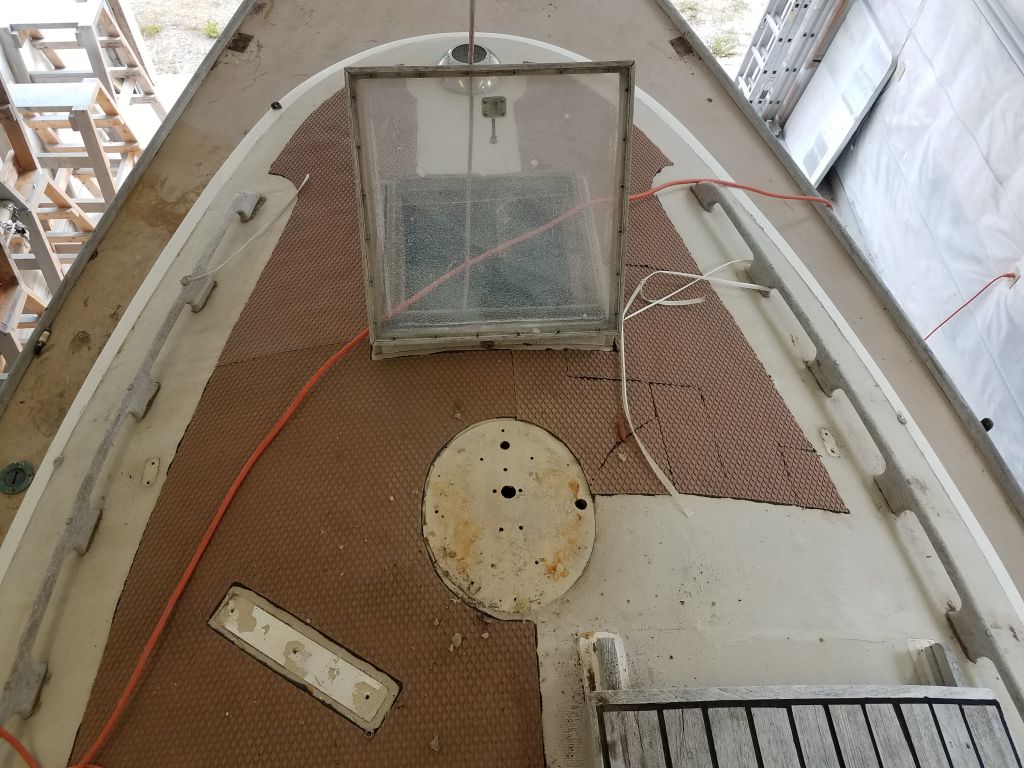
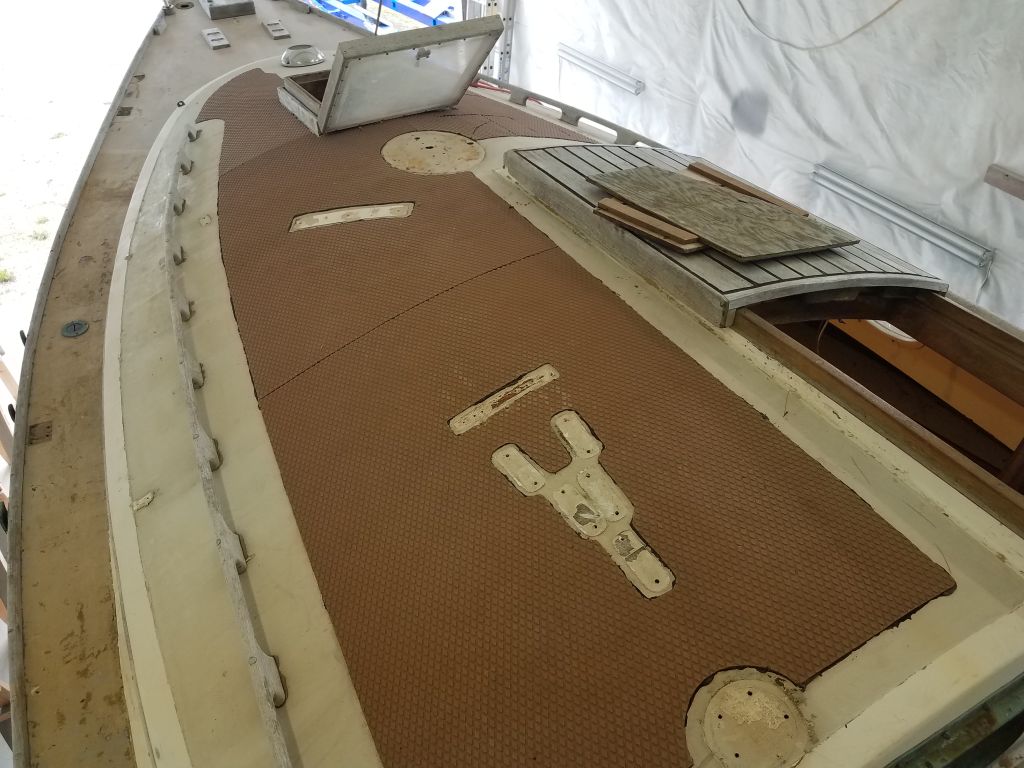
The wide, cambered coachroof was home to a series of fairleads and cleats, a complicated arrangement leading 6 or 7 lines from the mast aft to a single winch near the cockpit. Since my goal during these few days of work on this project was to strip the boat of hardware, particularly hardware that would complicate covering the boat when I moved her outdoors for storage till the meat of the project in a few months, I focused next on this area. The photos below show the area when the boat was outside in June 2017.


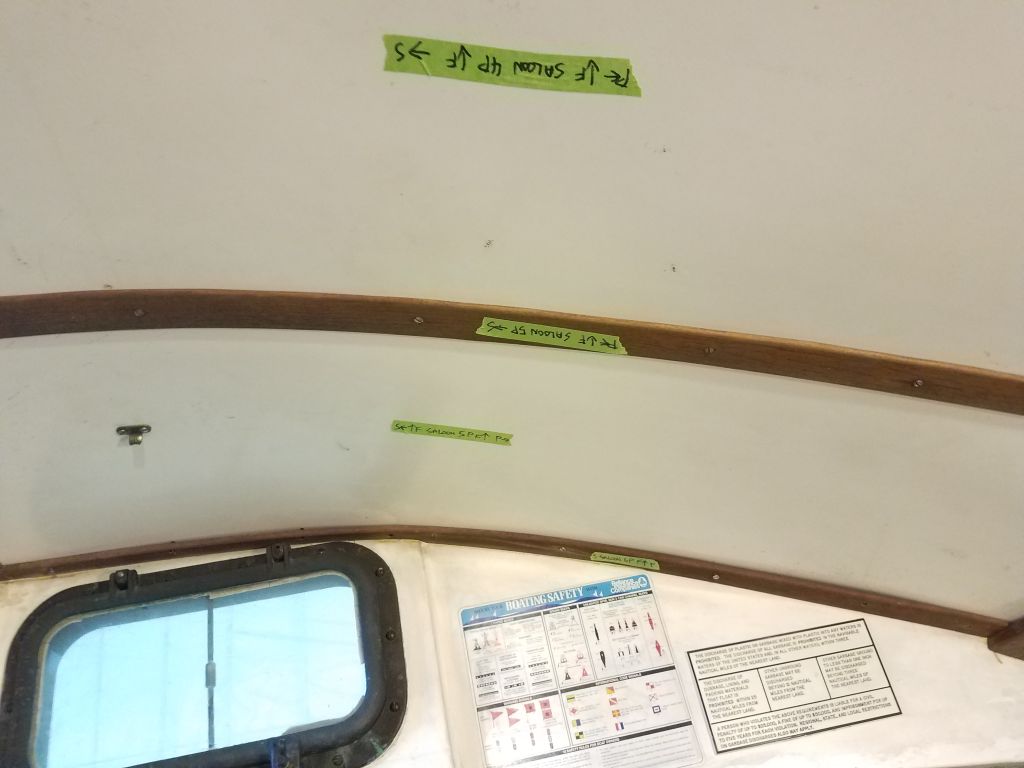
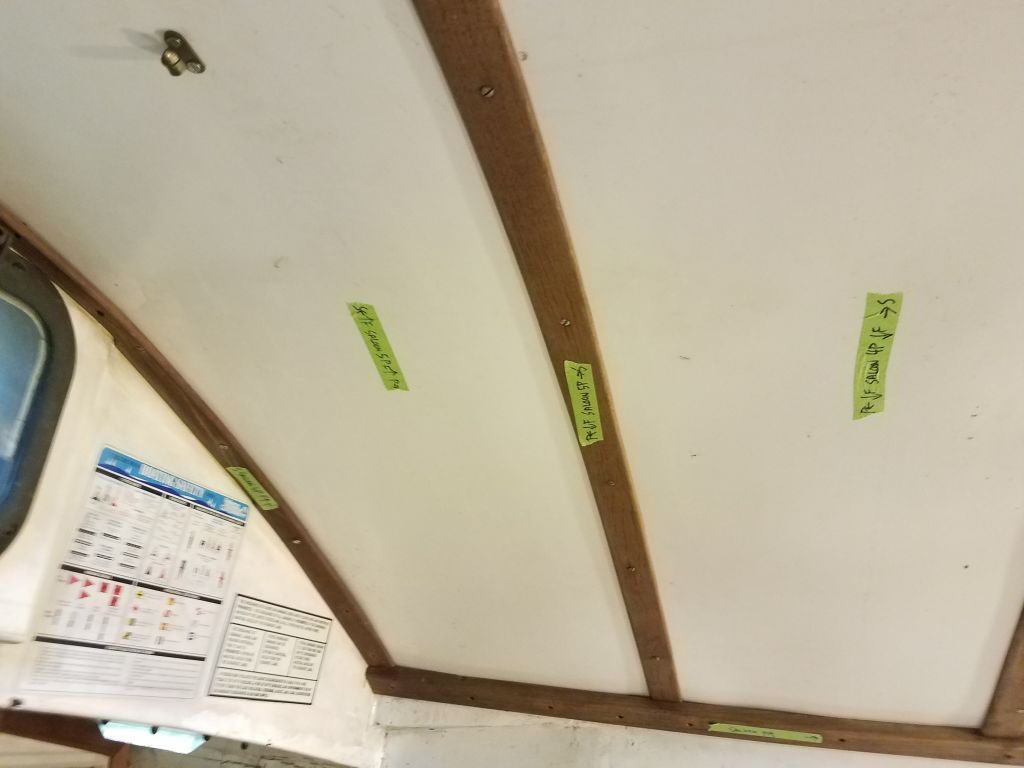
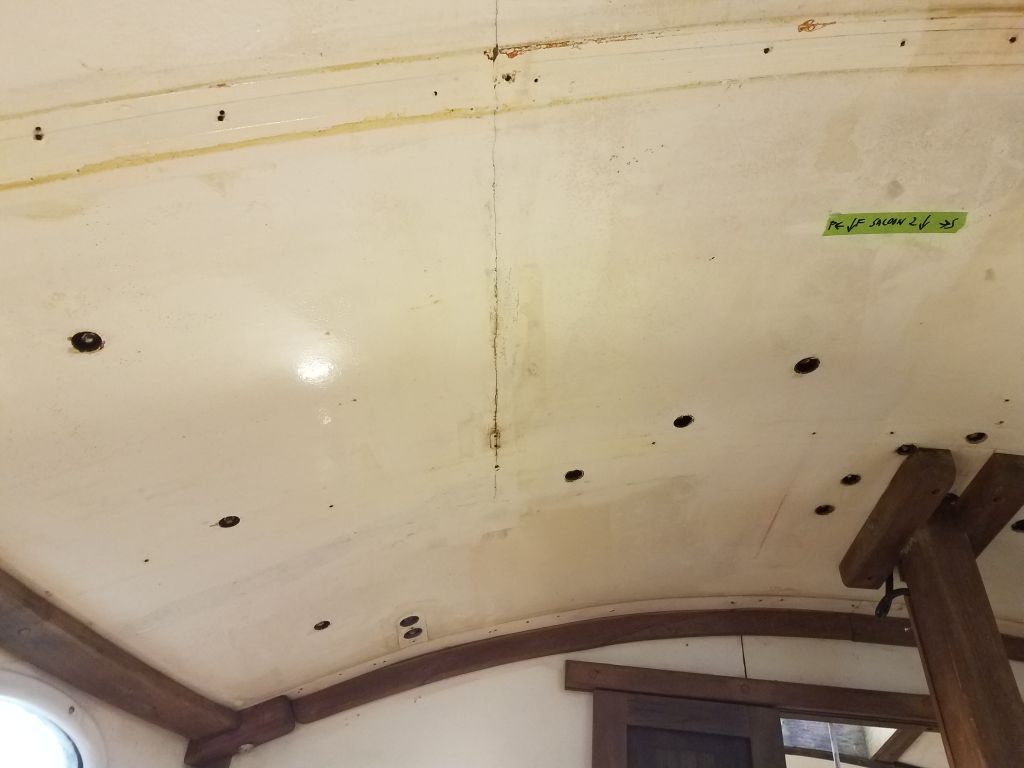
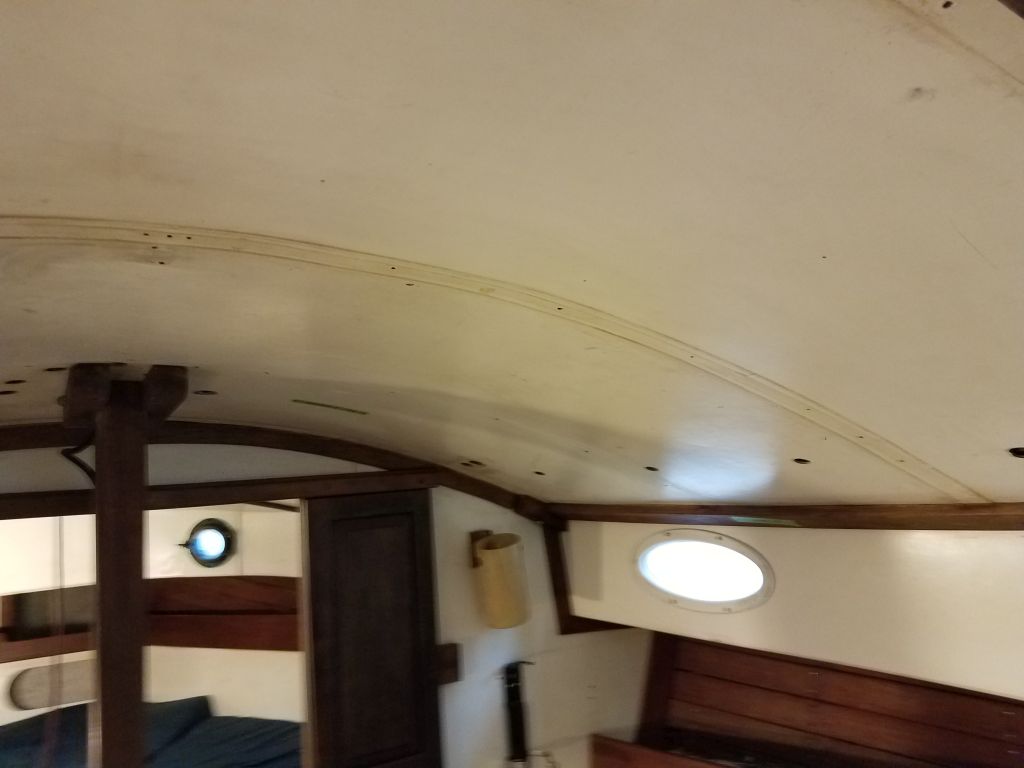
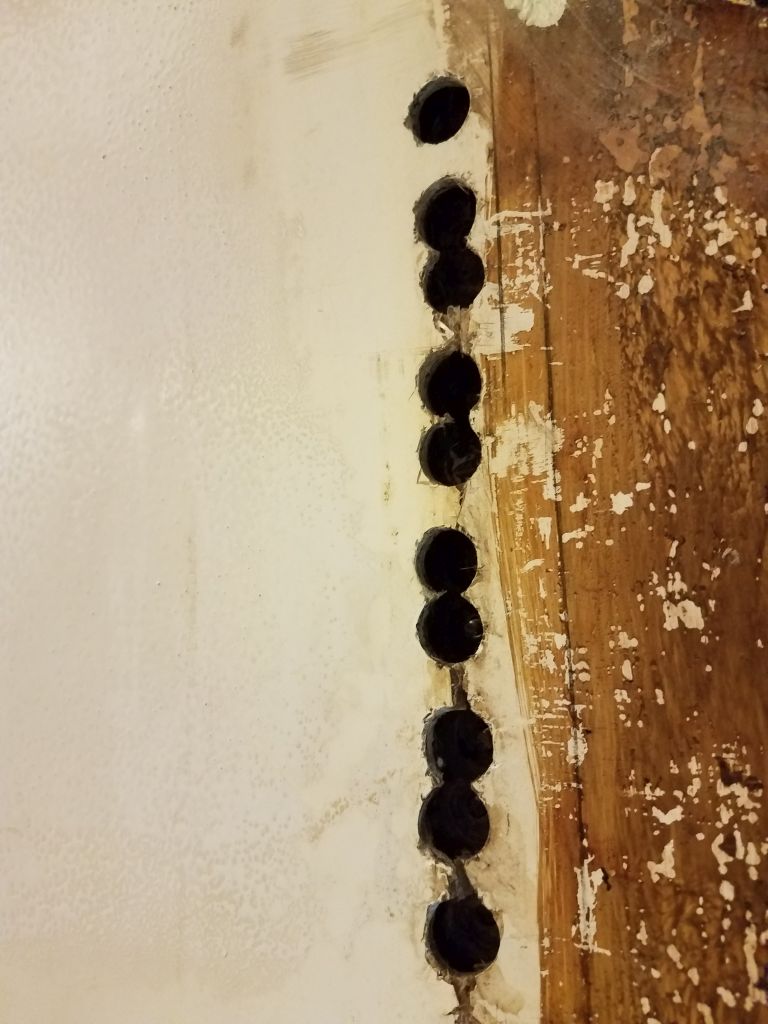
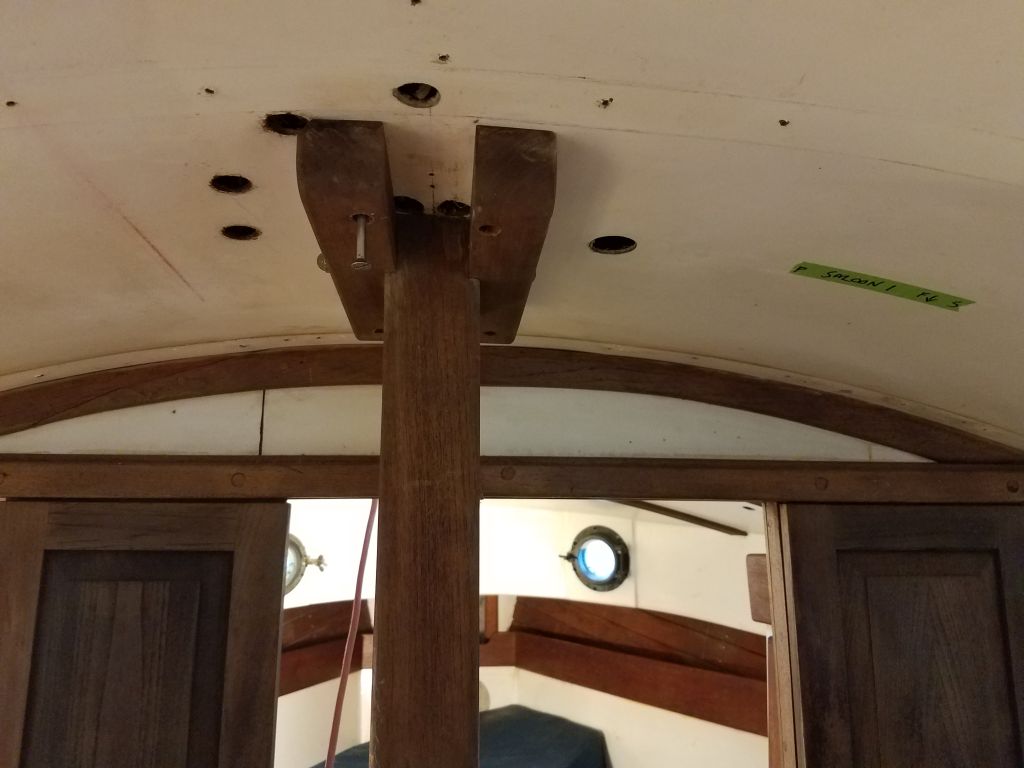
Inside the boat, the overhead appeared to be a series of panels held in place with transverse and longitudinal trim, a typical arrangement. While the overhead was peppered with the sort of small nut-and-washer access holes favored by the builder and/or previous ownership, I thought I’d remove all the trim and panels for better access, and for the type of access I’d want later during the project. Plus, the trim and overhead itself was in need of cosmetic work.
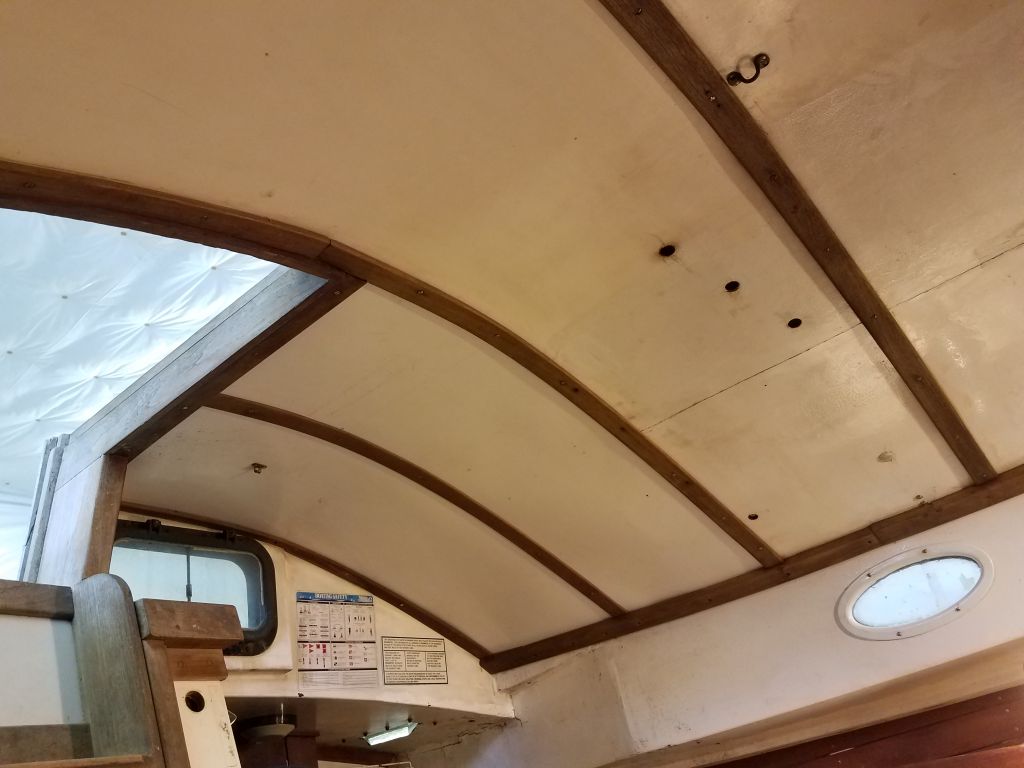


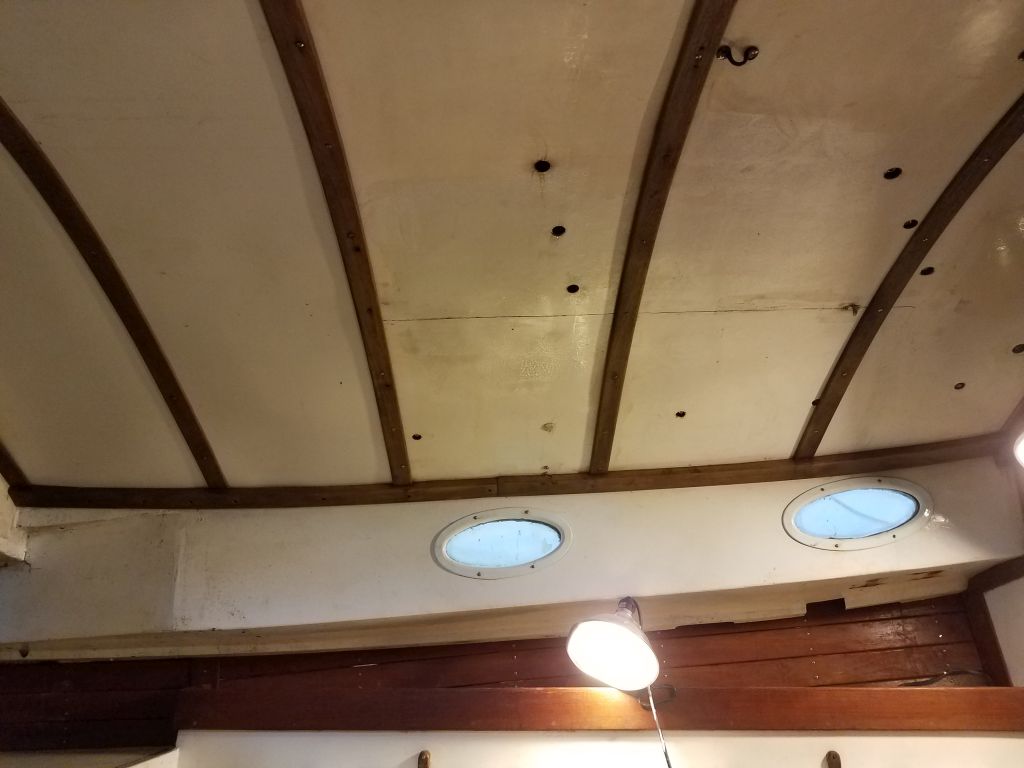
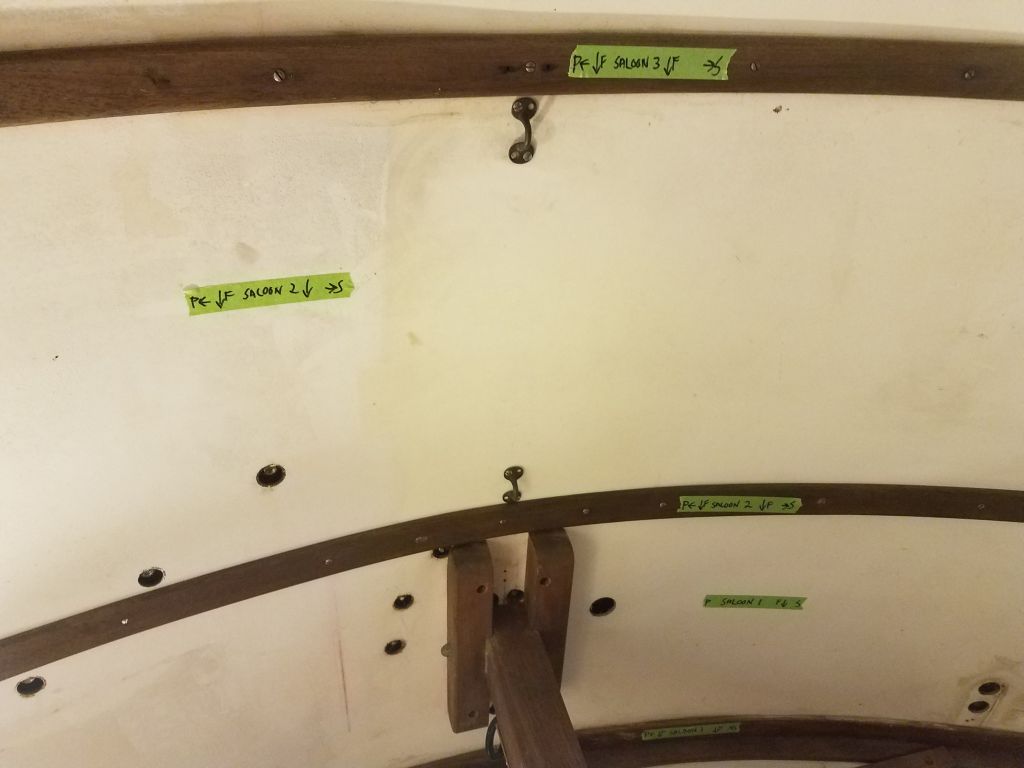
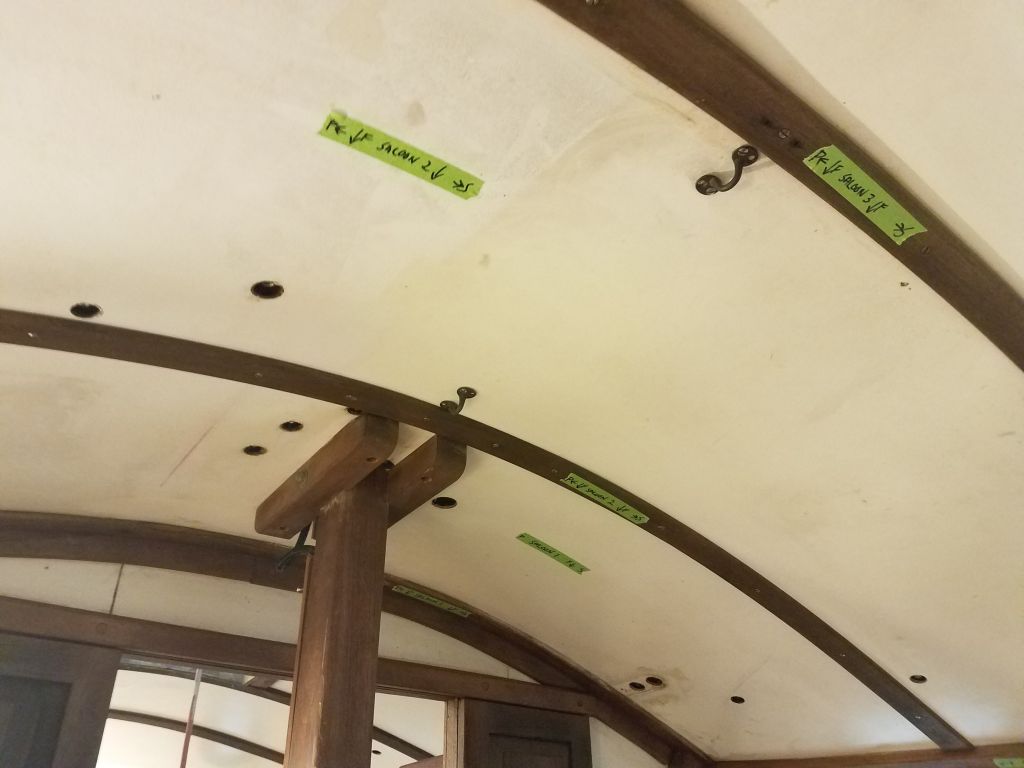
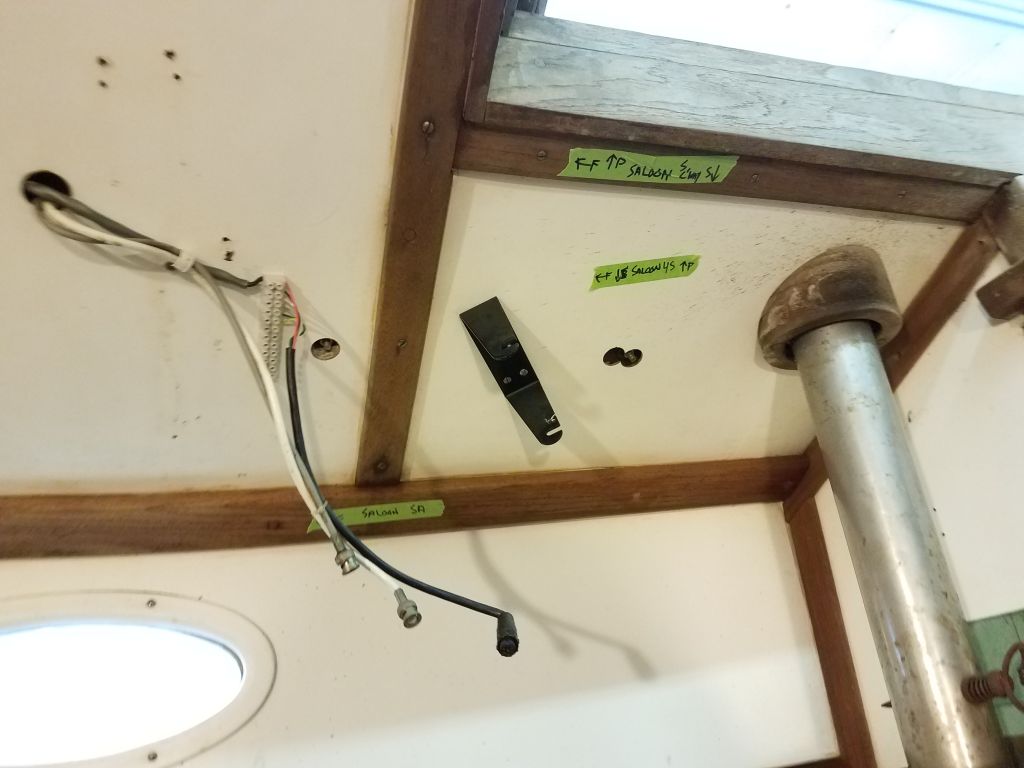
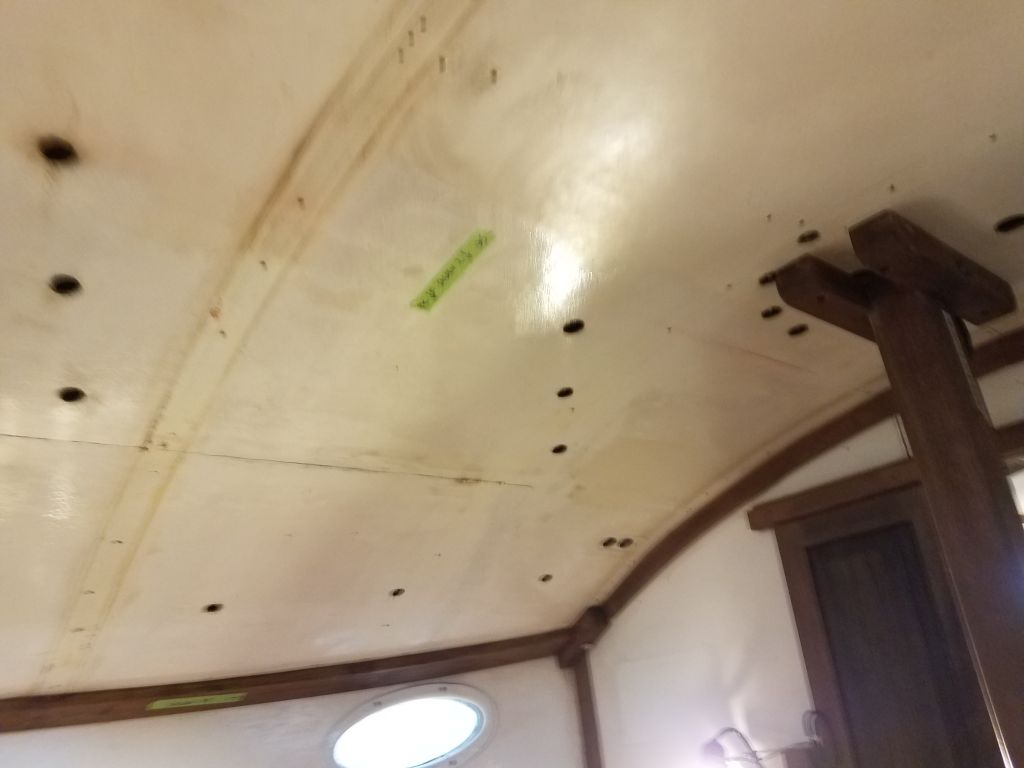
Preparing for the removal, I marked each piece of trim and overhead panel with tape so I would remember its placement, whether for reinstallation (unlikely) or fabrication of new pieces as needed.
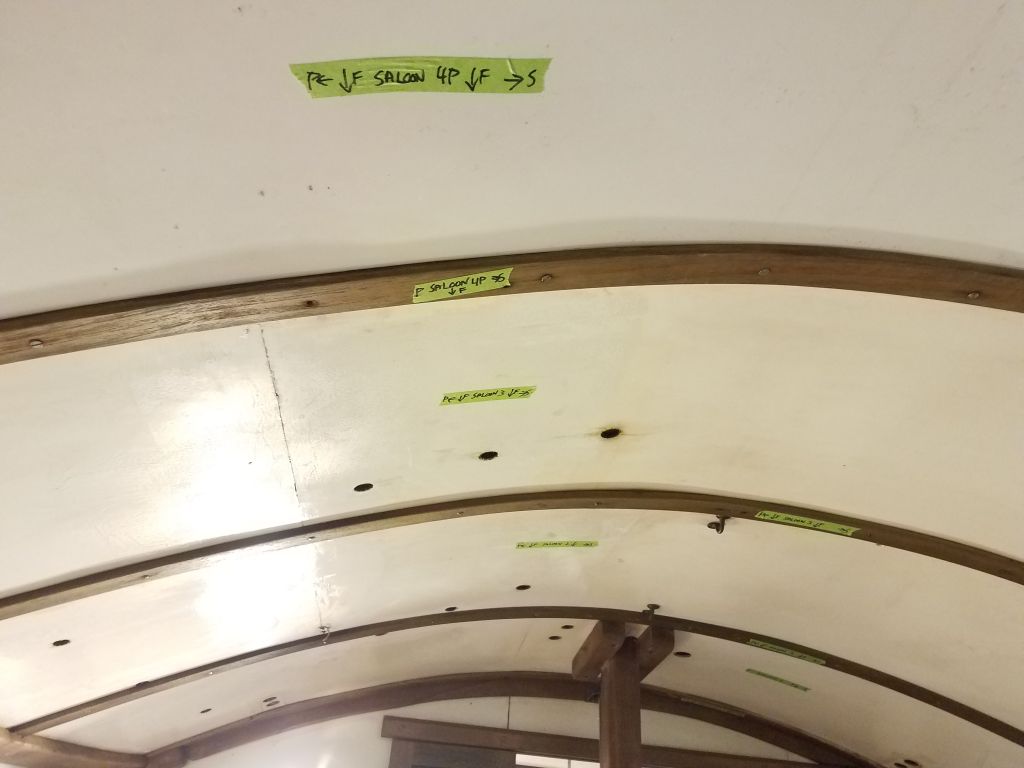
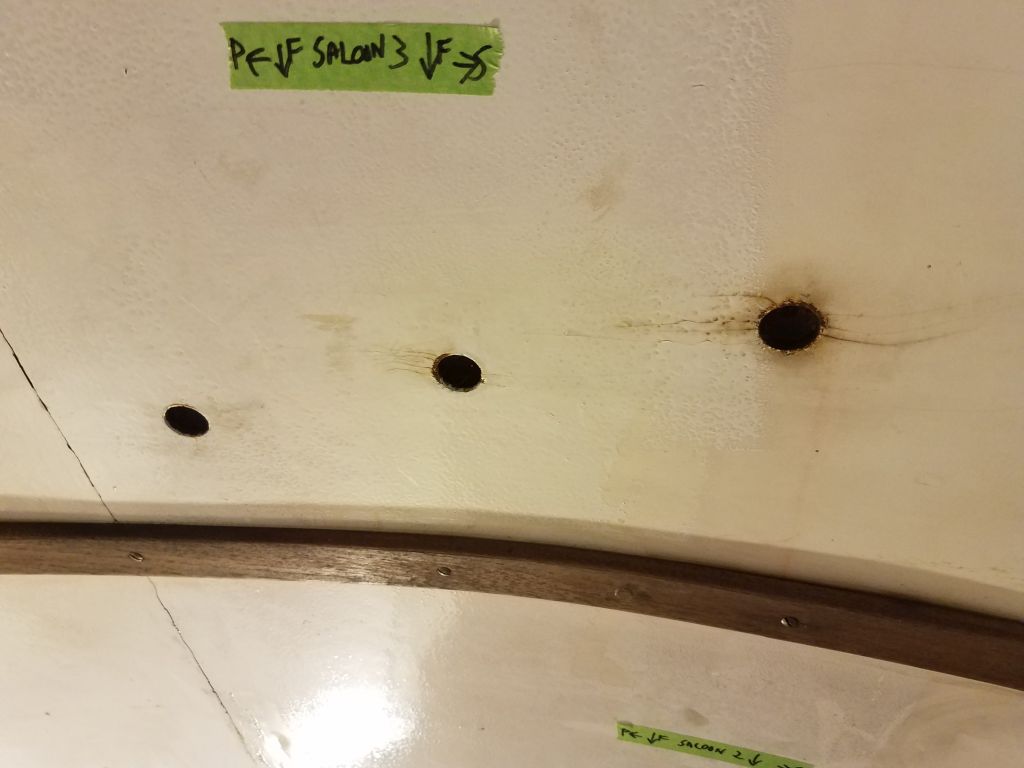
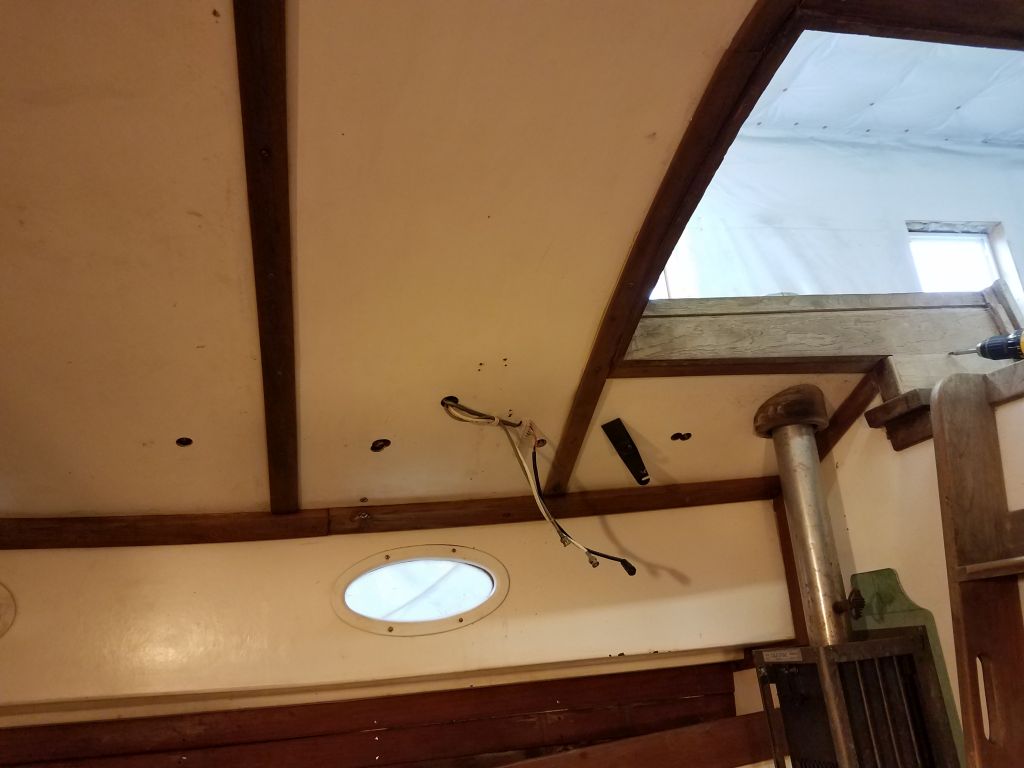
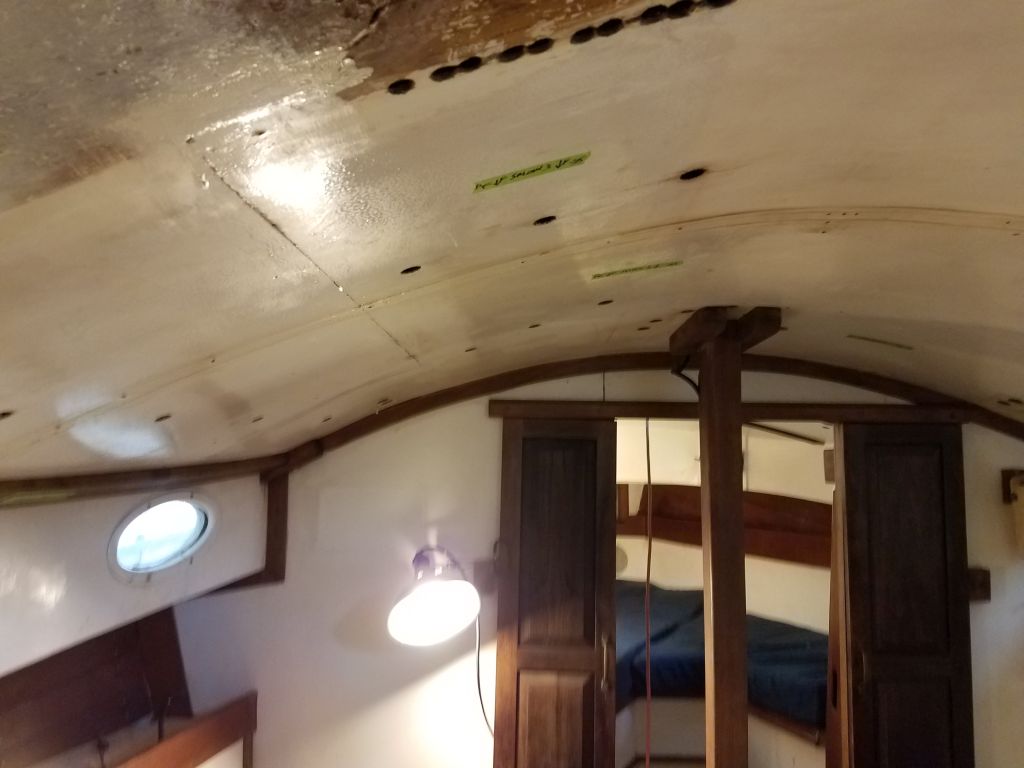
Next, I began to remove the trim, starting in the port aft corner over the galley, where the bulk of the hardware was located. Here, I discovered that indeed there was an overhead panel–just a flimsy sheet of high-pressure laminate–that covered what appeared to be a solid overhead liner beneath, though in this area the original liner had been hacked to pieces to allow access for the Christmas tree of jam cleats at the “winching station” on deck. Calling this area ugly would be a dreadful understatement, but there you are.
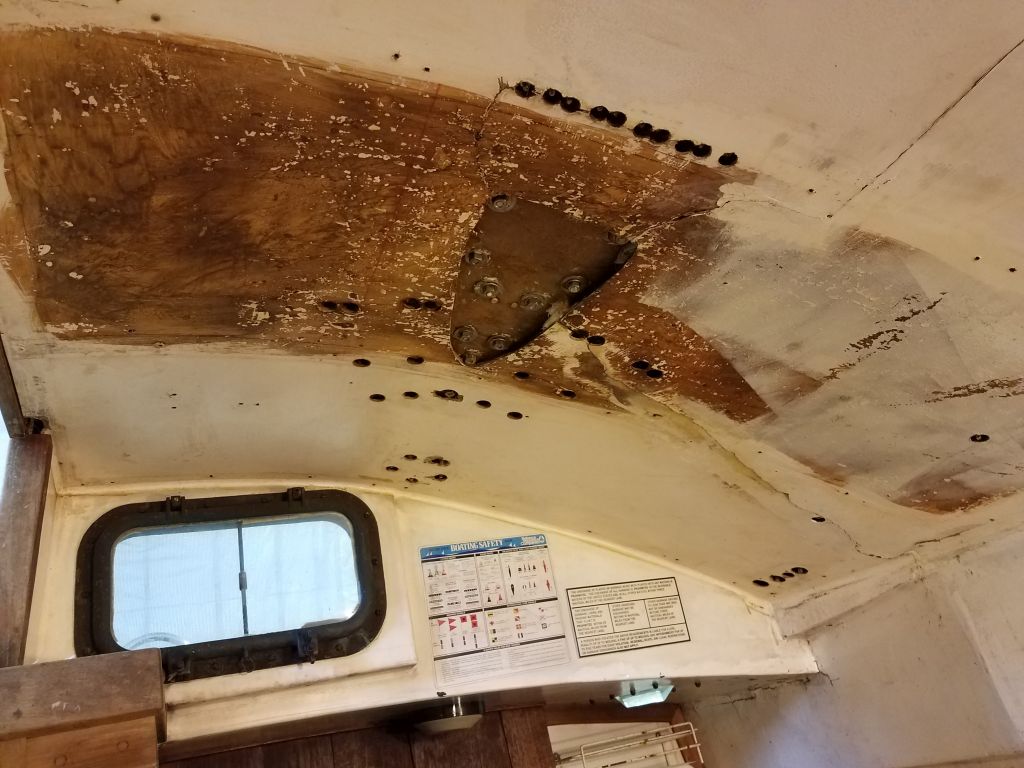
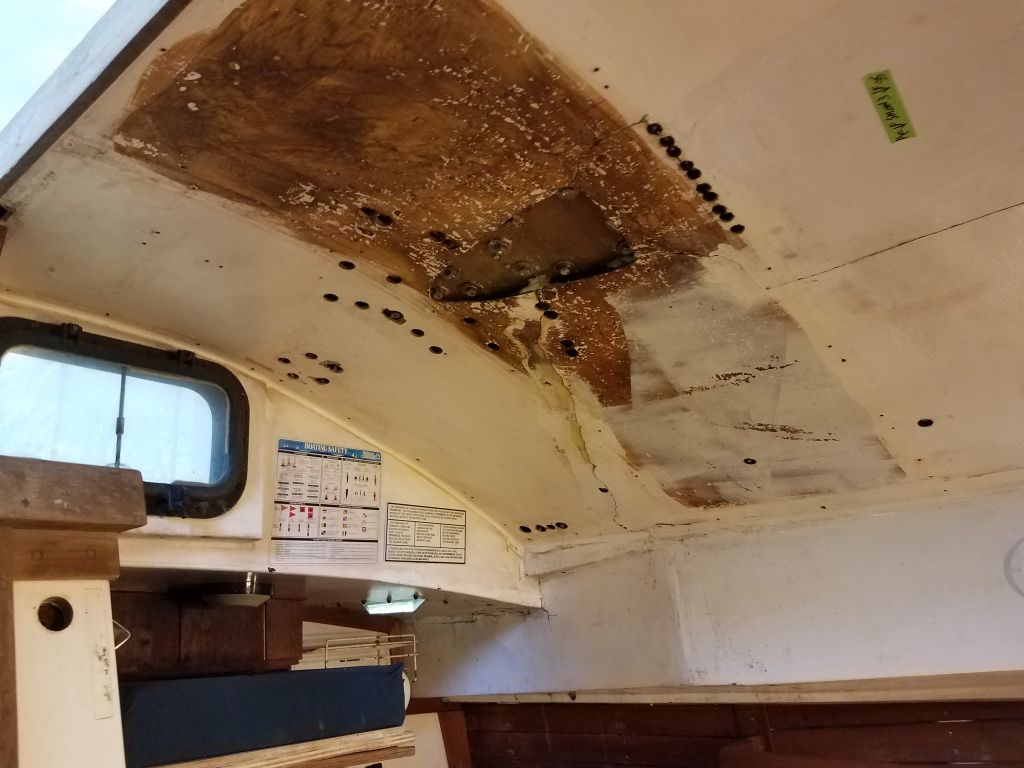
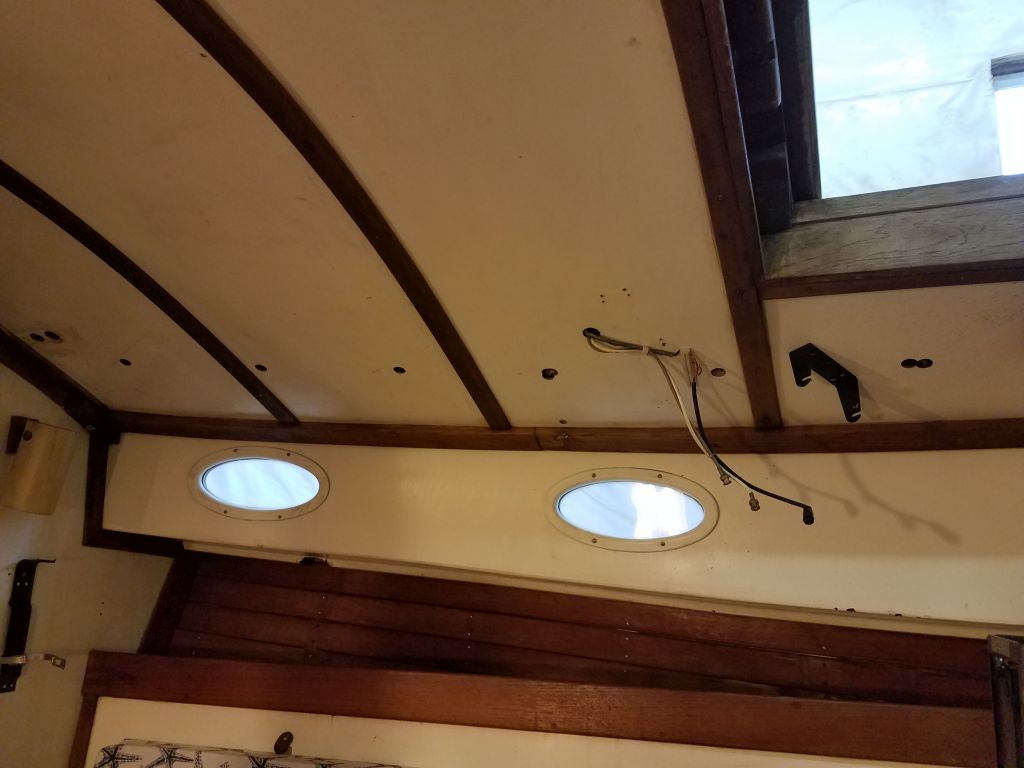
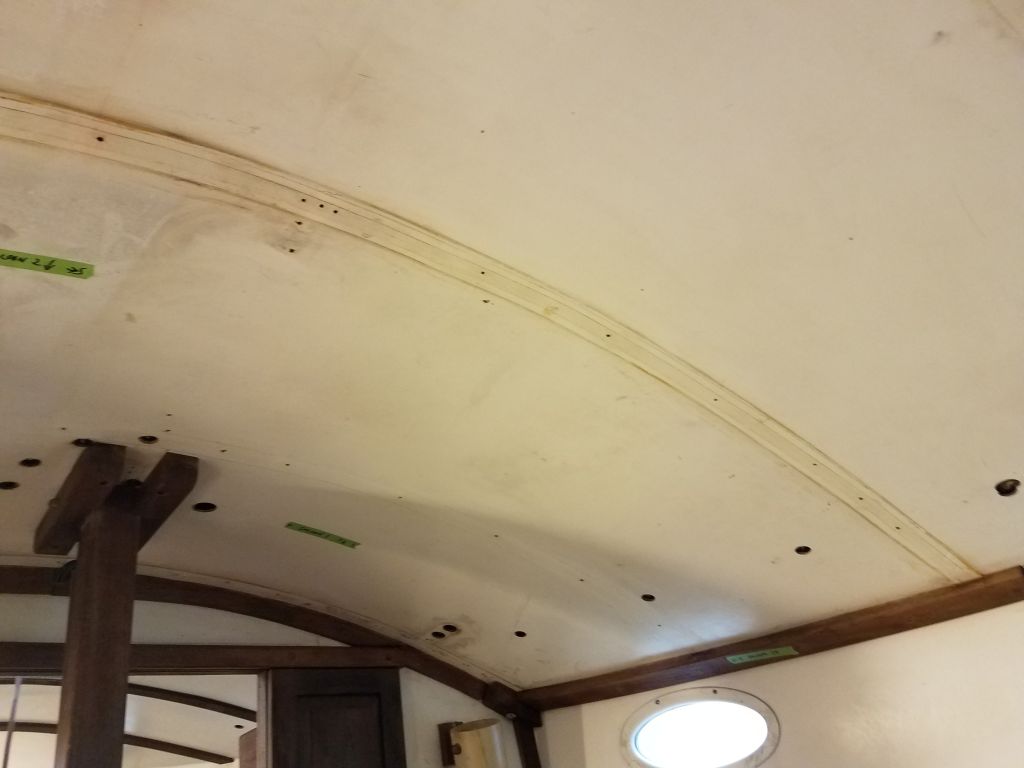
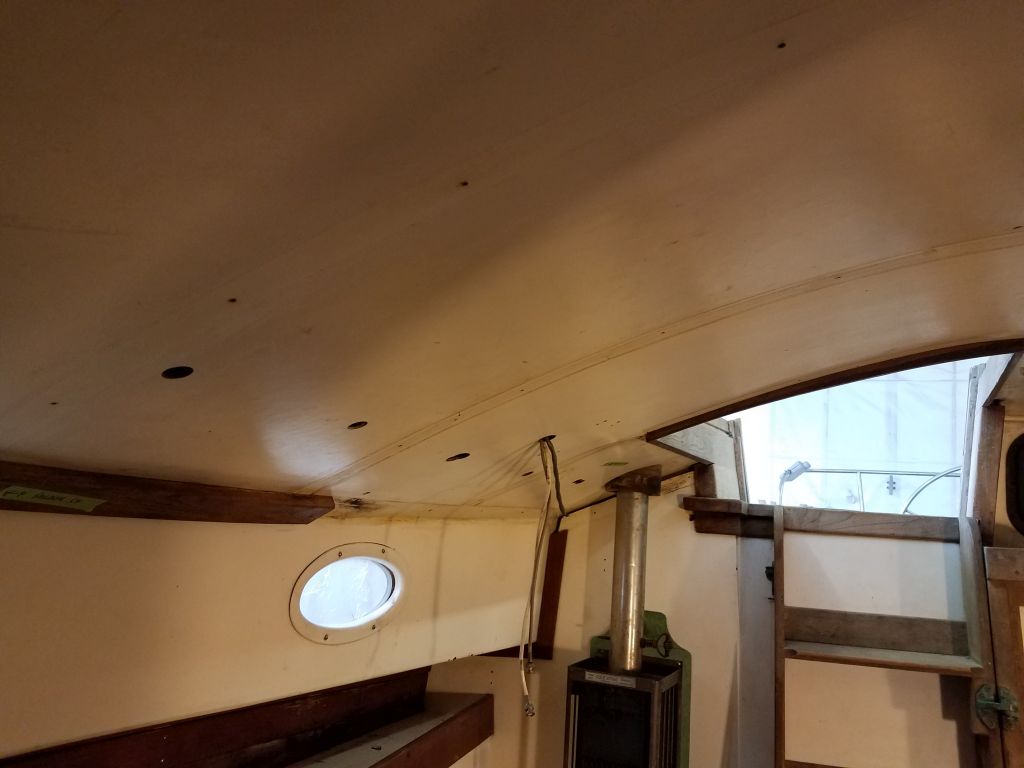
But I also determined that this was the only area that had this sort of panel: the rest of the overhead was simply a full molded liner, broken up with the affectation of wooden trim pieces to simulate a more traditional installation. This meant that all the fasteners would need, again, to be accessed just though the little holes. Nevertheless, I continued removing the transverse trim pieces, since they’d have to go sooner or later anyway, but for the moment I left some of the other trims–which were fastened and bunged, making removal more time consuming–in place for now, till some later time when I focused more on the continued disassembly.

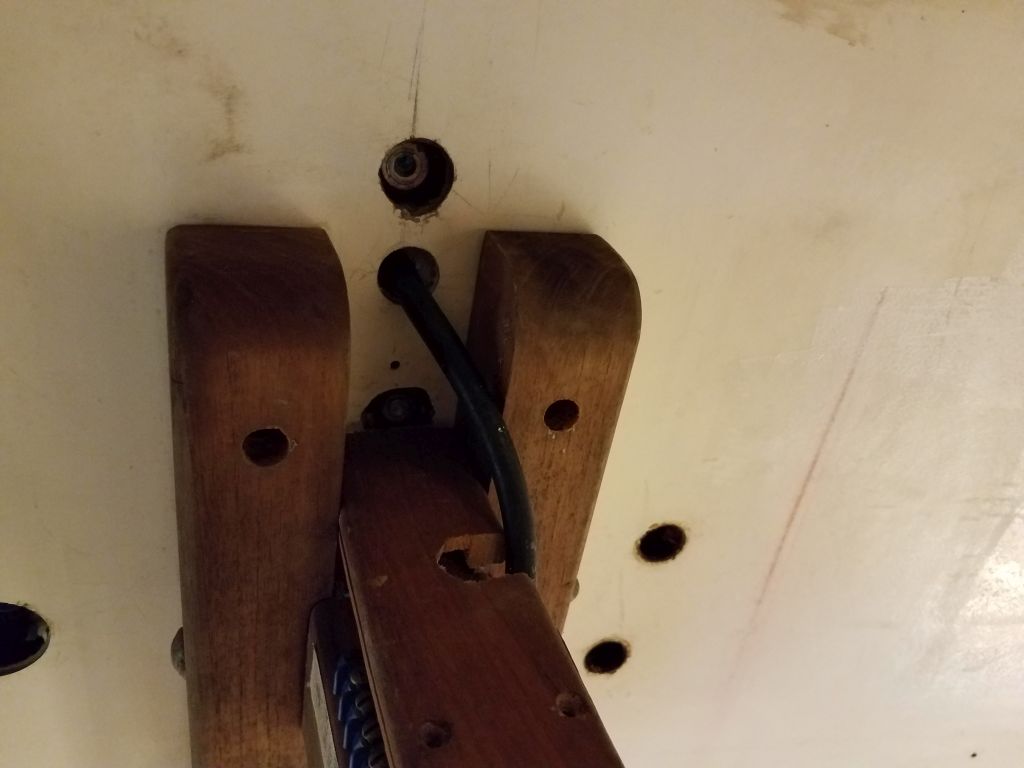
Now I went ahead and removed all the nuts from below. Fortunately, in most cases I found the nuts to be nearly hand-loose, and the fasteners didn’t spin for most of the removals. This made my life easier since clamping the fasteners from below with locking pliers–the second pair of hands a lone practicioner requires for many fastener removals–would have been impossible through the silly little socket holes. In a few cases, though, where the nuts caused the fasteners to spin (specifically on a matched pair of dated jam cleats located at the cabin corners near the cockpit), I had to get inventive with taping sockets and ratchet handles in place to allow me to go on deck and ever so delicately turn the screws from above.
With the nuts removed, I could then remove the winch, cleats, and fairleads from above.
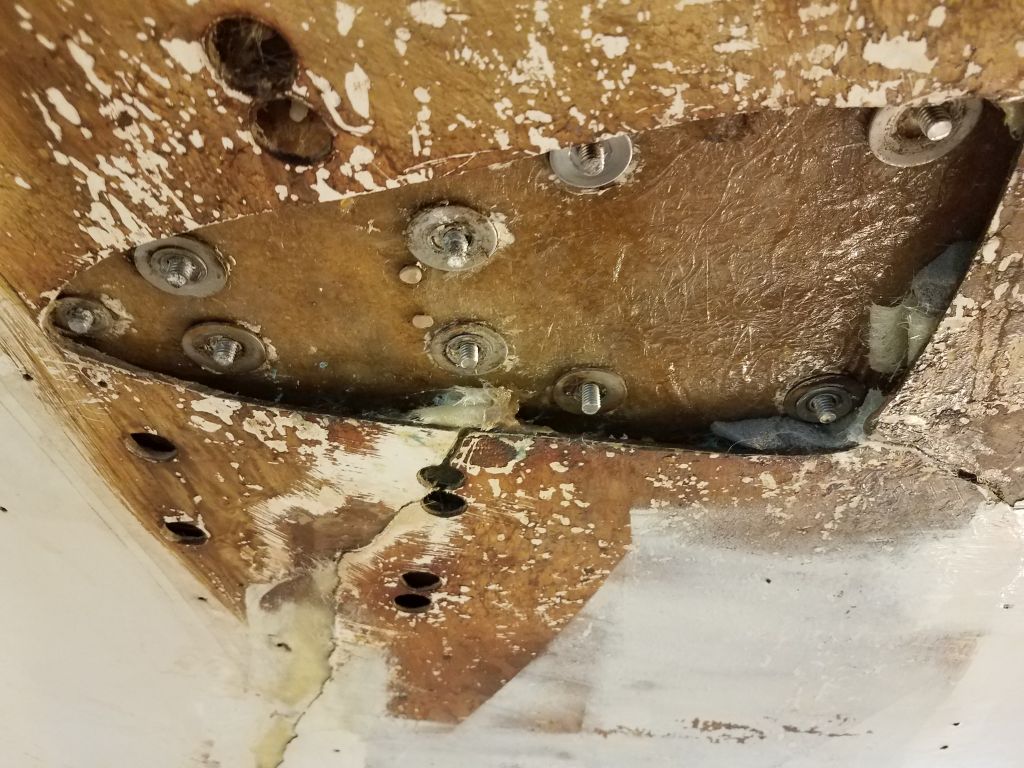
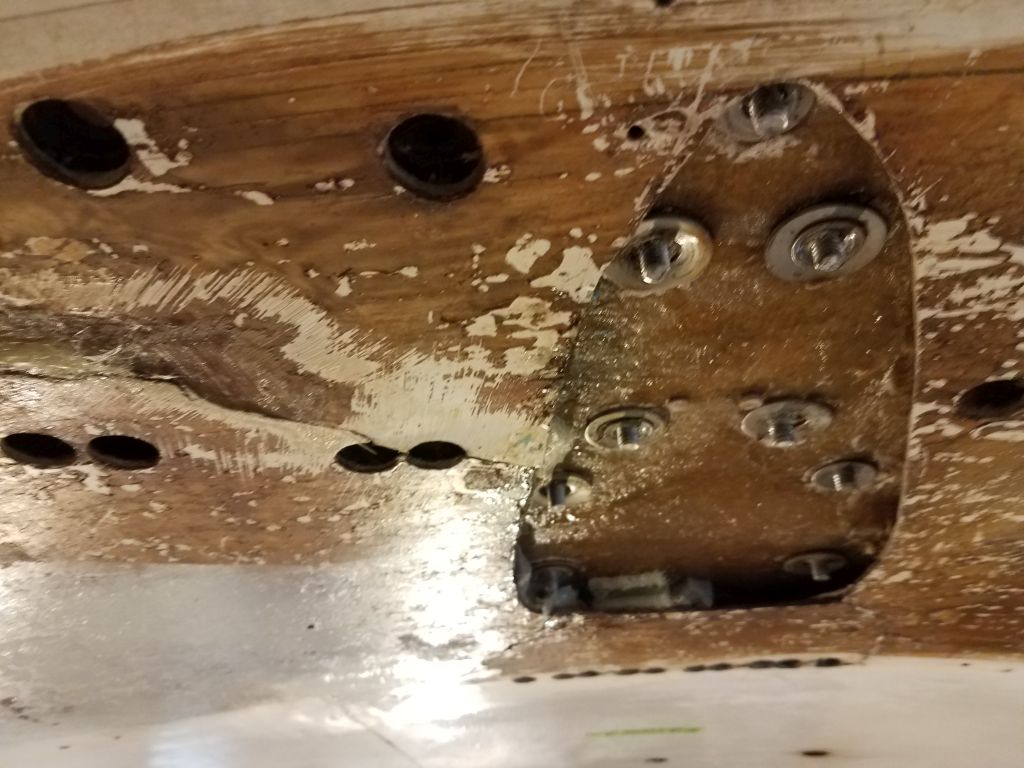

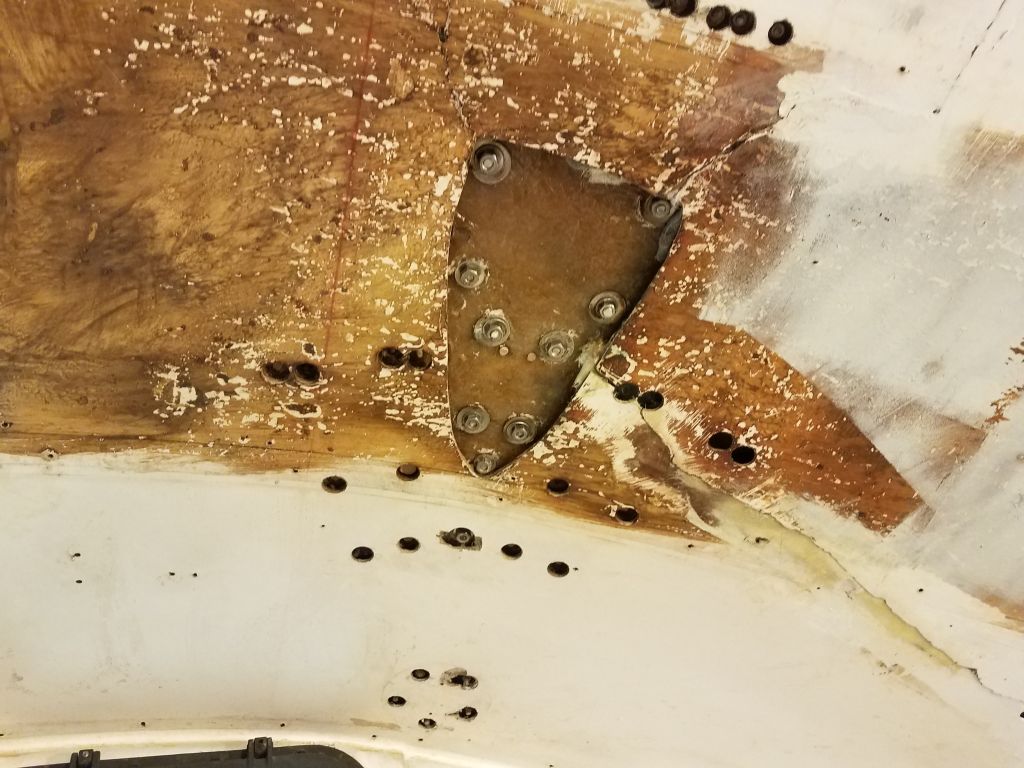
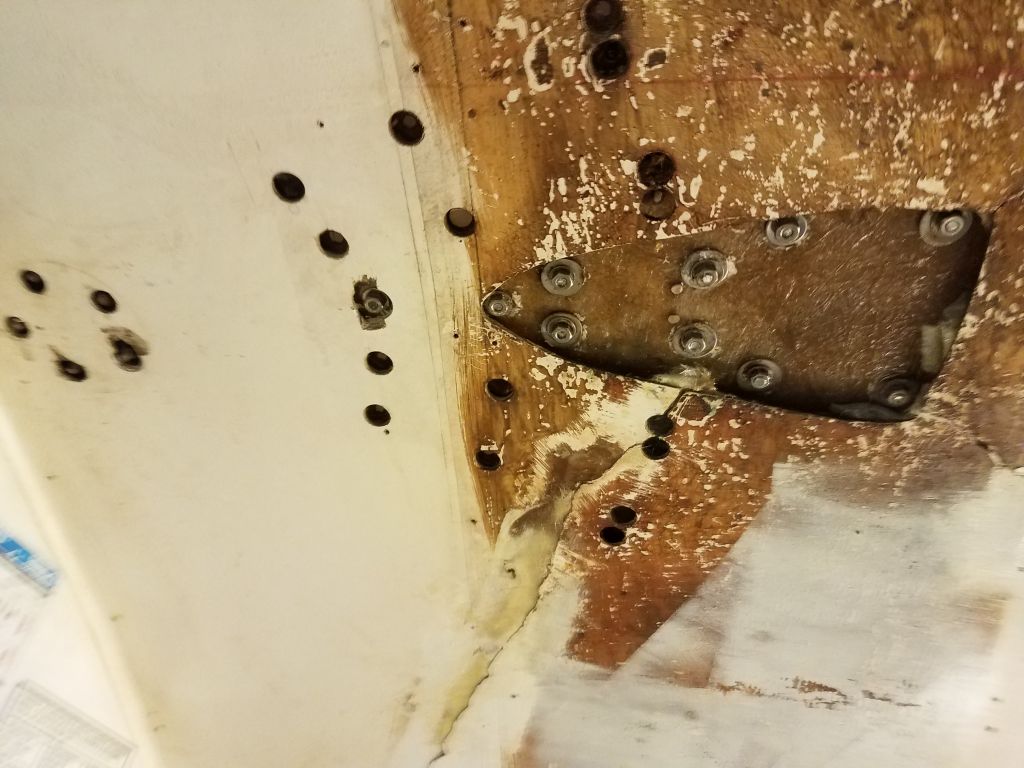
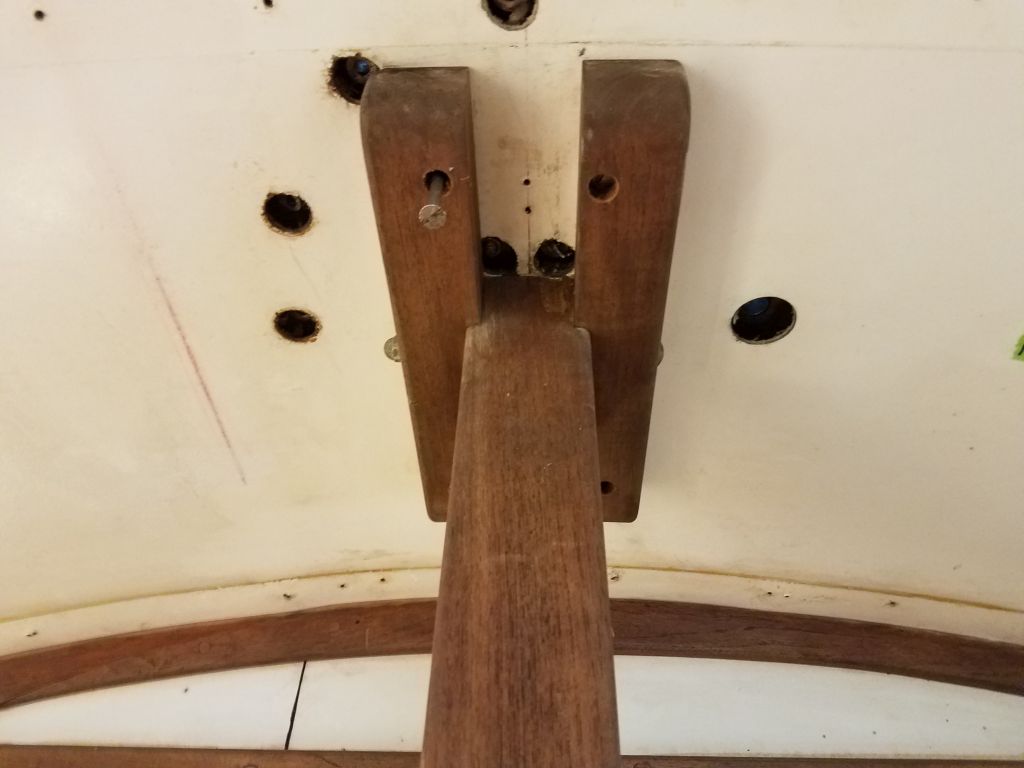
The mast step required a little more work and investigation, as the arrangement was held together by various bolts, some of which were hidden, others of which seemed to have been added sometime after the original boat’s construction. Attempting to spin the nuts free from below, I found that the fasteners tended to spin, so from on deck I clamped on as many locking pliers as I could to hold the various fasteners while I removed the nuts in bulk from beneath. Once I had a few out of the way–the four originals holding the mast step itself through the longitudinal cleats securing the compression post in the cabin–I could move the post slightly one way or the other to gain access to additional fasteners beneath.
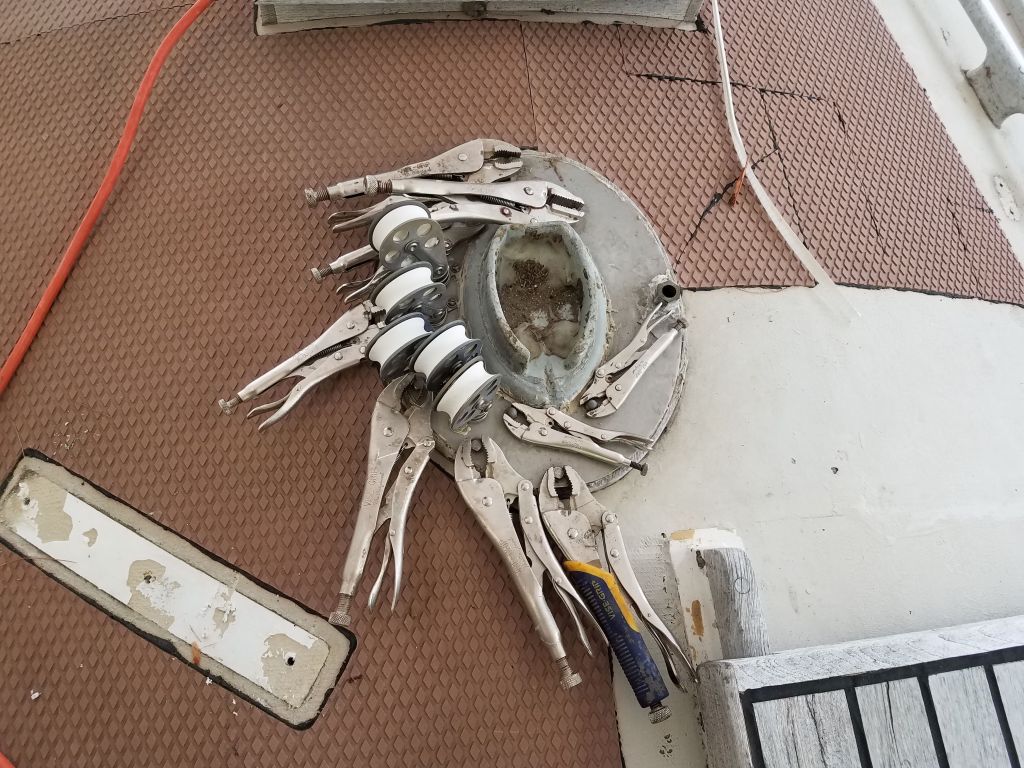
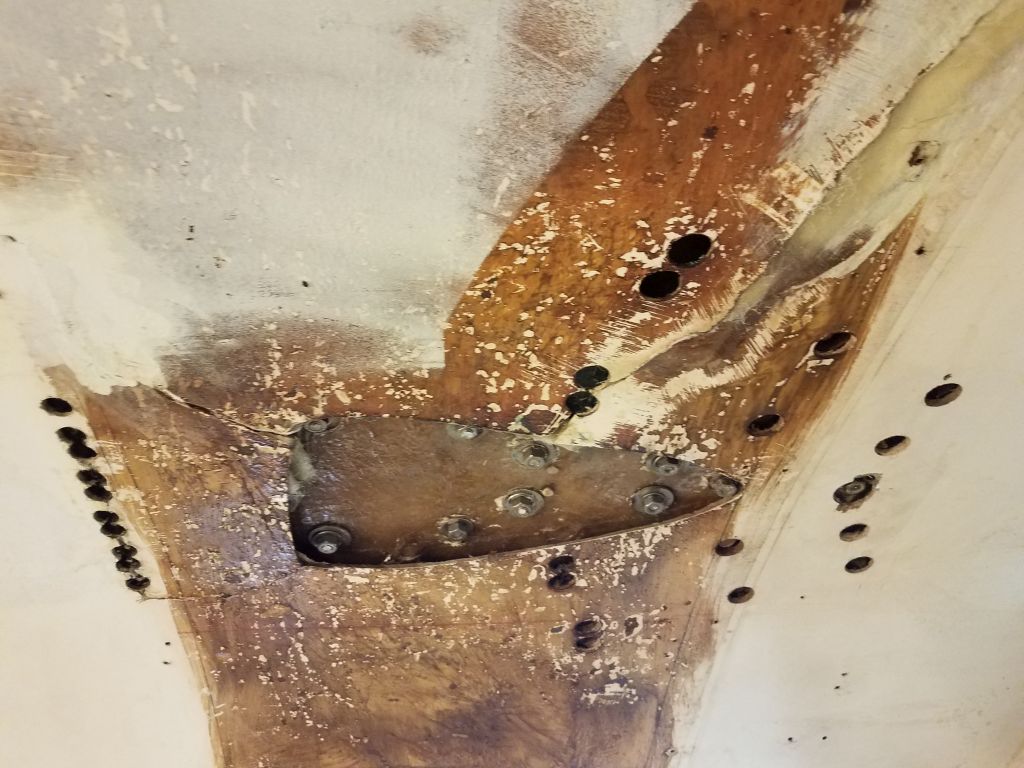
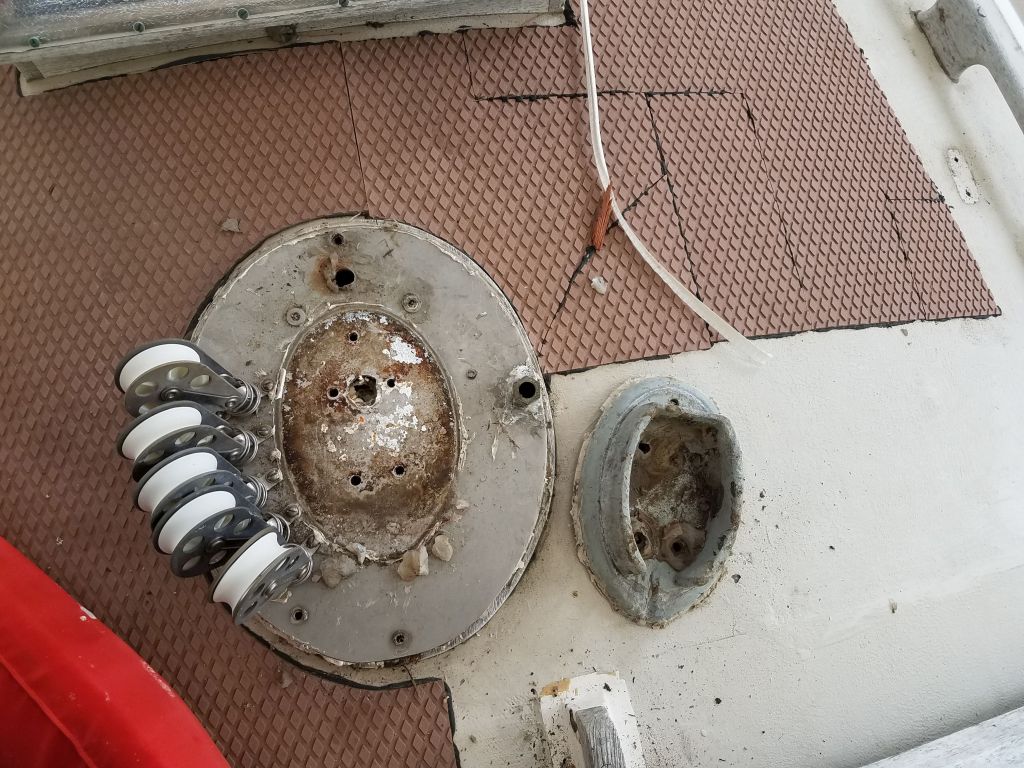
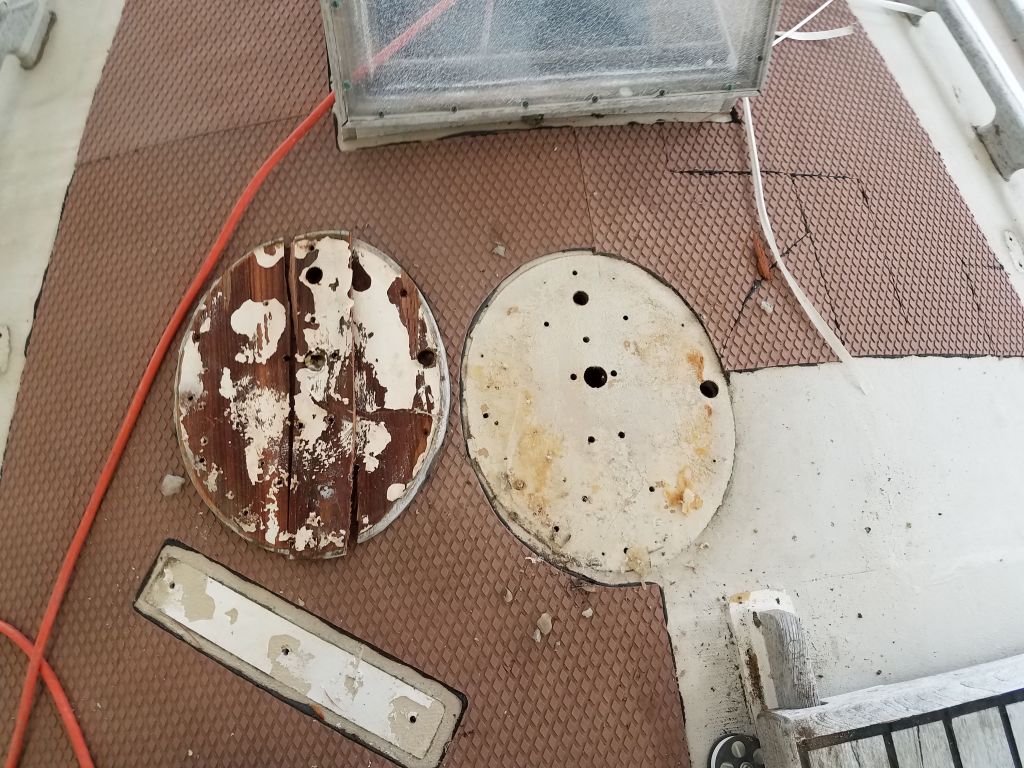
At length, I eventually removed–piece by piece–the mast step assembly, beginning with the original mast step, which was secured atop an aluminum plate (almost certainly later than original), to which was fastened a series of turning blocks for the multitude of aft-leading control lines and halyards. Eventually I removed the plate by itself after discovering that the wooden fairing block beneath was individually secured to the deck with screws, Finally, I pried off the damp and weak wooden base, which wilted uncomplainingly into three pieces upon removal.

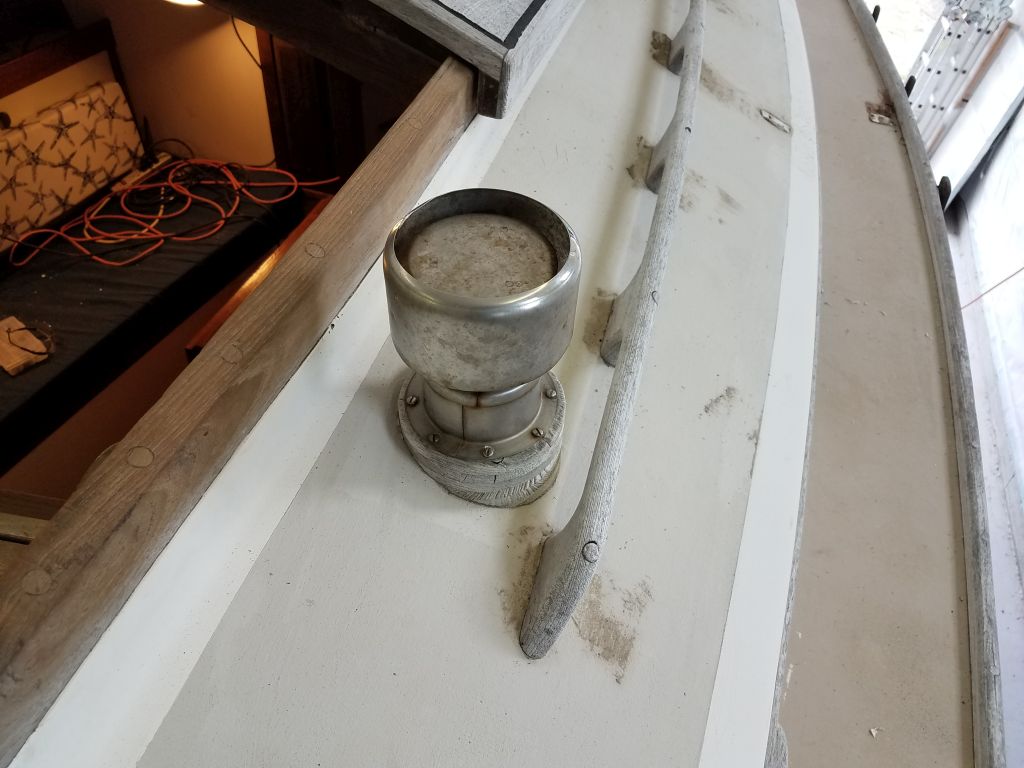
By now it was late in the day, but, hoping to wrap up the coach roof work, I started work on removing the Charley Noble fitting at the starboard aft corner of the cabin, but when removing the screws that secured it to the wooden base failed to release the fitting, I decided discretion was the better part of valor and left this removal for another time.
Total time billed on this job today: 4.5 hours
0600 Weather Observation: 50s, cloudy, a shower. Forecast for the day: showers, clouds, 70s