

March 6, 2018
Jasmine 65
Tuesday
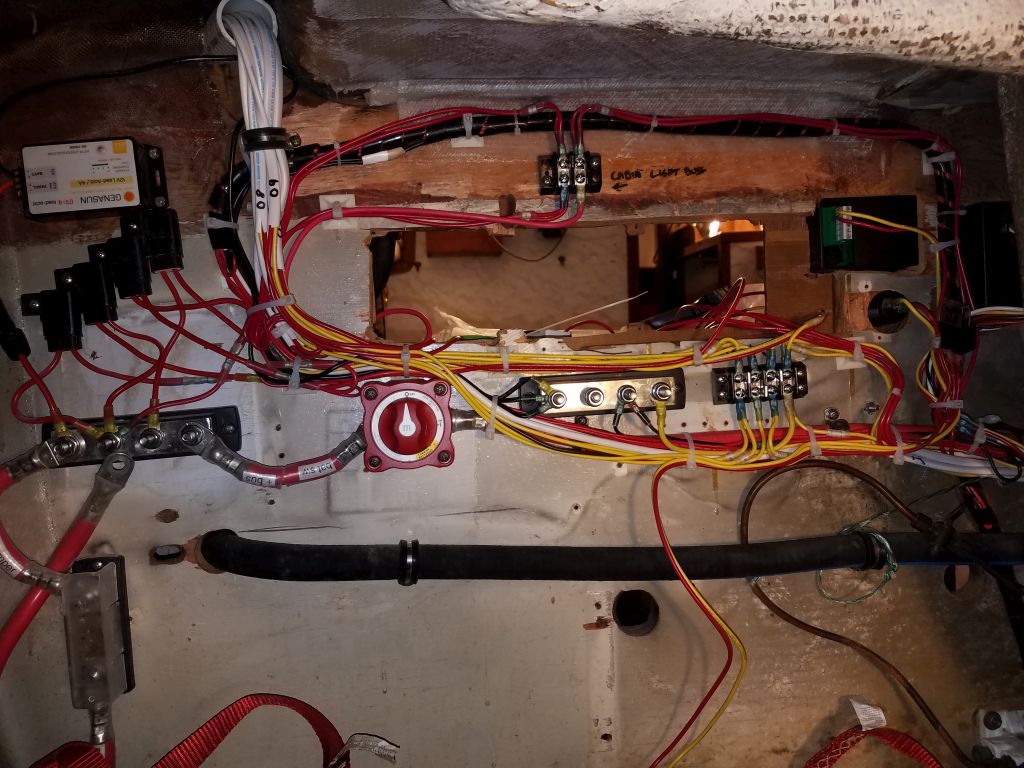
Working through the morning, I finished up the wiring in the port cockpit locker, routing and terminating the remaining 8 or 9 wires to the negative distribution buss and leading the positive ends out through the panel hole for later attention and connection to the panel itself.
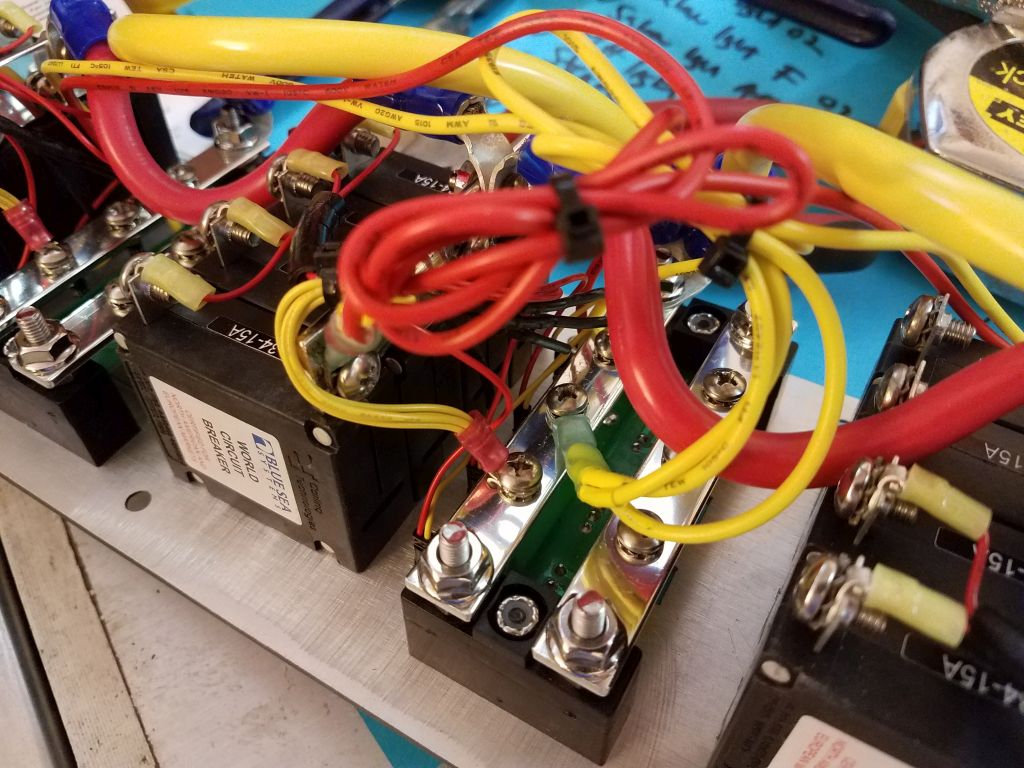
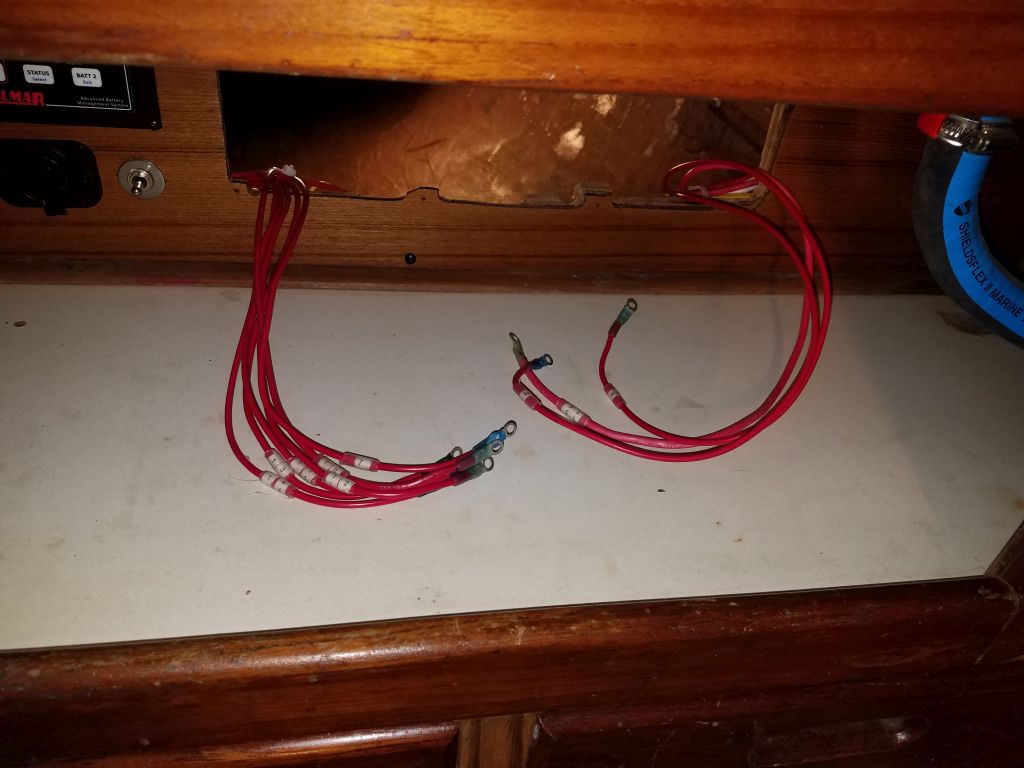
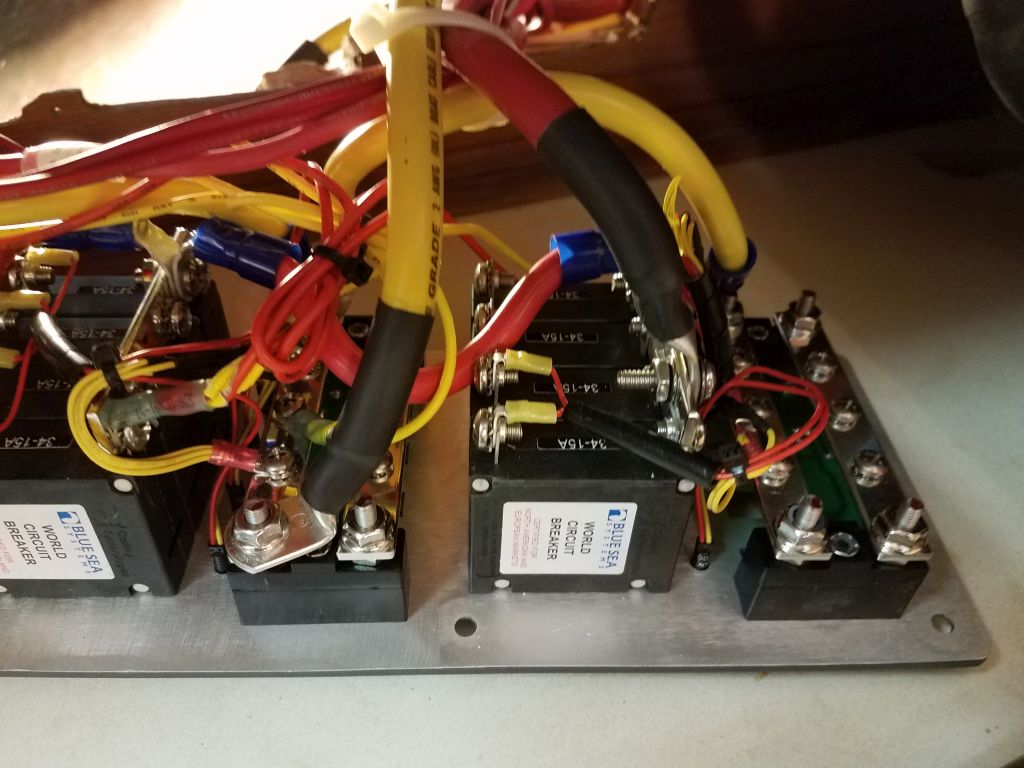
I moved my operation into the cabin, and prepared for the final connections at the new service panel. My first step with the panel was to connect the little wires included with the panel–but left disconnected–that powered the panel’s backlight system. These are the little bundles of yellow and red wires shown below.
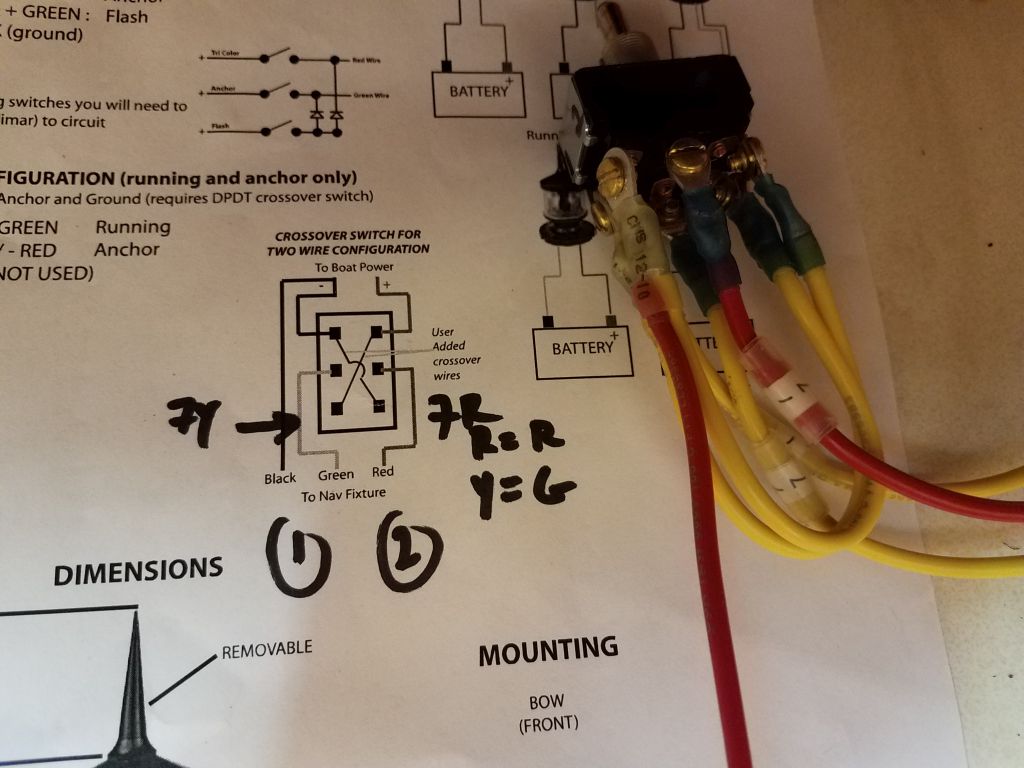
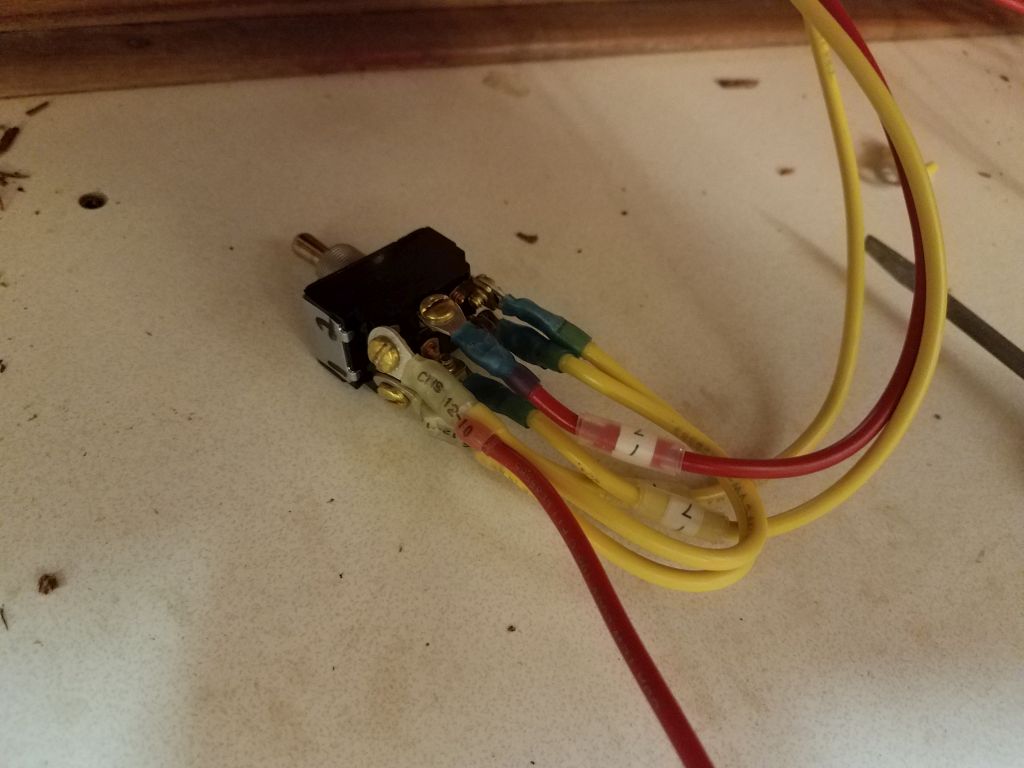
The first wiring task for the panel was to prepare a double pole, double throw (DPDT) toggle switch to control the combination masthead light unit the owner had provided. This light, requiring just two wires to the masthead for the owner’s desired functions, would light as an all-around white light (anchor light or for use during motor operation) or a tricolor navigation light for sailing, but to make the two wires function in different ways this crossover switch was needed. I added a ground wire from the negative buss to the wire pair leading to the mast, and, following the wiring diagram included in the instructions, prepared the switch for installation, then installed it through the small hole I’d prepared earlier in the teak faceplate.

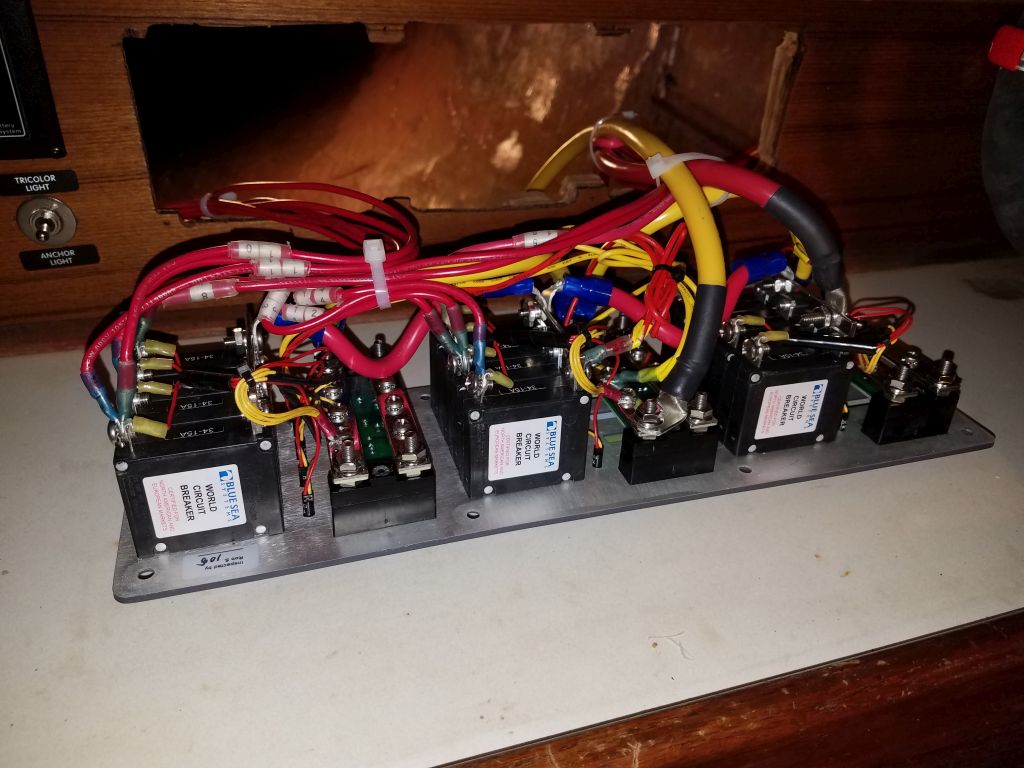
Leaving enough extra wire to allow the panel to be removed and laid flat on the countertop for service, I labeled and terminated all the positive wire ends from the various circuits. Then, I made the connections to individual breakers on the back of the panel.

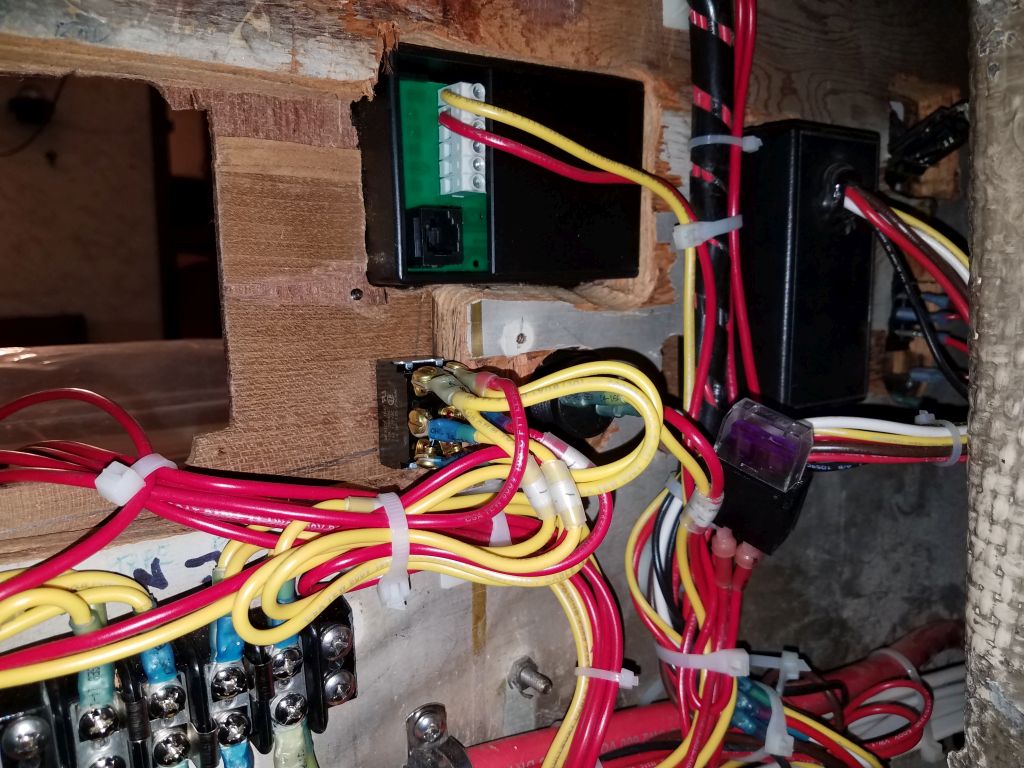
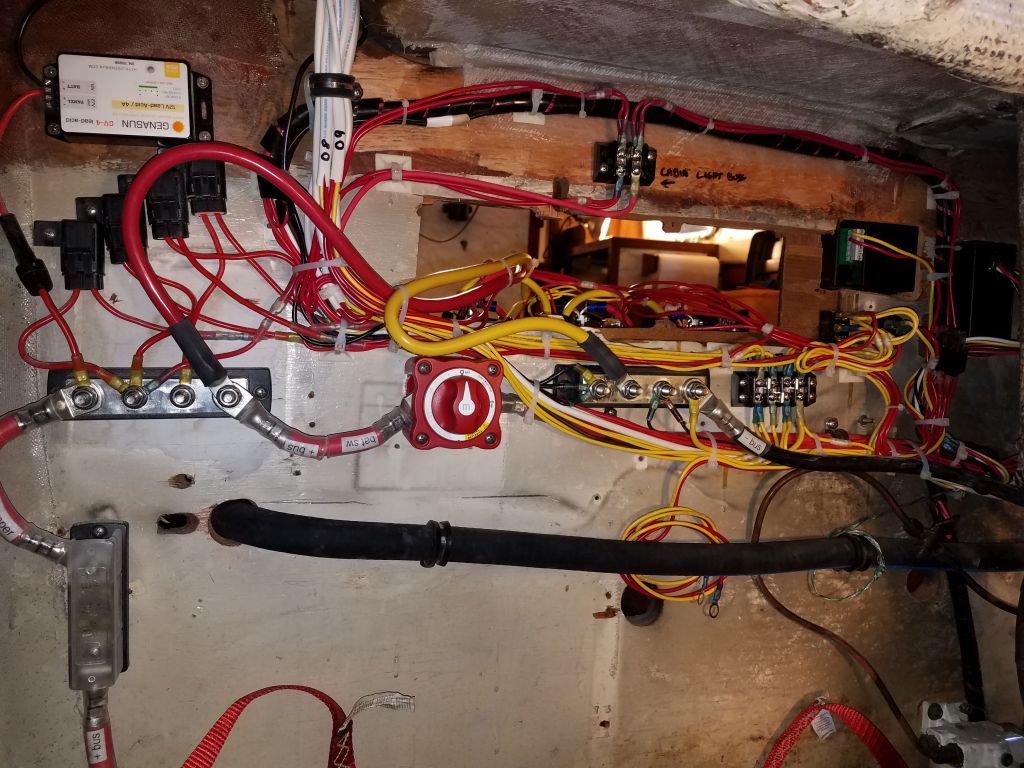
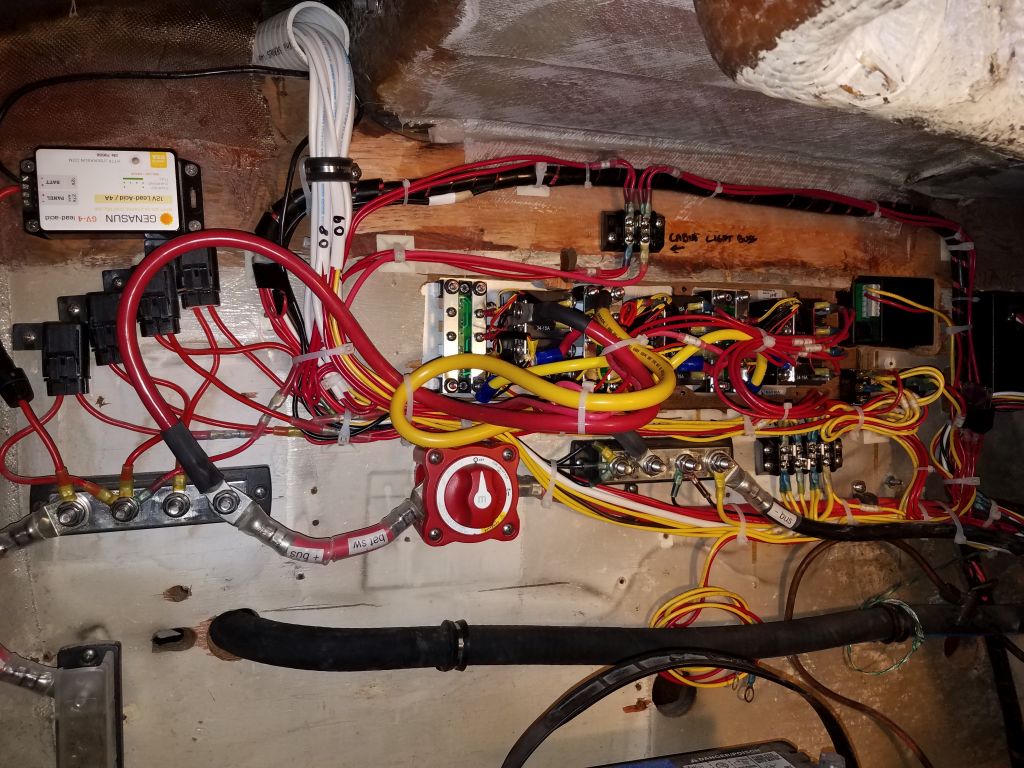
I prepared and attached lengths of #2 battery cable from the negative and positive distribution busses in the electrical area to the back side of the new service panel, then used these to help route and tie down the other wires neatly, while allowing panel removal and installation.
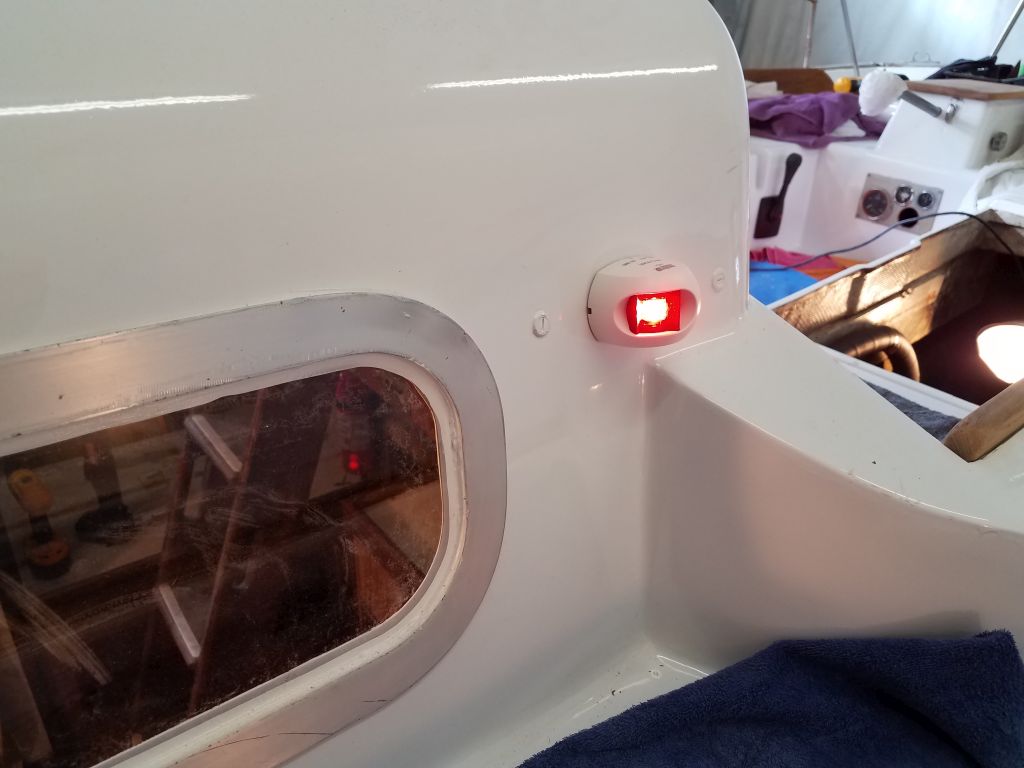
Now I could install the panel.
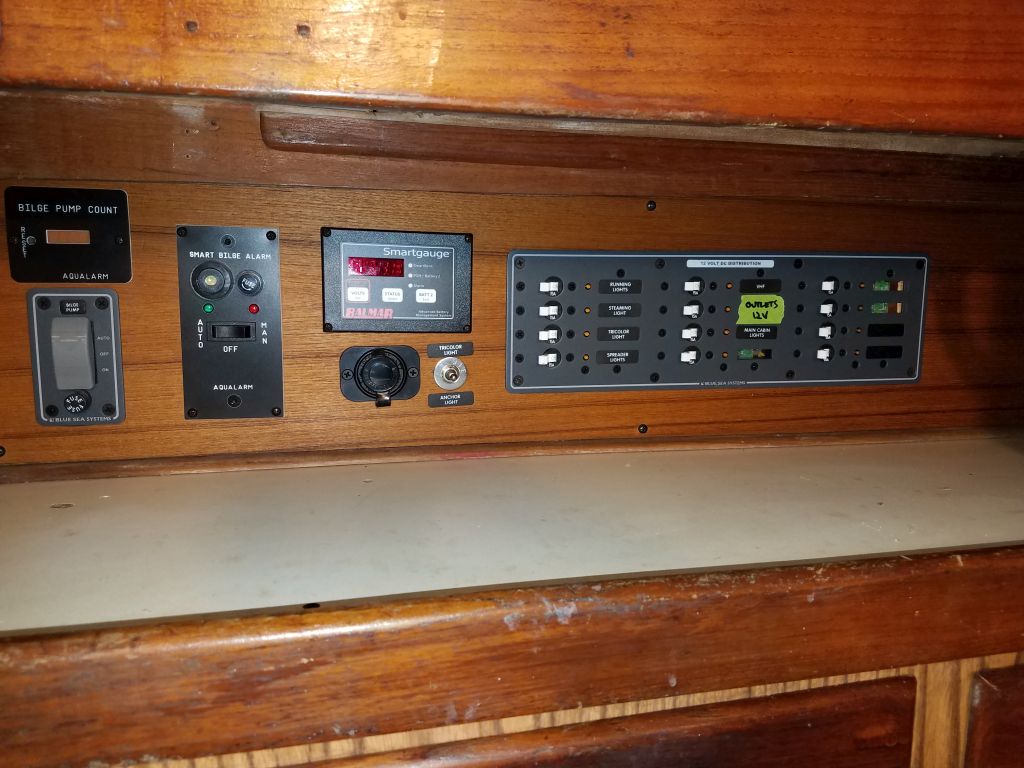
With a temporary battery hookup, I tested everything I could for now. I didn’t bother hooking up the battery gauge for this test, and the mast lighting would await completion and a test at a later time. I ordered a few additional labels to complete the panel and replace my temporary and ugly tape label that I installed just for my use at the moment.


This mainly completed the wiring work on the boat, though I had the simple wiring for the solar panel still to come. For this, the owner asked that the panel be mounted on the stern rail, using some hardware he’d already provided for the purpose, so with this in mind I went back into the cockpit locker and prepared the overhead so I could install a series of wire mounts leading aft to the transom, so they’d be ready for wiring next time.
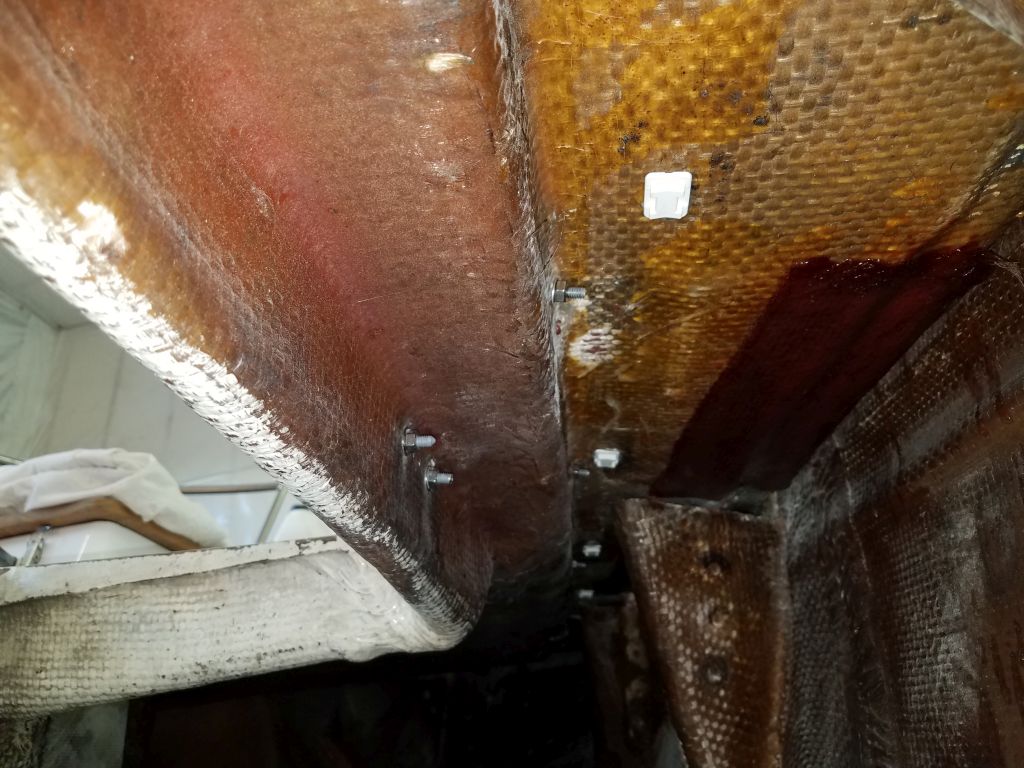
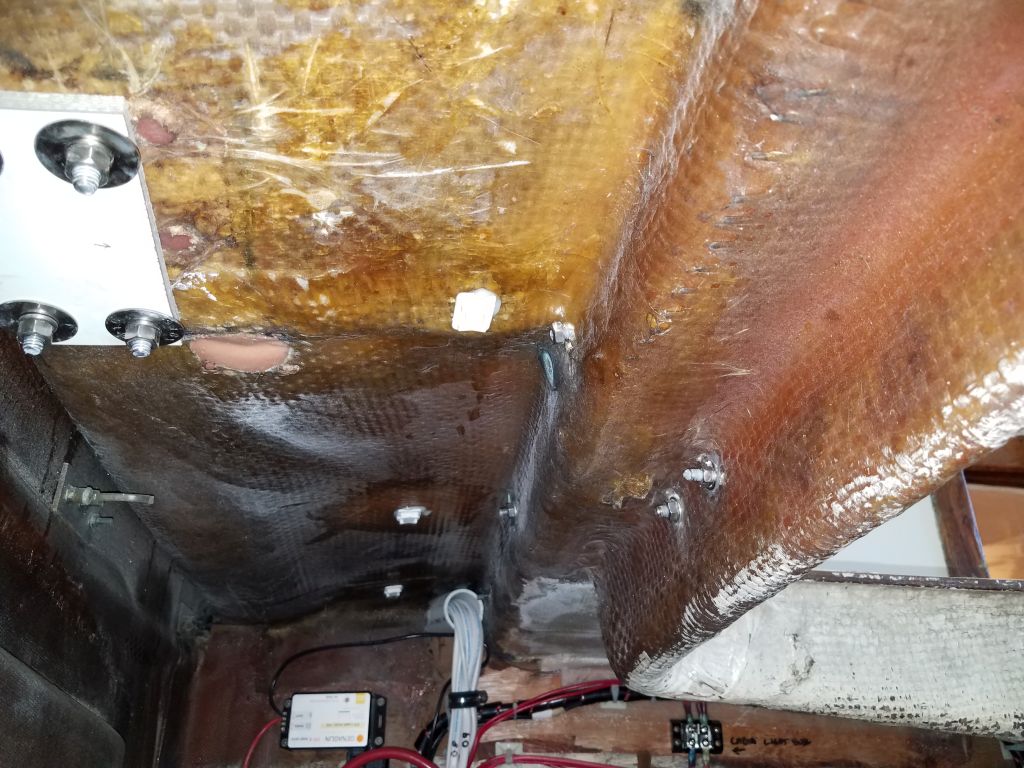
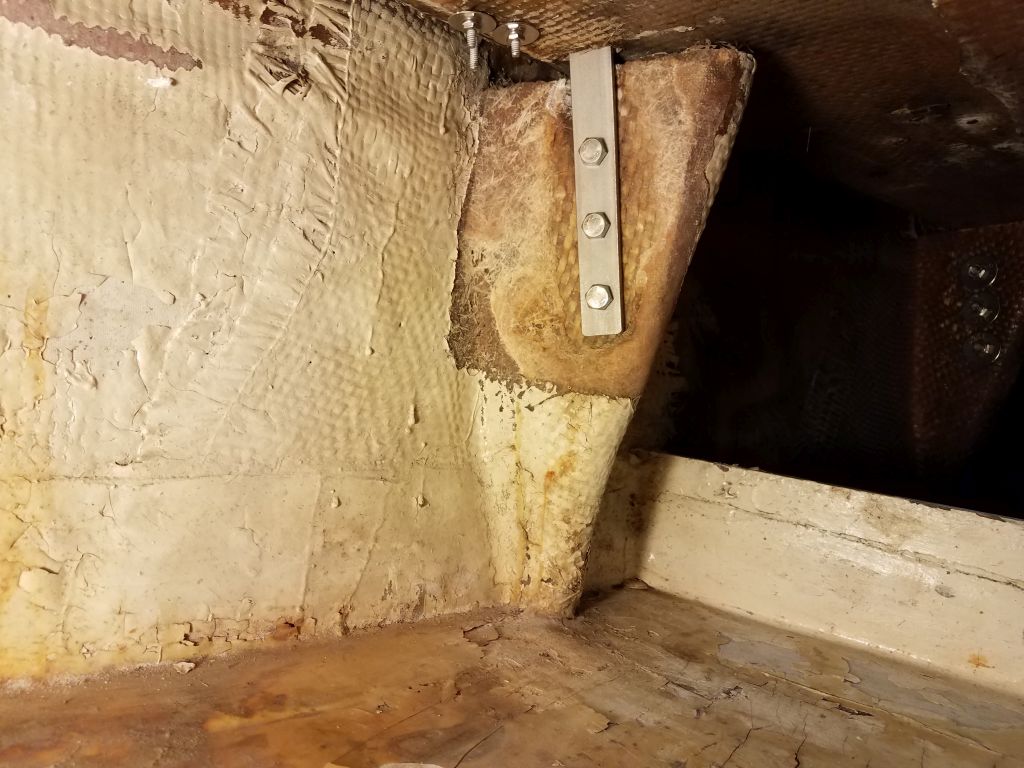
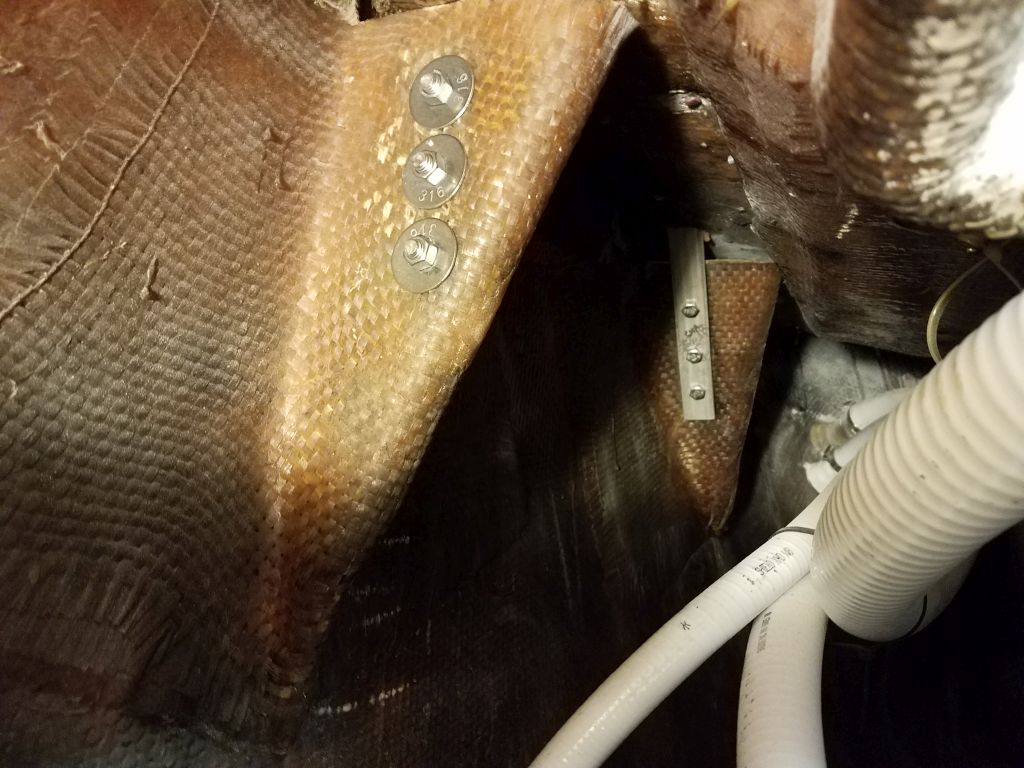
I finished up by working on the new chainplate installation, beginning on the starboard side aft, the most difficult three to reach. Although I got these installed successfully, I decided that the bolts I’d ordered were just a bit shorter than I liked. I’d measured the old bolts after removal and ordered accordingly, but the originals must have been cut off flush with the nuts, as new 2″ bolts were only barely long enough for the new installation. Instead, I ordered longer bolts that I’d use to do the remaining 9 chainplates later.

Total time billed on this job today: 8 hours
0600 Weather Observation: 31°, cloudy. Forecast for the day: Mainly cloudy, high 30s