

February 28, 2018
Jasmine 61
Wednesday
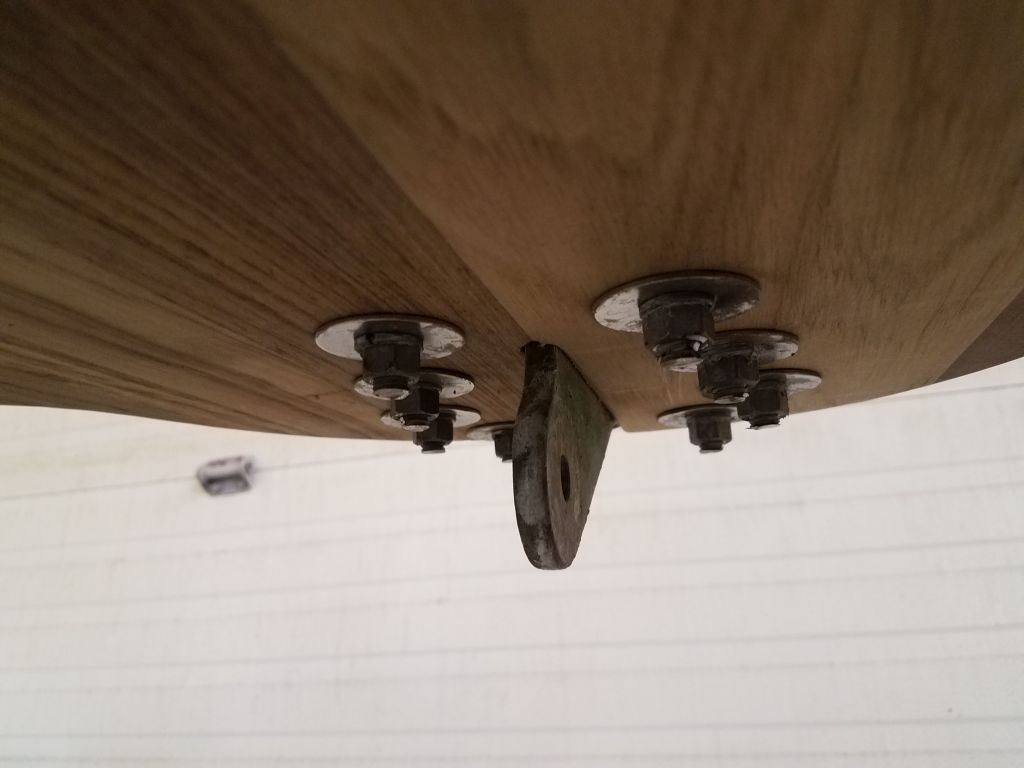
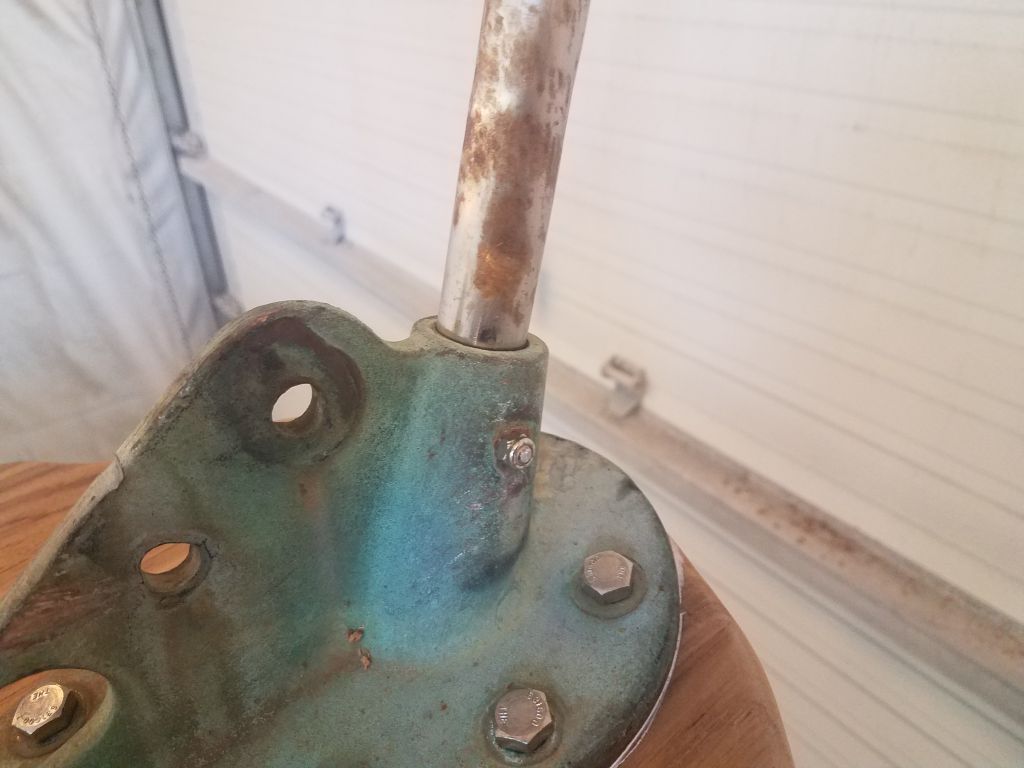
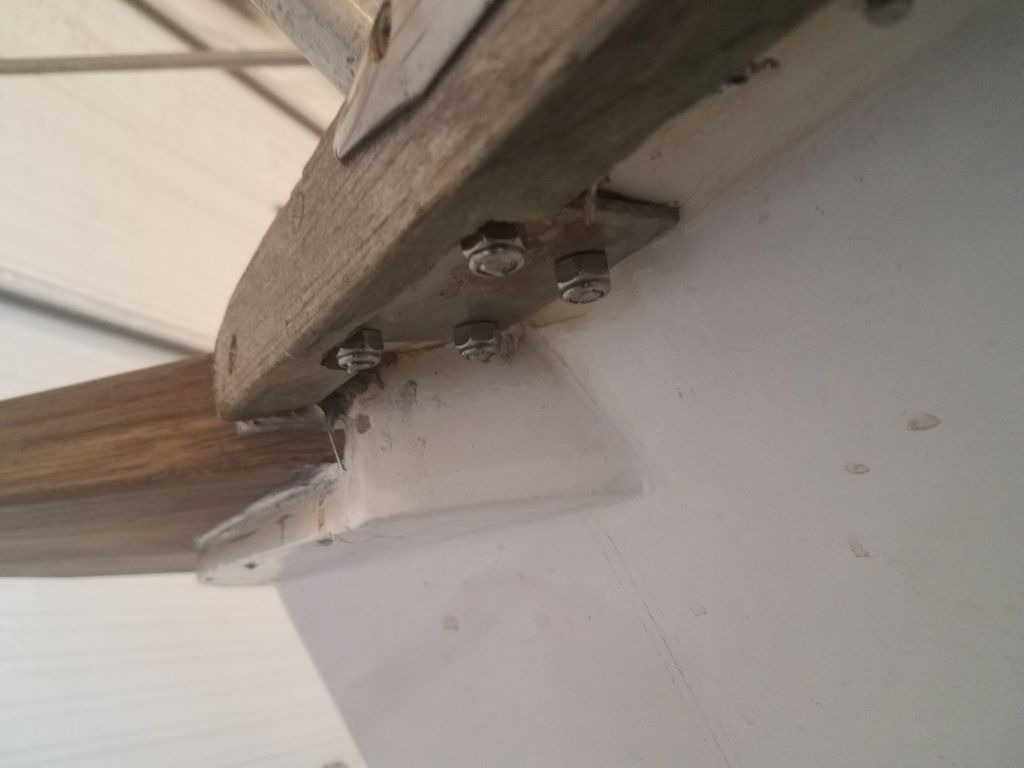
I don’t like loose ends, so first thing I finished up work around the bow platform, beginning with cutting off the excess bolt length beneath the stem fitting. I’d sent the solid bobstay out with the riggers for inspection and recommendation, so I’d install that final piece later.
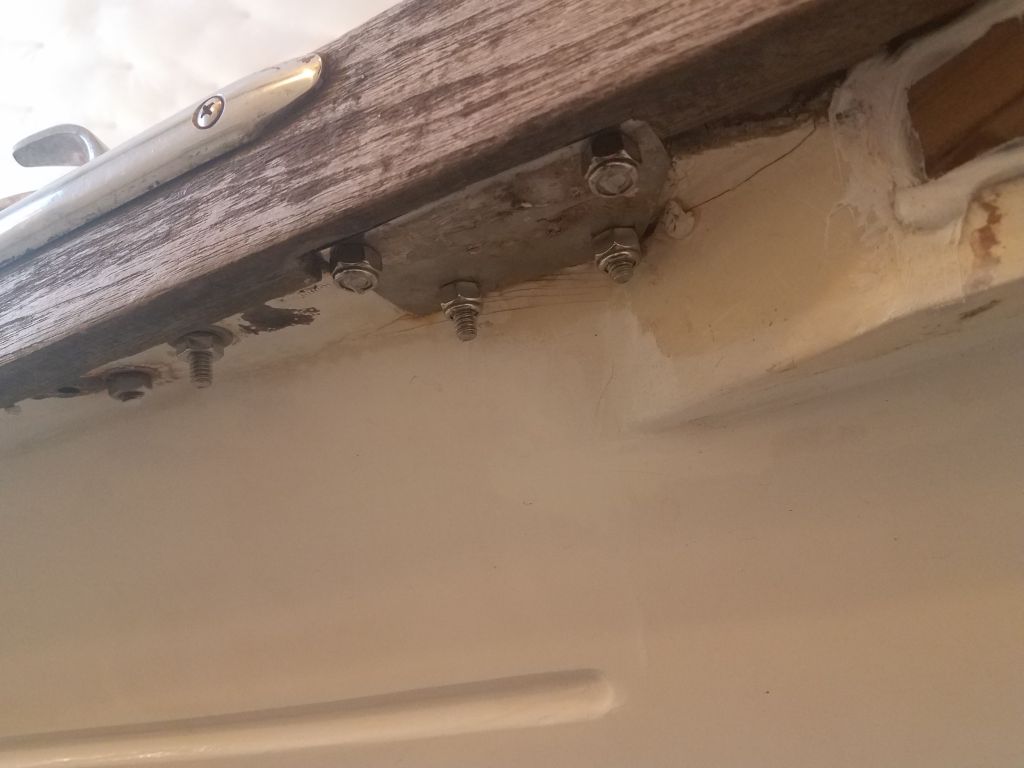
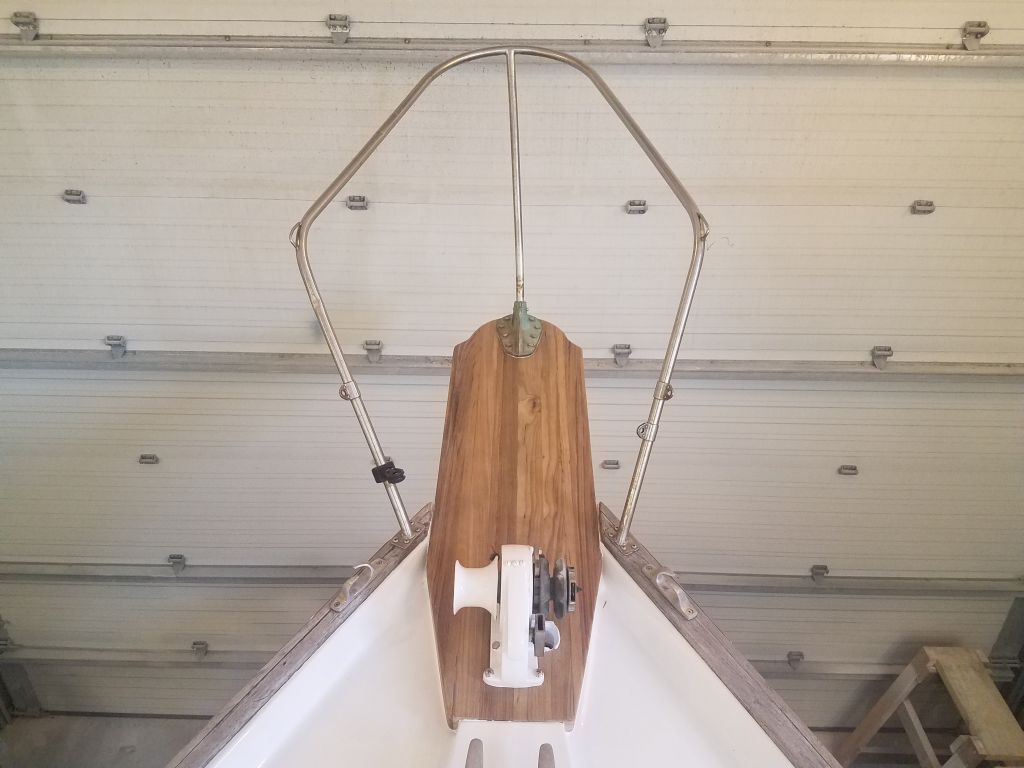
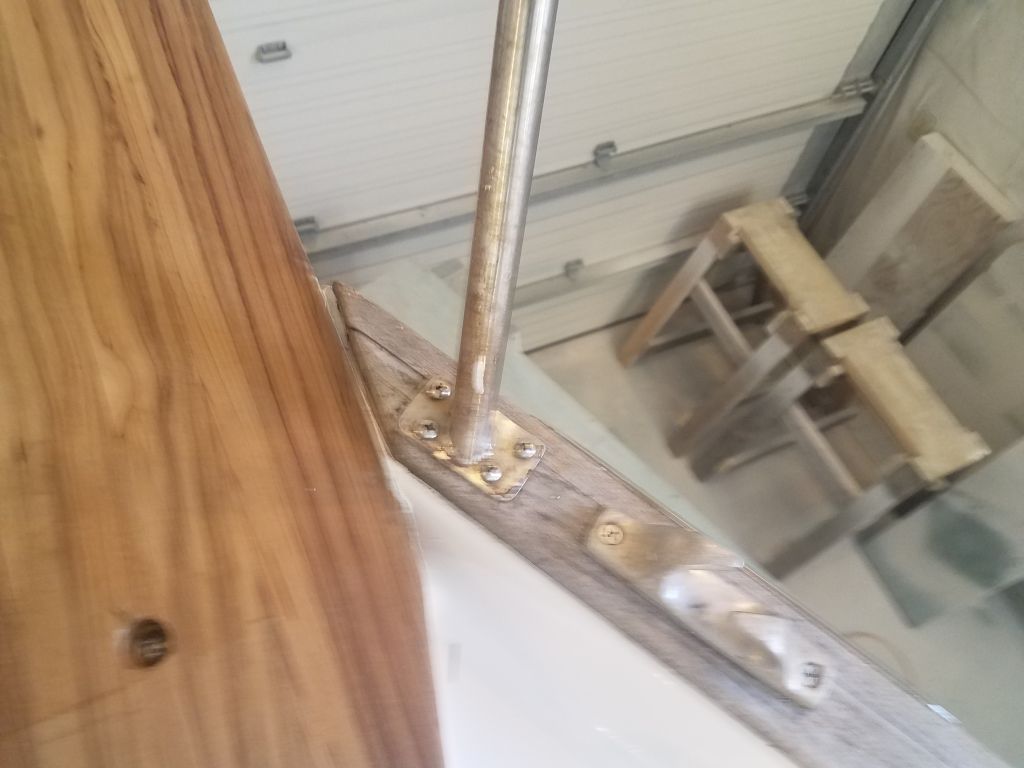
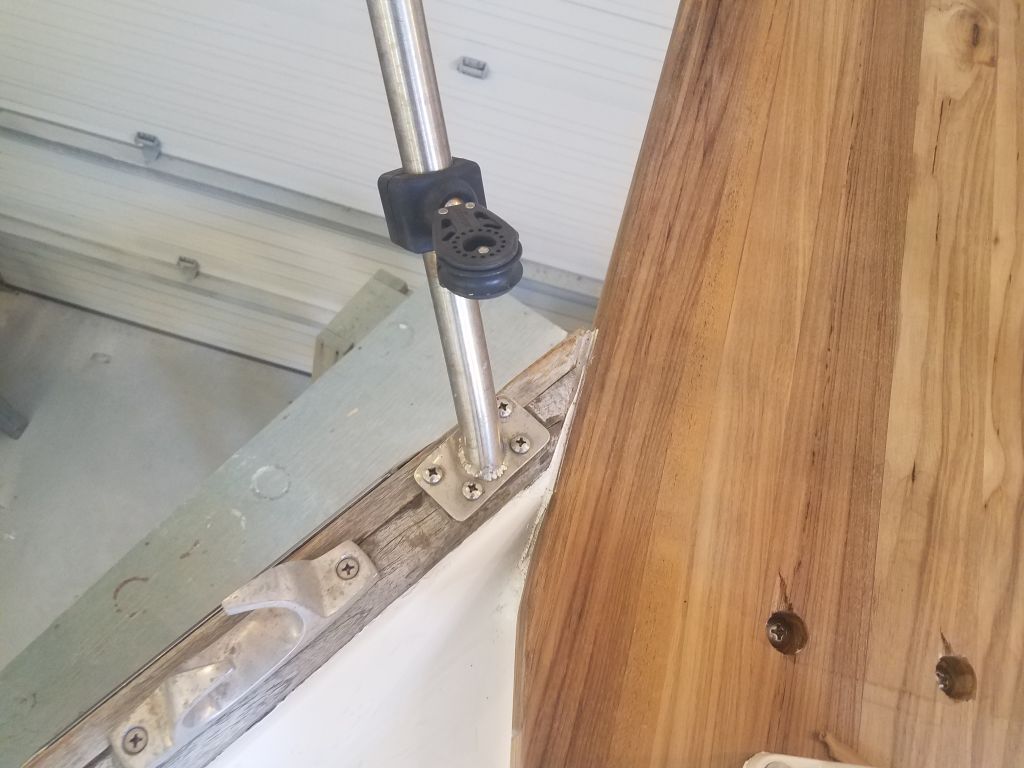
Next, I installed the bow pulpit, re-using the original stainless backing plates that fit neatly beneath the overhanging toerail.
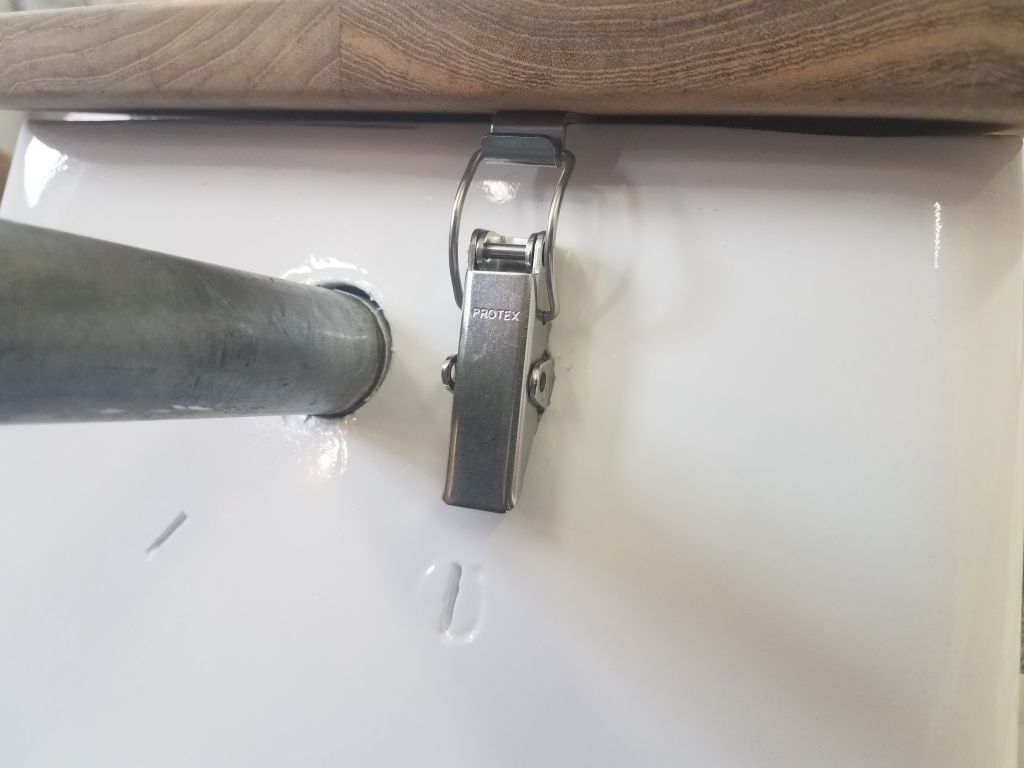
Moving aft to some loose ends there, I installed a little draw latch to secure the hinged helm seat.
Then, I installed the mizzen step.

After some finish sanding, I applied a few coats of epoxy primer to the new main mast step riser, which would add 1-1/2″ to the height of the spar to make up for the 1-1/2″ that needed to be cut off the corroded base.
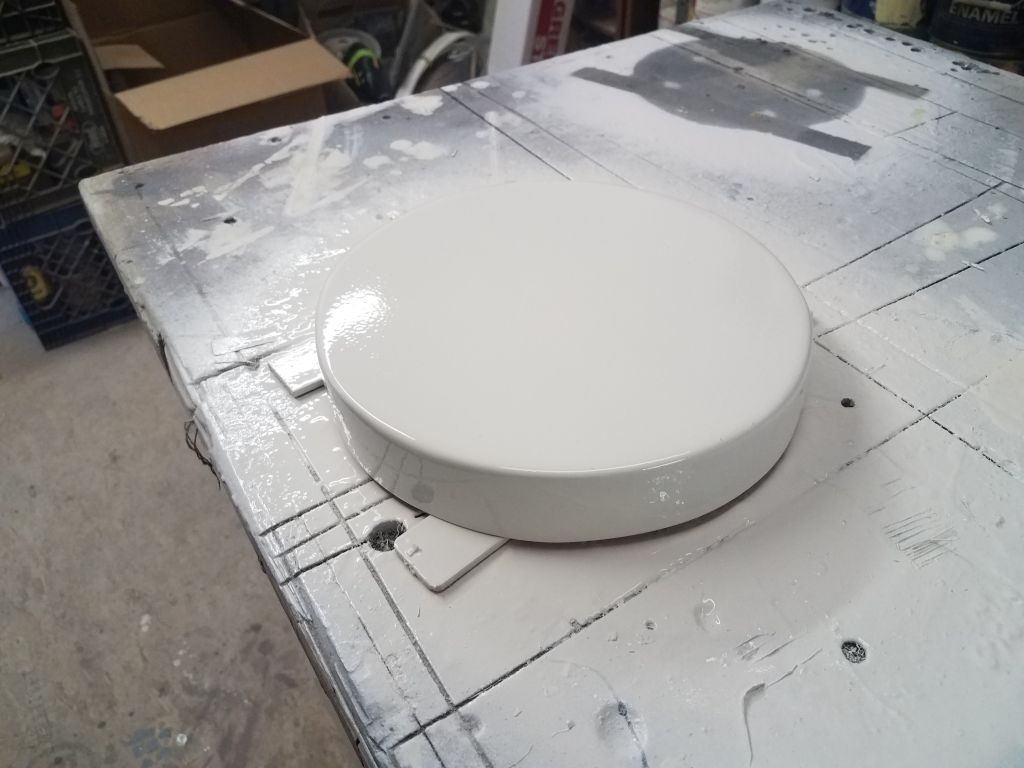

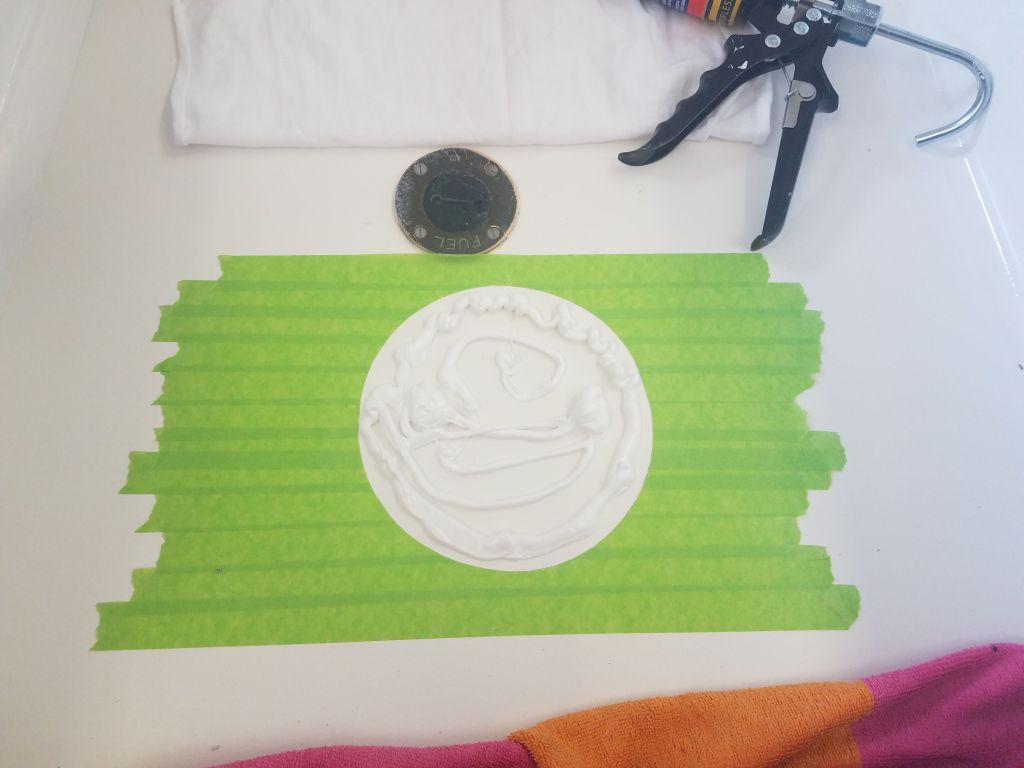
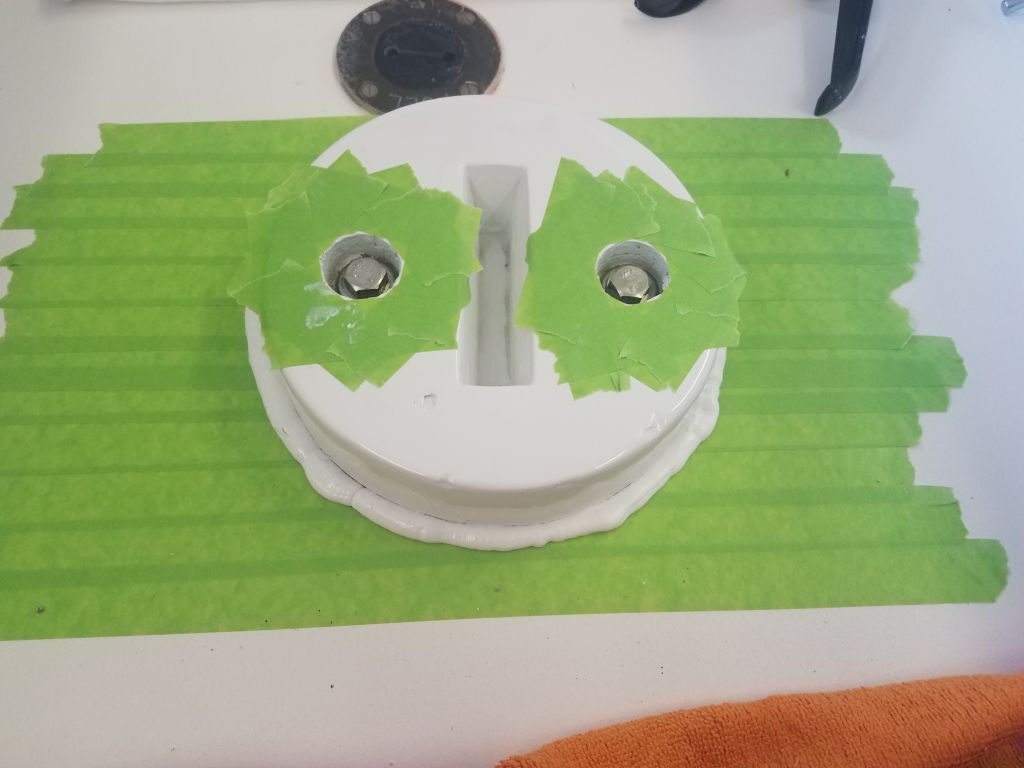
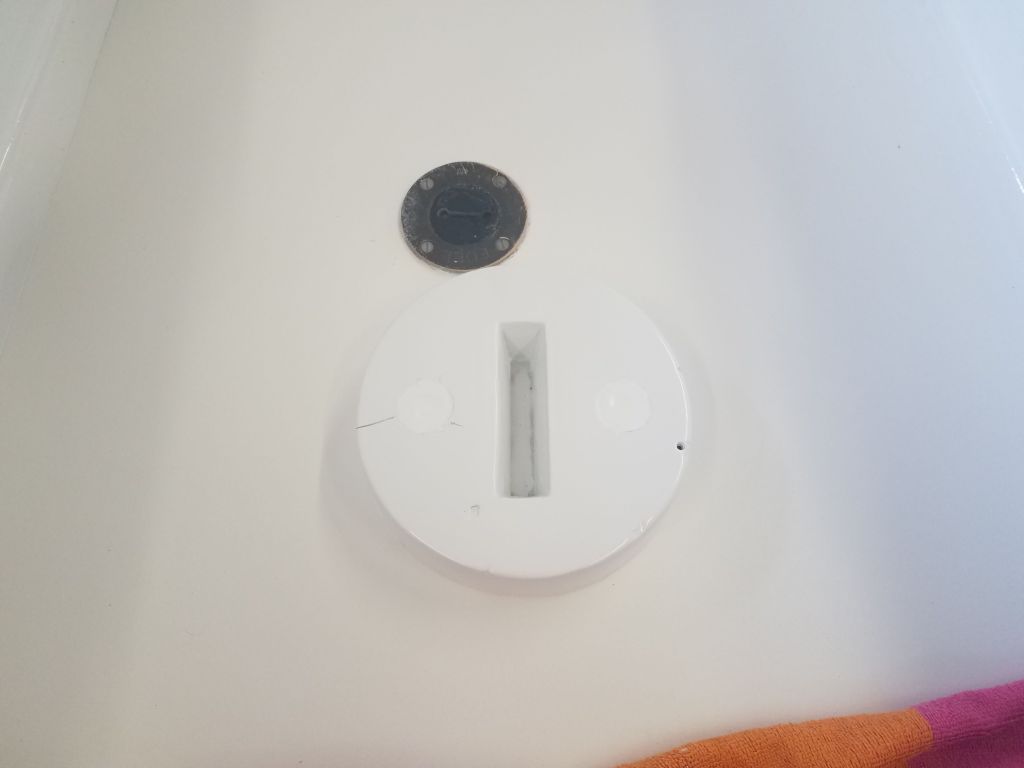
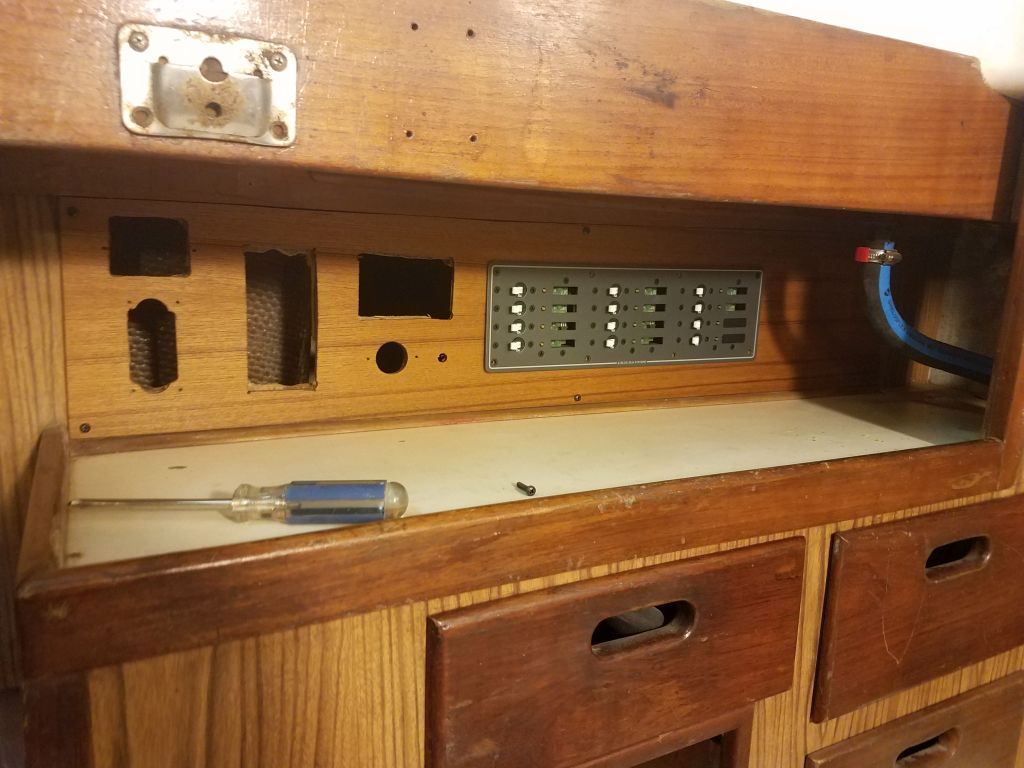
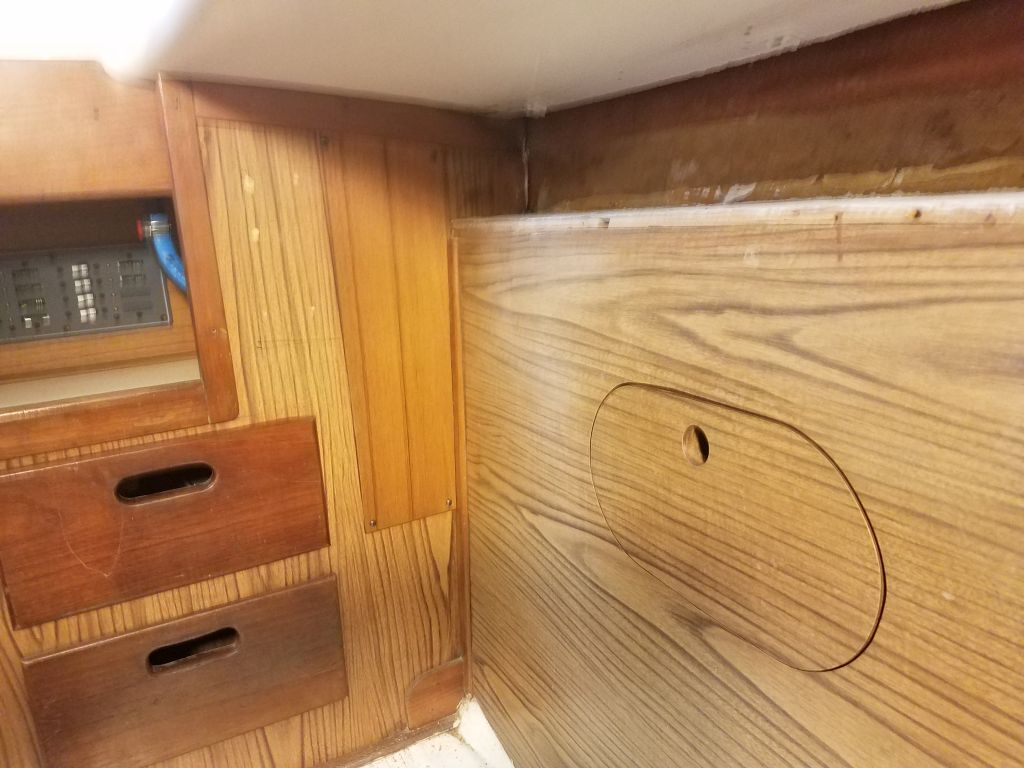
With that work out of the way, I turned to the electrical system, the last significant job on the work list for this project. To begin, I test-fit the new face panel for the electrical control area, and found that I had to open up the area for the main electrical panel a bit so it would fit. With this done, and after checking the other installations to ensure they fit in their holes as well, I secured the face panel with some black screws to match the general appearance of the controls that would be installed. Nearby, I installed the quick and temporary cover panel over the old holes from the bilge pump switches; the owner hoped to do an interior rebuild phase down the road a bit.

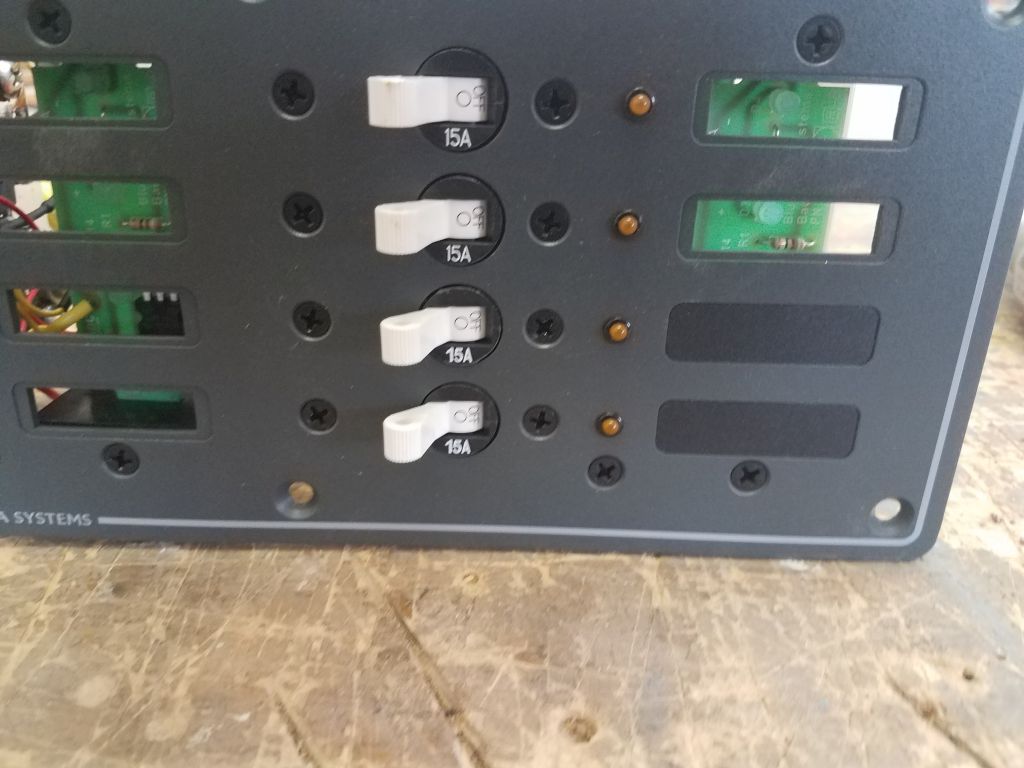
The 12-position electrical panel came loaded with 10 circuits and two blanks, but I always like to fill out the panel immediately, which is much more convenient somewhere down the line when additional circuits are needed, so I added two additional breakers to the panel.
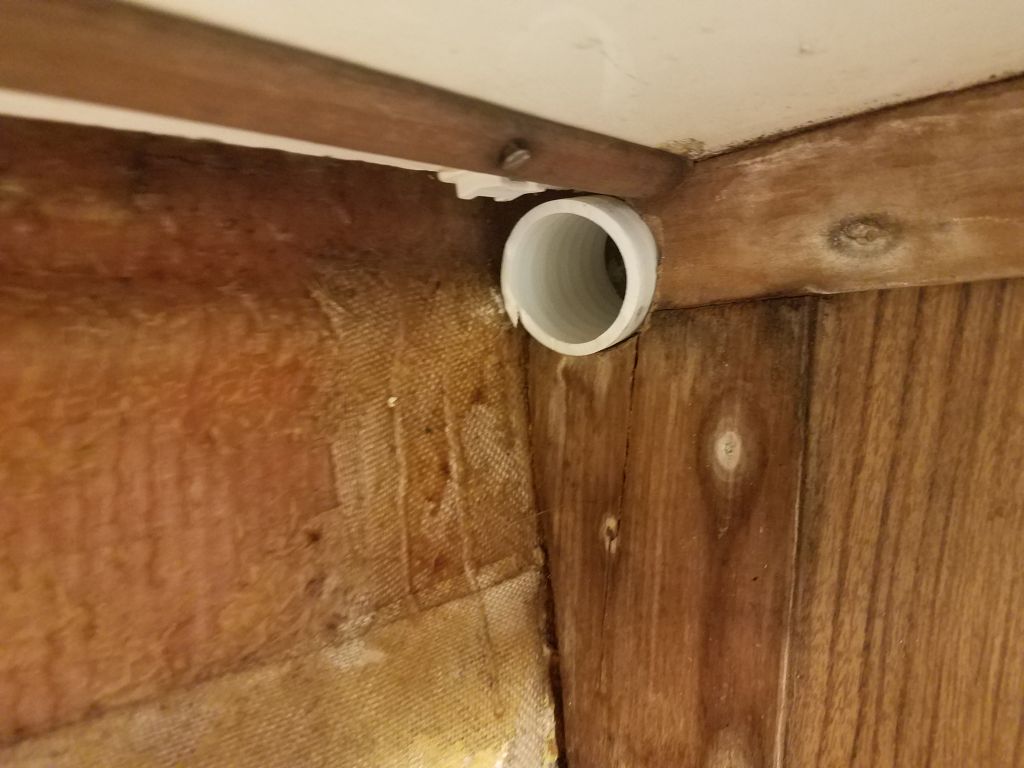
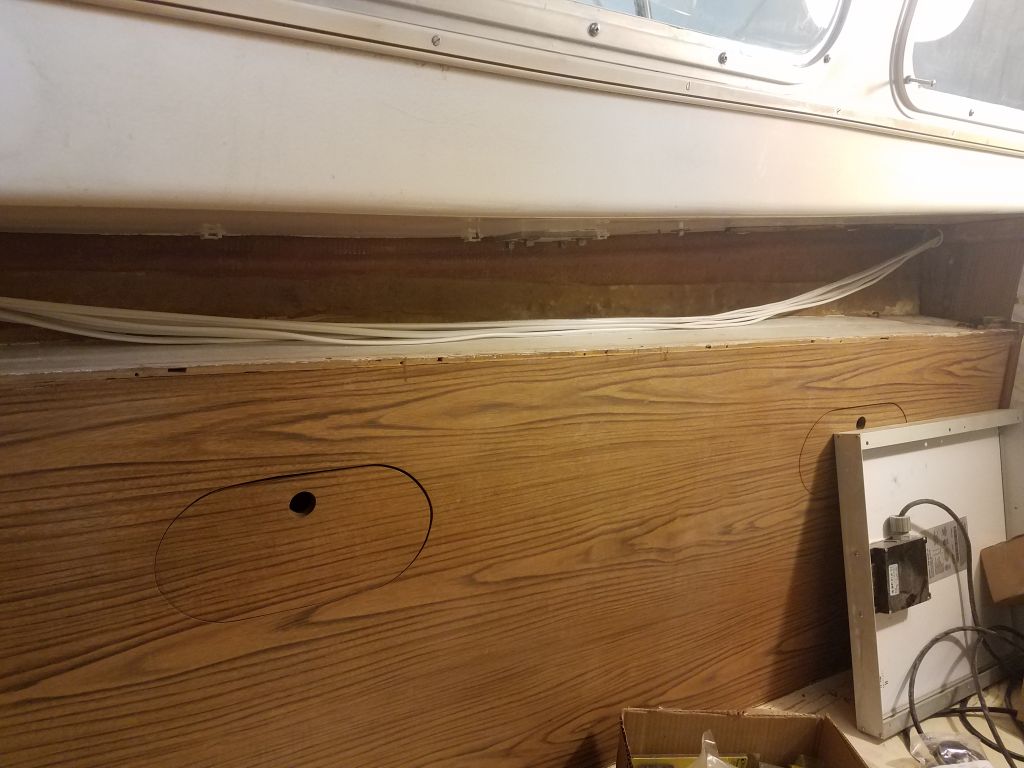
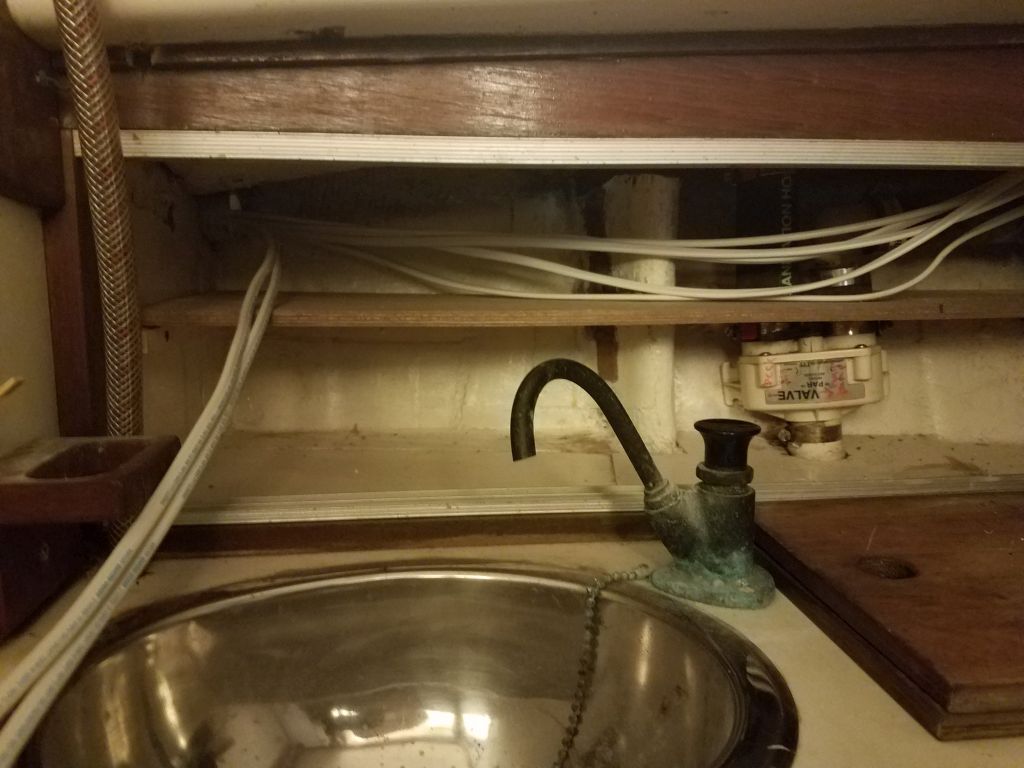
Installation and connection of the service panel and other switches would come soon enough, but for the moment my focus was on the bulk wiring runs. After listing the various circuits I needed to run down each side of the boat, I started on the port side, where there were the most wire runs. Where the wiring needed to pass through or by a bulkhead, I cut holes as needed to allow for short lengths of hose to act as chafing gear. Then, I led wires forward along the port wire run. For now, there was no need to lead them through the individual wire mount areas, so I let the wires drape over the shelf above the port settee. These wires, leading forward to the head and beyond, would service a v-berth light; head light; three mast lighting circuits and VHF; and the port forward saloon light. Mast wiring would run through the head and to a fitting I planned to install in the deck near the mast step.
At the aft end were two shorter runs leading to the small wooden box at the aft corner of the cabin, where the port running light and another saloon light would be installed. I left the wire runs long and loose for now, leading all the wire ends back to the port cockpit locker that was and would be command central for all the connections.
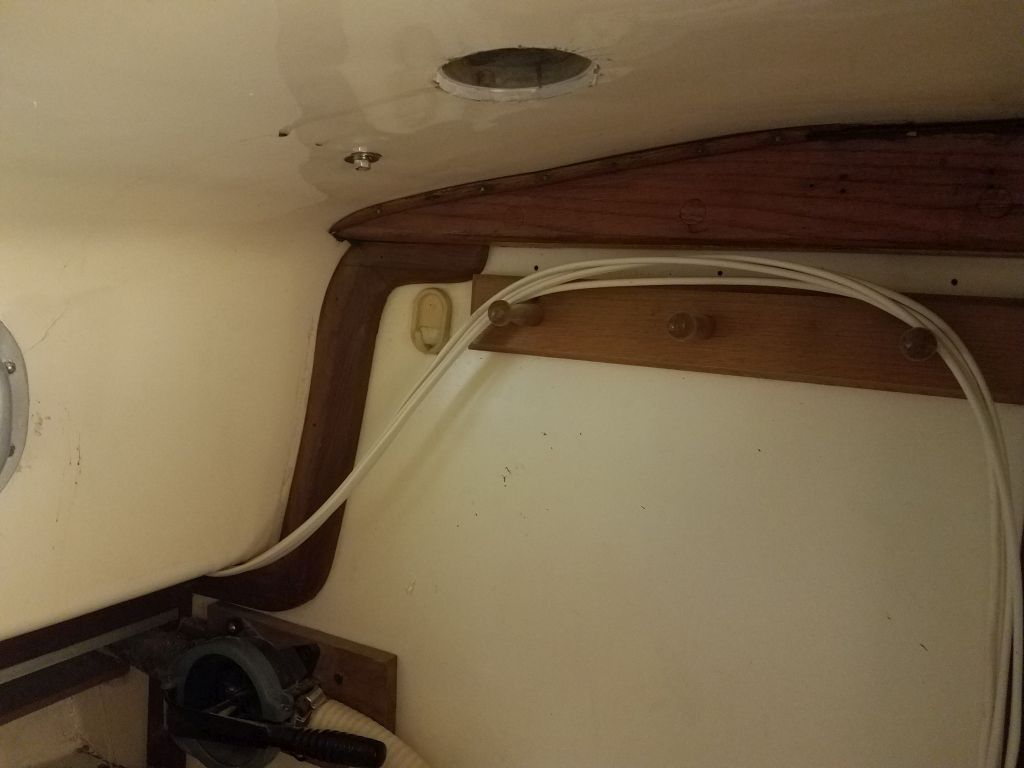

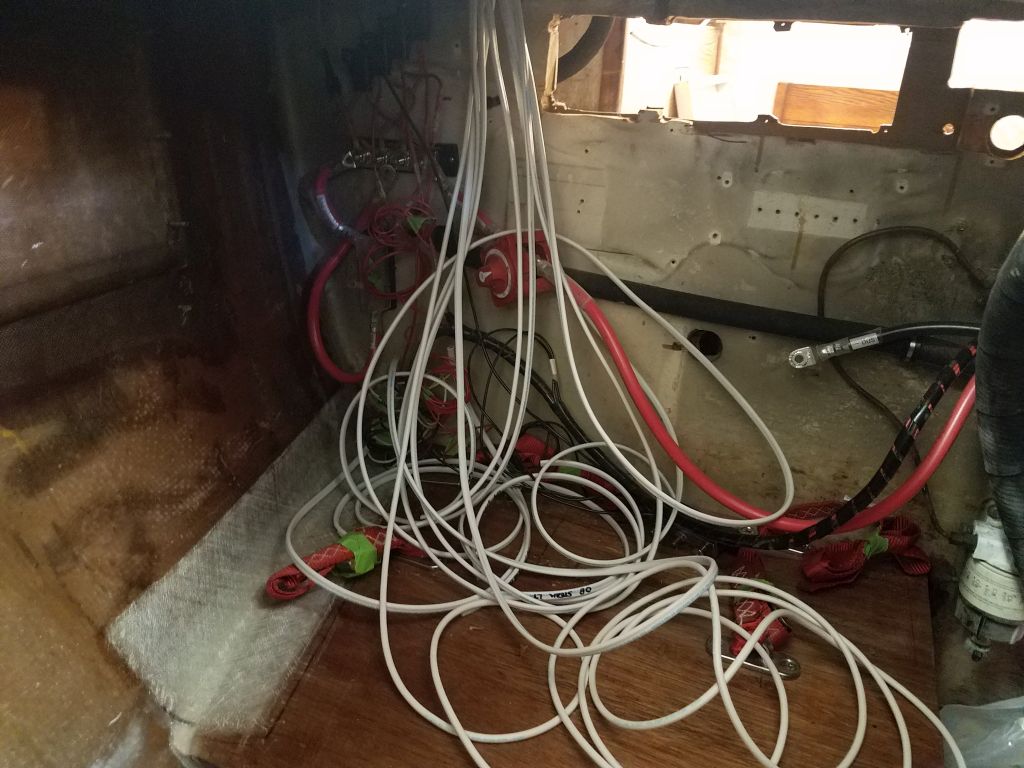
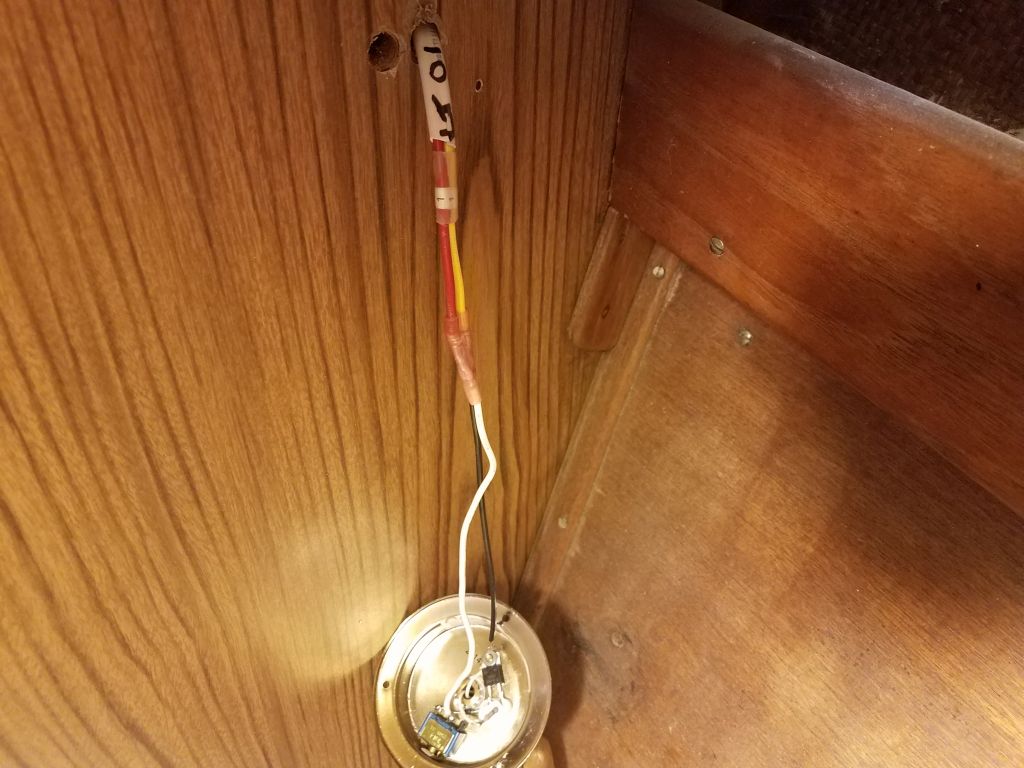
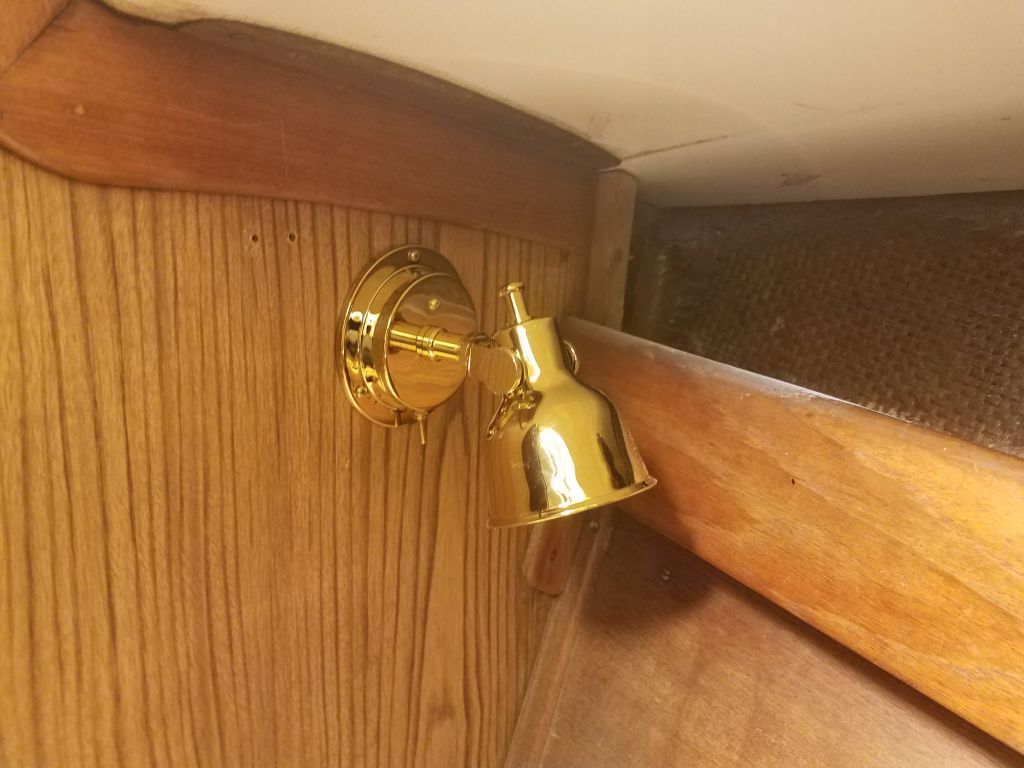
With the bulk wiring on the port side complete, my impulse was to continue with the wire runs on the starboard side, which would have fewer wires overall, but my reel of wire was looking a bit thin and I figured I’d run out first anyway, so, after ordering more wire. I decided to start cleaning up and terminating some of the port wiring, starting with the port v-berth light, which I installed at the outer corner of the berth.
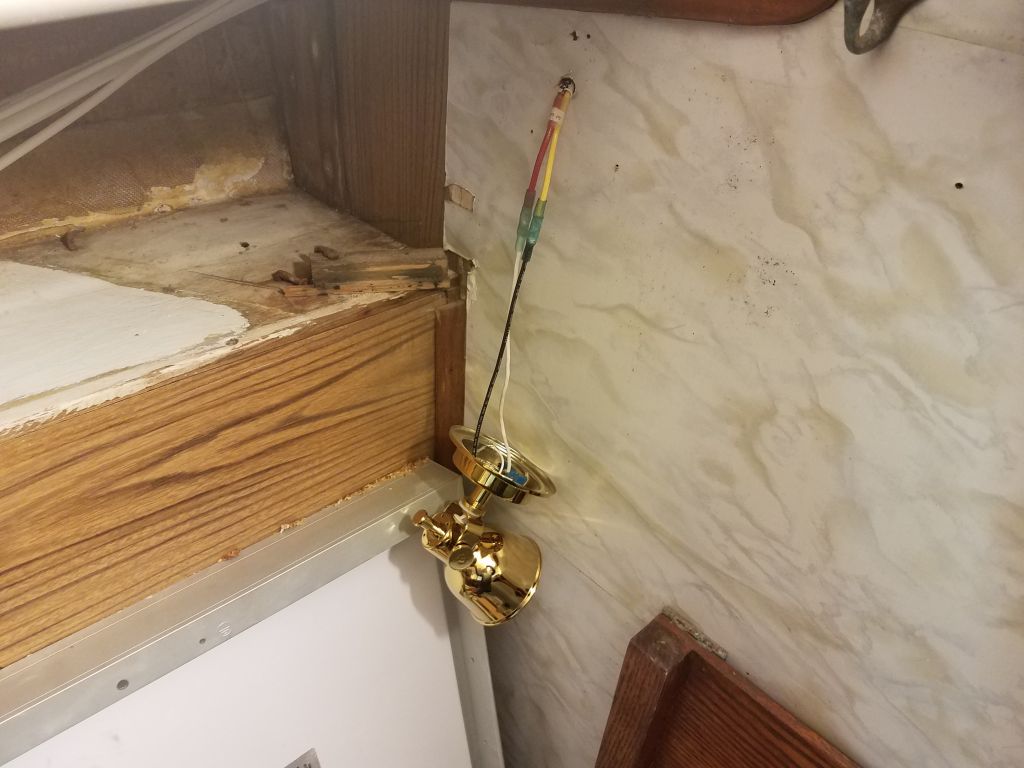
Moving aft, I repeated the process with the forward port saloon light, which brought things to a close for the day.

Total time billed on this job today: 8 hours
0600 Weather Observation: 26°, clear. Forecast for the day: Sunny, high near 50° again