

December 7, 2017
Jasmine 6
Thursday
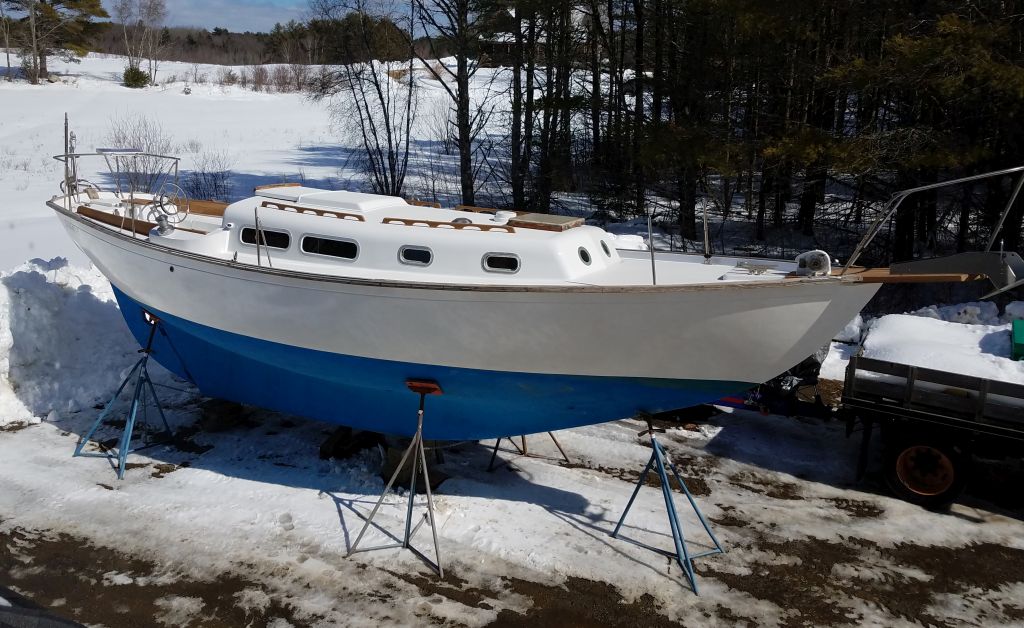
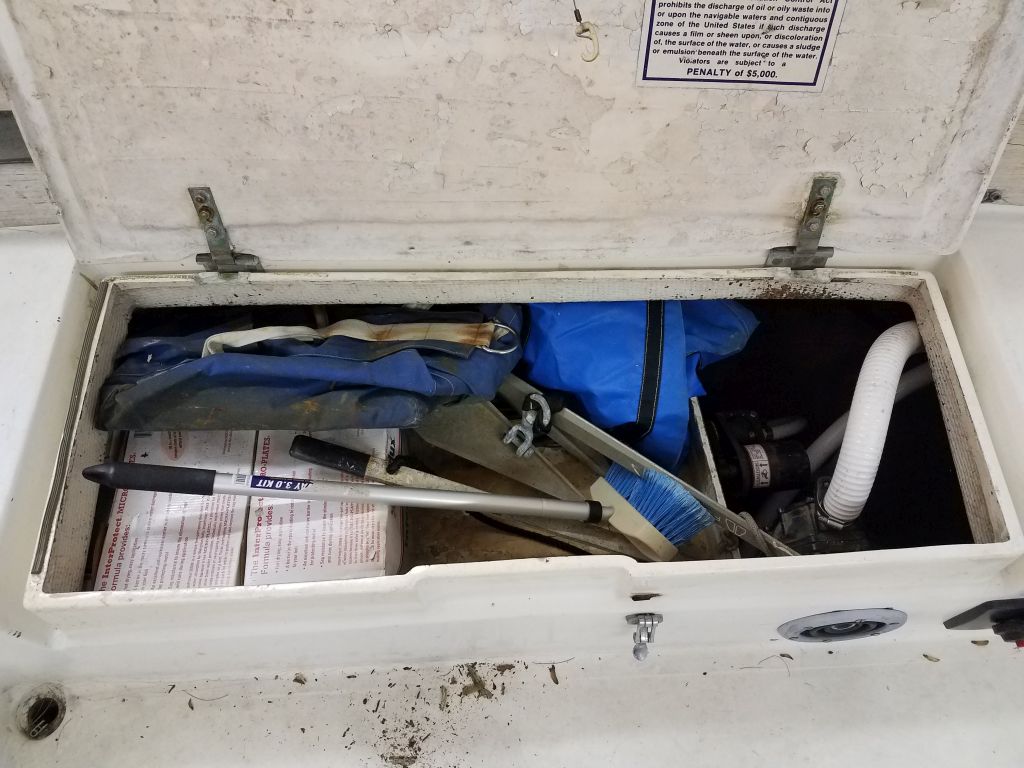
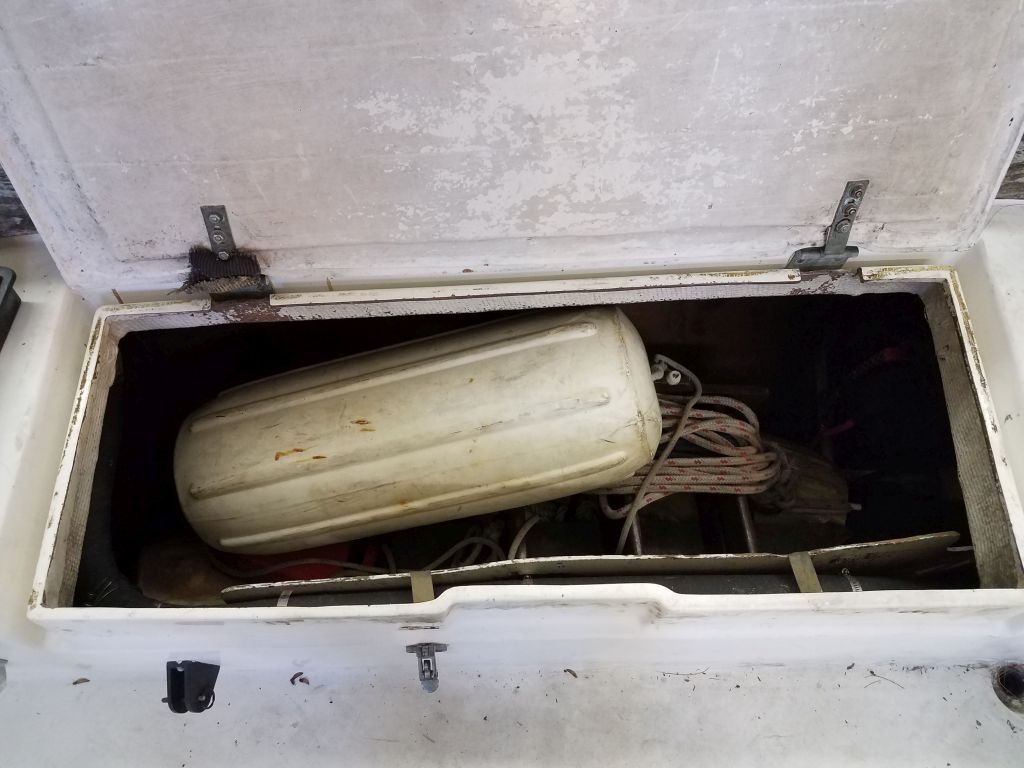
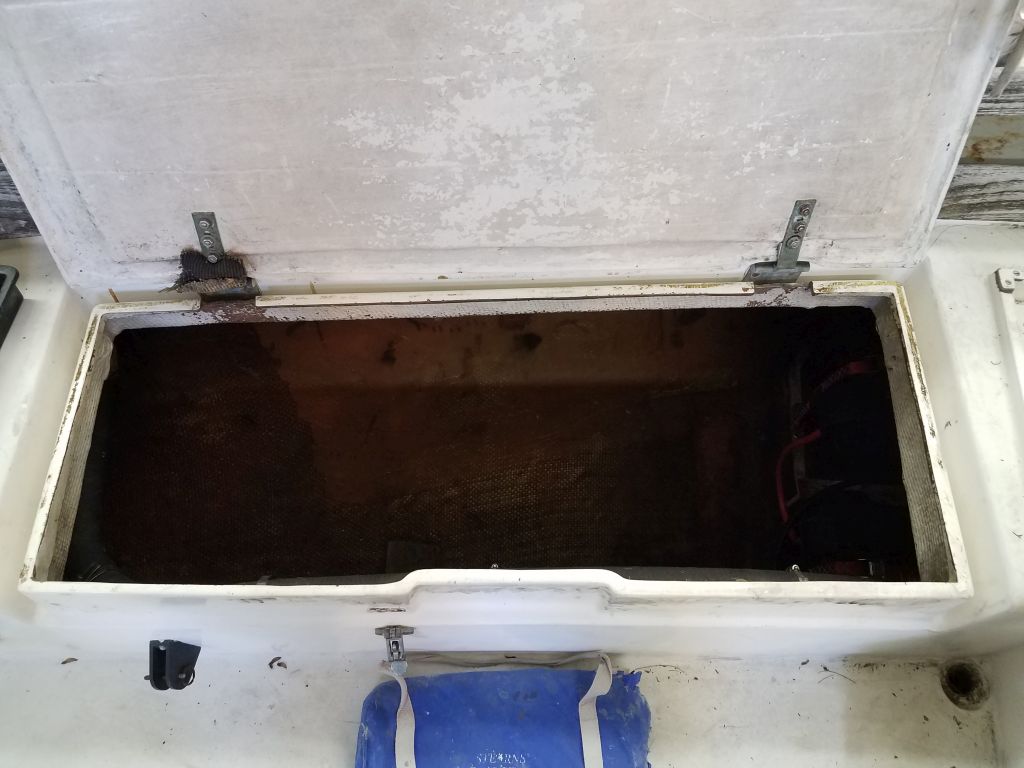
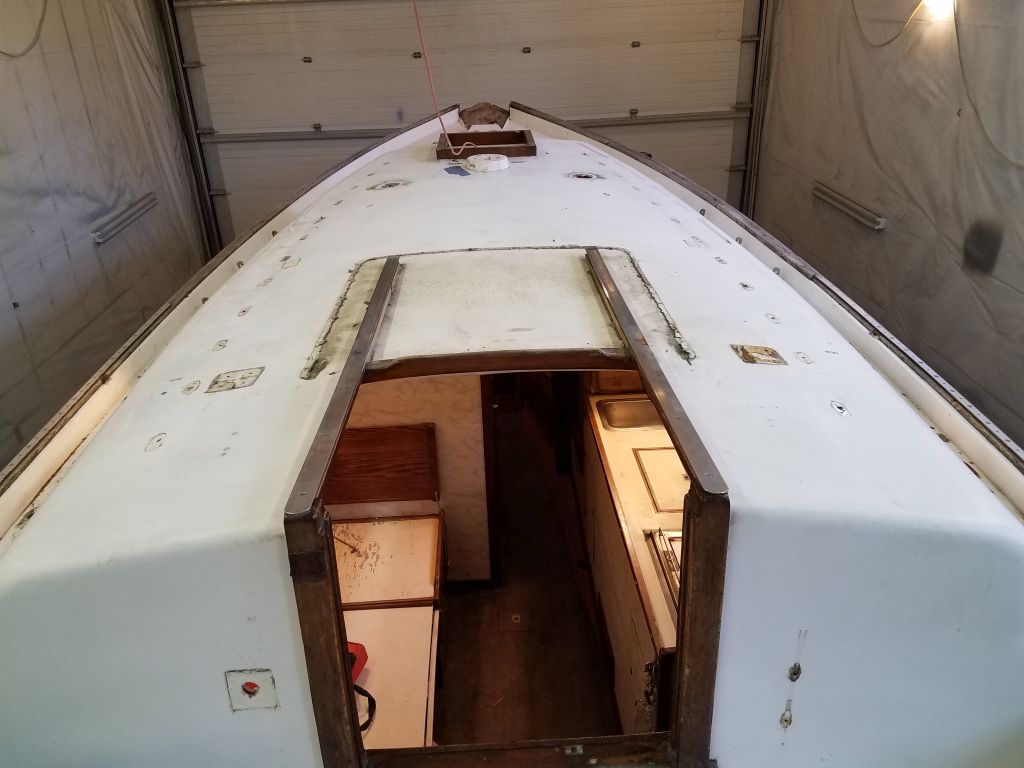
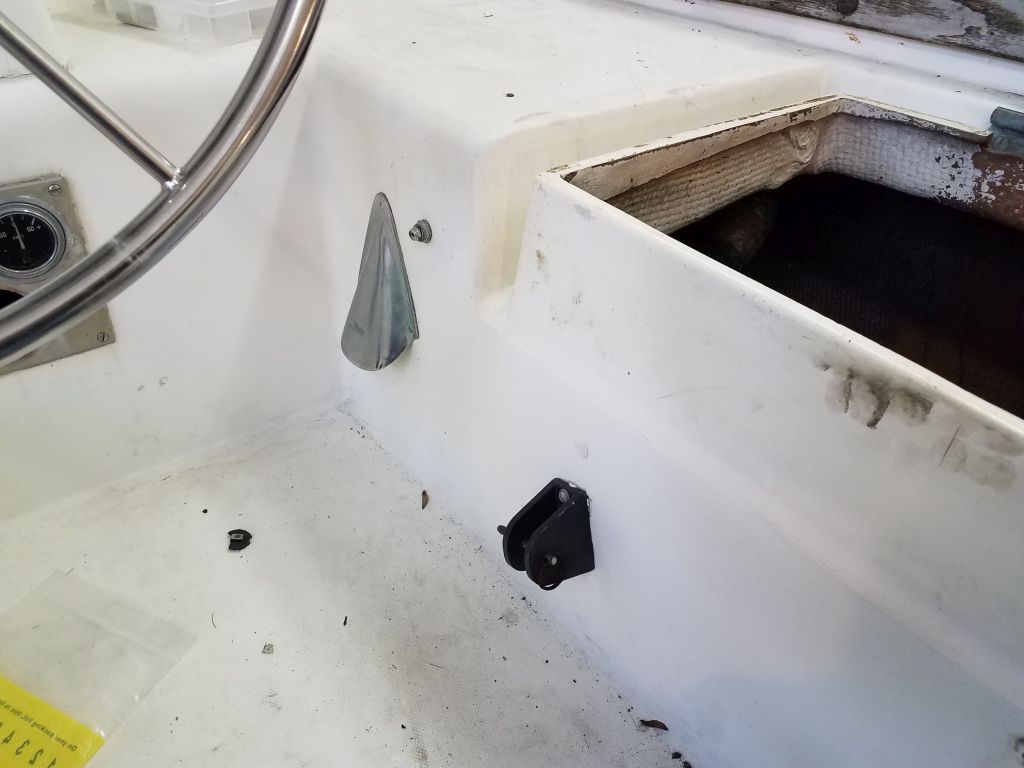
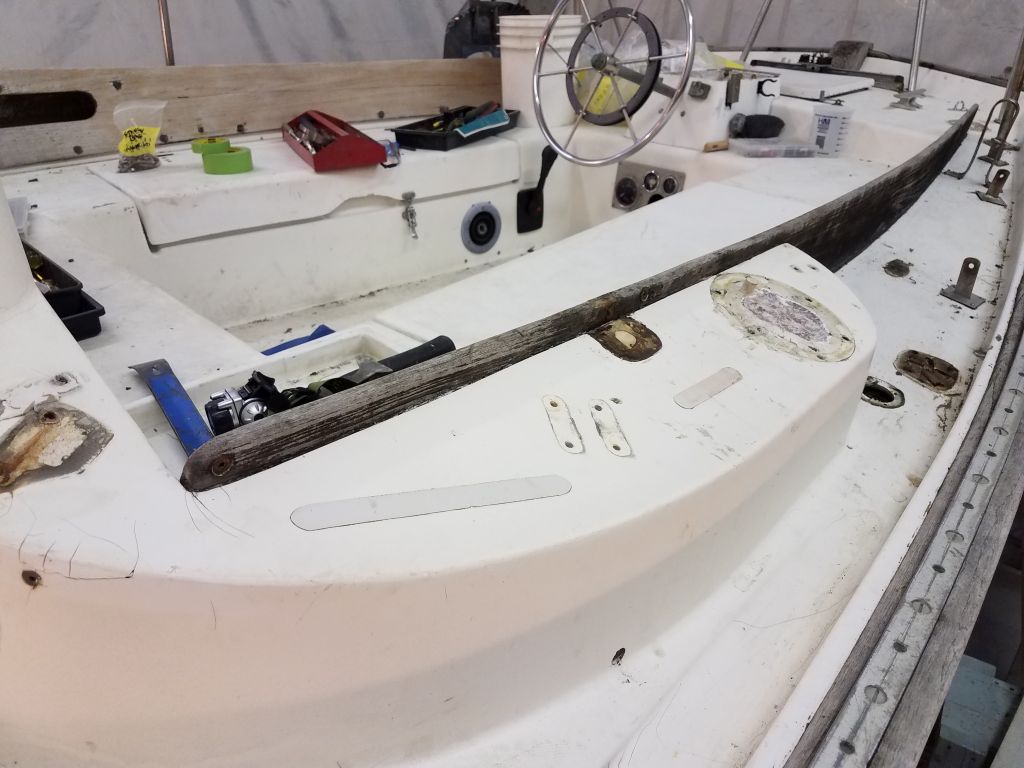
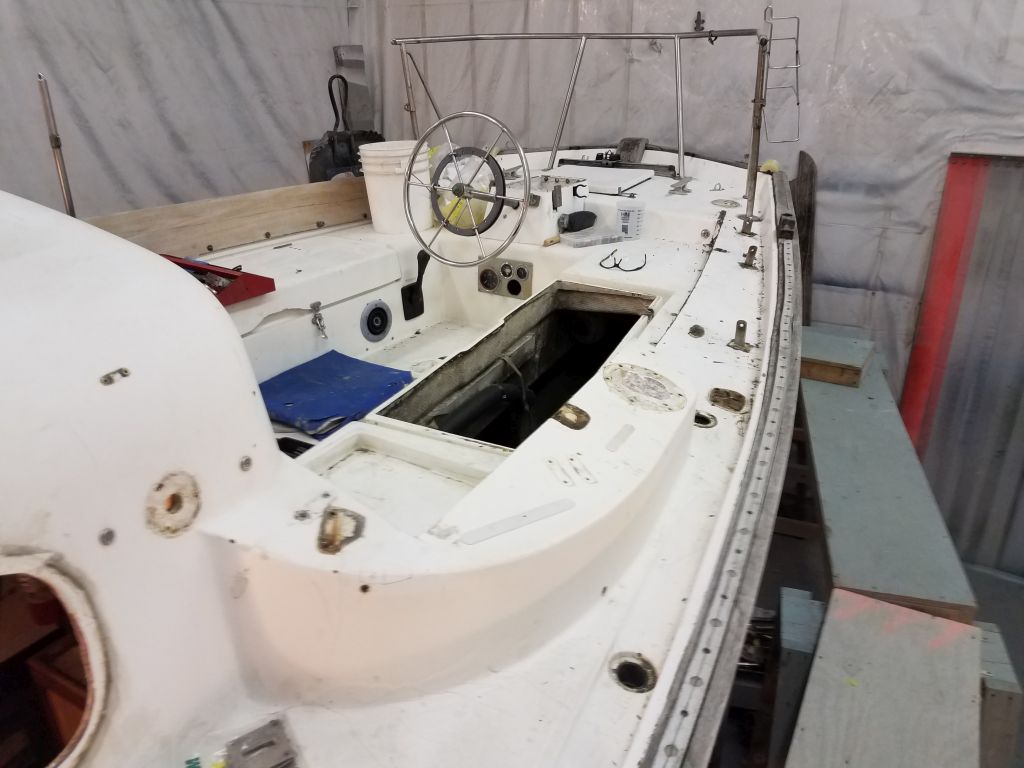
Preparing to move aft into the cockpit and after deck areas, my first chore was to clean out the various equipment stored in the two cockpit lockers. I added it to the pile I’d accumulated in the other shop. The starboard cockpit locker, shown in the first photo, was shallow as the quarterberth extended into this area, and this feature would greatly compromise access to the after sidedeck and poop deck. Access to other areas from the port locker, which was full-depth, was good.

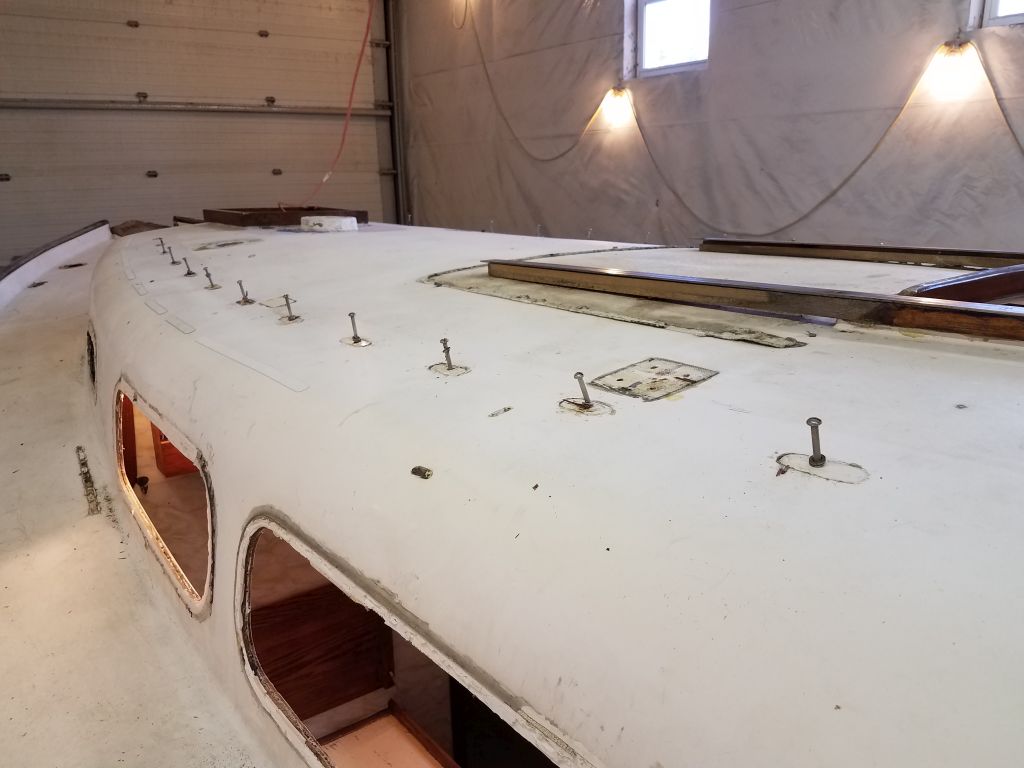
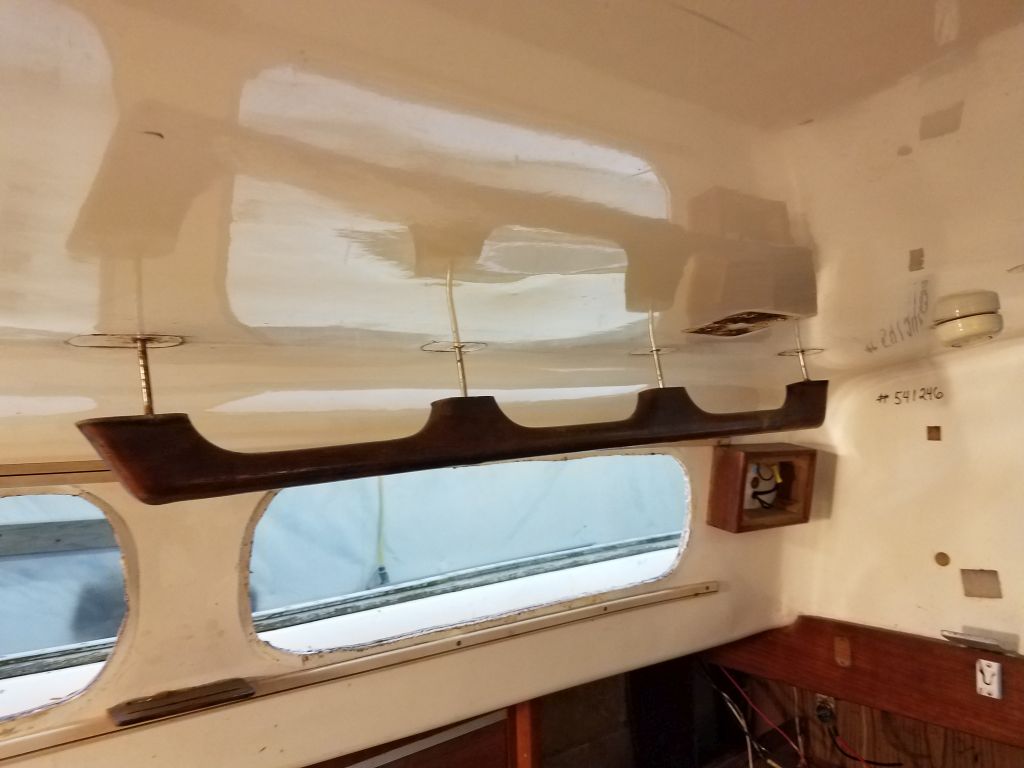
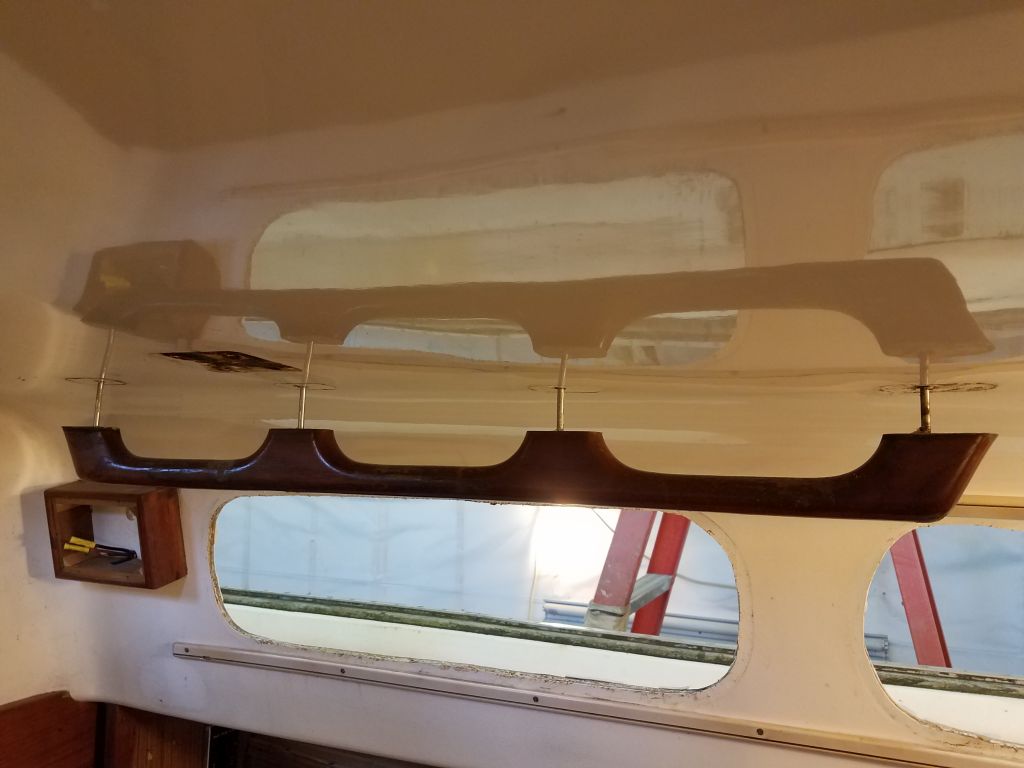
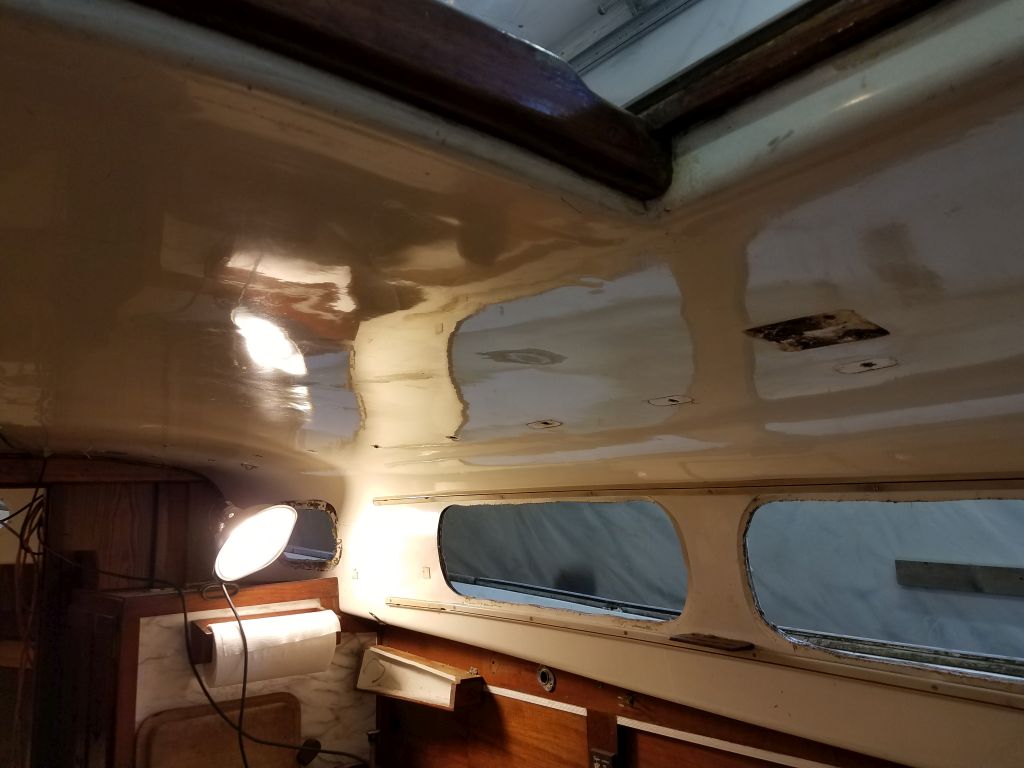
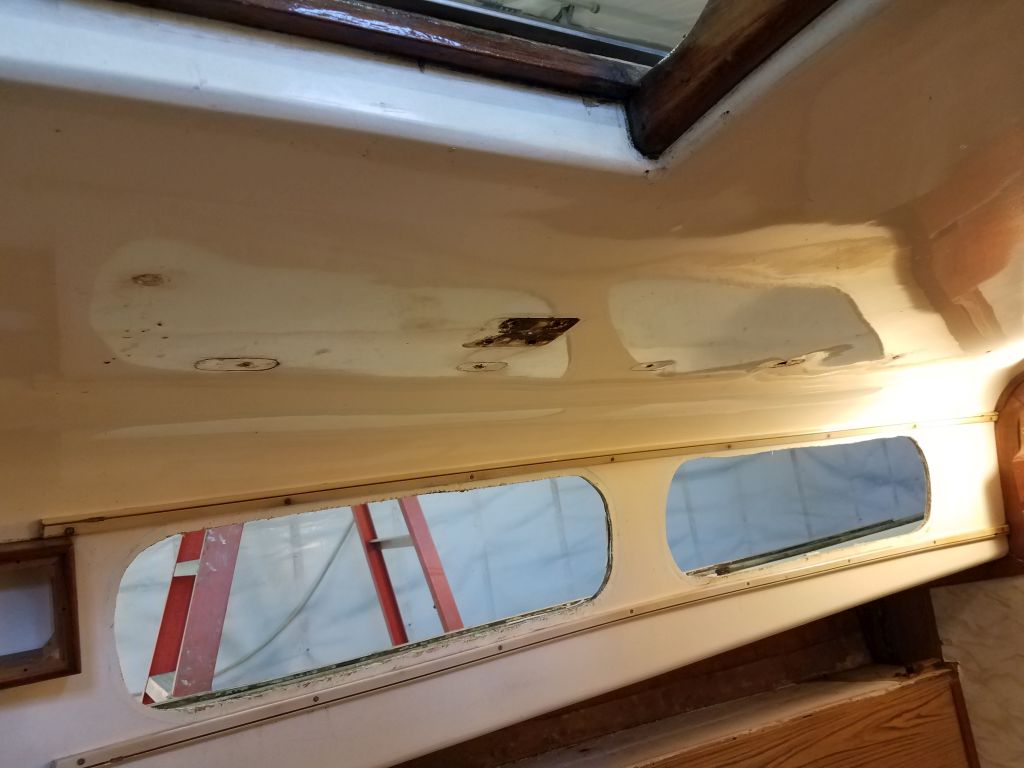
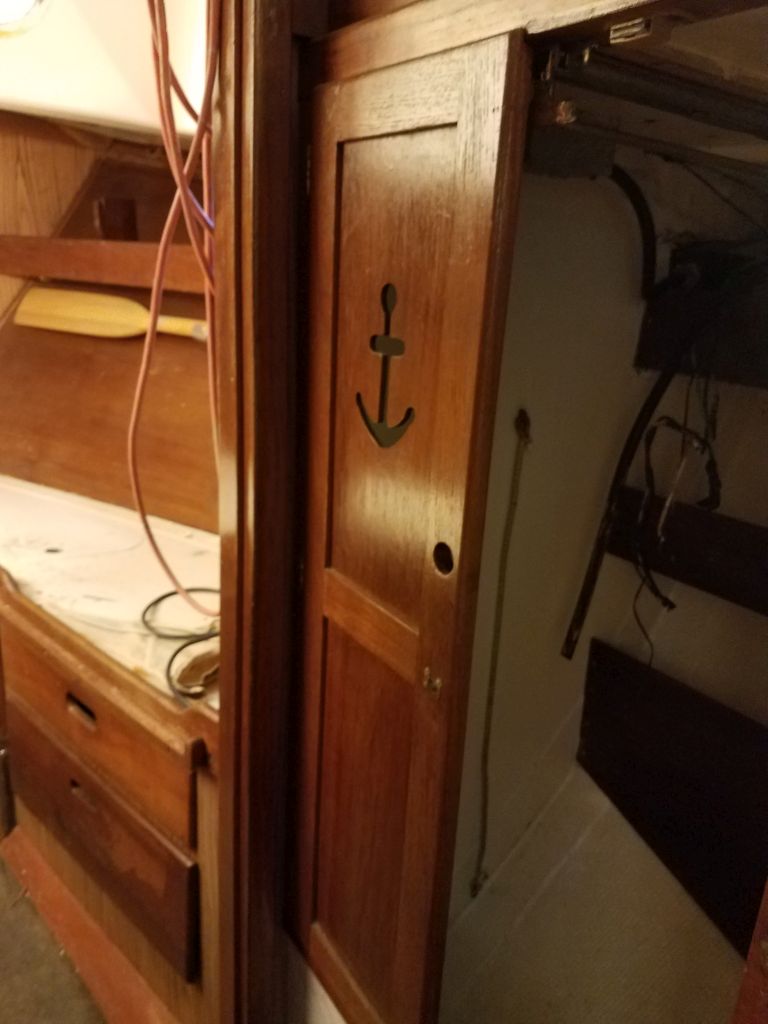
First, though, I wanted to wrap up the work in the cabin and coachroof. All that remained for now was the old teak handrails, which were through-bolted to the cabin trunk and, in the after four bolt locations, blind-bolted to a corresponding pair of short handrails in the main cabin. Earlier, I’d removed any nuts from inside that I could, but had already run into several that spin the fasteners (hidden inside the top rail beneath bungs). I was prepared to take whatever steps were required to attempt to remove the existing rails intact, as they were in fair condition if weathered and somewhat worn down by the ravages of time, but after talking it over with the owner we decided that there was no need to spend the time on a careful removal, as it made more sense to replace the rails in any event.
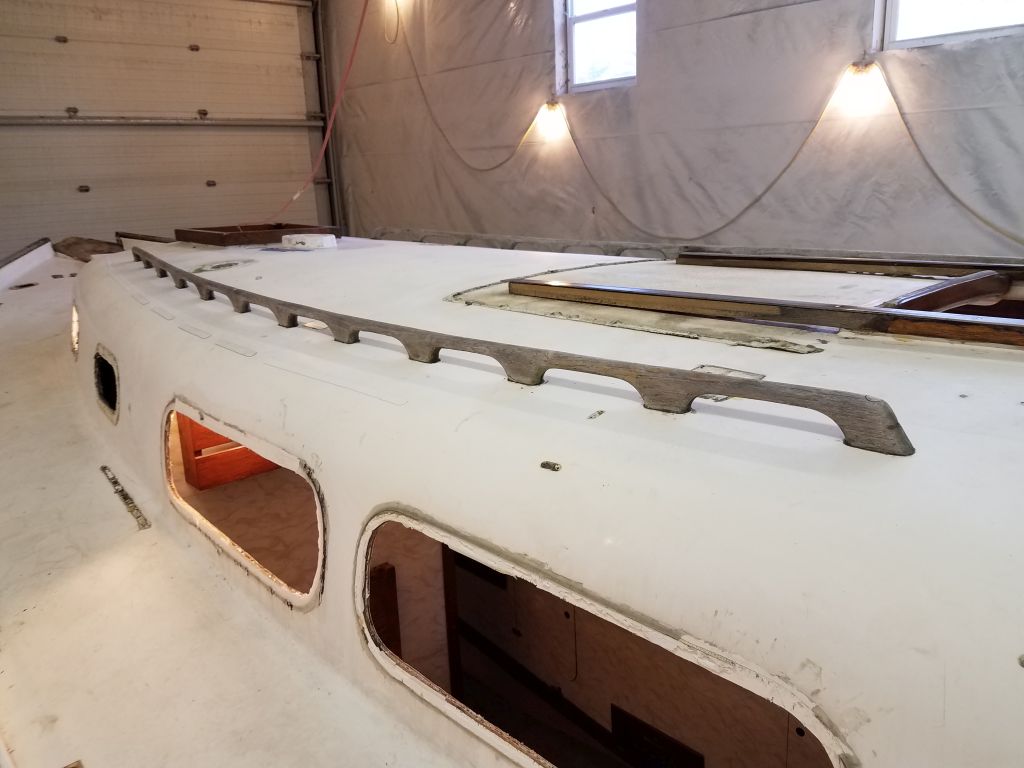
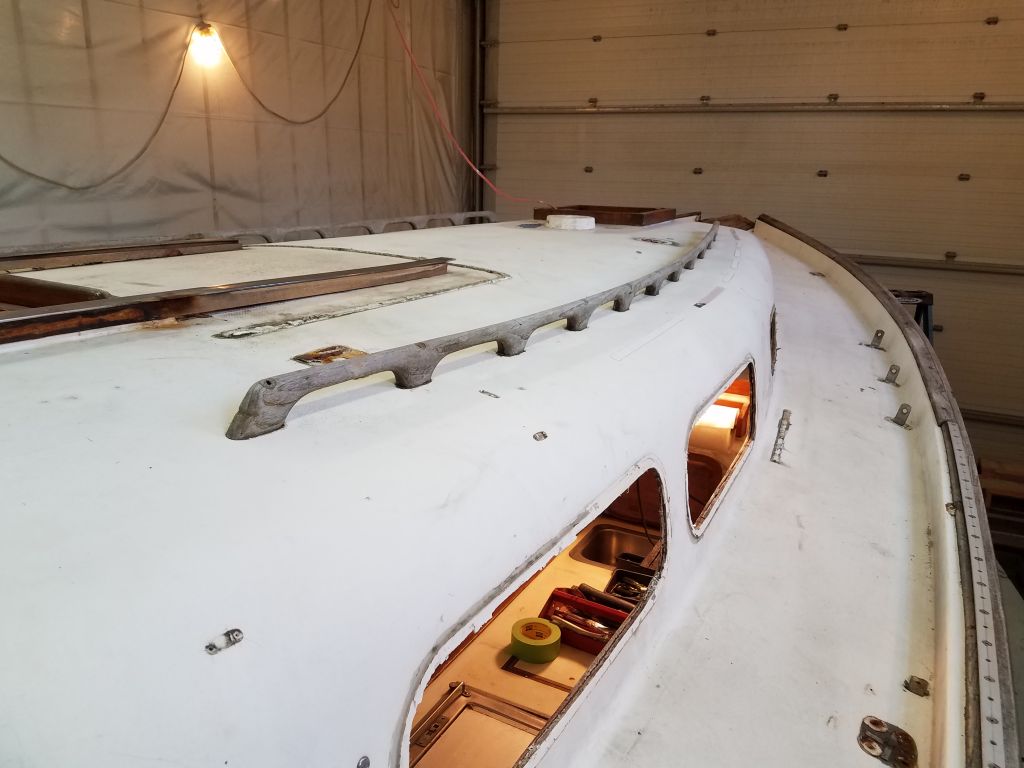
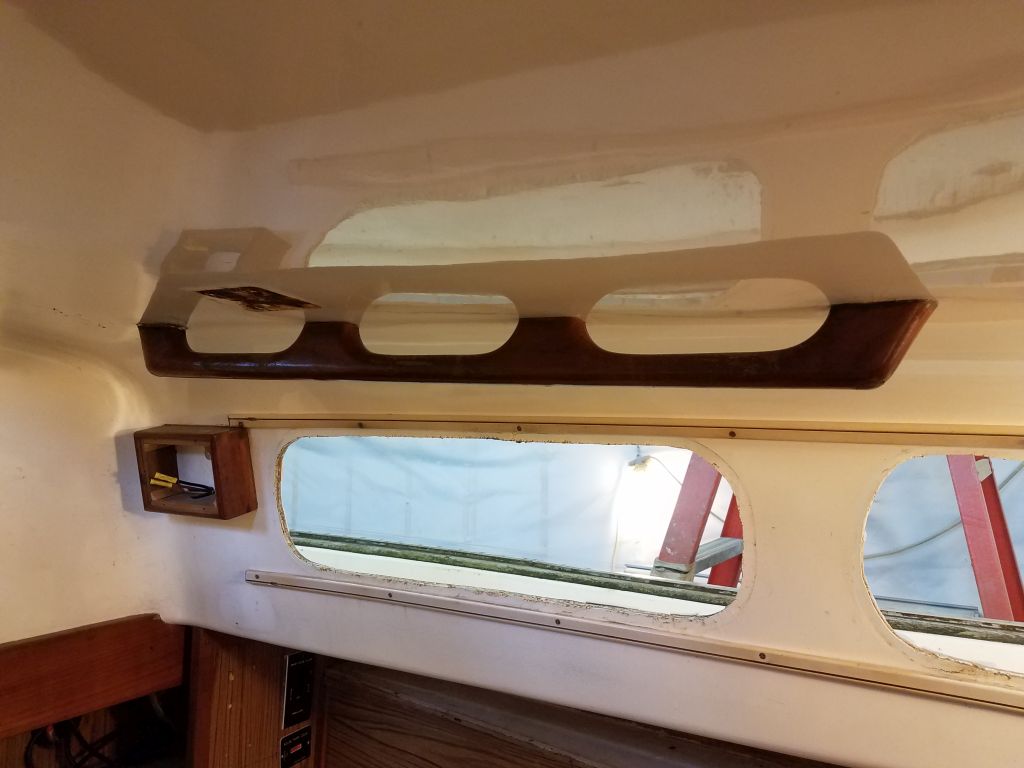
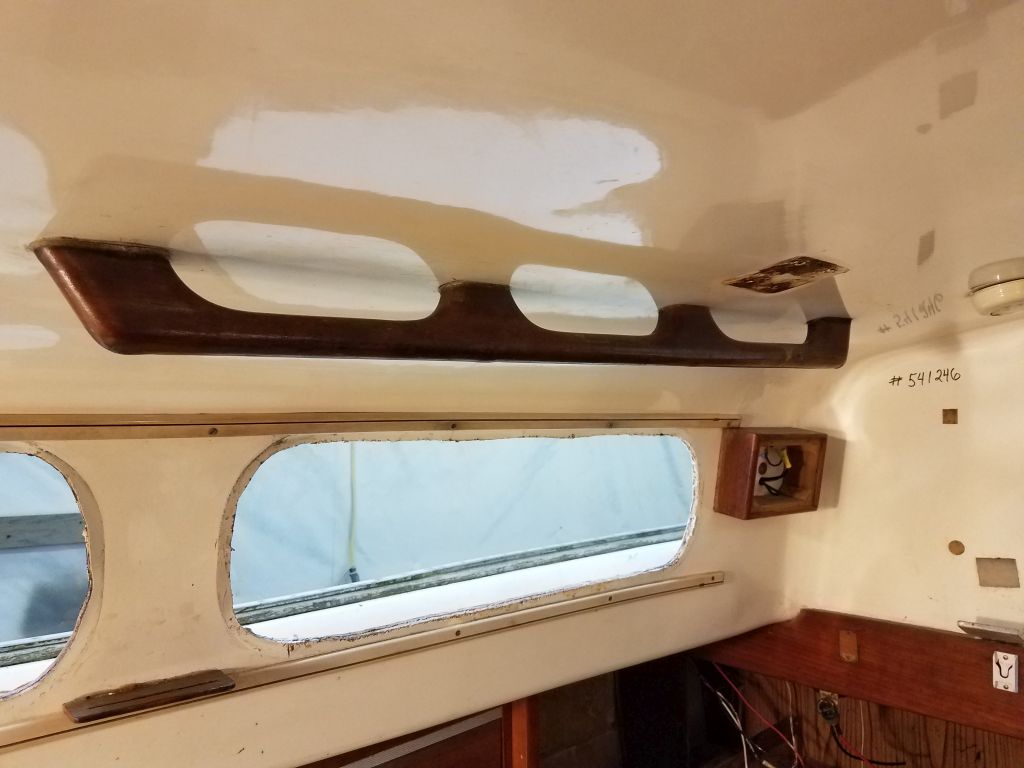
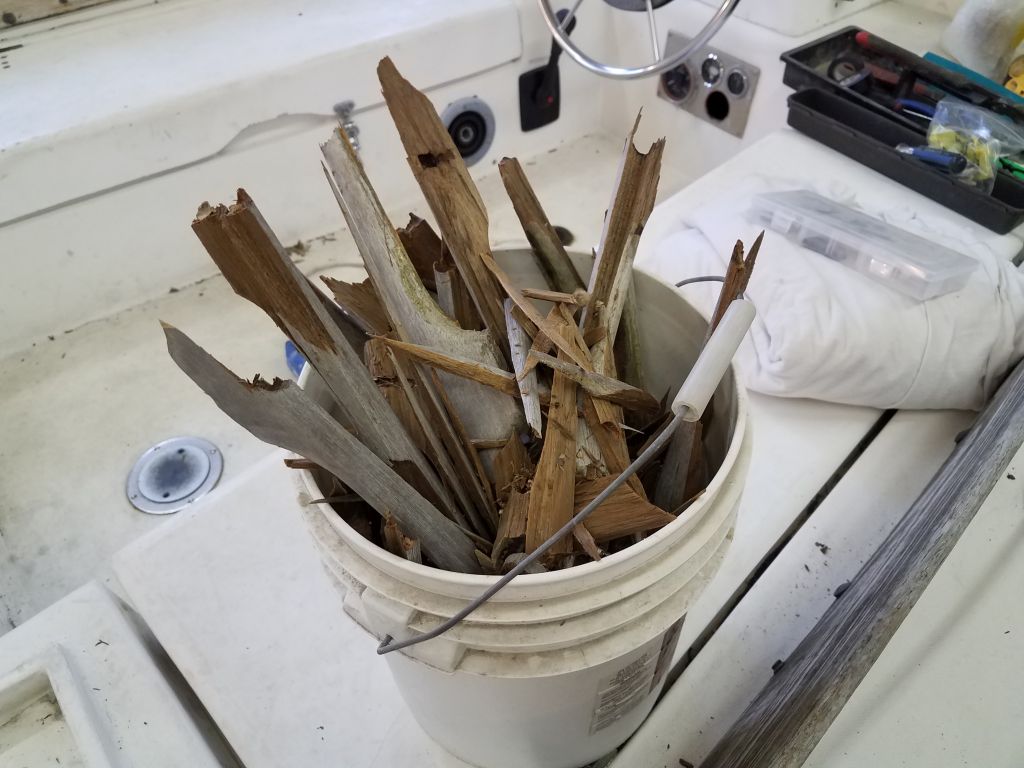
So rather than laboriously removing bungs and fighting with old and buried fasteners, I simply chiseled out the fasteners at each location, breaking free the handrails and exposing all the fasteners on both sides. Not a pretty process, but efficient. Then, I cut off the heads with a cutoff wheel, and pushed through the studs, completing the handrail removal in short order. I pulled free the interior rails with the cut fasteners still installed and set these aside for possible re-use.

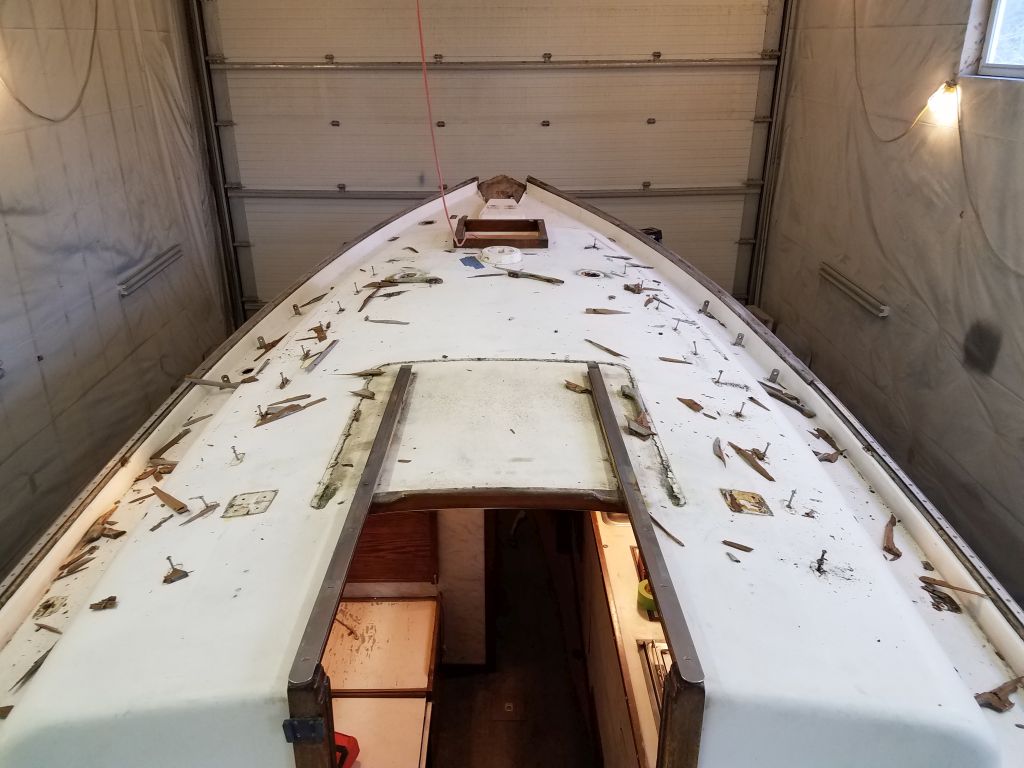
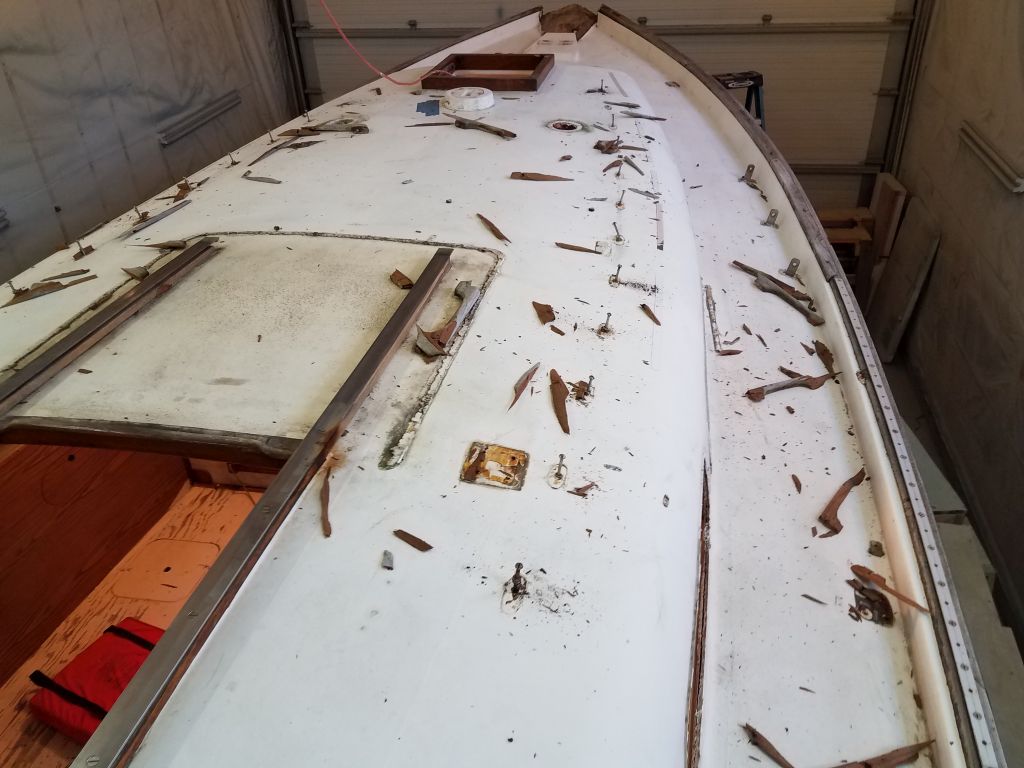


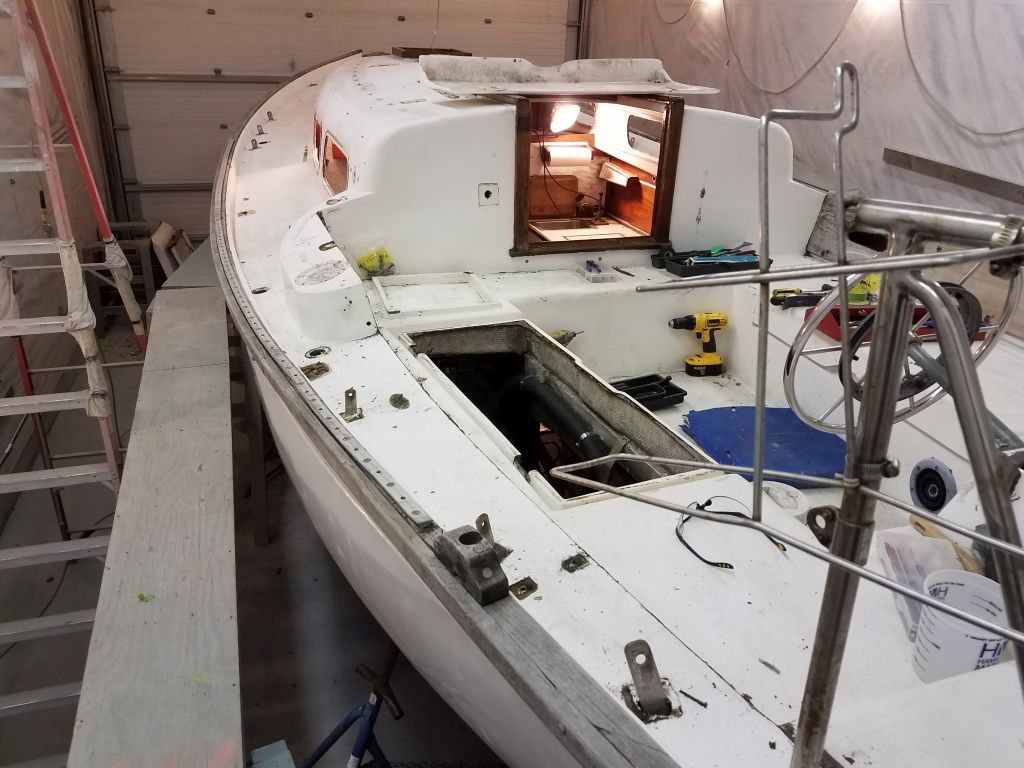
One of my tasks for later on was to inspect and address as necessary all the chainplates. To gain better access to the starboard main chainplates, two sets of which were located inside the hanging locker, I removed the interior locker doors, which in the narrow passageway made access to the locker inconvenient. I’d get to the chainplates in more details soon, but for the moment my goal was to finish all the hardware removal in the after part of the boat.

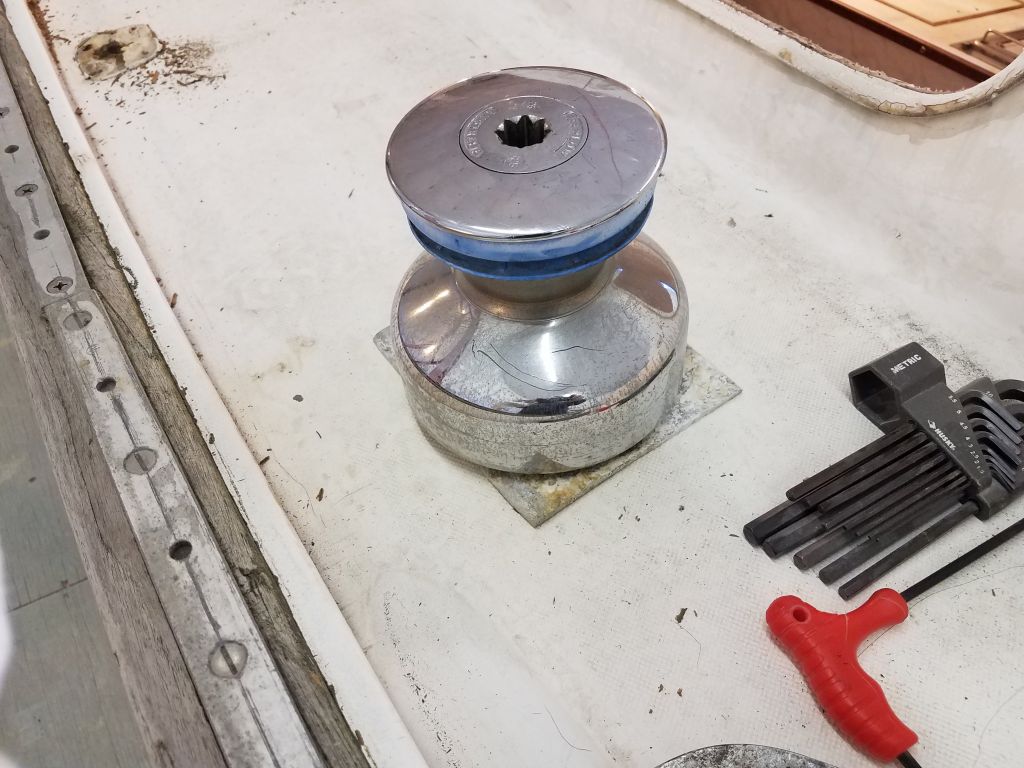
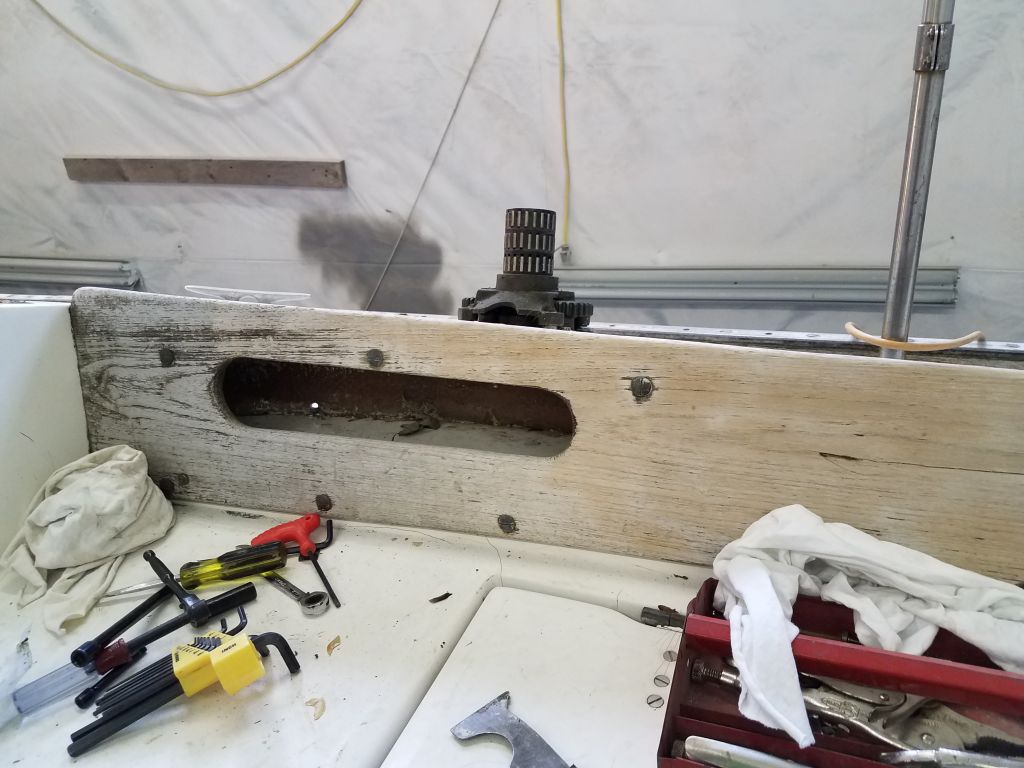
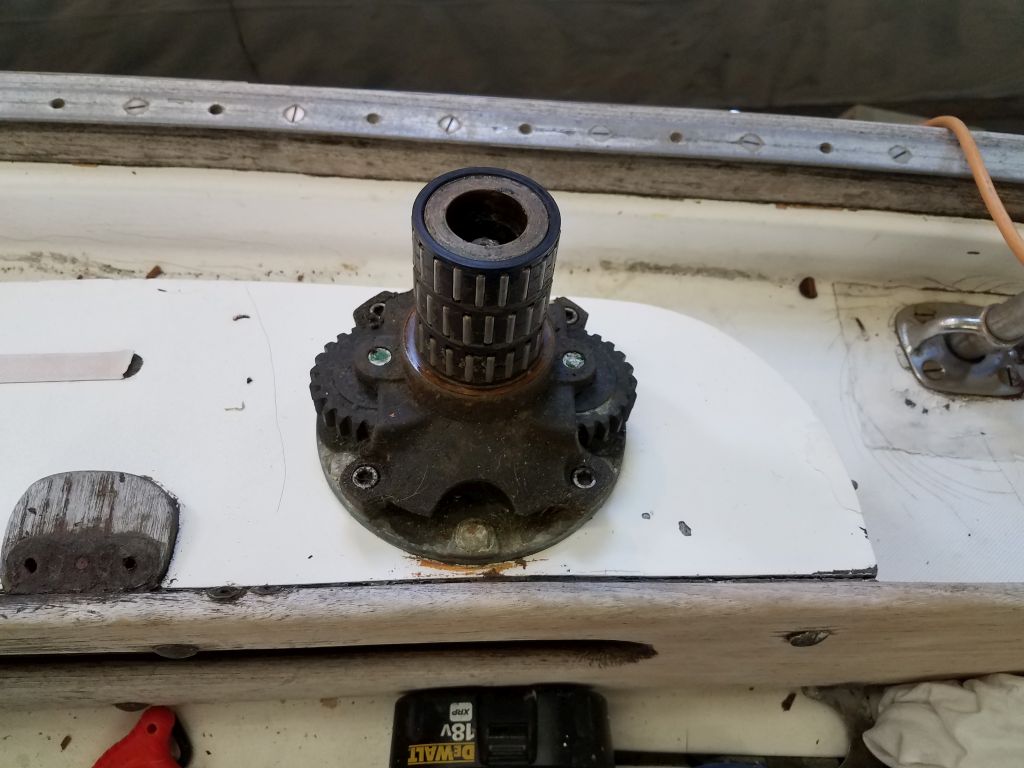
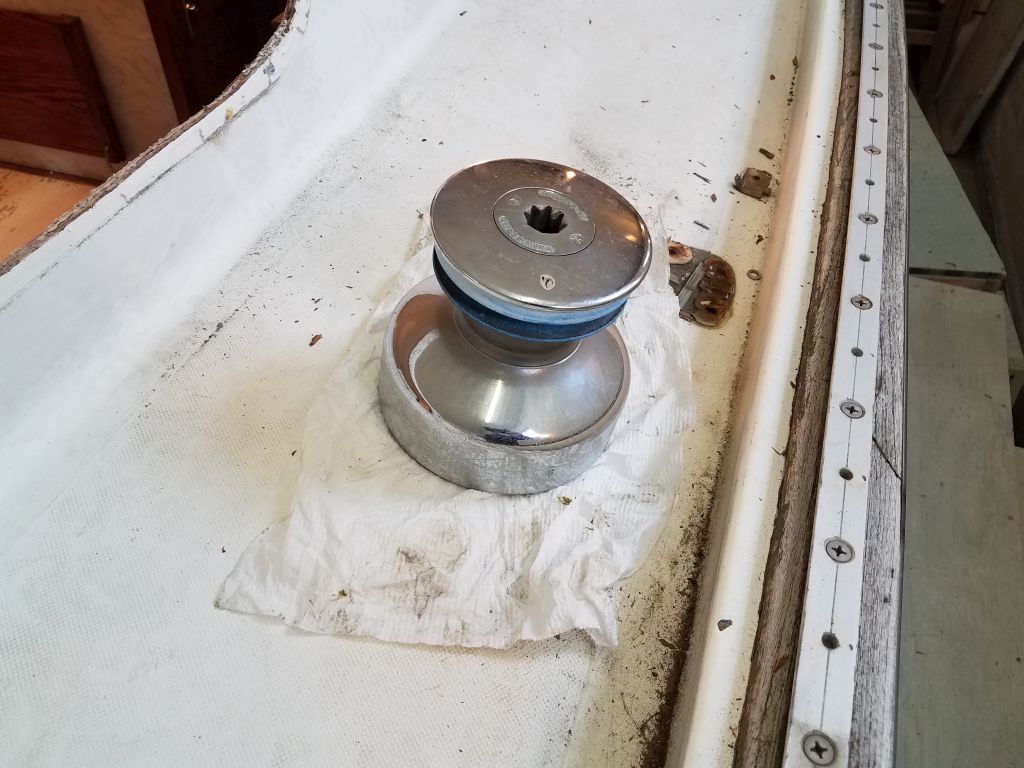
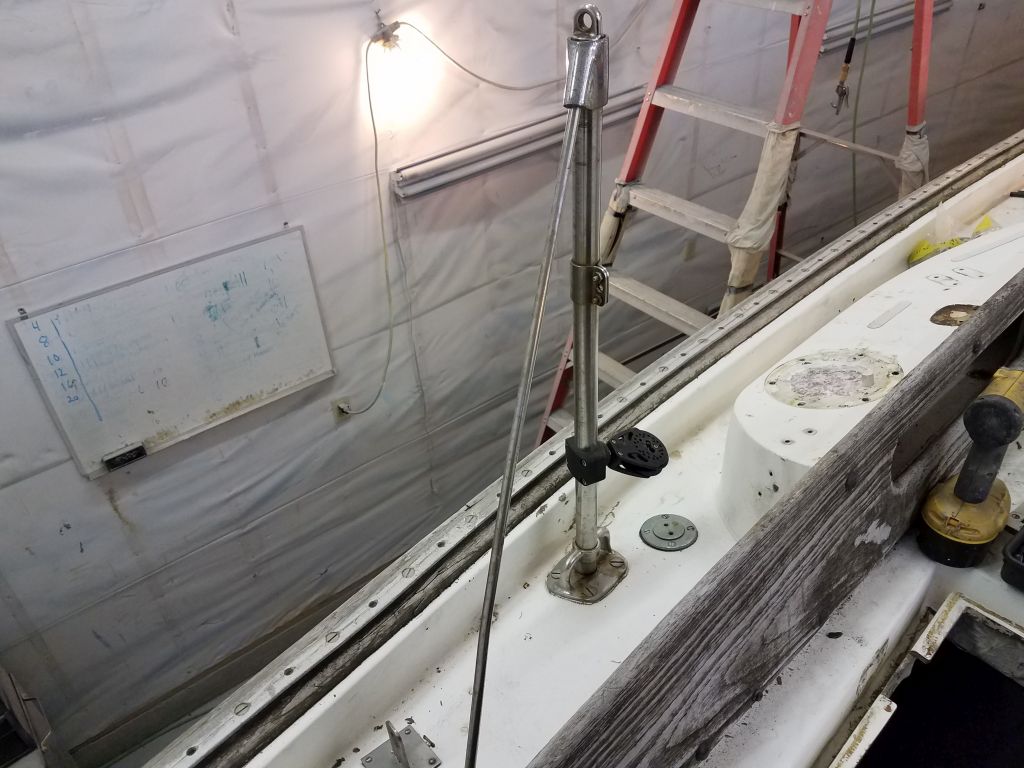
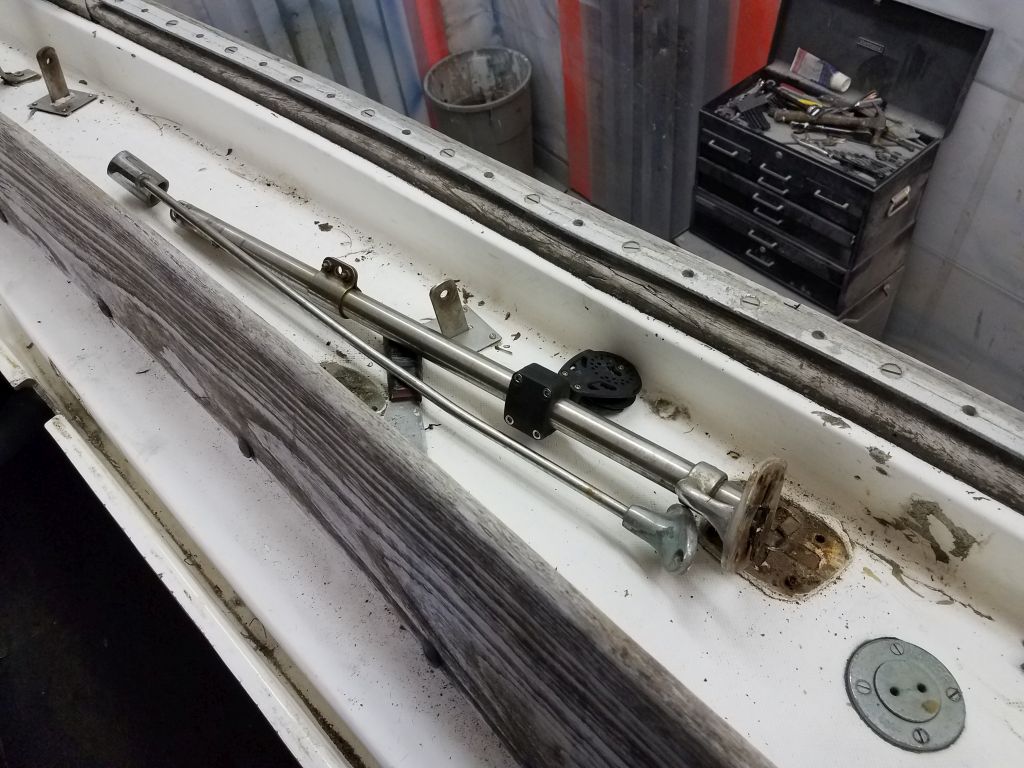
Ignoring for now the lack of access to the starboard side outboard and aft of the cockpit, I focused on the port side, starting with the winch island, on which was installed the sheet winch and, on this side, two cleats. After easily removing the winch drum to expose the innards and the bolts securing the winch to the island, I prepared to remove the winch, only to discover that the design of the winch base and its mechanisms–along with the fact that someone had used hex-head bolts to secure the winch–limited access to some of the bolt heads, which wouldn’t allow a socket or wrench to fit the hex head. The base was designed for flat head machine screws, with countersunk holes milled into the base, and it would have been possible to get a screwdriver or driver bit onto such fasteners, but the hex heads in three of the six locations did not allow for wrench access as is.
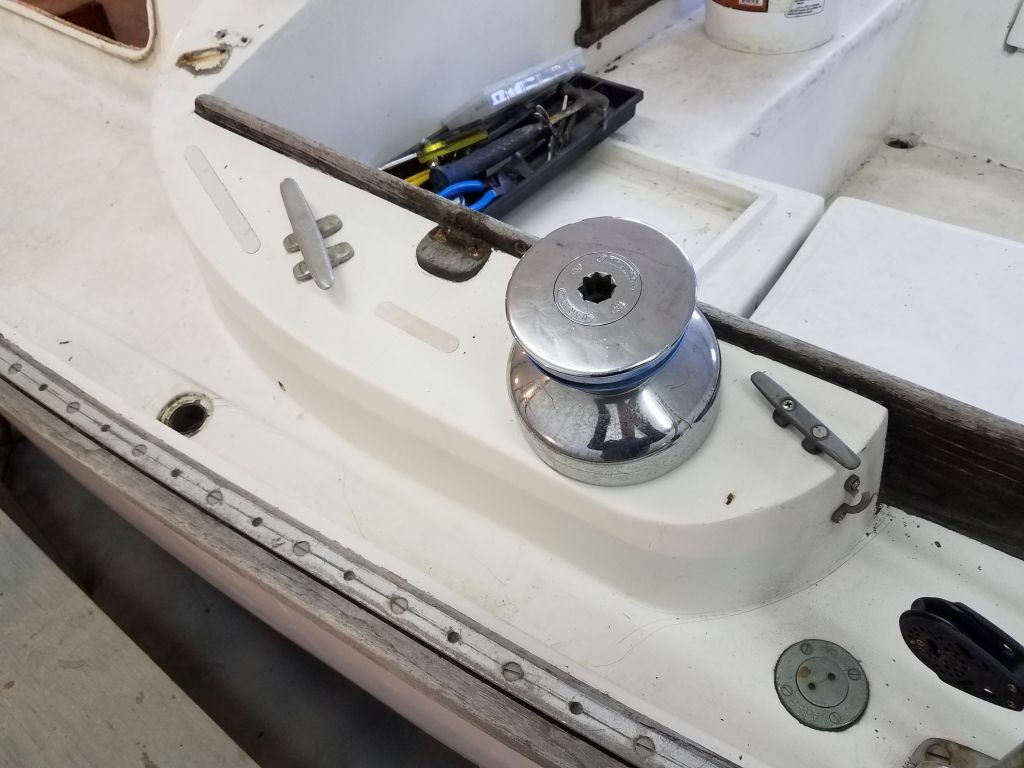
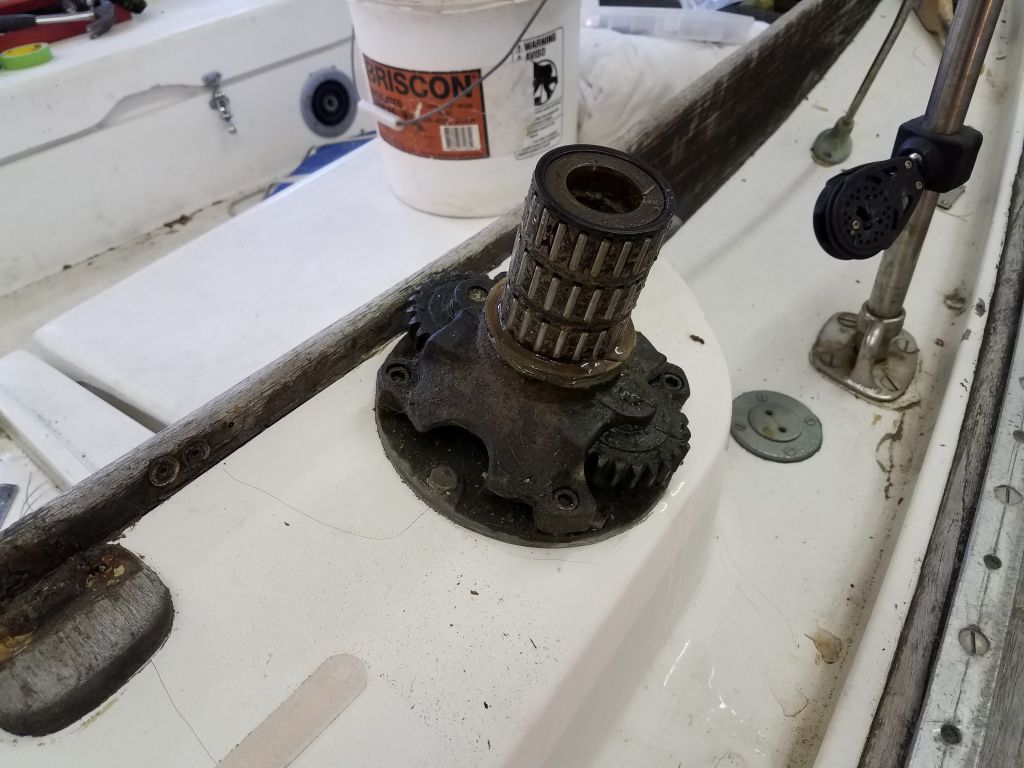


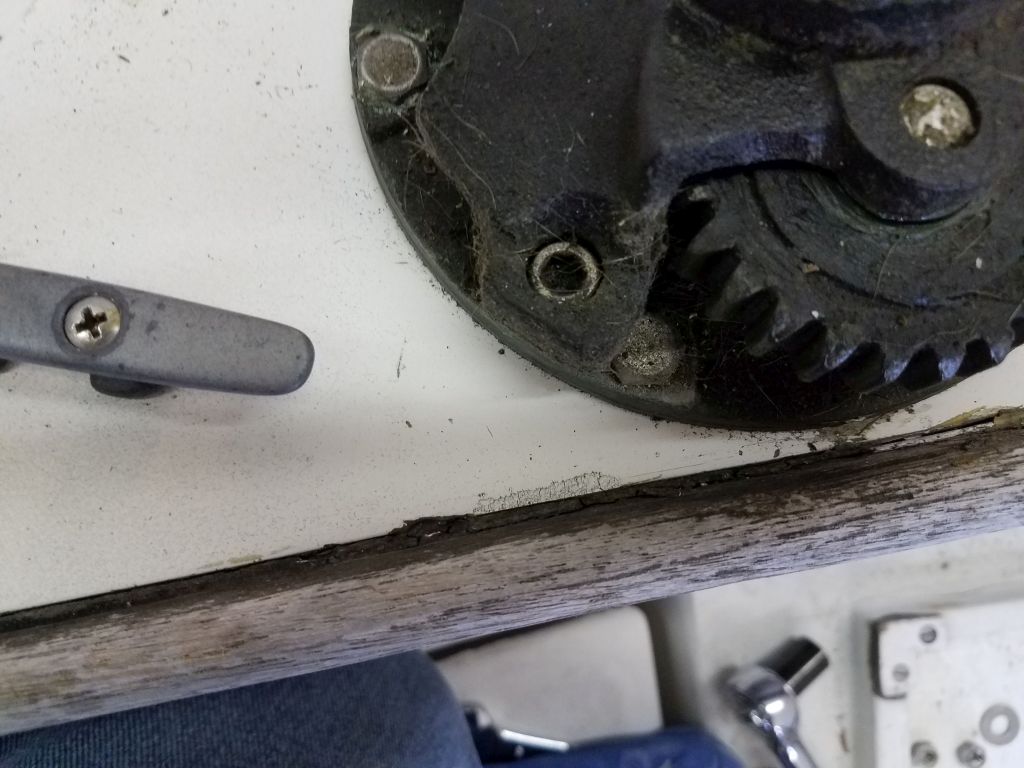
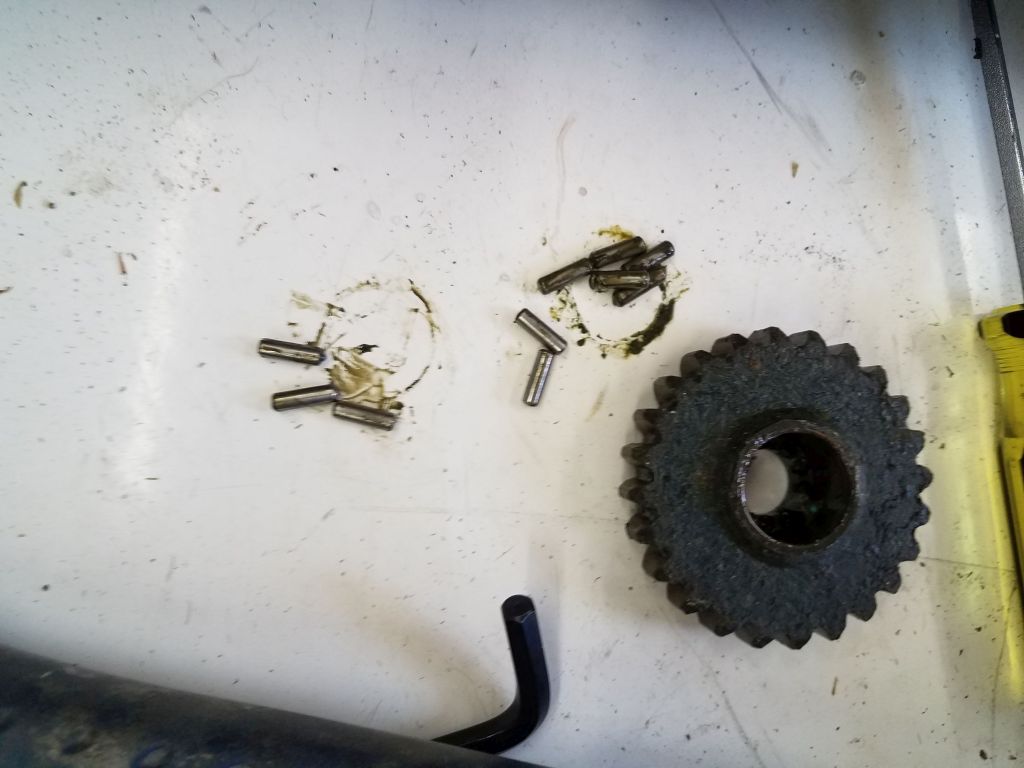
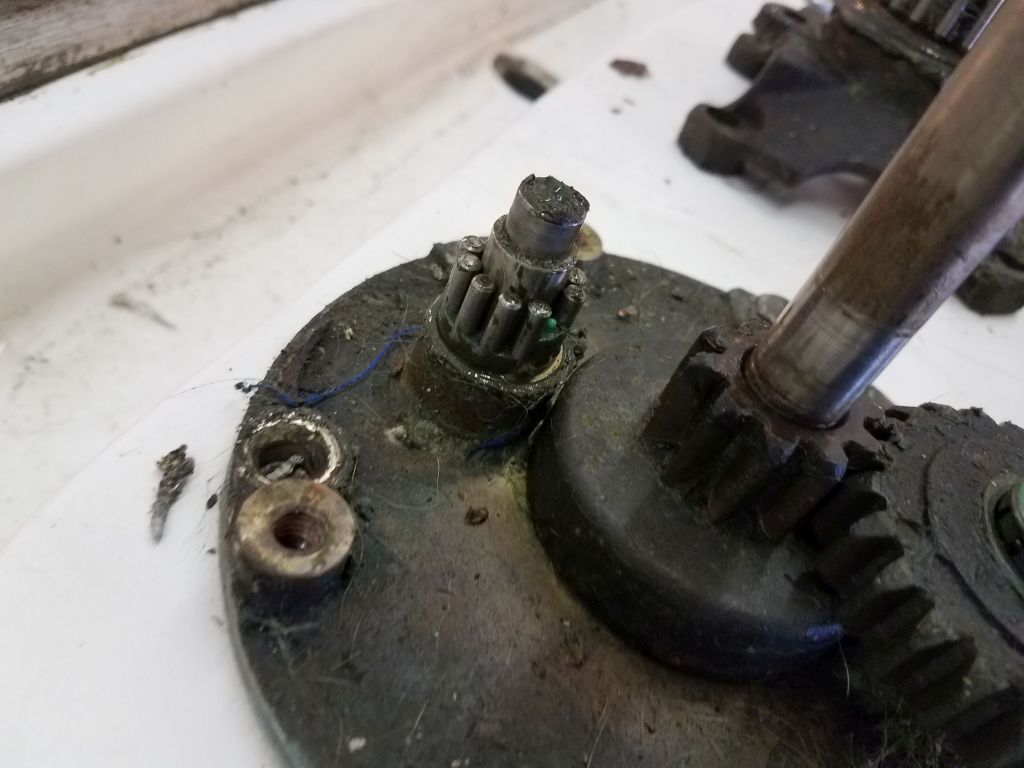
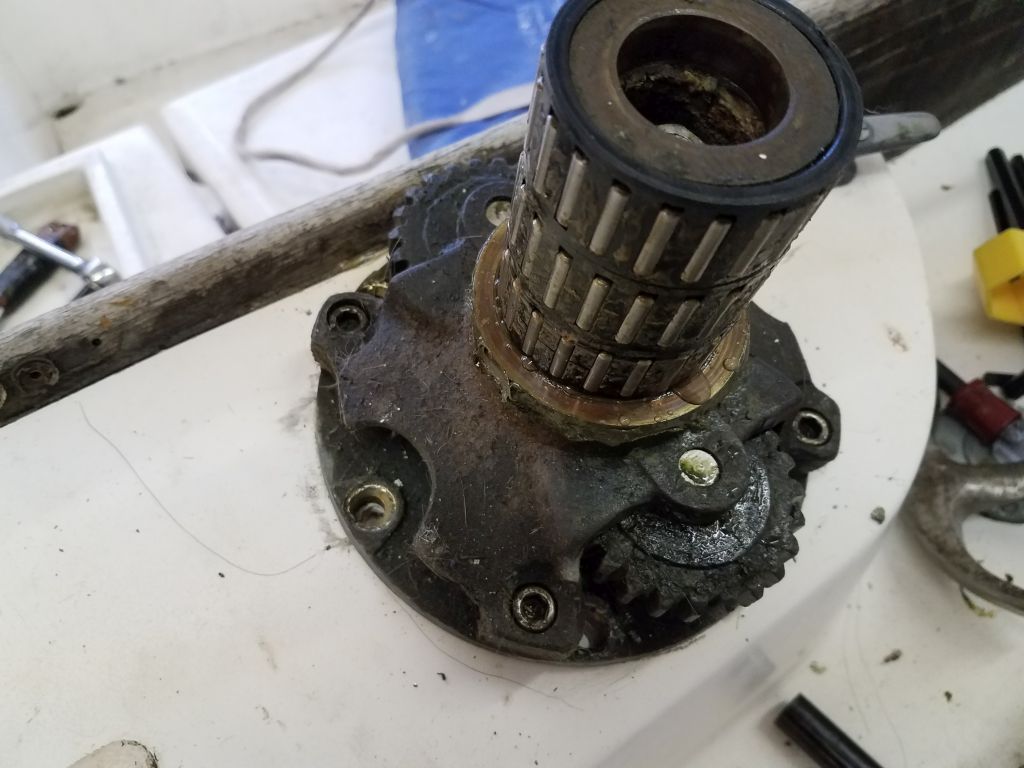
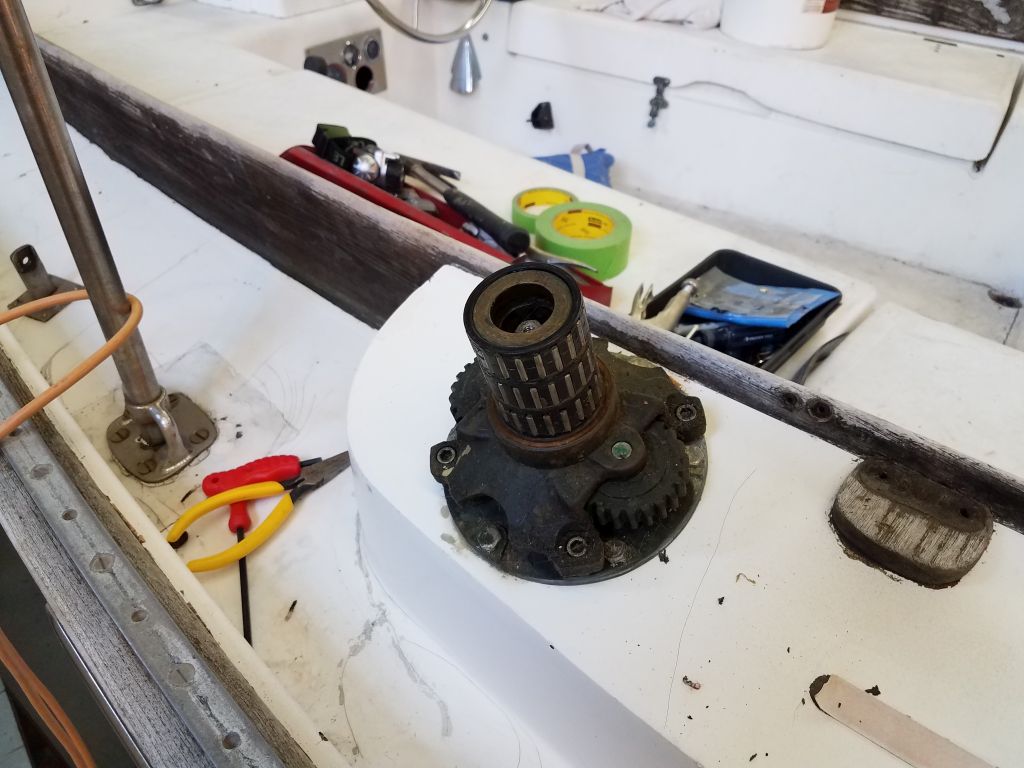
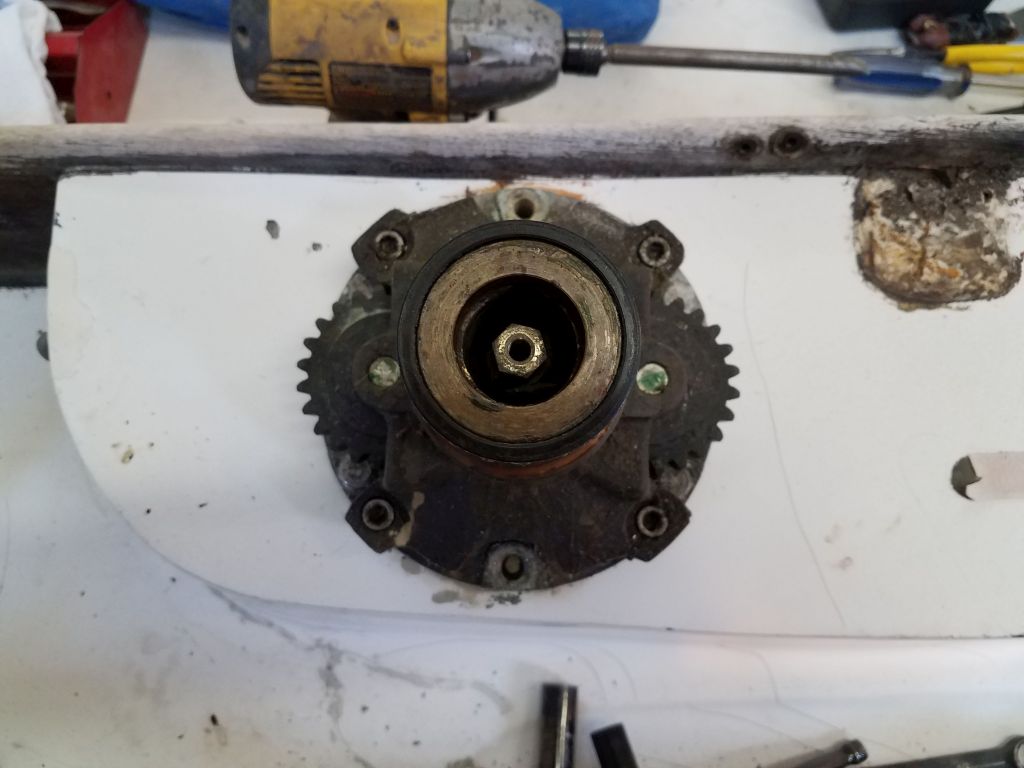
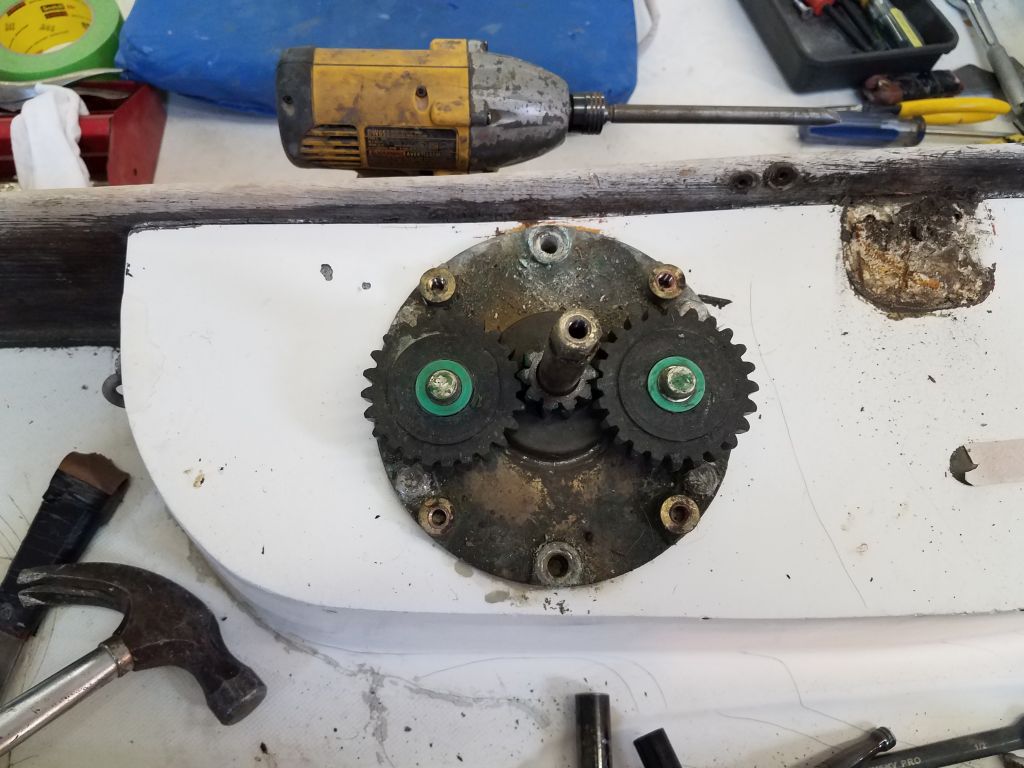
With the nuts removed, my first thought was to simply pry up the winch base, bolts and all, and deal with removing the bolts from the bases later. However, the base was immobile when I attempted to pry beneath, stuck either because the bolts were corroded into the aluminum backing plate, or else with sealant (which would later prove to be the case). Instead, I realized I could remove more of the winch housing to increase access to the bolt locations, a simple–if frustratingly unnecessary–matter of removing four Allen screws, after which I could remove center part of the winch. This freed the two large gears, which were directly in the way of the fastener heads. I lifted off one of the gears only to find that it contained loose roller bearings–who knew? These scattered about, but fortunately I contained them all and despite my initial disbelief and annoyance, I found that reassembling them would be easier than I’d feared. Never mind the poor design and installation that led to this requirement in the first place. That’s a topic for an other time. All that mattered right now was removing the hardware.
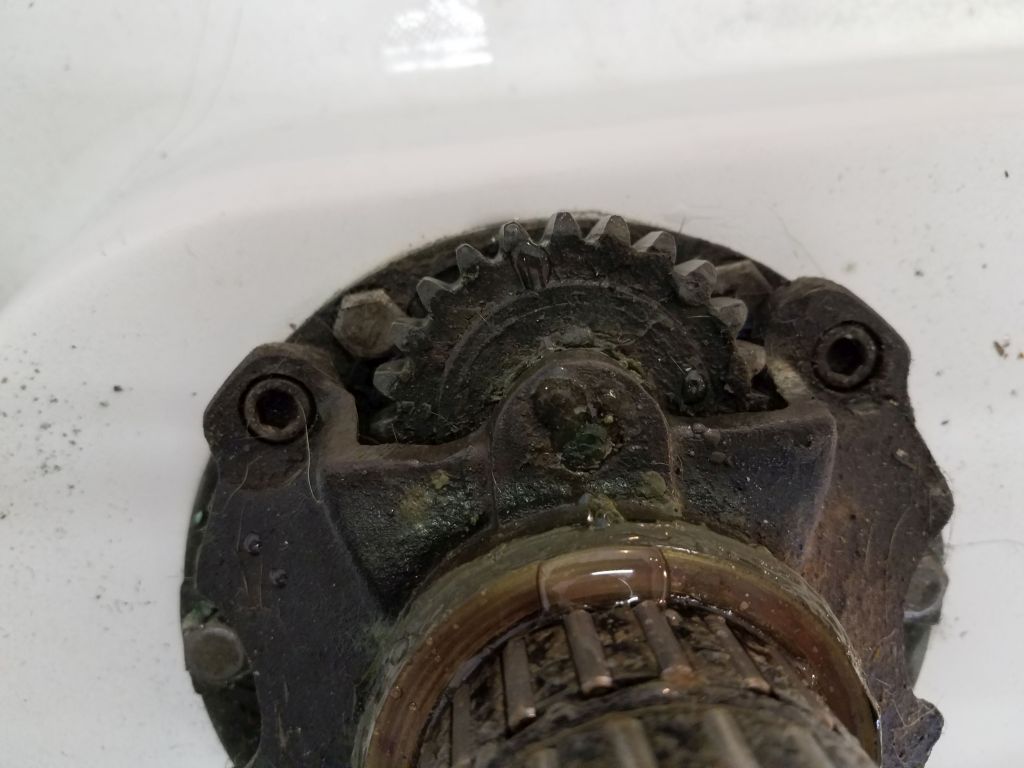
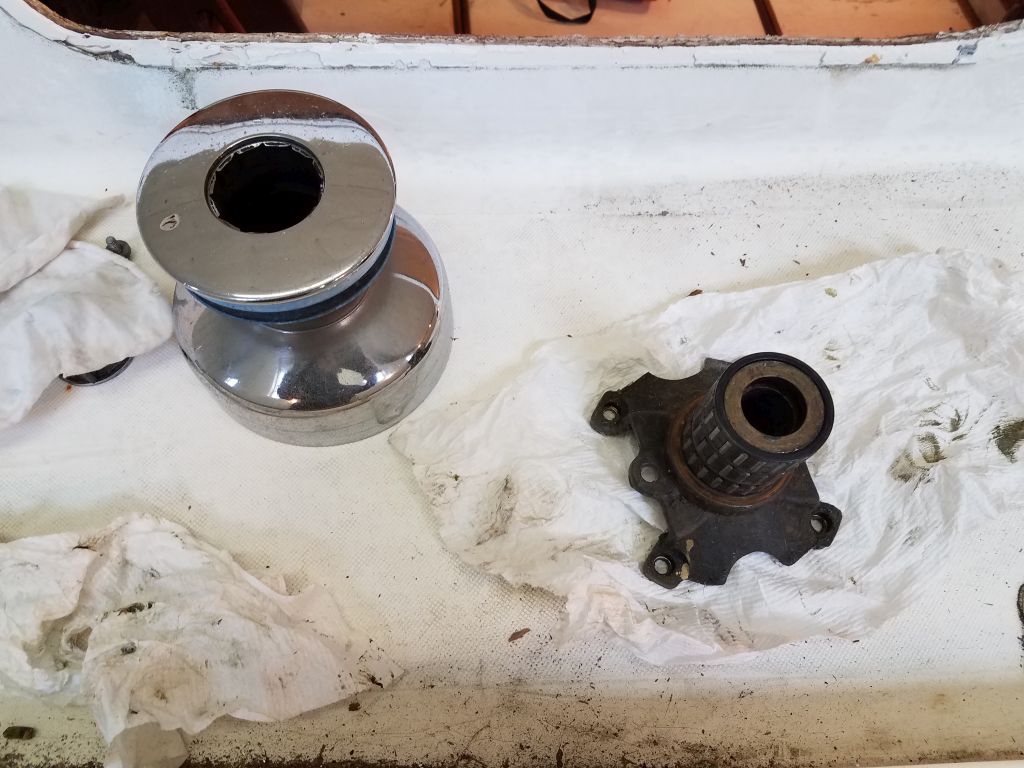
With the gear out of the way (I left the second gear in place, not wanting to tempt fate), I eventually managed–still with difficulty–to remove the remaining fasteners. The winch base was still solidly adhered to the island, so before prying it off I reinstalled the gear and its bearings, and the housing to secure them back in place, before finally and with substantial effort with a flat bar managing to pull the winch free, along with a good chunk of the winch island beneath. Apparently this winch was installed with an adhesive sealant. These are among the reasons that something so seemingly simple as taking off a few screws can take such a long time on these old boats. And here I was, thinking that by starting with the winch islands I’d be starting with the easiest thing.
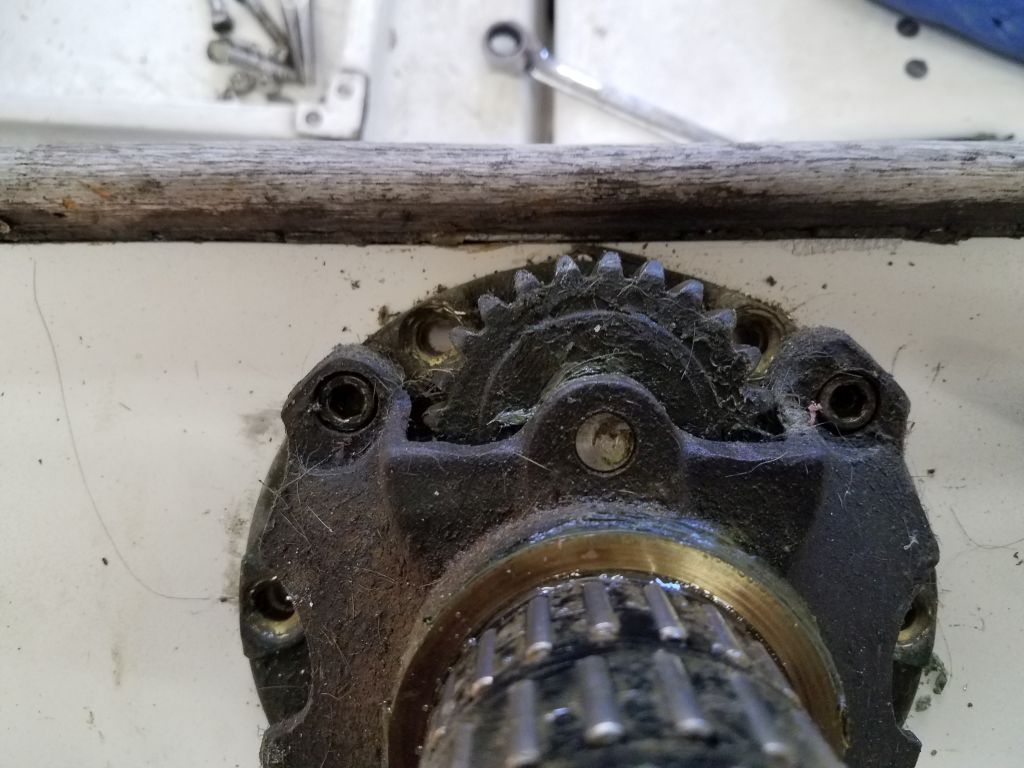


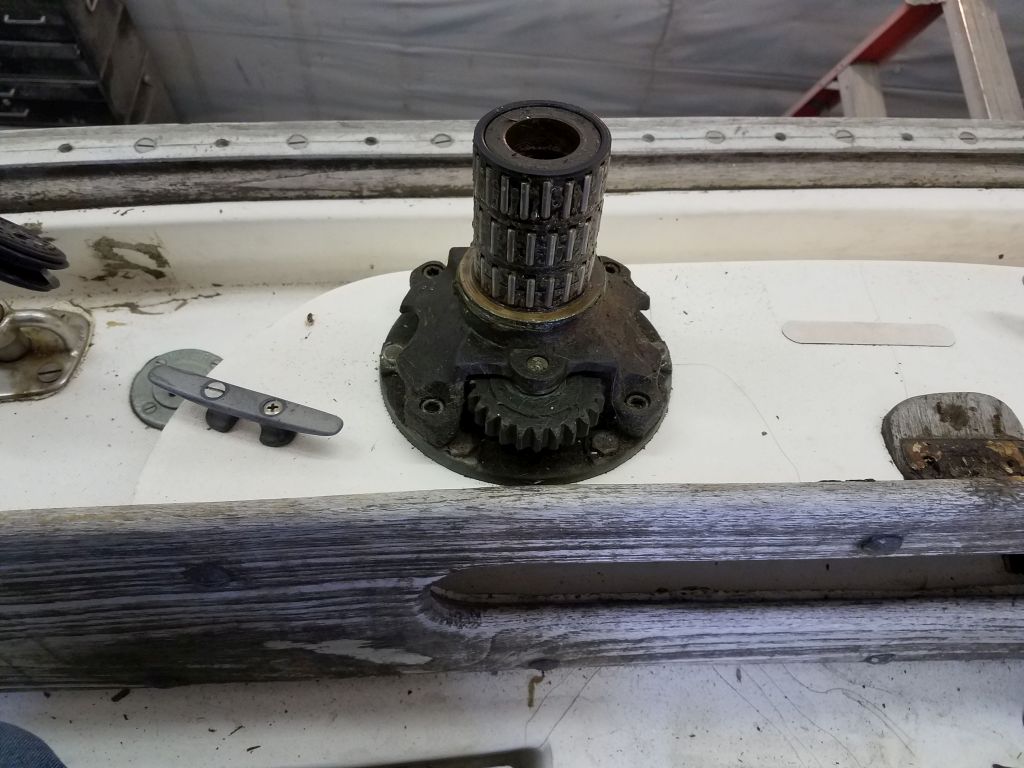
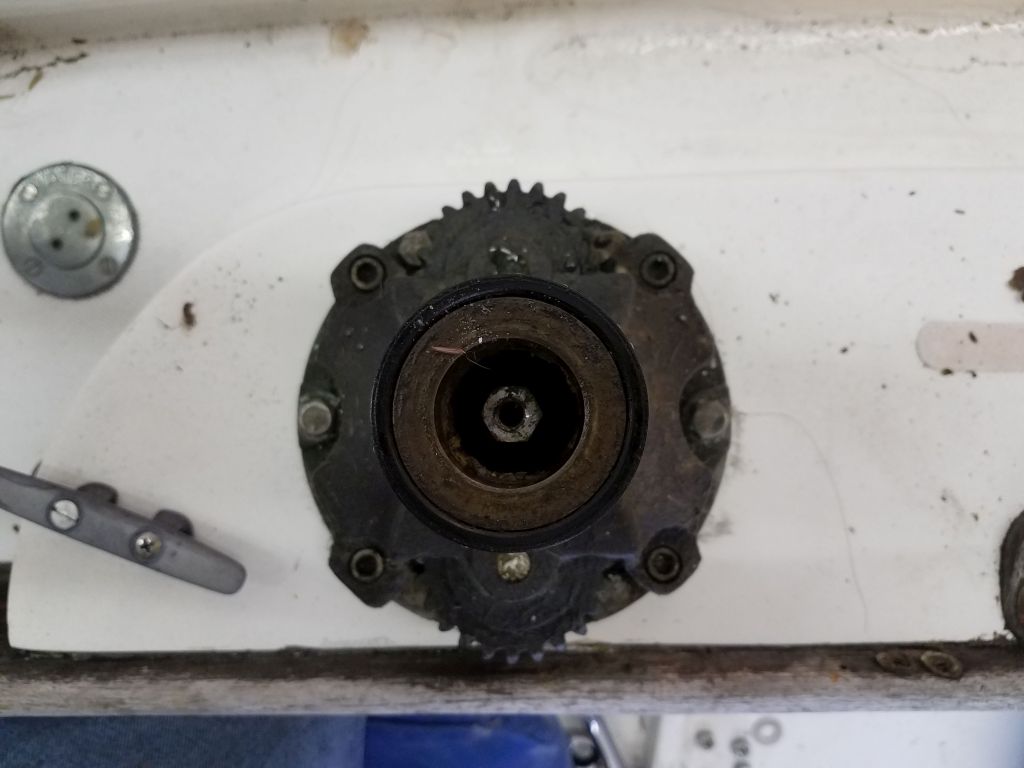
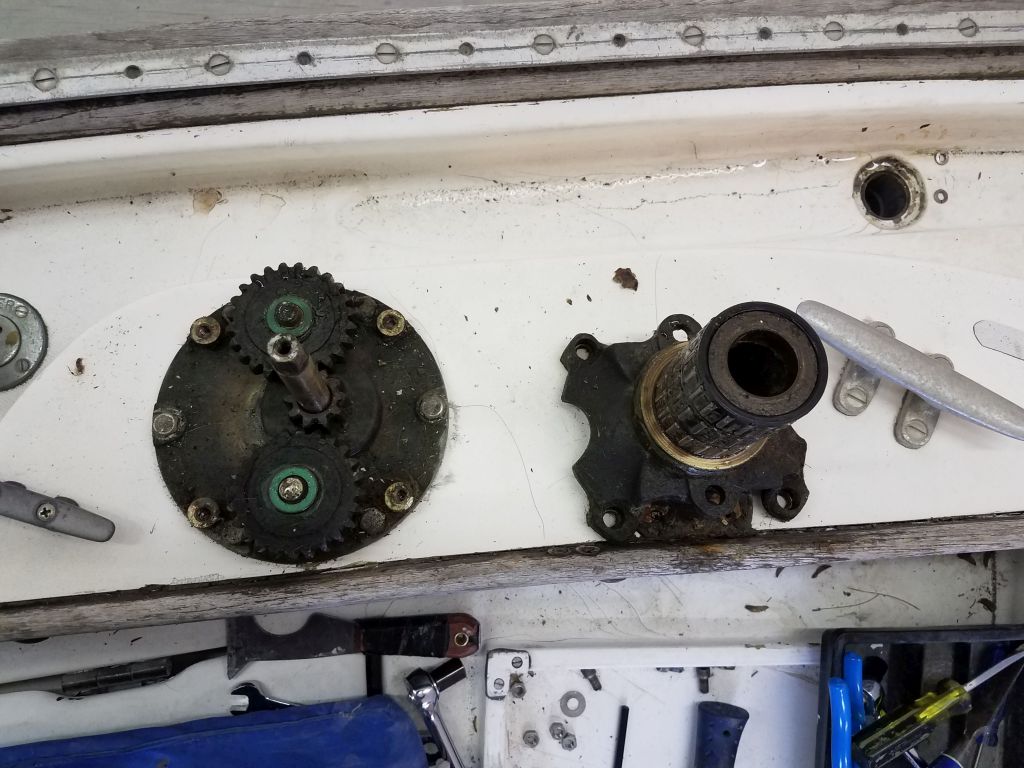
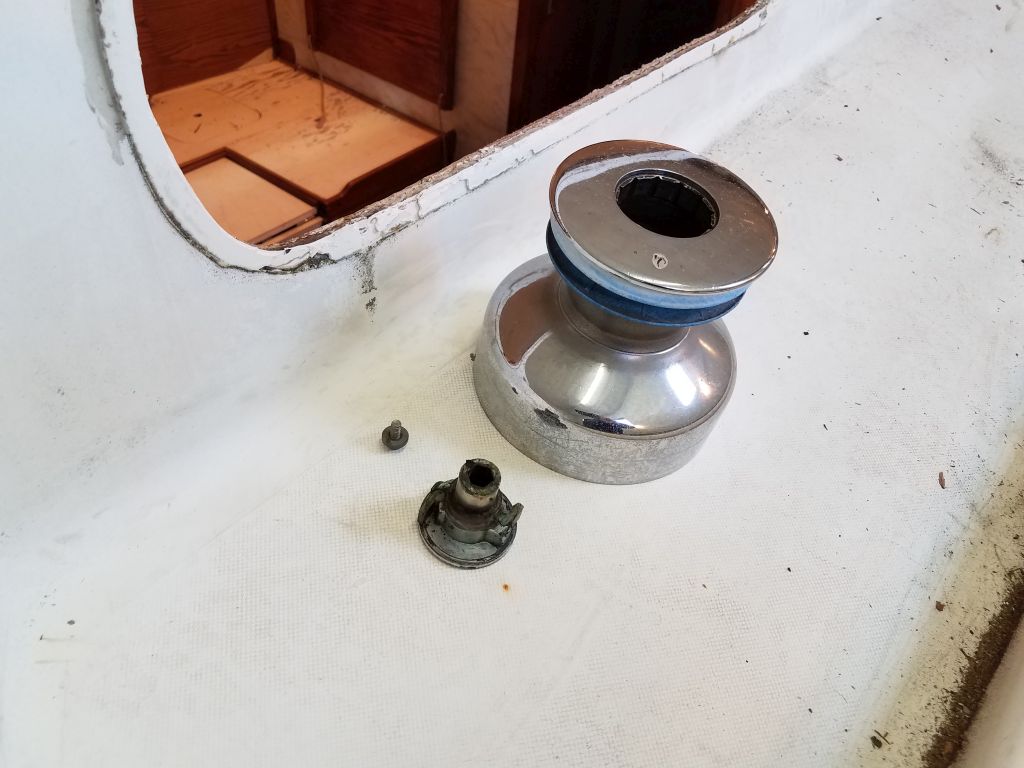
Armed with my hard-won knowledge, I turned to the starboard winch island. This time, everything went more easily, as I was prepared for what I needed to do. While I still had to remove more of the winch innards than anyone would ever thing would be appropriate for such a basic task, this time I avoided removing the gears completely, but even so there was one bolt that I could only back out so far before the angle simply prohibited the head from passing by the gear above. But it was loose enough that I could pry the winch off the island, including the single recalcitrant bolt, and on this side of the boat the winch didn’t seem to have the huge blob of adhesive beneath, so the base came off more easily and without undue damage to the boat. Even so, this silliness with the winches took up the entire balance of the morning, when I’d expected it to take not even half that.


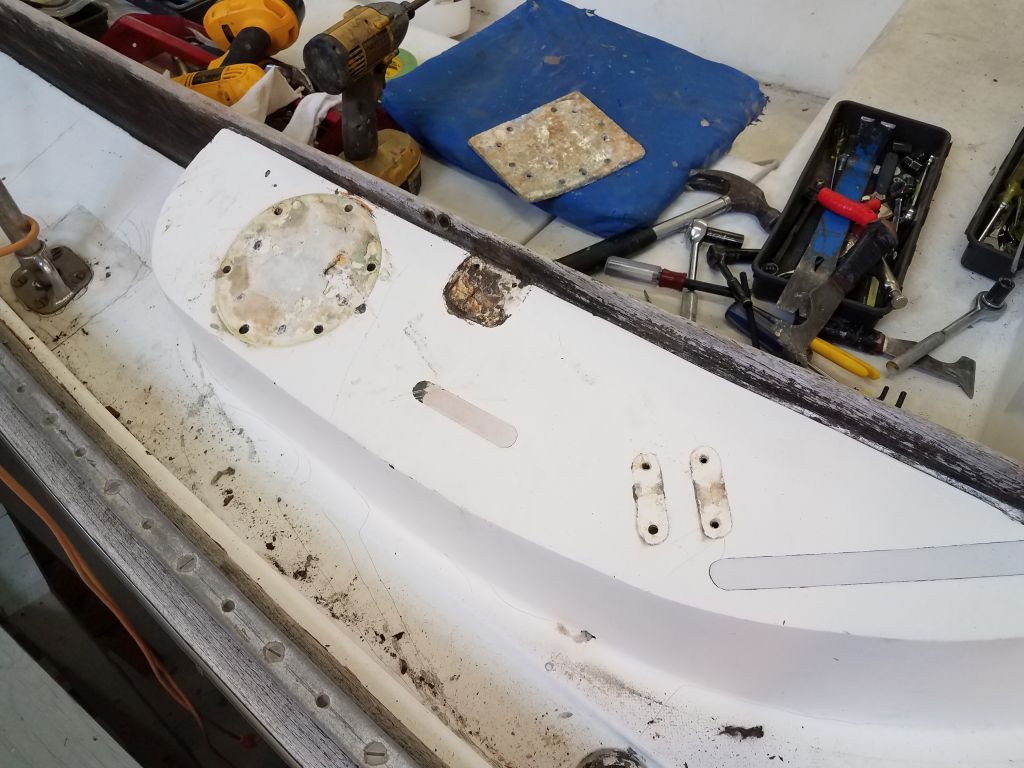
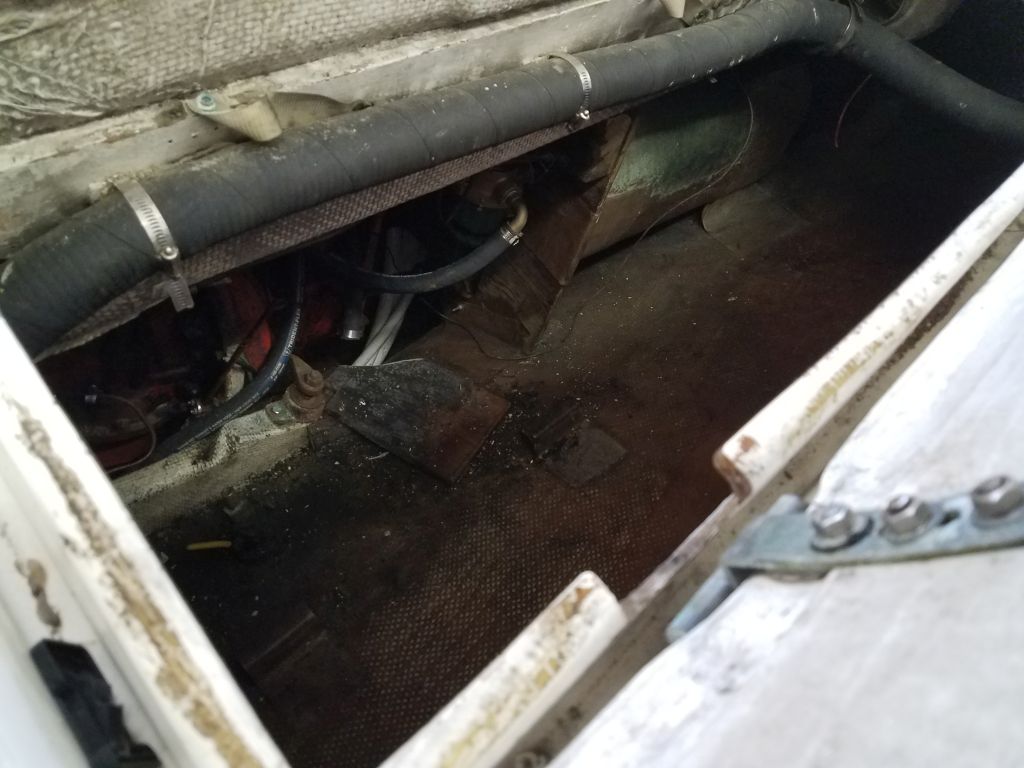
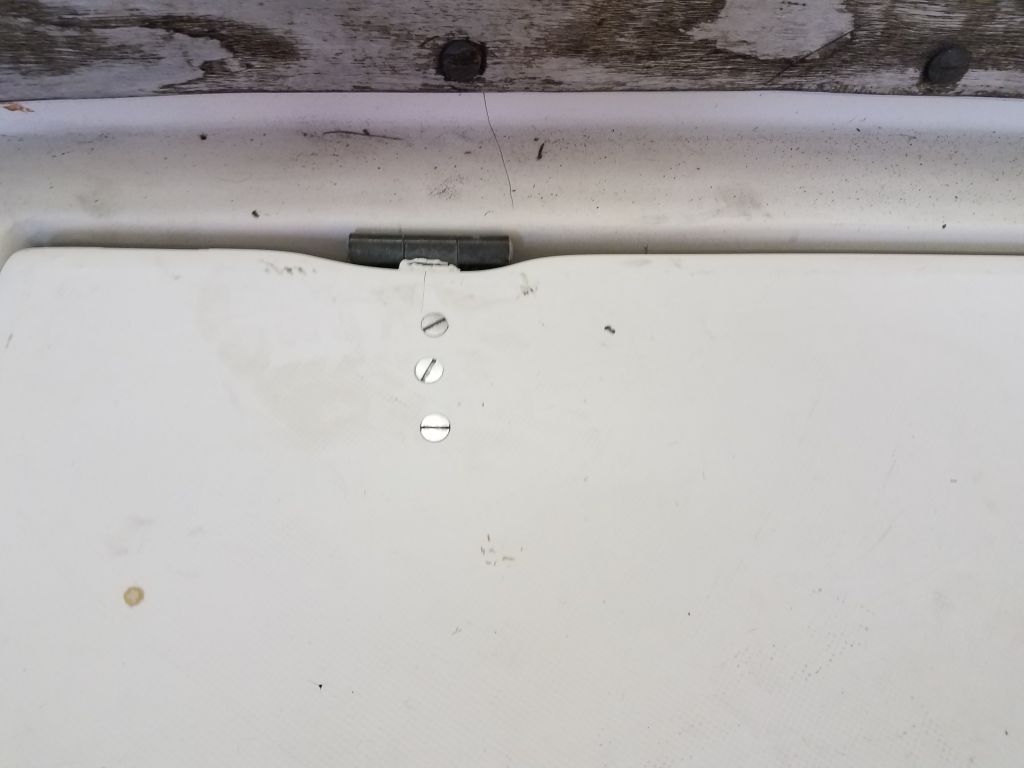
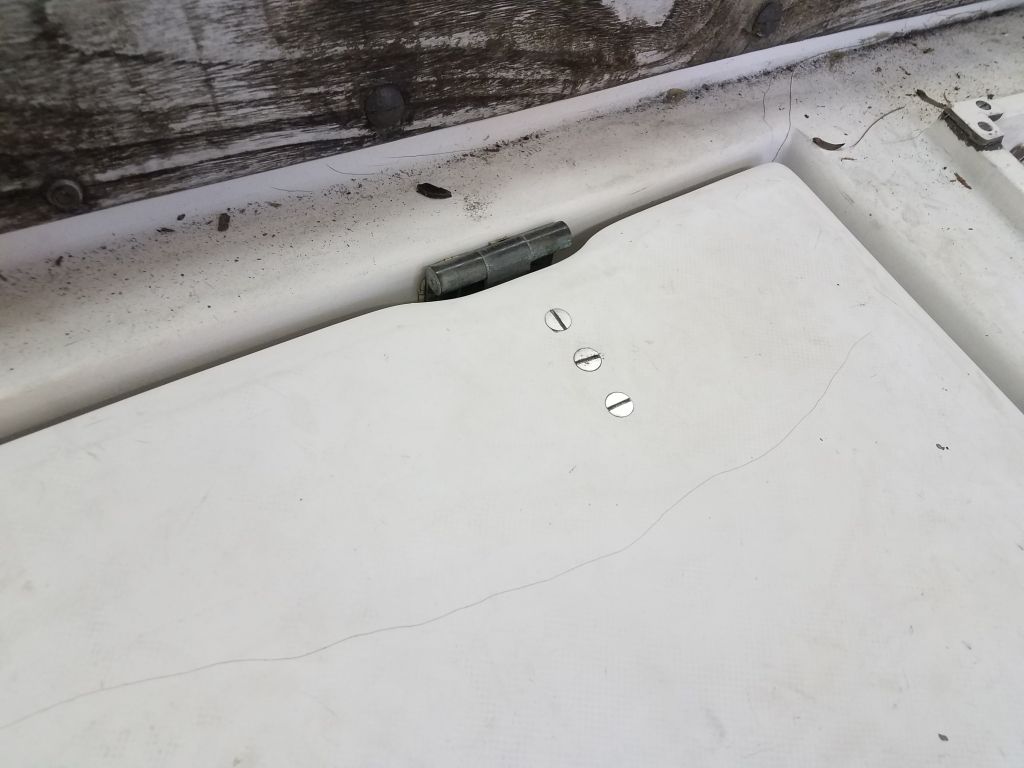
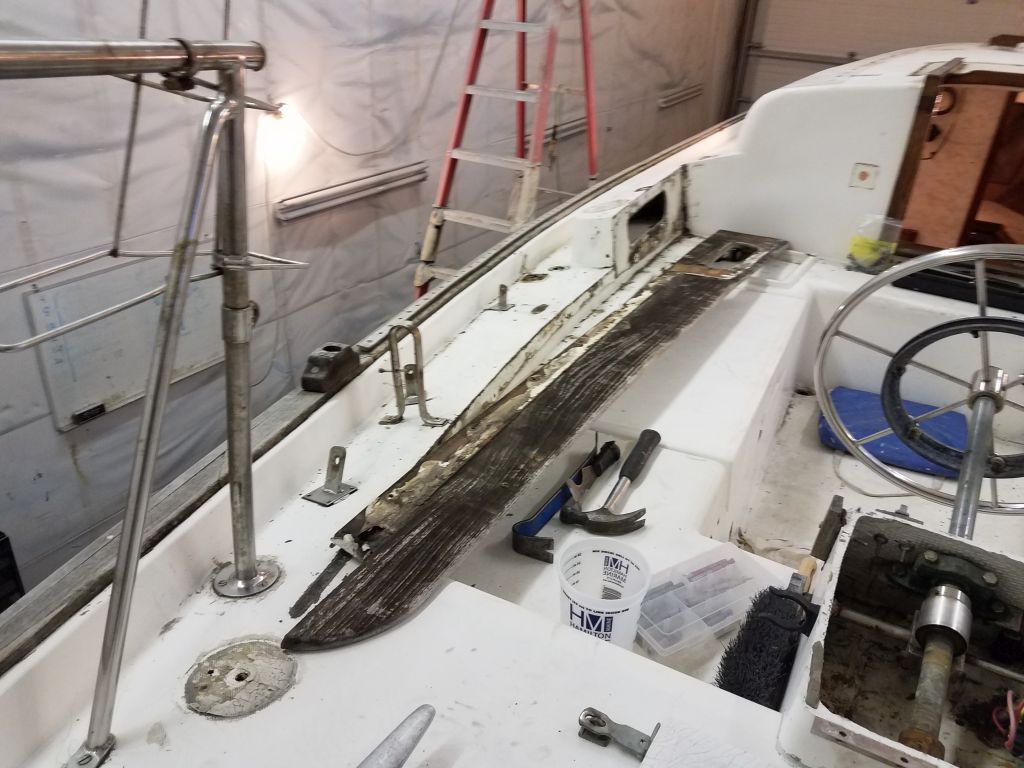
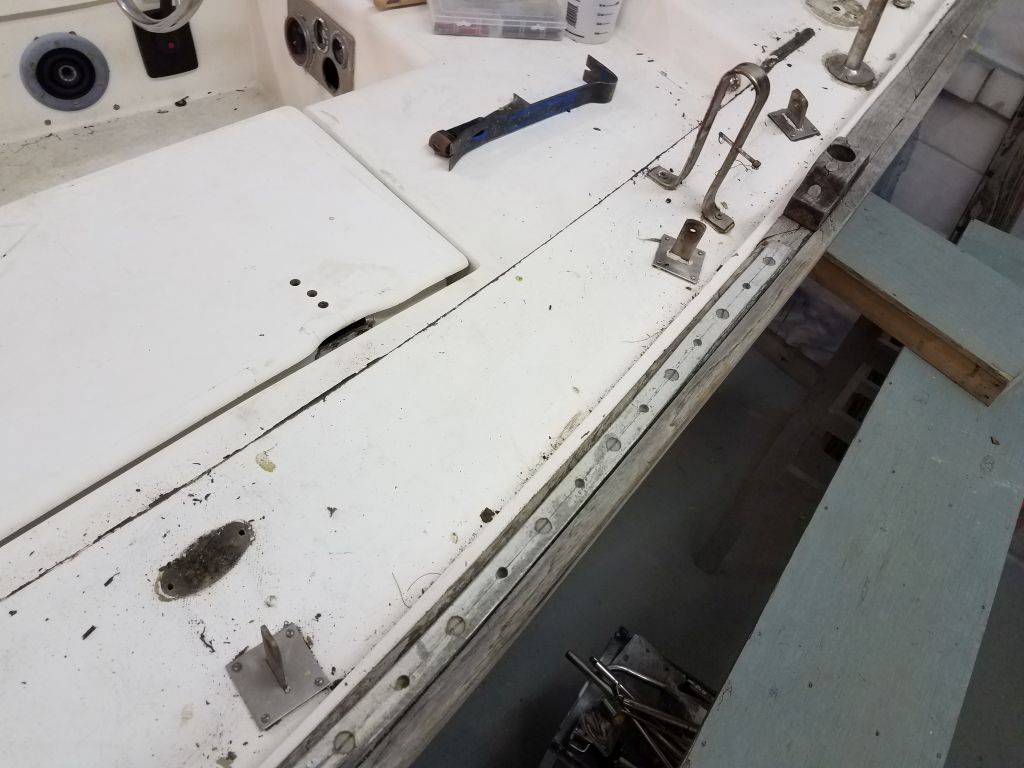
Before moving into the cockpit locker, I removed the locker lid hinges, setting aside for now the heavy locker lid and providing unfettered access to the space. There was ample room in the locker to move around and reach most of the fasteners I needed to, though it was a long, narrow reach to the poop deck, which I discovered now was not accessible from the hatch in the middle of the deck (which provided access only to the sealed, watertight compartment containing the worm steering gear and its opening through the transom).

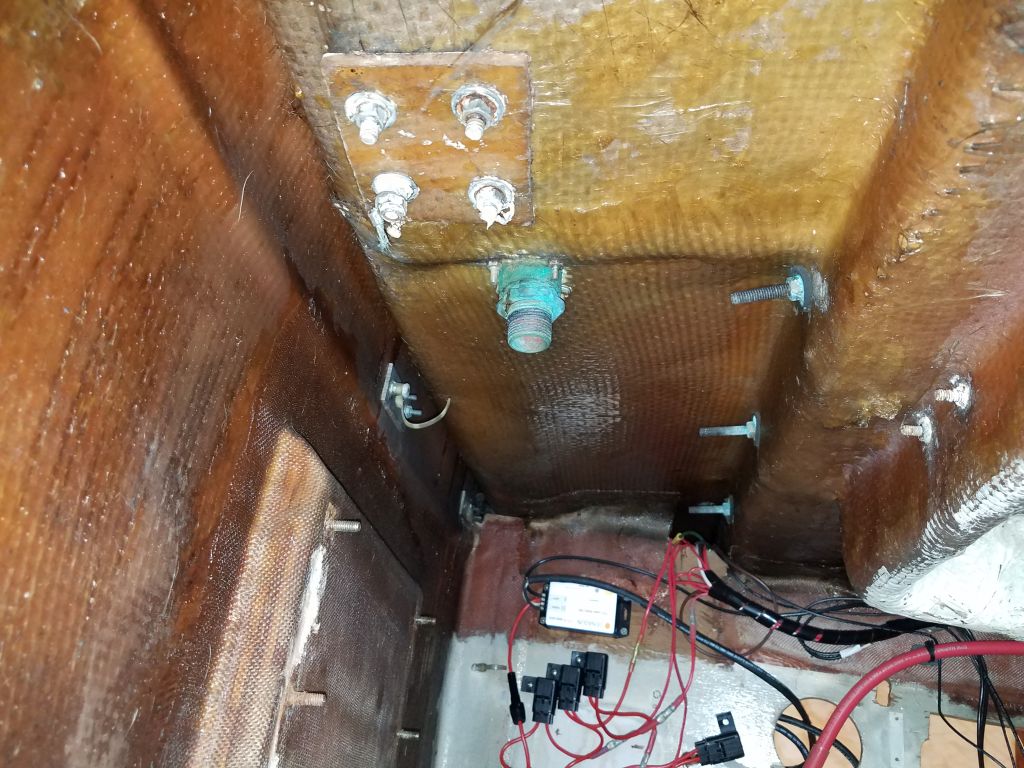
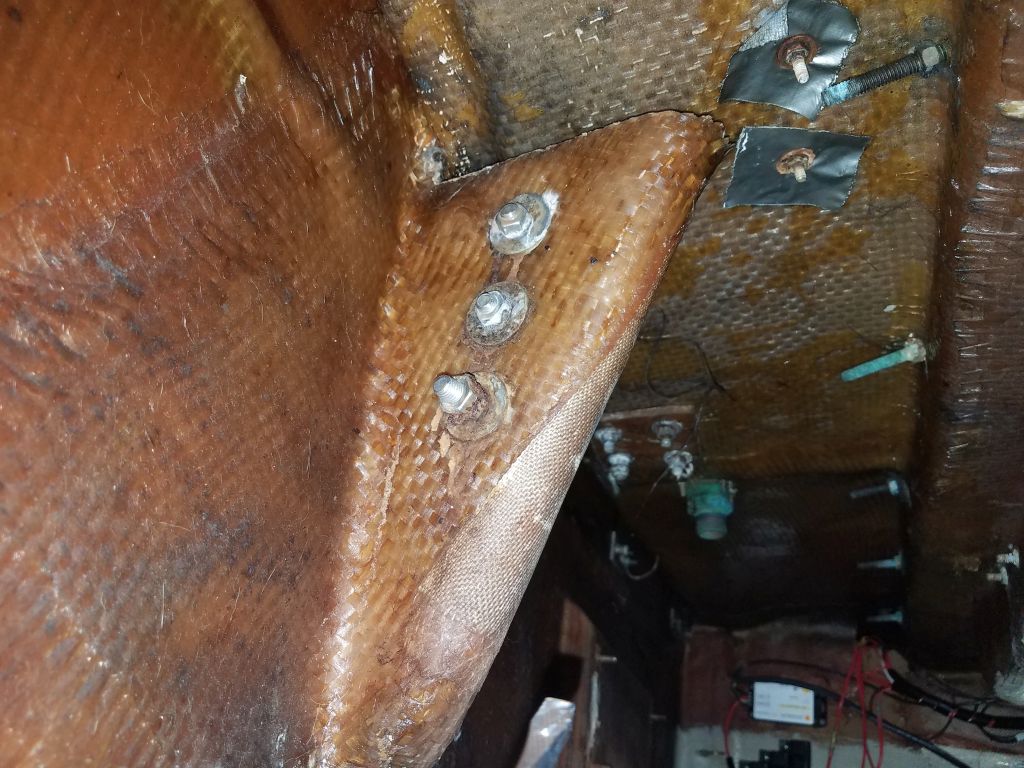
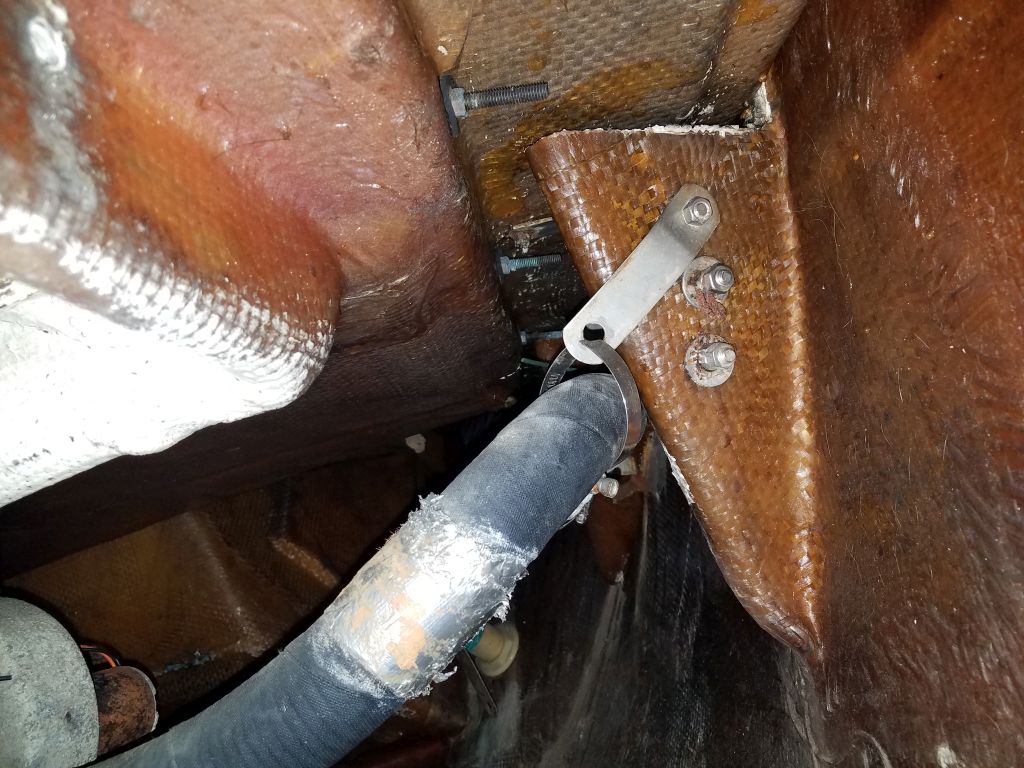

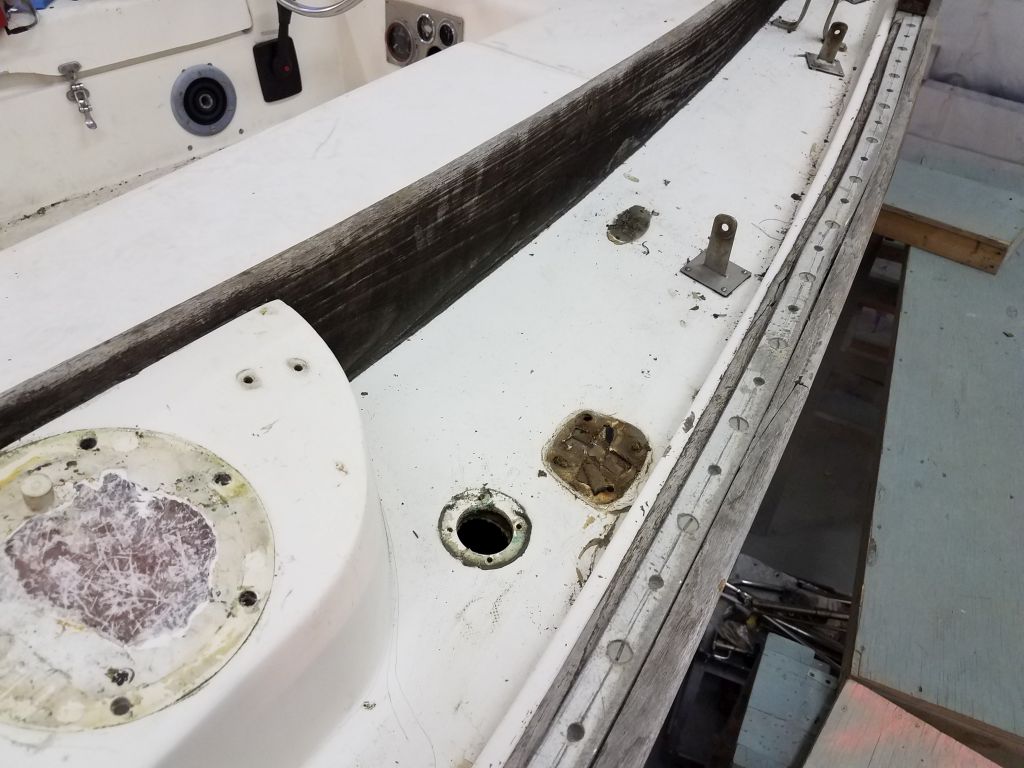
I removed whatever nuts I could: all but one of the coaming bolts, and a few others, but had to resort to vice-grips on a number of the fasteners that spun when I tried to remove the nuts. The coaming bolts were 2″ longer than they had to be, but fortunately in most cases I only had to break free the nuts before I could spin them off by hand. The forwardmost chainplate was still embedded in the builder’s original fiberglass, but the after two were exposed, which was a plus.
After some time curled up in the locker, I was ready to return to deck to remove the fasteners I’d prepared,which finally freed the after stanchion base, an abandoned water tank fill, and most of the coaming bolts.

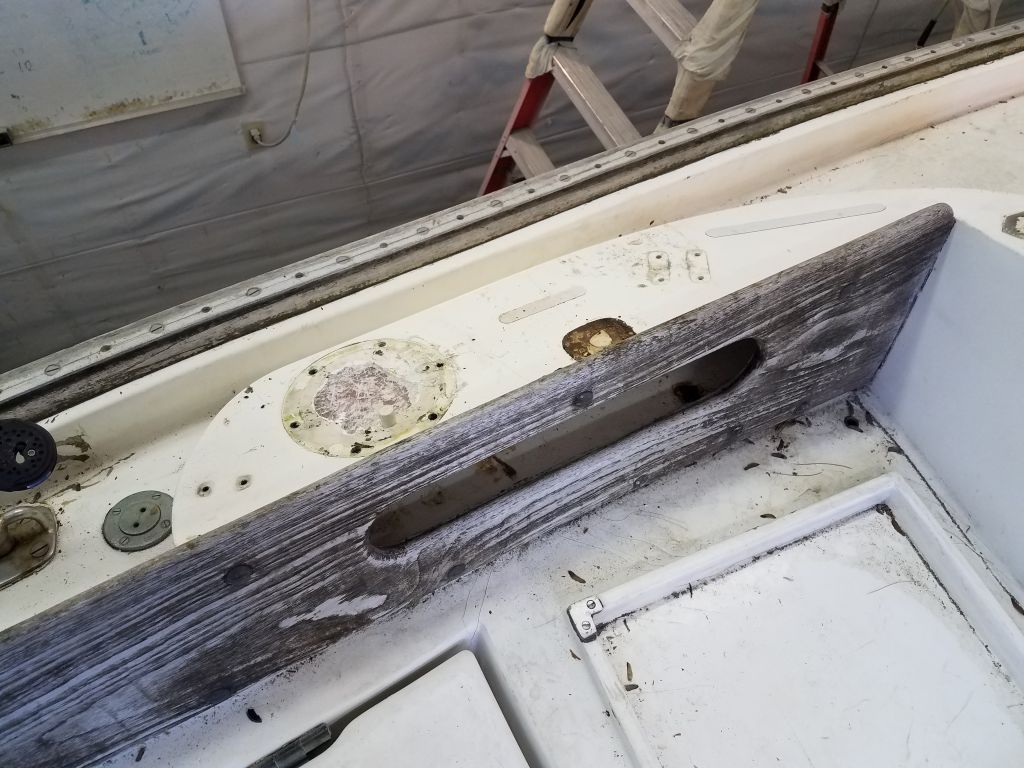
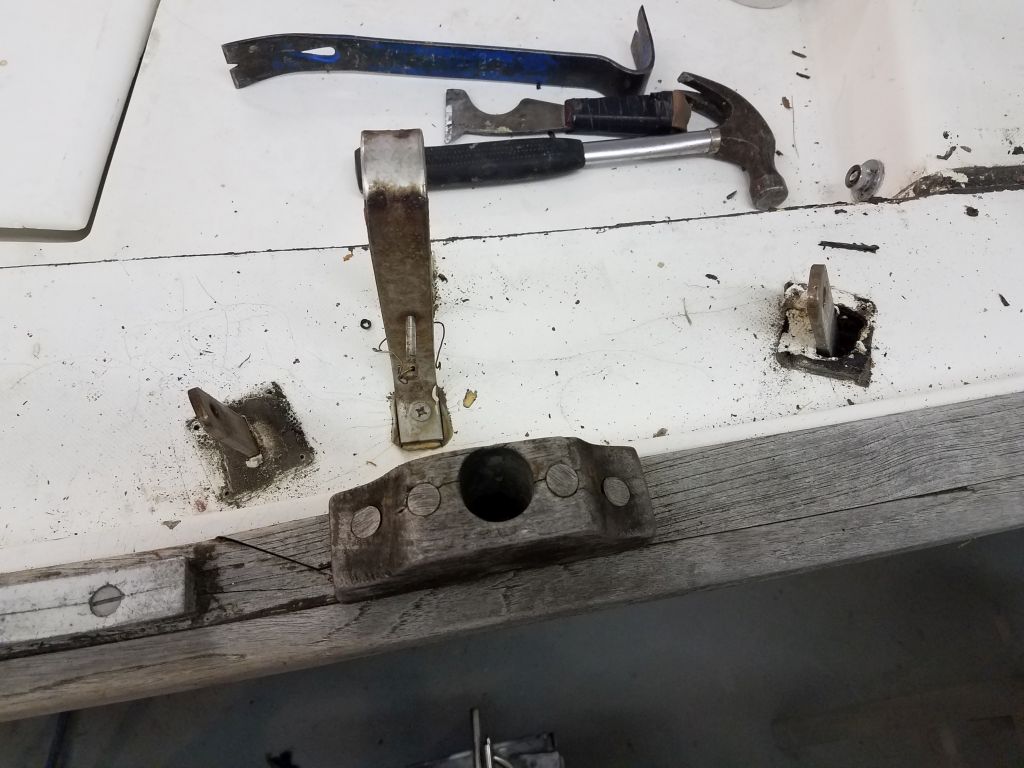
The original coamings were in poor condition, heavily weathered and blackened, and the owner chose replacement. It looked to me like the coamings might be heavily bedded and adhered to the boat with sealant (or, worse, 5200), as I could see a continuous line of sealant along the entire top edge of the deck where it met the coaming. So I was prepared for the worst in removal: that is, that I might need to break them free piece by piece, something I’ve had to do before on other projects. There were three bolts still in place through the top edge of the winch island, but fortunately these weren’t too tough to remove (one of the heads eventually spun off and broke free of the stud, which was good because I was getting nowhere with the nut).
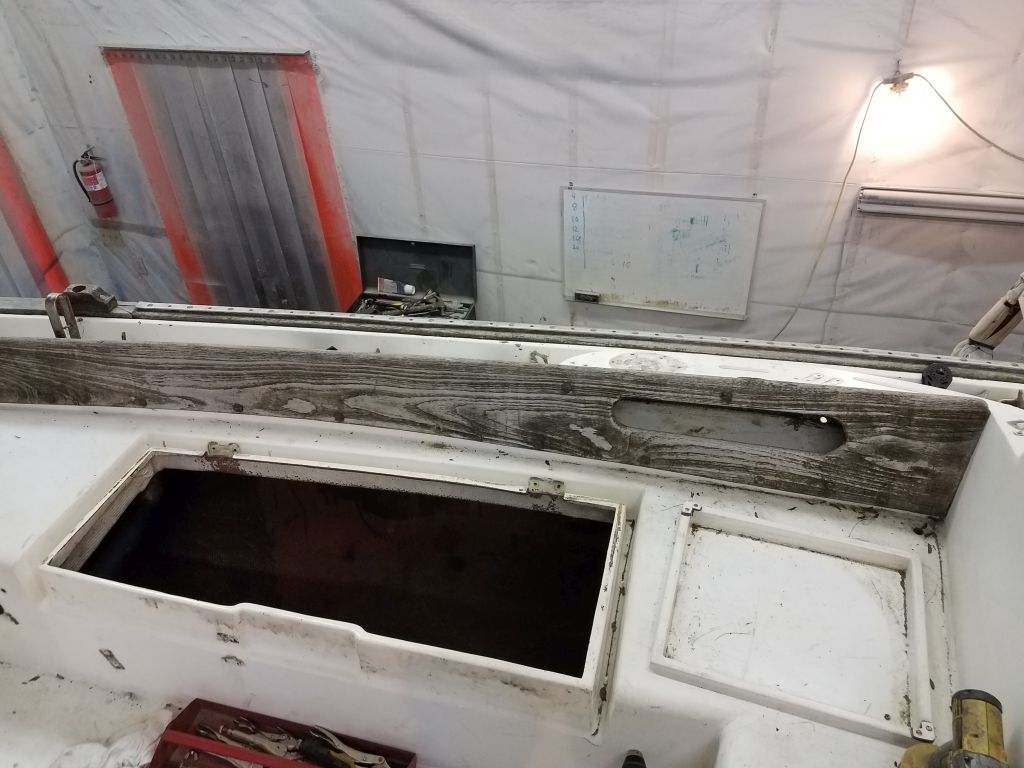
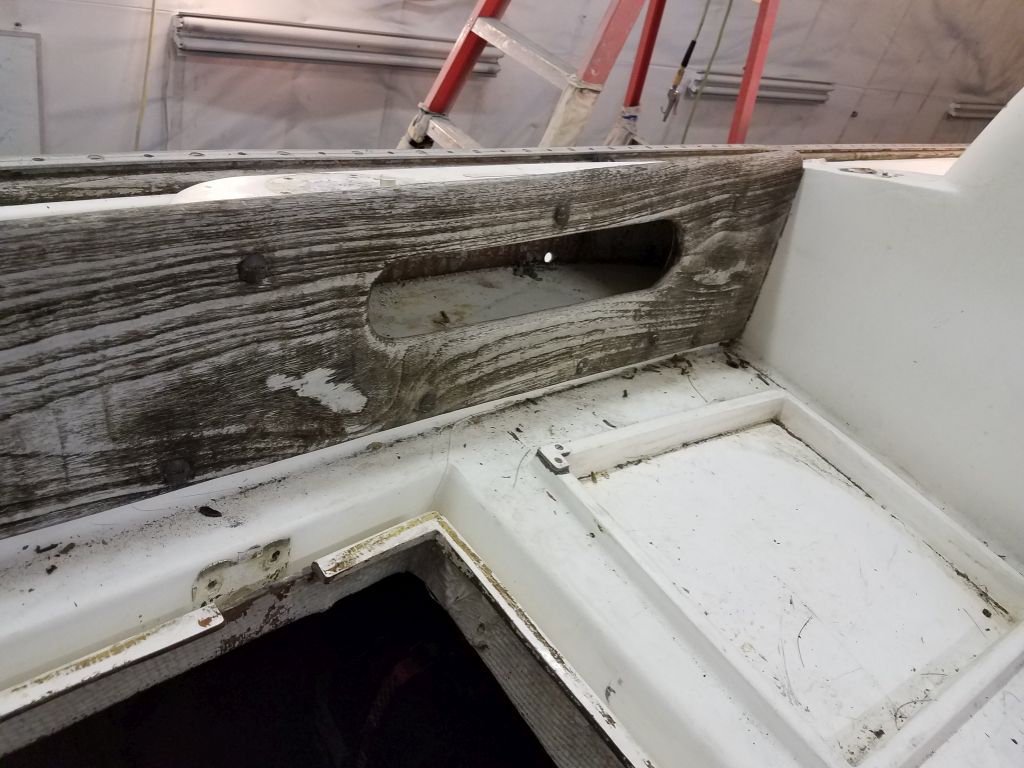
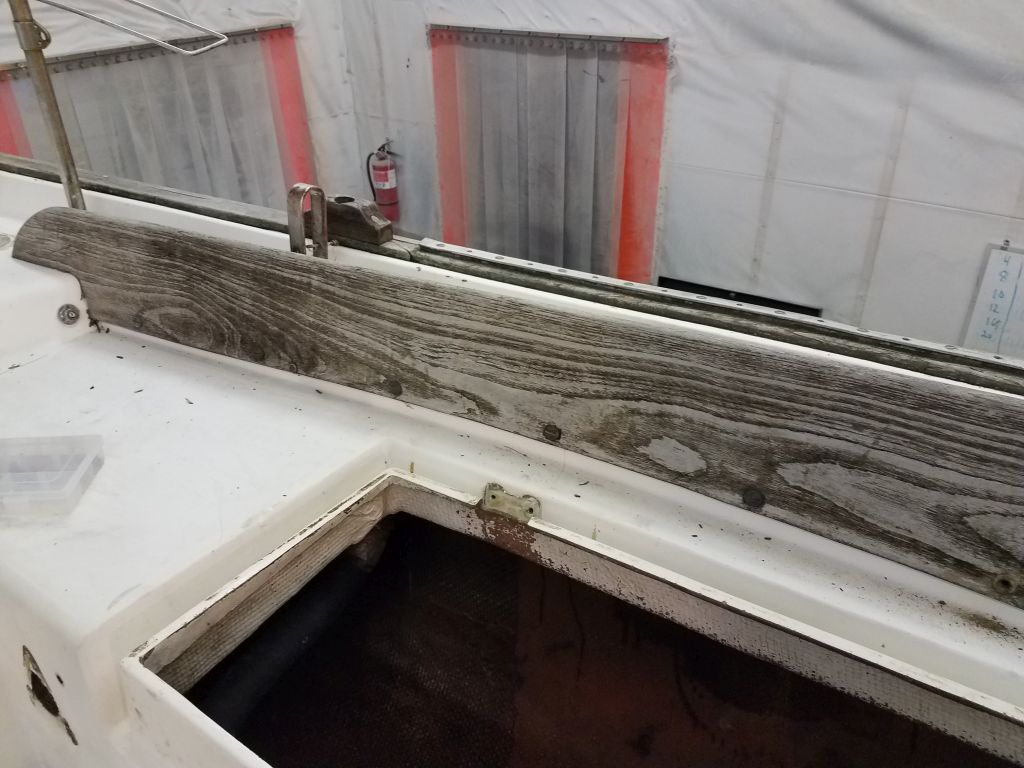


With all the fasteners removed, I used a 5-in-1 tool to begin to slice and loosen the sealant bead. Imagine my surprise when the coaming began to pop free with little resistance. It didn’t take long for me to loosen the entire length and pop free the coaming in one piece: a real bonus, not only because it took less effort than expected but also because it gave me the old coaming as a template for the new, all of which was at least a modicum of compensation for the difficulties earlier in the day.
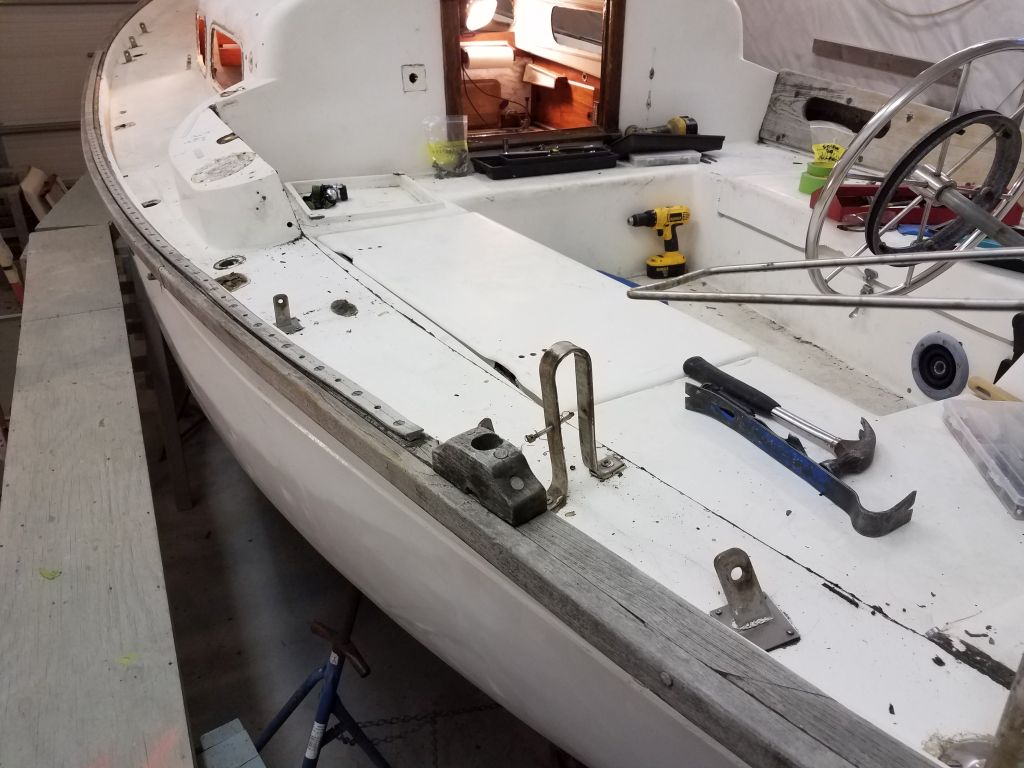
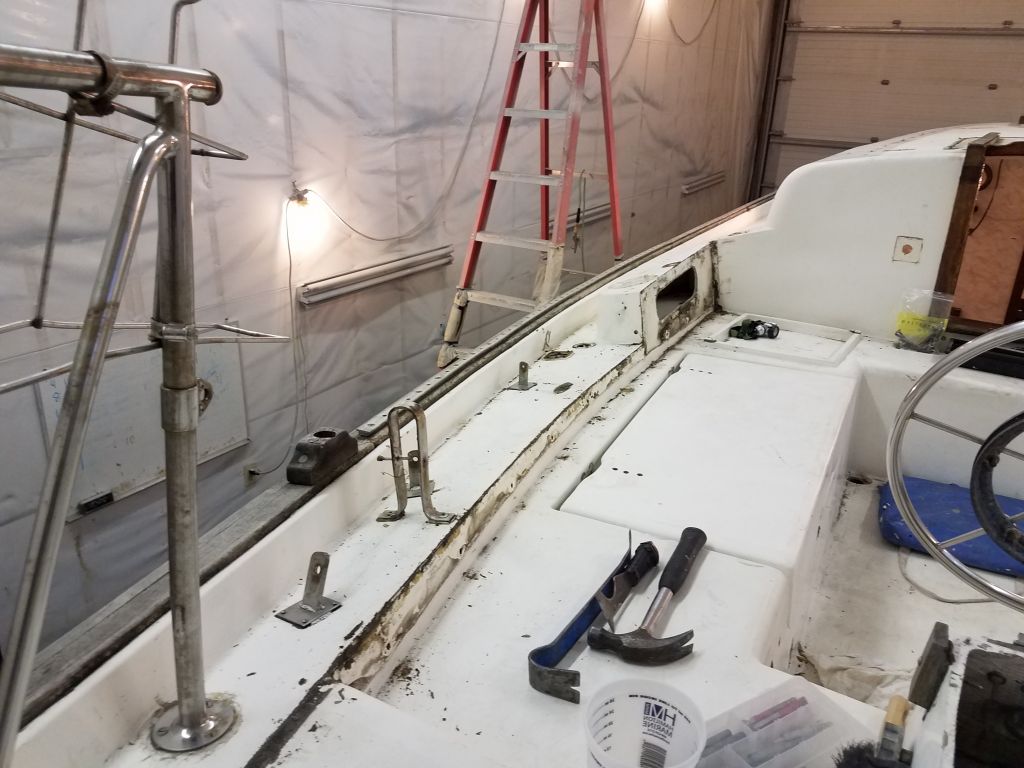
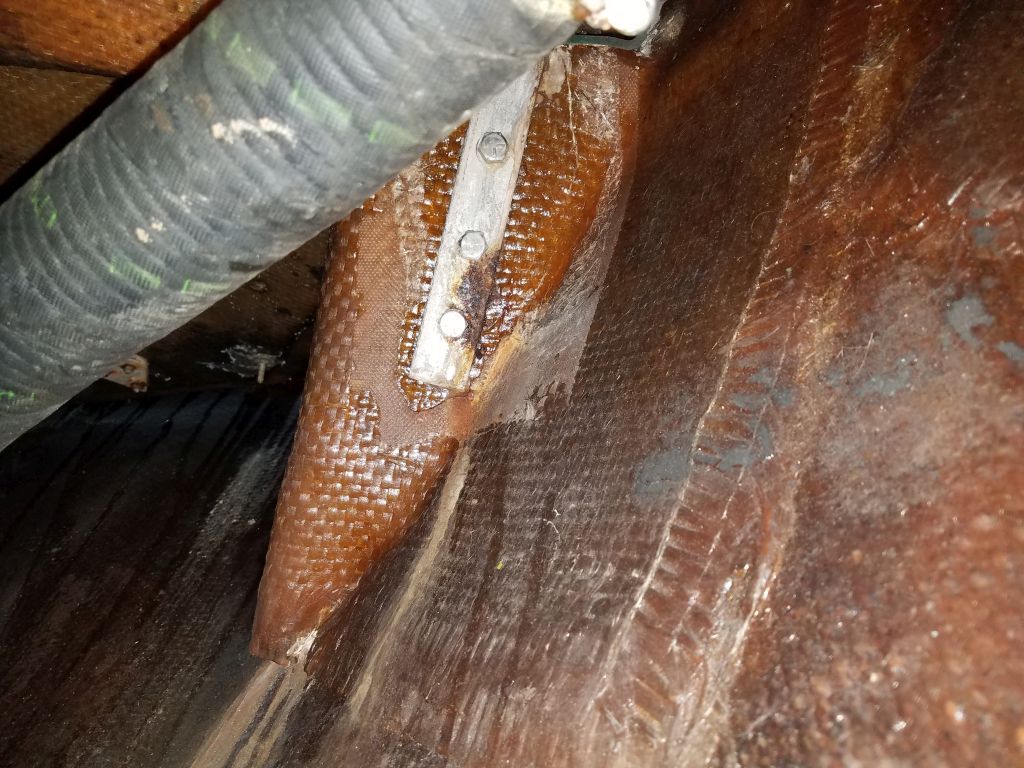
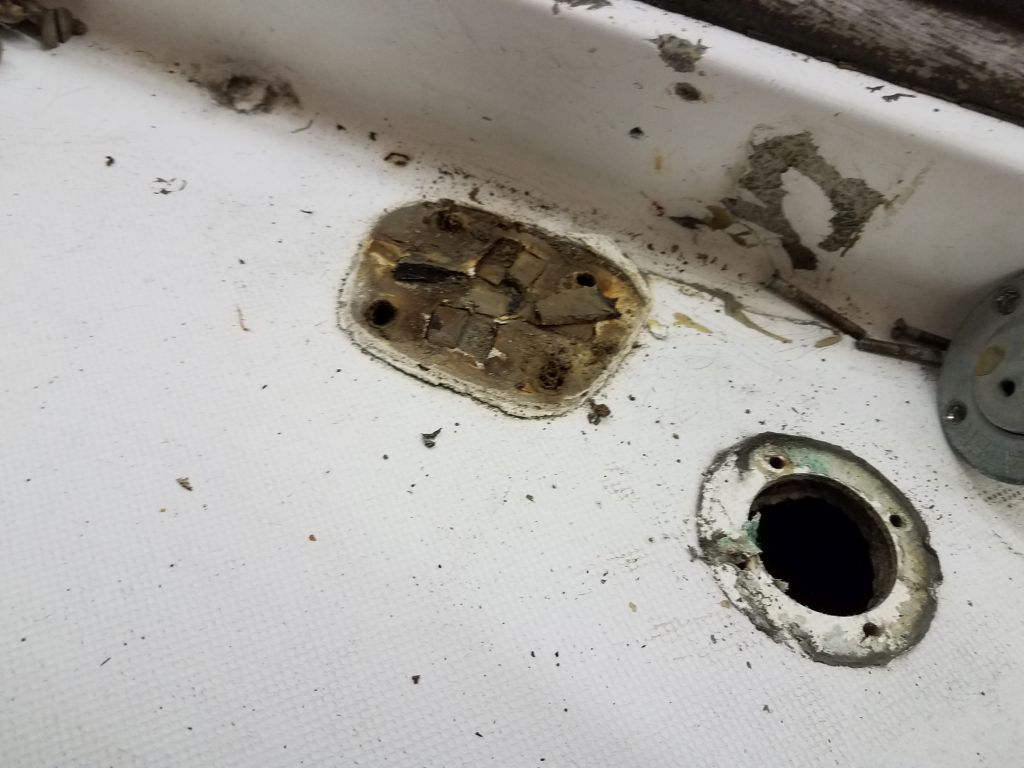
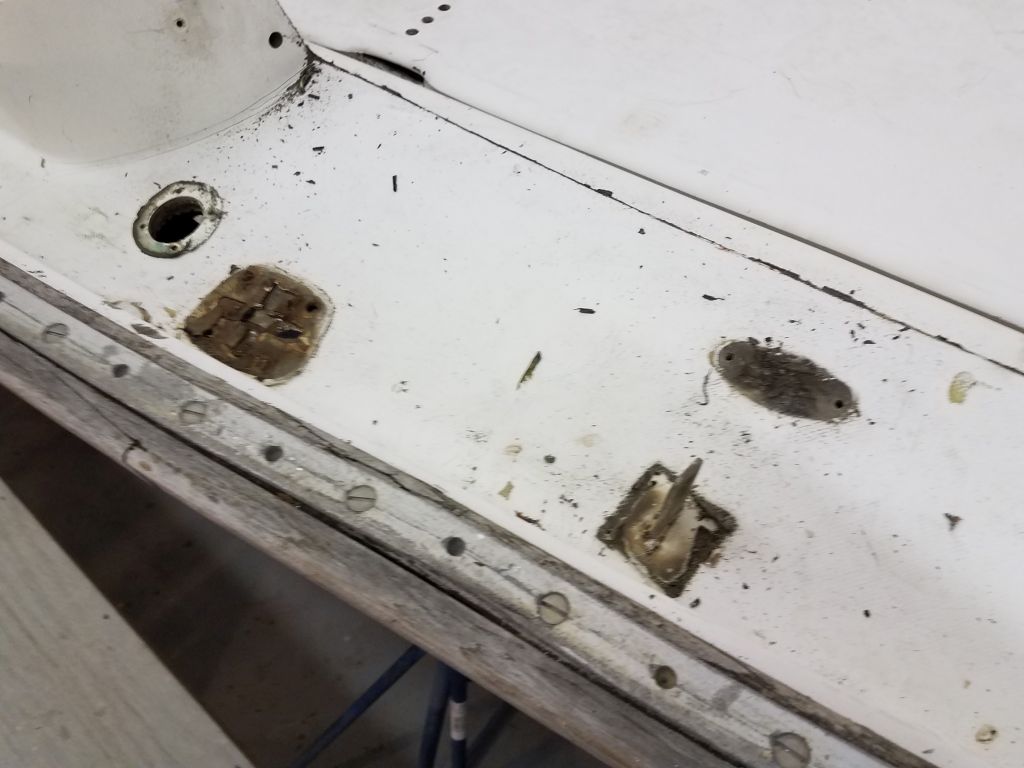
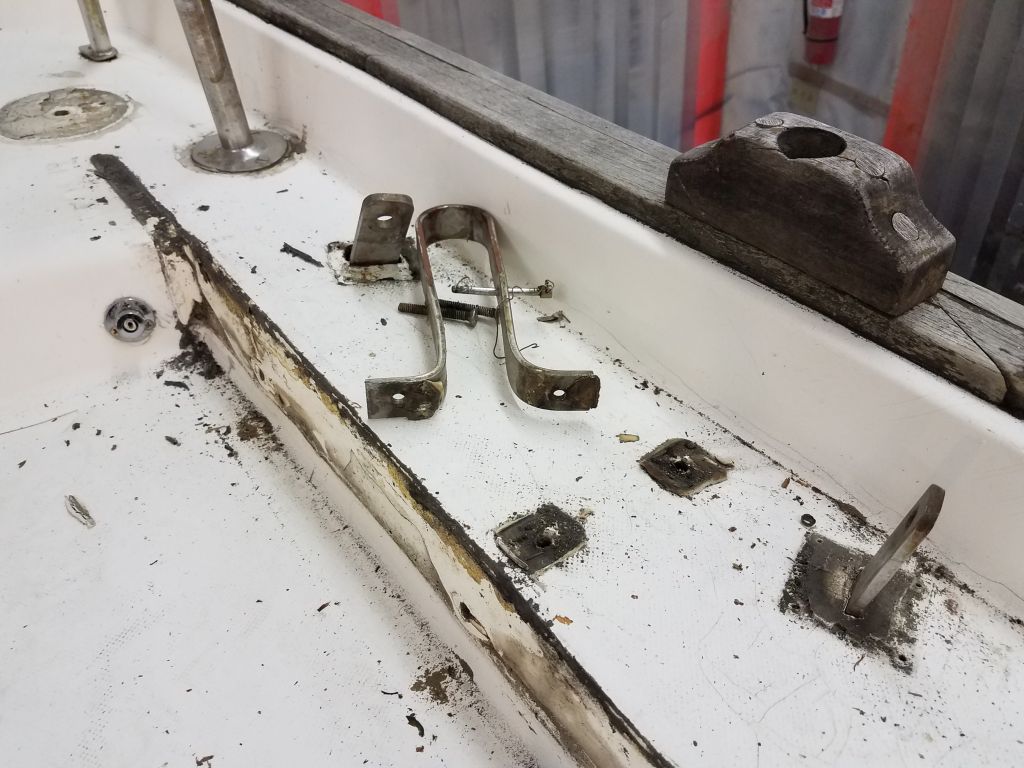
With the coaming out of the way, and a little time left in the day, I removed the deck plates from the three after chainplate locations, and also a U-shaped bracket from the sidedeck.
Total time billed on this job today: 7.25 hours
0600 Weather Observation: 26°, clear. Forecast for the day: Sunny, 40°