

December 14, 2017
Jasmine 10
Thursday
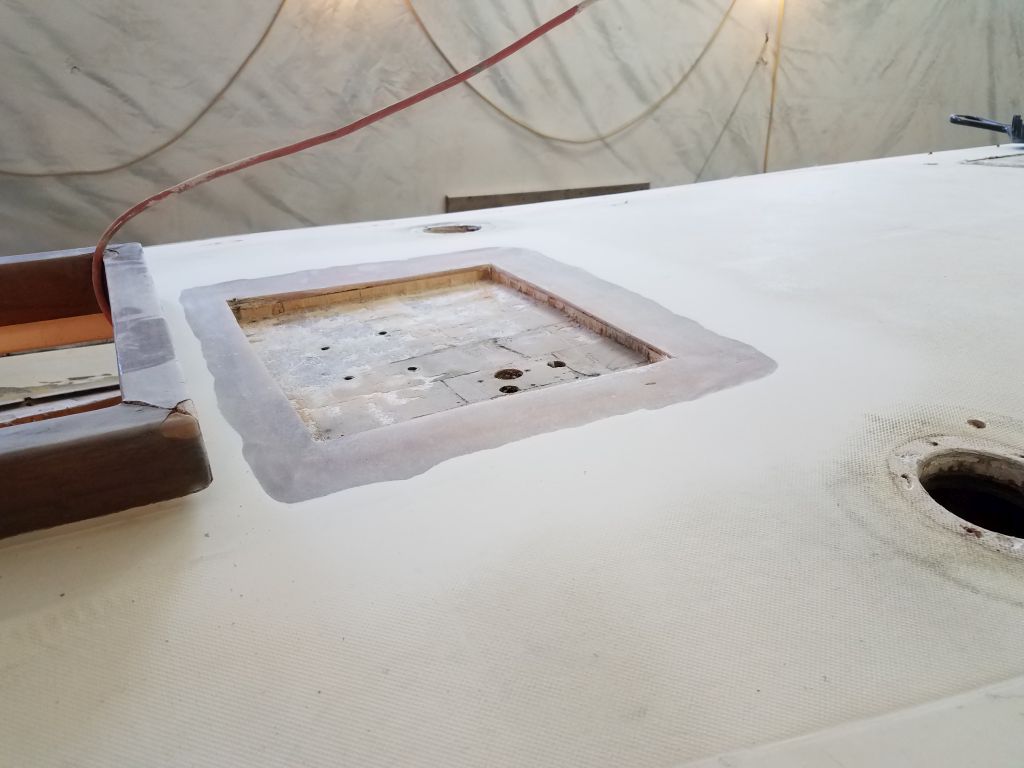
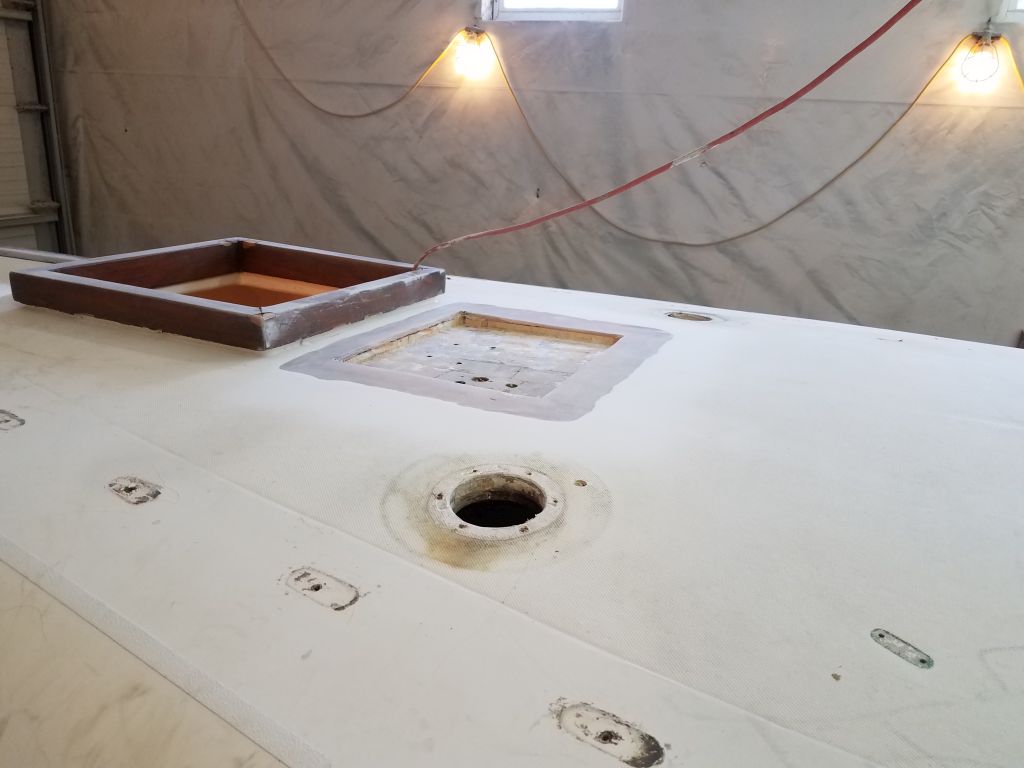
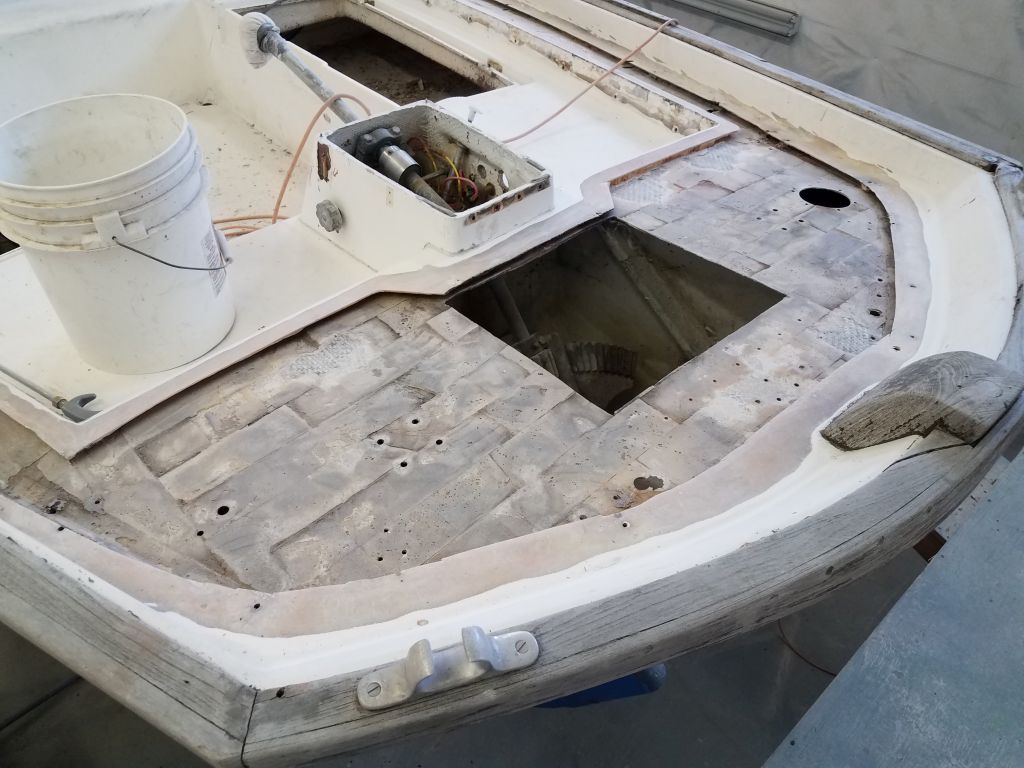
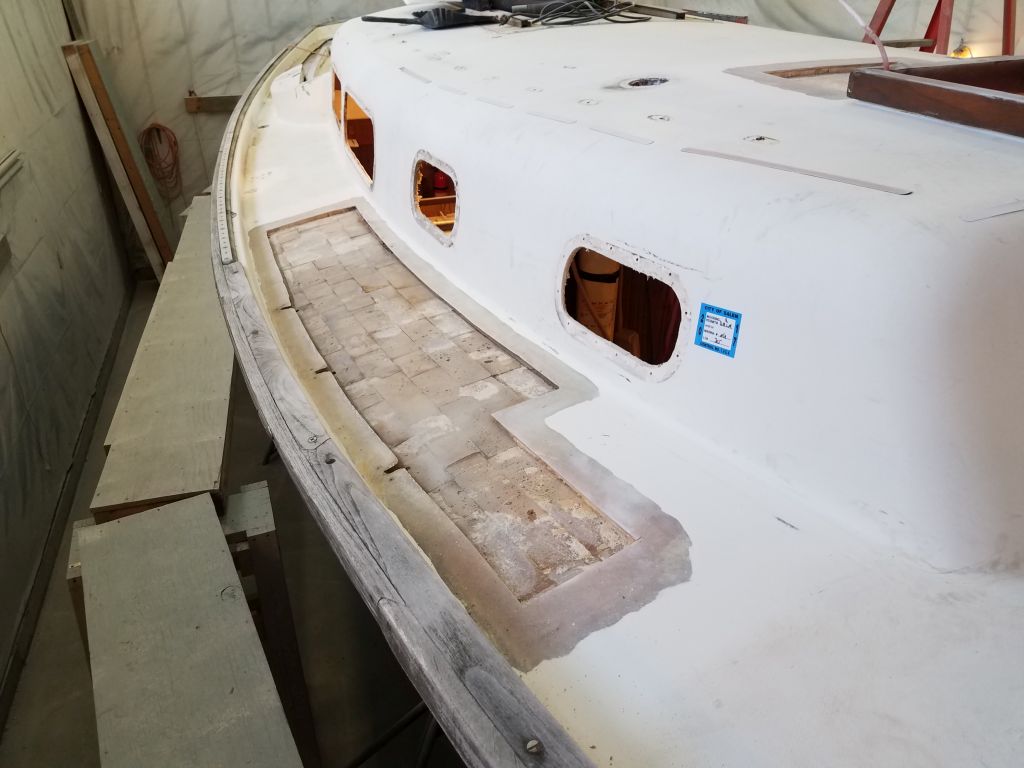
With another round of sanding, I dressed up the newly-exposed inner deck skin in all areas, cleaning up and beginning to smooth the rough surface and getting into corners with a detail sander. The end result didn’t look vastly different, but this step would help ensure that the new core had the best possible bonding surface. I also sanded the immediately-adjacent deck surfaces where necessary to remove the molded nonskid pattern. I’d get to the rest of the deck sanding soon, but for now my focus was on the major repair work.
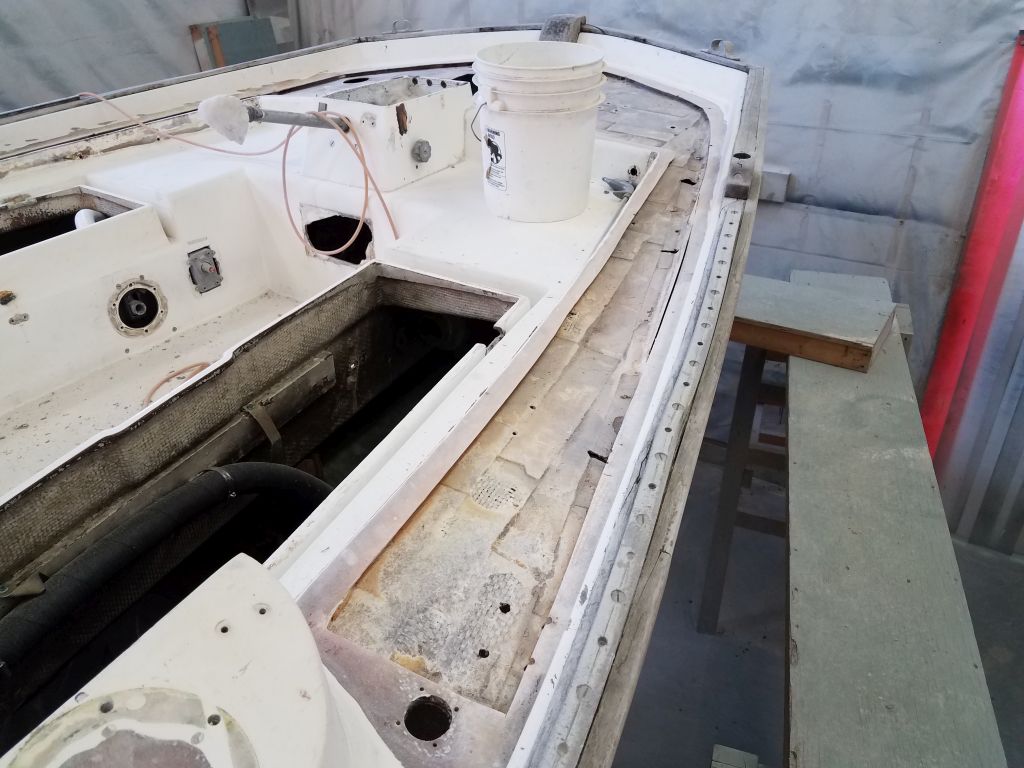


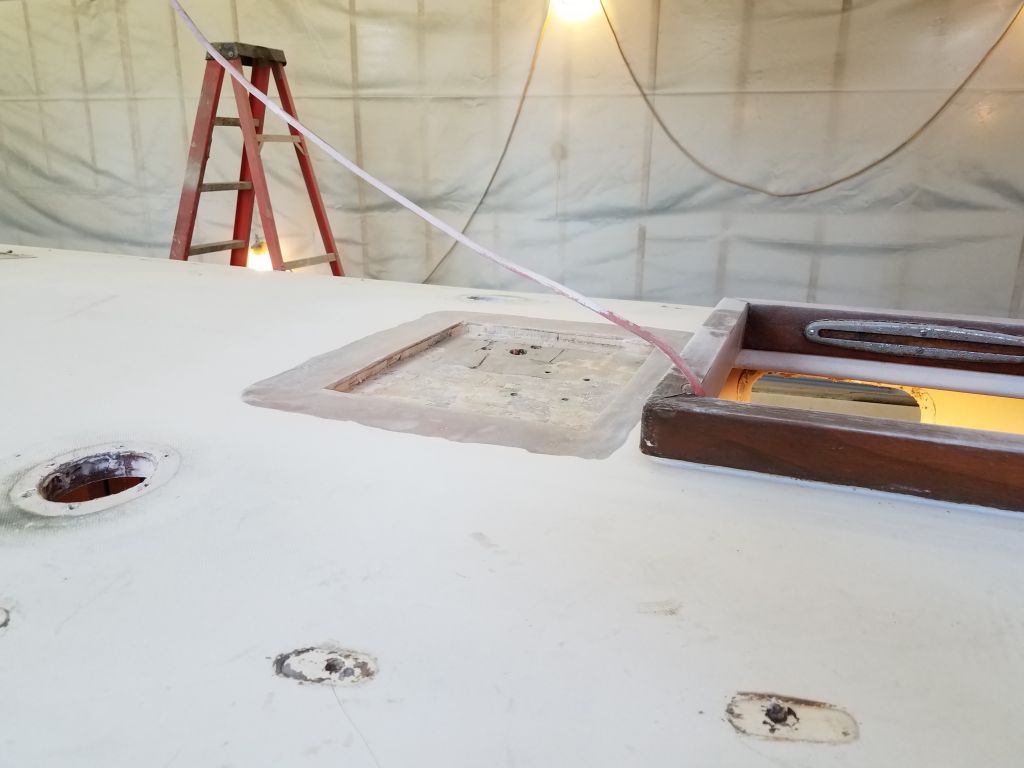
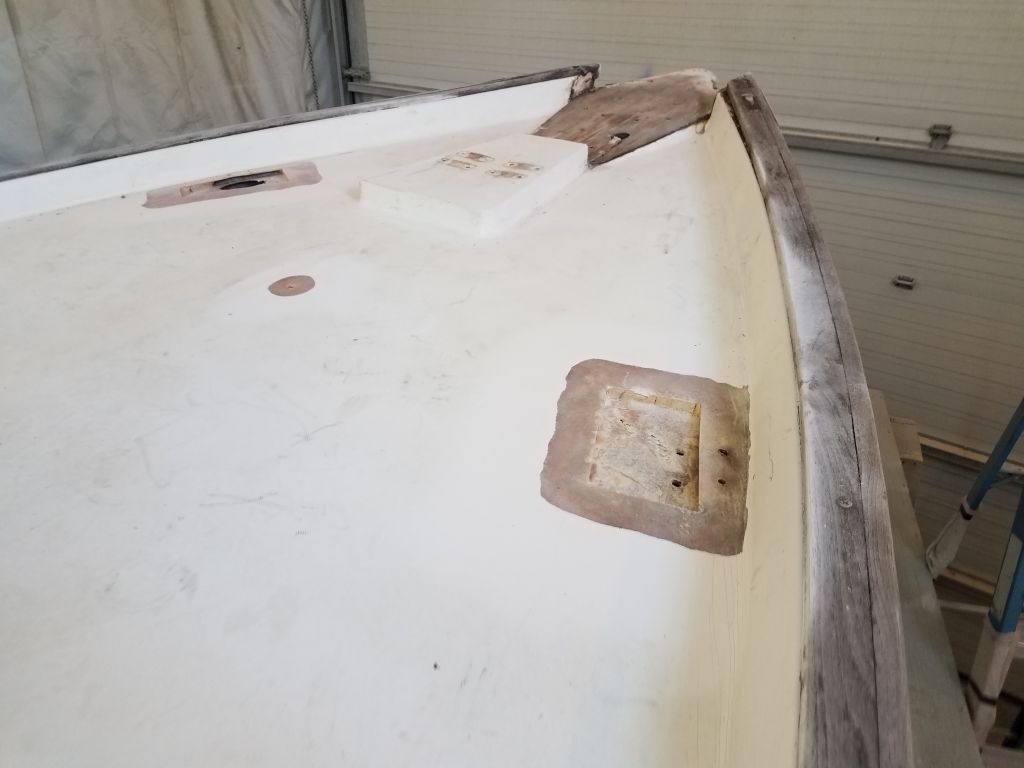
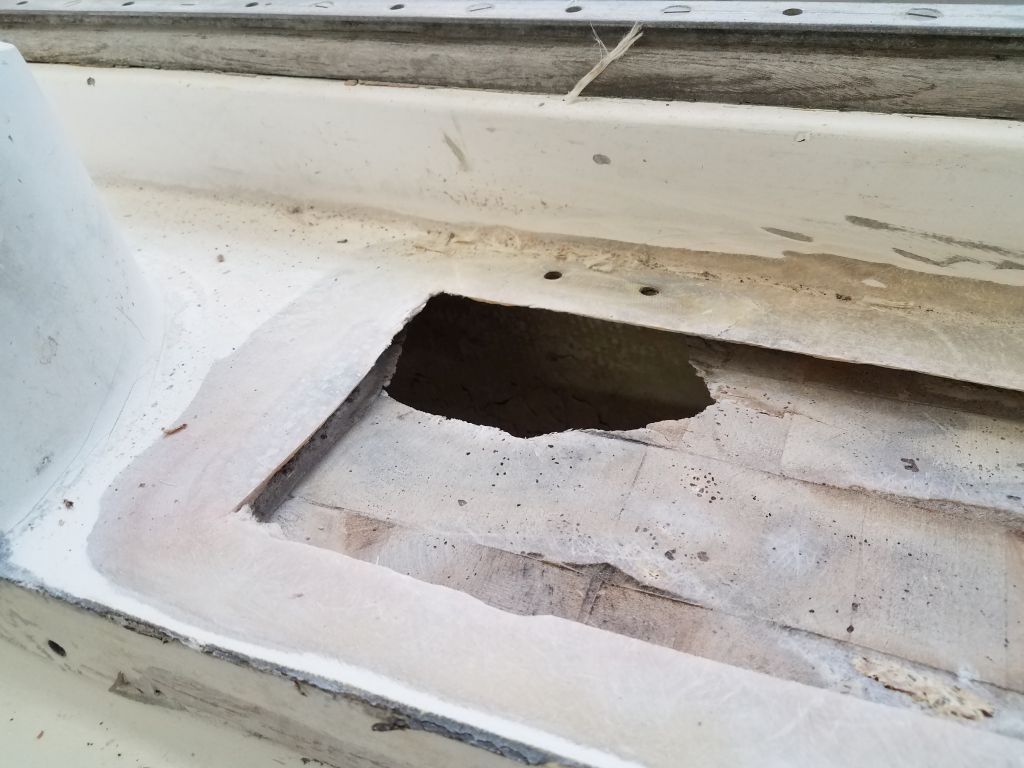
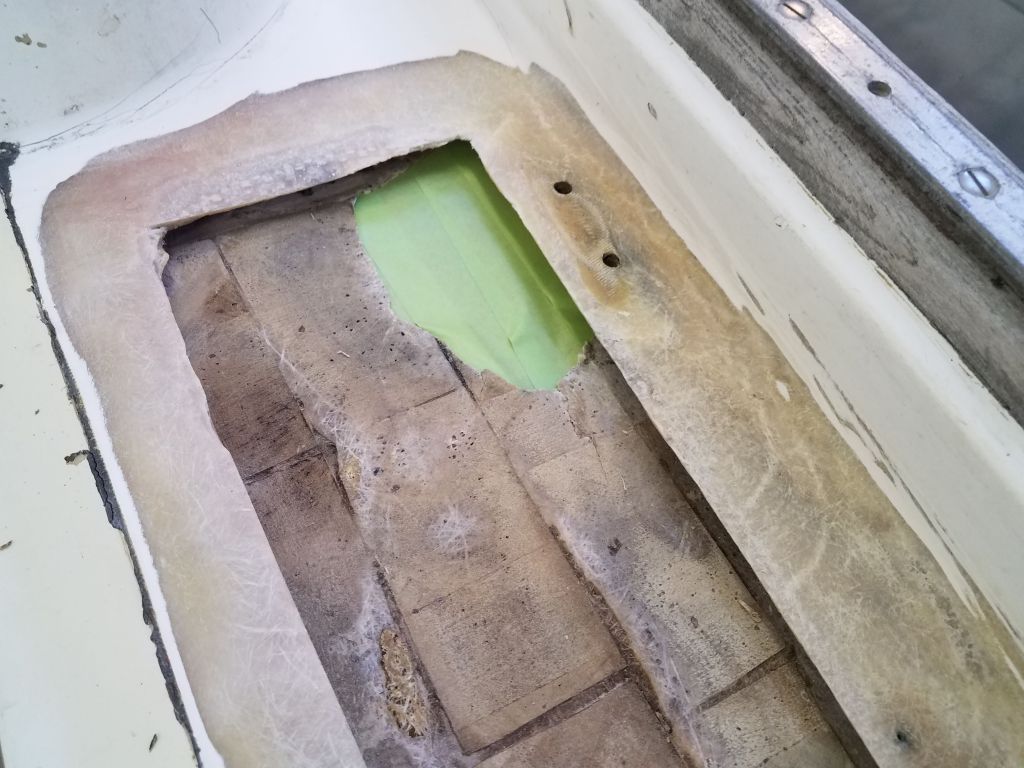
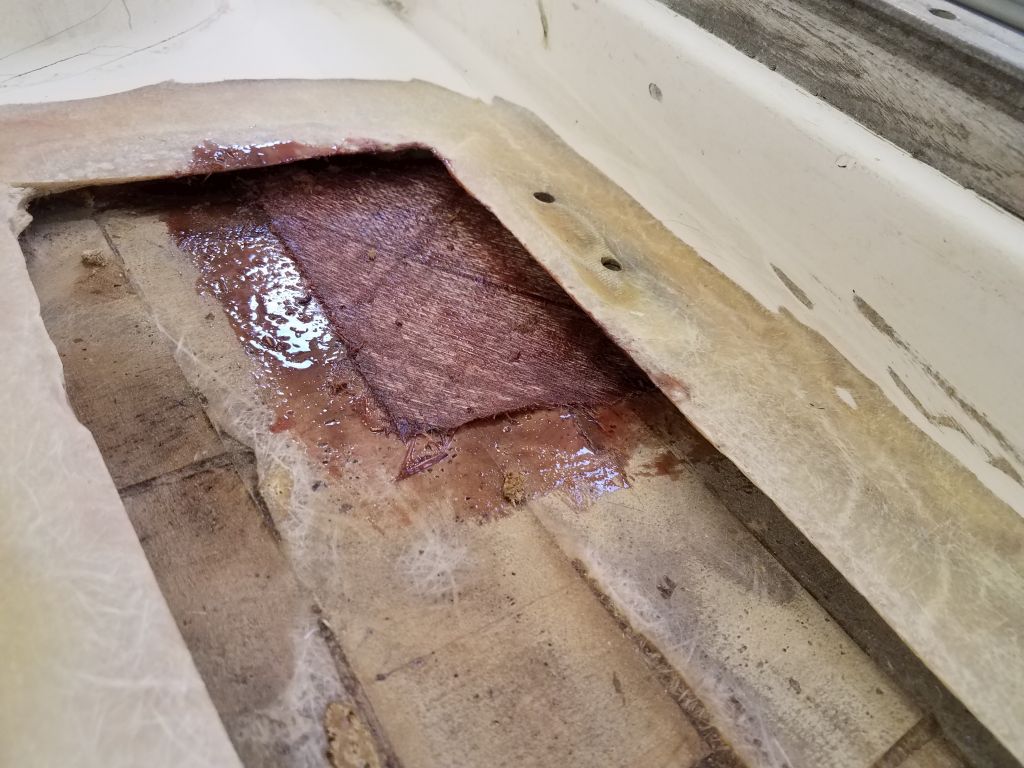
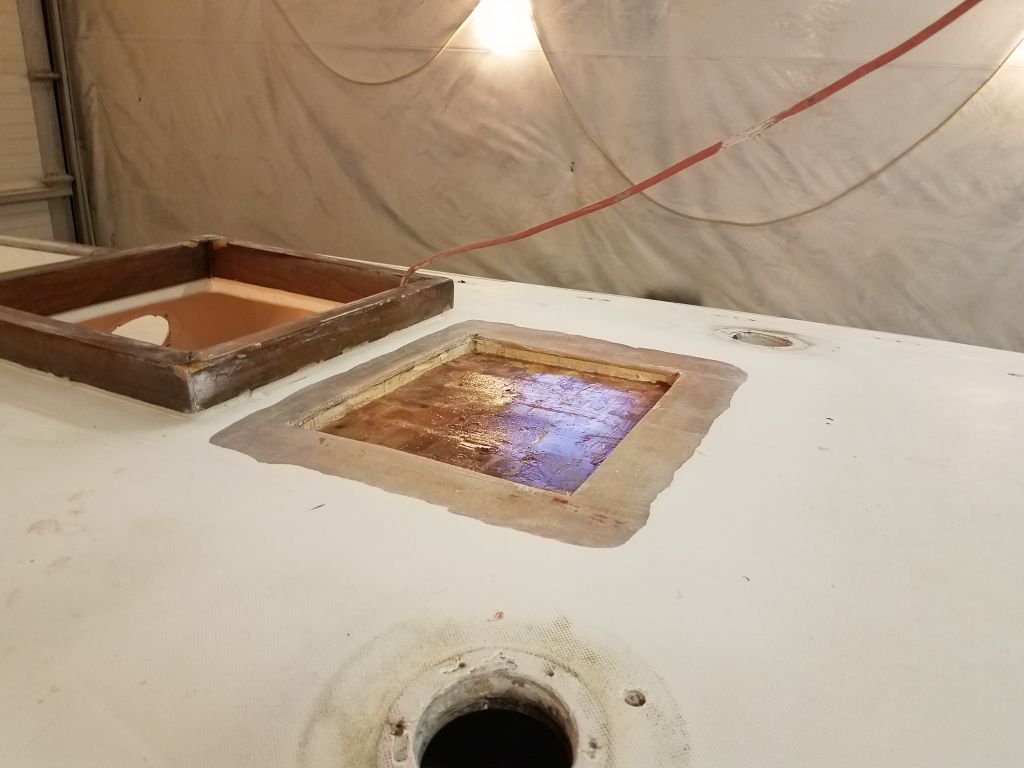
At the forward end of the starboard sidedeck outboard of the cockpit, I cleaned up the raw hole left in way of the stanchion base, removing loose material and sanding belowdecks as well as from above, so I could begin patching the area. After vacuuming and solvent-washing the deck areas under repair, including this spot, I masked over the opening from below to form a rudimentary mold, and applied a piece of fiberglass from above, covering the opening. Later, once this layer cured, I’d add additional reinforcement from beneath.

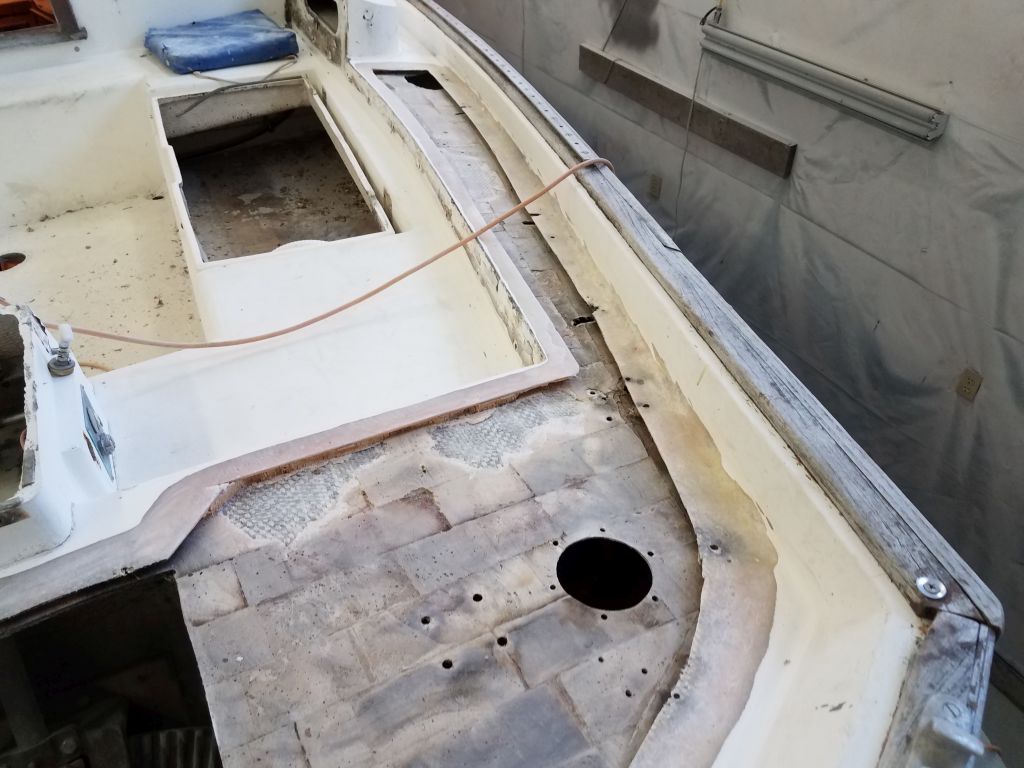
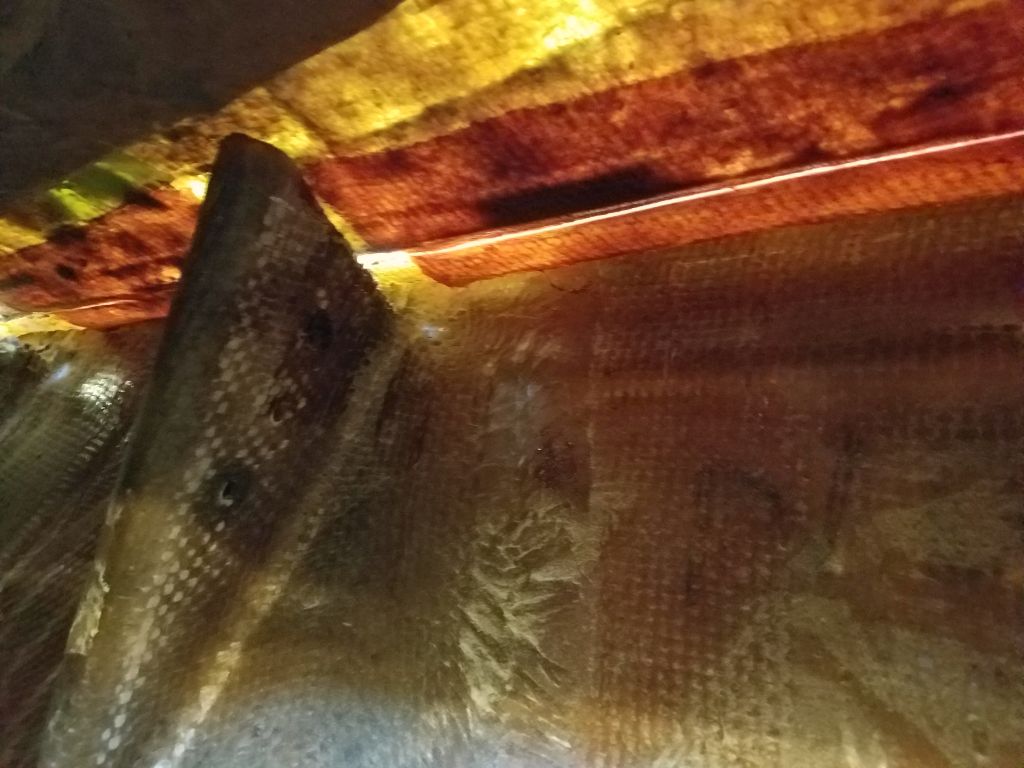
On the port aft side, I’d cut slightly too far out when I removed the top skin, just outboard of where the core actually ended, so I ended up with a kerf in the edge of the conjoined top and inner skins. To reinforce the cut, I lightly sanded the underside of the lower skin from inside the cockpit locker, then installed some tabbing across the cut areas. The rebuilding from the top side would complete the repair to this area. I had to put a couple small weights in place on top since the inner section had sprung up slightly after the cut.

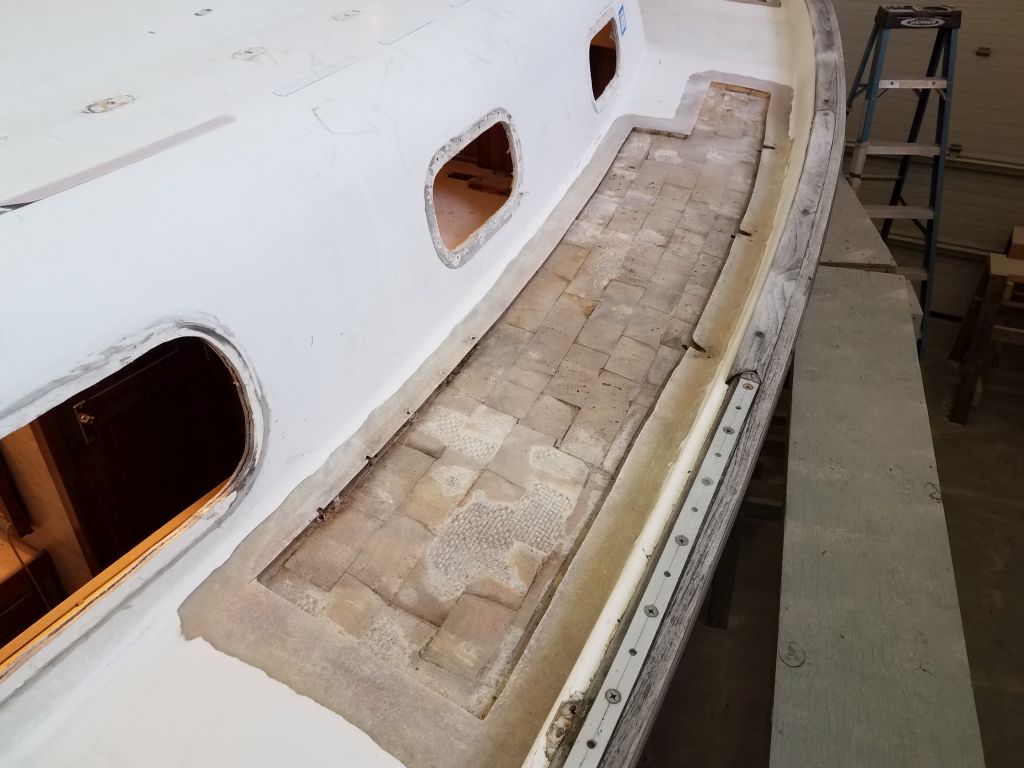
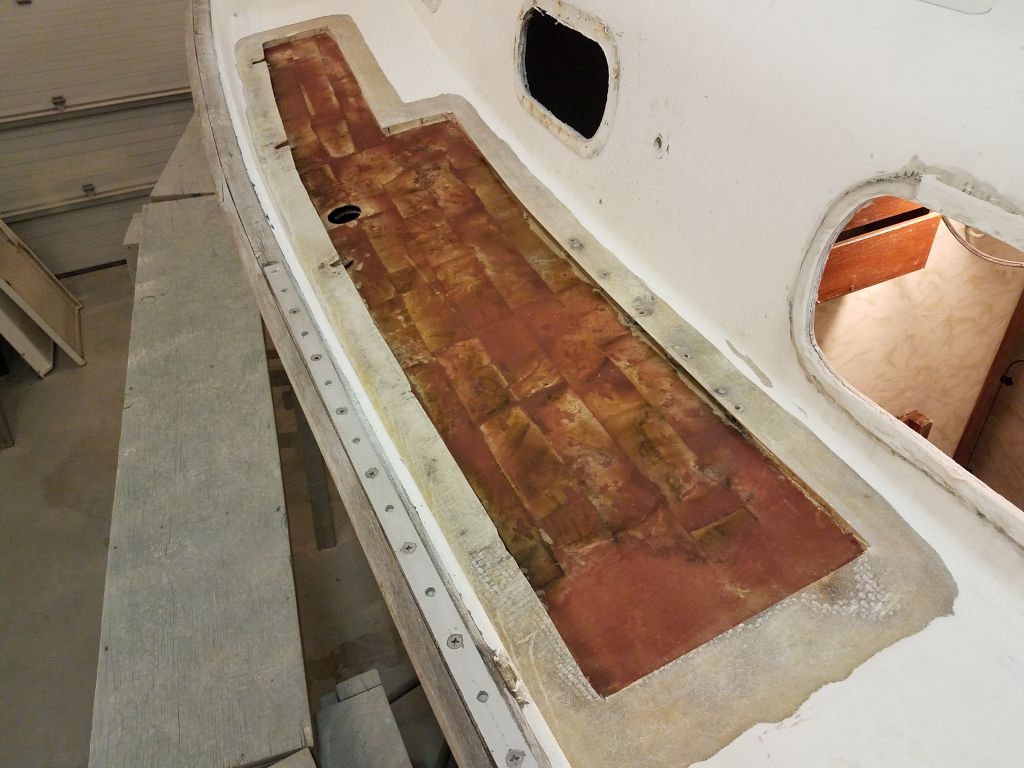
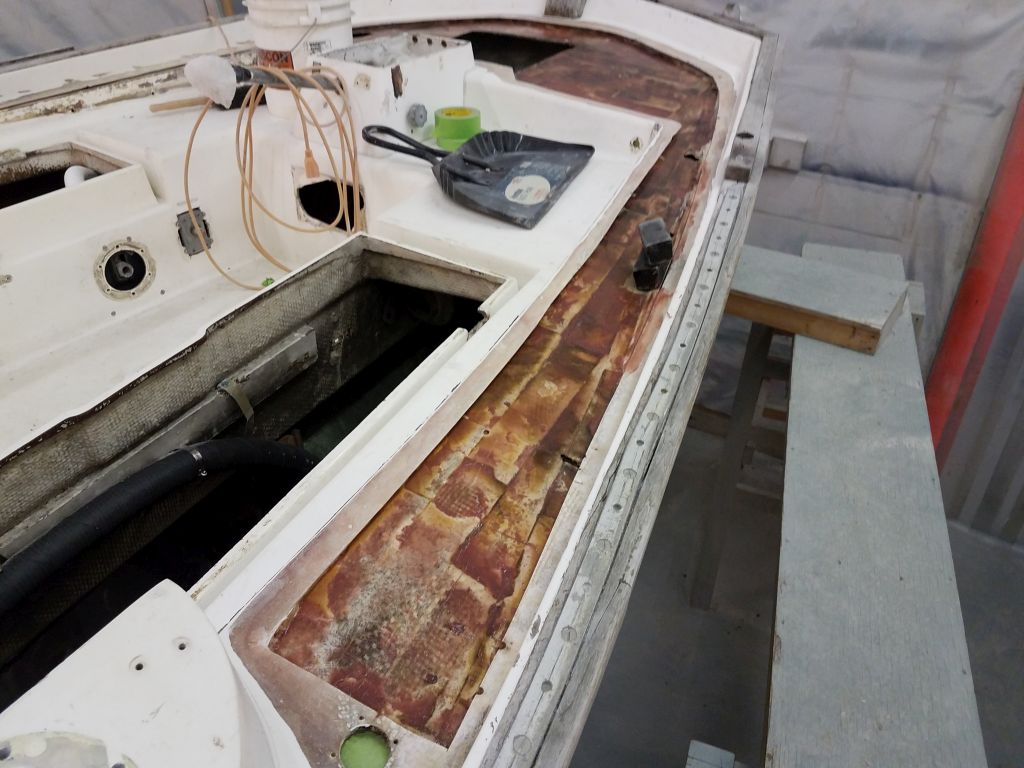
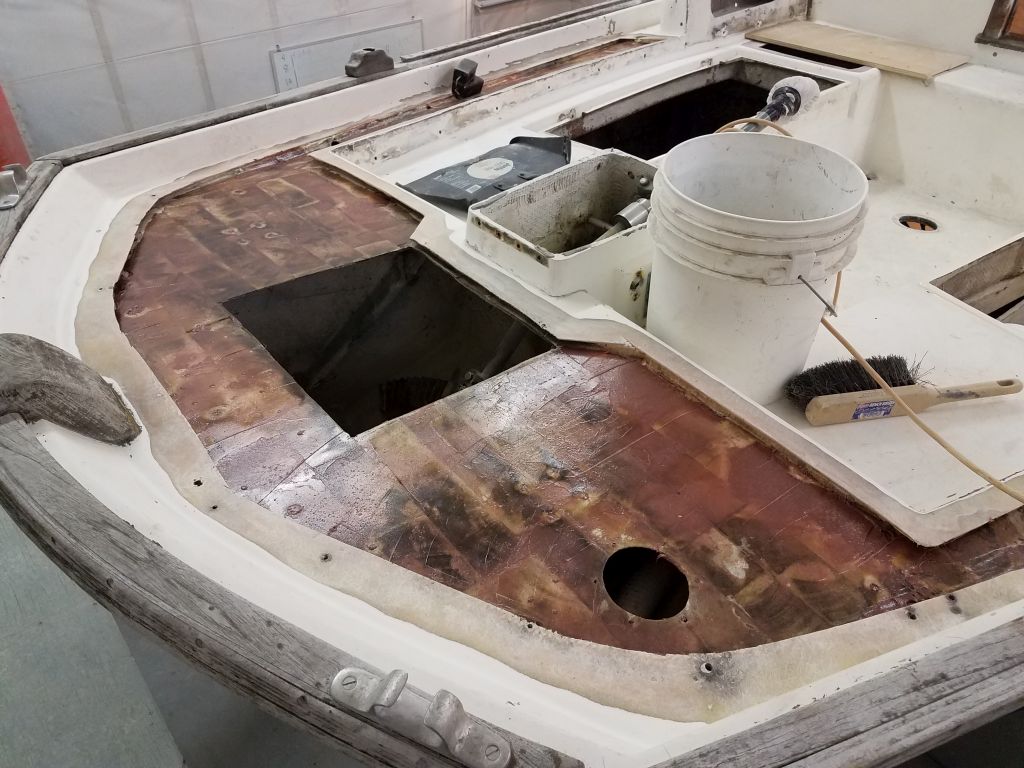
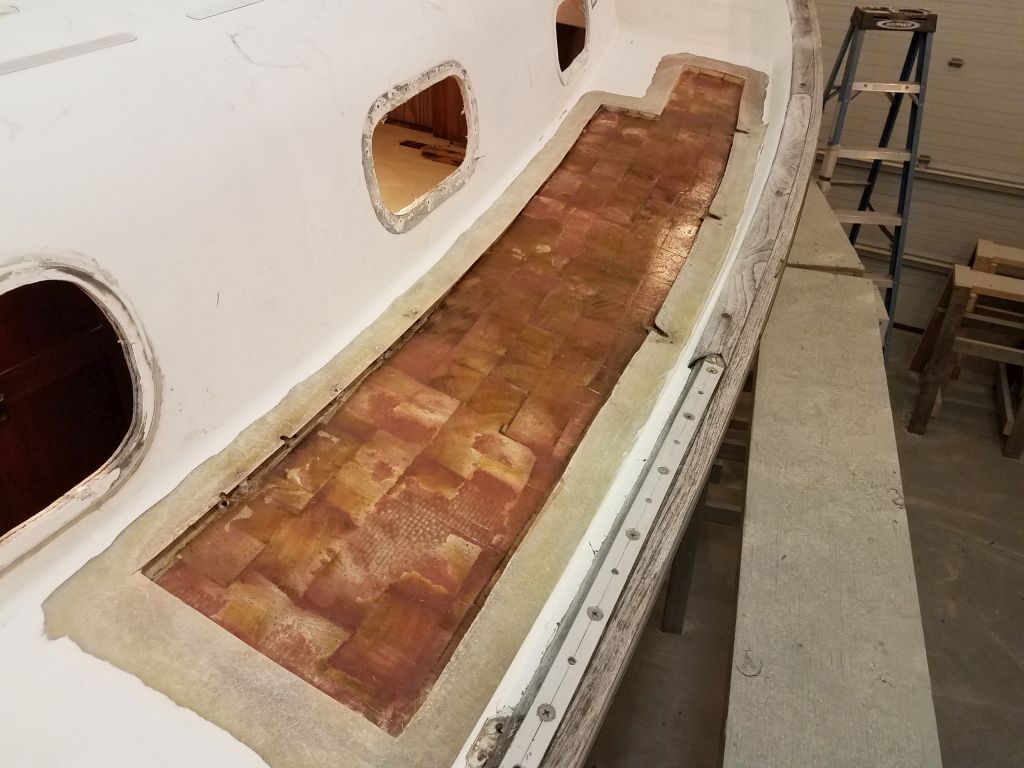
The nature of the original core installation left an irregular series of lines, dips, and high spots on the inner skin, along with variations in the texture of the substrate. My earlier round of sanding cleanup had helped, but it wasn’t possible to completely sand the area smooth.
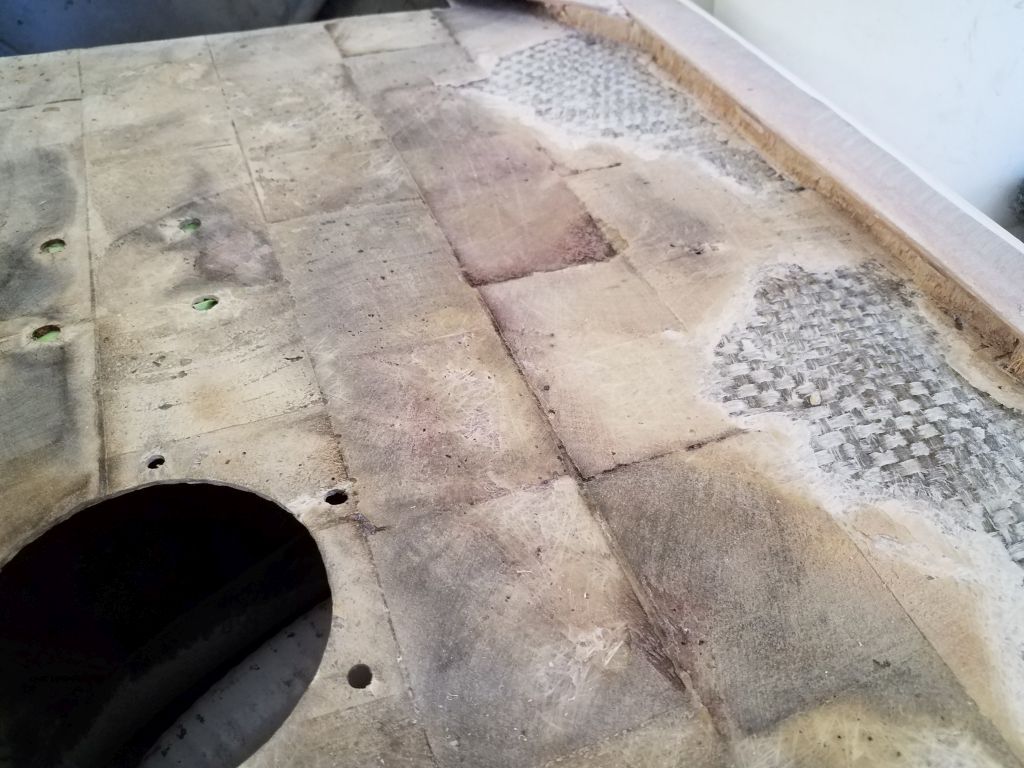
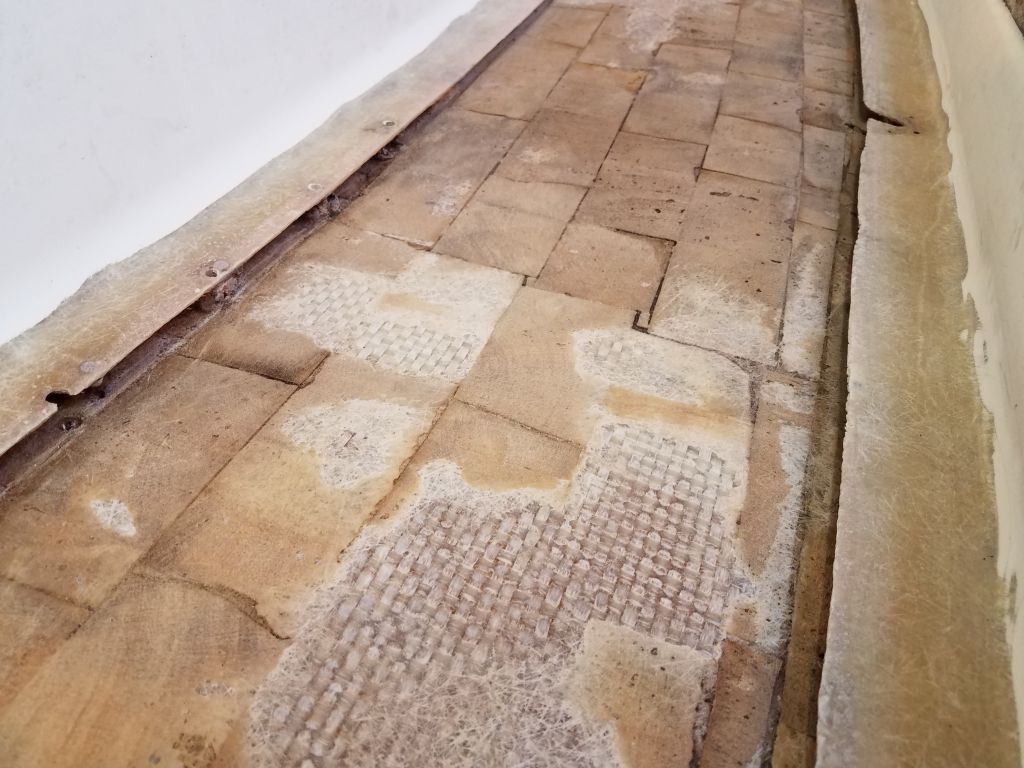
To clean up and stabilize the surface and better prepare it as the bonding substrate for the new core to come, I elected to skim coat the exposed inner skin with thickened epoxy now. This would mean one more round of light preparatory sanding afterwards, but the surface was irregular enough that I didn’t want to count only on the troweled application of epoxy adhesive to even these areas out during core installation. So with several batches of epoxy mixed with cabosil, I skimmed over the inner skins in all areas, filling the low areas and exposed cloth weave and creating the beginnings of a smooth substrate that would accept the core well later on.


Total time billed on this job today: 6.25 hours
0600 Weather Observation: 10°, clear. Forecast for the day: Sunny, 20s