
110 Cookson Lane | Whitefield, ME 04353 | 207-232-7600 | tim@lackeysailing.com
I spent most of the day on the toerail, though arriving boats, appointments, and other distractions limited my time more than I'd anticipated.
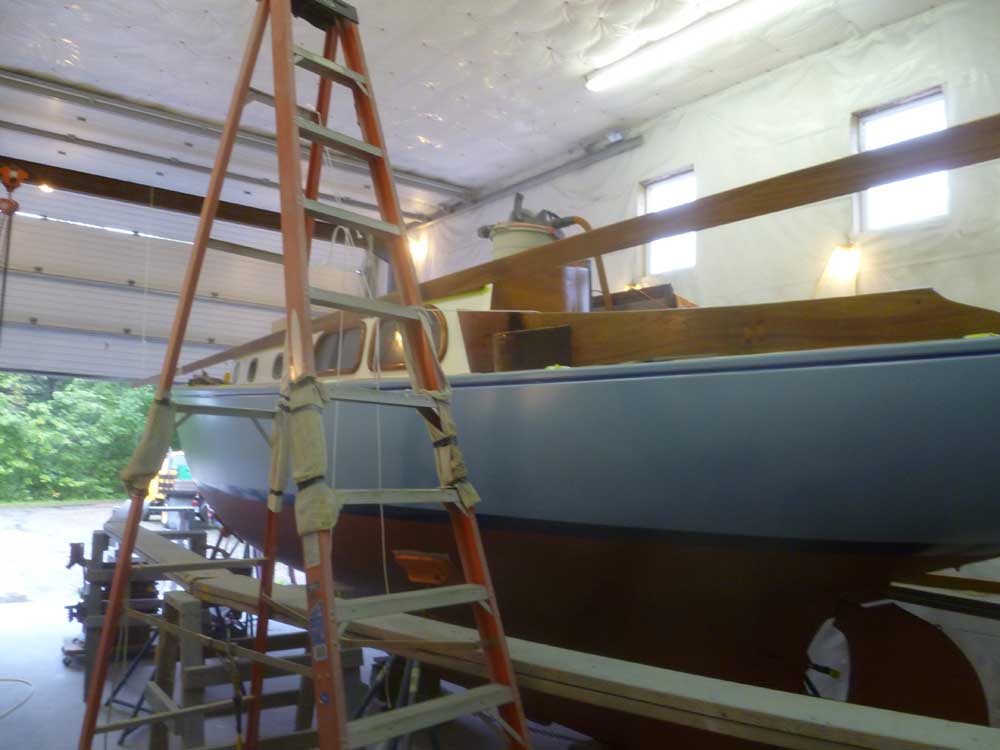
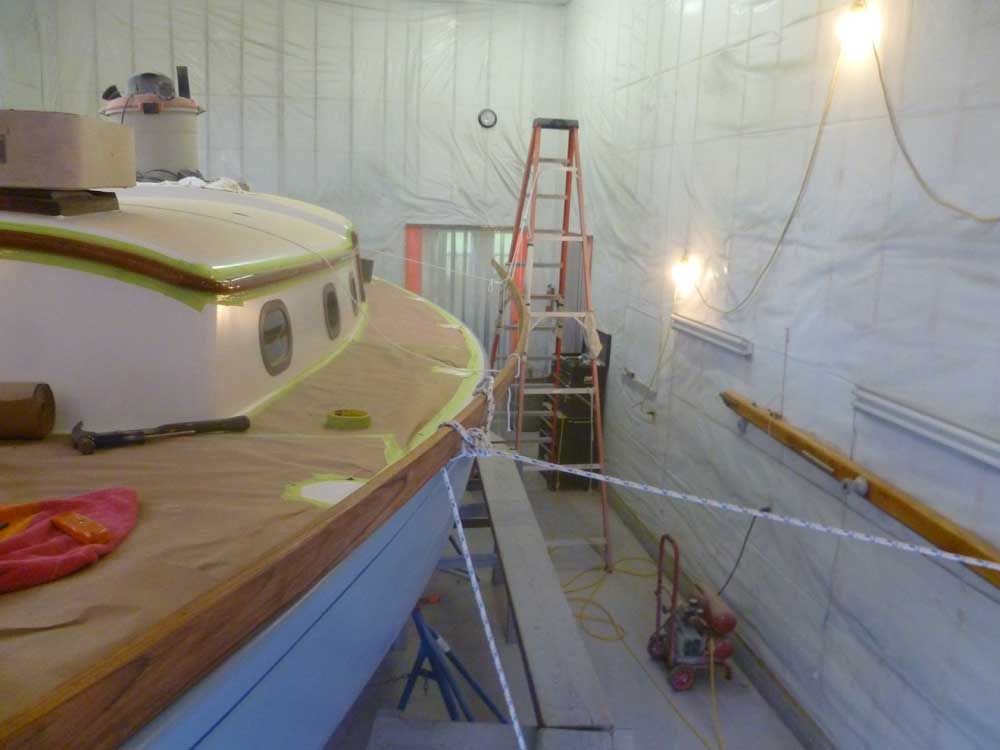
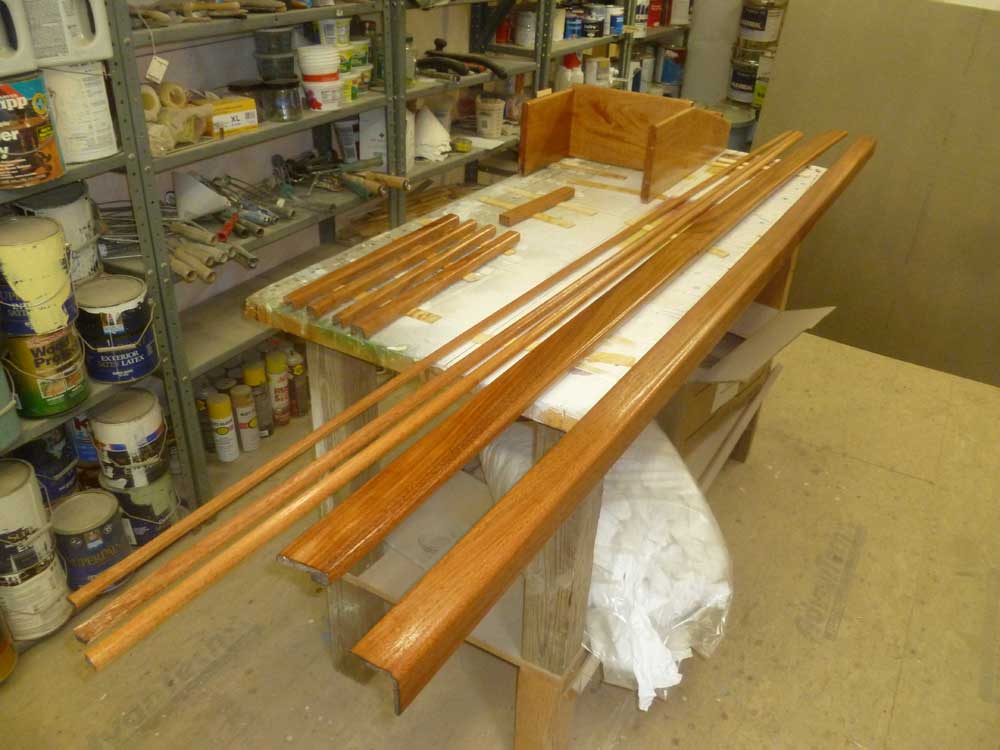
First, I had to move the two rail sections, which I'd glued and varnished in the other shop bay. Taking advantage of a break in the rain, I carried each section out and over to the work bay, where I placed them on the staging on each side of the boat. The long rails were floppy, but not too bad to carry as long as I held them upright.
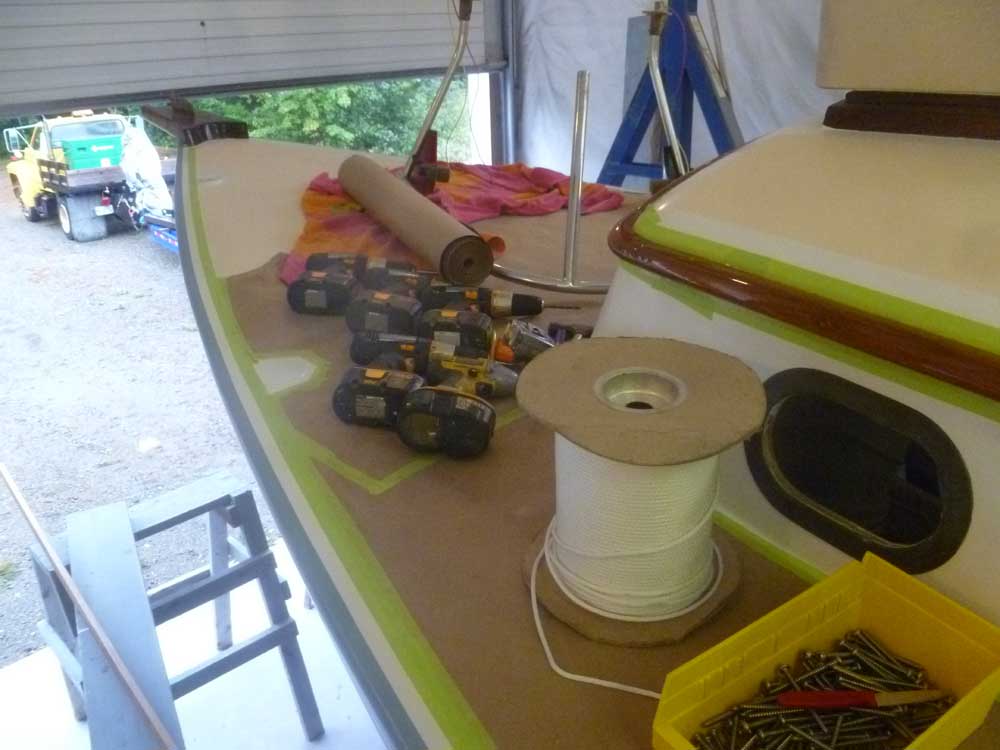
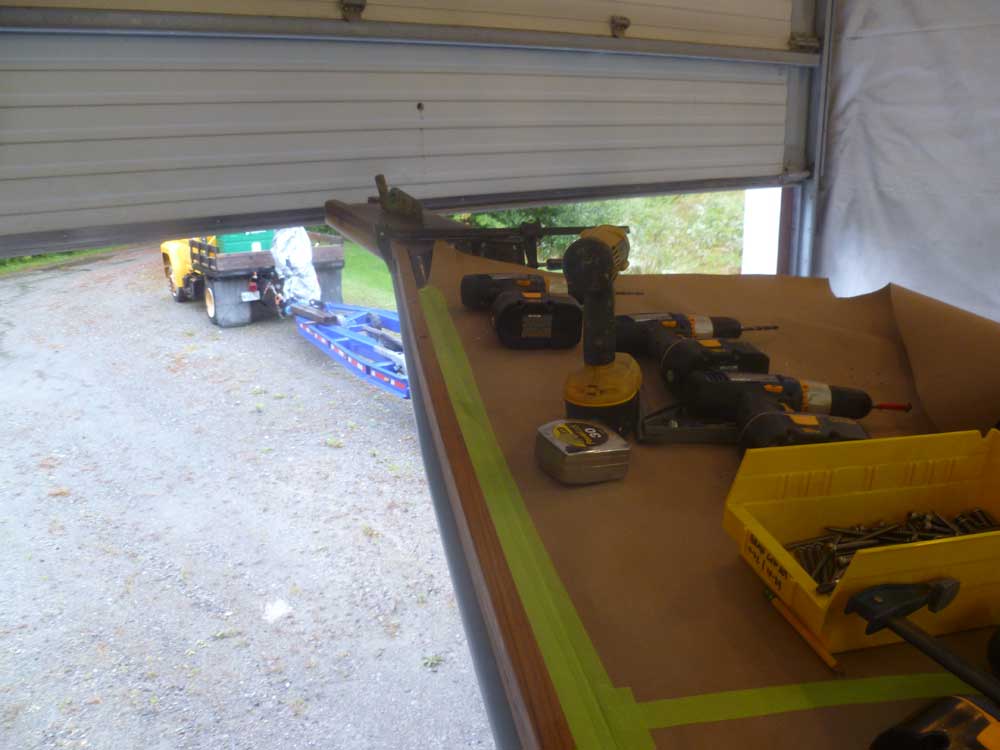
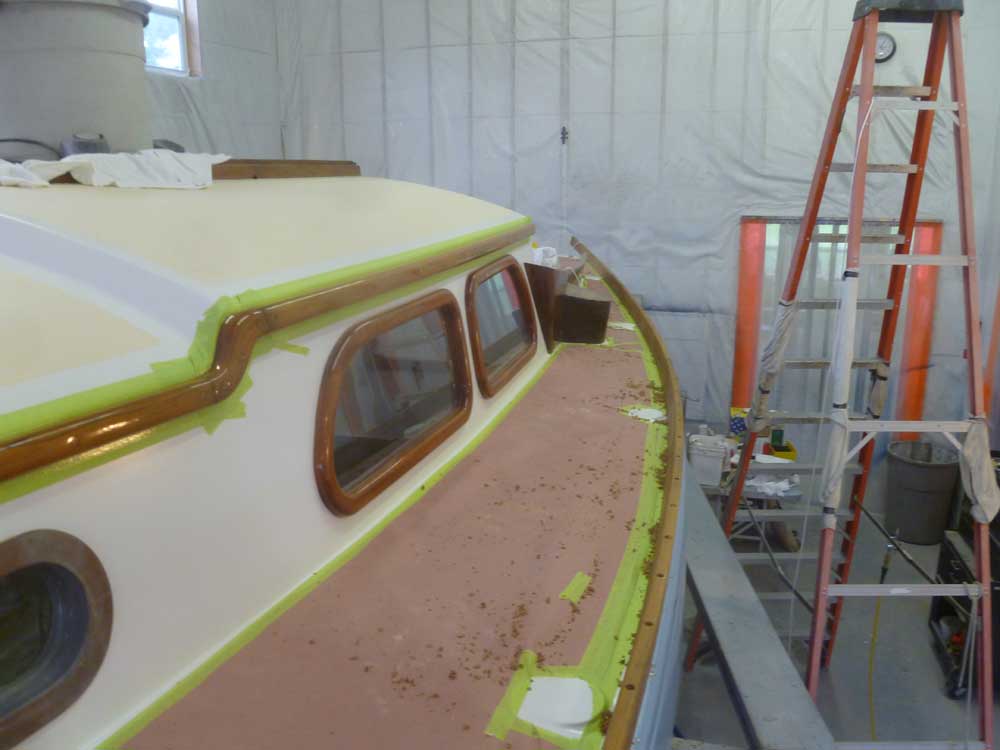
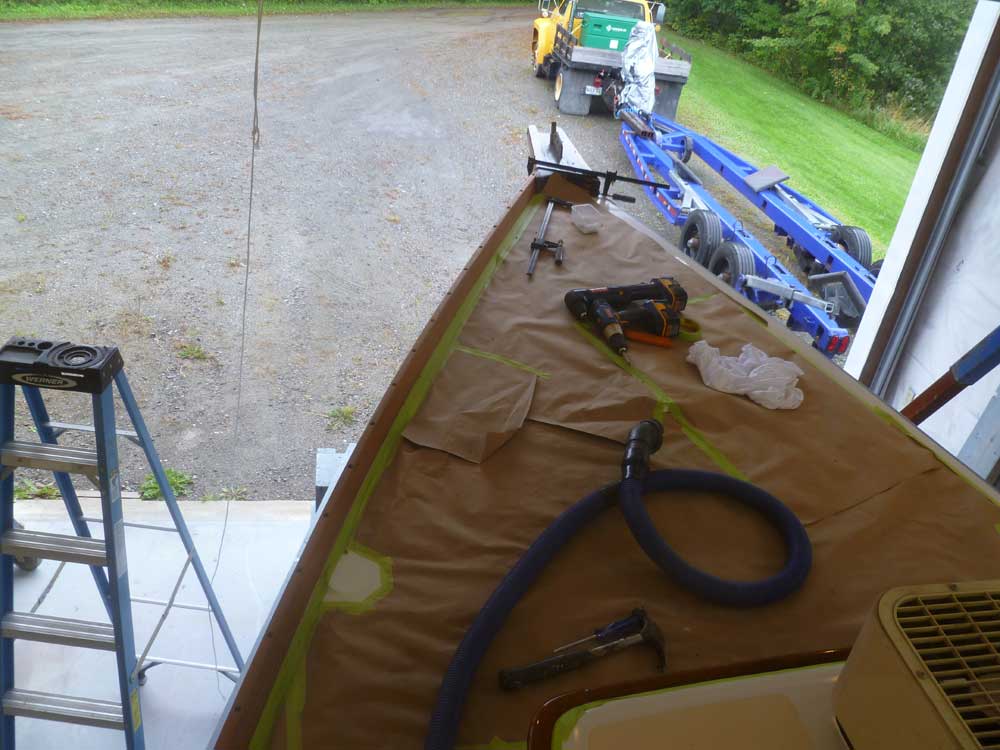
I made some measurements and reference marks for the inside edge of the toerail all along the length of the port side, based on the marks I'd made with a short mockup section during initial layout, and then installed masking tape to this line for a ready alignment reference. Then I prepared various tools, fasteners, line, and other equipment.
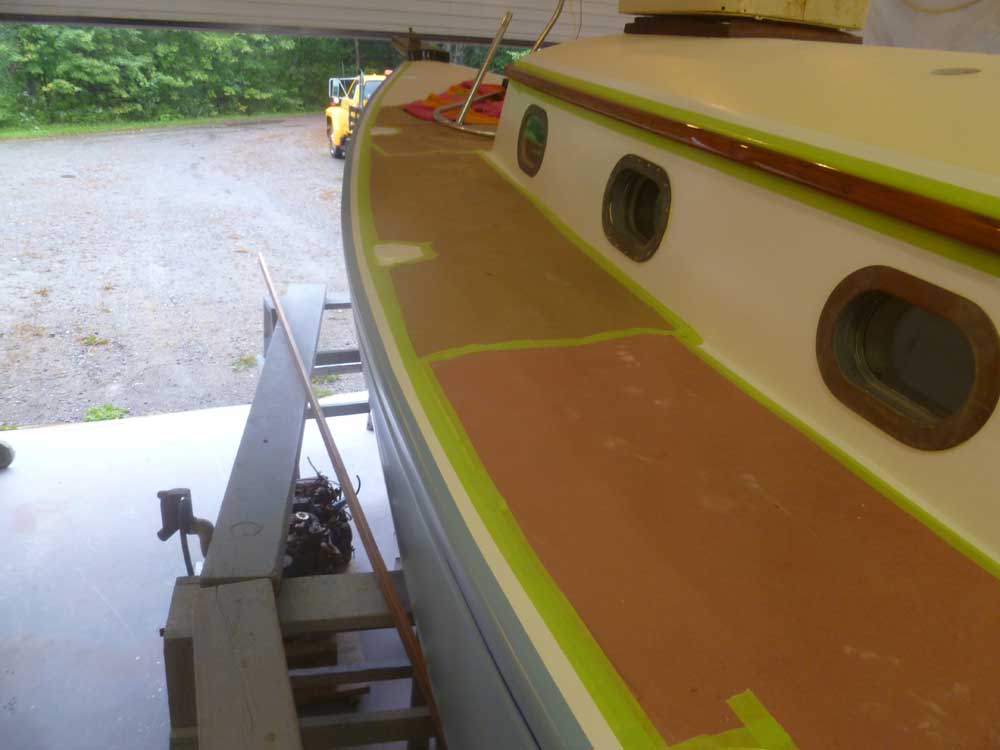
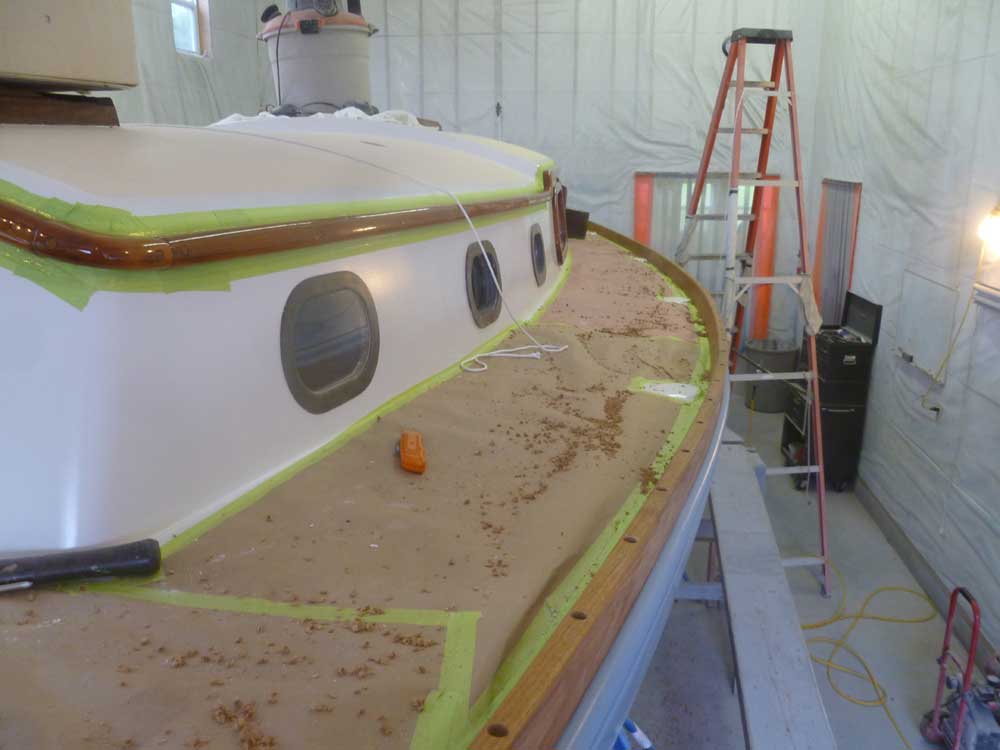
With several control lines in place to help hold, lift, and bend the toerail during installation, I got the toerail roughly into position near the boat. Because of the angle at the bow, I had to pull the aft end of the rail well away from the boat in order to align the forwardmost section.
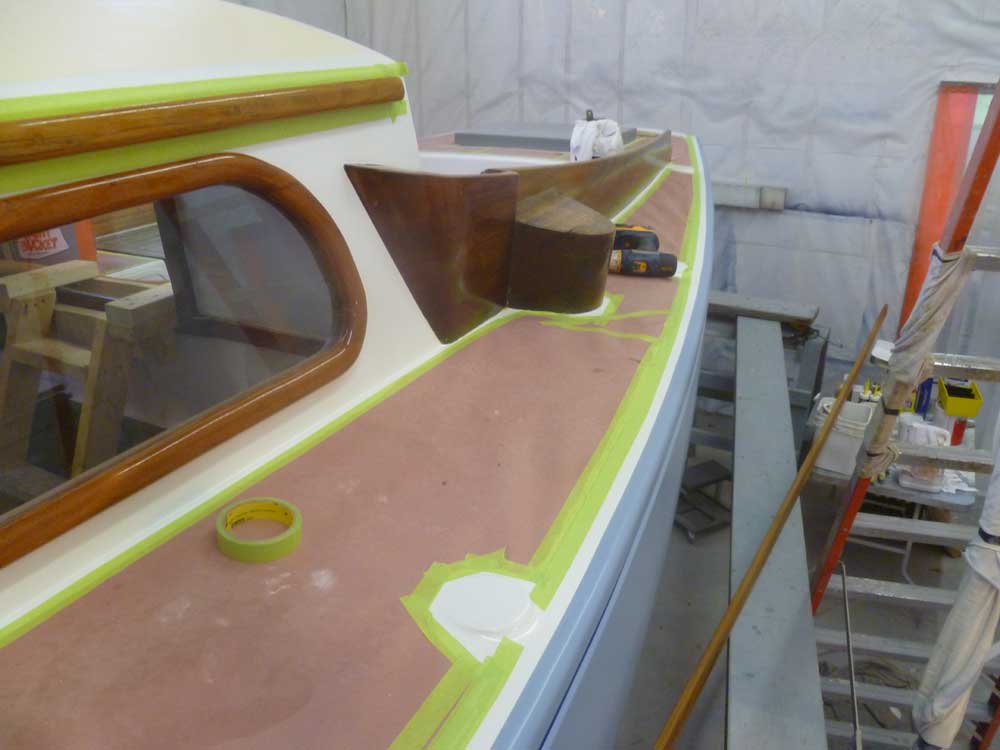
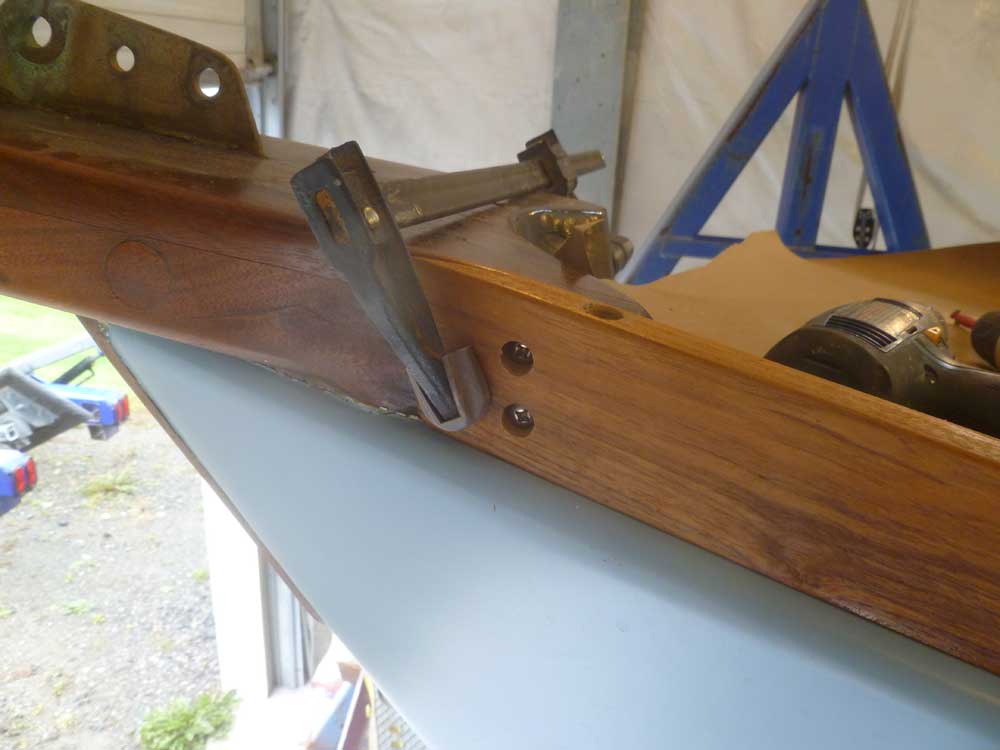
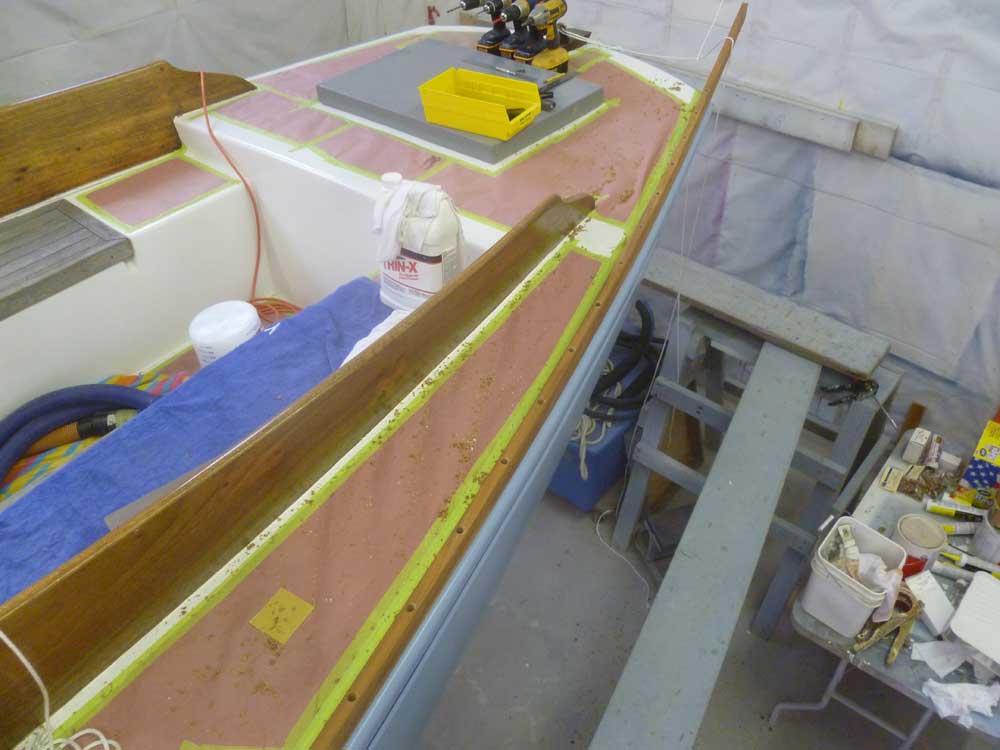
The first few fasteners are always the worst, but after numerous adjustments to the lines holding the rail, and adding an additional line to pull the rail away from the boat at the aft end of the foredeck, I eventually managed to get the angled cut into the proper position against the anchor platform, and marked for, drilled, and installed several screws as quickly as I could. I spaced the fasteners 6" apart, and in each case drilled a 1/2" counterbore to recess the fastener and provide space for a bung; then a pilothole through the toerail for the screw shank; then a smaller pilot hole, holding the rail in place, into the deck itself; and finally a #14 x 3" pan head screw.
With the forward section secured safely with about four screws, or about two feet of the rail's length, I added a couple smaller screws through the rail face directly into the anchor platform.
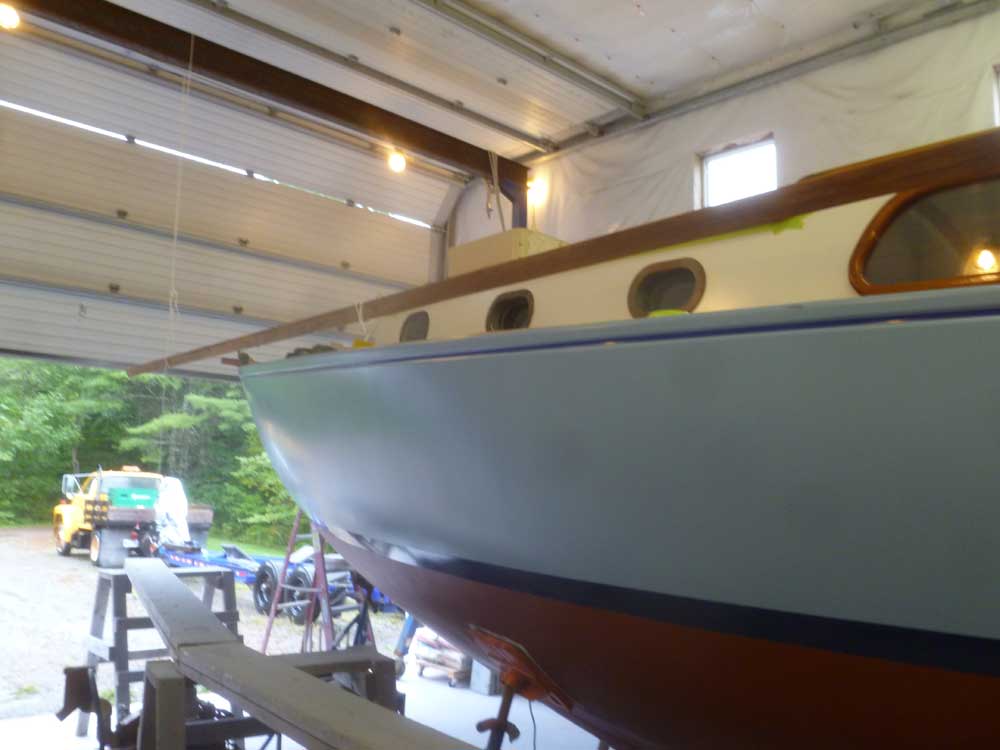
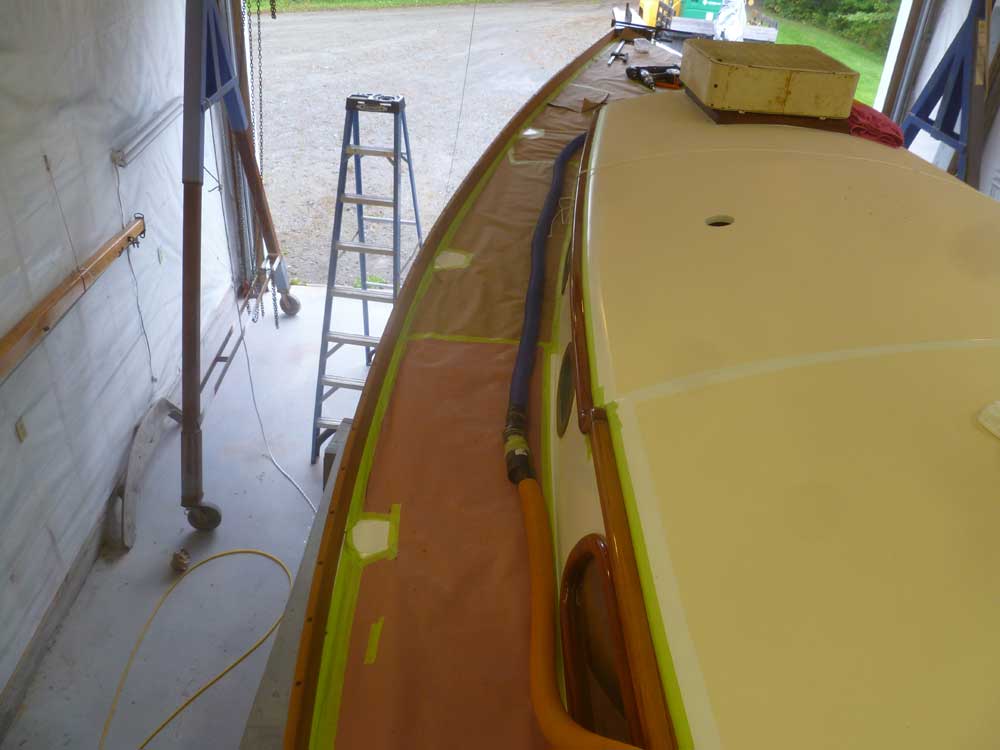
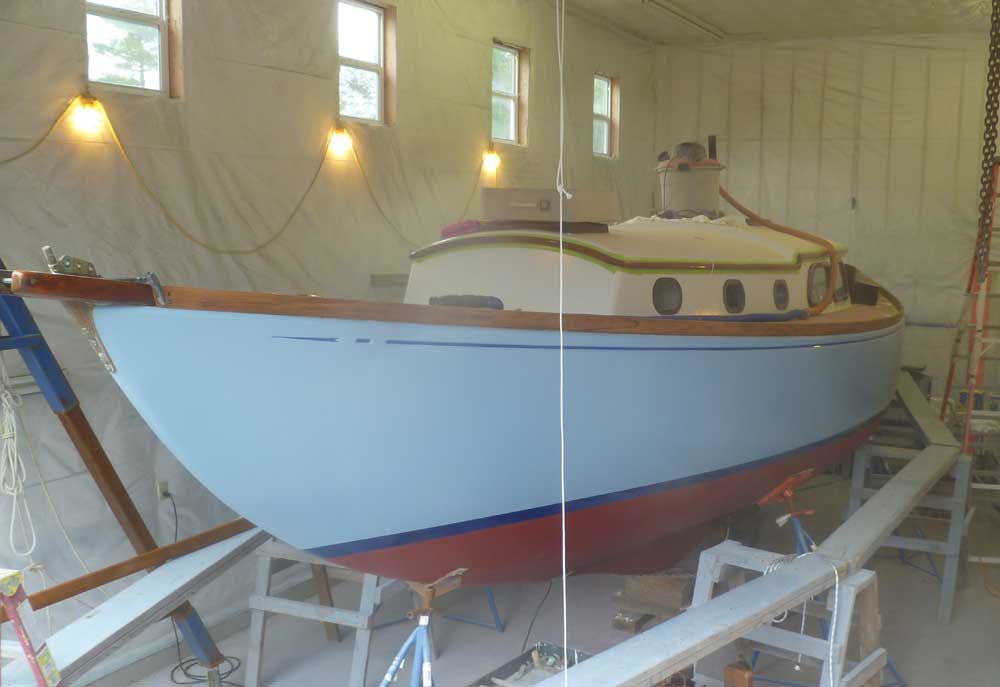
In this general manner, I continued aft, marking, drilling, and securing the rail along my alignment mark, making adjustments to the control lines as necessary. By late afternoon, I'd reached the transom.
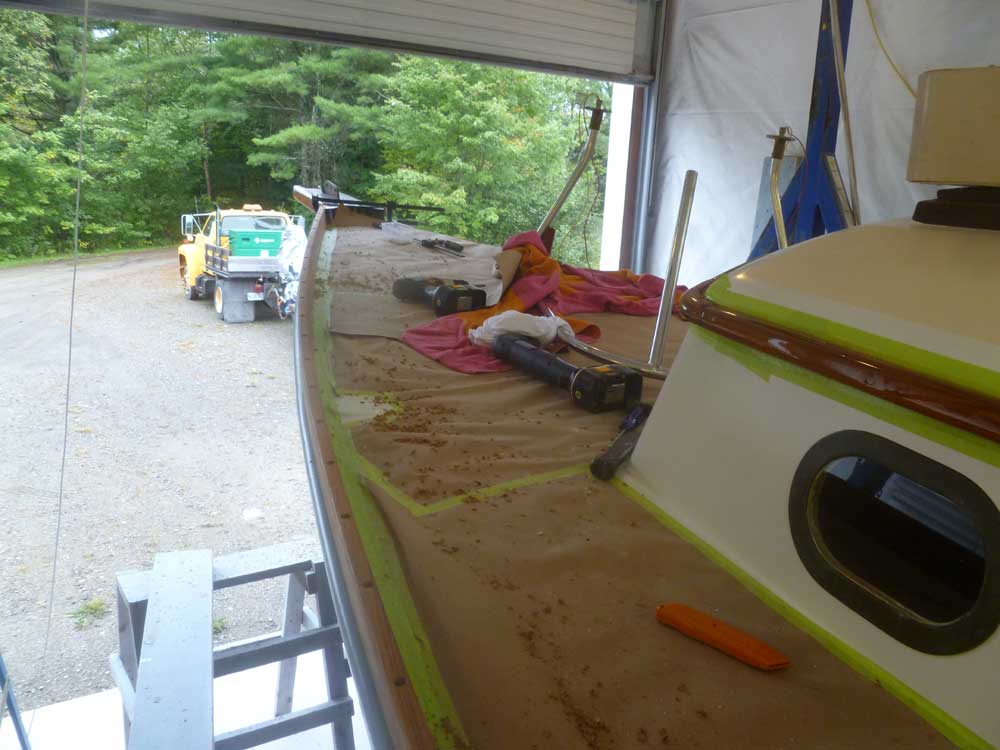

I'd hoped to do the dry fit, then remove the rail, clean up, and install it permanently in bedding compound all in one day, but it was too late in the day to consider this now, thanks to the numerous unrelated delays in the middle part of the day. So I left the rail in place and worked on a few other things to wrap up the day.

I continued the varnish work on the interior trim pieces, sanding and applying another coat, and cleaned up and varnished the trim on a small shelf destined for the drawer bank at the forward end of the starboard settee.
Total Time Billed on This Job Today: 4.5 hours
<Previous | Next>
