
110 Cookson Lane | Whitefield, ME 04353 | 207-232-7600 | tim@lackeysailing.com
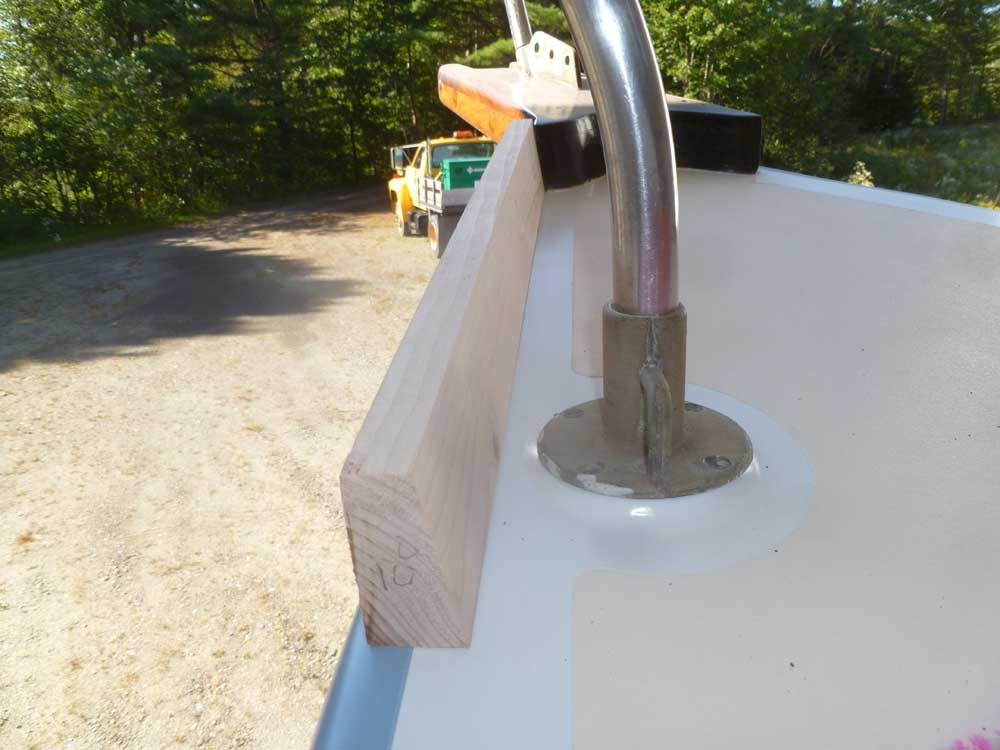
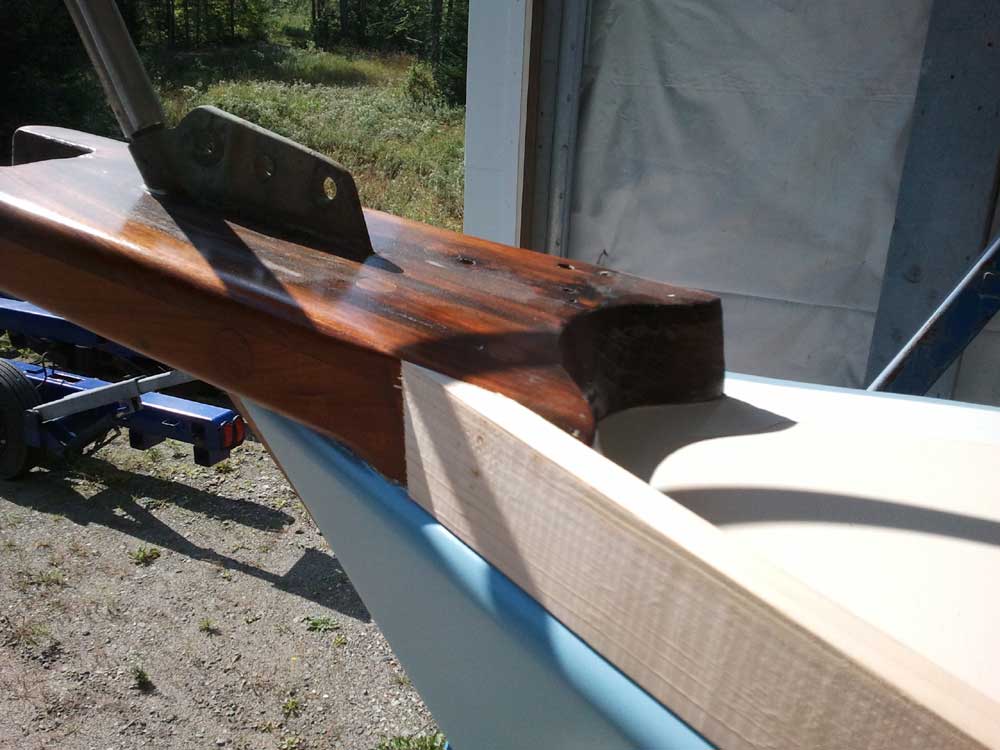
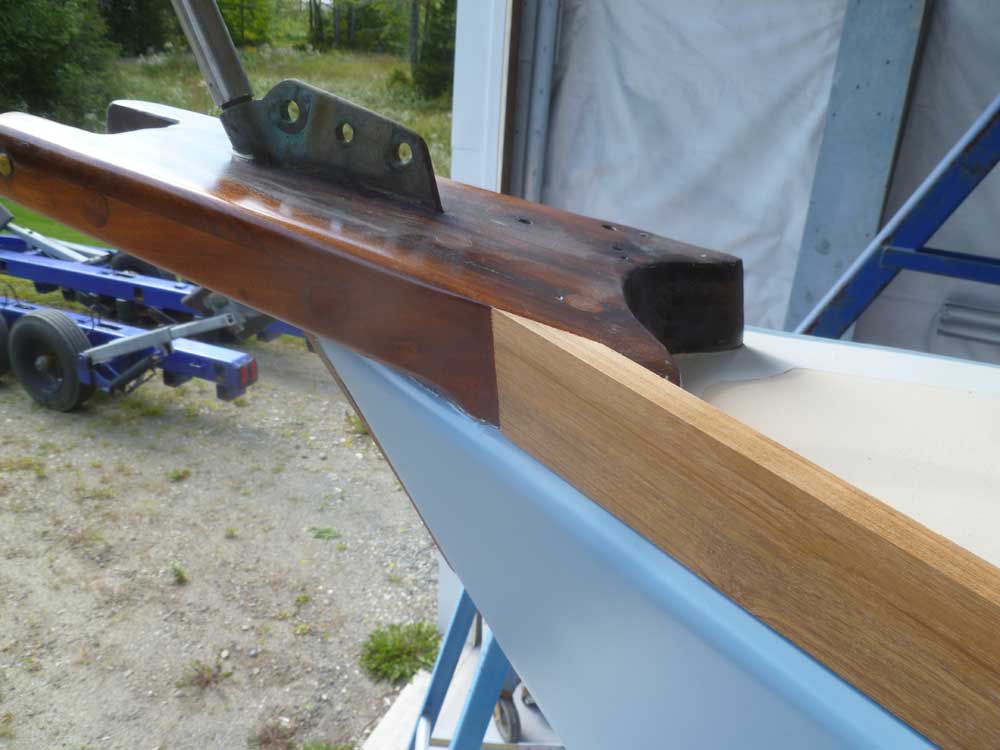
The toerail was to be the main focus for the next several days, so to get started I made a few measurements as needed to determine the basic dimensions of the new toerail. Using the existing anchor platform as a guide, along with a small remnant (attached to the old taffrail) of the toerail that had once been on the boat (but which had been removed before the boat ever came to the shop), I determined the basic size would be 2-1/2" tall and 1-1/4" wide at the base. I'd need at least 34 linear feet of glued-up rail for each side.
After sawing a scrap piece of construction lumber into the basic rectangle needed, I used the basic mockup to determine that the inside face of the toerail required a 10° angle to match up with the anchor platform; this measurement was also confirmed by the small piece of the original rail that I had, and, combined with the height of the rail, would work out nicely to make the top edge of the toerail just over 3/4" in width.
With the angle cut into the mockup, I could test-fit the basic shape on the bow.
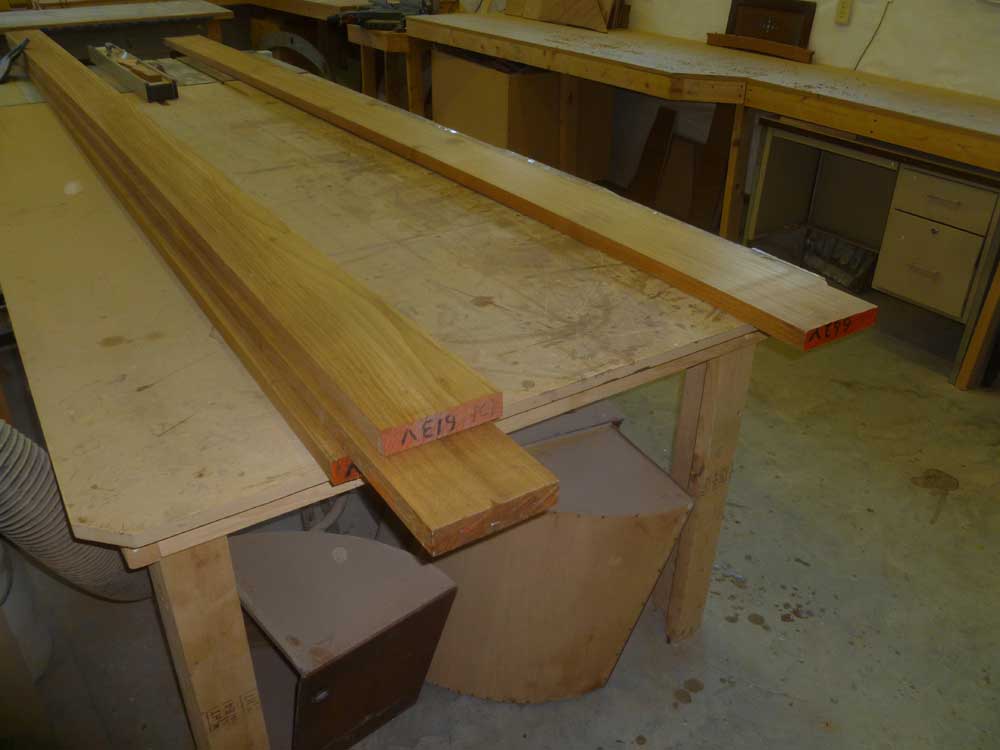
With these determinations made, I could mill the four 6/4 teak boards I'd purchased for the toerail into blanks of the appropriate size, and with the appropriate angle on one face. I could get two blanks out of each board; the boards were all at least 12 feet long, which would seem to indicate that I'd need just three pieces for each side of the boat, but the scarf joints required to join the sections together would steal about 20" out of each section, so it was likely I'd require a fourth section on each side to make up the required overall length.
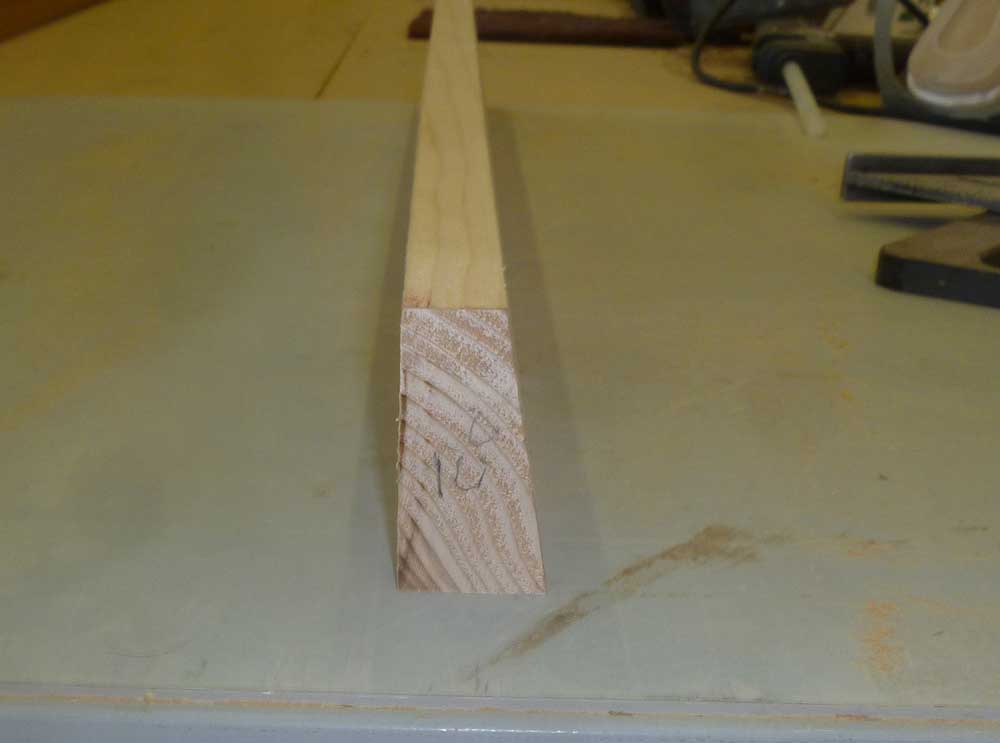
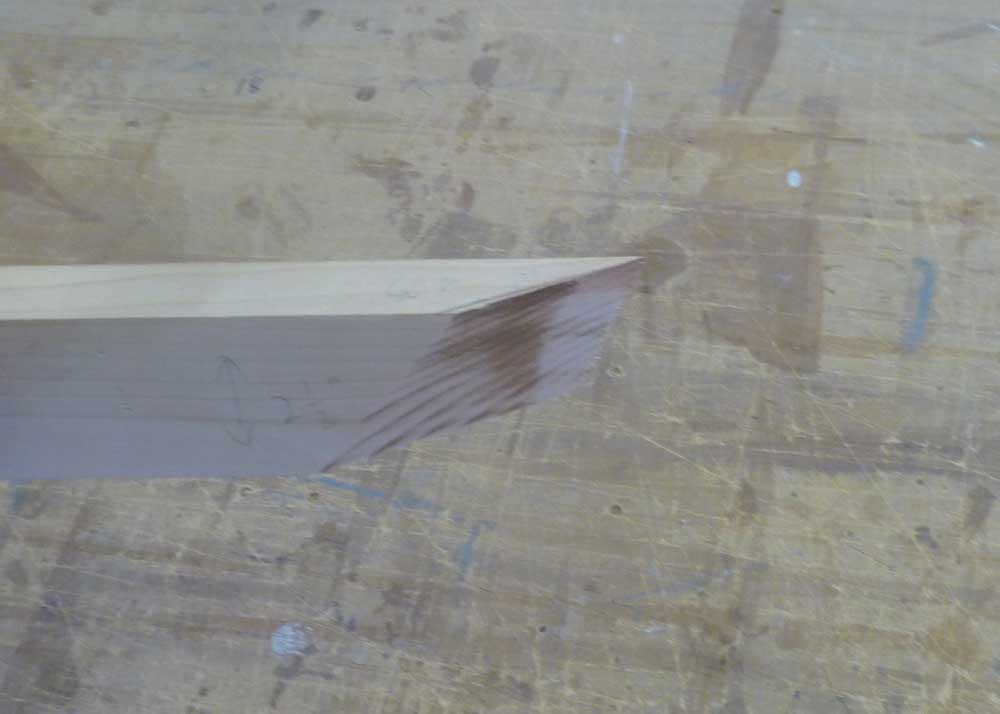
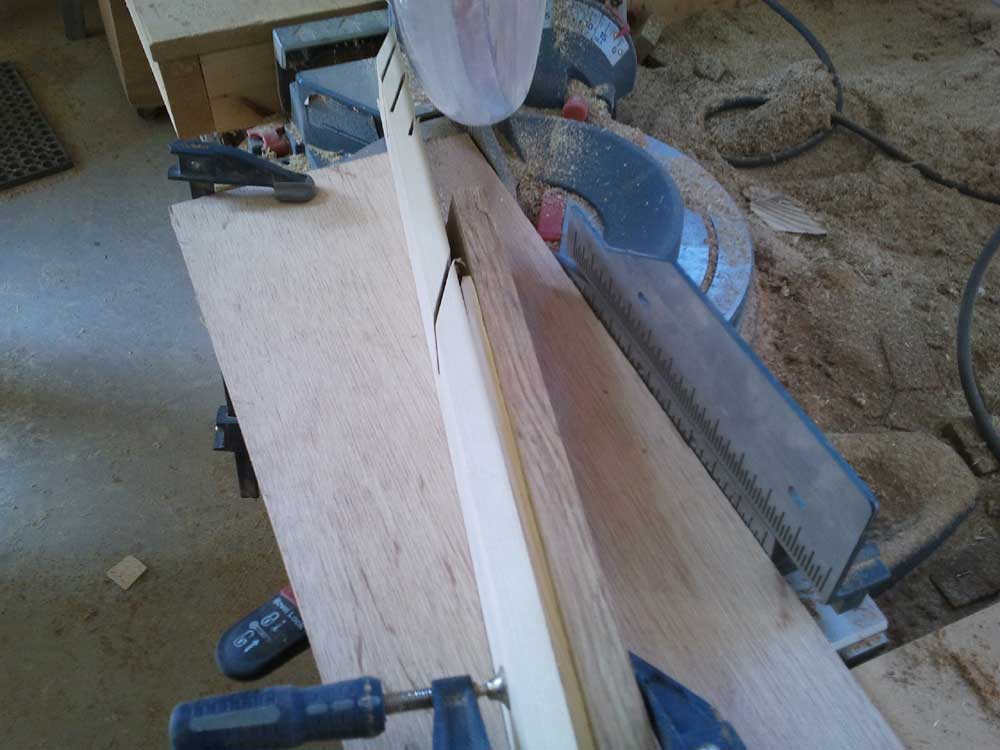
Using the softwood mockup section, I performed a series of trial-and-error measurements and cuts to determine the correct shape for the forward end, where the rail would conjoin the anchor platform. The angle was too steep for my miter saw, so I had to create a jig to hold the blank at a steeper angle. After considerable time and numerous cuts and test-fits, I eventually created the compound angle cut required for a close fit at the forward end.
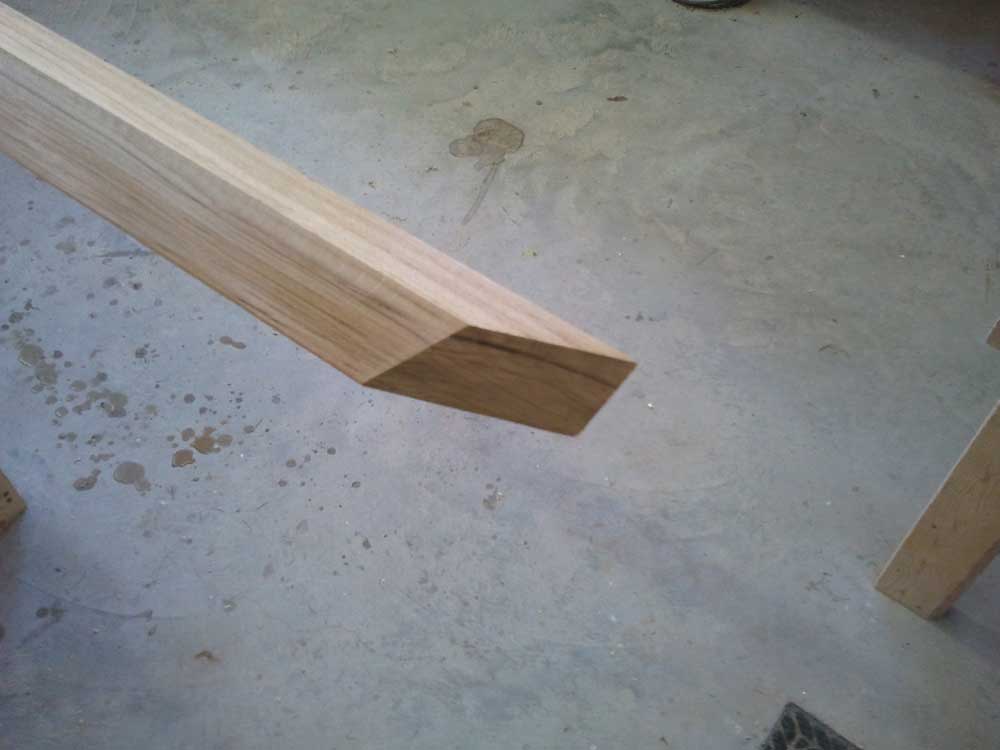
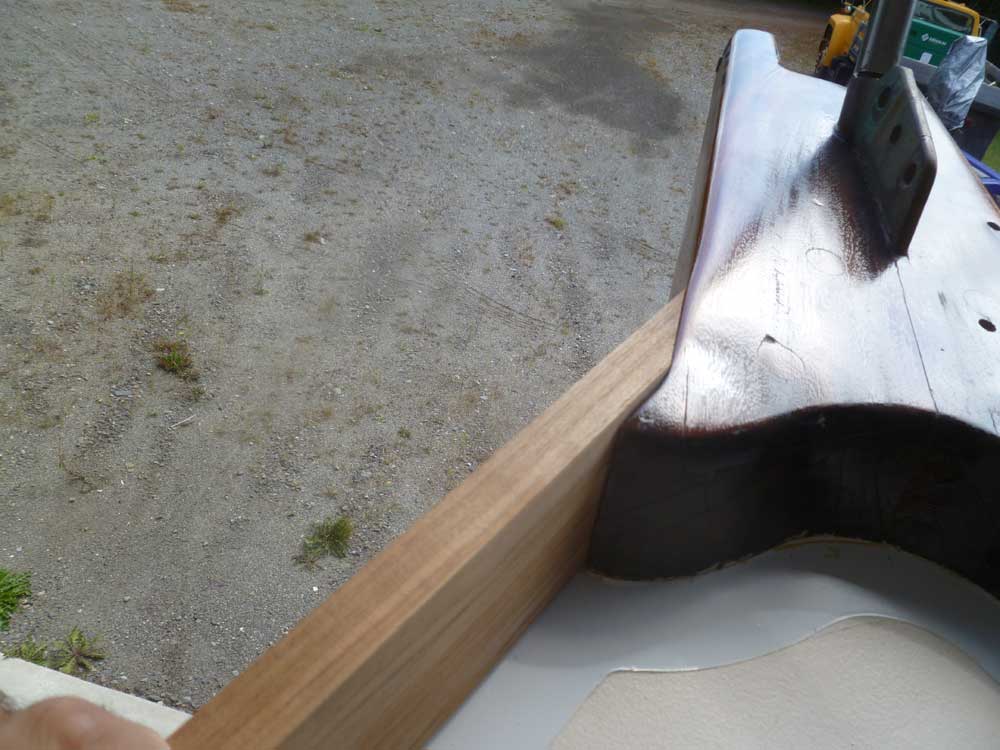
With the saw still setup in the correct position, I cut the angles on the forward end of one of the pieces of teak for the port toerail, and tested its fit as well.
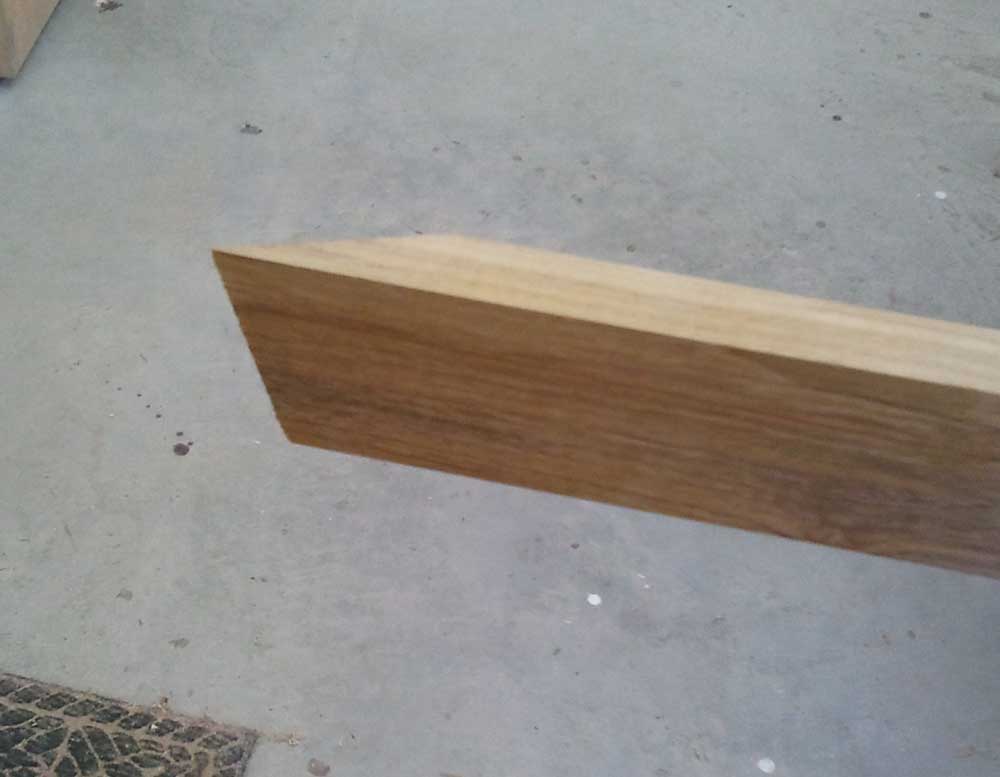
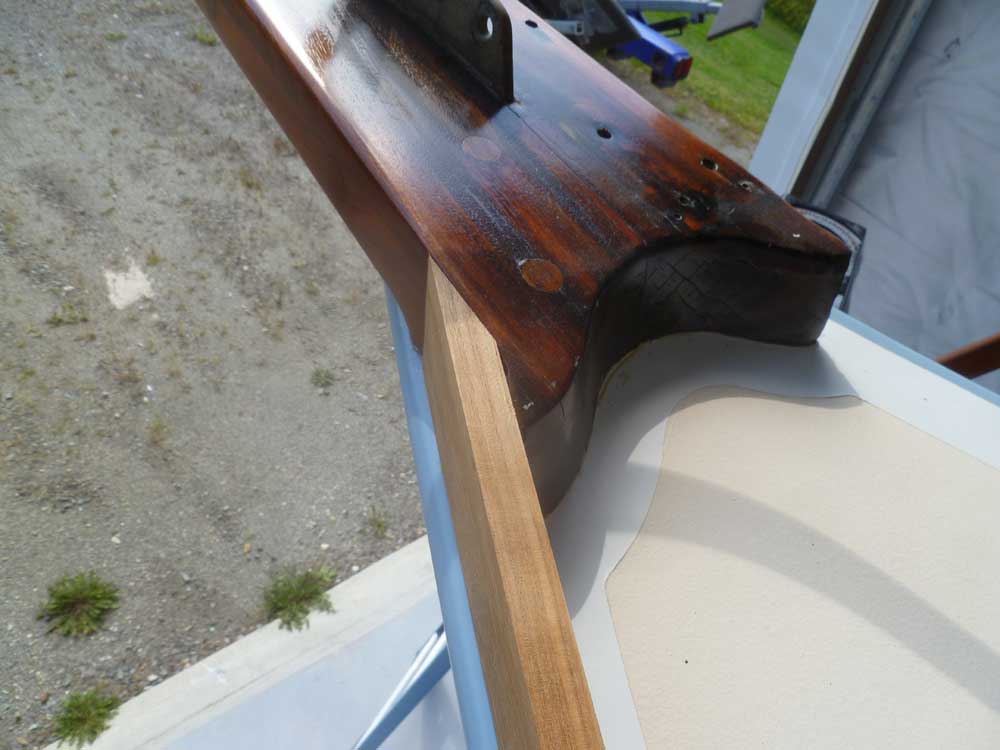
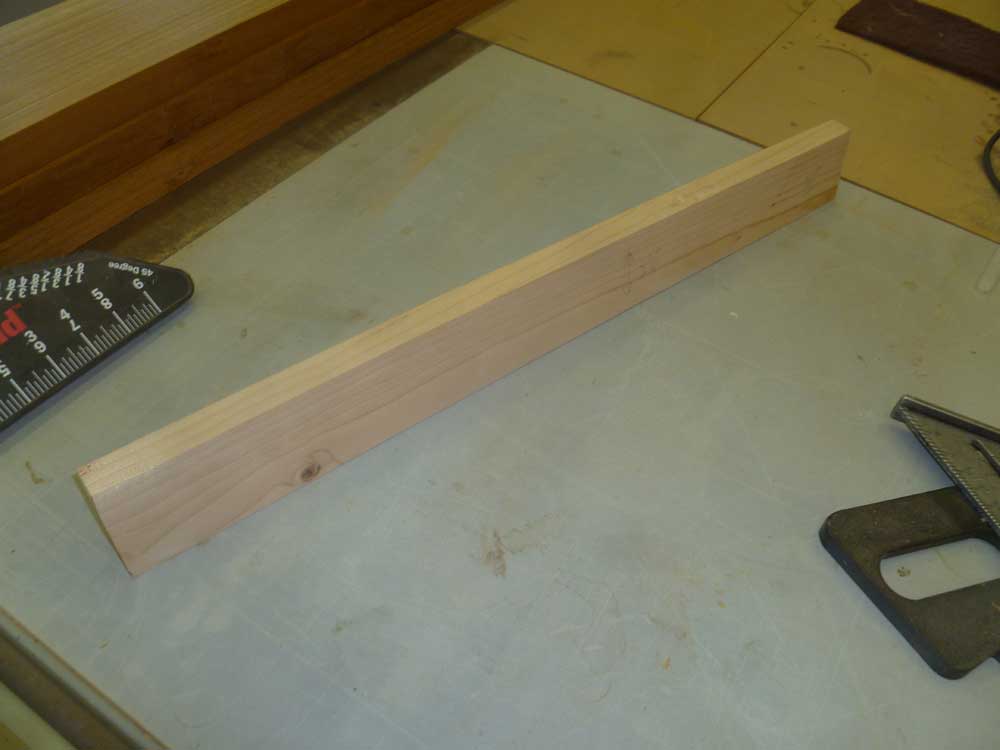
As time-consuming as creating the port side had been, for some reason the starboard side was even worse. For one thing, the shape of the anchor platform was slightly different here. In the event, I made so many attempts at cutting my mockup into the correct shape that I eventually consumed most of the mockup and also the jig (the jig was sacrificial), so I had to make up a new mockup section and jig to continue.
Eventually, I came up with the correct combination of angles, but the shape of the anchor platform necessarily left a gap at the aft end that I'd have to fill with a small custom piece of teak later.
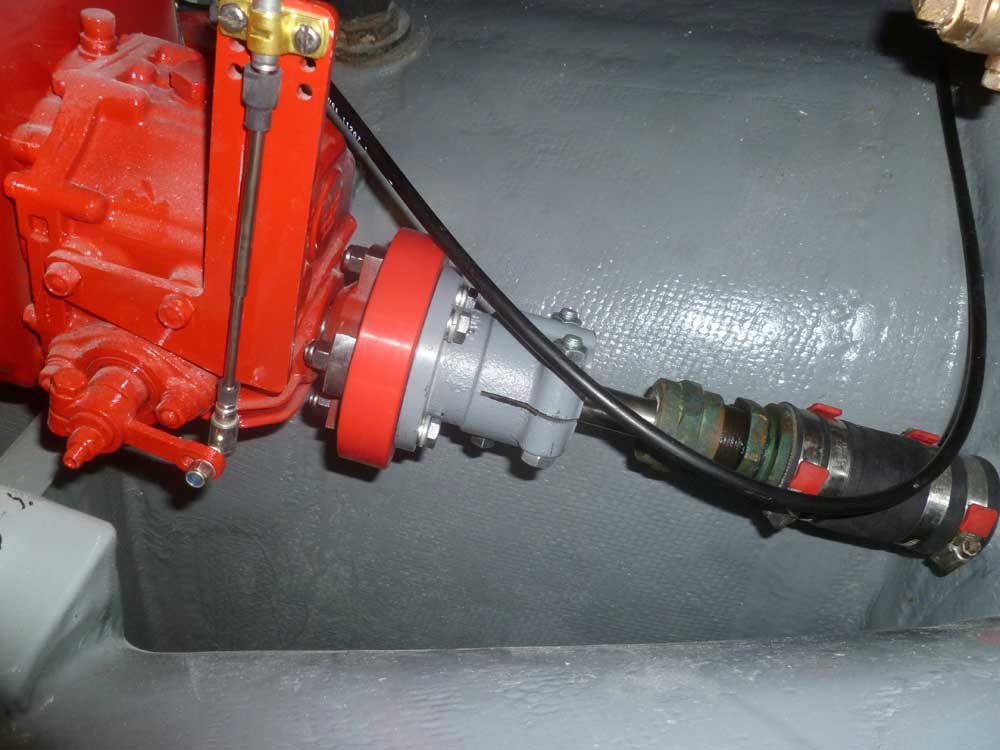
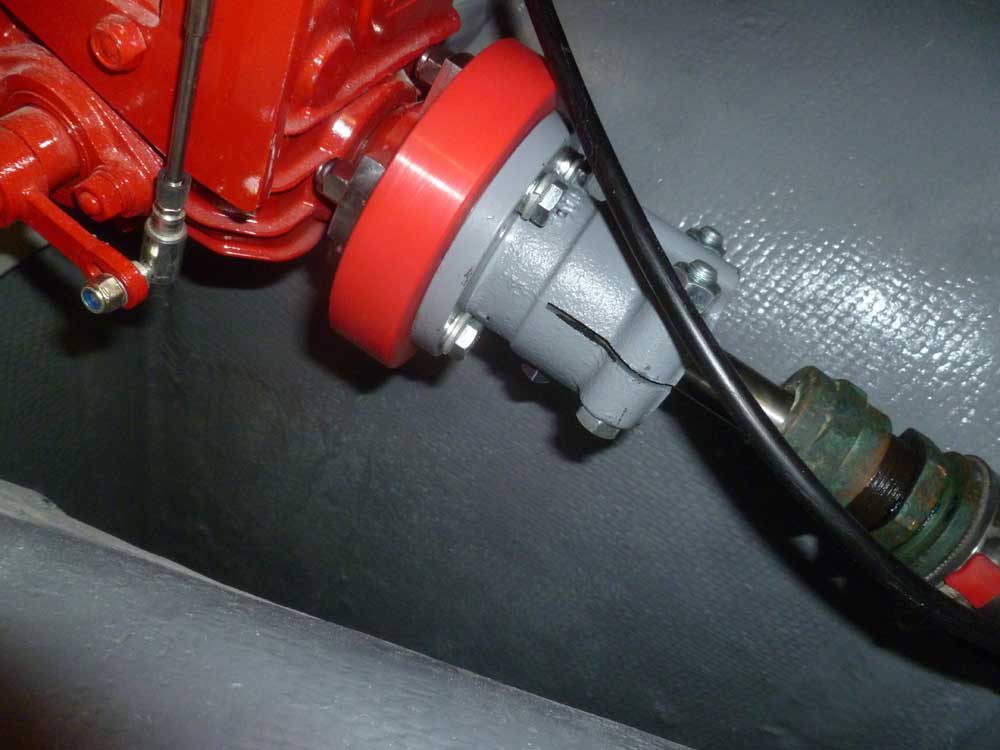
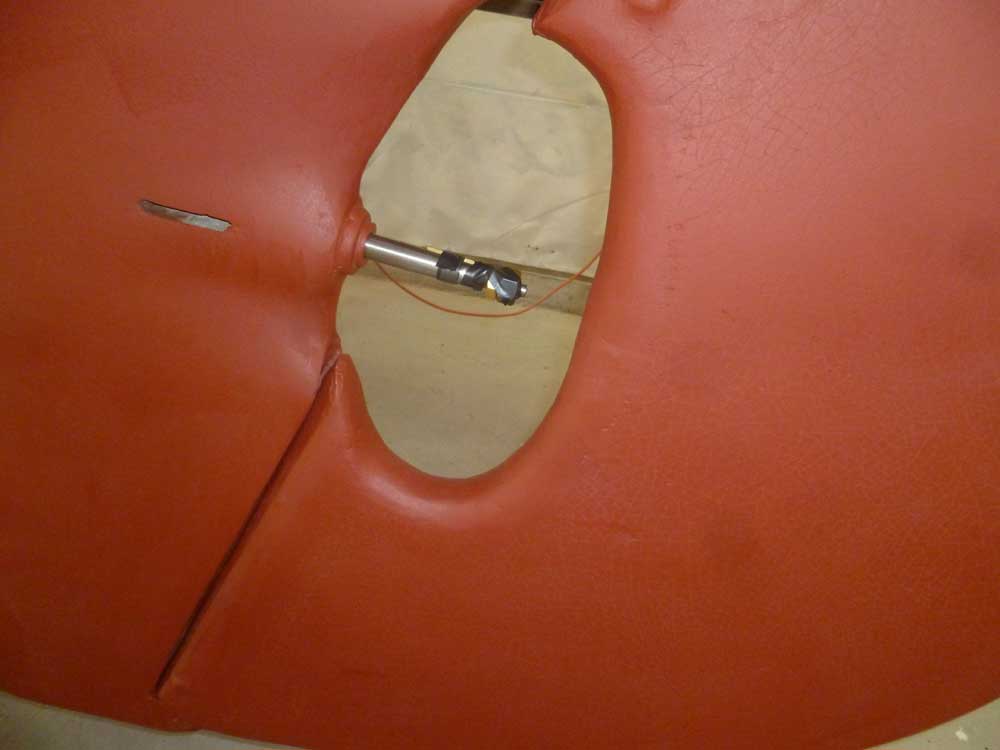
That seemed like a good stopping point for work on the toerail for one day, so to unwind and relax I crept into the bilge and installed the Drivesaver on the propeller shaft, completing the shafting installation with my new fasteners.
Finally, I applied another coat of varnish to the eyebrow trim pieces, the last before I could install them.
Total Time Billed on This Job Today: 7.5 hours
<Previous | Next>
