
110 Cookson Lane | Whitefield, ME 04353 | 207-232-7600 | tim@lackeysailing.com
I started work on installing the Drivesaver and completing the propeller shaft installation, but found that because of the extra thick transmission coupling on the Beta engine, the supplied bolts were a bit too short. I remembered (too late) that I'd experienced this with previous installations also. In any event, it was an easy fix, but since I had to order new bolts it'd be next week before I could continue this simple job.
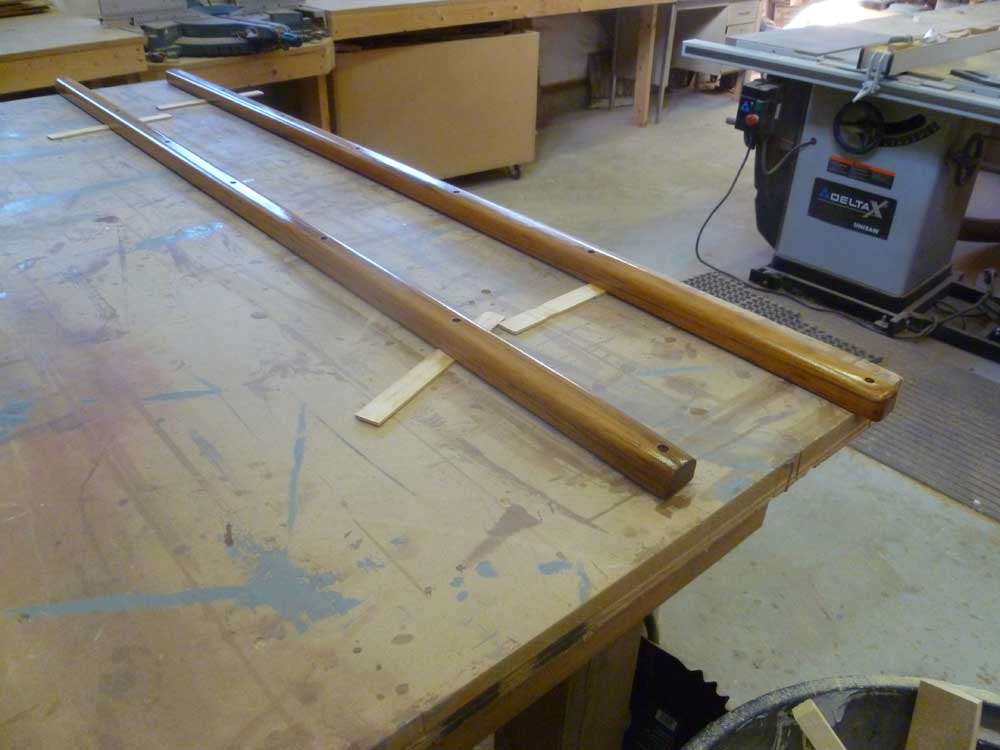
I moved on to the eyebrow trim. I marked for a series of screw holes, then drilled counterbores for eventual bungs once the trim was permanently installed. Then, I dry-fit the trim on each side in turn, temporarily securing it with a couple screws through the pre-drilled holes, so I could mark for the length and aft end termination of the trim. I ended the trim 2" shy of the aft end of the cabin trunk, and marked an angle that matched that of the cabin trunk (5°).


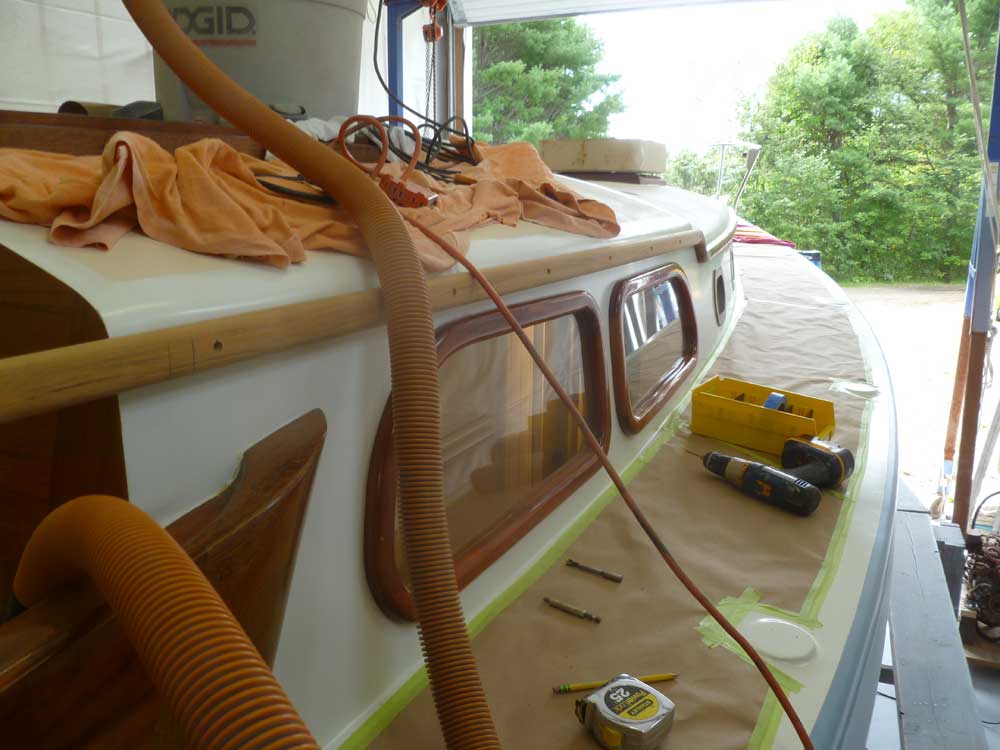
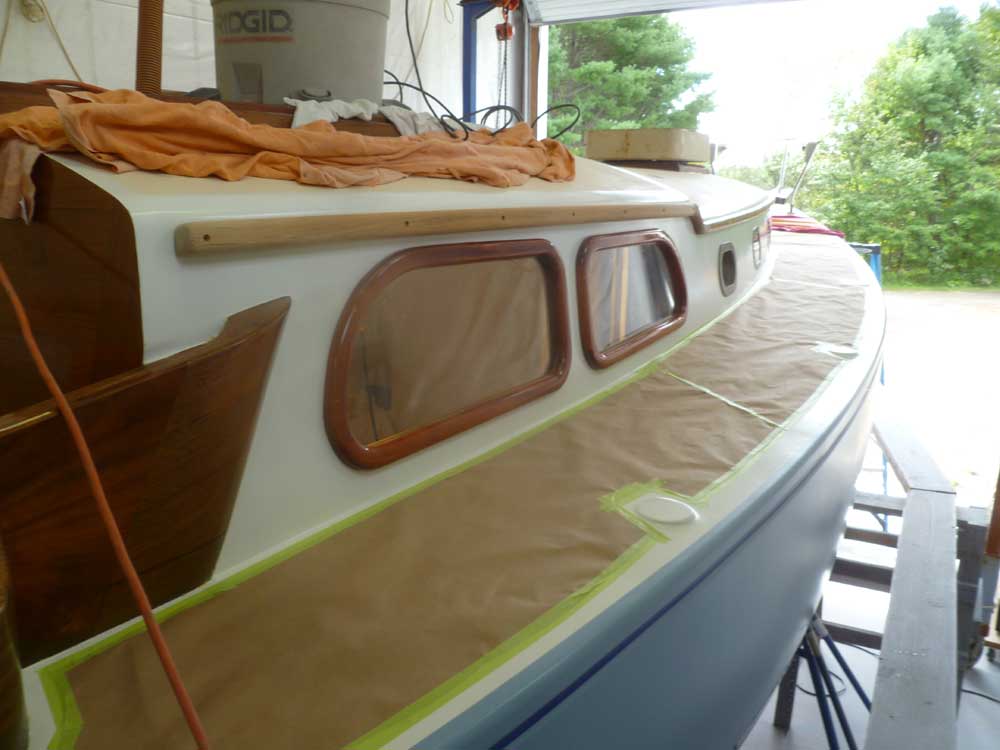

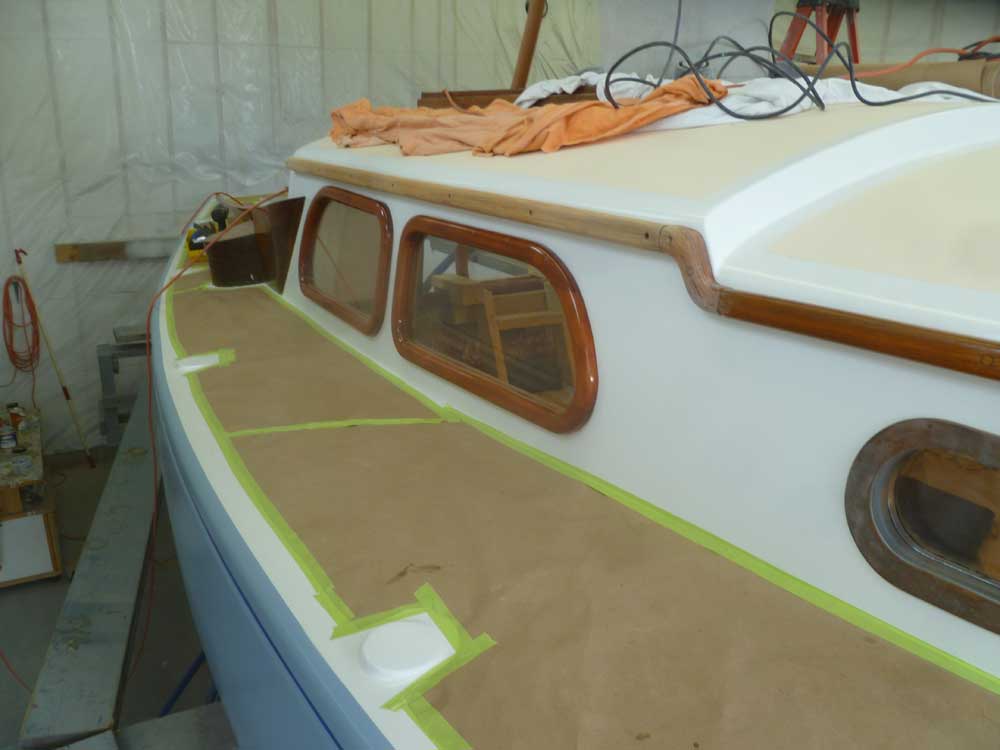
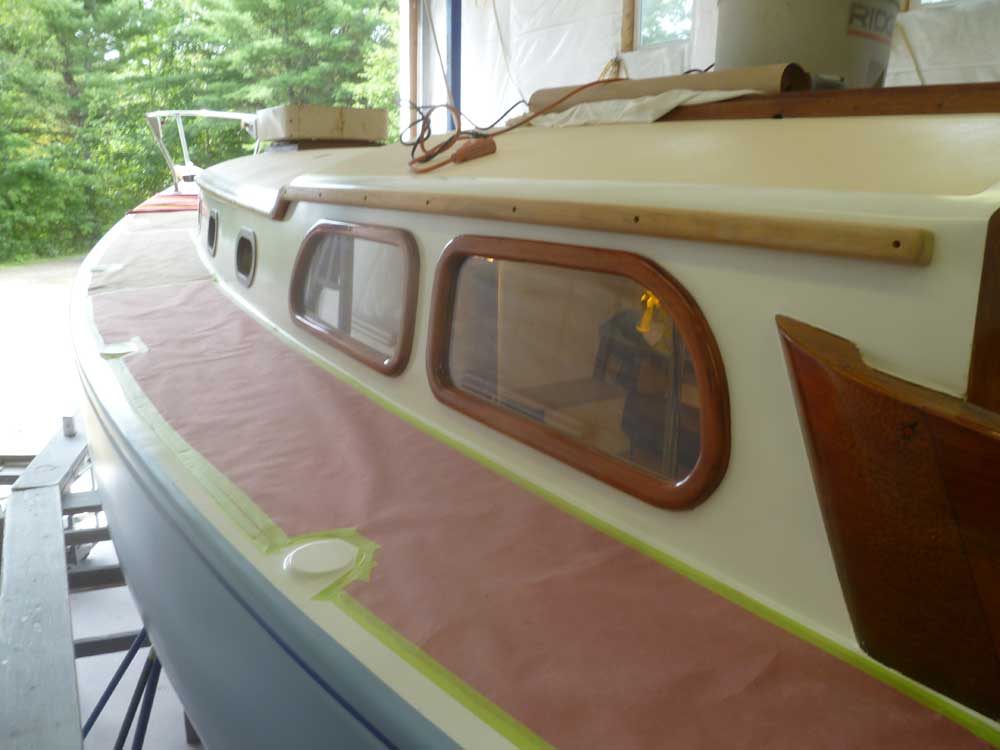
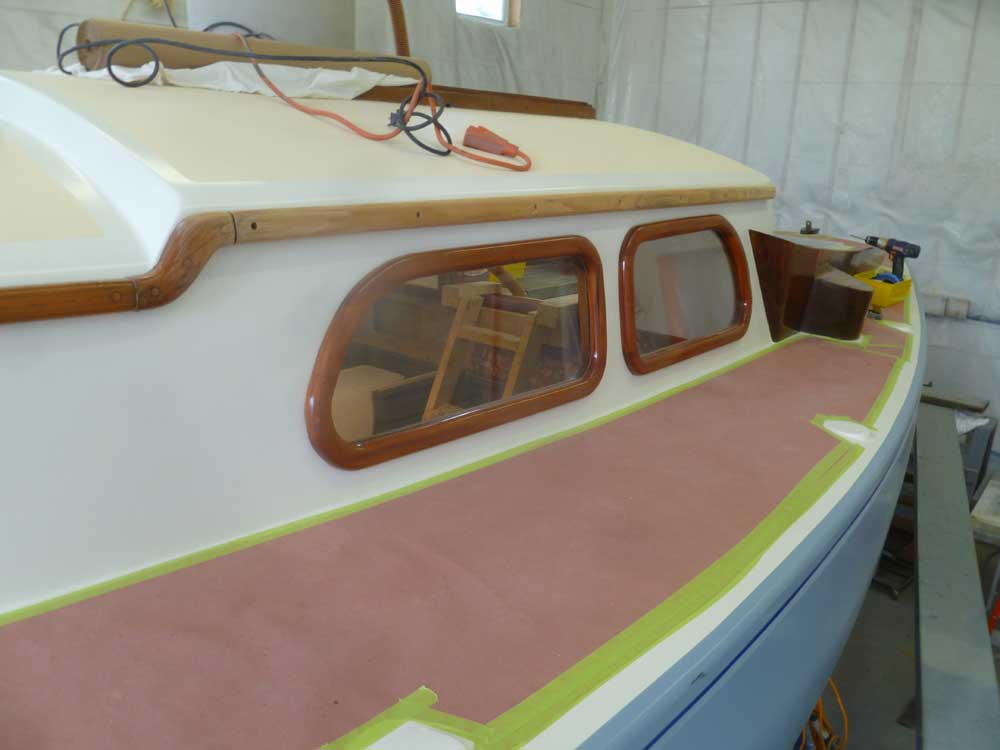
After predrilling the cabin trunk for all the screw holes, I removed the trim to the bench for final sanding and a sealer coat of varnish.
After preparing a backing plate from 3/4" G-10 fiberglass, I drilled a small pilot hole through the hull from the inside, following my center mark I'd made earlier, then enlarged the hole to the appropriate size from outside. This complete, I installed the backing plate in its proper orientation with epoxy adhesive, using a bit of tape to prevent it from sliding before the epoxy cured.

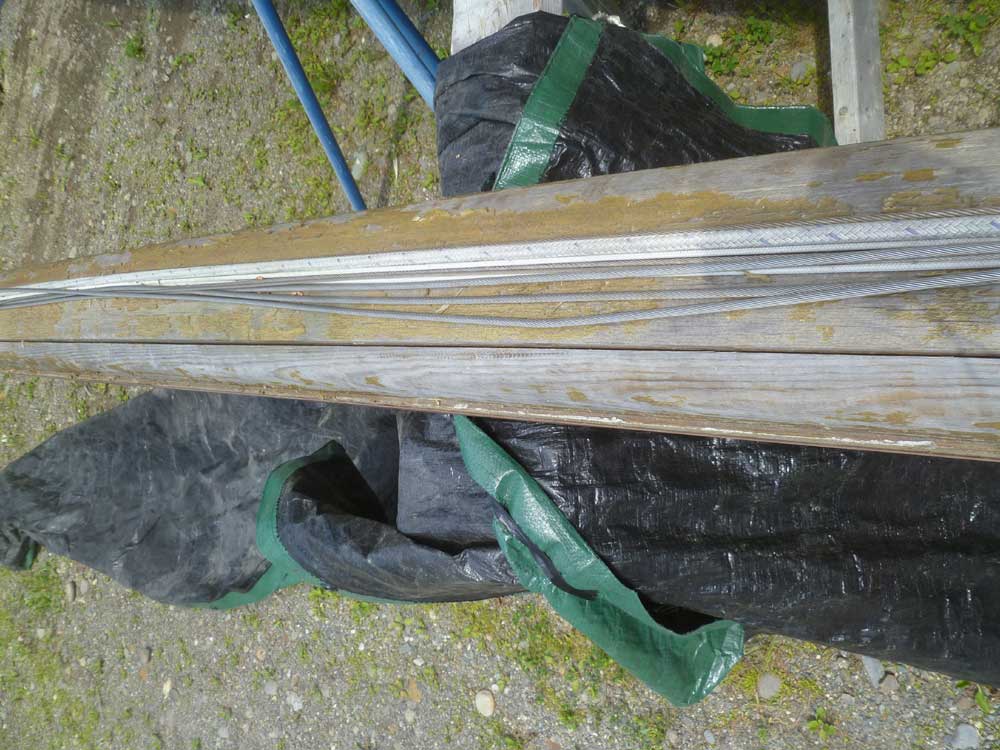
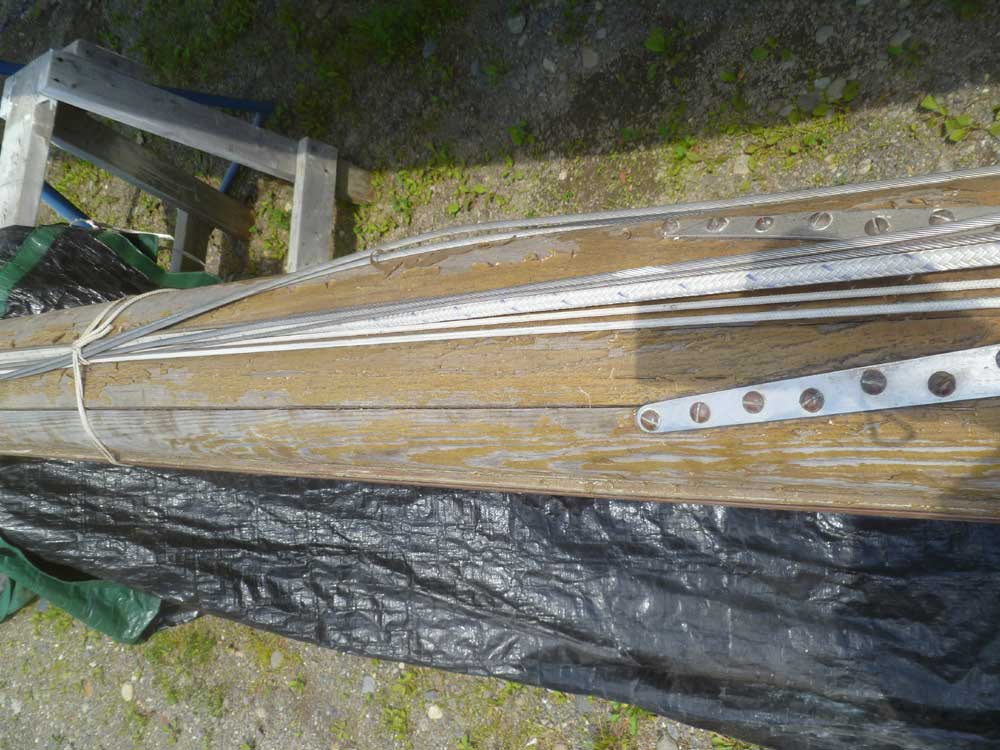
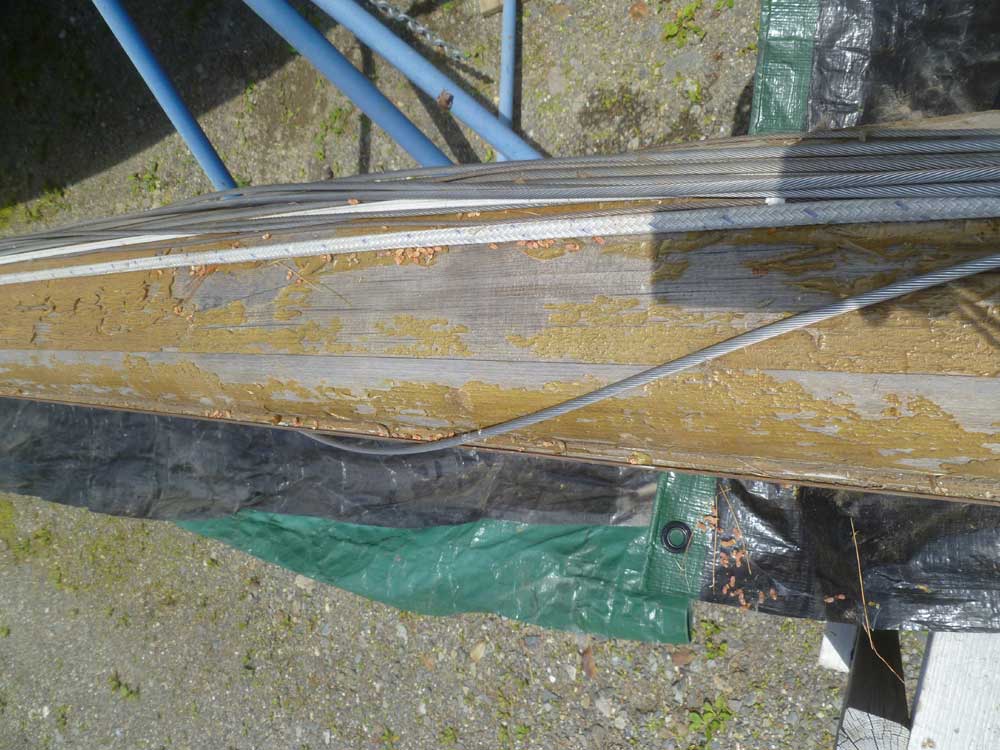
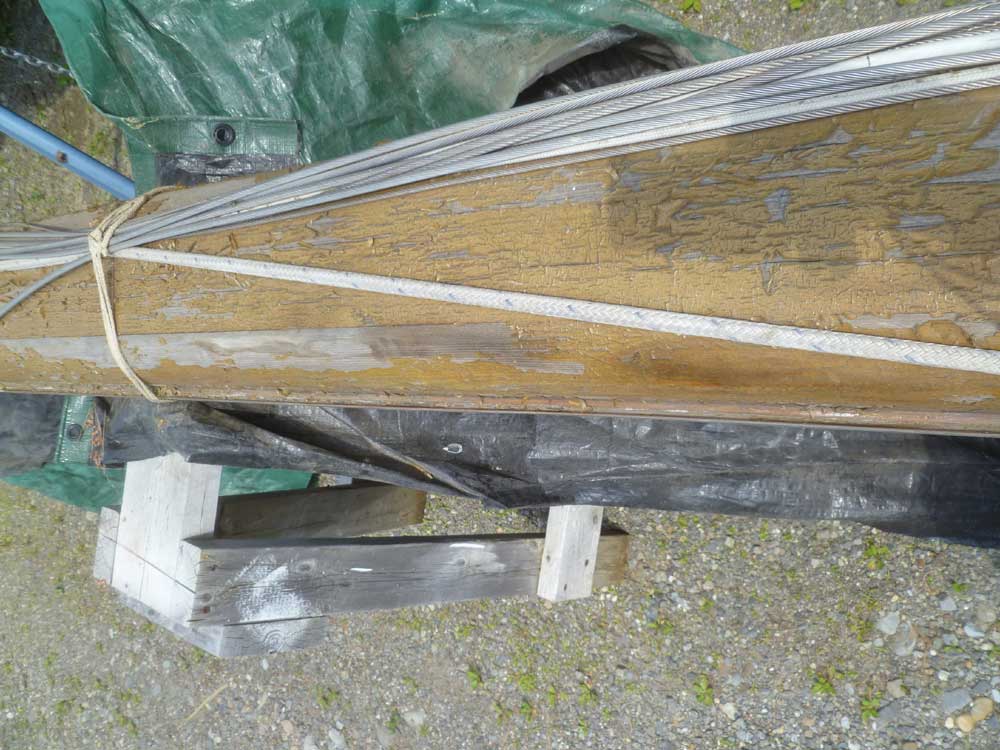
Later, I had my rigging contractor stop by to look at things for several jobs, including the rigging and wooden mast for Waanderlust. The spar, which had been the victim of sad neglect while stored at another boatyard before being trucked here in July, was badly weathered, and had been unfortunately exposed to sun, rain, and frost for far too long, causing devastating damage.
The varnished finish on the spar had badly deteriorated during storage over the years, and several seams on the mast had split and opened up. I was unsure how to proceed, and not being comfortable in making judgments on the spar sought additional consultation for this reason. Unfortunately, the rigger recommended I contact someone else, someone more versed in old wooden spars, so I added that to my list for the near future. The main concern, beyond the obviously poor condition of the spar as is, was that water could have gotten into the hollow center portion of the mast through the cracks, potentially creating a rotting hazard from within. More detail on this subject later. the photos below date to July 2011, shortly after the mast arrived here from its previous storage; the opposite side of the spar, which had faced downwards during storage, was in much better condition.

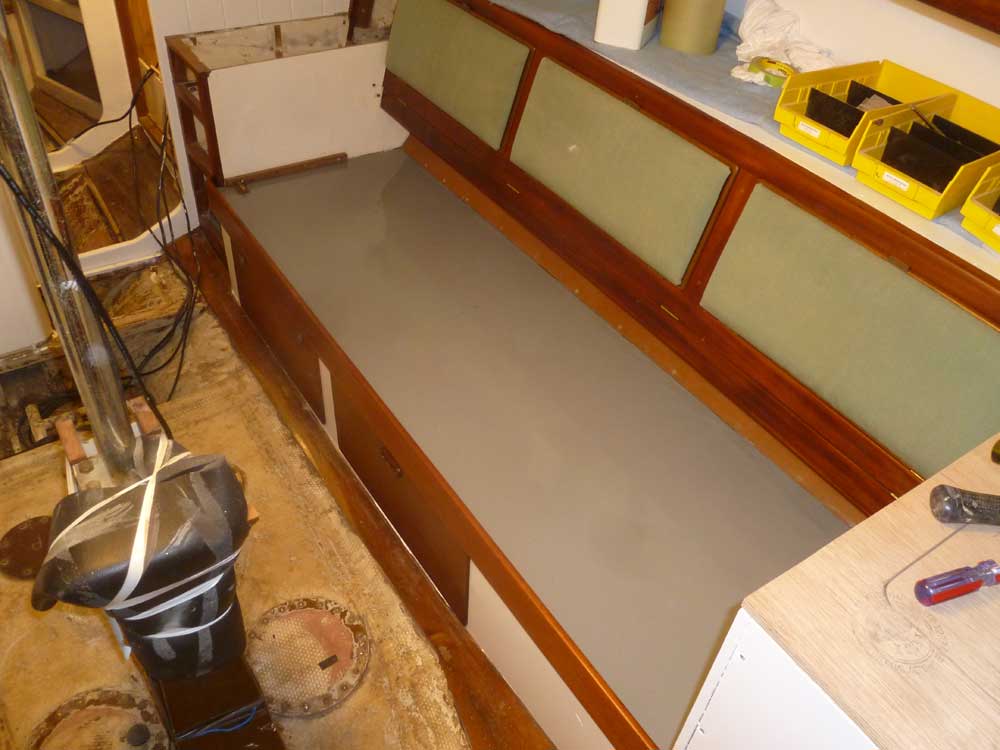
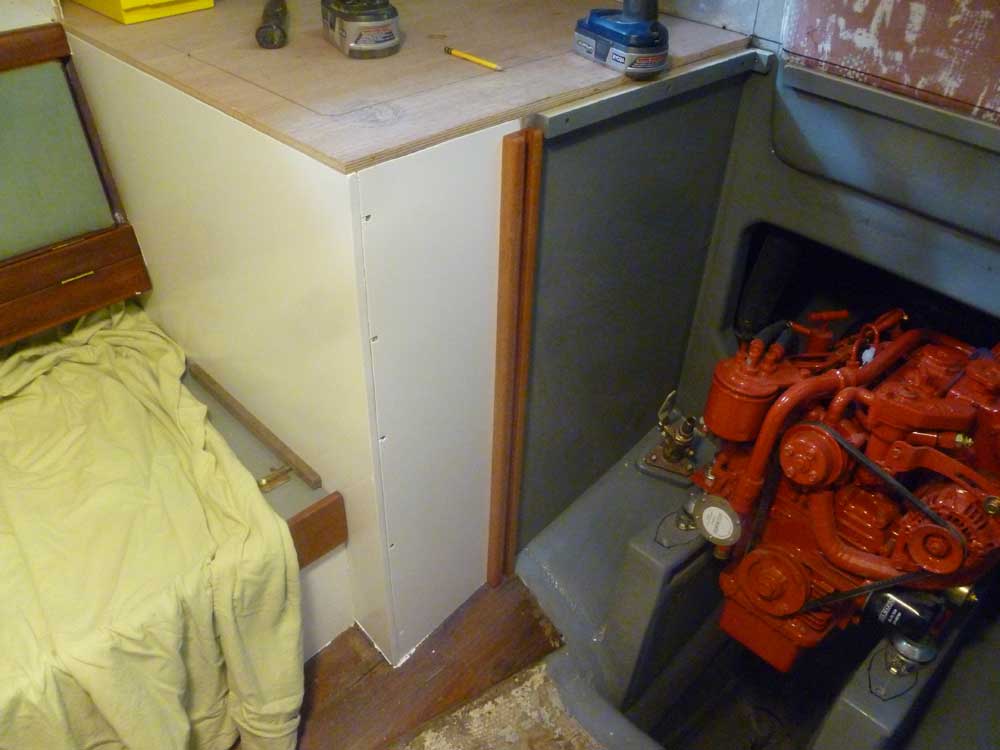
With no further reason to postpone additional interior reassembly, I reinstalled the starboard settee platform and some original (original to the construction of the settee, anyway) cleats that helped hold it in place. I reinstalled the backrest/locker doors to the starboard cabinets, and several additional drawers, plus a fold-down backrest/sea rail on the port pilot berth. The new trim for the engine room panel was also complete and ready for reinstallation, so I installed it.

This had been a short, disjointed week at the shop, but I planned many significant jobs for next week, chief among them the new toerail. To this end, I completed a few odds and ends and subassemblies for some of the engine systems so that things would be ready to go next week, including installing pipe nipples on the new raw water strainer, and preparing the fuel filter with its appropriate fittings.
Total Time Billed on This Job Today: 6 hours
<Previous | Next>
