
110 Cookson Lane | Whitefield, ME 04353 | 207-232-7600 | tim@lackeysailing.com
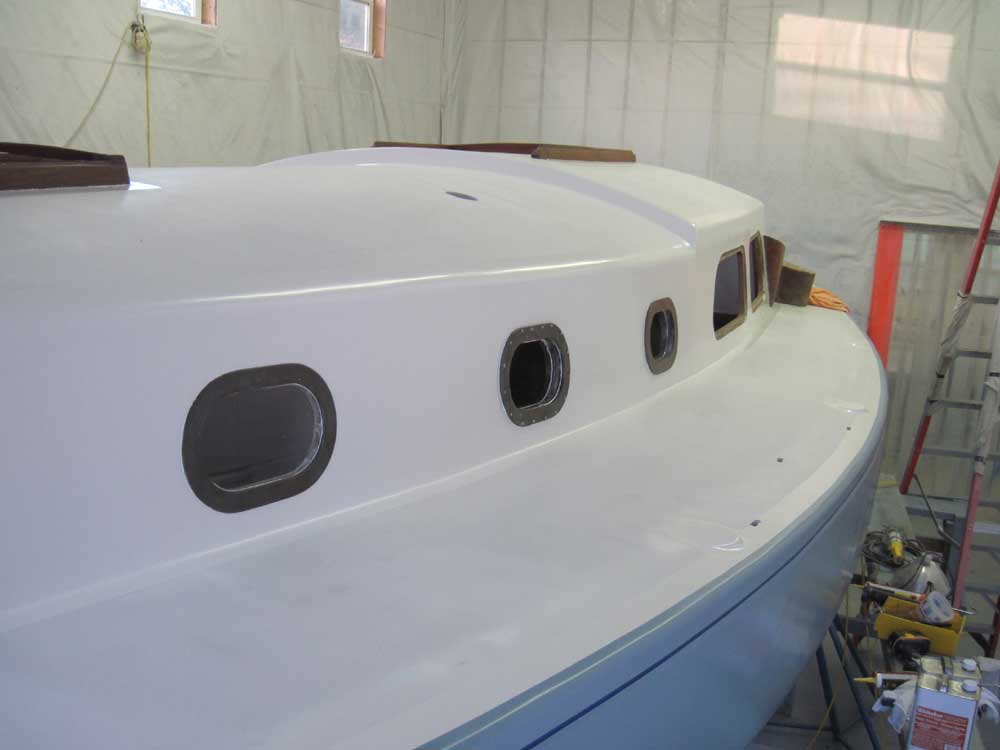
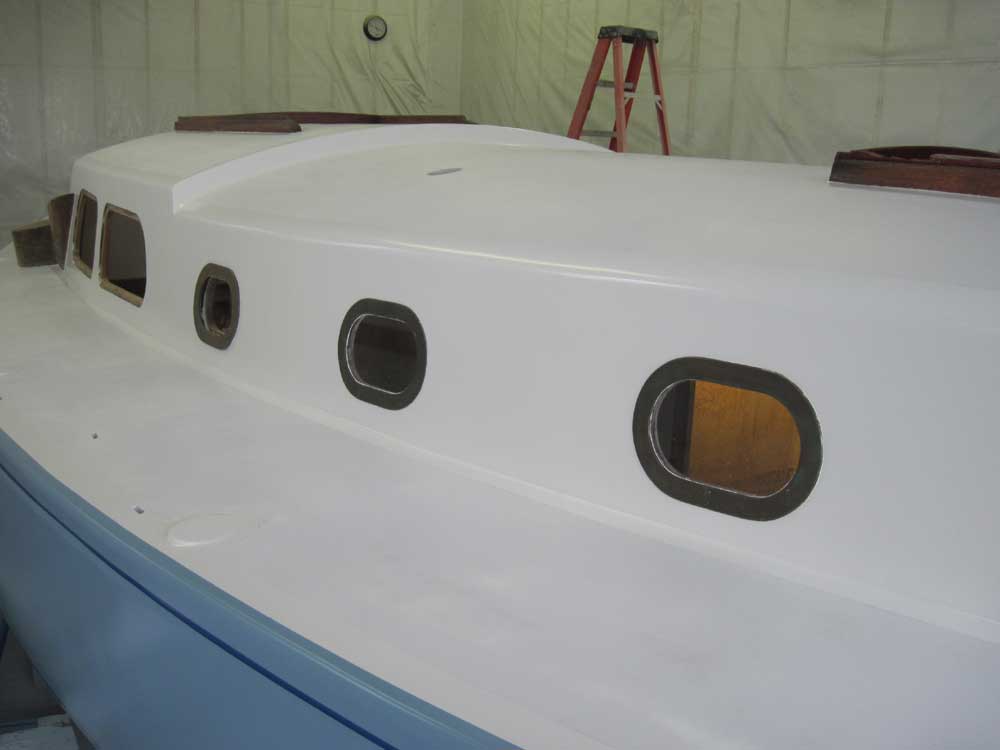
I spent the day installing the six smaller ports: three fixed deadlights, and three opening ports.
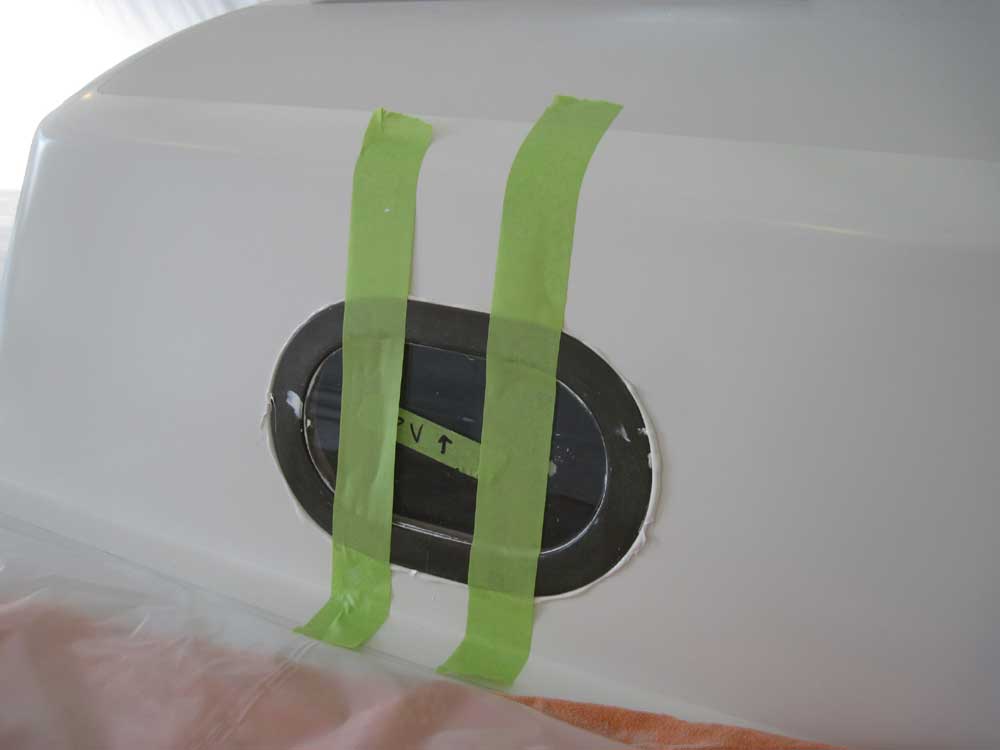
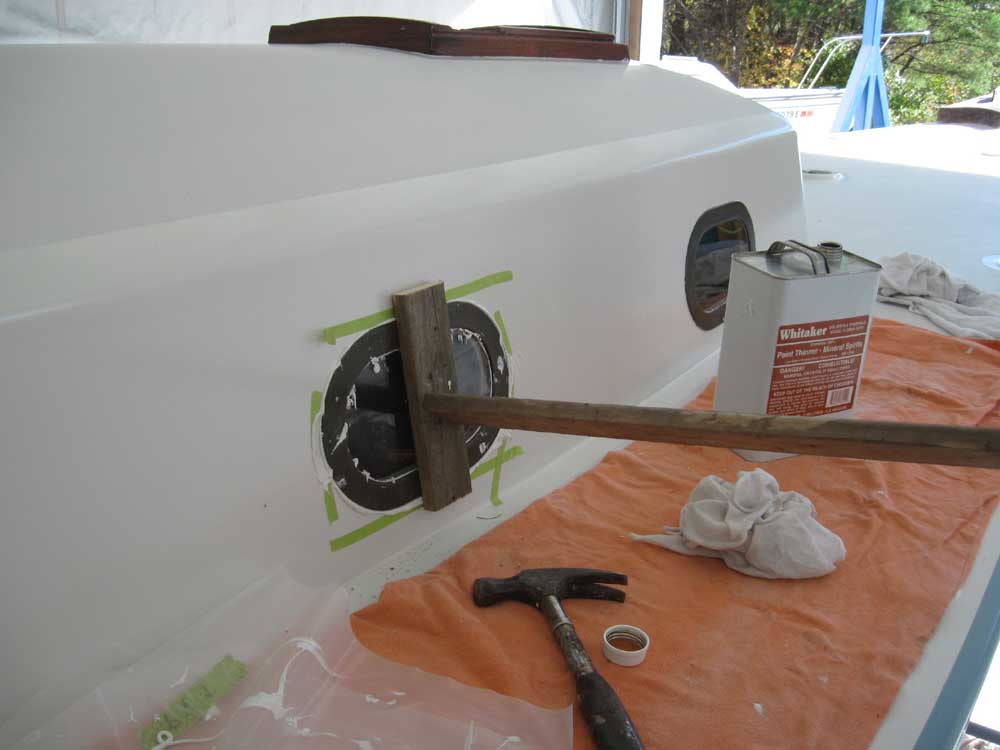
I began with the small deadlights. The sealant securing the glass within the frame had cured overnight, and I spent the first part of the day cleaning up the excess from the exterior sides of the frames (which had been facing down on the bench). Afterwards, I checked the fit of each unit in its designated opening, and used a small drum sander to clean up the edges of the openings as required, as some Dynel, epoxy, and paint had impinged upon the openings in places.
Installing the deadlights (and later the opening ports) was, shall we say, fussy at best. I began in the forward cabin, and with some effort managed to install the port deadlight. I applied sealant to the outer frame and pressed it into place within its opening, then moved inside to seal and install the inner frame and screws after holding the exterior frame in place with some tape. I found I could more or less hold and slightly adjust the exterior frame by standing through the forward hatch, but it was a tough reach; still, it was just enough to allow me to get the screws started and, eventually, to fully secure the deadlight.

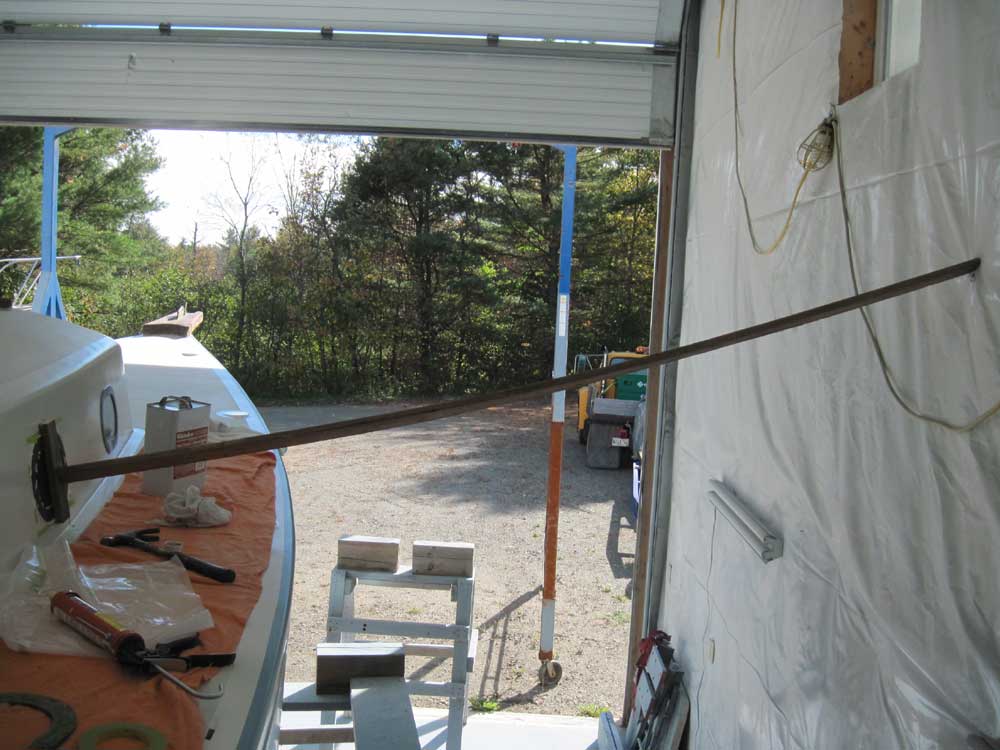
The starboard side was much more difficult for whatever reason, and eventually I found a need to brace the port from outside, using a wooden brace against the shop wall. This pressed the frame in tightly enough to allow me to start the screws.
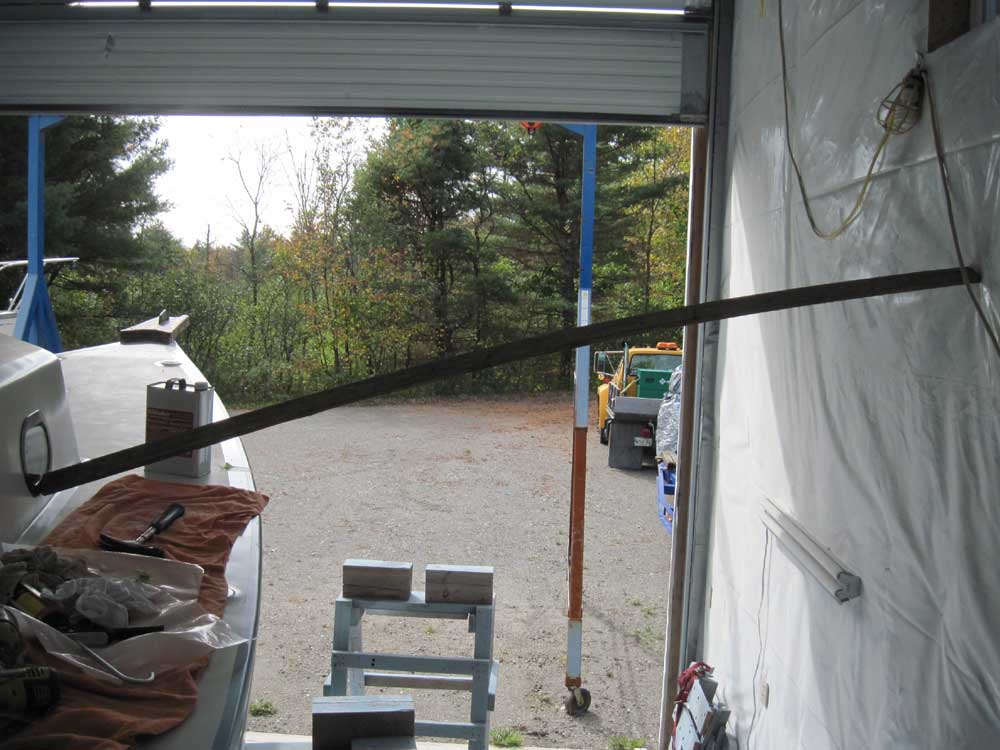
The final deadlight, in the hanging locker, would be impossible to reach from both inside and outside at the same time, so I took some extra steps to help me install it successfully. My earlier experiences had shown that despite the generally close fit of the frame inside the opening, there was a surprising amount of play and misalignment possible between the inner and outer frames, even when several of the 15 screws holding them together had already been installed. So I took the time to completely dry-fit the hanging locker port, using a wooden brace from outside to hold the frame tightly in position. Once the port was dry-installed, I used some tape on the outside to mark exactly where the frame should be to assist in proper alignment when I gooped and installed it permanently.
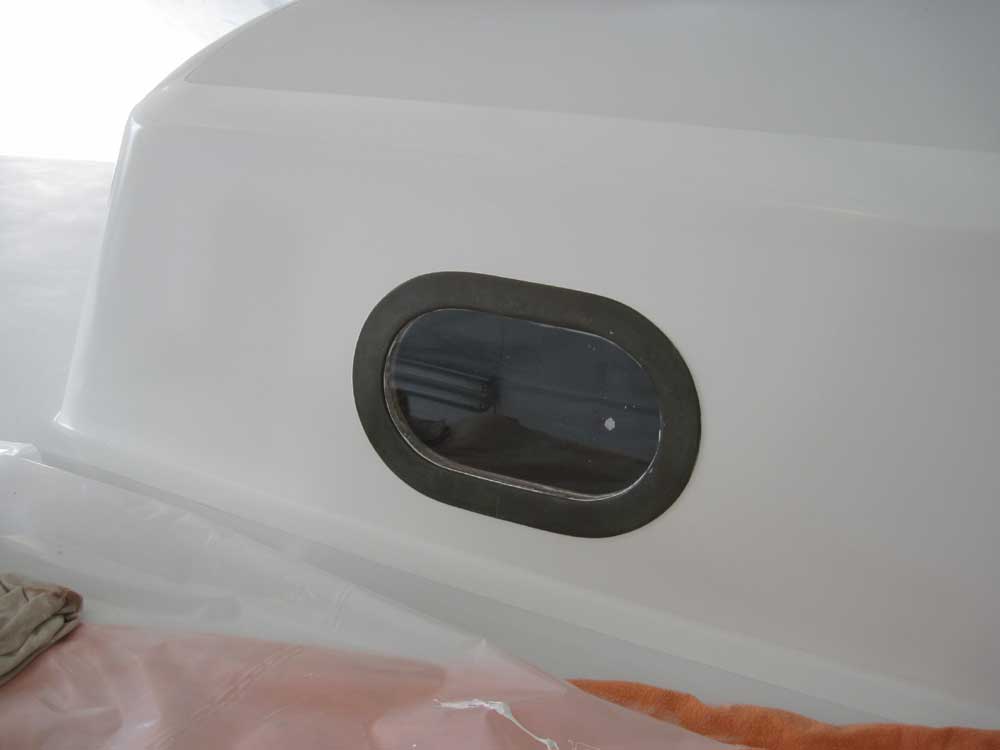
After disassembly, I applied sealant and secured the exterior frame from outside using my brace, ensuring that the frame lined up with the tape marks. This helped greatly, and this was the smoothest of the three installations overall. Each deadlight required, on average, one hour to install and clean up.
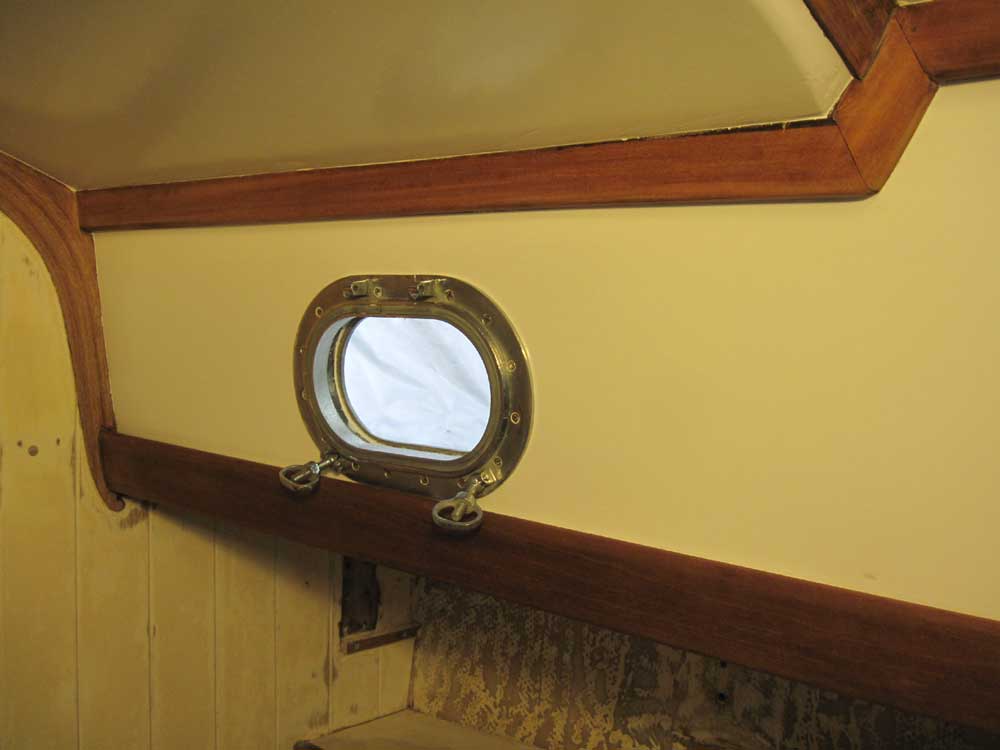
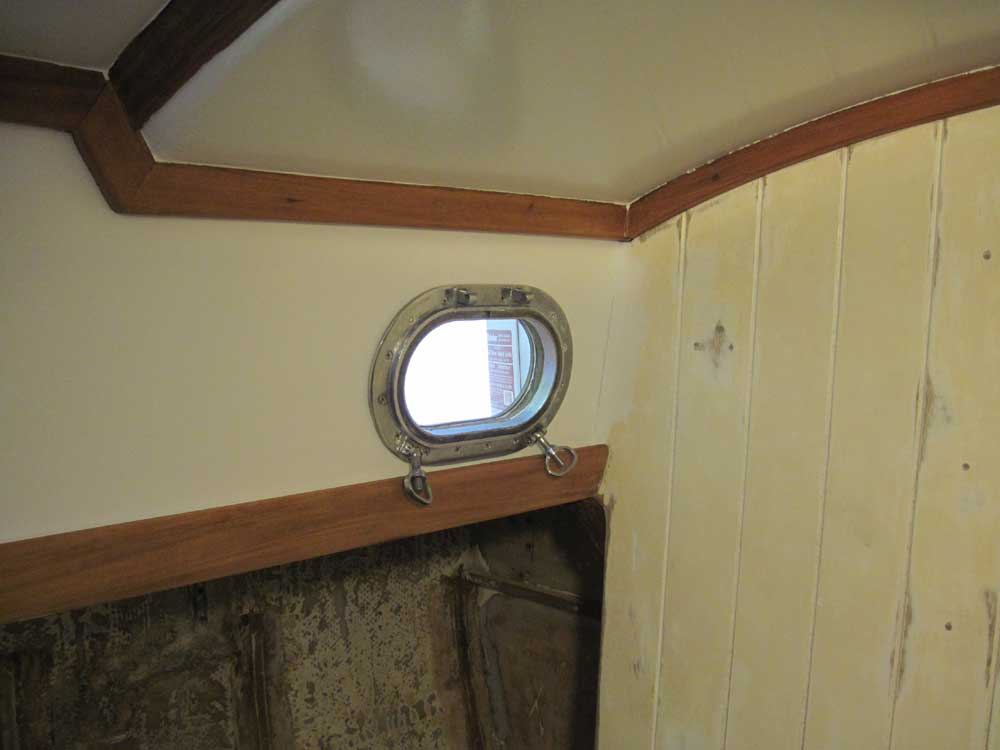
The new fasteners I needed for the three fixed ports arrived in a timely fashion, so as soon as I completed the last deadlight I could move on to the opening ports. With these, by removing the operable part of the port, I could reach through to the outside to help secure the external trim ring, which made the process marginally easier (in theory, at least) than the fixed units. In any event, I installed the three opening ports--two in the saloon and one in the head--in a similar way.
I was debating a couple possibilities for the large saloon deadlight openings, and dealing with those would be next on the agenda as soon as some long-life tape I needed arrived.
Total Time Billed on This Job Today: 7 hours
