
110 Cookson Lane | Whitefield, ME 04353 | 207-232-7600 | tim@lackeysailing.com
After a week away from the shop, I got to work on the ports installation, which, along with a few minor jobs, would wrap up this phase of work on the boat before I moved her into outdoor storage for a few months at the request of the owner.
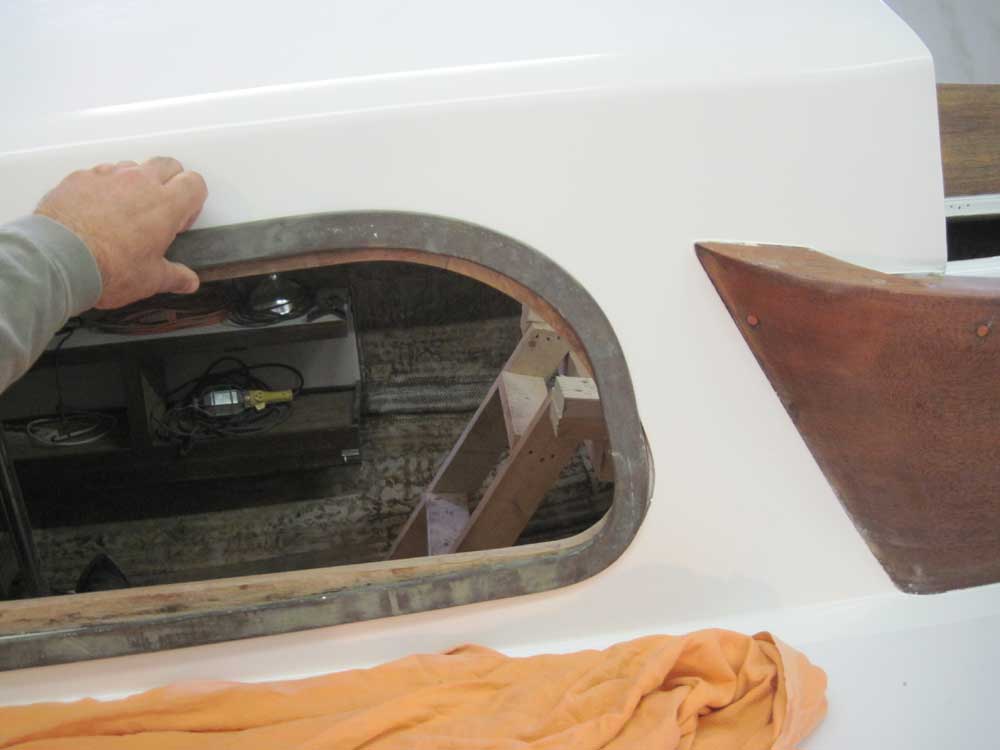
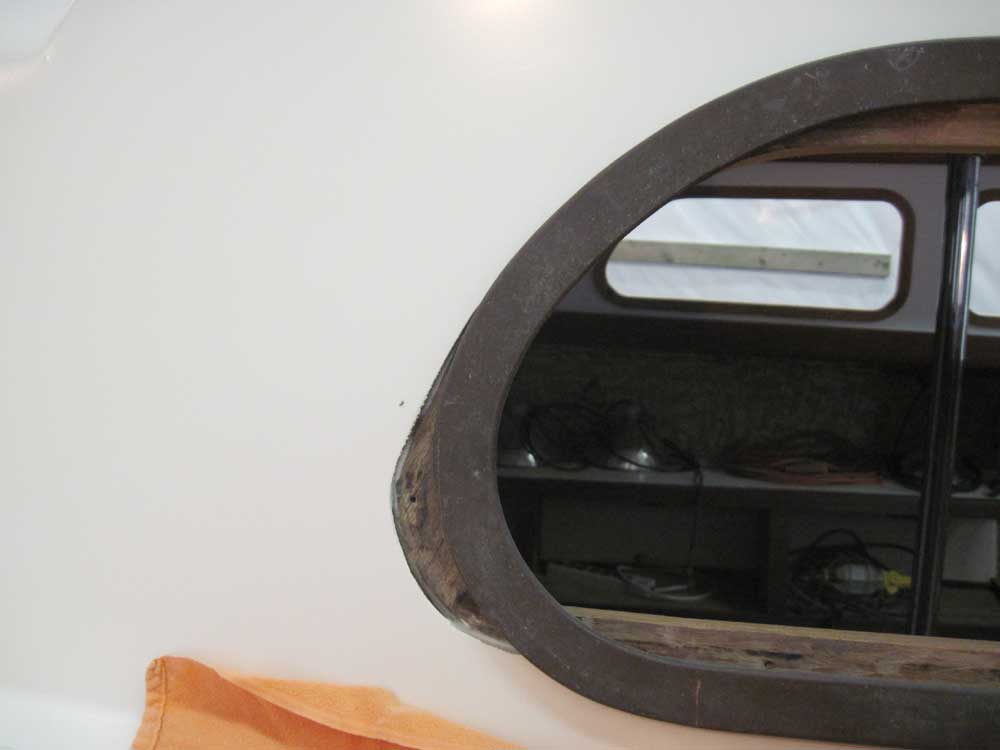
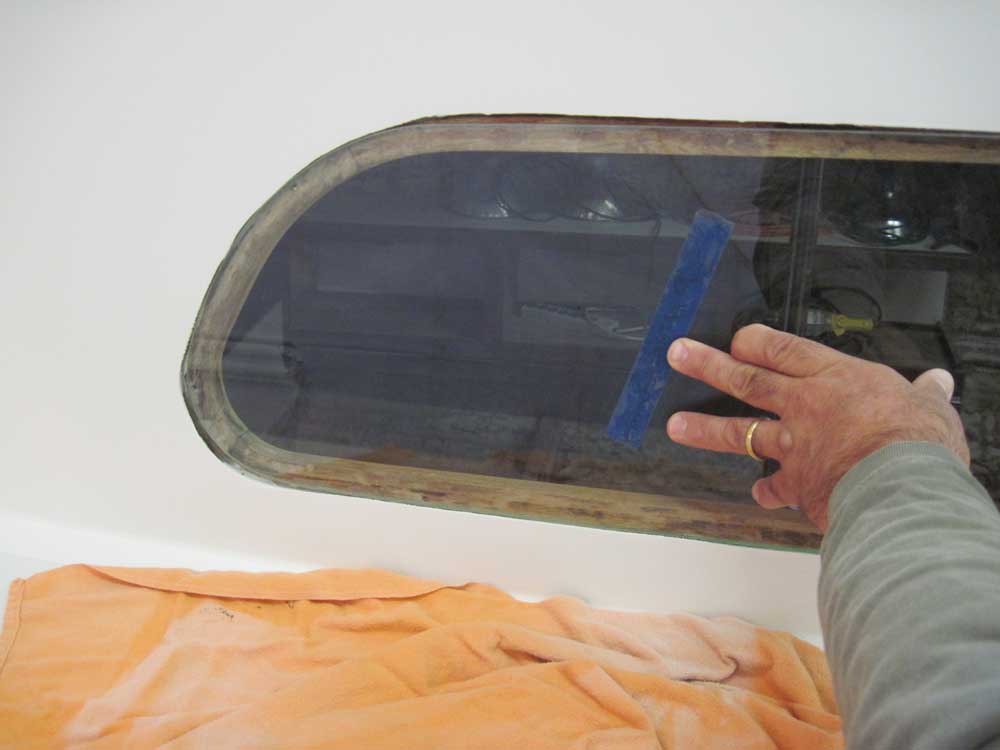
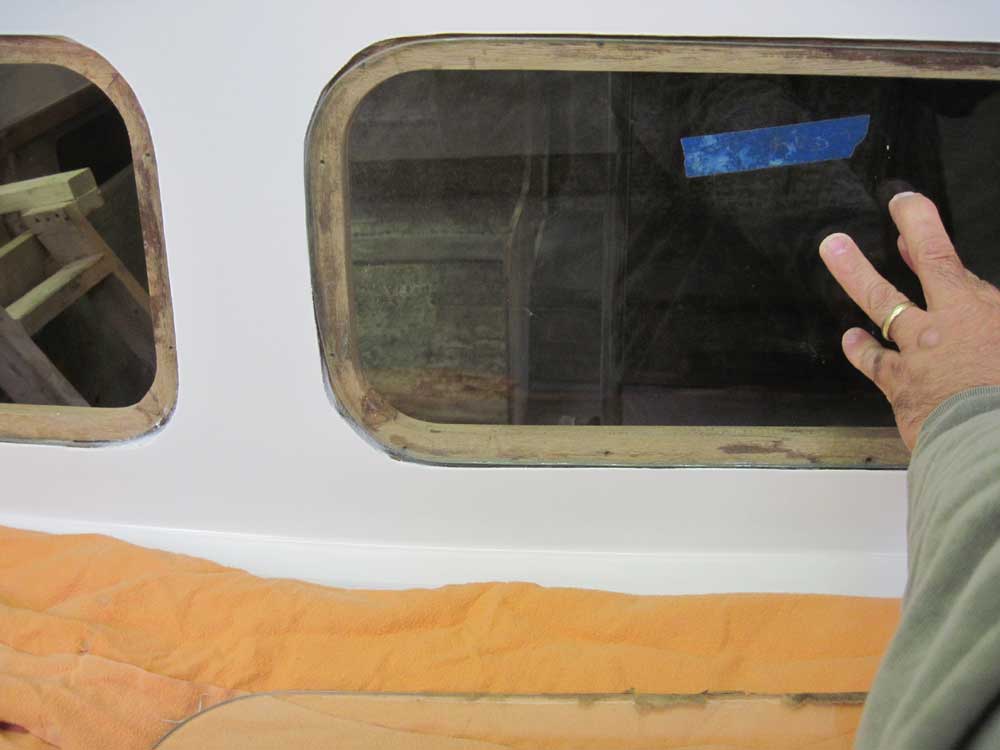
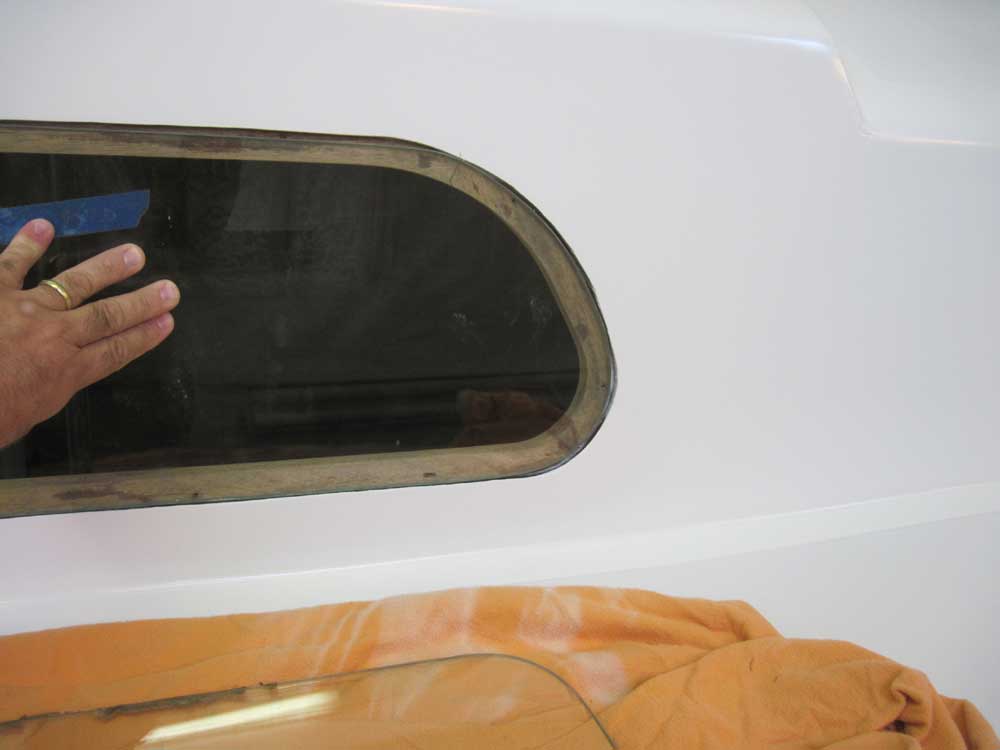
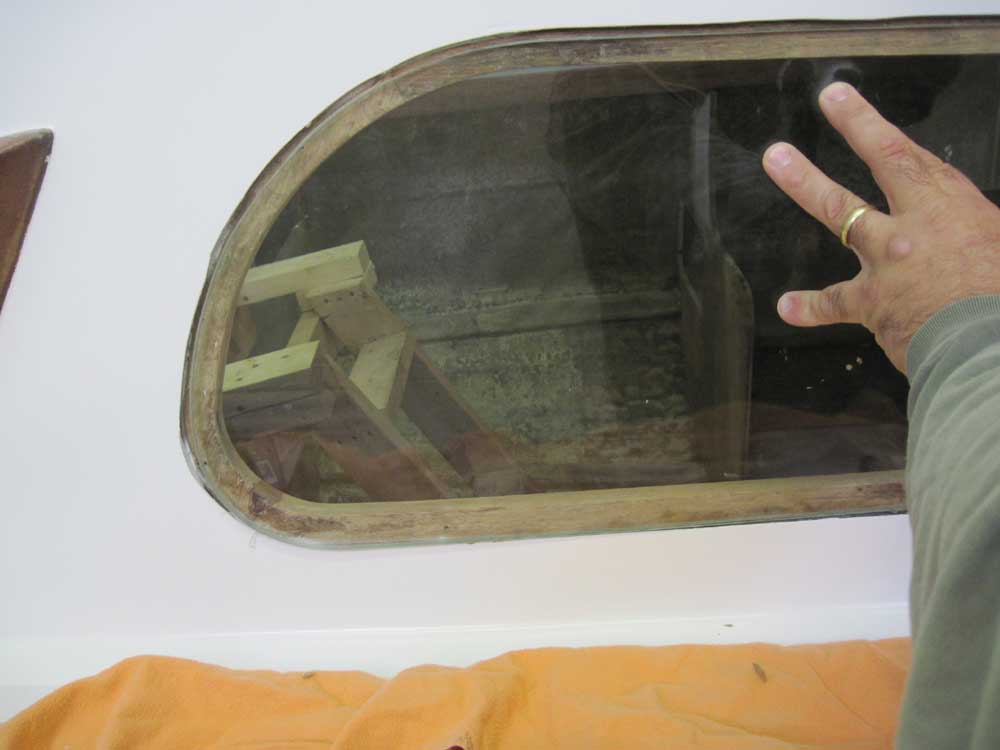
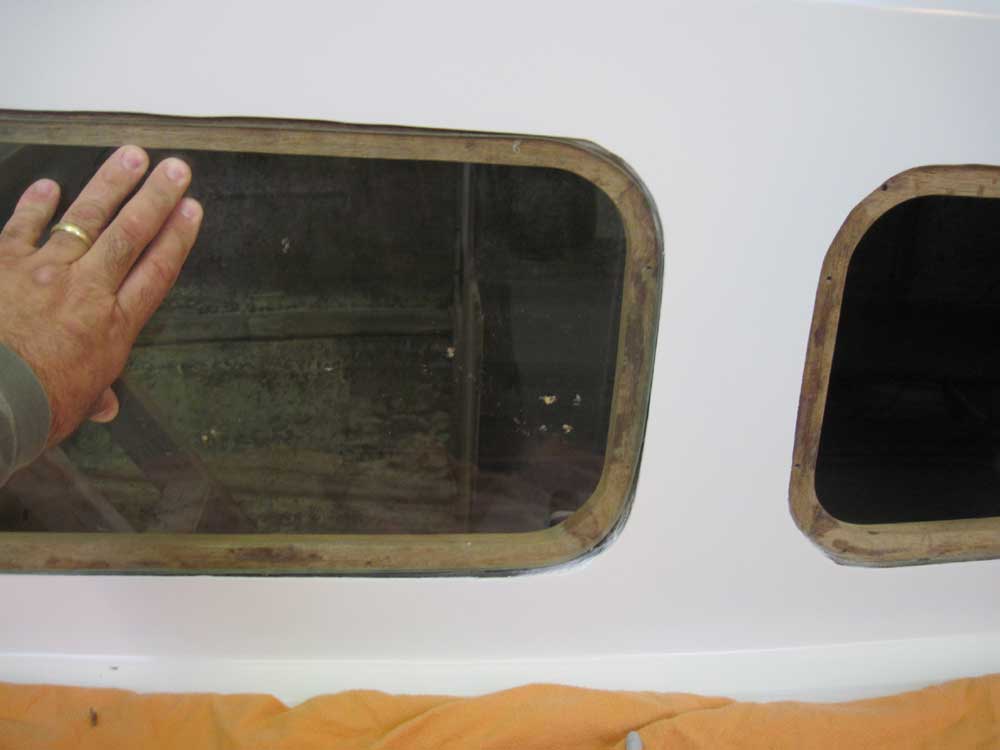
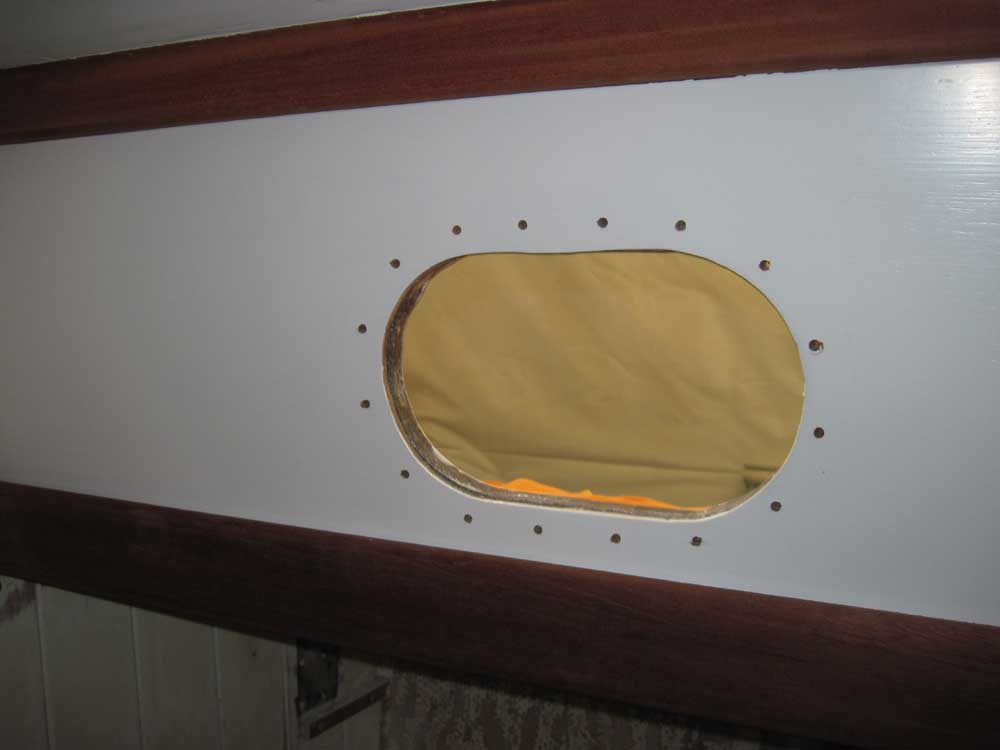
Earlier, I'd discovered that the metal deadlight frames for the main cabin, which had come off an original Swiftsure, did not fit the openings in the custom cabin trunk on Waanderust. The size and shape of the openings vs. the frames was quite different, and unfortunately these frames would not work. These photos show the areas where the difference in shape and size was most apparent.
As of this writing, I'd still not heard from the owner as to whether he had found any frames, whether wooden or metal, in his inventory of boat parts, but it looked like I'd have to temporarily seal these openings for the boat's upcoming storage, unfortunately, and we'd need work out a solution for framing these deadlights during the break in the boat project.
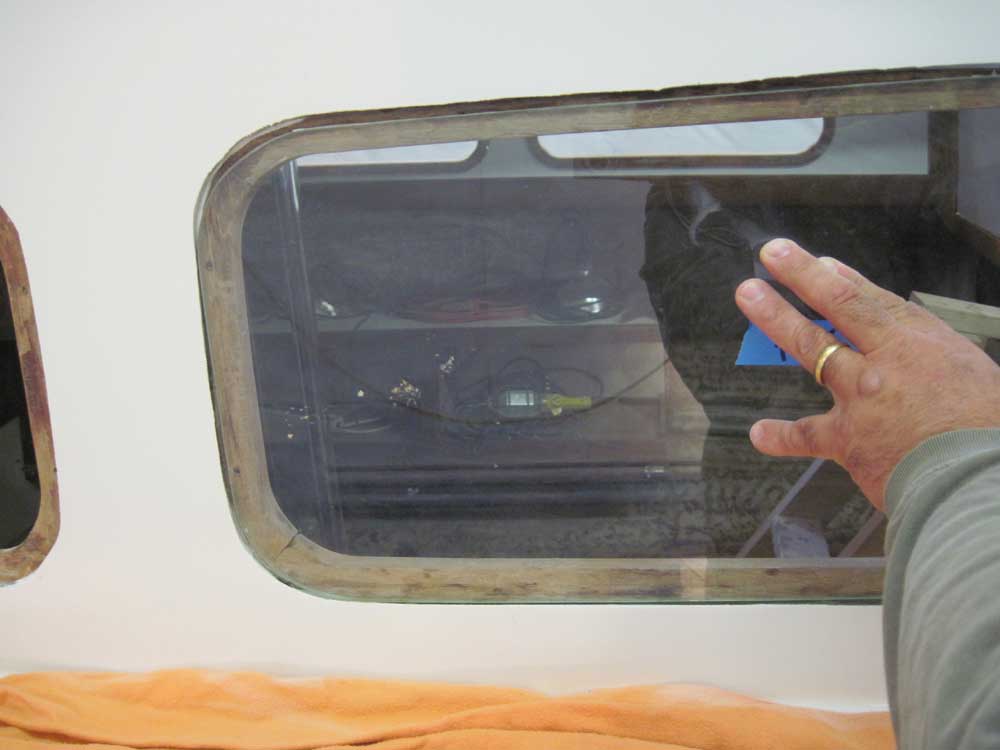
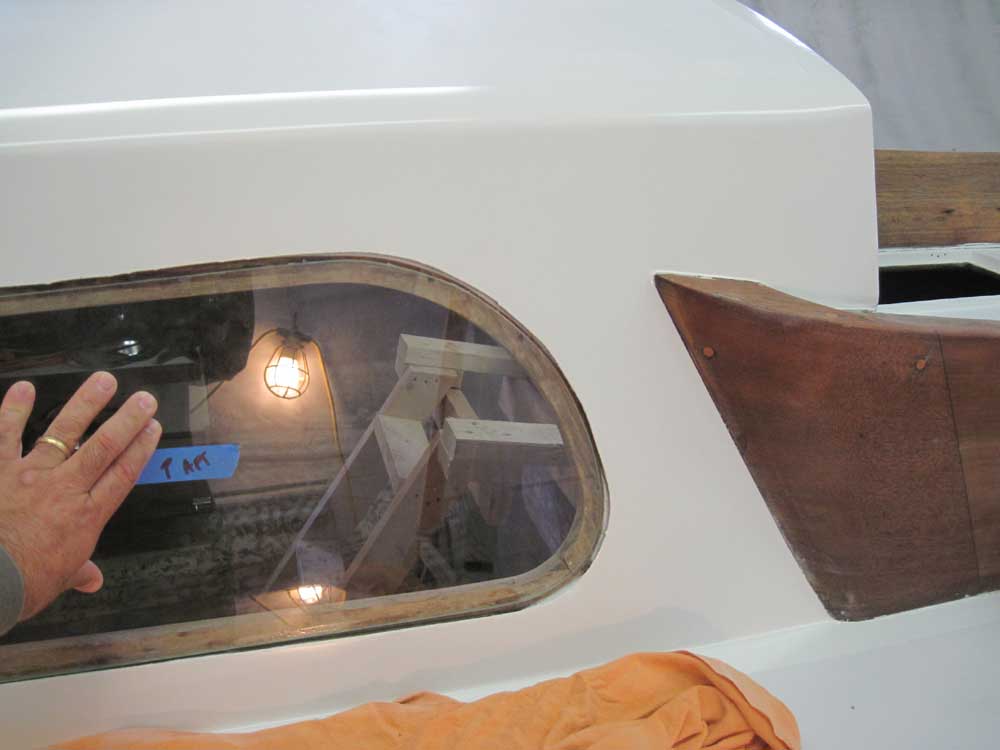
I test-fit all four new pieces of deadlight glass that had come with the boat, which had been previously cut to match the old ones that had been taken out sometime before. In general, the new glass fit the existing openings adequately; the port forward side would require a bit of trimming, as the new Dynel fabric I'd installed on the cabin trunk had ended up a bit proud of the opening when I trimmed it; the glass for this opening didn't quite fit in the opening, but once I trimmed the Dynel it looked like it'd fit satisfactorily.
Port Aft
Port Forward

Starboard Forward
Starboard Aft
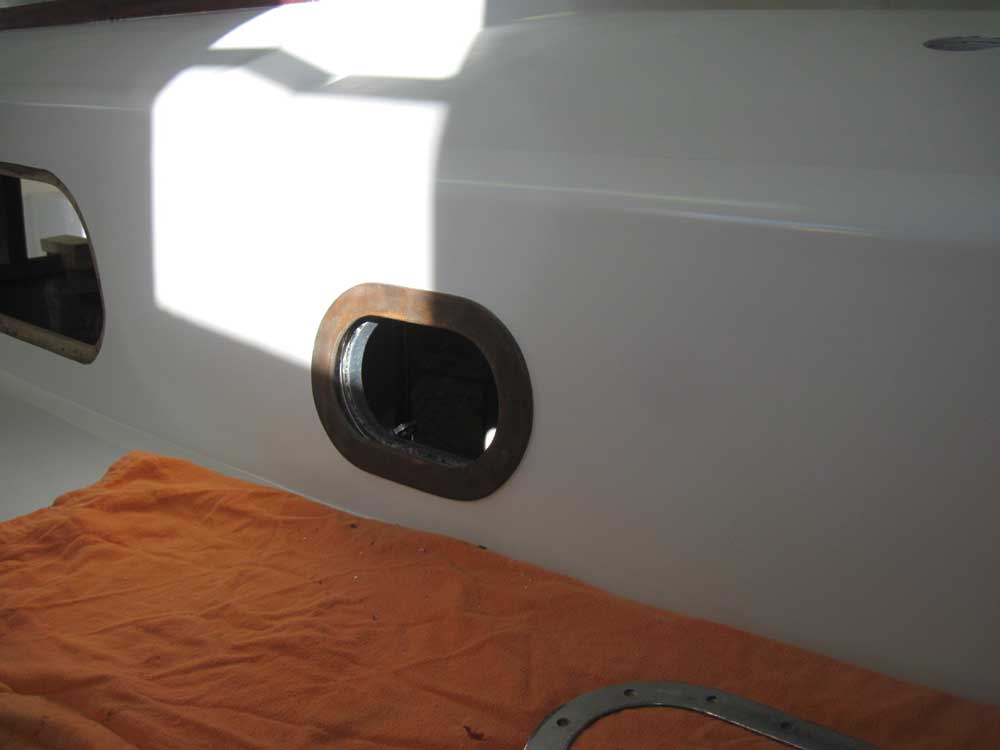
There were two types of ports for the six forward openings: three fixed deadlights and three opening ports. Both types featured external bronze trim rings with blind fasteners installed from inside.
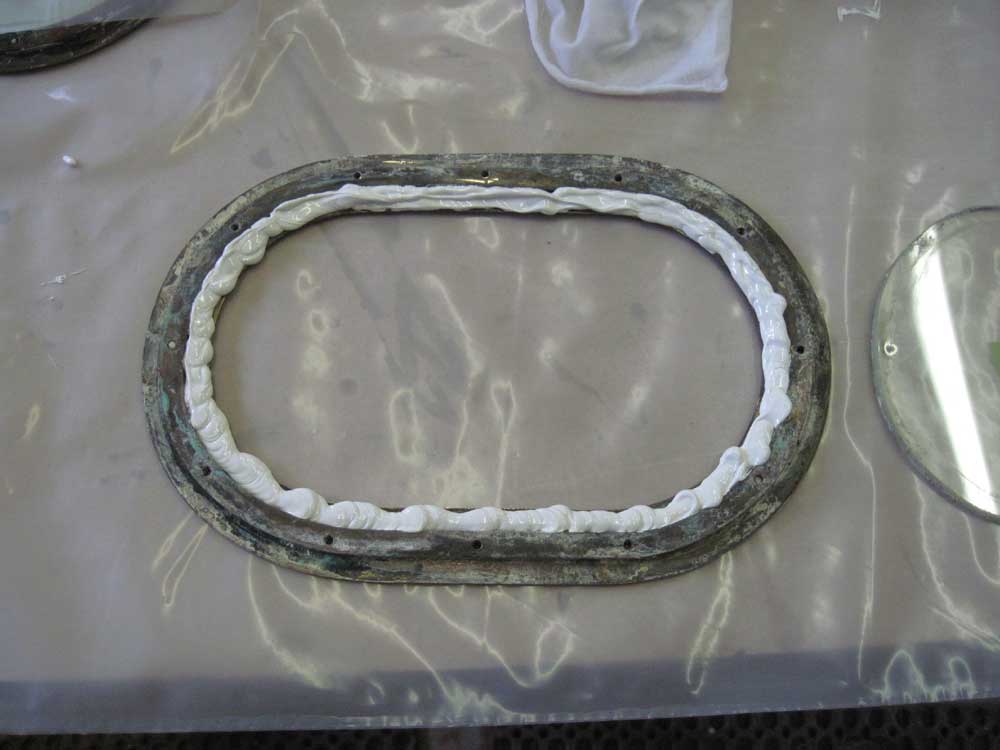
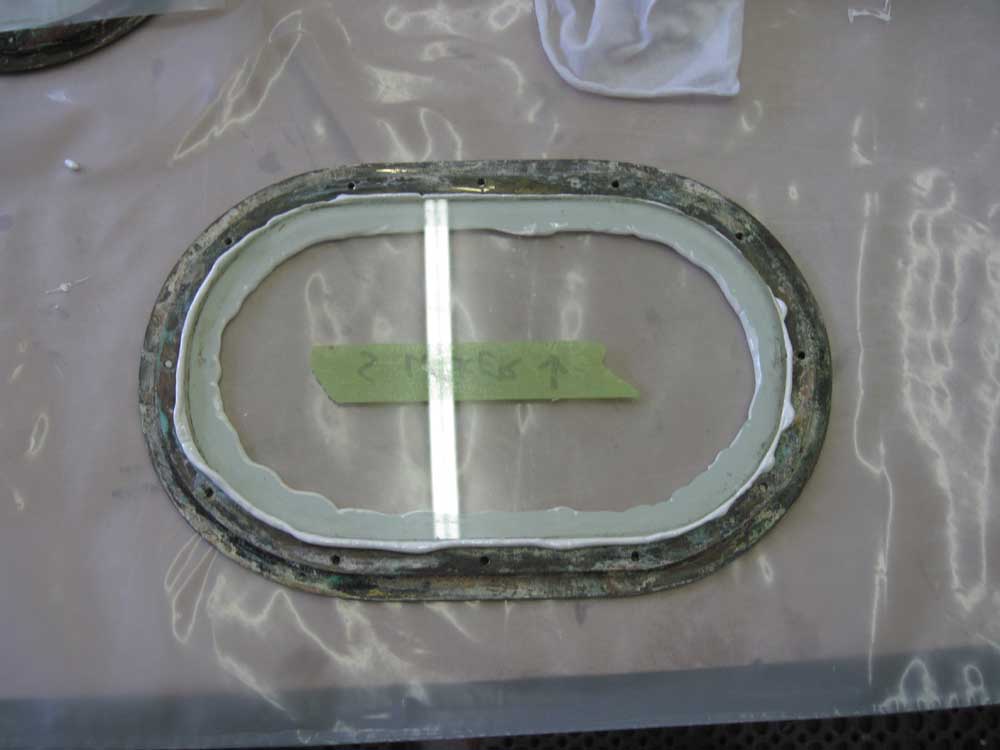
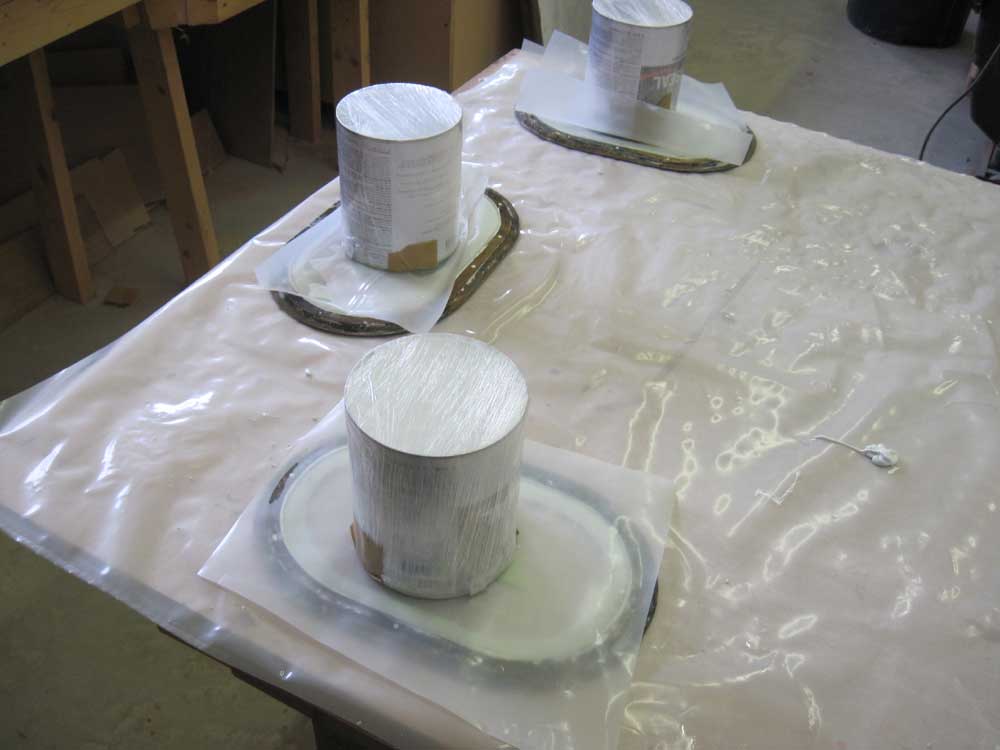
In order to more easily install the deadlights, I decided to pre-install the glass inside the external bronze frame, giving me fewer pieces to juggle awkwardly while attempting to screw the frames together from inside when the time came. For each of the three deadlights, I installed a heavy bead of sealant, then pressed the glass into place, weighting it down to hold it securely while the sealant cured. I left these to cure for at least the rest of the day and overnight.
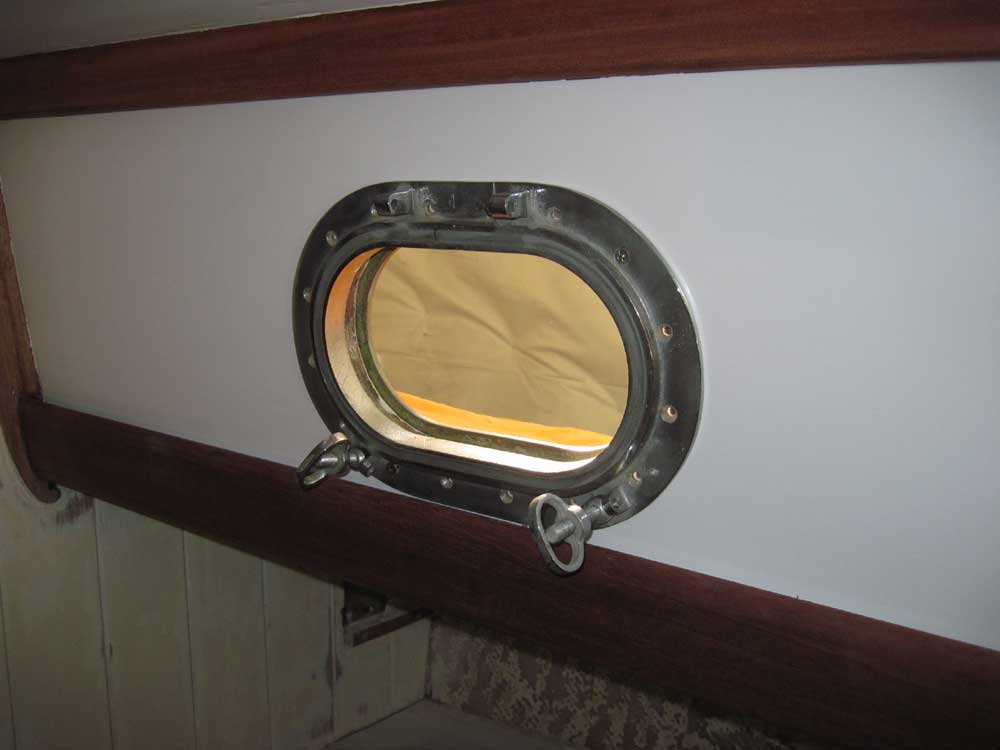
The opening ports required new holes through the cabin trunk for the machine screws, so for each of the three ports I dry-fit the inside portion and drilled the holes. I needed longer screws to hold the ports together, as the ones that were installed in the ports (which, as discussed several weeks ago, had come from another boat) were too short; I ordered the correct screws, as I didn't have them in stock, but used some slightly overlong ones to temporarily dry-fit the inner and outer segments of the ports to check the fit.
That was all I could do with the ports for now, so I turned my attention to a couple other details. Since the goal of the past month's work had been to enable the boat to be sealed against weather before she went outdoors, I needed to prepare for and install new hoses on the two sidedeck scuppers, as well as the cockpit scuppers.
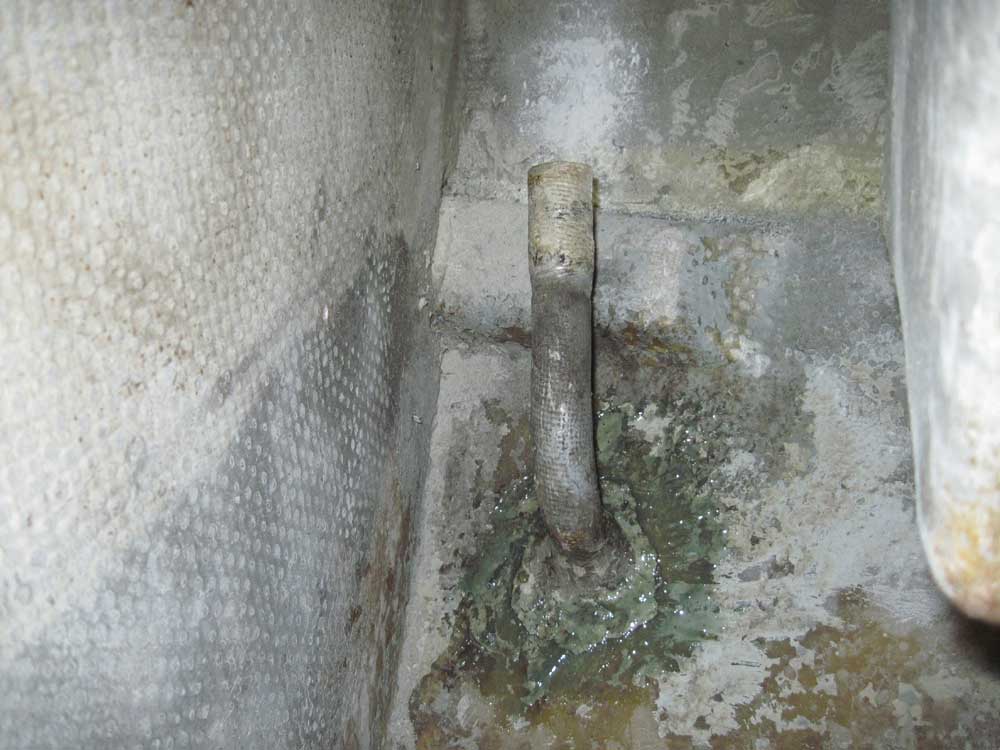
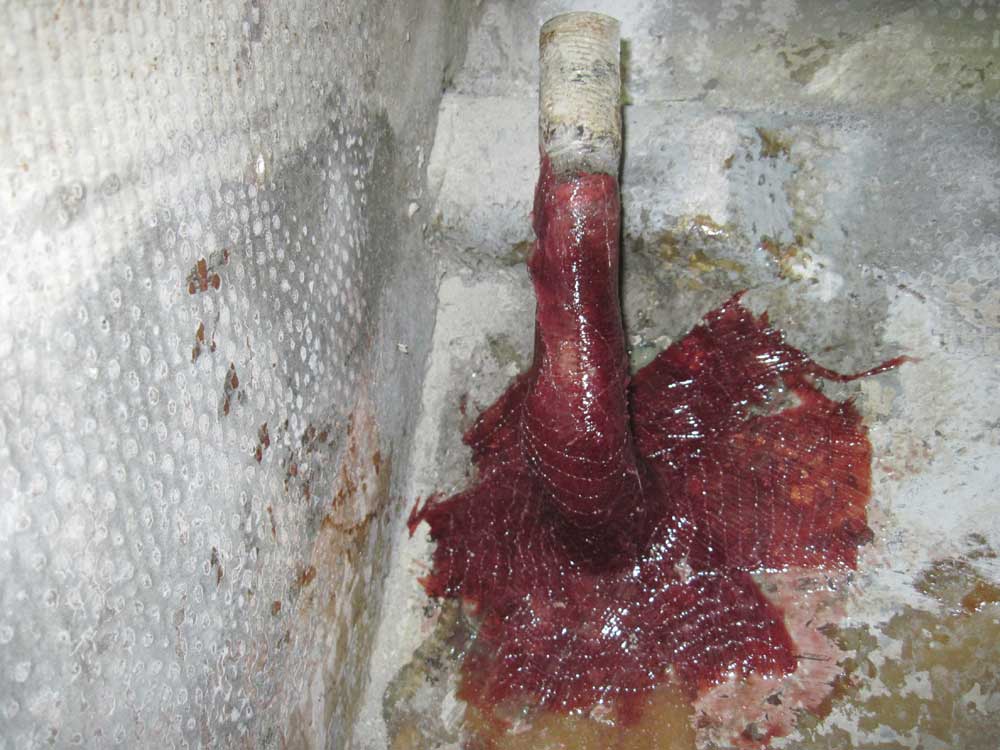
Earlier, I'd discovered that the fiberglass tube for the starboard deck scupper had come loose from the hull. It had come free cleanly, including its original tabbing, which was still well-secured to the tube itself. After prepping the mating surfaces accordingly, I resecured the tube to the hull with epoxy adhesive, which I left to cure for a couple hours before going back and installing biaxial tabbing around the edges to integrate the tube properly with the surrounding hull. New hoses were on order and due at the shop later in the week.
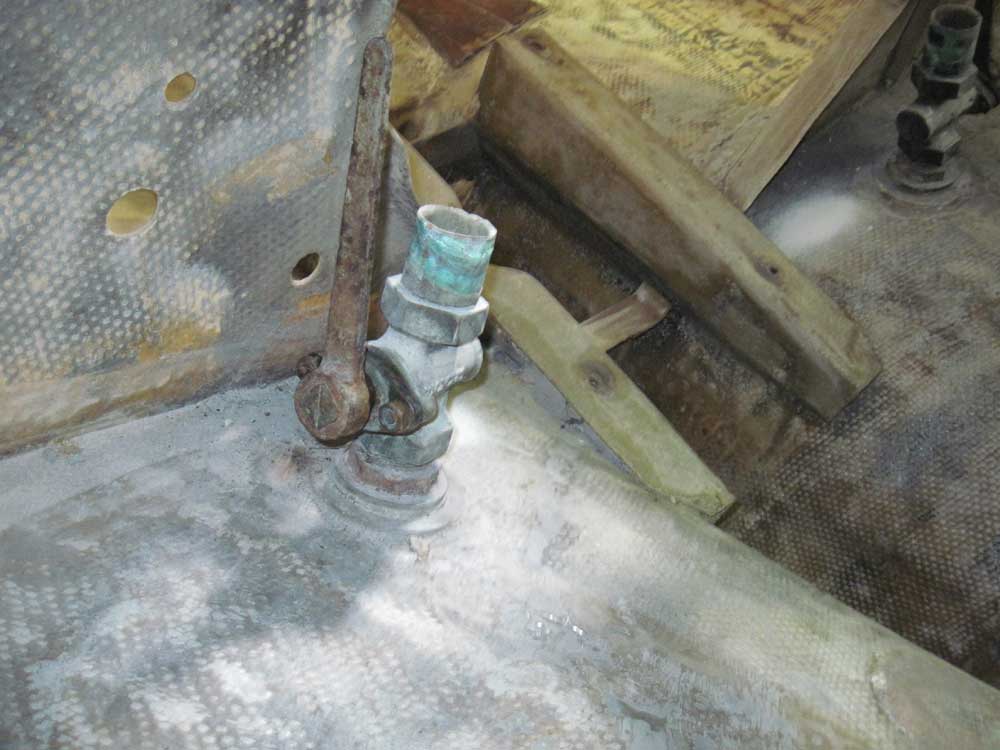
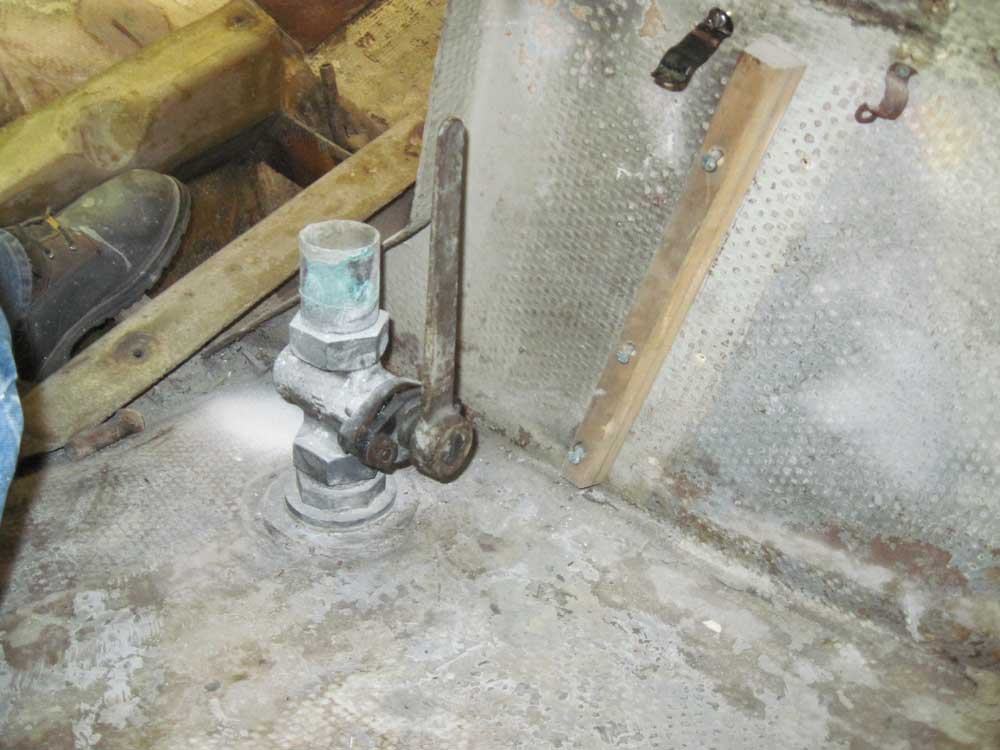
With a fine lapping compound, I serviced the two existing cockpit scupper seacocks, and older tapered-plug type. These fittings seemed to be in generally serviceable condition, and it took little work with the compound before the plugs turned easily. Afterwards, I greased the plugs with waterproof grease, checked the packing at the end of the plug, and reinstalled the plugs and handles. New hoses for the scuppers were on order and I'd install these hoses once they arrived; along with the revamped sidedeck drains, this would ensure that any water that happened to find its way on deck during storage would flow out of the boat, not into the bilge.
Total Time Billed on This Job Today: 6.75 hours
