
110 Cookson Lane | Whitefield, ME 04353 | 207-232-7600 | tim@lackeysailing.com
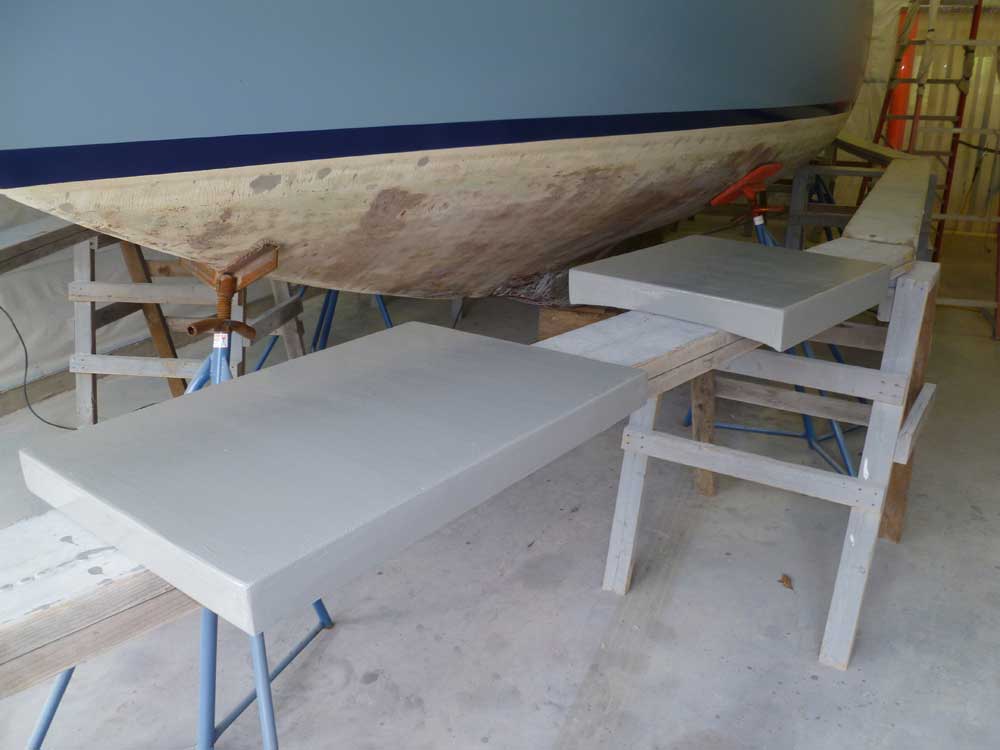
I got started with some loose ends on projects started last week: the laminated engine foundations and quick temporary hatches. After unclamping the hatches, I cleaned up the edges a bit with a sander, then painted the hatches to protect the epoxy from UV exposure--one coat in the morning, and a second coat at the end of the day.
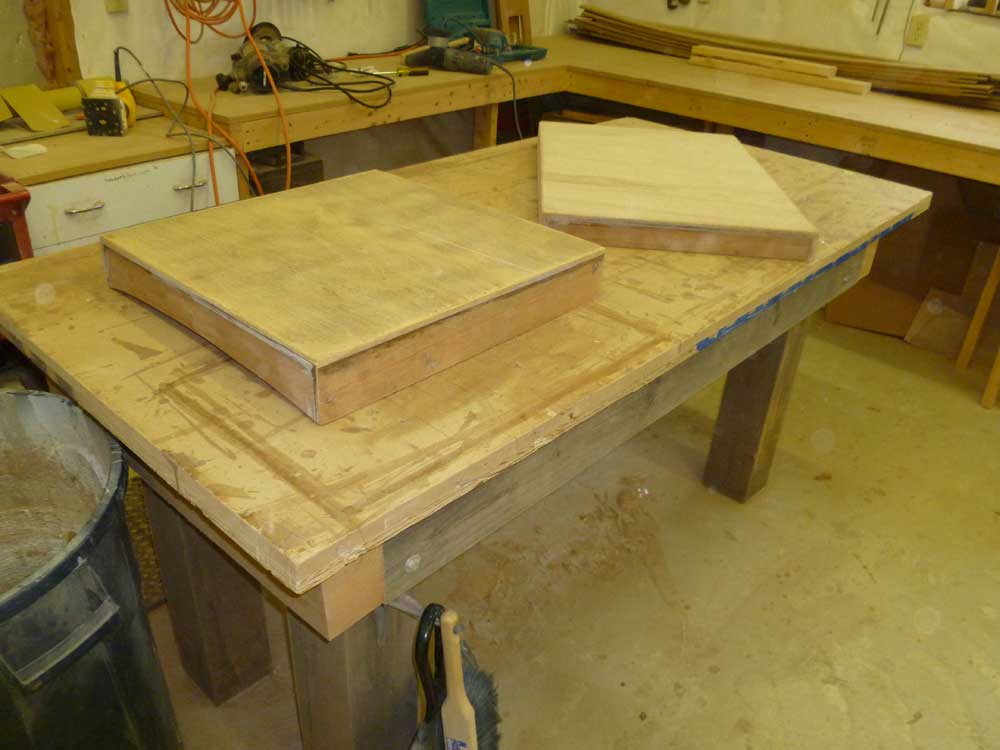
Afterwards, I trimmed the engine foundation blanks square and to consistent size, leaving these alone for the time being while I waited for the flexible engine mounts to arrive (I'd asked they be sent up in advance of the engine) so I could use them along with the engine template to locate, cut to fit, and begin to install the foundations.
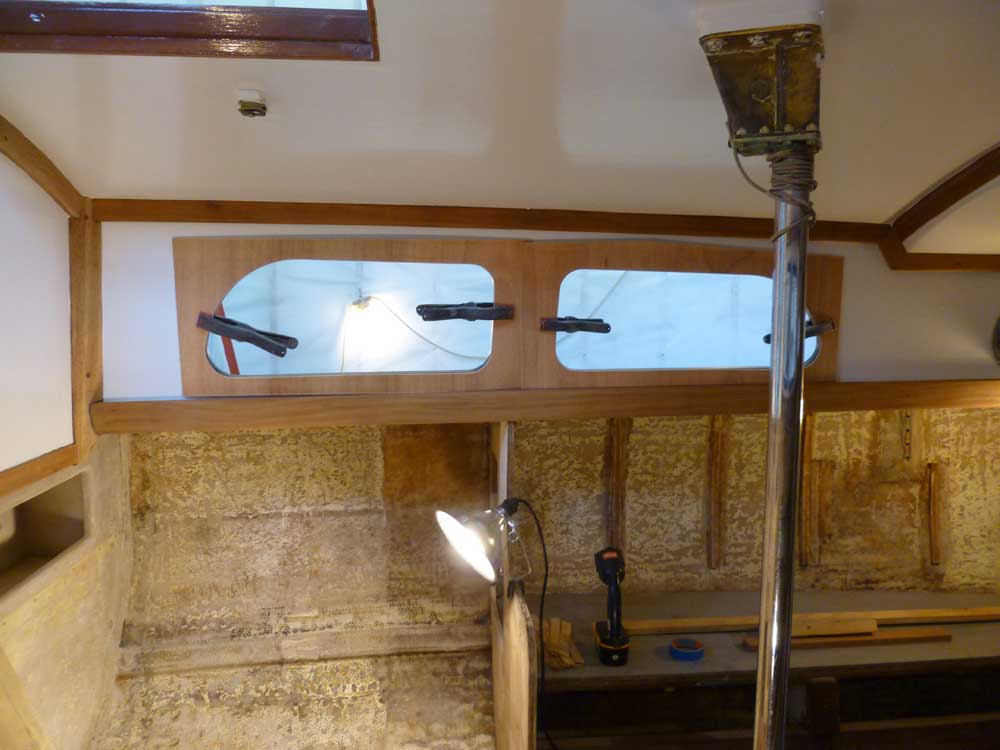
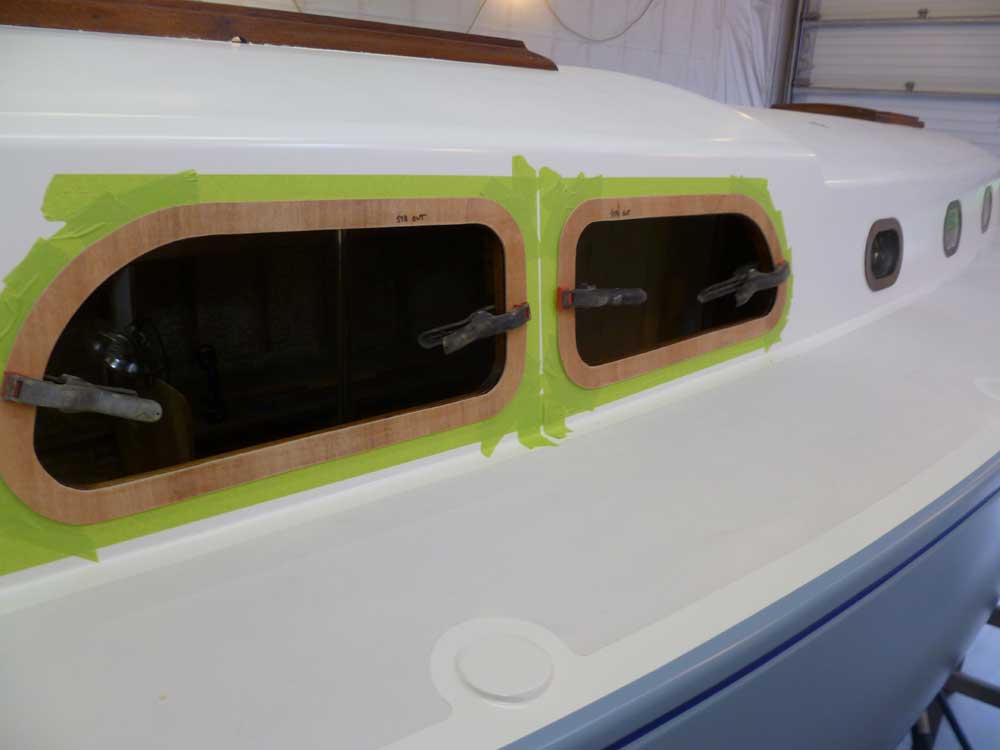
The main focus of the day, however, was on the new deadlight frames. With the basic size and profile of the eventual trim pieces now determined, it was time to move forth with the actual construction.
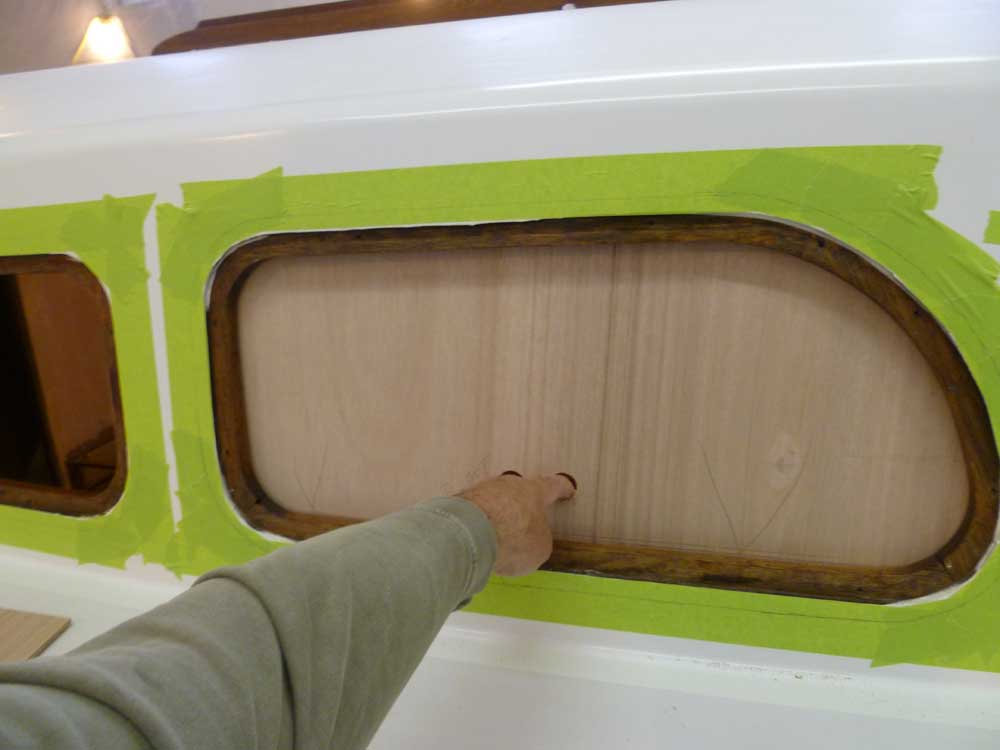
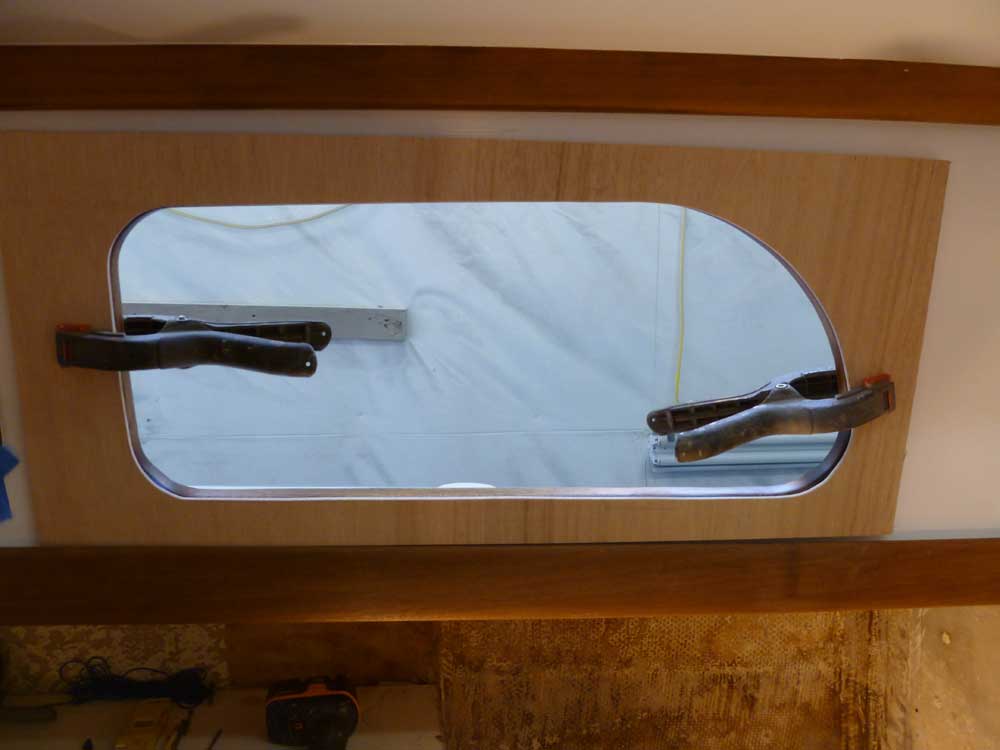
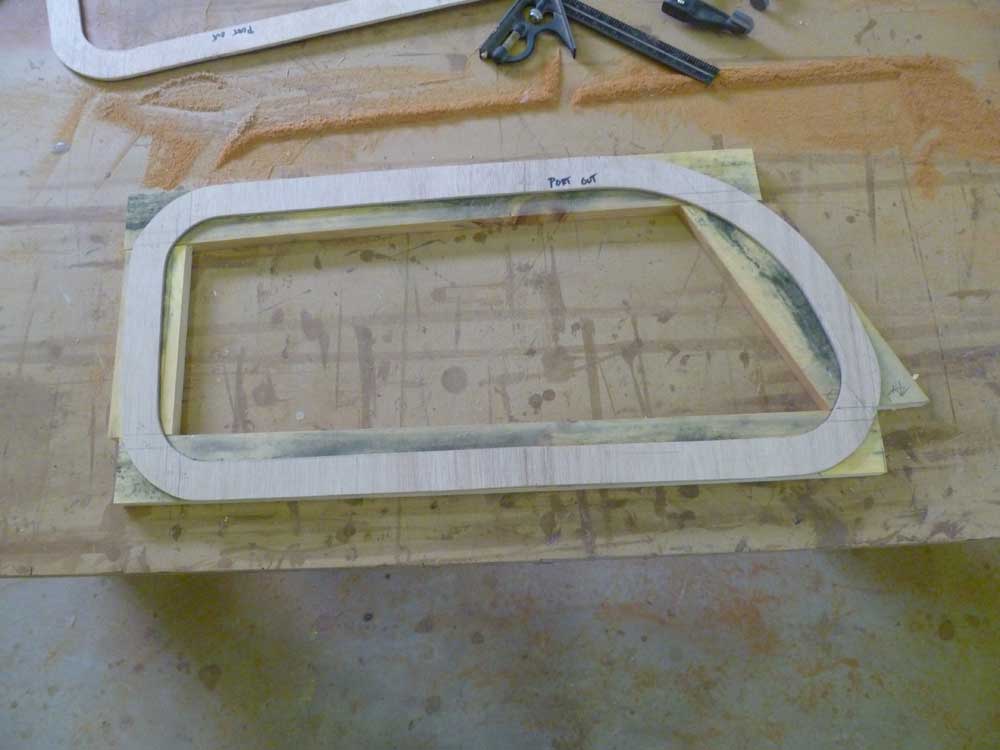
To begin, I made a pair of 1/4" plywood templates, one for each opening on the port side. After cutting the plywood to an appropriate size, I held the piece against the deadlight opening from inside, which allowed me to trace the shape of the interior trim on the plywood. This would define the shape of the inside edge of the exterior trim. For the moment, I worked on the port deadlights, but I hoped that the starboard openings were the same shape so I could use one set of templates for both sides.
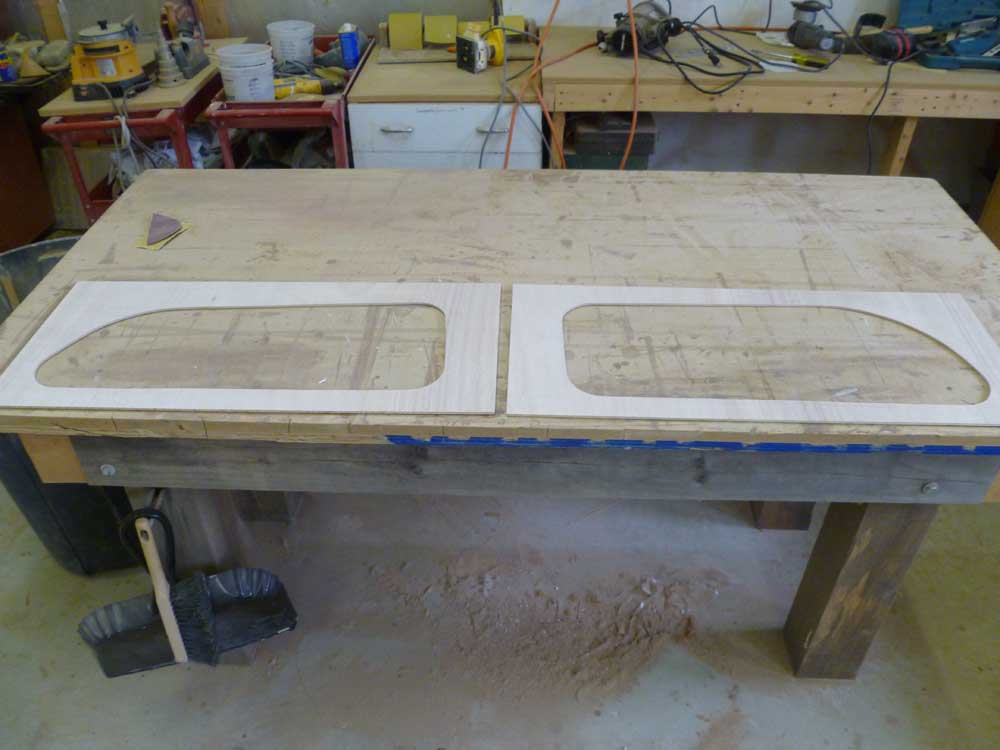
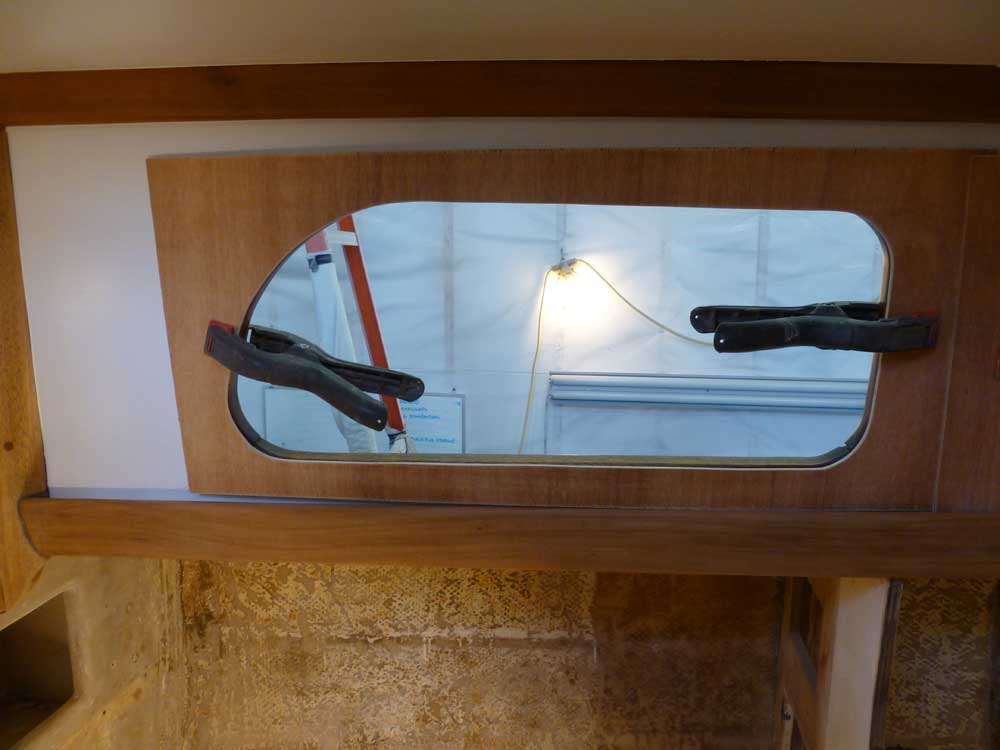
After making a template for both the after and forward openings, I carefully cut out the area inside my layout line, finishing up with sandpaper as needed to smooth and fair the curves and bring the opening right out to the line.
I clamped the newly-cut templates in place on the inside of the deadlight openings and checked the fit all around to ensure that the cutout was the right shape, and that it followed the size and shape of the interior trim as intended.
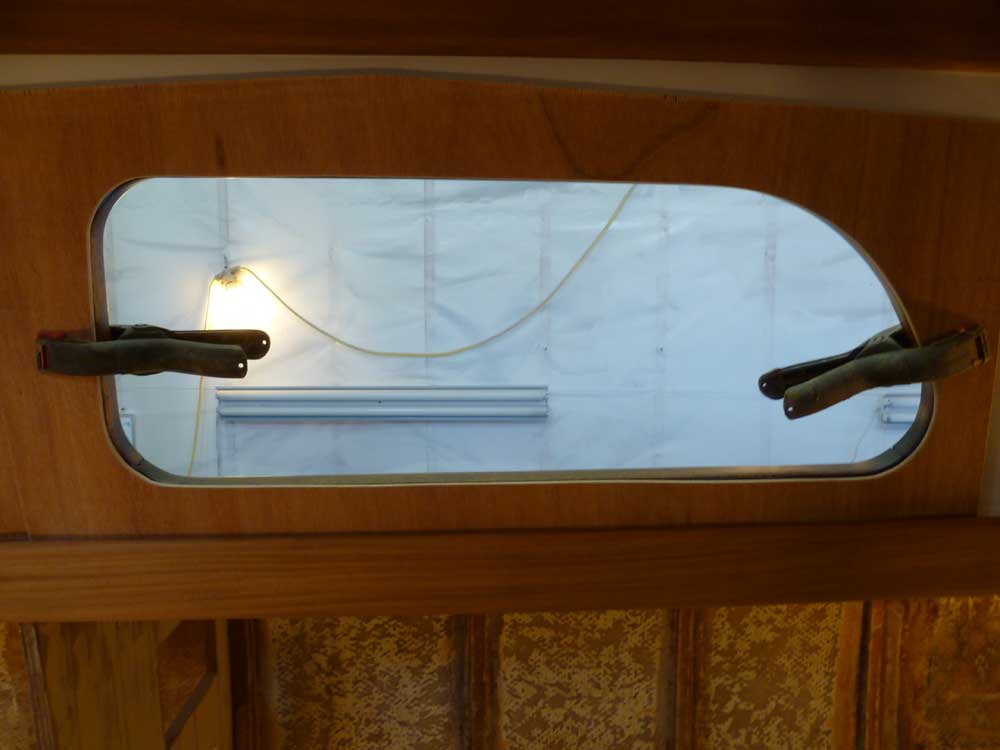
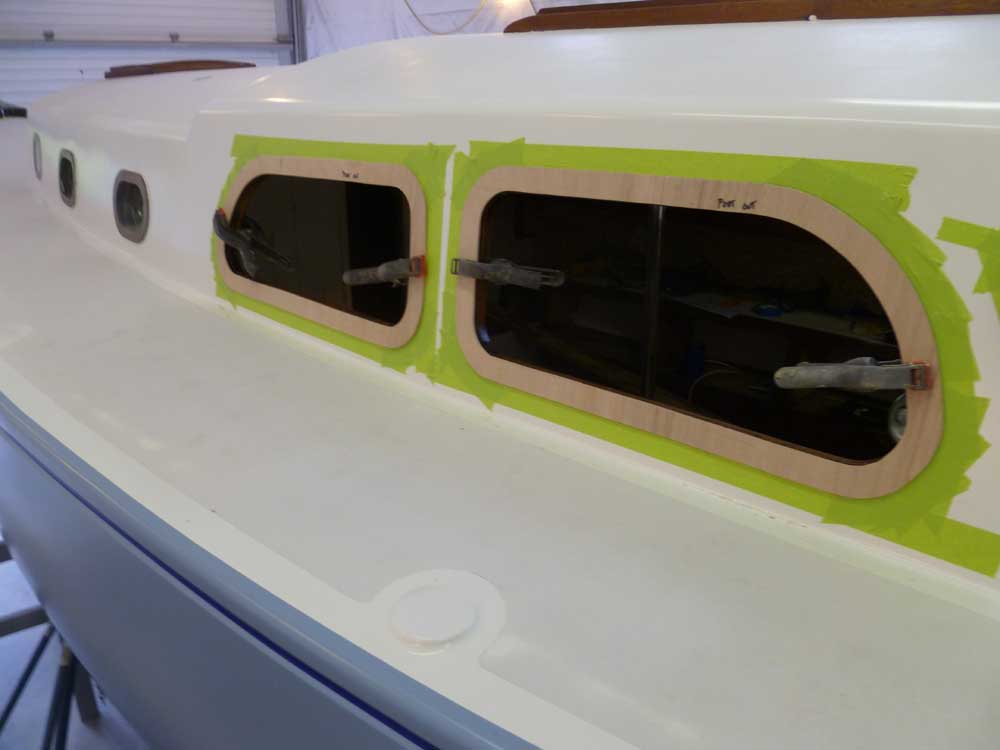
Pleased with the fit on the port side, I reversed the templates and clamped them to the starboard side. Fortunately, I found that the starboard openings were for all intents and purposes identical to their port side counterparts, meaning I could build both sets of frames from the single set of templates.
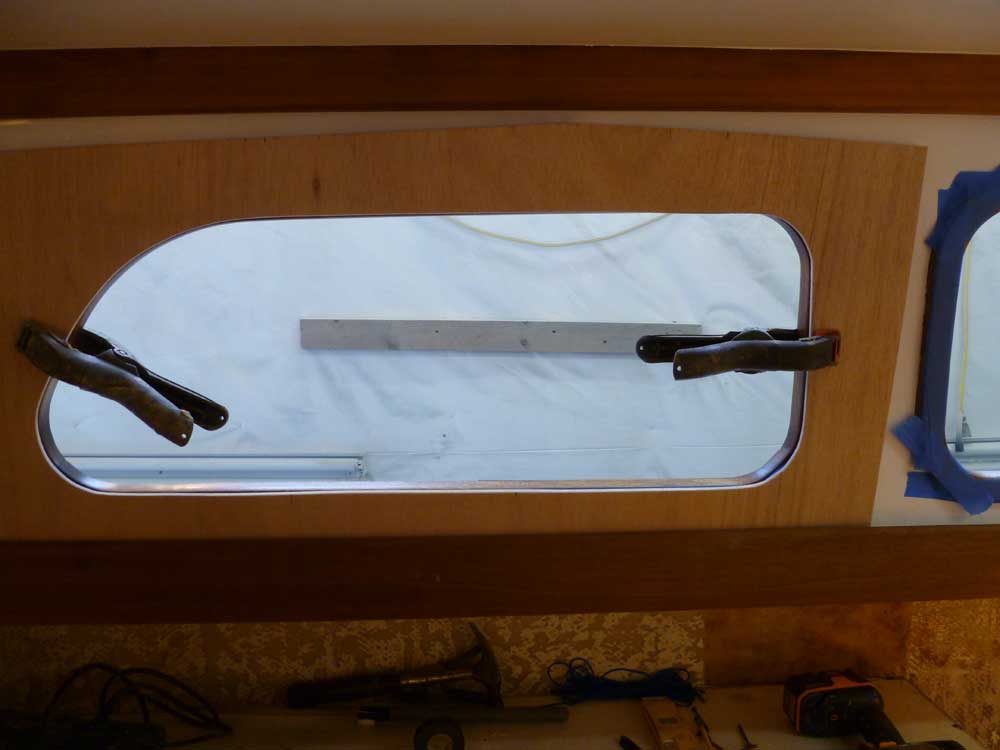
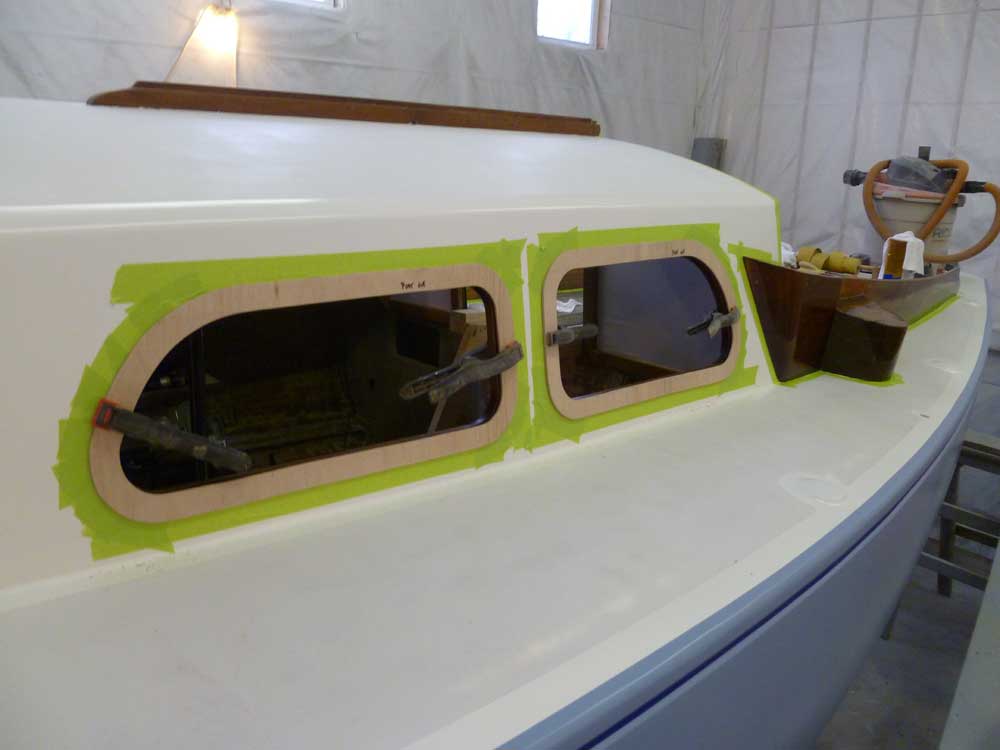
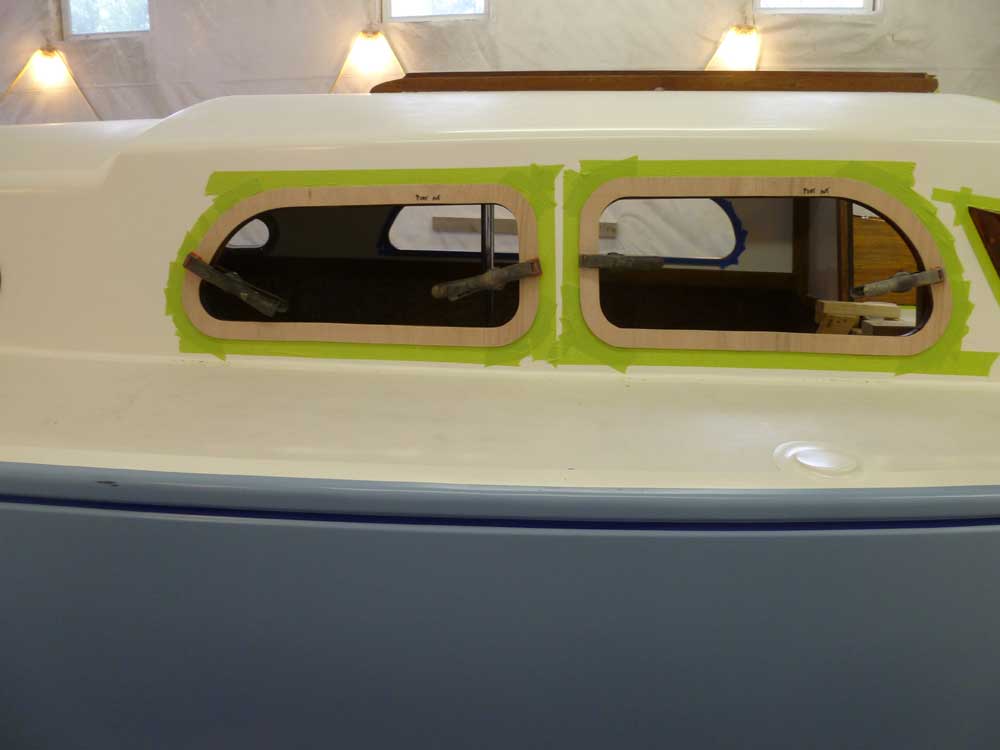
The frames themselves would be built from 1-1/2" wide, 3/4" thick stock. To simulate this, and provide me with a shape for the outside edge of the frames, I scribed a new line on the plywood templates 1-1/2" outside of the cut openings, then carefully sawed and sanded the outside edge to the appropriate shape. By clamping these to the outside of the deadlight openings, I could finally get a real sense of how the final frames would look.

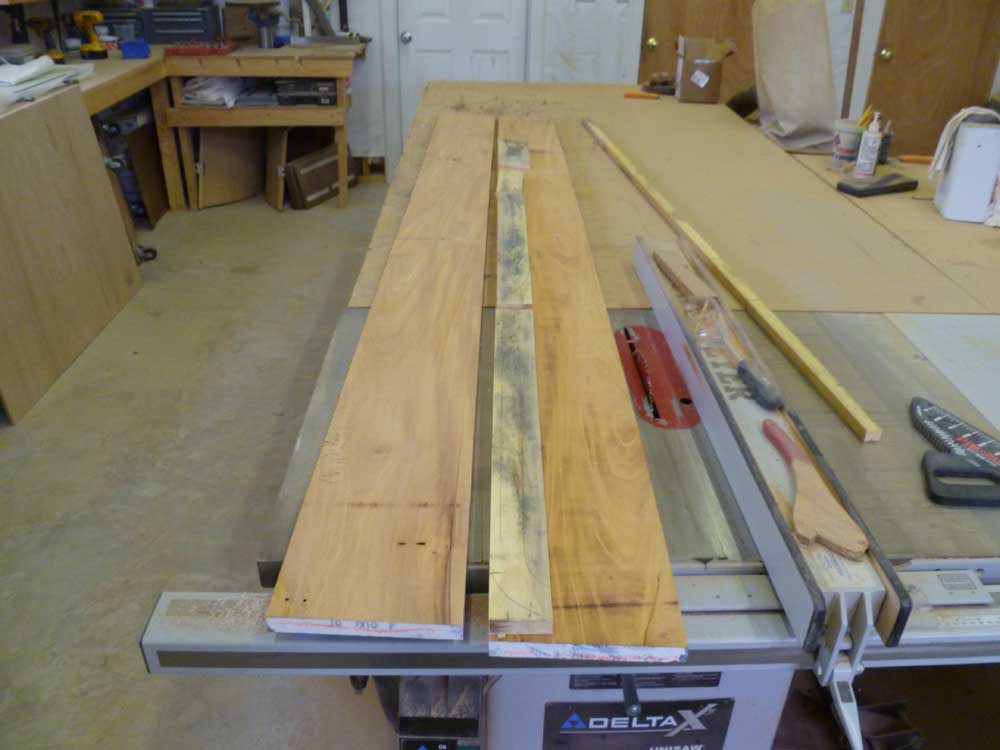
With the templates complete, I spent most of the remainder of the day preparing the rough Honduras mahogany stock for the job, which required smoothing and thickness planing to the desired 3/4" thickness and trimming one rough edge straight.
Later, I used some scrap pine stock to help me determine how best to lay out the frames on the actual material I had. I thought I would try and emulate the construction of the interior frames, which each used four separate pieces of wood to make up the needed shape. I hoped to minimize joints, since these joints tend to be where varnish fails first, and this layout would contain only four joints, the minimum possible. I planned to secure the joints with splines and epoxy.
After trying out a few things, I settled on the basic cut list for the stock, which would require two different board widths. I'd build both frames for one side of the boat out of a single board, which would keep the color and grain as consistent as possible.
Total Time Billed on This Job Today: 6.5 hours
