
110 Cookson Lane | Whitefield, ME 04353 | 207-232-7600 | tim@lackeysailing.com
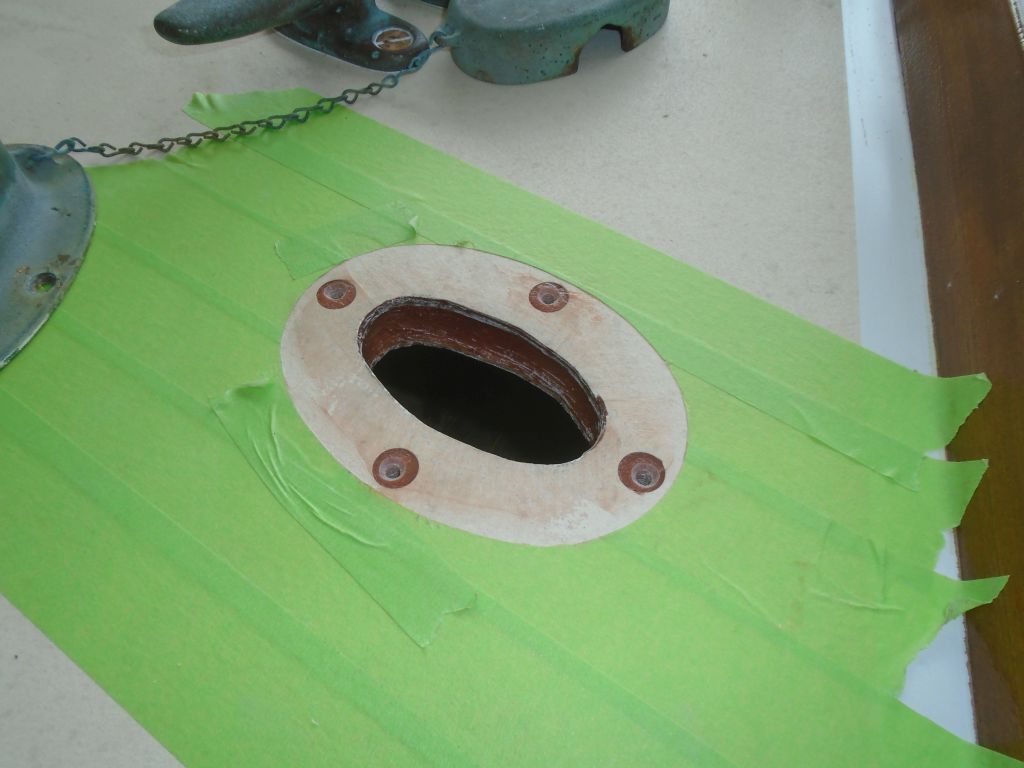
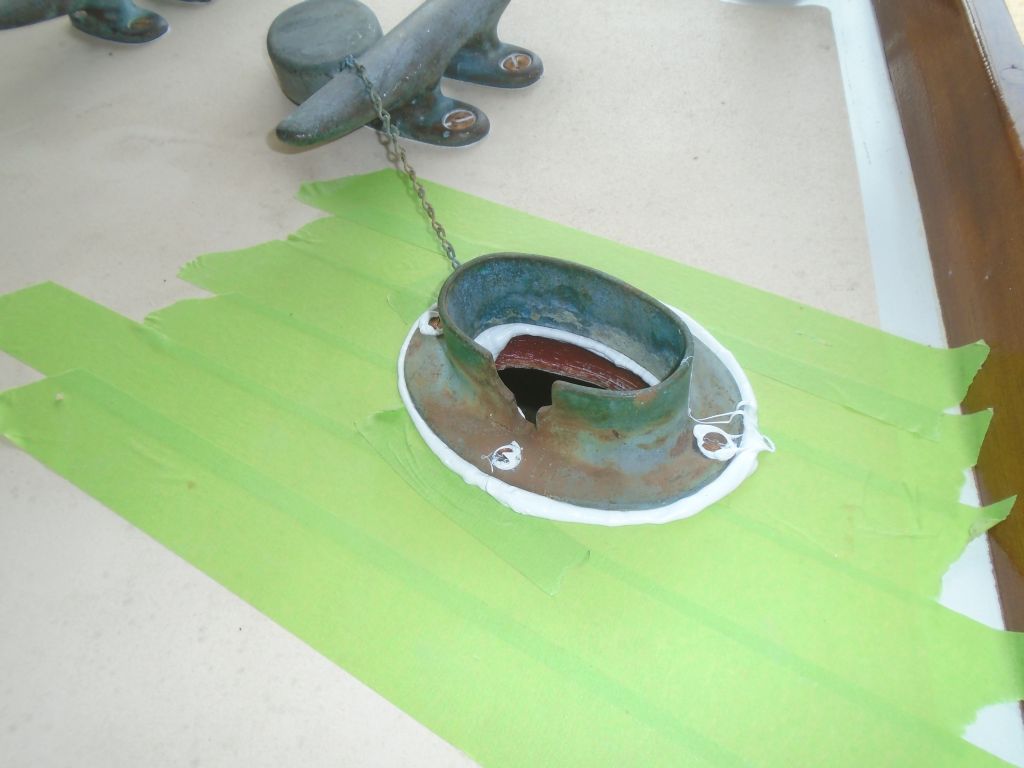
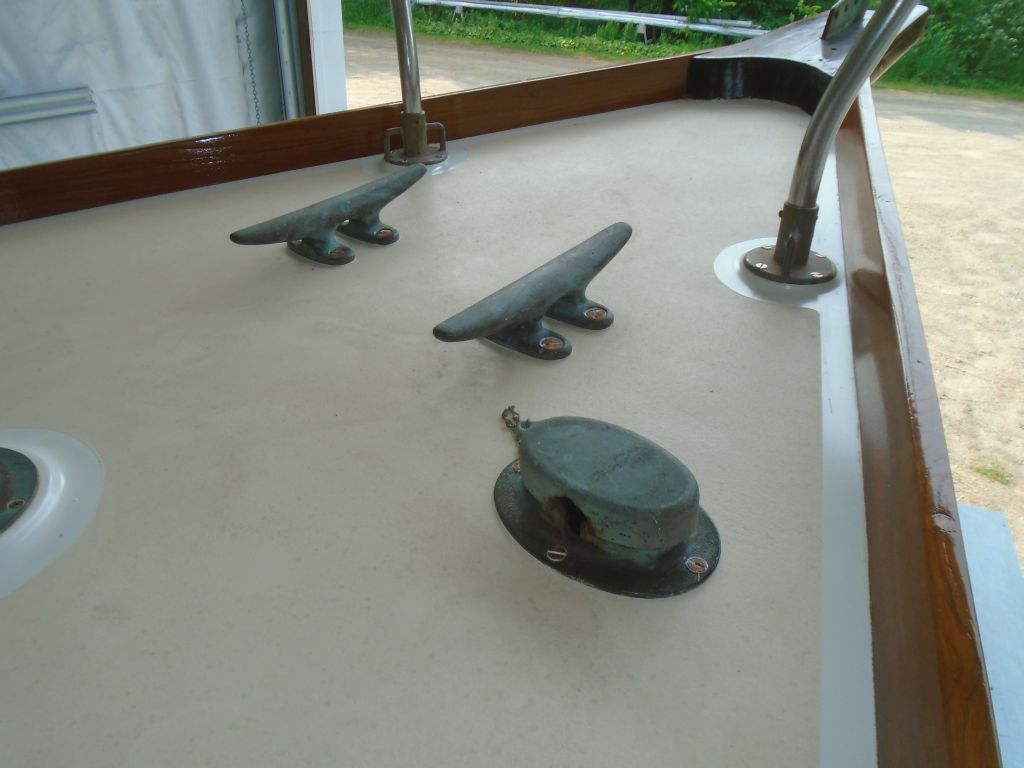
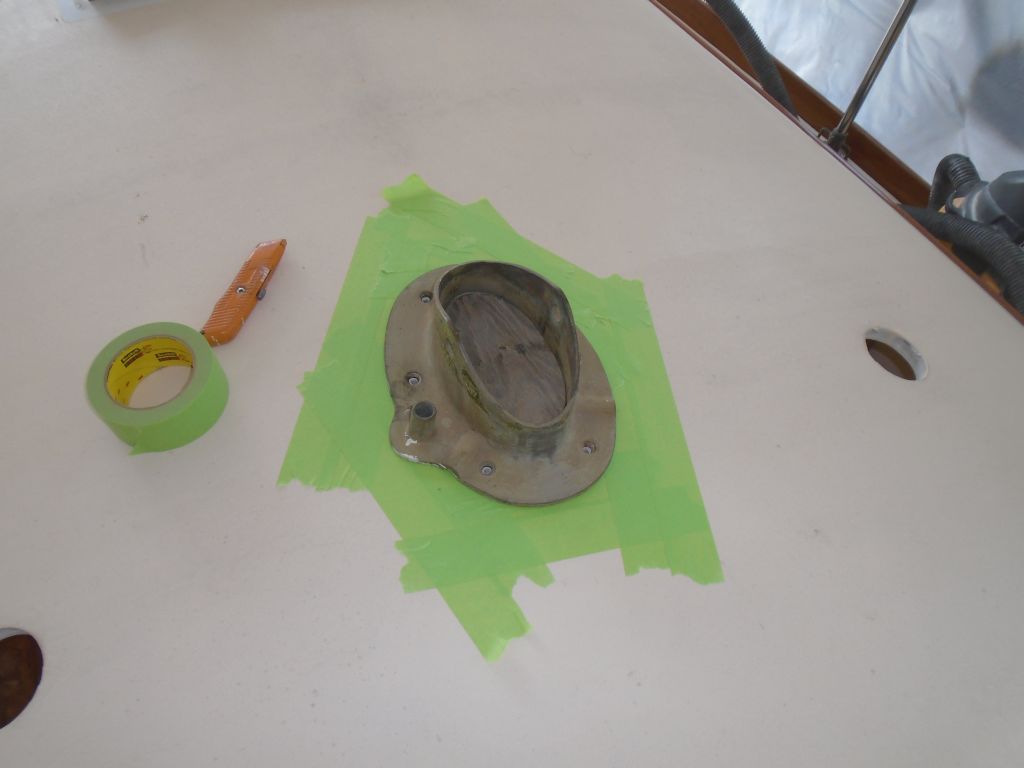
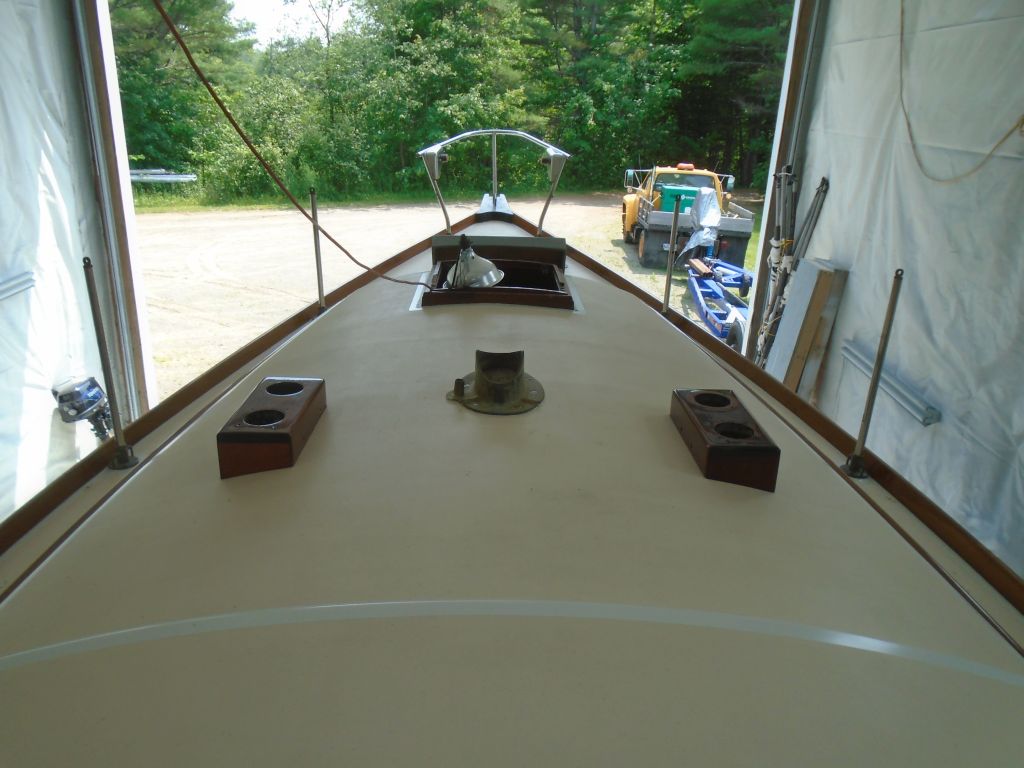
Back on the foredeck, I continued work on the chain pipe, now that the new epoxy had had the night to cure. In my habitual way, I prepared the fastener holes by drilling and tapping for 1/4" machine screws, and lightly cleaned up the inside of the epoxied opening to remove rough edges. Then, I installed the fitting in plenty of new sealant, cleaning up afterwards (though I left the squeezeout in the center of the opening to cure, as it'd be easier to remove then).
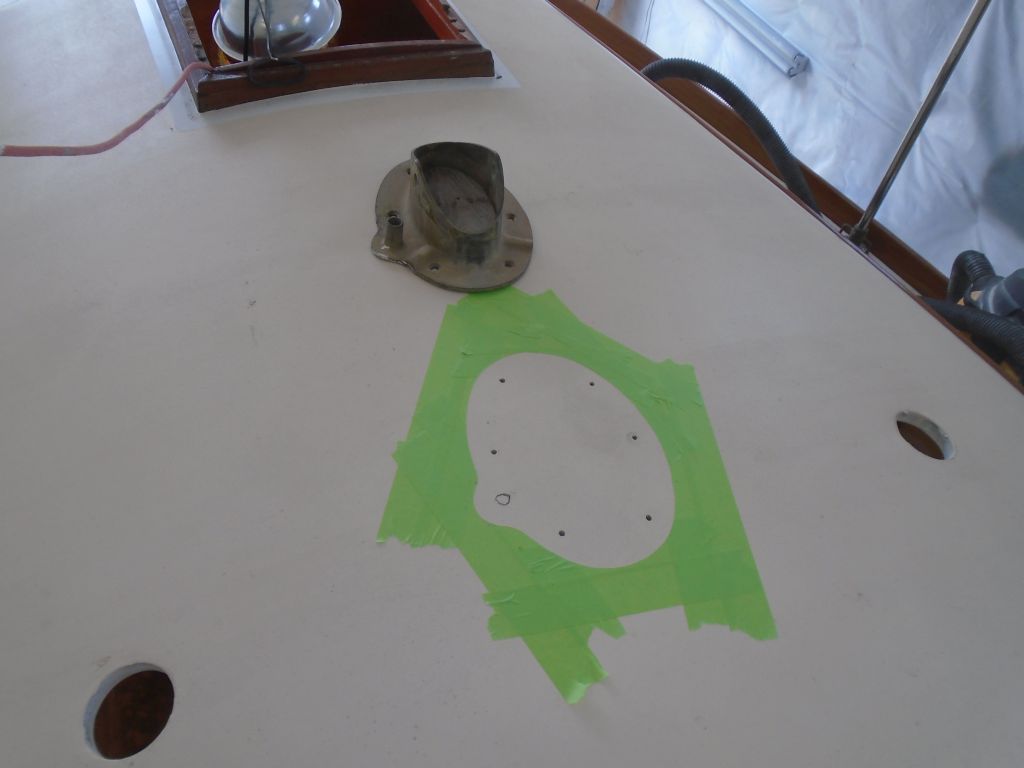
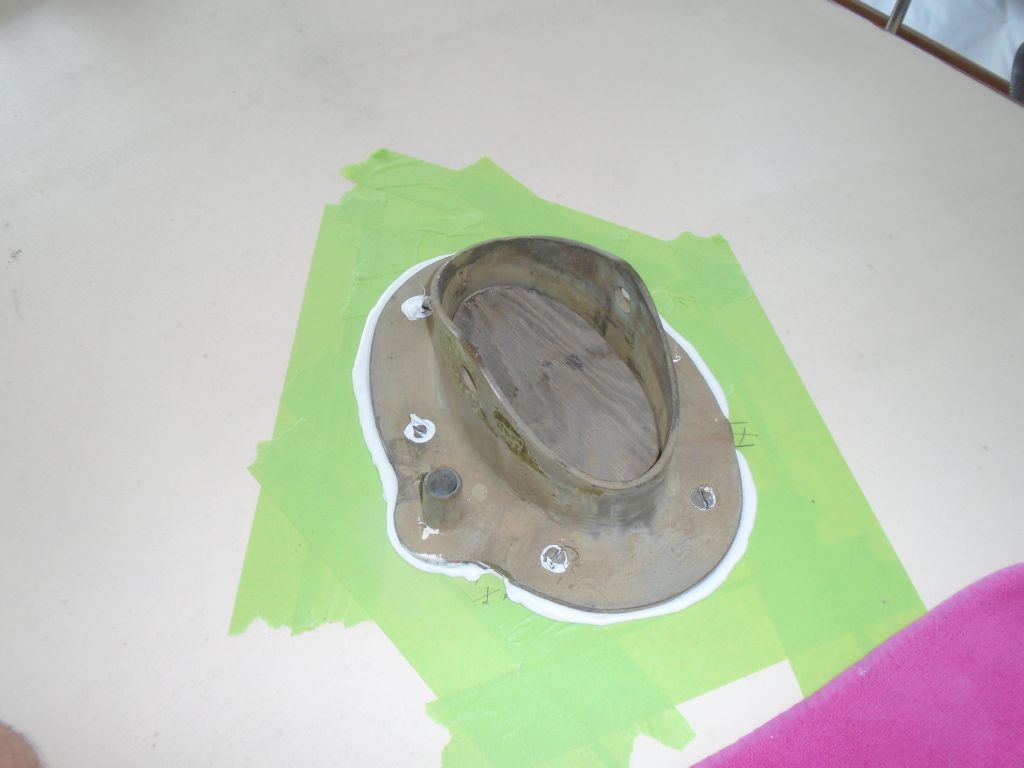
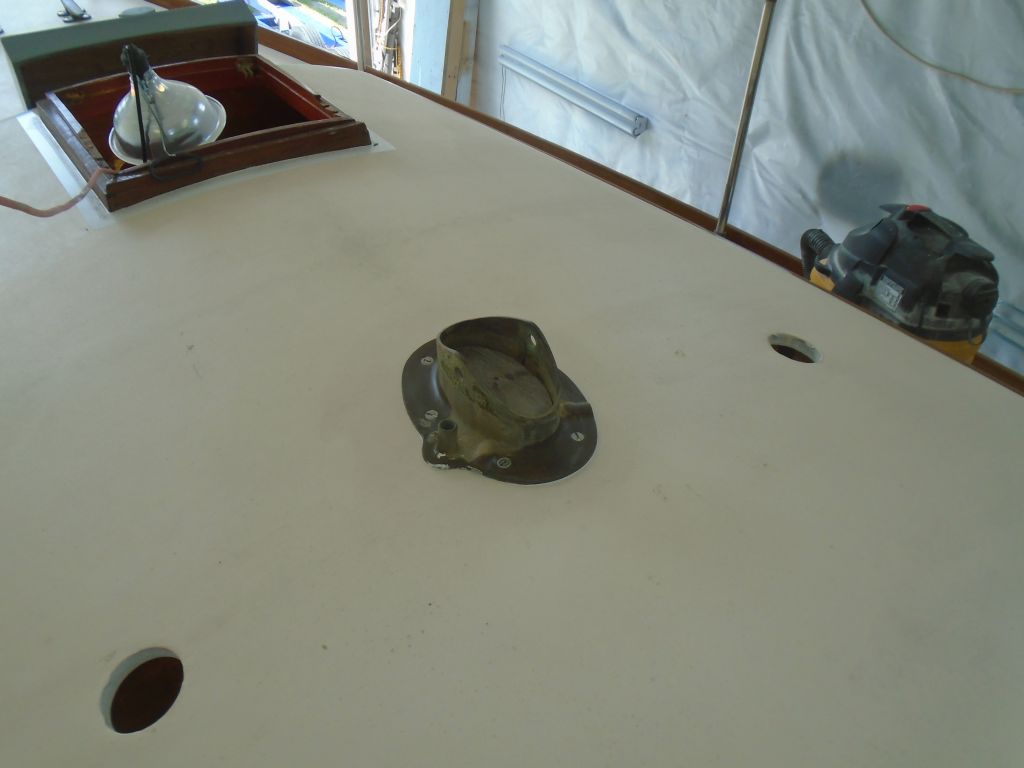
Next up: the mast step. Here, in addition to all my usual preparations, I drilled a hole beneath the cast wiring channel in the step base, to allow a few wires to run below. I epoxy-coated the inside of the new hole before continuing the installation.
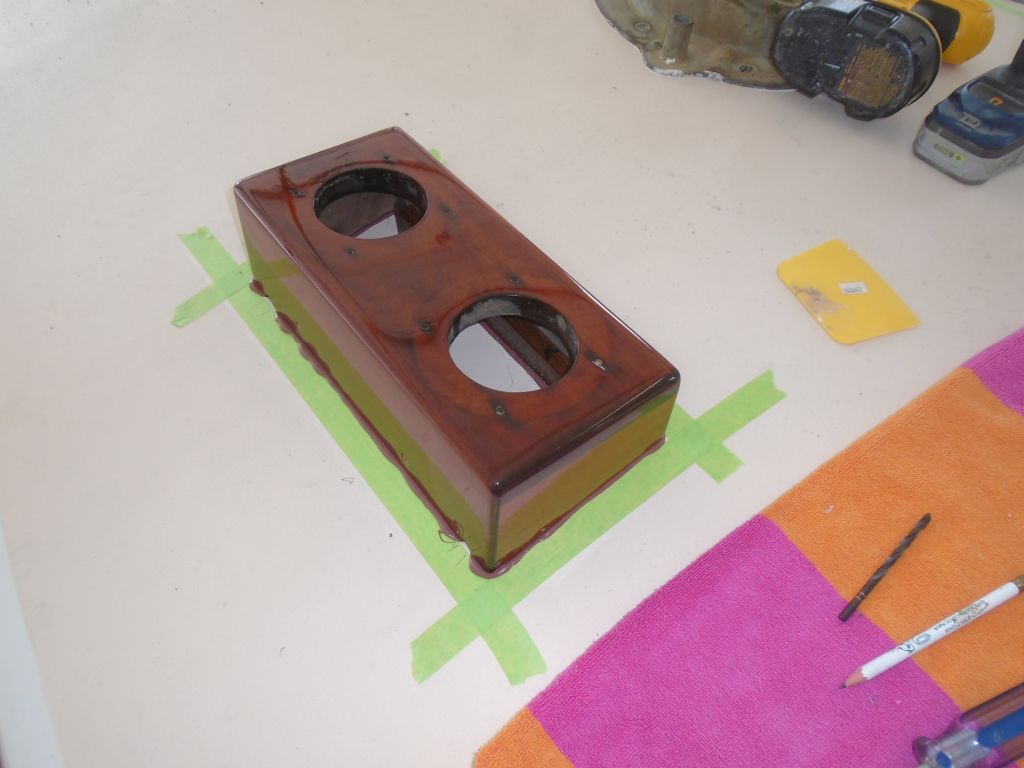
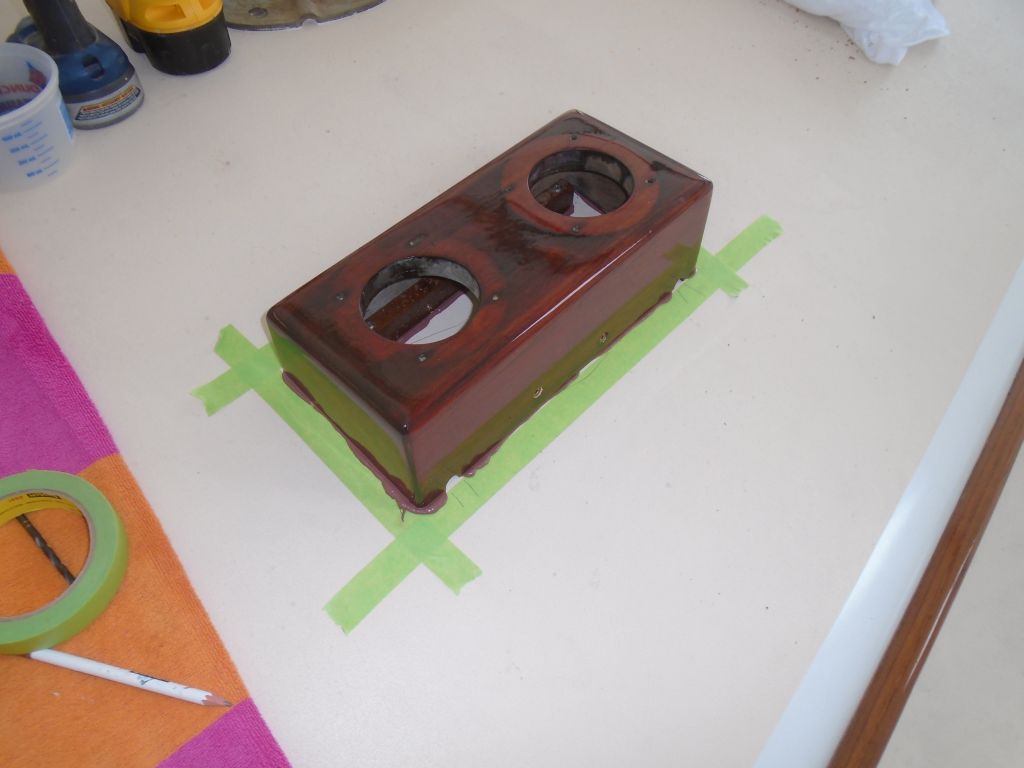
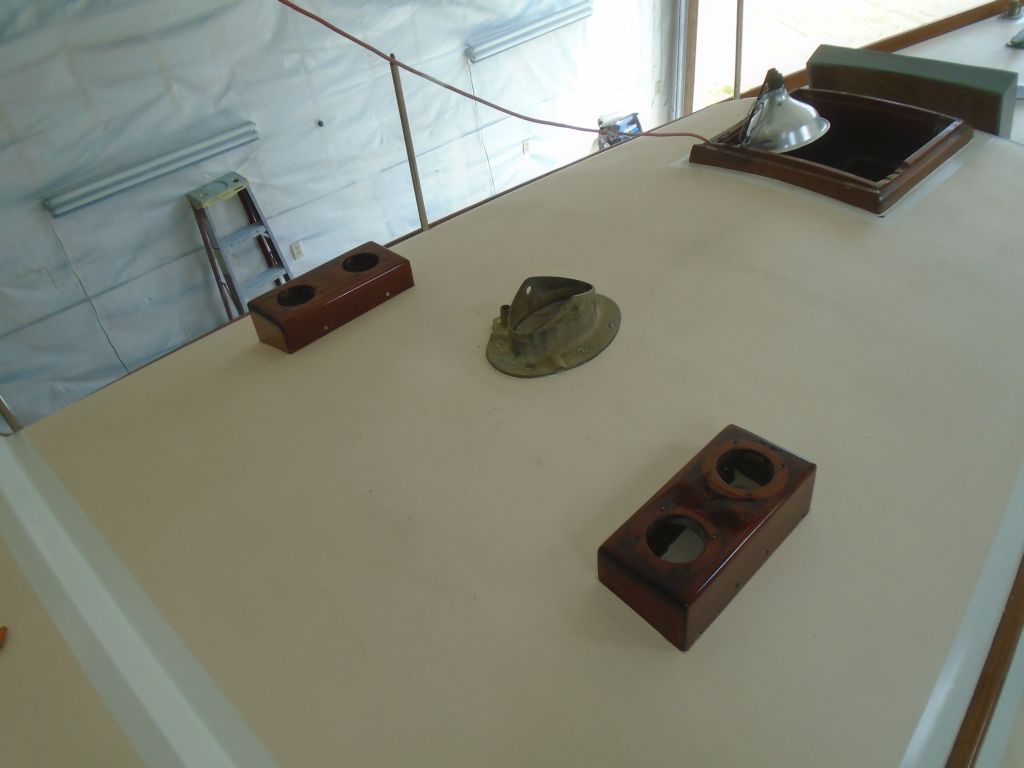
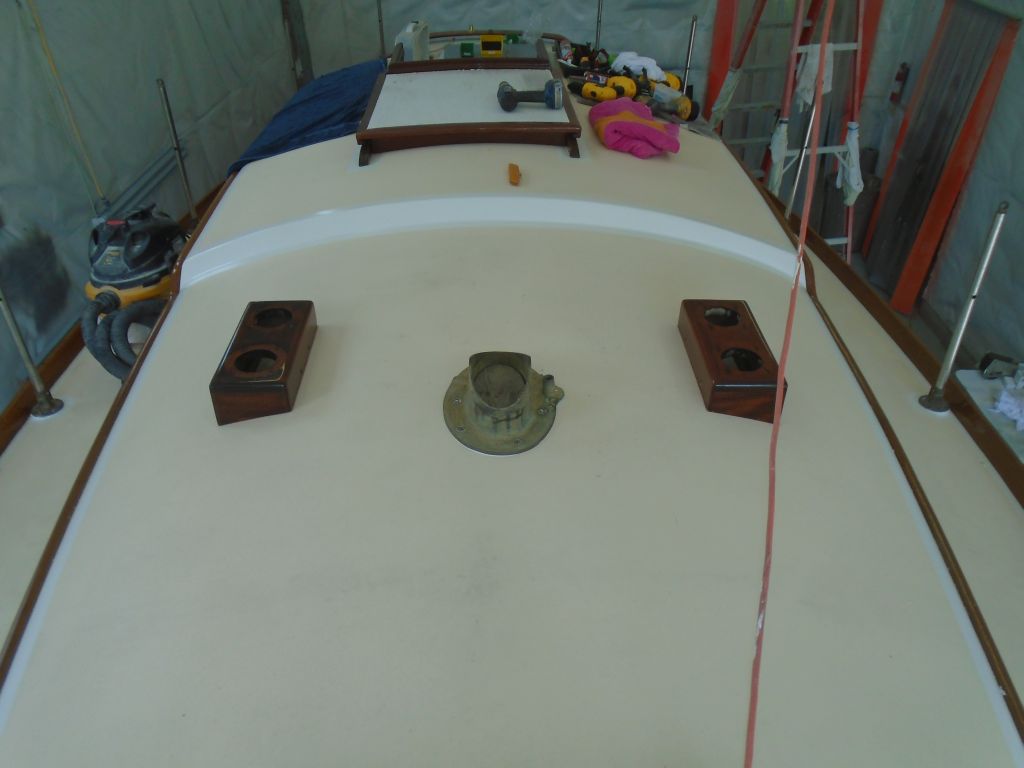
There was a pair of mahogany Dorade boxes for the cabin top, to fit over the two vent openings in the deck. During an earlier phase, I'd revarnished these boxes, and while they required vents and deck plates, the boxes were otherwise ready for installation.
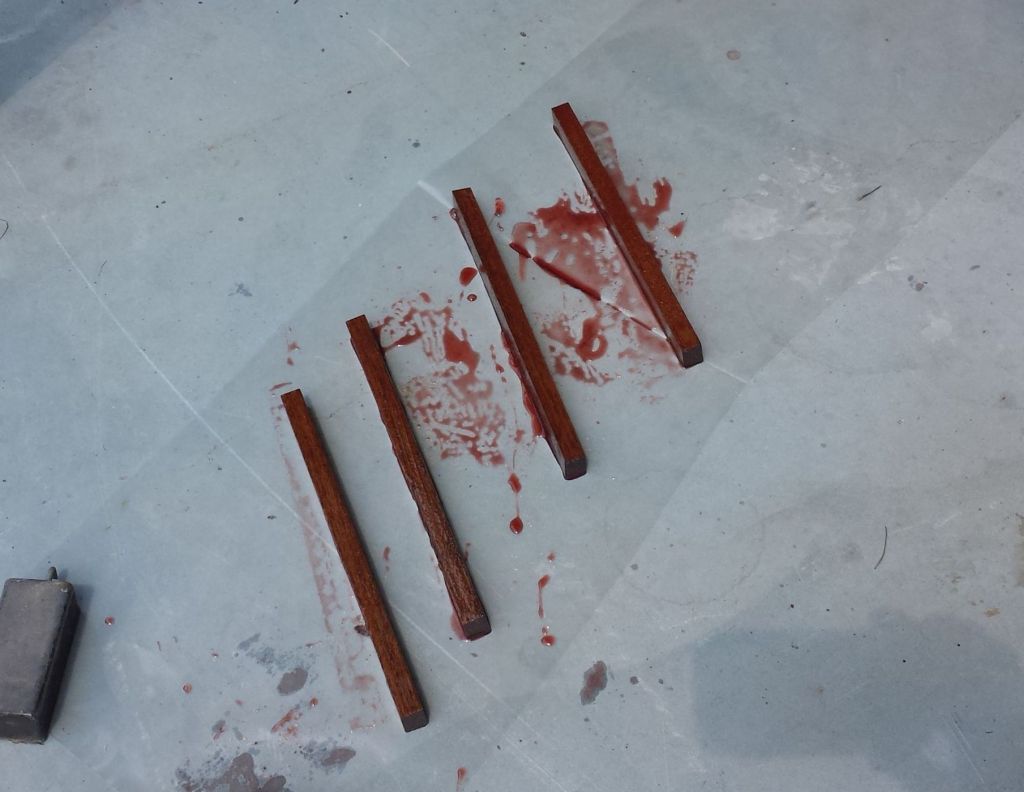
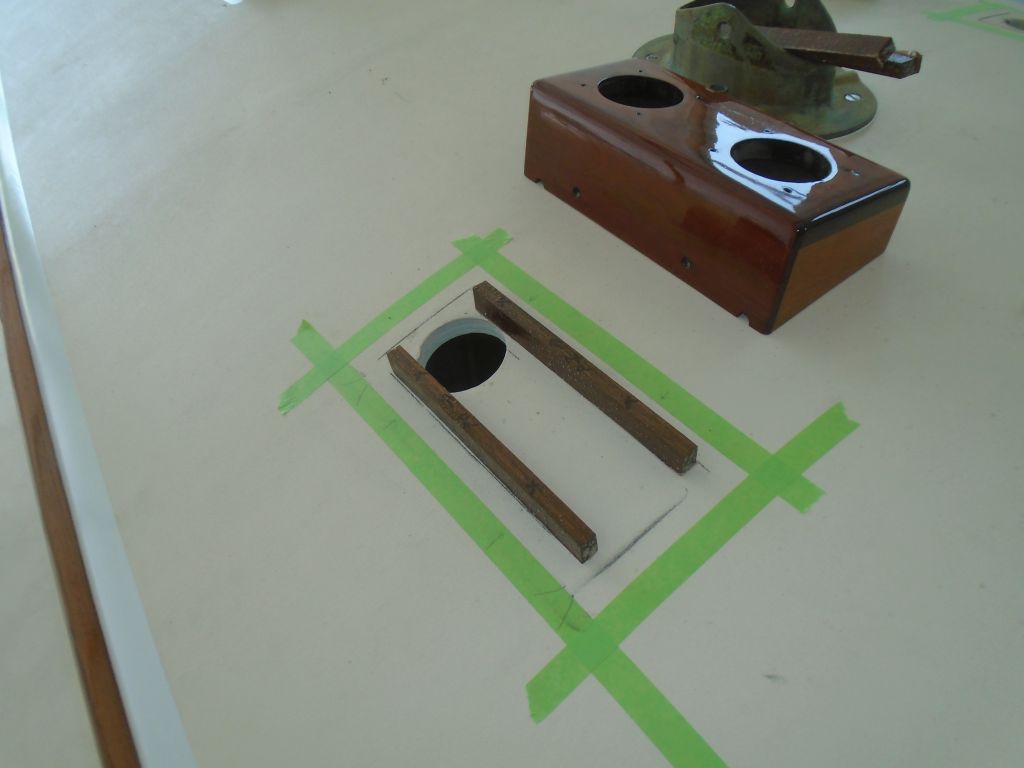
Reviewing some photos of the boat in her original state, in early 2010, I found that there had been small cleats on deck, to which the boxes were attached. So I milled up four new cleats from leftover teak, beveling the bottoms at 10° to match the deck camber. I epoxy-coated the new wood and placed it in the shop autoclave (i.e. the hot and sunny place on the floor at the shop door), which allowed the epoxy to cure sufficiently during lunch break so that I could continue work.
After some basic layout to position the boxes properly, I marked the insides of the boxes so I could locate the cleats within. Then, I installed the cleats with sealant and screws, before bedding the boxes over the top and securing them to the new cleats with bronze screws through the pre-existing holes in the Dorade boxes themselves. With final decisions on the actual vents pending, I'd finish up that part of the installation another time.


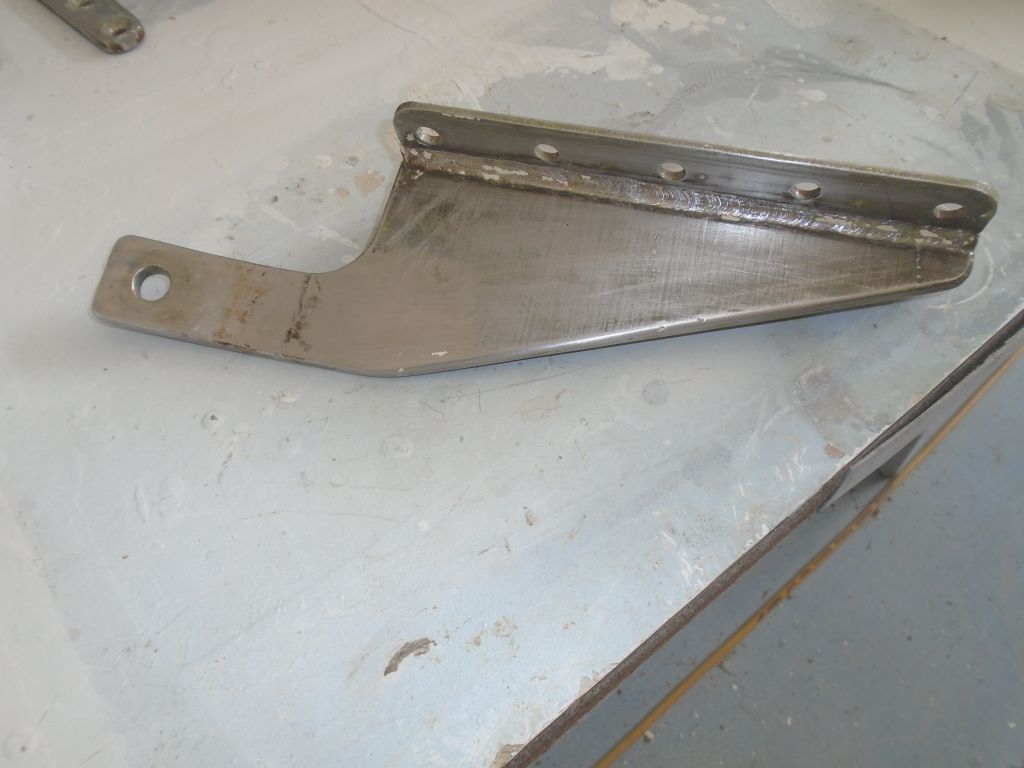
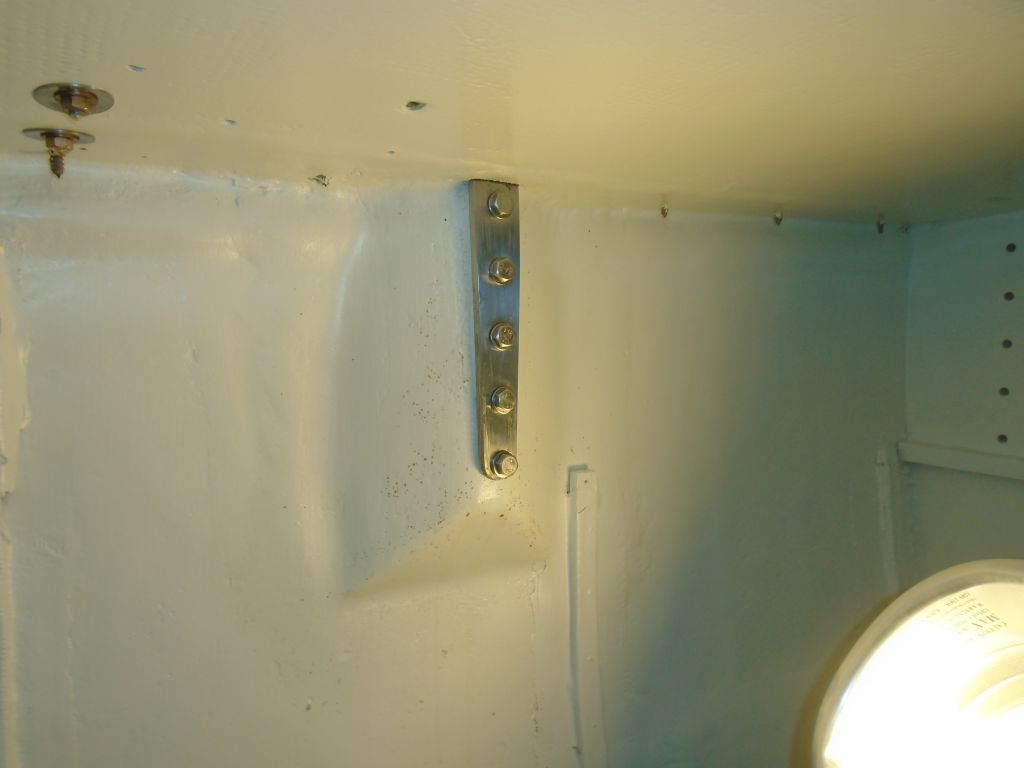
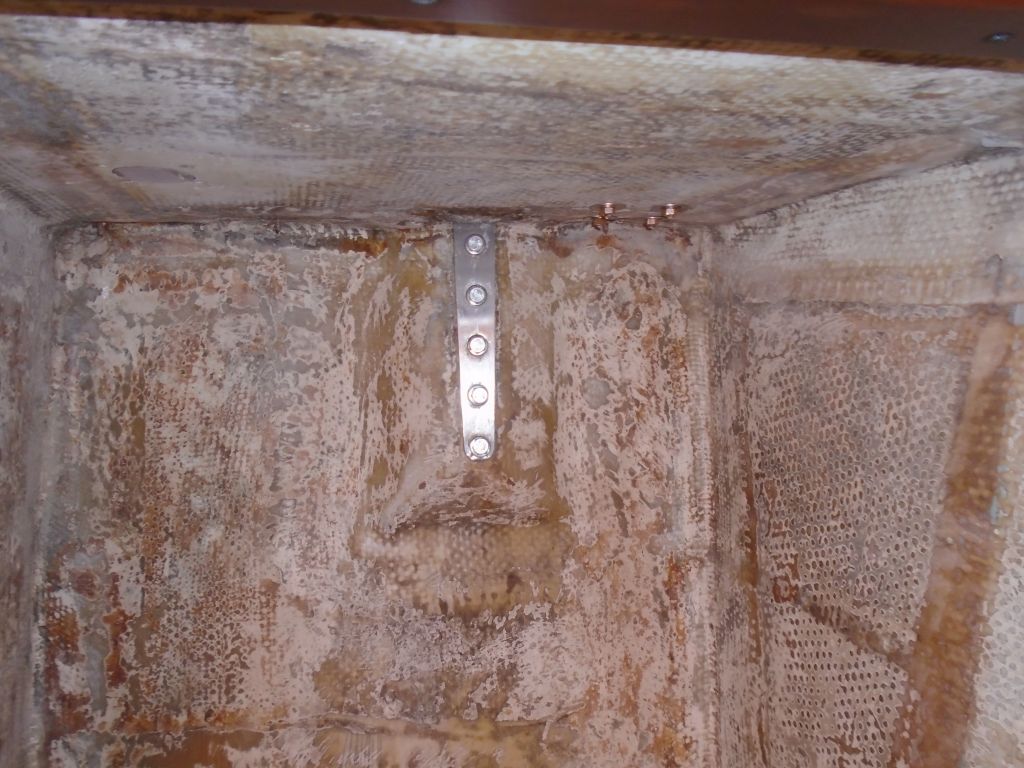
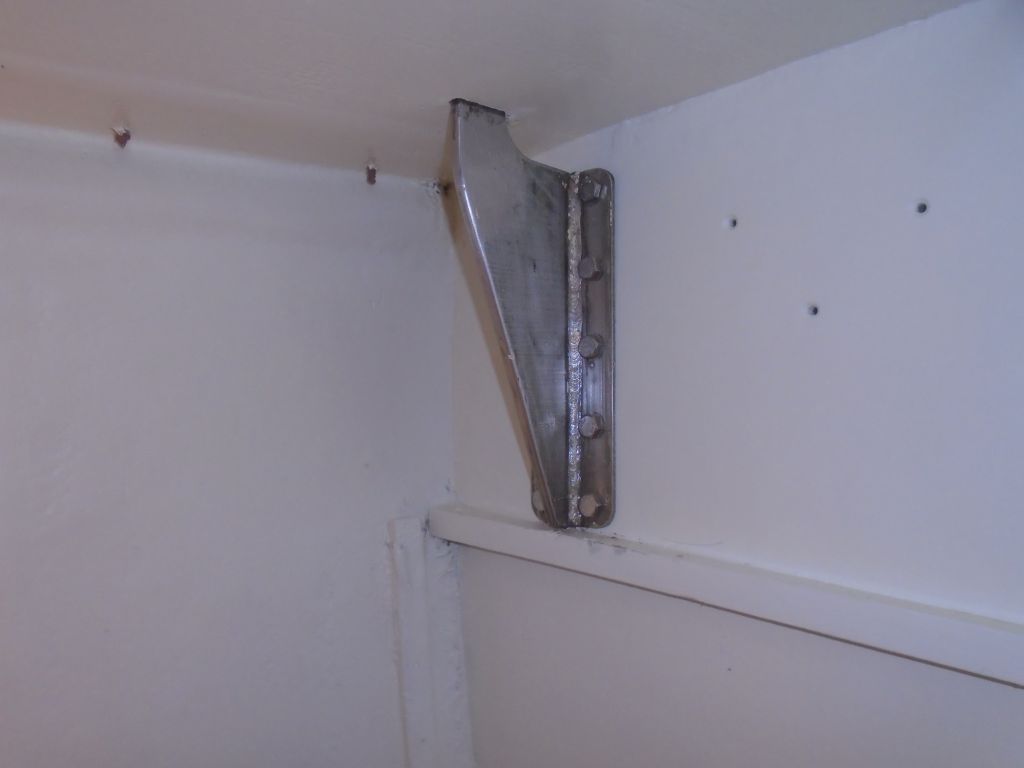
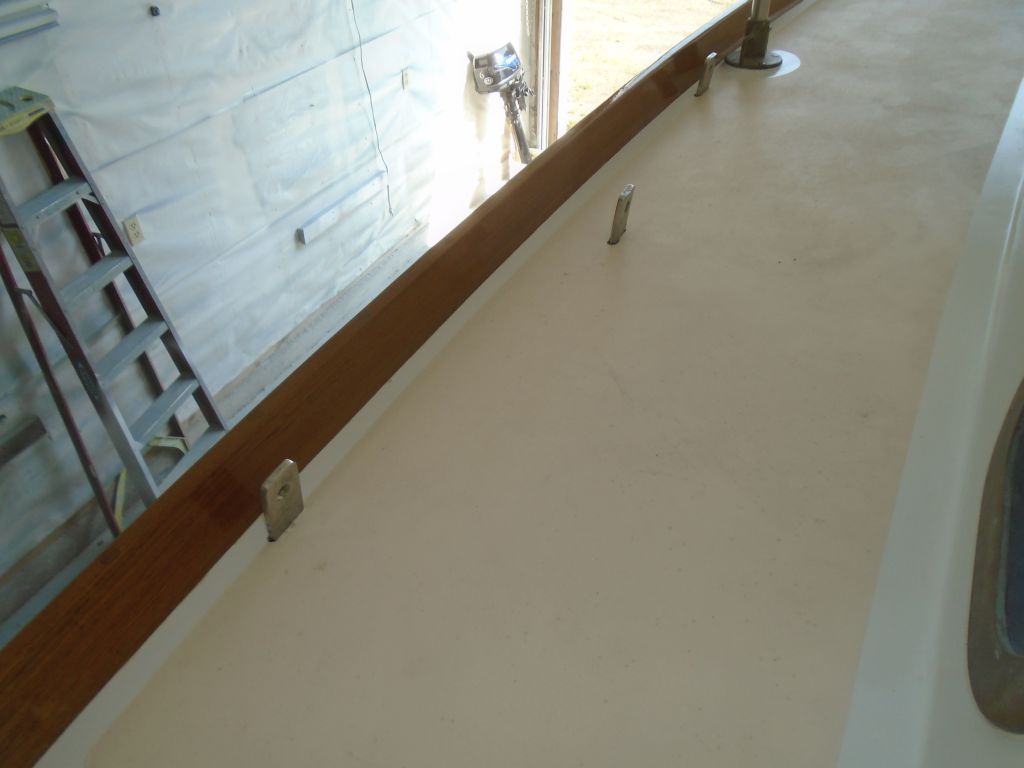
Back to the chainplates, I finished up the preparations by cleaning up the two main shroud chainplates, removing old paint, sealant, and surface staining.
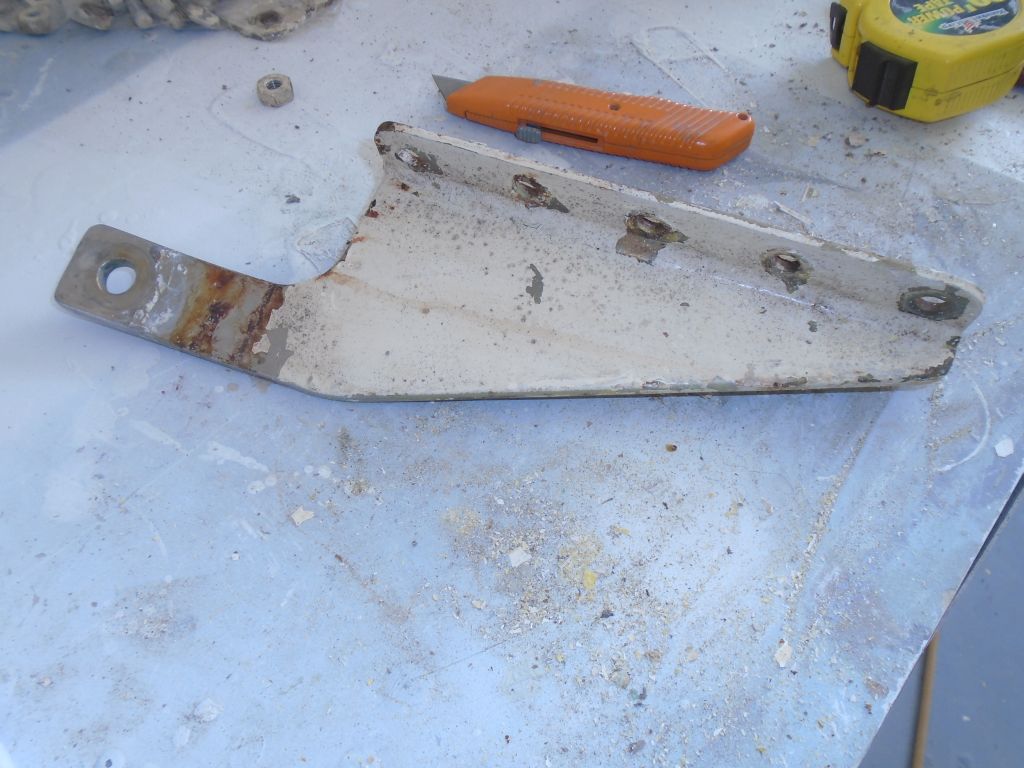
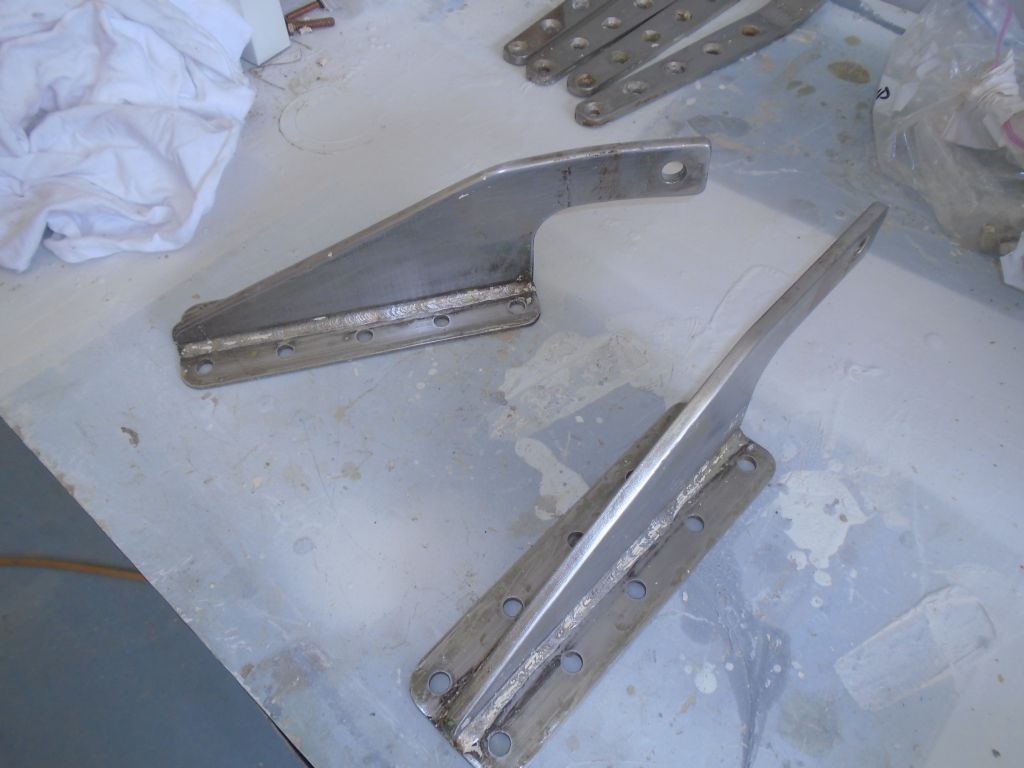
During some earlier stage of deck work, I'd apparently rebuilt the chainplate slots on deck, molding epoxy around nonstick chainplate analogs. I'd filled these slots with sealant when I placed the boat in storage several years back, so my first task was to dig out the temporary sealant, which was easy enough. Test-fitting the chainplates, I found that they were slightly larger than my neatly-molded holes, so I had to extend the slots slightly to allow the chainplates to fit.
Once I'd completed that initial work, installing the chainplates was pretty straightforward. I used new stainless lags for the lowers (the bases were molded into the hull), and new stainless bolts for the main chainplates on the bulkhead. The job was fussy enough, what with the unexpected slot-lengthening work and so forth, that I only had time to do the port chainplates before the end of the day. I ordered deck cover plates that would help provide a decent seal through the deck penetrations, and would do the sealing part of the installation later, once those arrived.

Total Time Billed on This Job Today: 7 Hours
<Previous | Next>
0600 Weather Report:
50°, partly sunny. Forecast for the day: Becoming sunny, 80
