
110 Cookson Lane | Whitefield, ME 04353 | 207-232-7600 | tim@lackeysailing.com
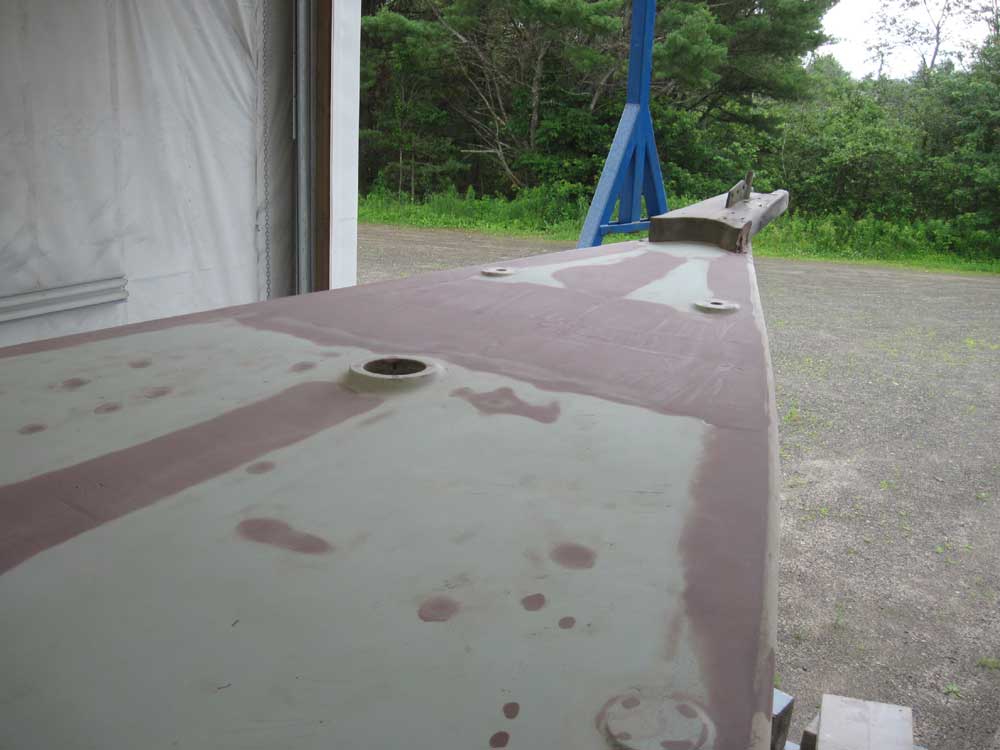
Switching this time to a less aggressive sanding tool and lighter paper, I sanded the areas on deck that I filled yesterday. The bulk fairing was complete, and most of the filling from the third application was a light skim coat to fill small depressions or pinholes. On the larger areas--specifically the areas I'd recored--I used a torture board as needed to determine the overall shaping of the fairing, and to highlight low areas.
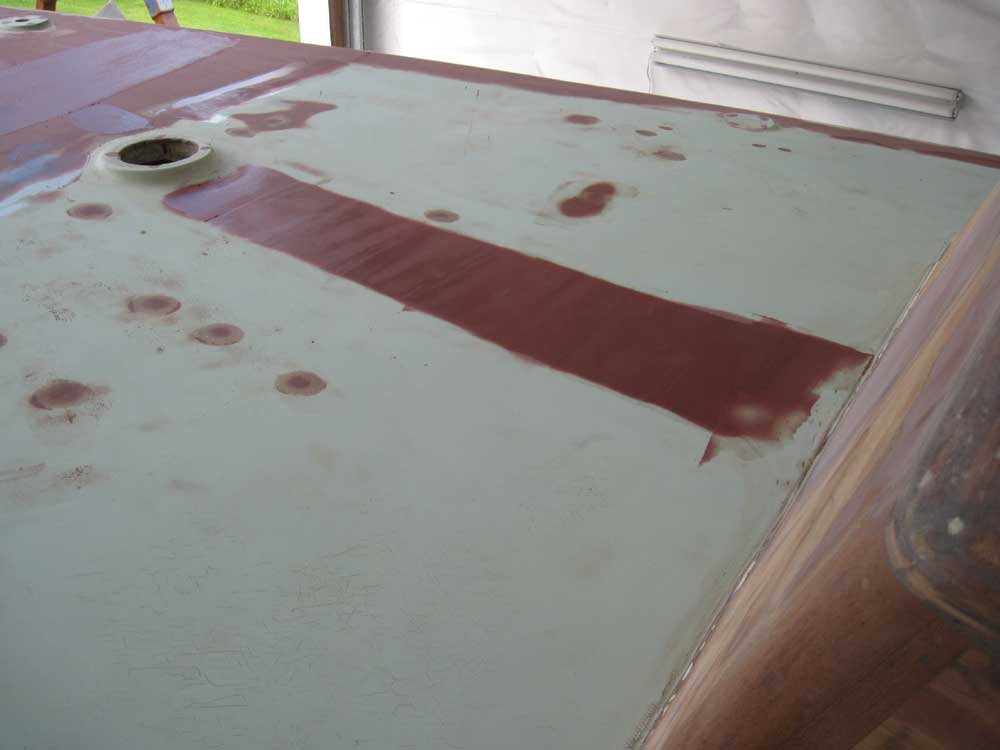
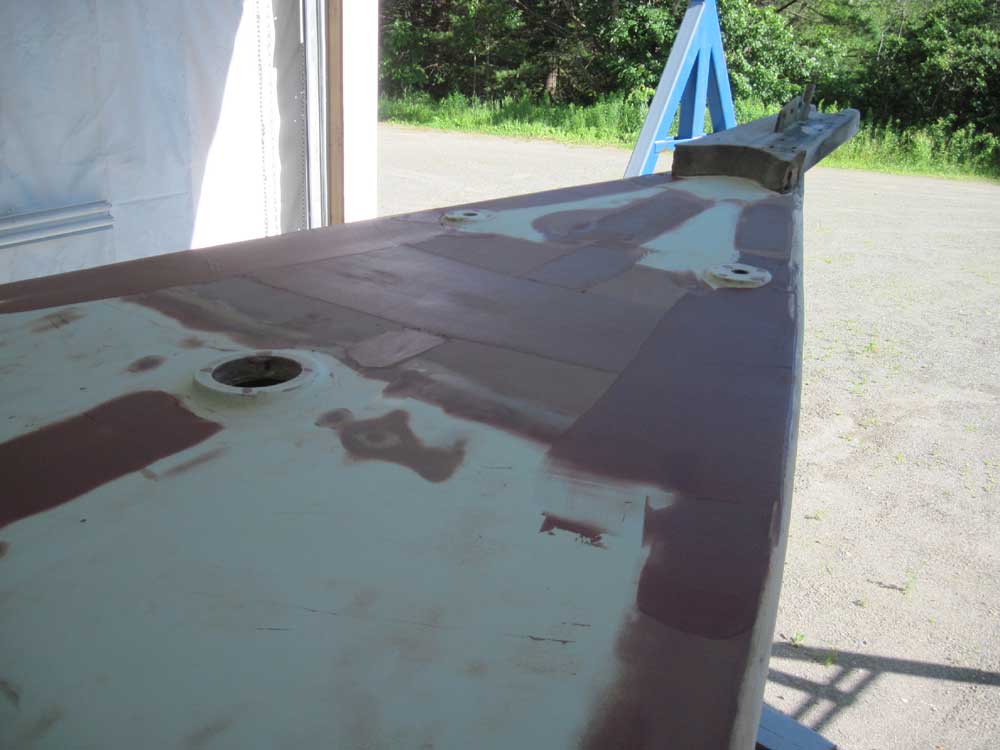
What remained after the third round of filling and sanding were a few small low areas here and there--mainly tool marks--and a bit more work required on the wide foredeck patch, which not only required fairing with the adjacent fore and aft deck areas, but also with the hull-deck joint on the edges, a two-dimensional proposition that, to complete, would require at least one more application.
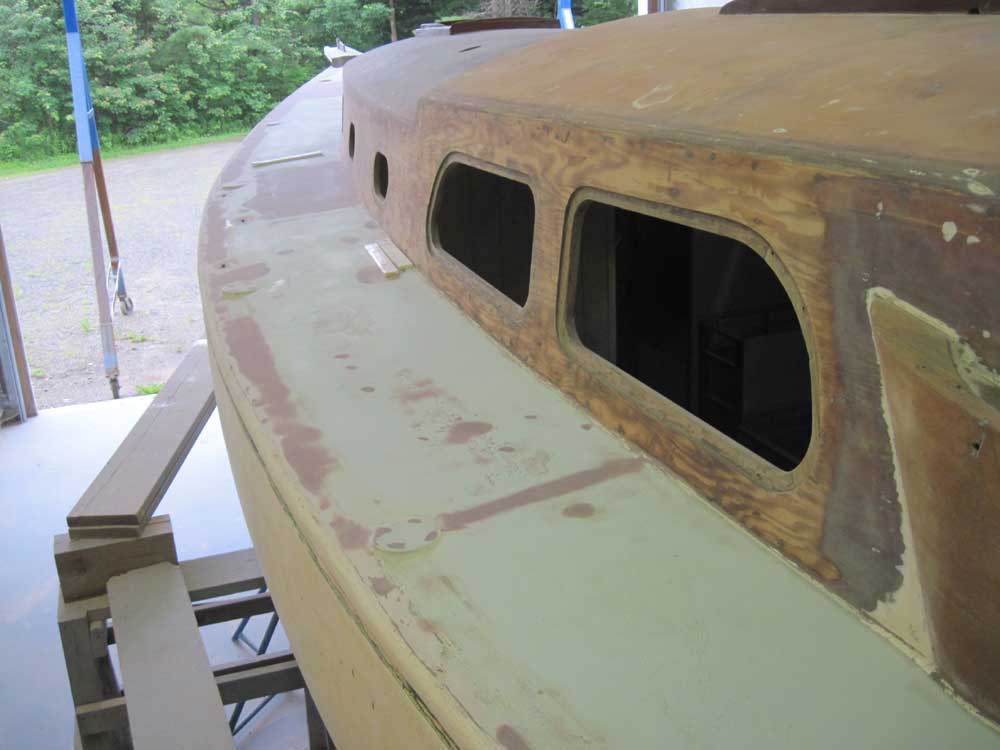
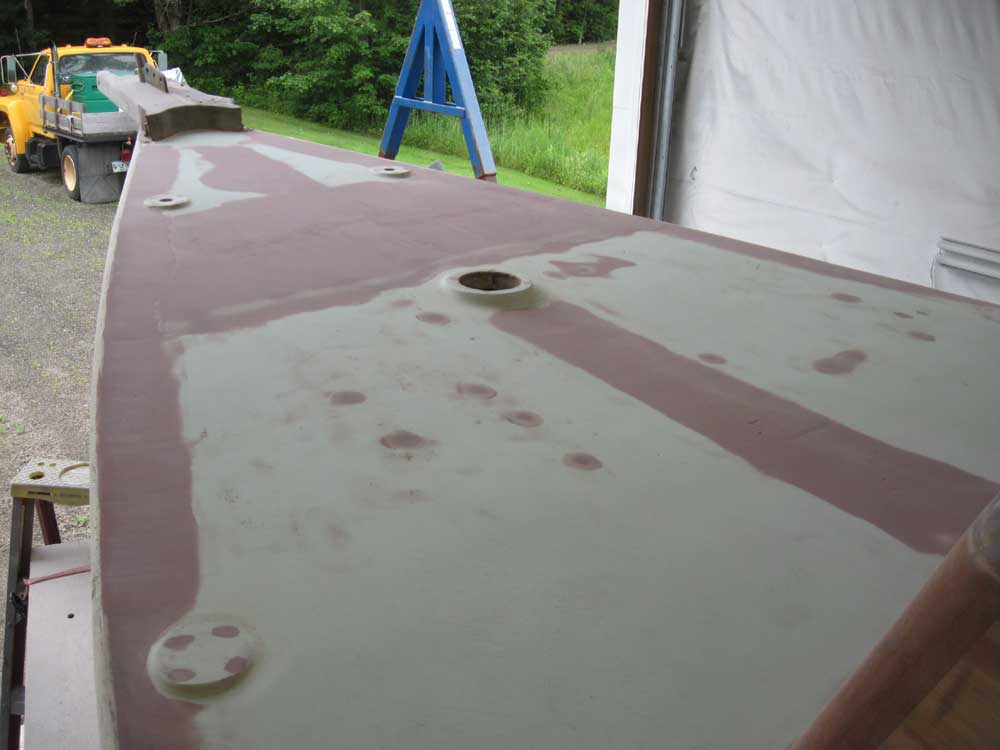
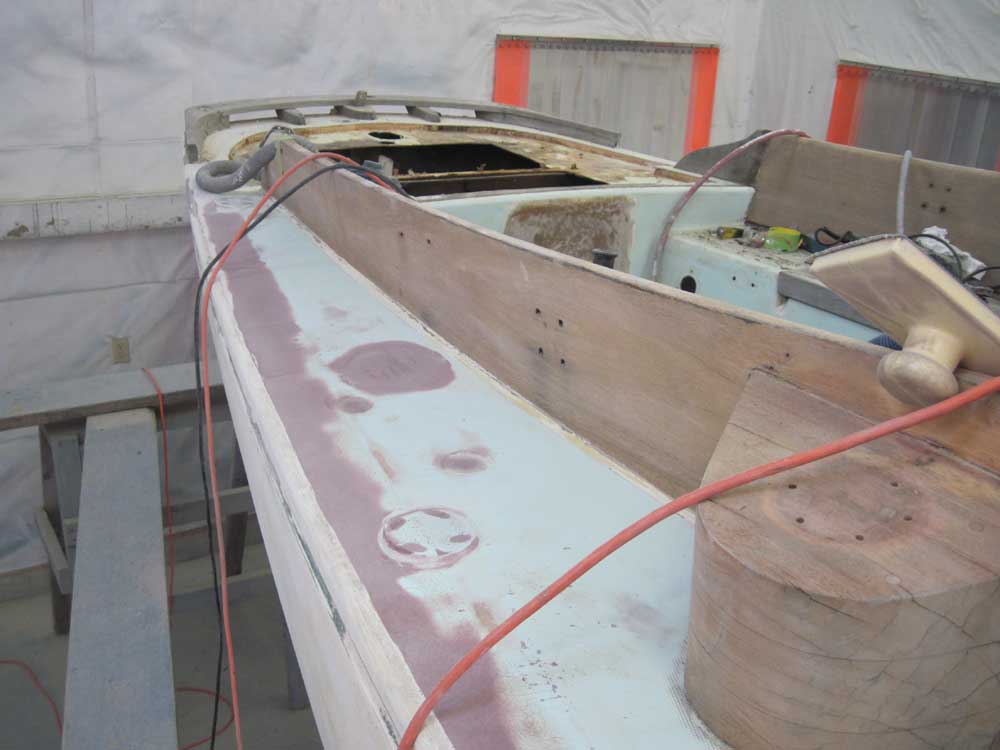
After vacuuming and solvent-washing, I proceeded with an additional coat of fairing material as required, concentrating mainly on the foredeck and filling pinholes in the other recored areas.
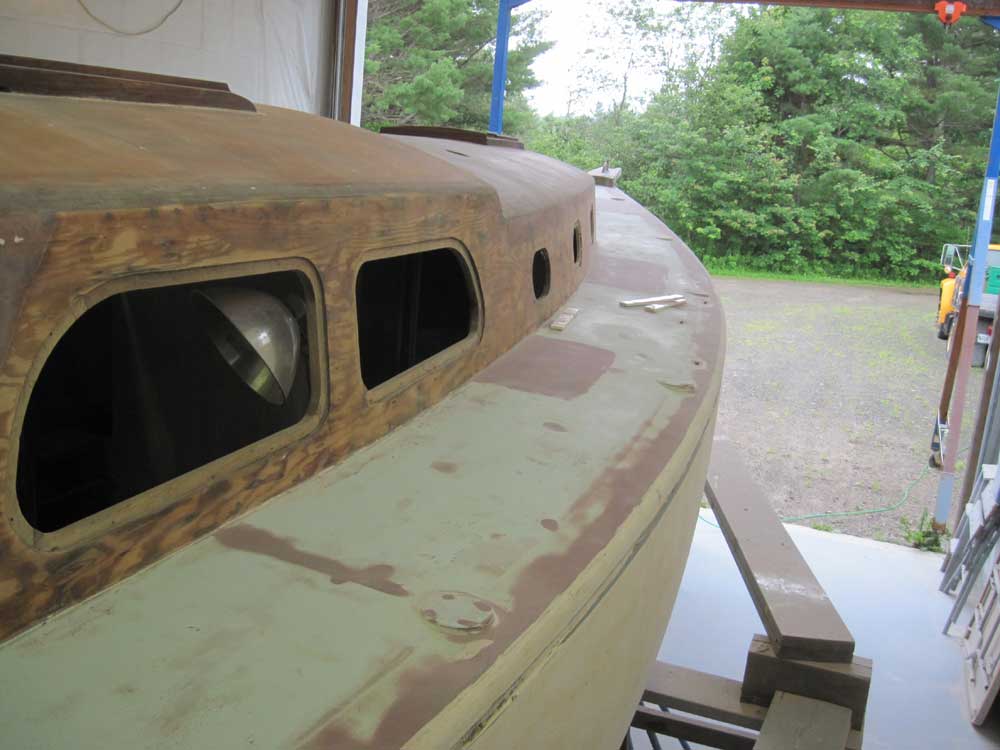
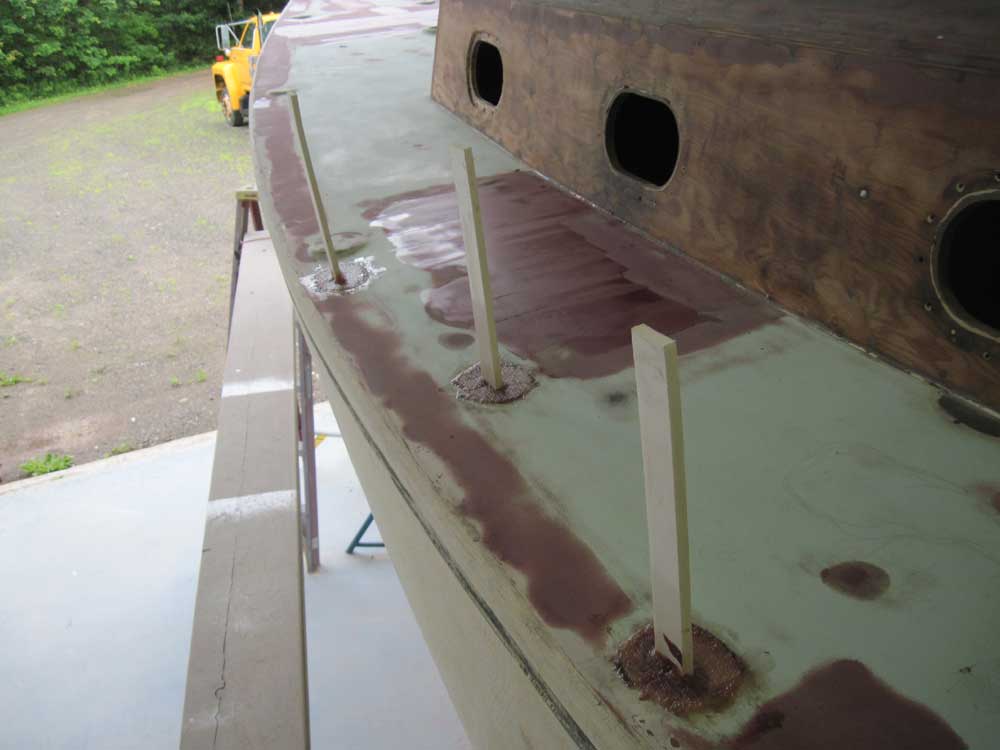
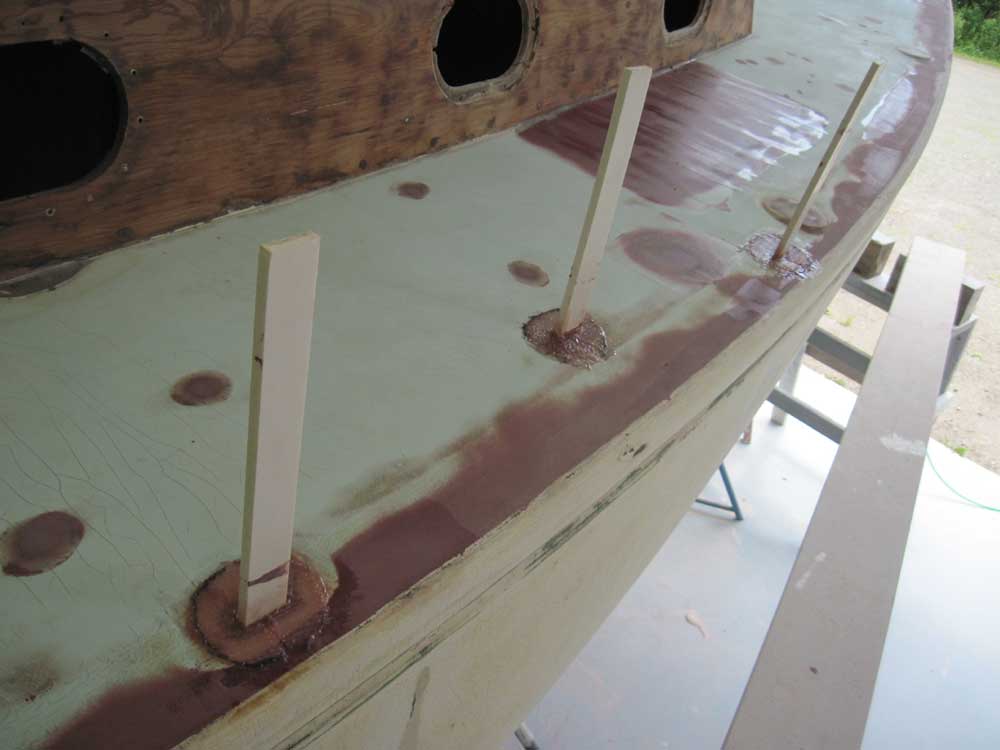
At the chainplates, I'd earlier removed the plastic stand-ins so I could sand the areas smooth after yesterday's round of filling. Now, I reinserted the dummy chainplates and installed a layer of fiberglass in the previously-ground tapered depressions around each opening to reinforce and seal the new material. (Late in the day, I applied a skim coat of fairing compound over the partially-cured glass, but this is not shown in the pictures.)
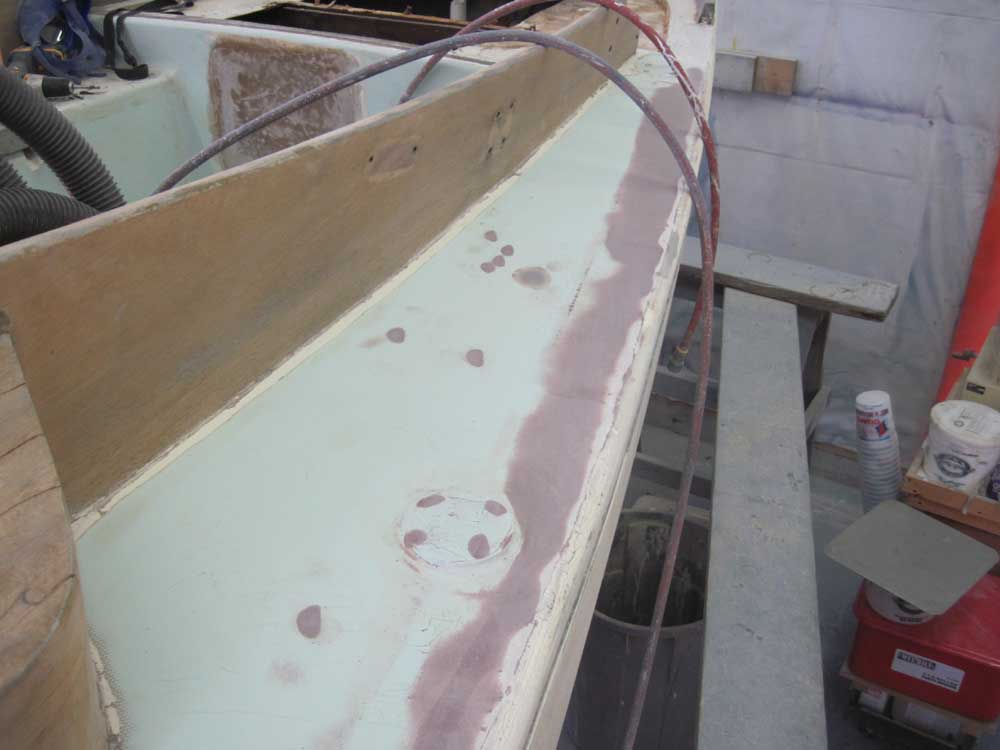
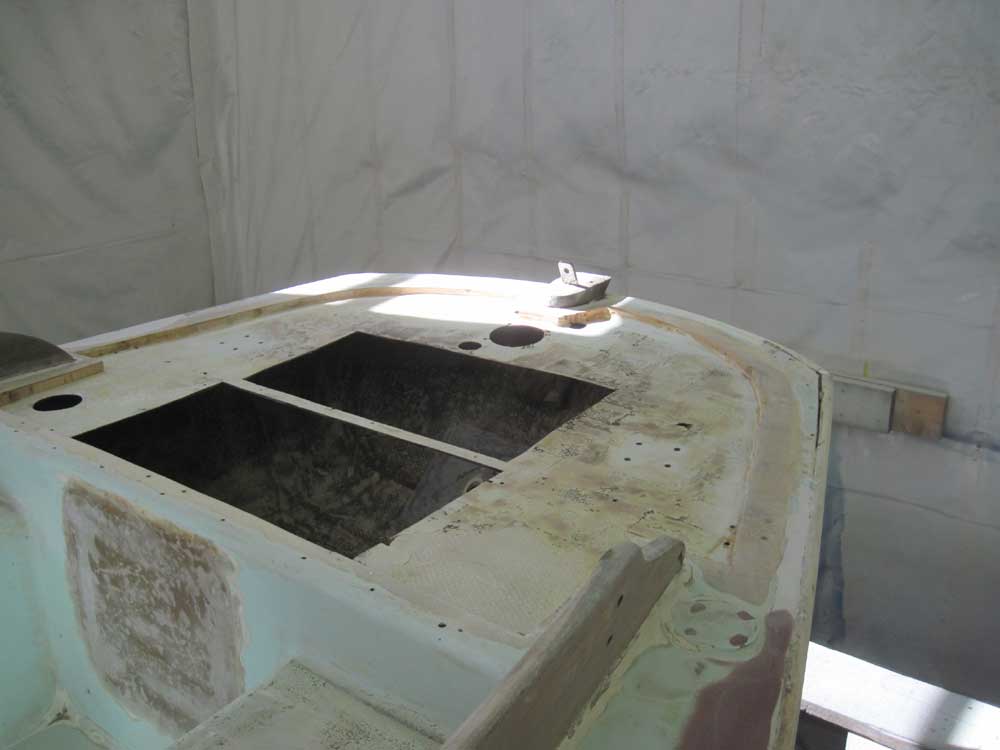
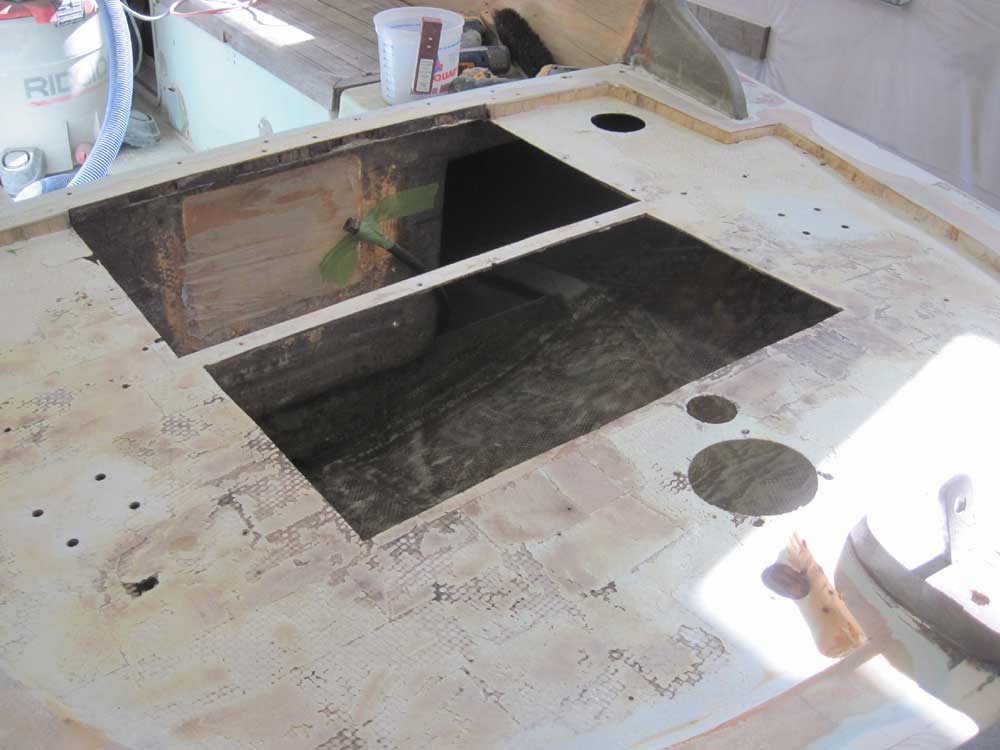
Next, I continued work on the poop deck. I decided now was the best time to sand the inside of the lazarette, while things were as open as they'd ever be, so after removing all the old core bits that had fallen into the locker yesterday, I sanded the inside with coarse paper to remove loose paint and smooth the surface slightly. I also cut off a vertical fiberglass tube that had reportedly supported a slim radar pole, and ground the base flush with its surroundings.

There had been two wooden cross members beneath the deck, both of which had been secured with screws through the top of the deck at some point: one across the gap between the two locker openings, and the other along the forward edge. Both were in poor condition and obsolete, so I removed them.
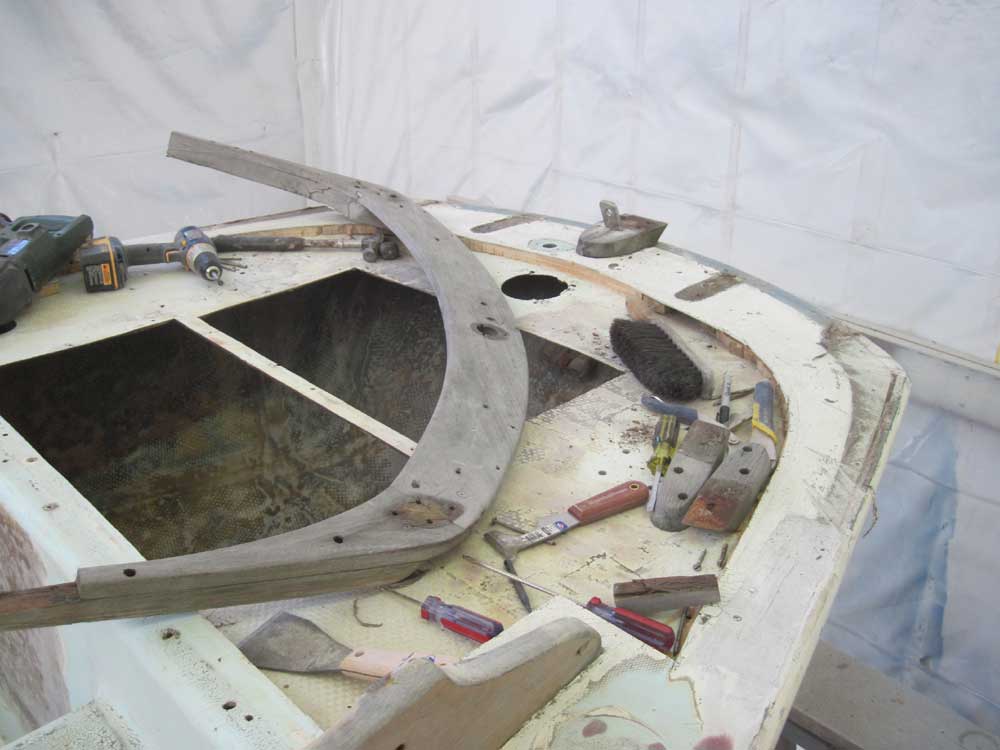
When I opened the top of the deck during yesterday's session, I'd cut the after end inside the edges of the existing taffrail, which the original plan called for leaving in place. The damaged core and debonding continued well beneath this cut edge, however. I assessed the taffrail and how it was attached, and decided it'd be less work to remove the taffrail now that it'd be to try and continue to work around it now and going forward; plus, it was clear that I could remove the taffrail in one piece without damage.
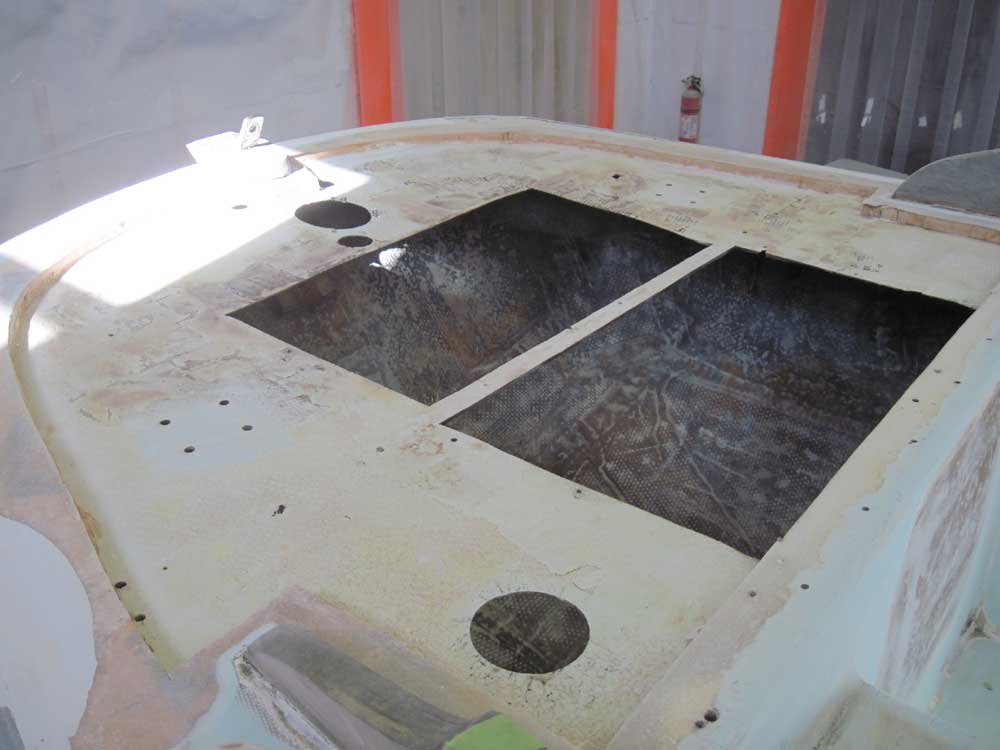
So I carefully removed a number of bungs and screws, and removed the taffrail and all but the centermost support block, which incorporated the backstay chainplate and would stay in place.
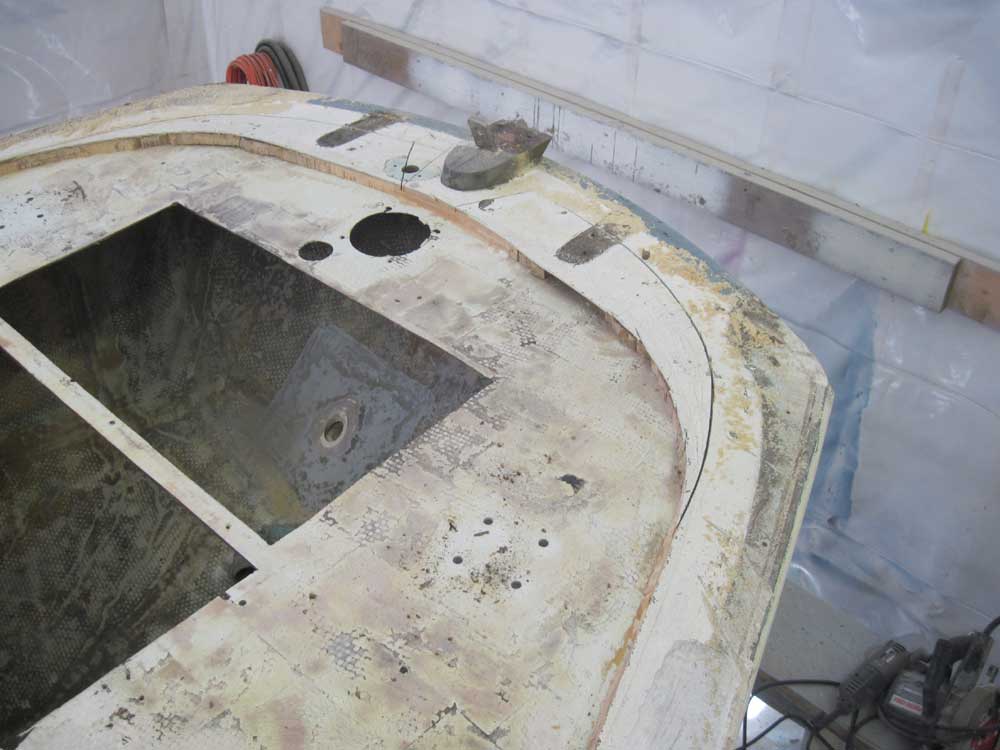
With the taffrail set safely aside, I widened the cut area at the aft end of the deck by a few inches, and removed the skin and core. Then, I sanded the inner skin to remove remnants of core and damaged material, and ground tapered areas along the edges of the cut areas to allow tie-in with the new fiberglass when I rebuilt the deck.
Total Time Billed on This Job Today: 6.75 hours
