
110 Cookson Lane | Whitefield, ME 04353 | 207-232-7600 | tim@lackeysailing.com
Among the long job list to bring the boat to completion were a number of small individual jobs, all of which needed to get done but which weren't part of a larger overall momentum. These can be the most challenging to complete sometimes, as each small job seems to require its own setup and preparation time, so I made this relatively short list of small punch list items my priority this week. Since some of the larger projects were briefly on hold pending an upcoming meeting with the owner, it was the perfect time to cross off some lesser items.
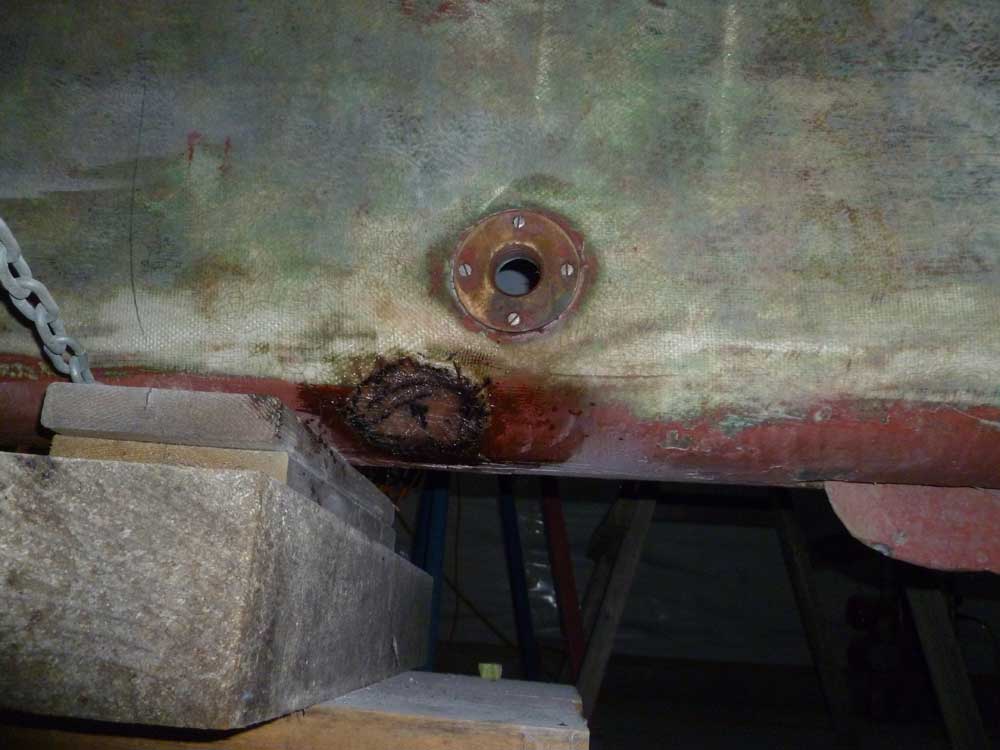
There were a few fiberglassing jobs, each distinct but related to one another. There were two holes I needed to patch: the old instrument through hull just above the keel at the turn of the bilge on the starboard forward side, and a small hole I'd drilled through the keel much earlier, to assist cleaning and draining the main bilge sump.
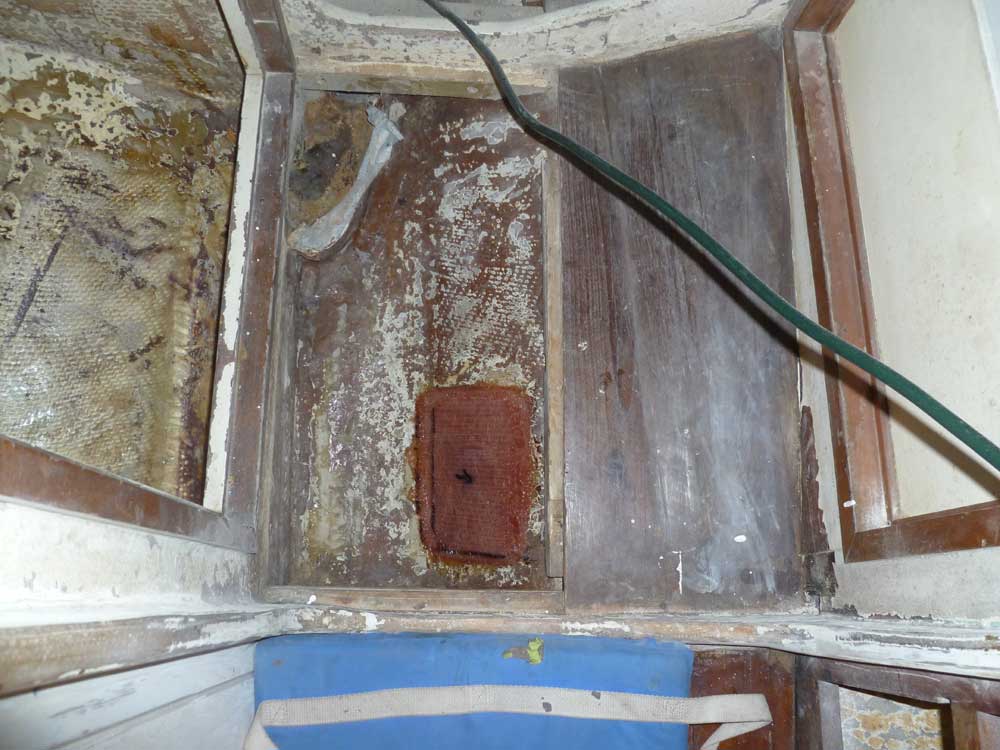
I'd already ground out a recessed area on the exterior of the hull around the larger through hull, and now repeated the process on the small drain hole. Inside the boat, in the passageway next to the head, I sanded the hull in way of the through hull opening to remove old adhesive from the wooden backing block and otherwise prepare the area for the next steps. With a drum sander, I cleaned out the inside of the hole to remove old sealant and other contaminants.
After masking over the opening from inside, I filled the hole with a thickened epoxy mixture, then patched over the entire area from outside with three layers of biaxial fabric. A bit later, I removed the tape inside and applied two layers of fiberglass to complete the repair.

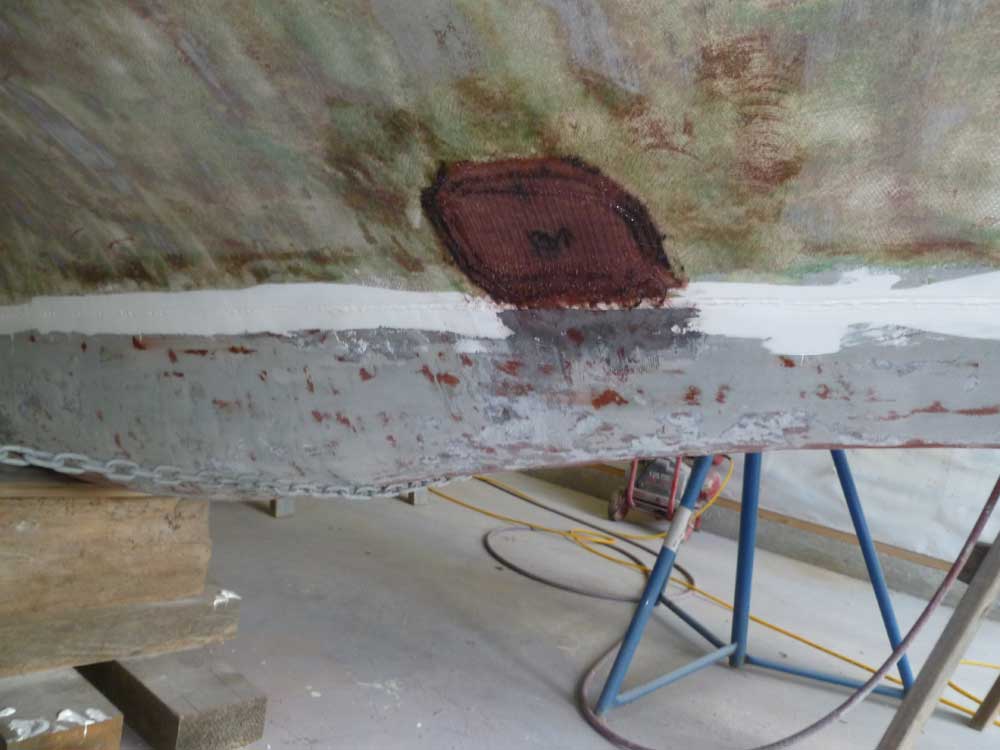
I cut three ovoid sections of fiberglass and, after filling the hole with thickened epoxy, installed them on the small keel drain hole with epoxy resin.
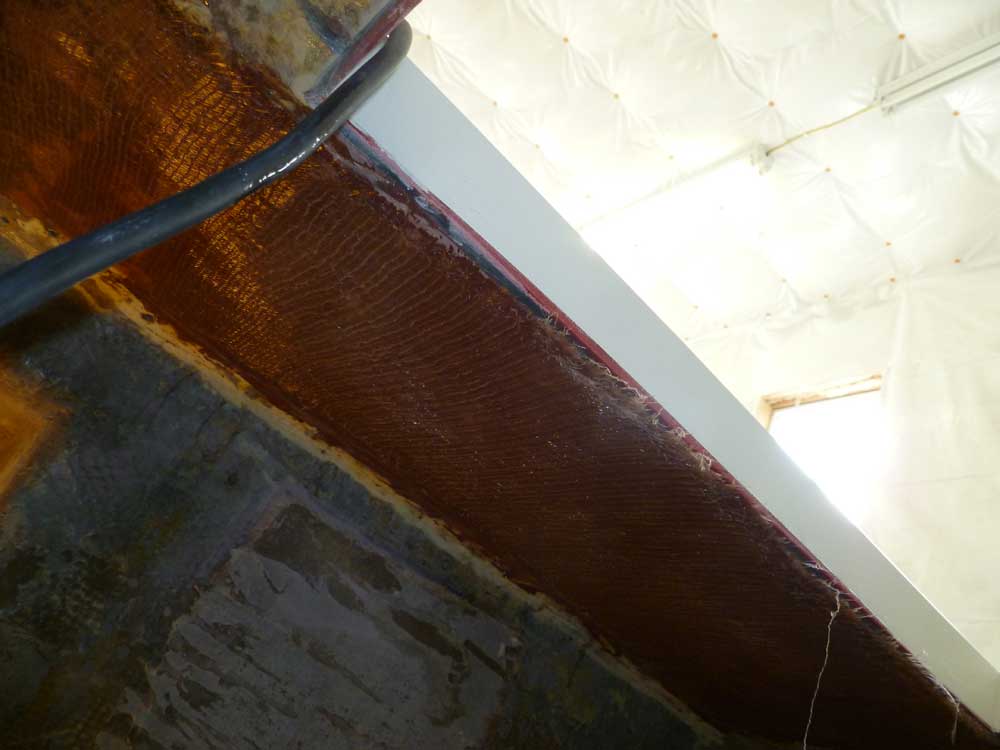
When I rebuilt the poop deck last year, I'd covered over two old openings in favor of creating one new hatch. At the forward end, there was a short space where the old opening was still exposed from below; I'd glassed and installed core from above over a simple plywood mold beneath the opening at the time, and now the area on the underside of the deck required an additional layer of fiberglass to better tie the whole repair in with the surrounding areas.
Access to this space was difficult, but I could get in through the new locker opening. To begin, I sanded the whole area, then, after cleanup, applied a light coat of fairing compound as needed to fill a few voids and make the area better prepared for fiberglass. While the epoxy was still tacky, I wet out and installed a layer of biaxial fabric, extending it beyond the patch and onto the adjacent original laminate.
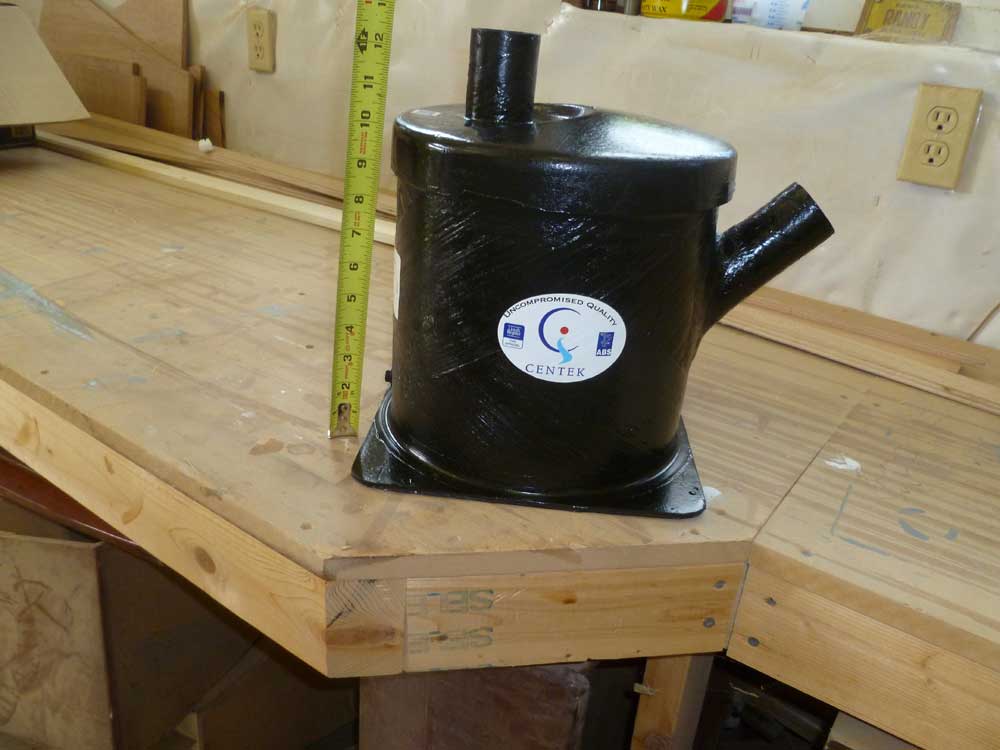
I received a large order of supplied I'd placed last week, among them a fiberglass waterlift muffler that I hoped to install. Unfortunately, it was far too bulky to work in the space available, so I'd have to return it and order a different one. I had hoped that the inlet design of this particular model would allow an easy connection to the engine exhaust hose, but there simply wasn't the clearance given the overall size of the unit. Fortunately, there were several less bulky alternatives.
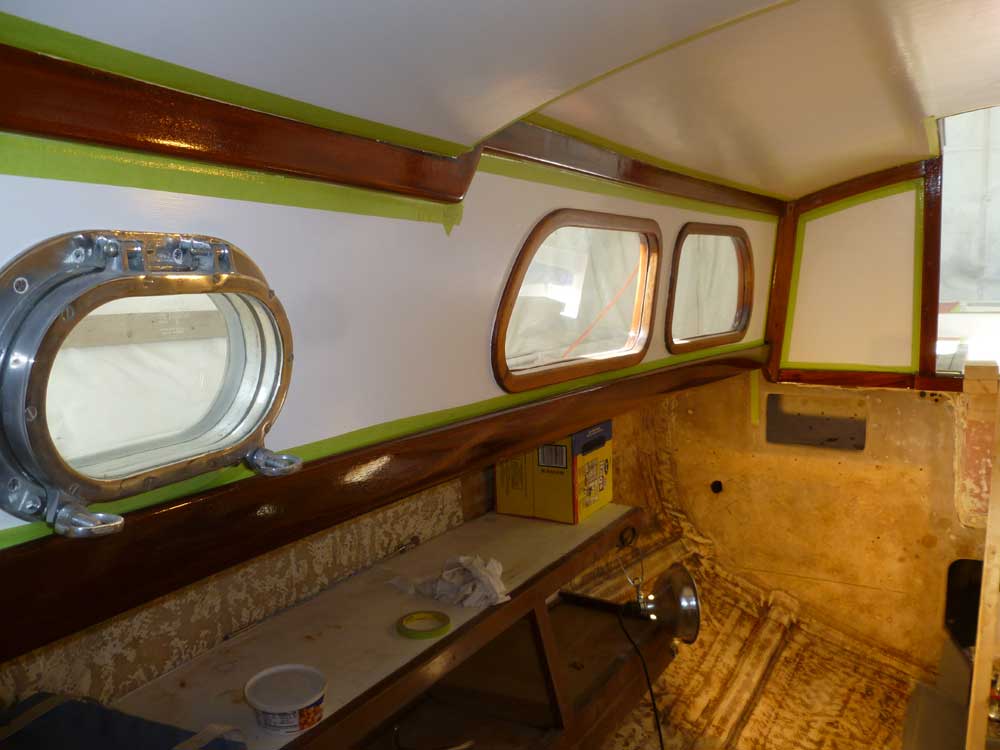
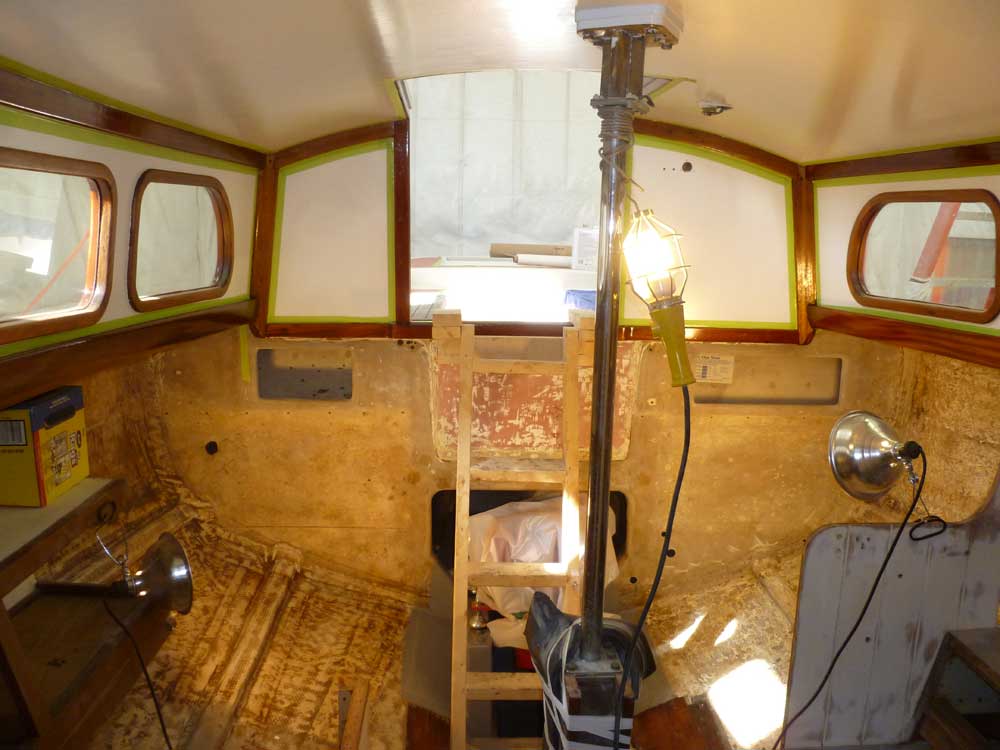
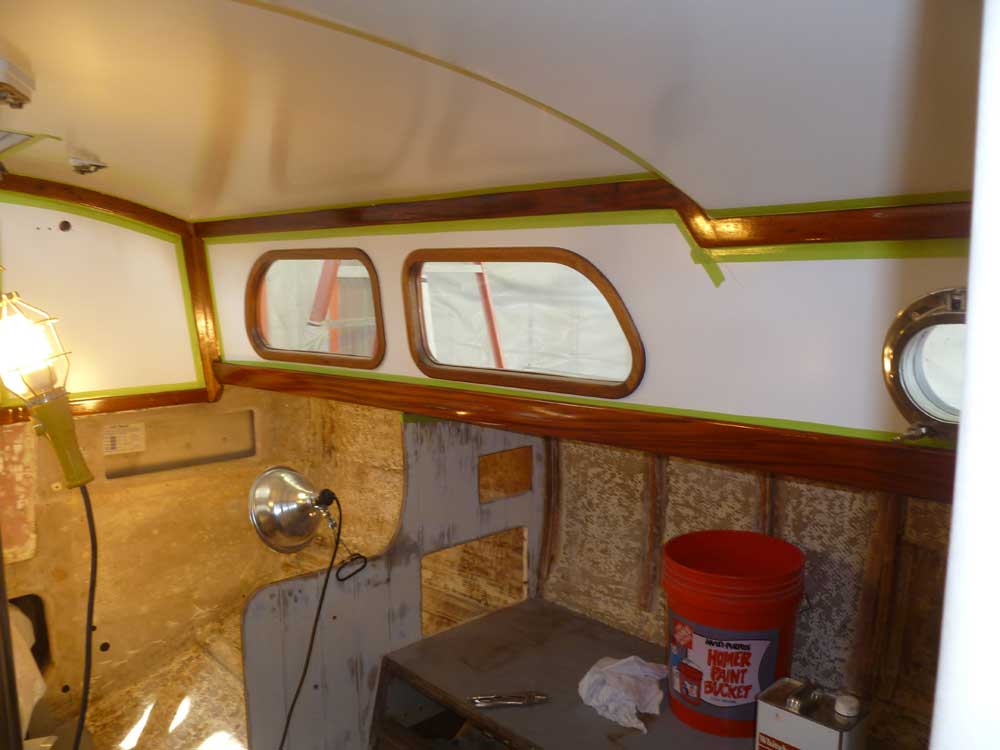
Finally, I sanded, solvent-washed, tacked, and revarnished the interior woodwork on the cabin trunk and overhead.
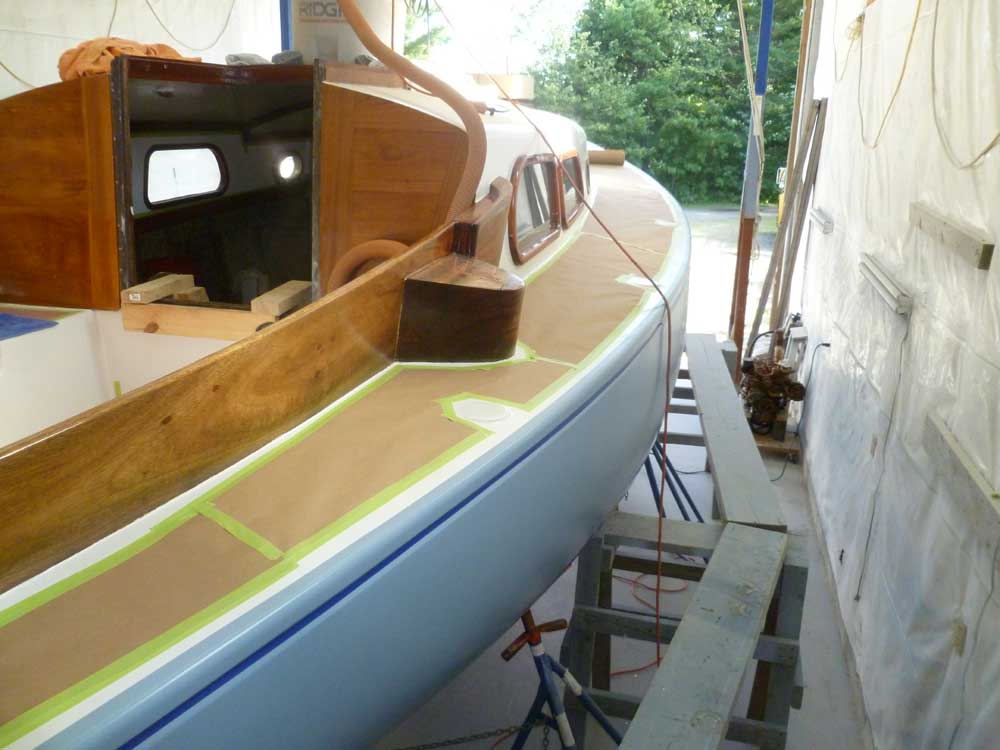
With a few minutes left in the day, I applied more protective paper--newly on hand--to the port sidedeck and foredeck.
Total Time Billed on This Job Today: 7 hours
<Previous | Next>
