
110 Cookson Lane | Whitefield, ME 04353 | 207-232-7600 | tim@lackeysailing.com
It seemed like a good time to measure for the new shafting, so I could get that ordered and hopefully installed sooner rather than later, while access to all aspects of the engine was as good as it'd ever be.
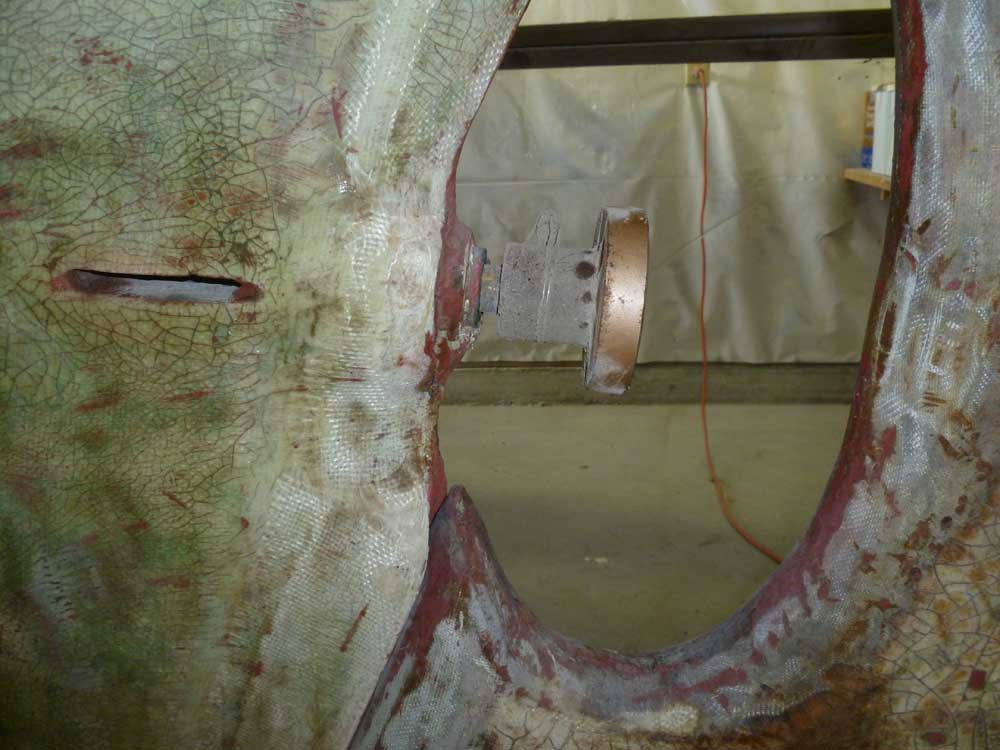
I inserted the old propeller shaft backwards through the stern tube (it still had the old coupling on the end), and inside the boat I ensured that the end of the shaft was pressed directly against the transmission hub. Then, outside the boat, I made a mark on the shaft where it exited the hull/Cutless bearing, and took photos for future reference should it be necessary.
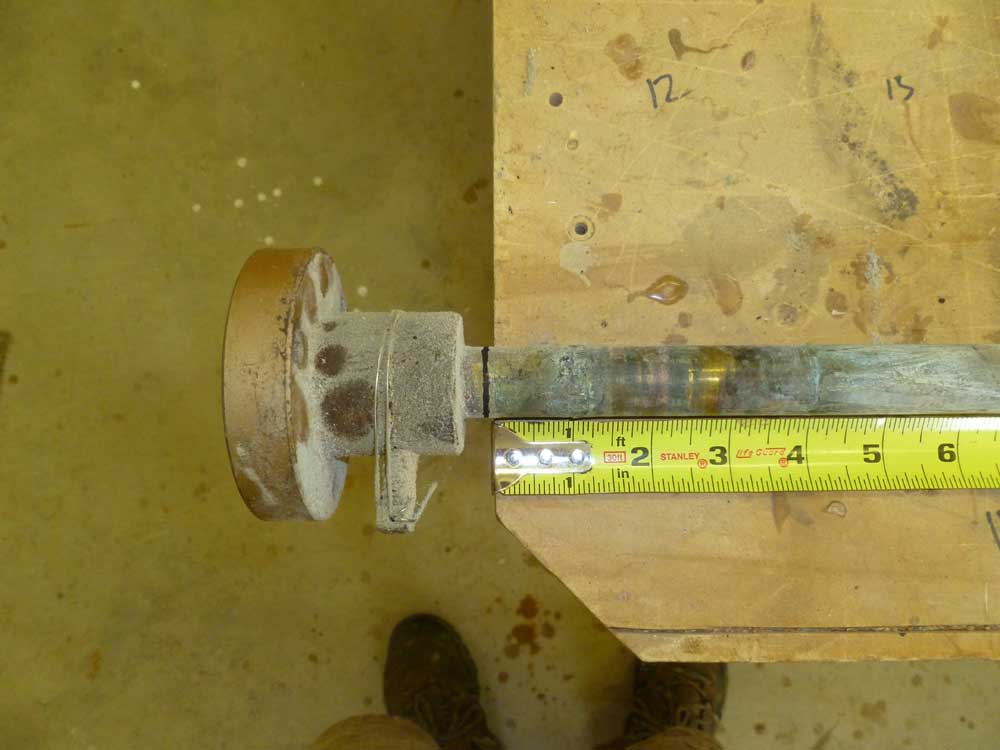
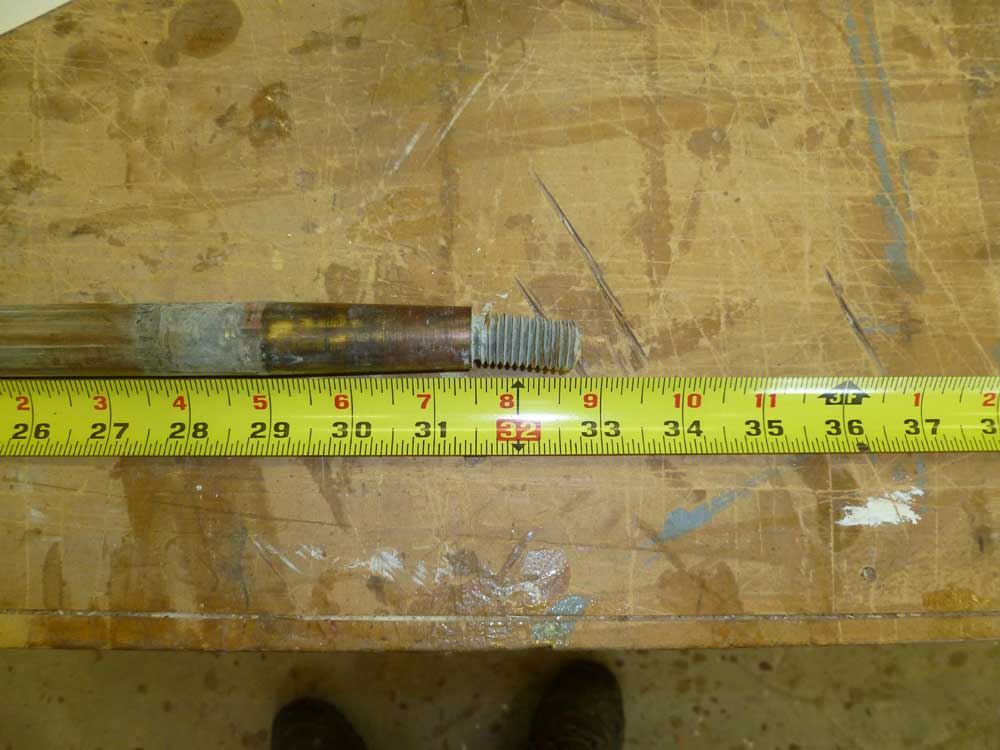
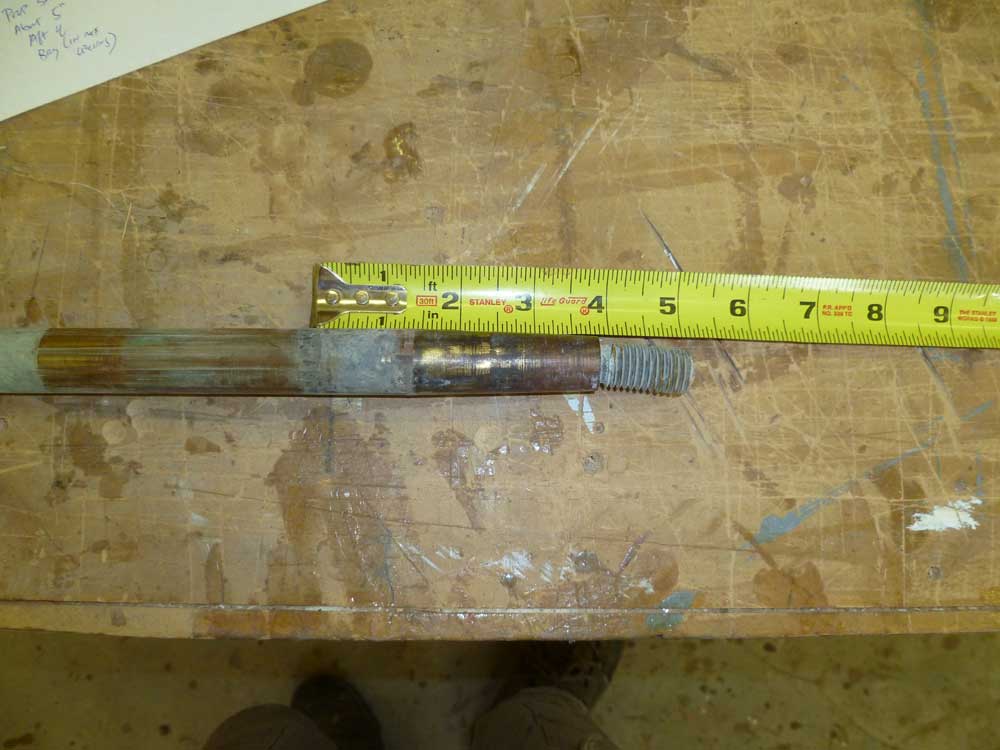
From here, I measured the length of the shaft to my mark: 32.75". The old shaft had extended 5" beyond the Cutless bearing, which was clear from the wear marks on the old shaft, so I added five inches to come up with the total shaft length of 38" (I rounded up). I'd deduct the appropriate length required for a Drivesaver or other similar coupling before ordering. I also noted the overall dimensions of the propeller aperture for future reference when ordering and sizing the propeller to ensure adequate clearance.
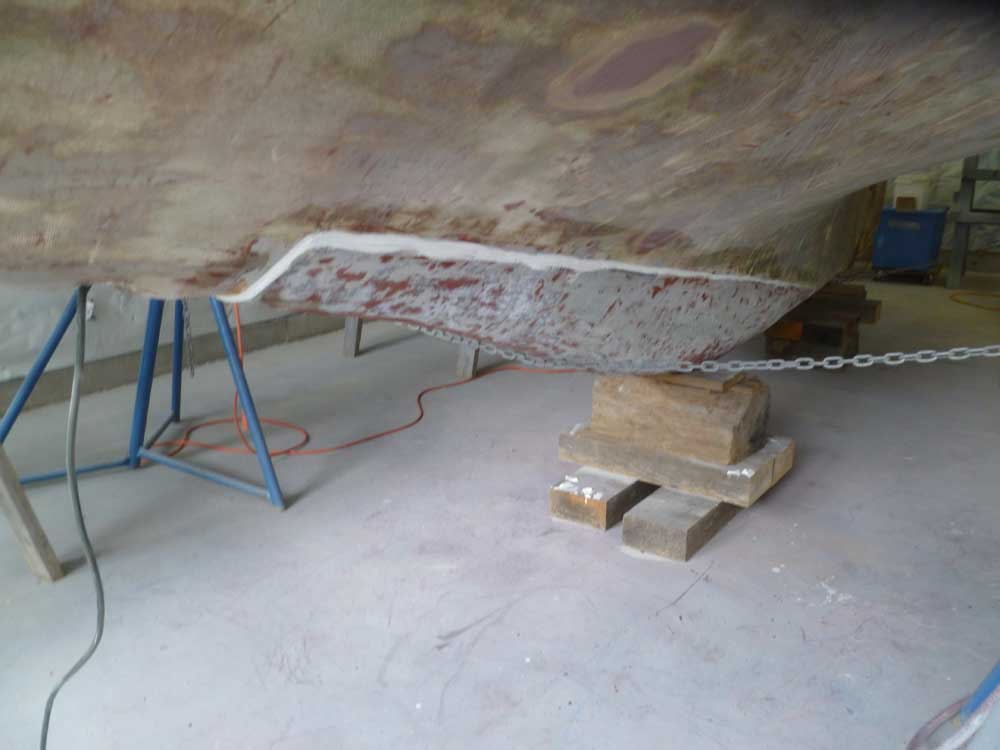
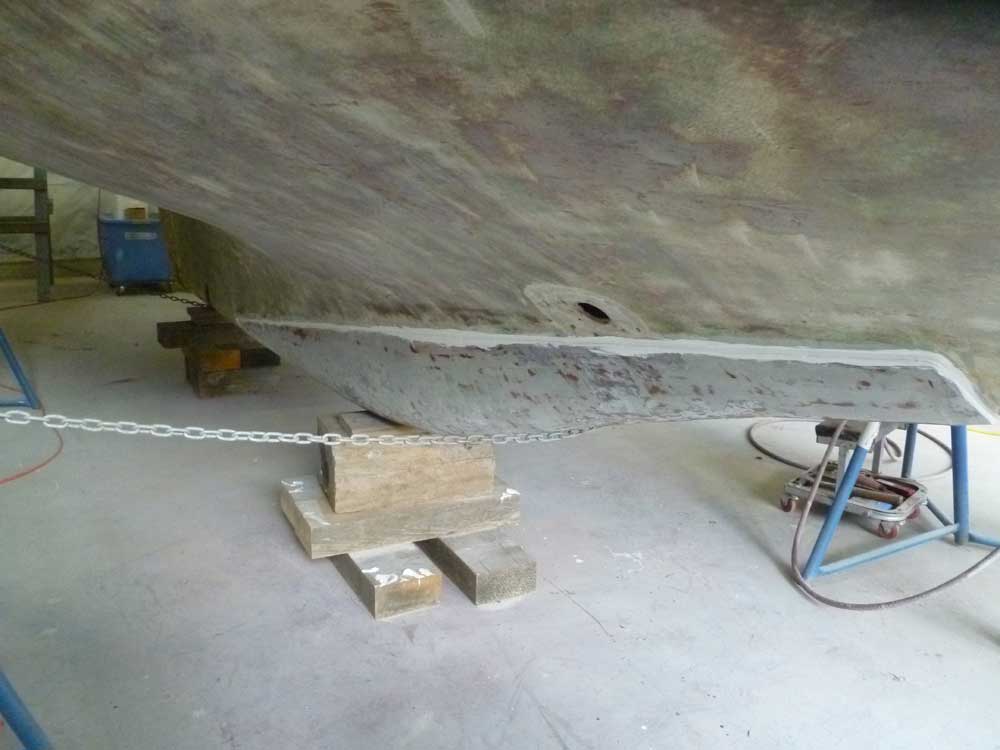
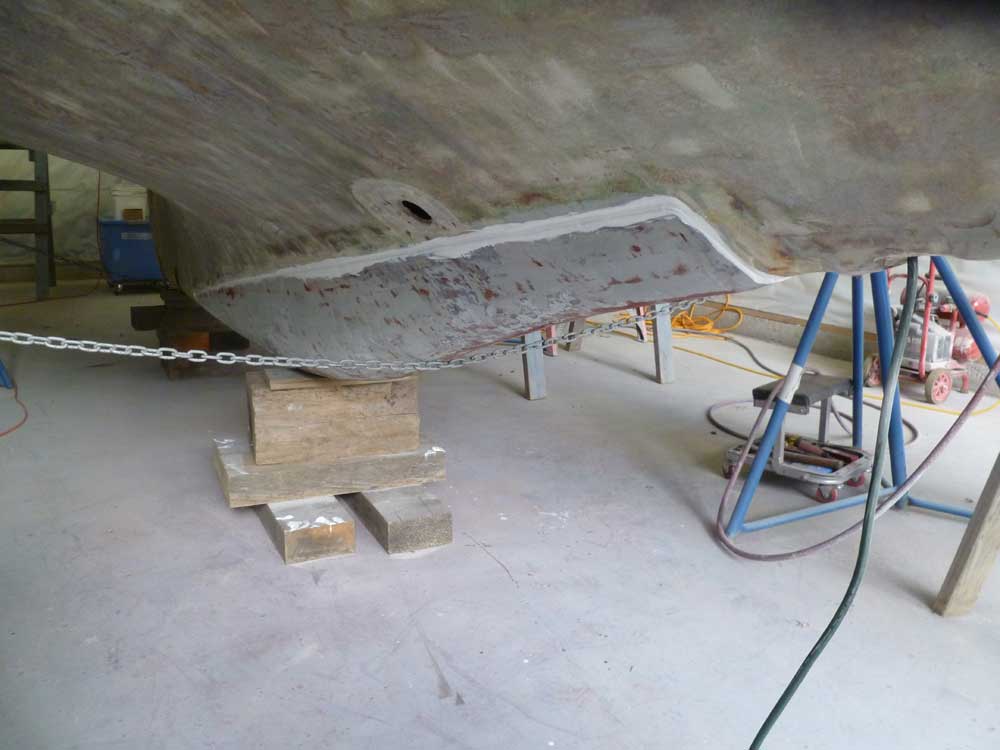
The seam between the external lead ballast and the hull was filled with aged caulking and generally in poor condition. The fit of the ballast against the hull had clearly never been precise, and over the years various attempts had been made to fill, fair, and cover this seam, leading to a general mess. With a reaming tool and a grinder, I removed the old caulking, sealant, and loose fiberglass and filler from some areas, and slightly opened up a V-shaped groove along the entire seam on both sides of the keel.
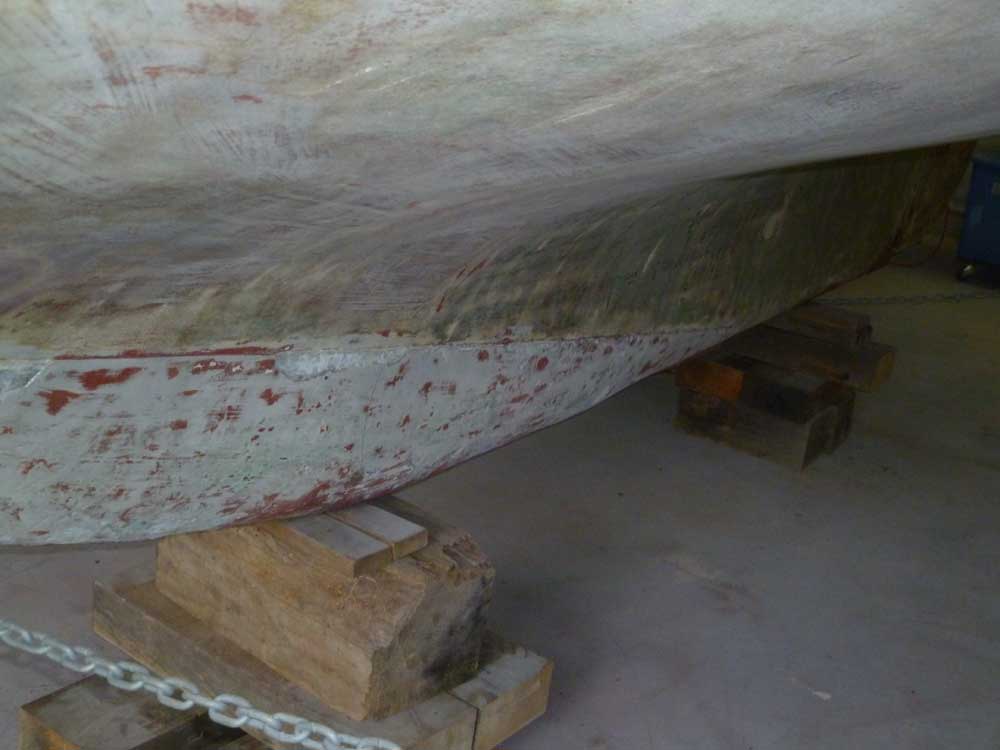
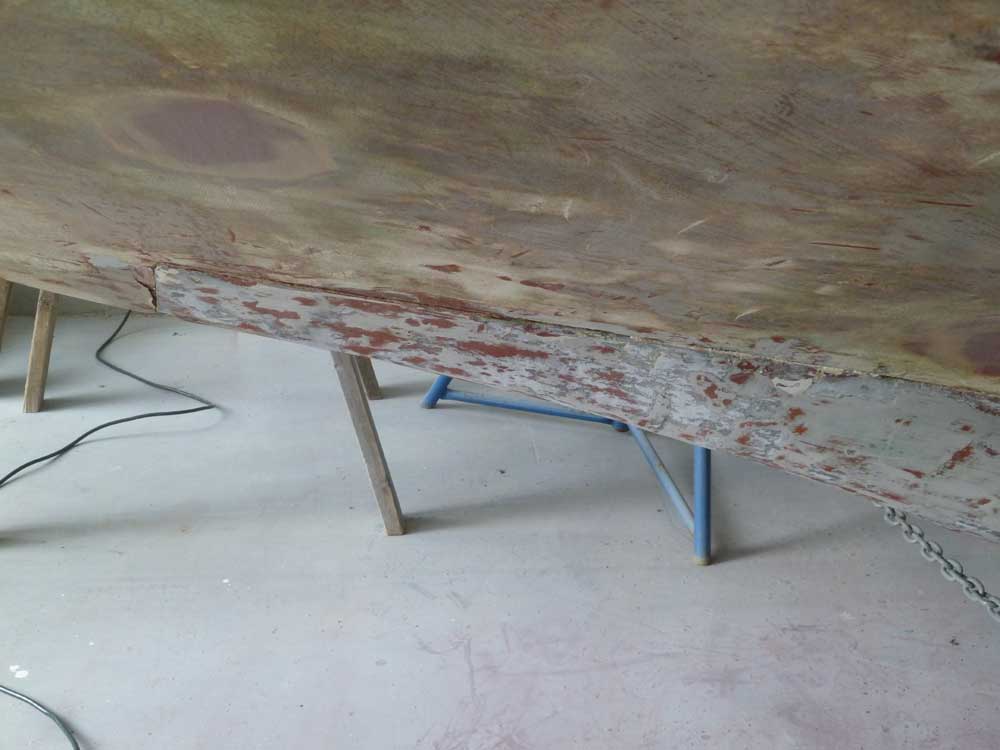
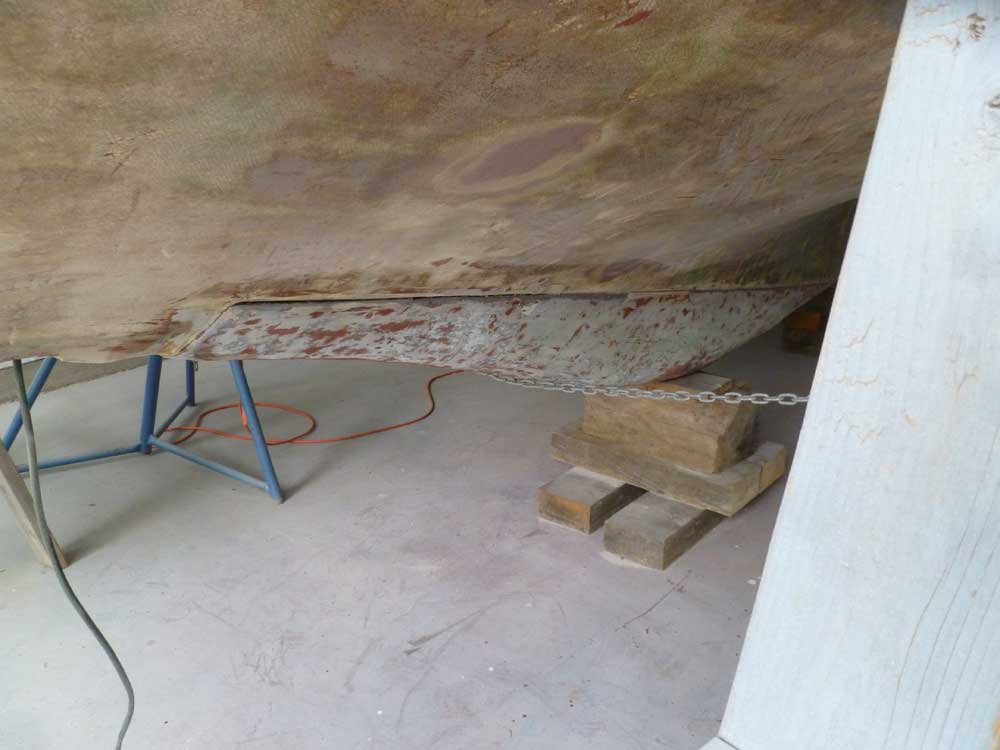
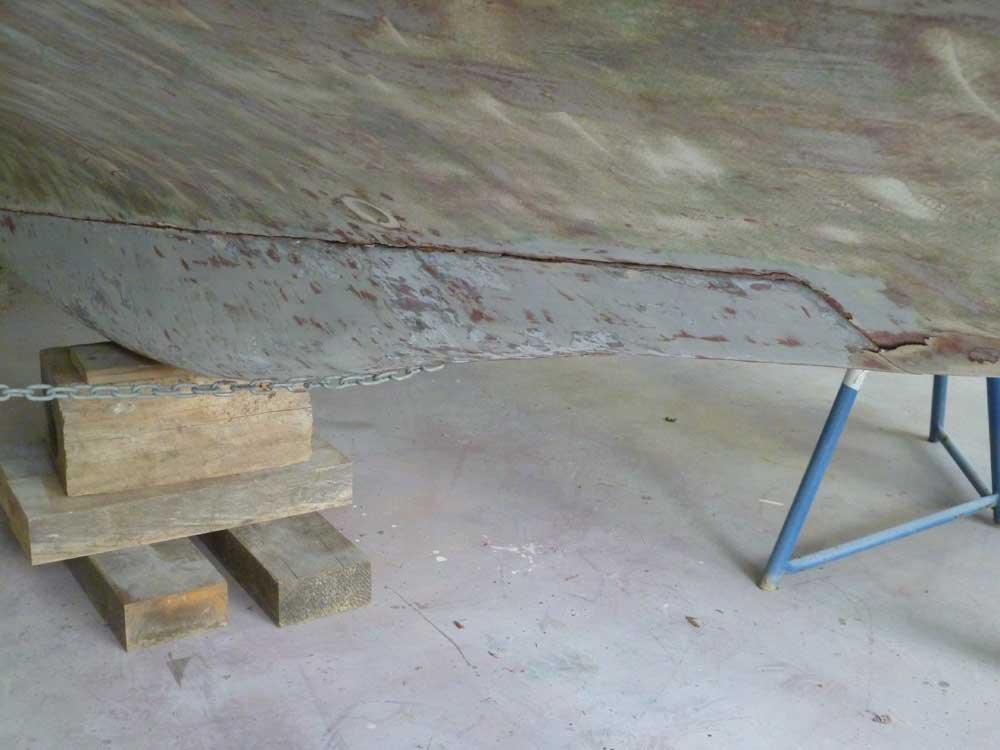
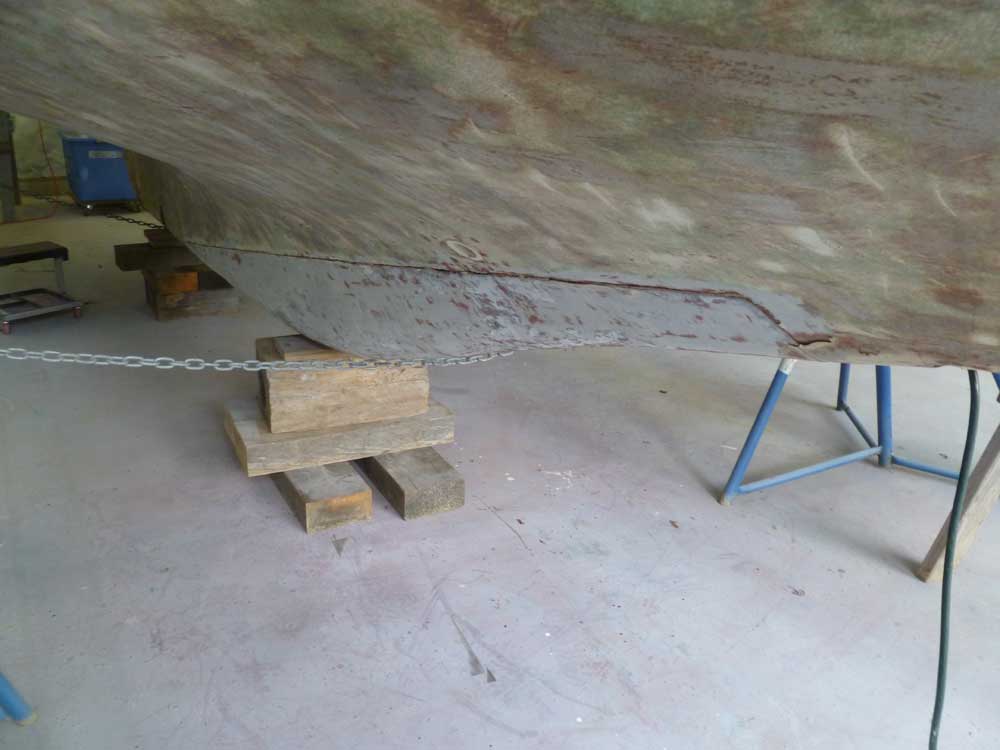
After cleaning out the seam, I applied a bead of 5200 sealant into the joint, using the caulking gun to force the sealant as far into the open seam as possible (where applicable). The joint was mostly open at the very forward end, where it appeared the shallow depth of the lead pig obviated the use of keel bolts; from inside, it appeared the first keel bolt was somewhat aft of this (the bolts were covered and encapsulated in fiberglass). After smoothing the 5200 with my finger, I left the seam to cure for a couple days before I'd continue working on it.
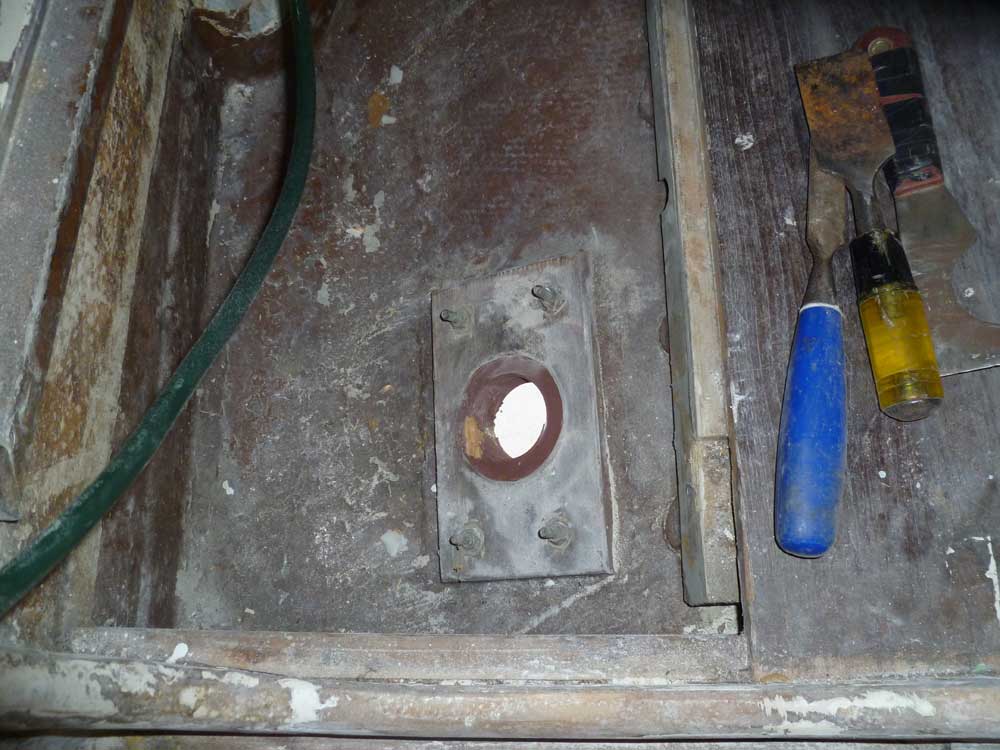
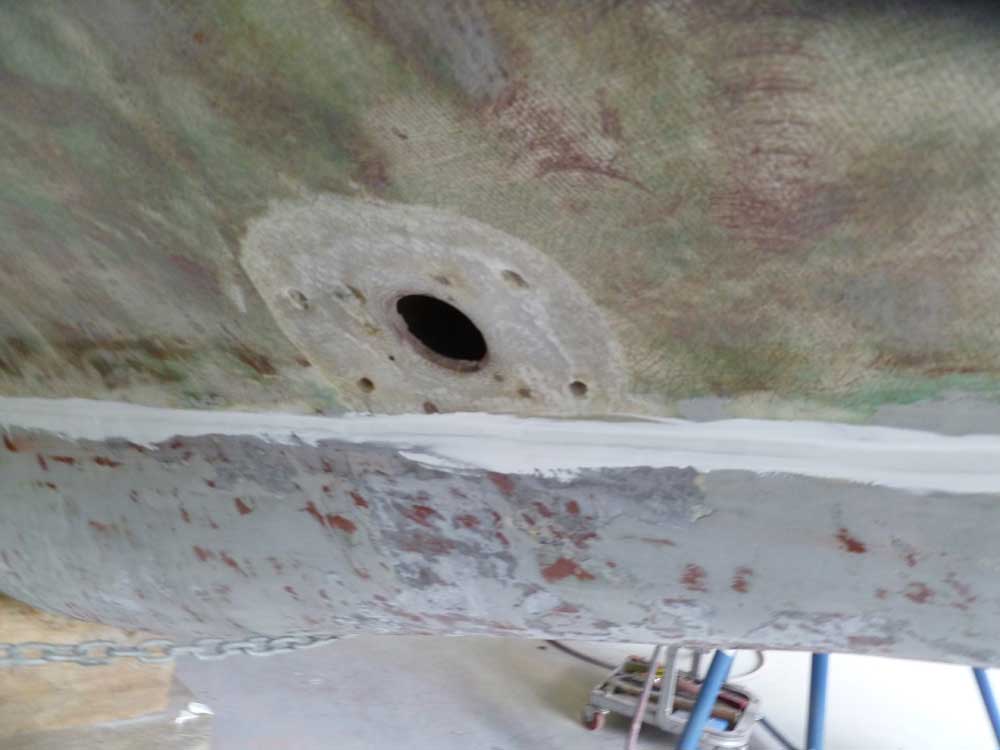
As part of the same process, I removed the remnants of a plastic through hull from the garboard (it had been a knotmeter with a removable impeller). I removed a wooden backing block from inside, and chiseled out the plastic fitting. Then, I ground a dished area around the through hull opening from outside in preparation for patching the hole. At the time I took the photos, I had yet to remove all the old sealant from within the hole, which I'd do before filling and patching.

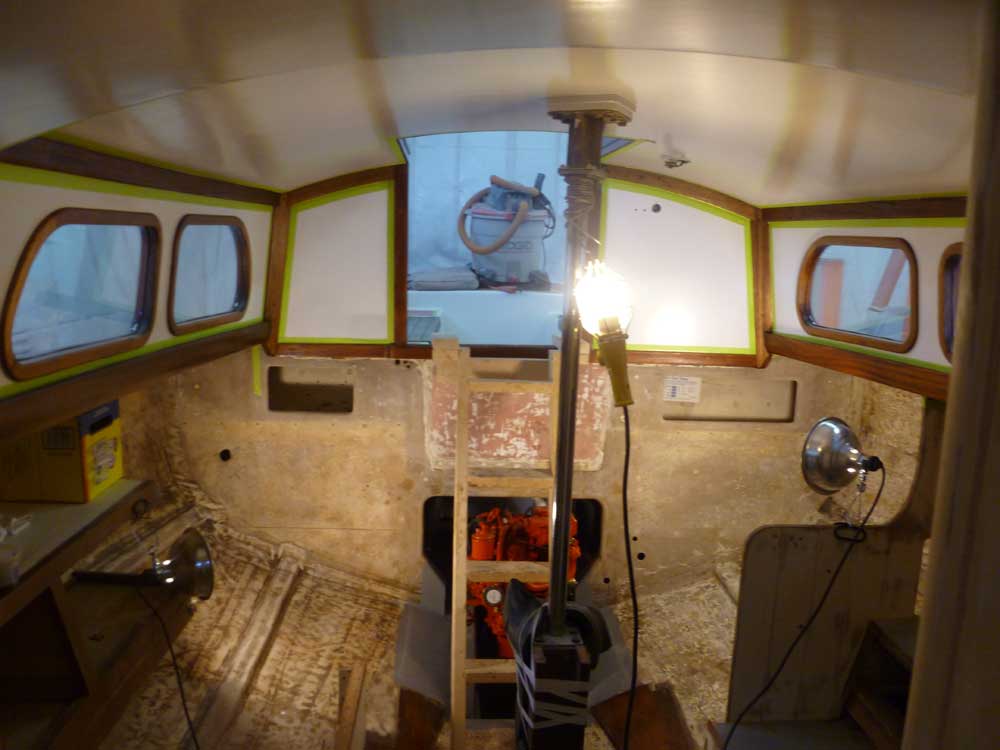
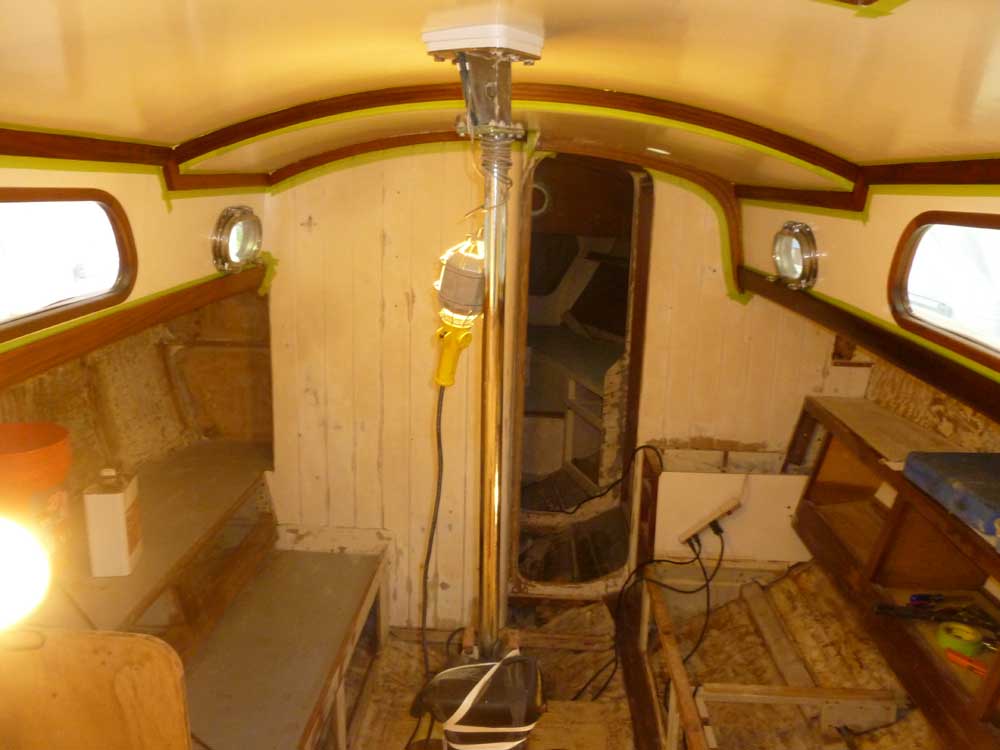
There was abundant interior work ahead, but for the moment there were a number of layout questions and other choices that the owner and I would work through in the coming weeks. However, there was work I could continue, and first on the list was to varnish the mahogany trim on the cabin trunk and overhead, which I'd stripped and prepared during the work of Phase I of the project in 2010. The adjacent surfaces were painted and complete, so to begin I masked off all the trim as needed.
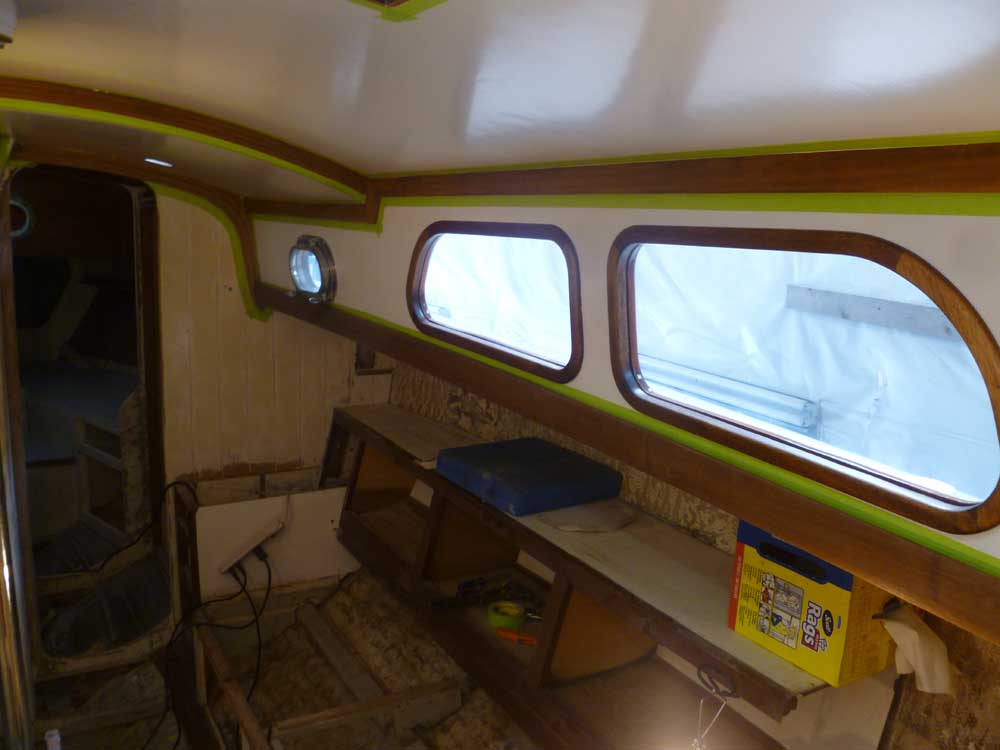
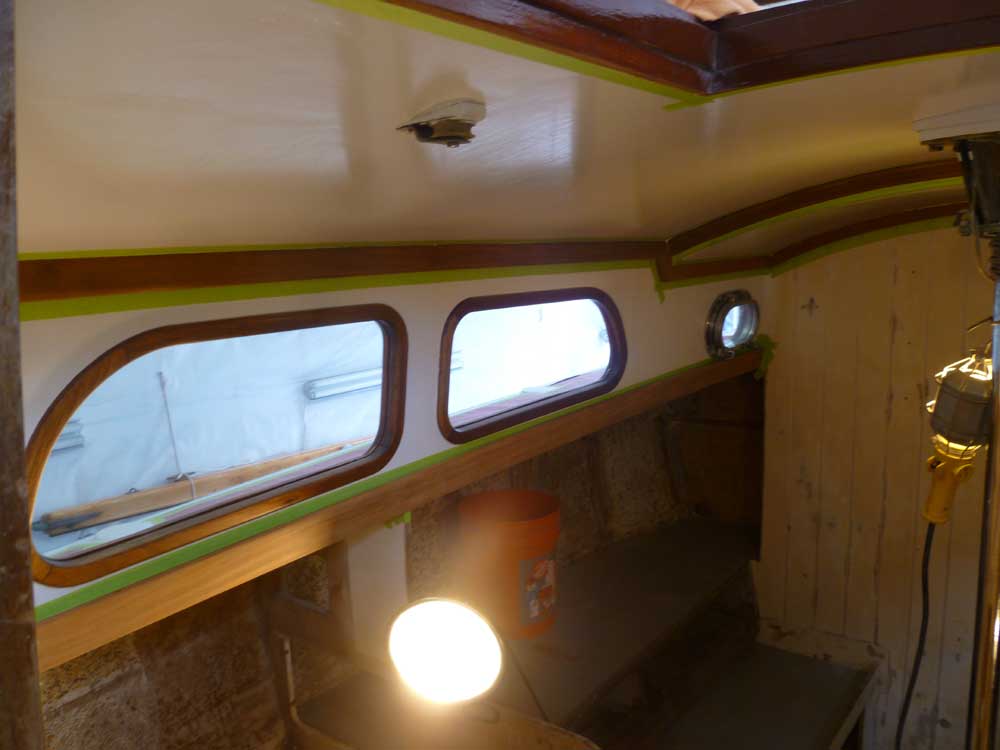
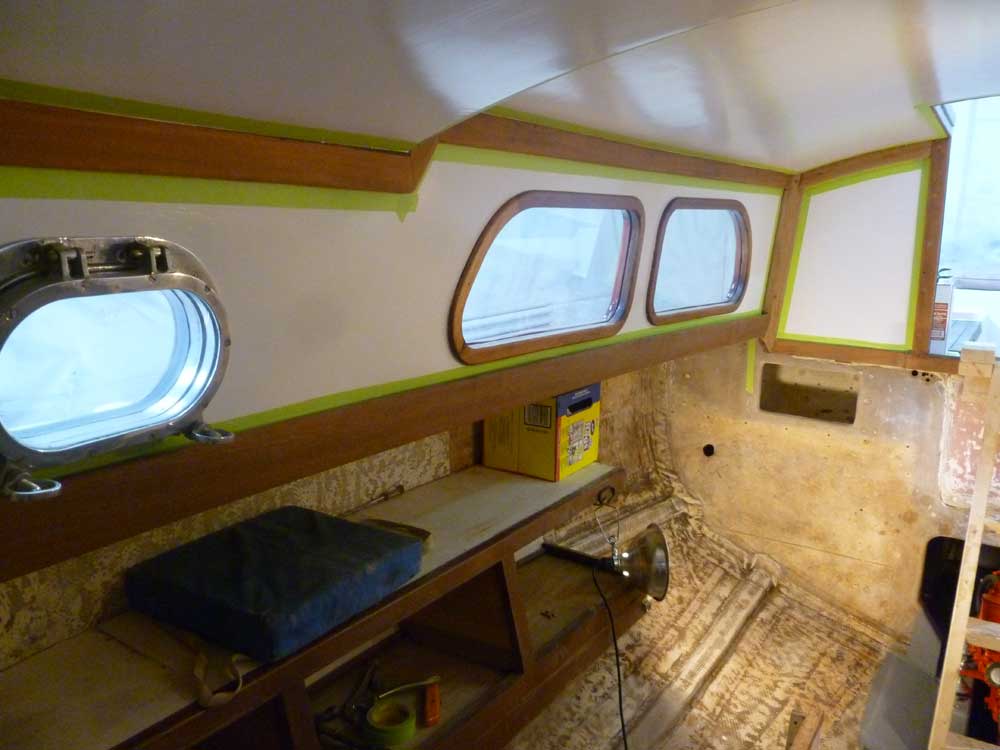
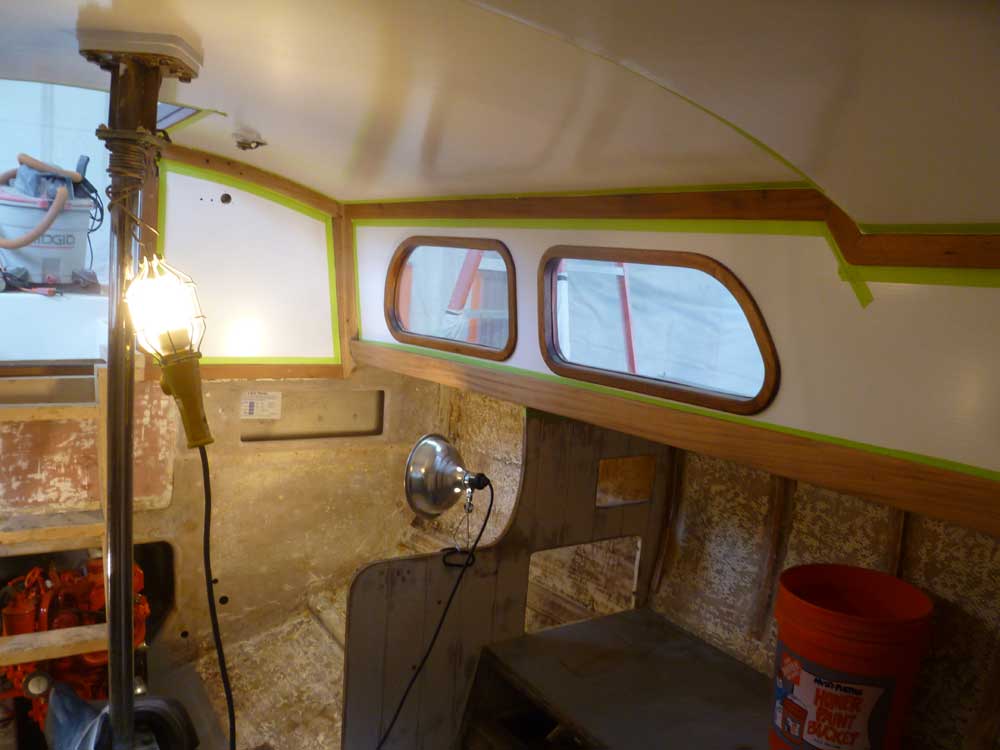
After solvent-washing the bare wood, I applied a thinned-down sealer coat of varnish.
Total Time Billed on This Job Today: 6.75 hours
<Previous | Next>
