
110 Cookson Lane | Whitefield, ME 04353 | 207-232-7600 | tim@lackeysailing.com
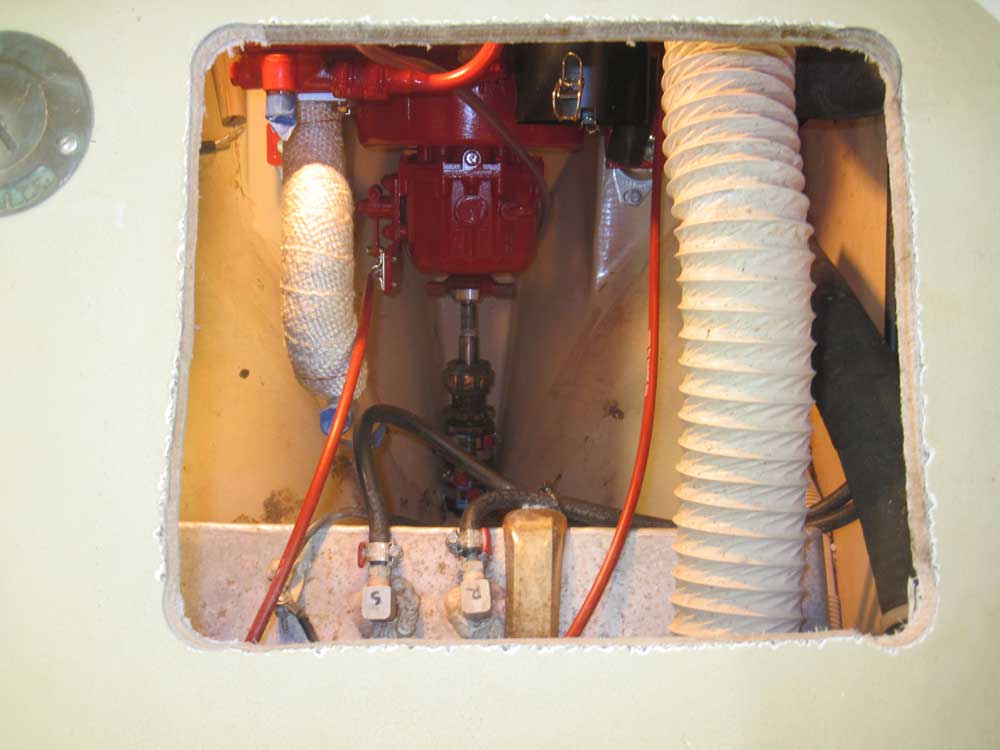
During a weekend phone conference, the owner and I decided, at my suggestion, to install a hatch in the cockpit sole to allow access to the aft end of the engine, stuffing box, shaft coupling, and other areas. I'd refrained from suggesting this till I had the engine in place so I could better determine the true need of the access hatch, though given the difficulty in removing the old engine without it it had always seemed likely.
With the decision made, I chose the hatch model that would fit in the space available. There was an obstruction to port in the form of the waste tank deck plate, so I chose a smaller hatch and offset it to starboard. I made up a quick template to check the fit, then cut out the opening.
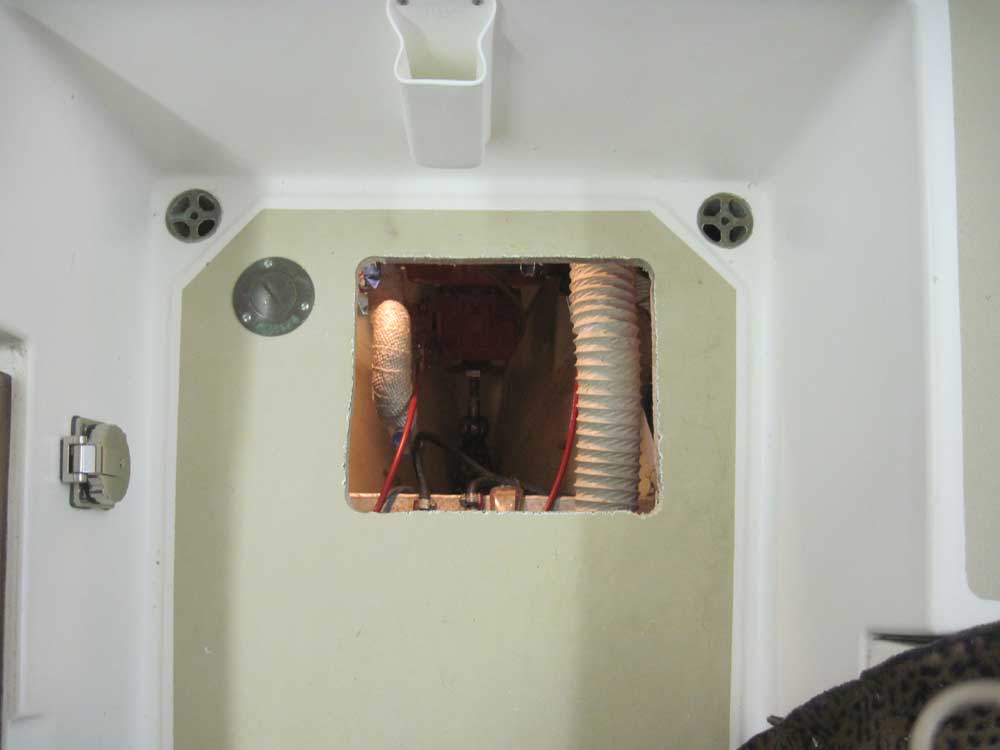
I dug out the core from around the opening in preparation for eventual filling to make the opening watertight, but otherwise left it alone pending the arrival of the new hatch later in the week, when I could confirm the fit and make adjustments before proceeding.
Portions of the final engine installation, specifically the alignment and, for the sake of access and convenience, the exhaust system, would have to wait till I obtained a new propeller shaft. With the engine now in place, I could measure for and order the new shaft, which I did as soon as I'd cleaned up from cutting the hatch. With the short holiday week and normal lead time, I doubted I'd see the new shaft for a couple weeks.
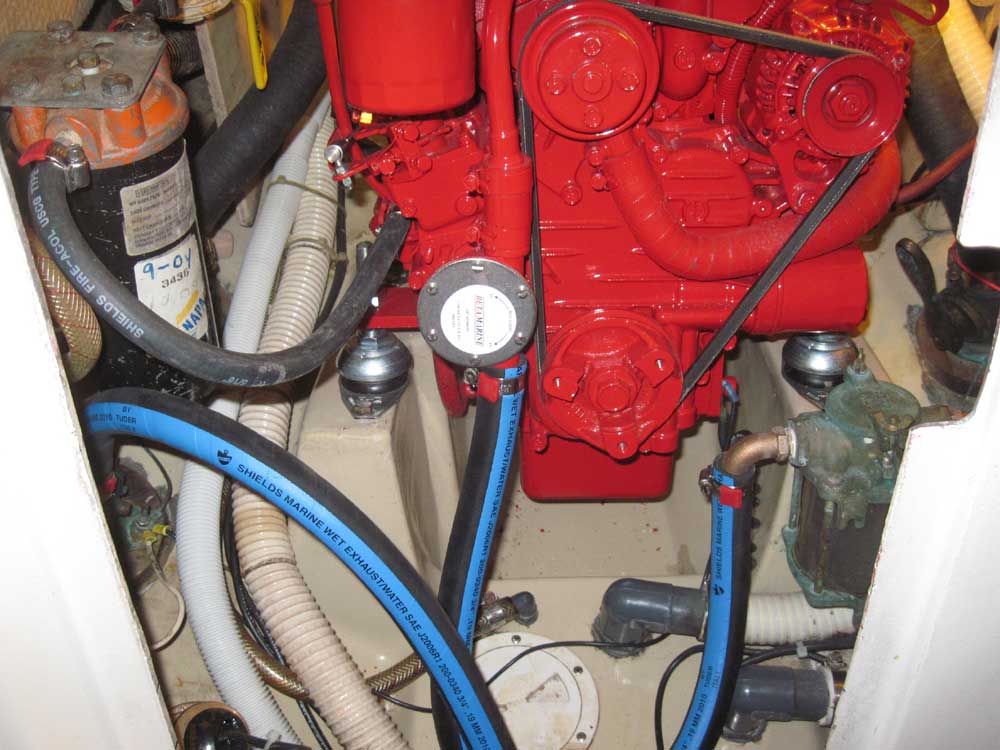
In the meantime, I worked on making up the other connections to the engine as necessary, beginning with the battery cable connections to the engine ground and starter solenoid, a relatively simple matter of connecting the existing cables to the appropriate studs. Earlier, before installing the engine, I'd prepared for this by loosening the nuts and bolts to make the chore easier.
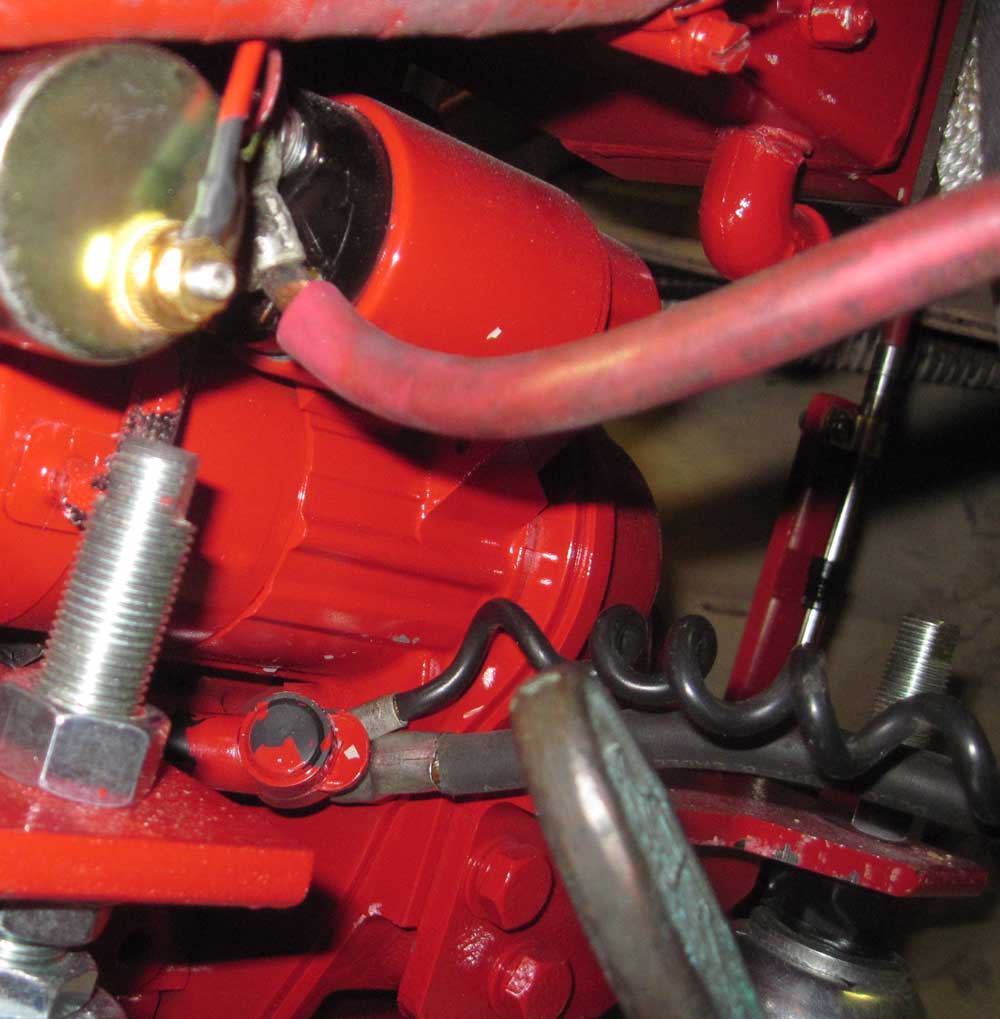
I wrapped up the fuel system installation by cutting to length and connecting the return line, and installing a short length of hose between the fuel filter and engine supply.

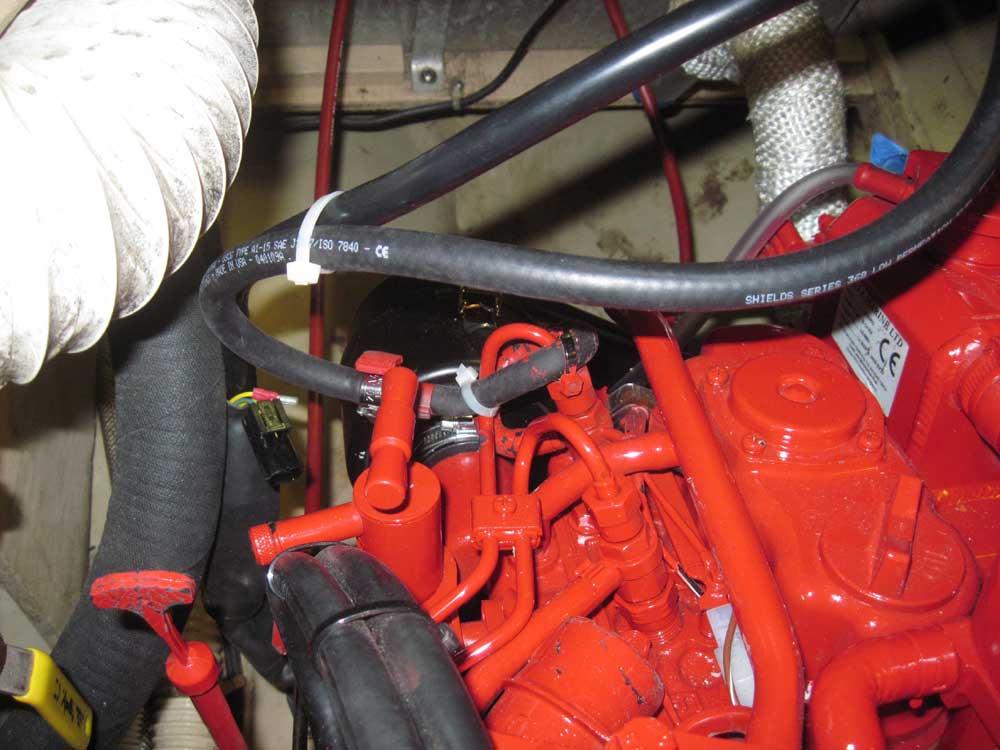
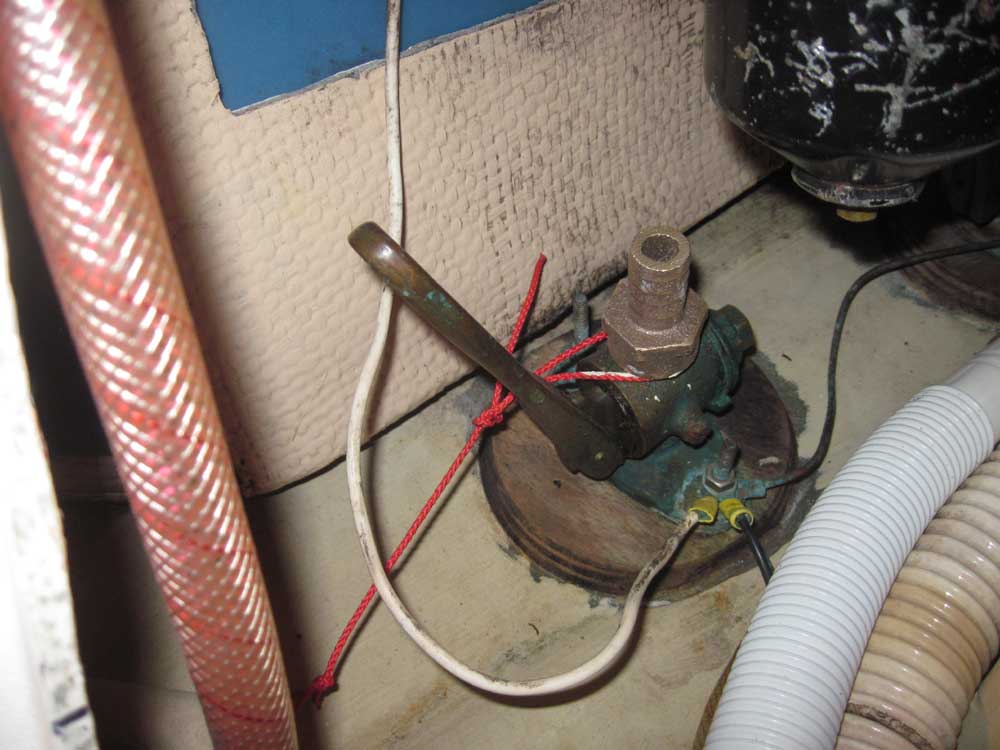
I installed a new tailpiece on the engine raw water seacock to accept the 3/4" hose (the seacock was 3/4", but had been equipped with a smaller tailpiece originally), and installed new 3/4" 90° fittings on the original raw water strainer.
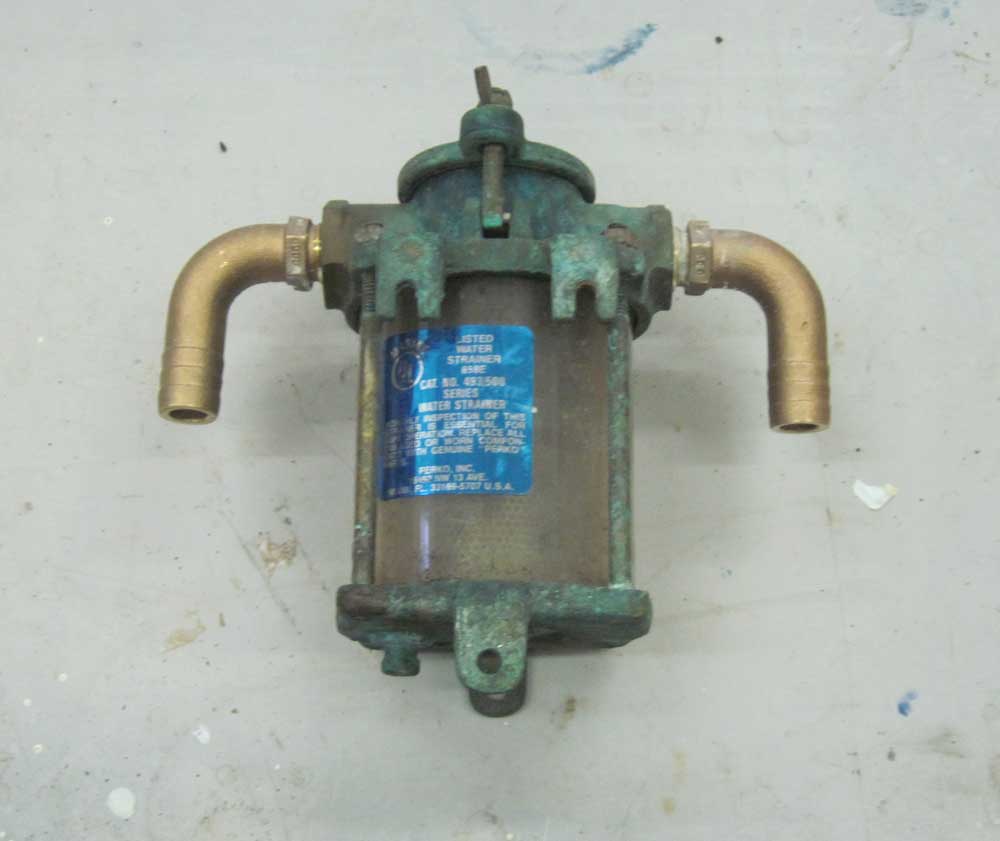
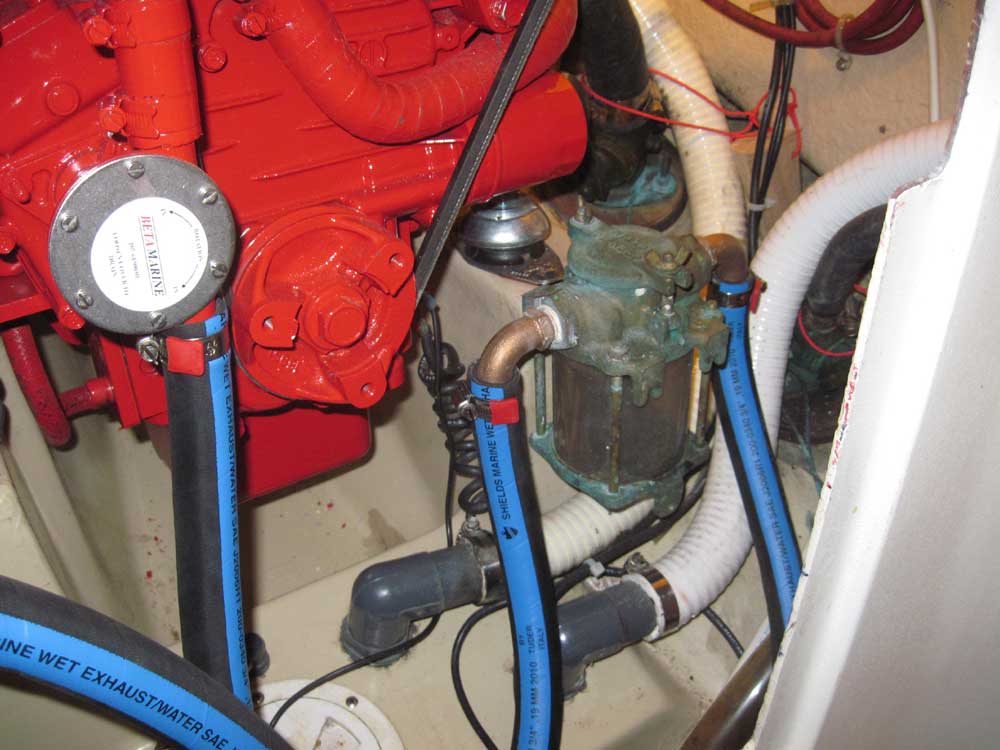
This complete, I secured the strainer to the forward end of the port engine foundation, where it had been originally installed, and ran new 3/4" hoses as necessary to complete the raw water system.
I had all the components for the exhaust system ready to go, but since the system would be supported atop one of the engine mounting studs, I had to wait to continue till I'd made the final engine alignment adjustments. With the new cockpit access hatch, however, this job would hopefully be quick and easy when the time came.
During another pressure test on the kerosene heater system--this time with the tank full--I discovered a kerosene leak where the fuel line connected to the base of the heater. The flare fitting was tight, but seeped kerosene. I'd have to dismantle that and see what I could to to stem the leak. The heater instructions did admonish that removal of the burner would lead to difficulty sealing the burner to the base, though I'd not understood why this should be so.
I spent the remainder of the day on a few additional odds and ends, lightly sanding and varnishing the stained ash ceiling in the starboard quarterberth, preparing for installation of a couple new bits of deck hardware, and miscellaneous engine-related installation work.
Total Time on This Job Today: 6.5 hours
