
110 Cookson Lane | Whitefield, ME 04353 | 207-232-7600 | tim@lackeysailing.com
Southerly | Monday, December 1, 2014
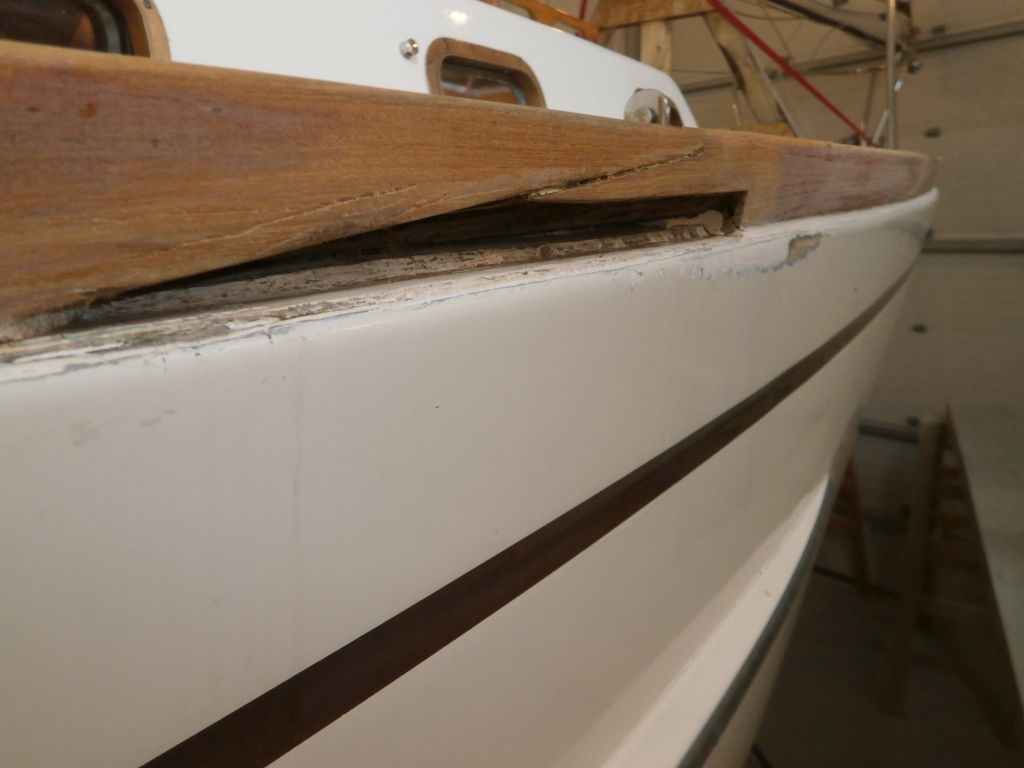
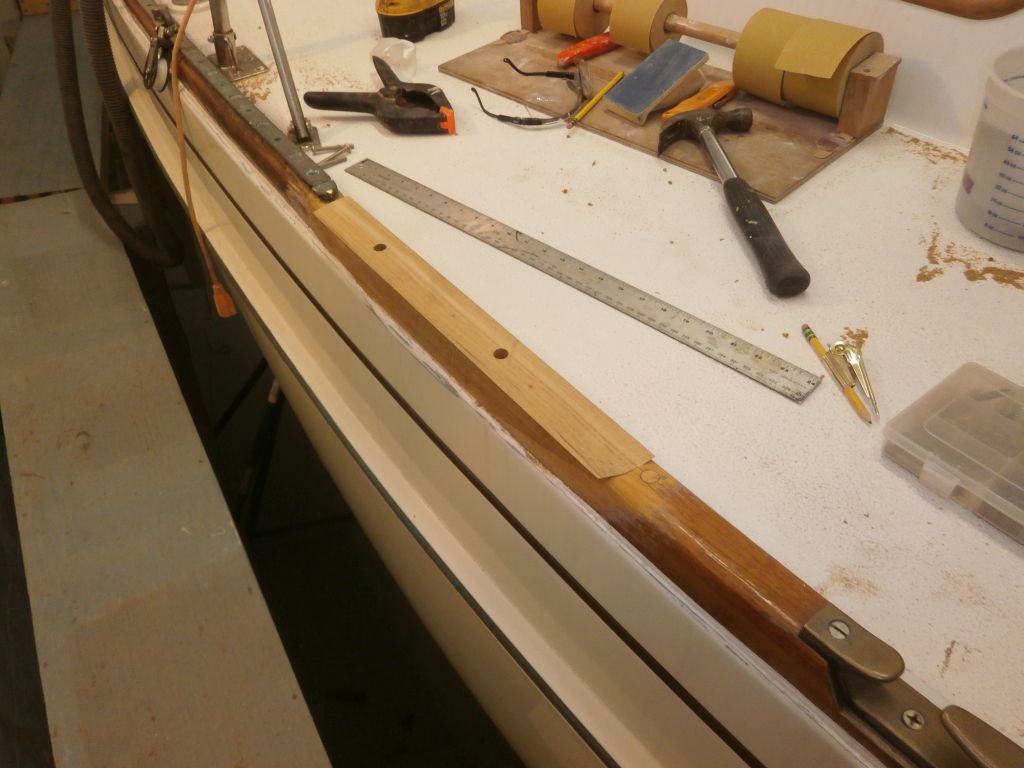
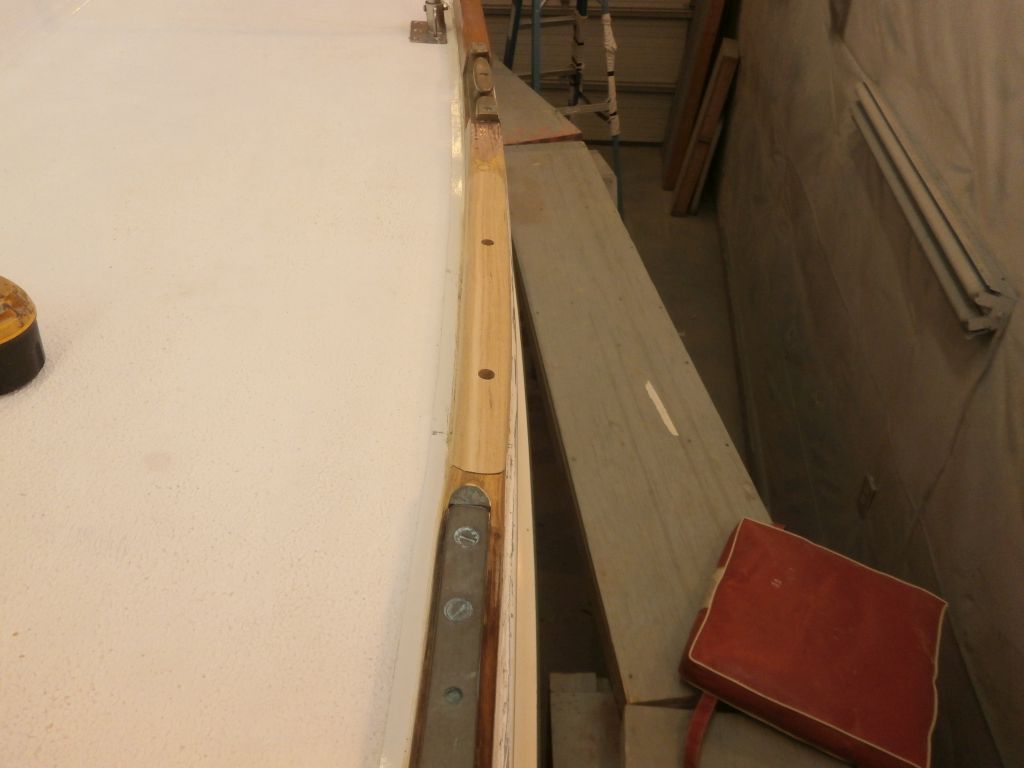
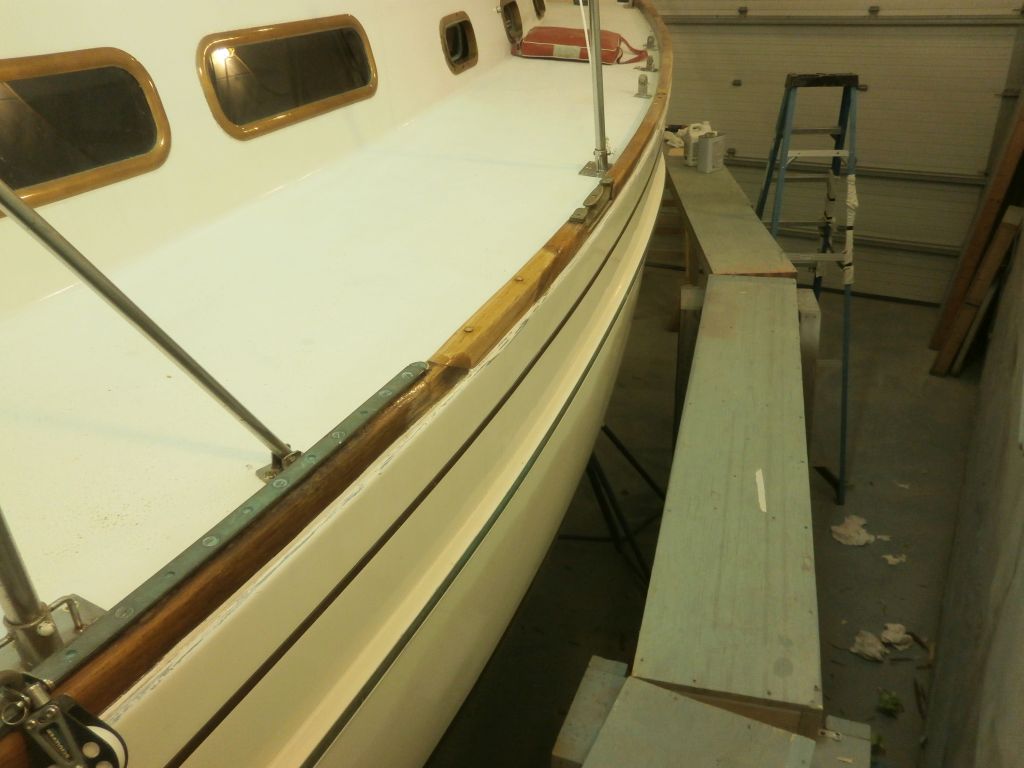
The starboard toerail featured two joints on either side of amidships that required some attention and repair, as well as a couple possibly leaking fasteners. Since beginning work on the boat, I'd been unsure how I'd end up dealing with the toerails, but in the event the way forward became clear once I started. For manifold reasons I strove to keep the repairs limited in scope.
I began with the forward joint, just aft of the chainplates. Outwardly, this seam looked fairly sound, and I hoped I could clean it up and move forward. The end of the scarf joint was a little rough, with some bad bungs and water infiltration through the seam and beneath the coating.
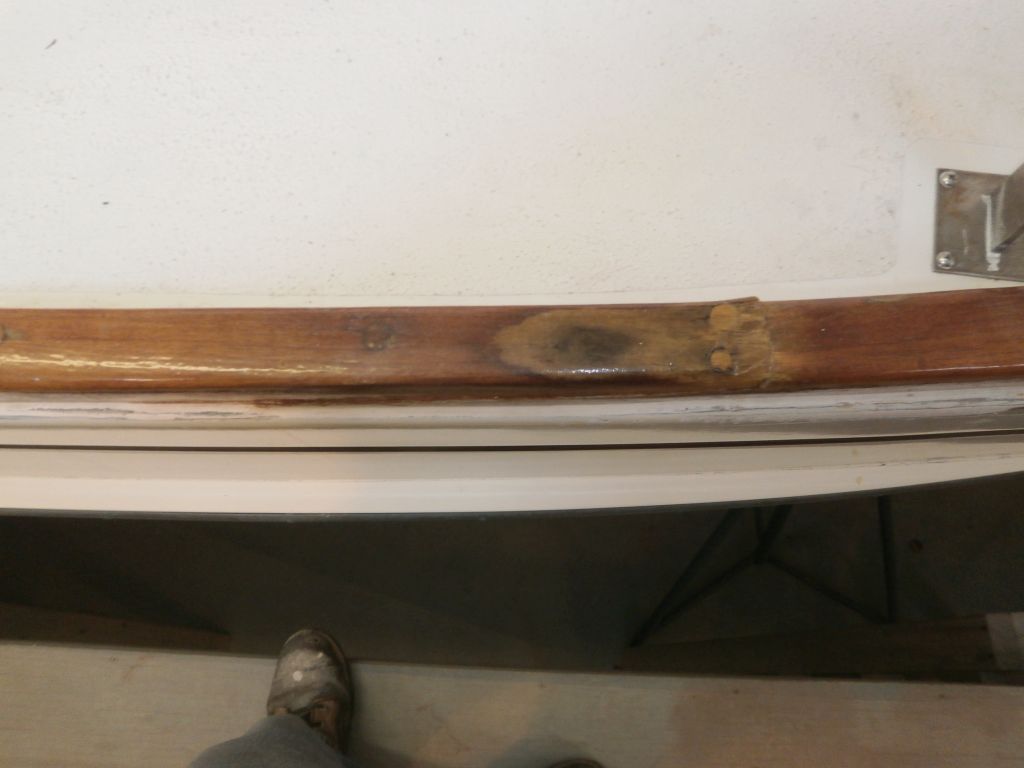
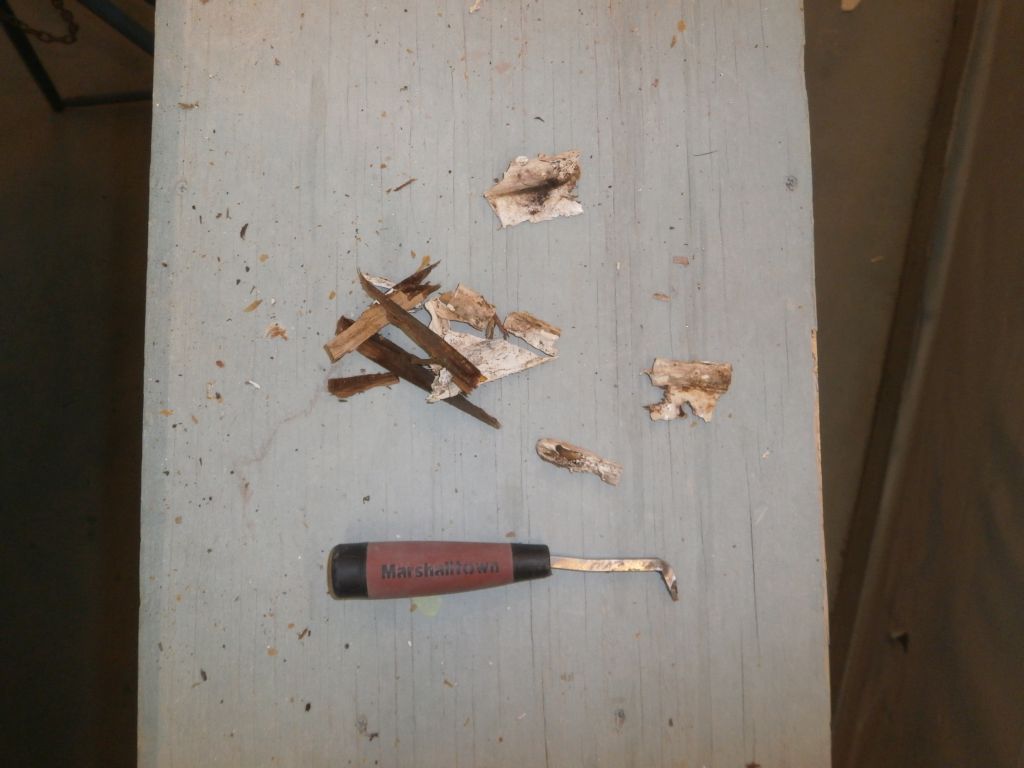
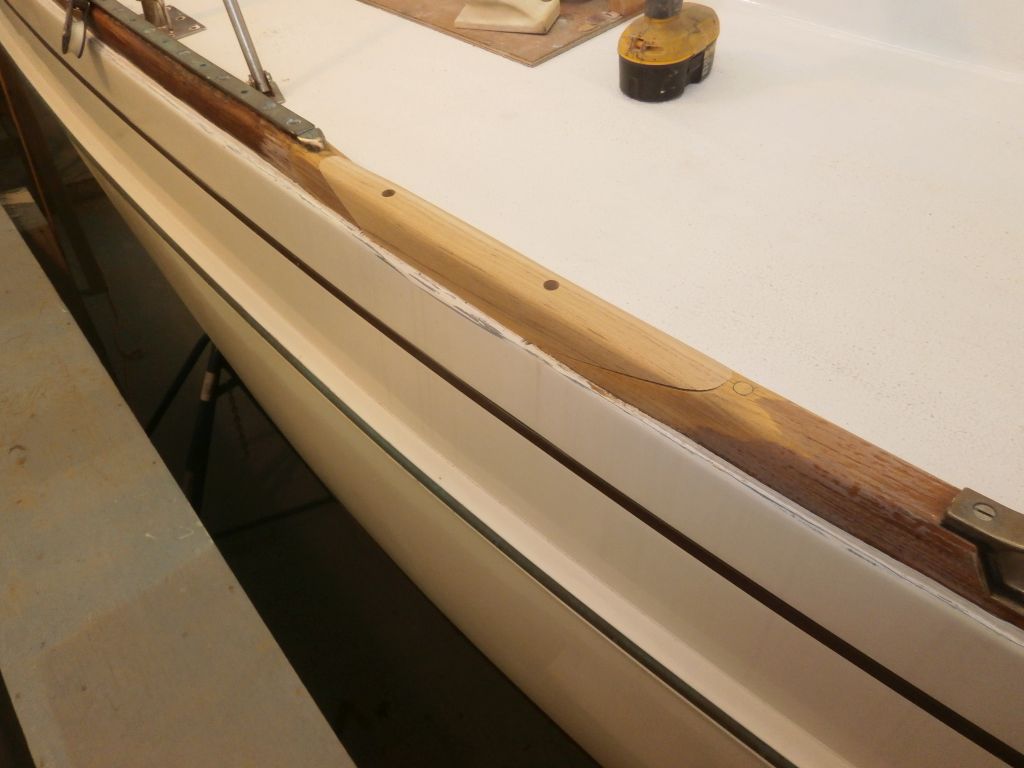
I began by scraping away the loose coating around the seam, and drilled out the old bungs to expose fasteners. Then, hoping to ream out the rough seam a bit for repair and refilling--still thinking the rails were sound here--I discovered to my dismay that the bottom portion of the scarf was rotten. Still hoping to save the top and inside portions of the seam, I found I could carefully cut and chisel out the bottom portion back to sound material on all sides, leaving a void that I could repair with new wood. I pulled a lot of sealant out of the joint during the process, both from the toerail's installation on deck (the toerail had a rabbetted bottom to fit over the overlapping deck/hull flange, which resulted in a large void area beneath the rail), as well as what appeared to be extra sealant that had been jammed into the seam at some point.
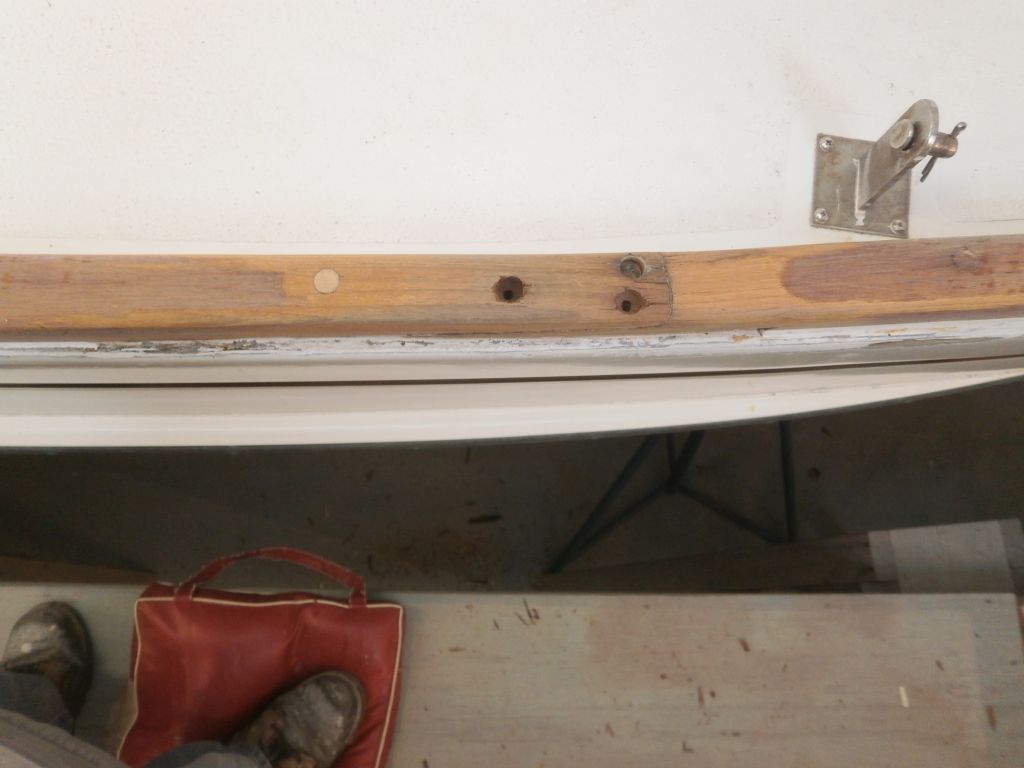
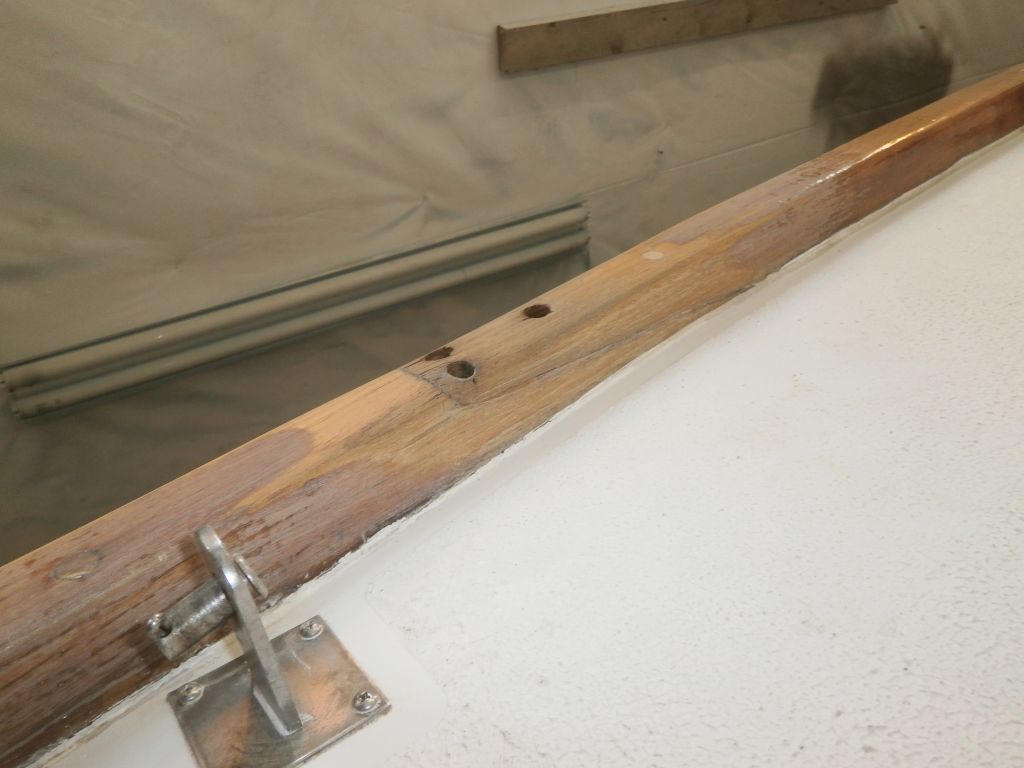
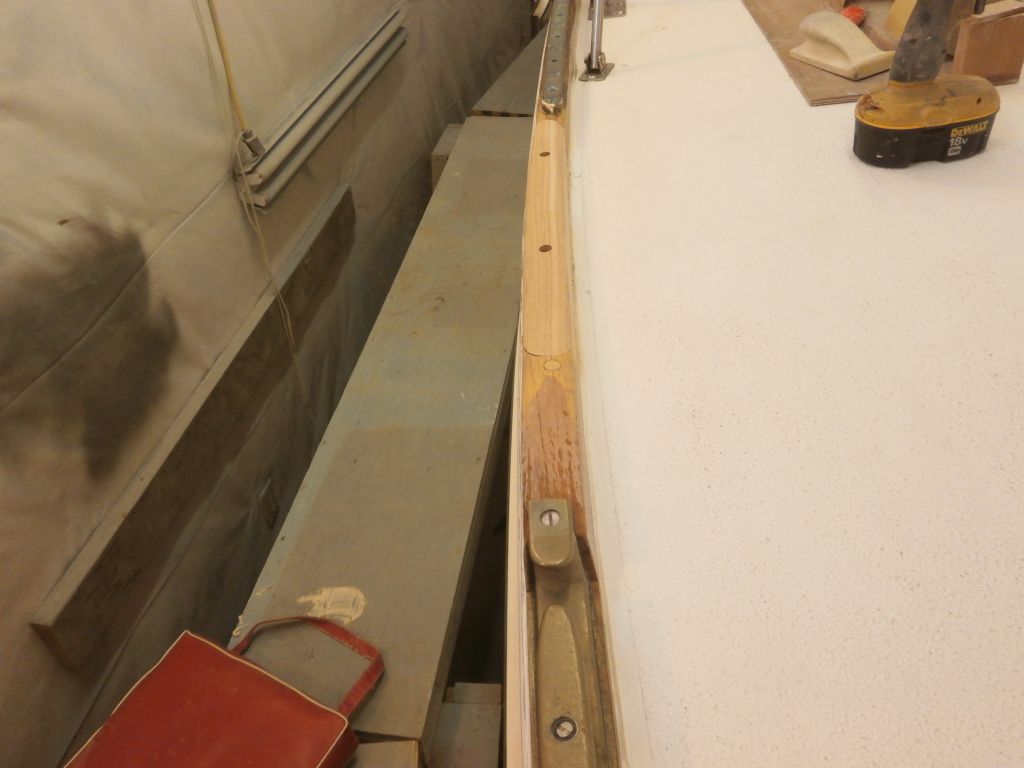
After cleaning up the area and squaring the edges of the area to be patched, I made a rubbing of the void on some card stock, creating a rough pattern and the first step towards rebuilding the area. But first, I decided to move on to the after toerail repair.

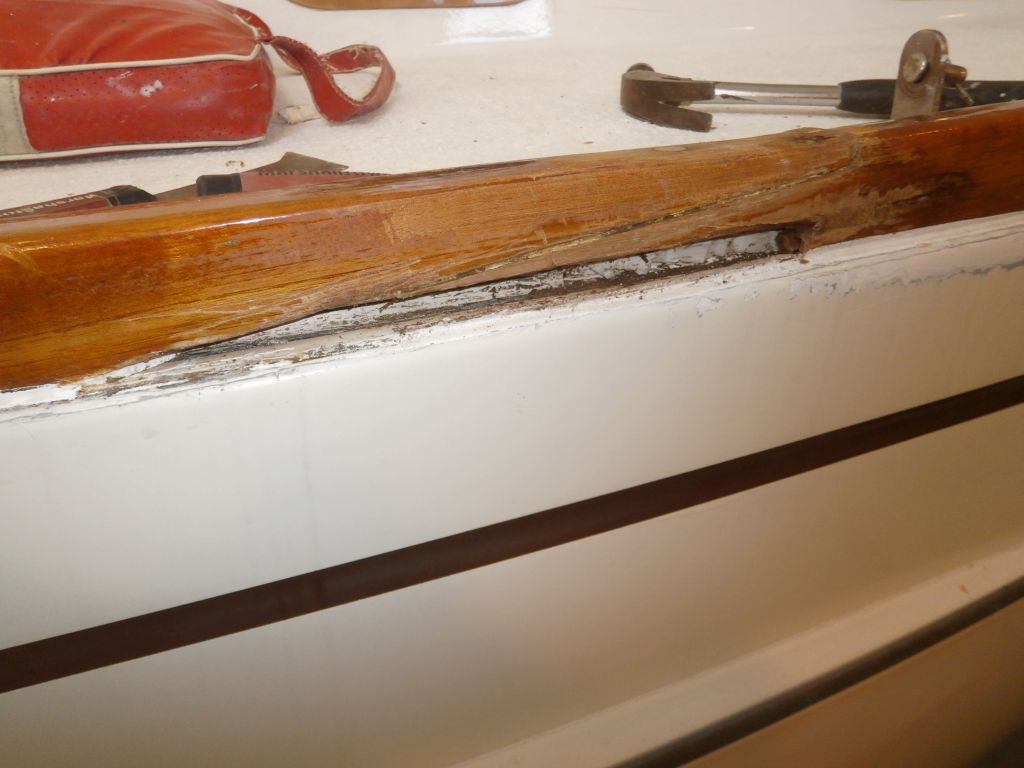
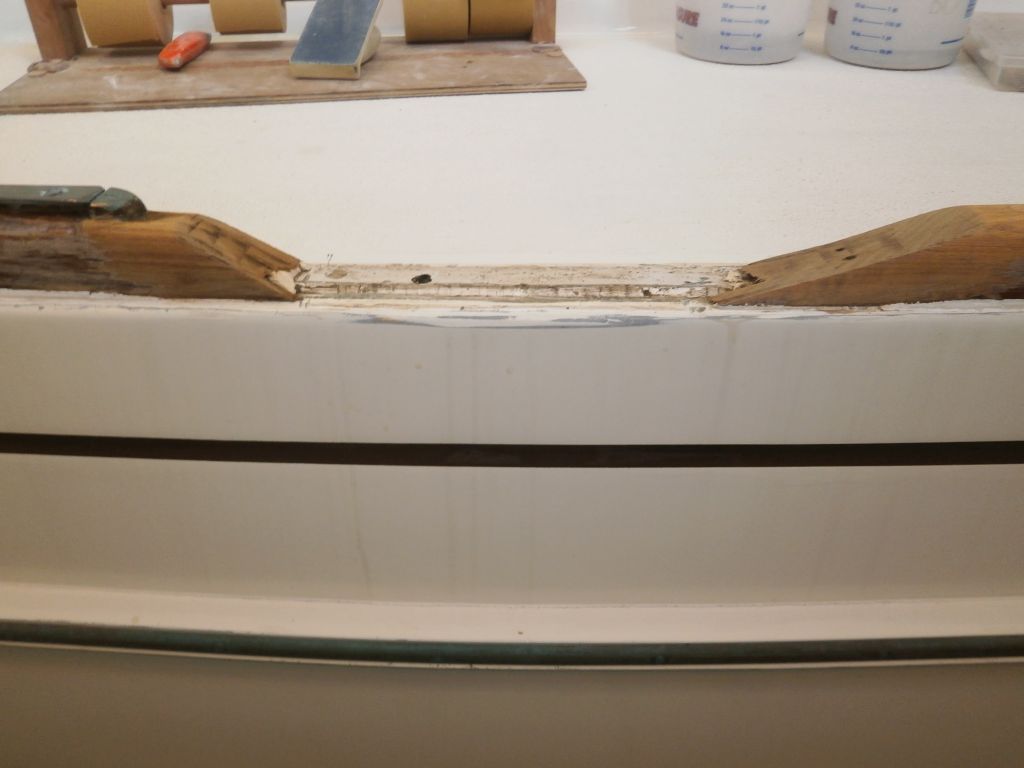
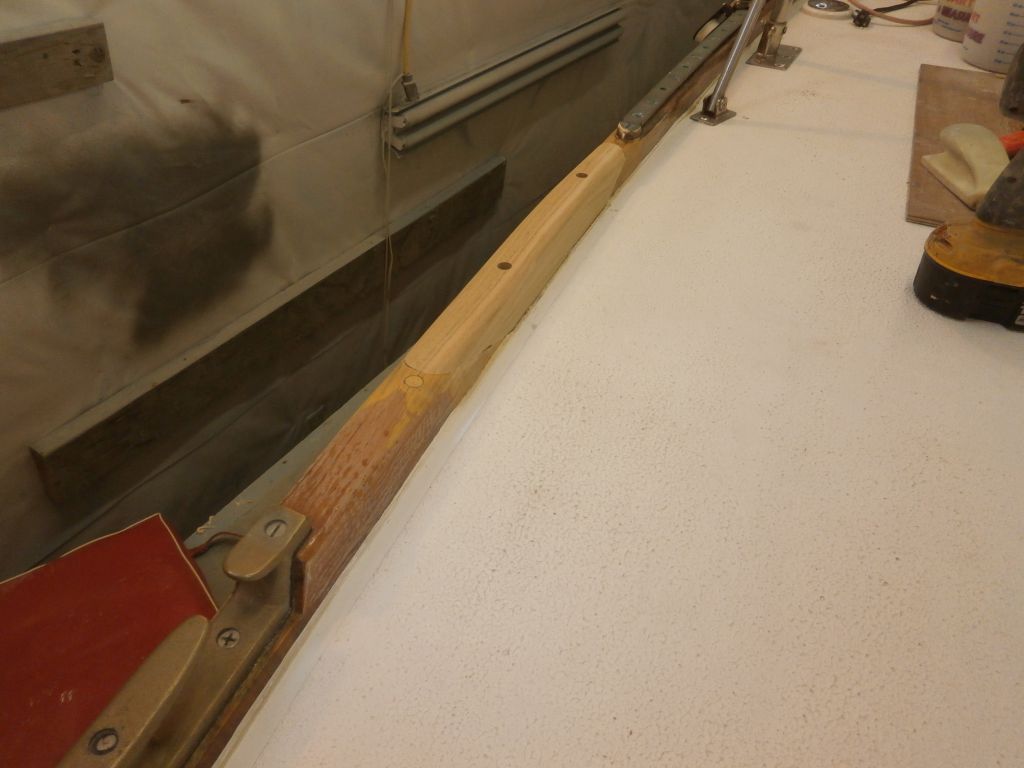
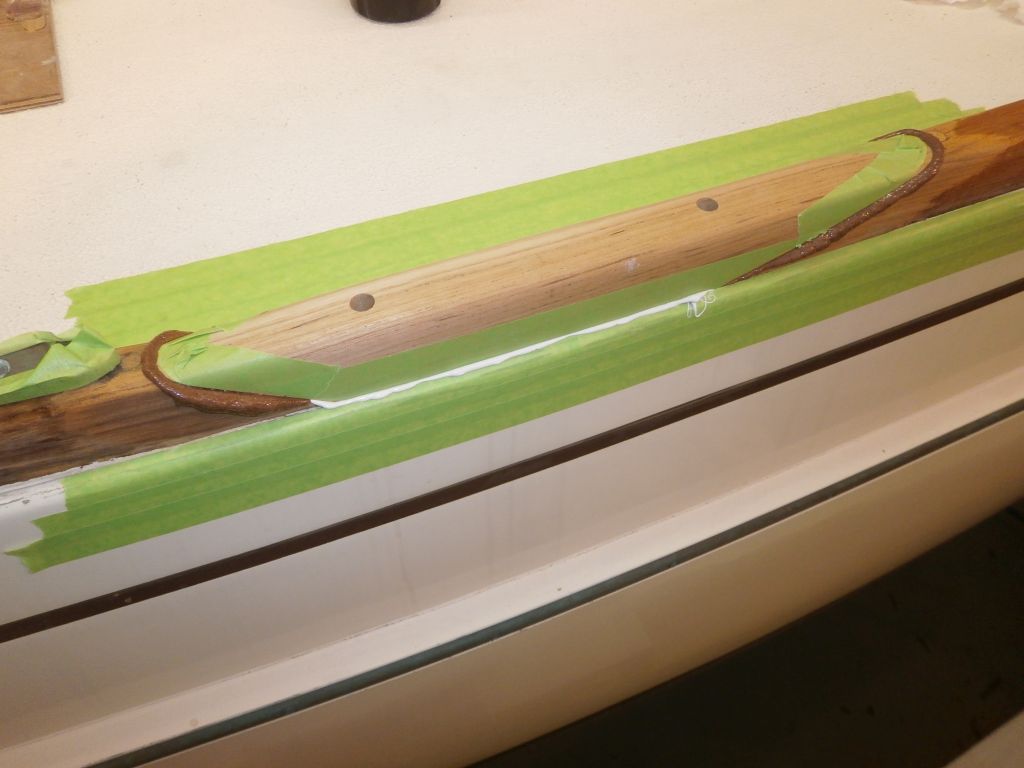
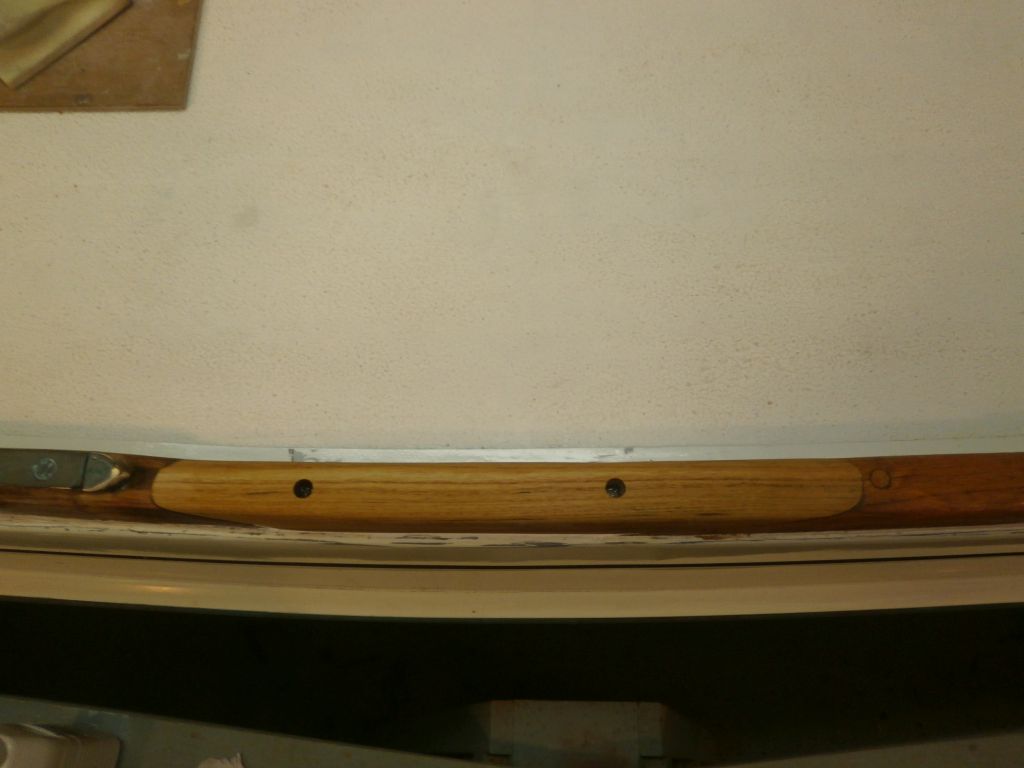
Next, I turned to the after seam, just forward of the genoa track, which was outwardly in much worse condition than the forward one, with obvious water damage, numerous fasteners that had been installed in an apparent attempt to stabilize the area, and a crack right through the middle.
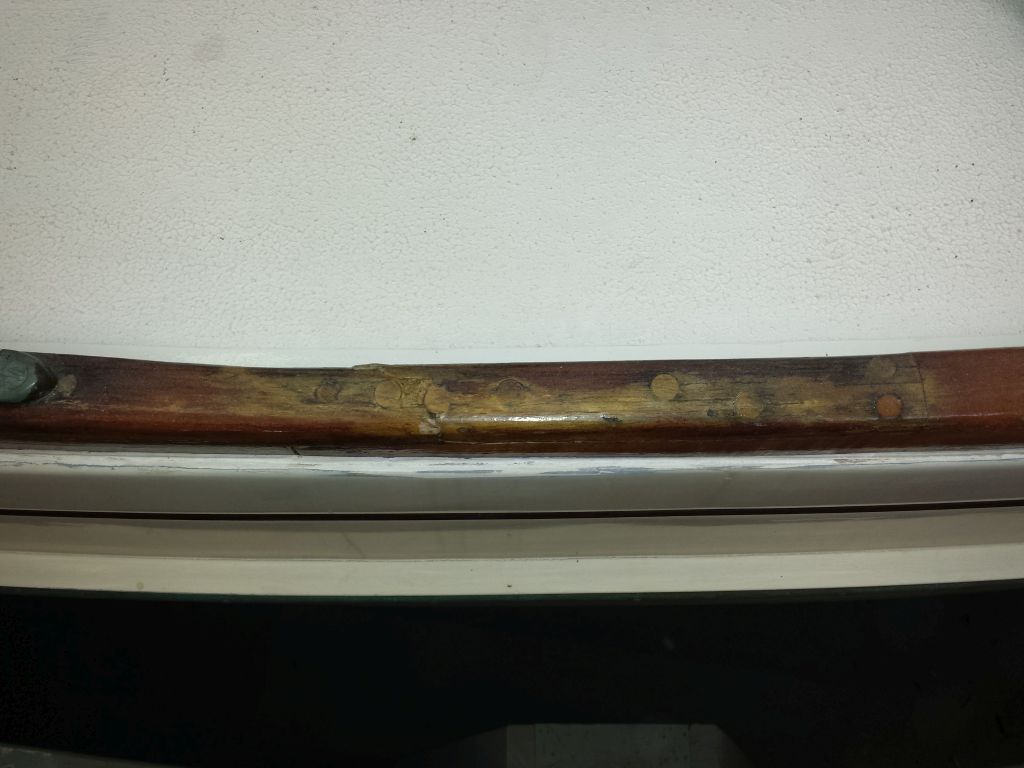
After considering the area for some time, and factoring in the various complications at hand, I decided I could remove all the damaged material with two angled cuts, one at each end, which would allow me to scarf in a new, short section of toerail. With pencil and ruler, I laid out the cuts I wanted to make, then completed the cuts with saw and chisel. I saved a section of the toerail's bottom profile as a pattern for milling a new piece to fit.
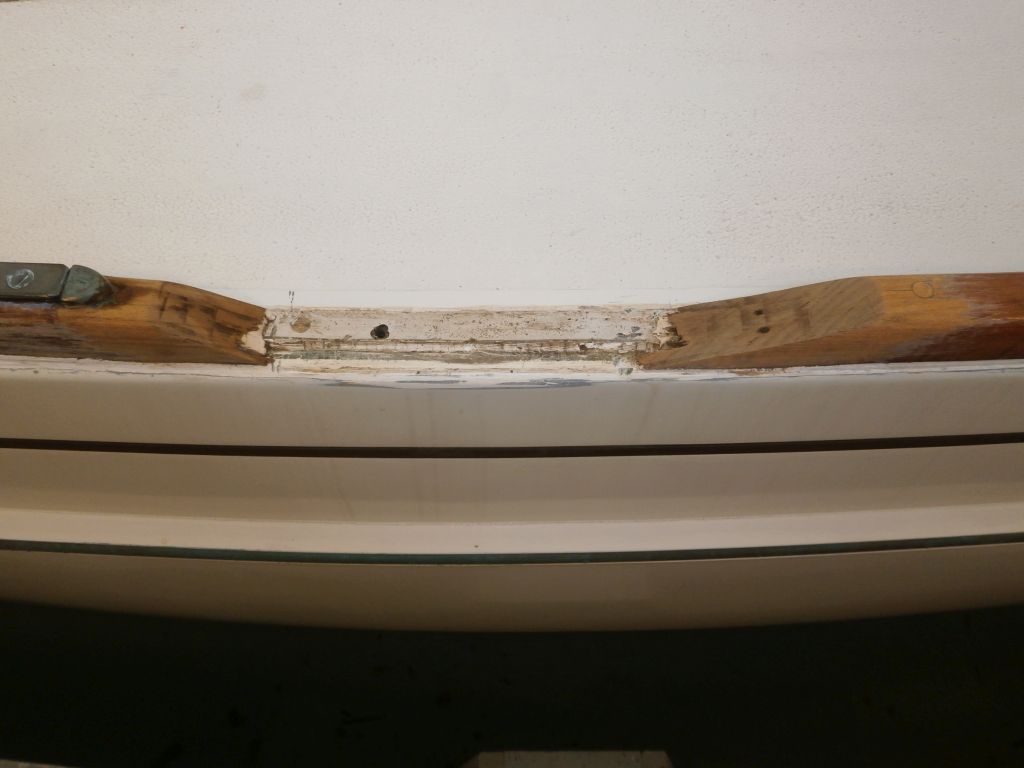
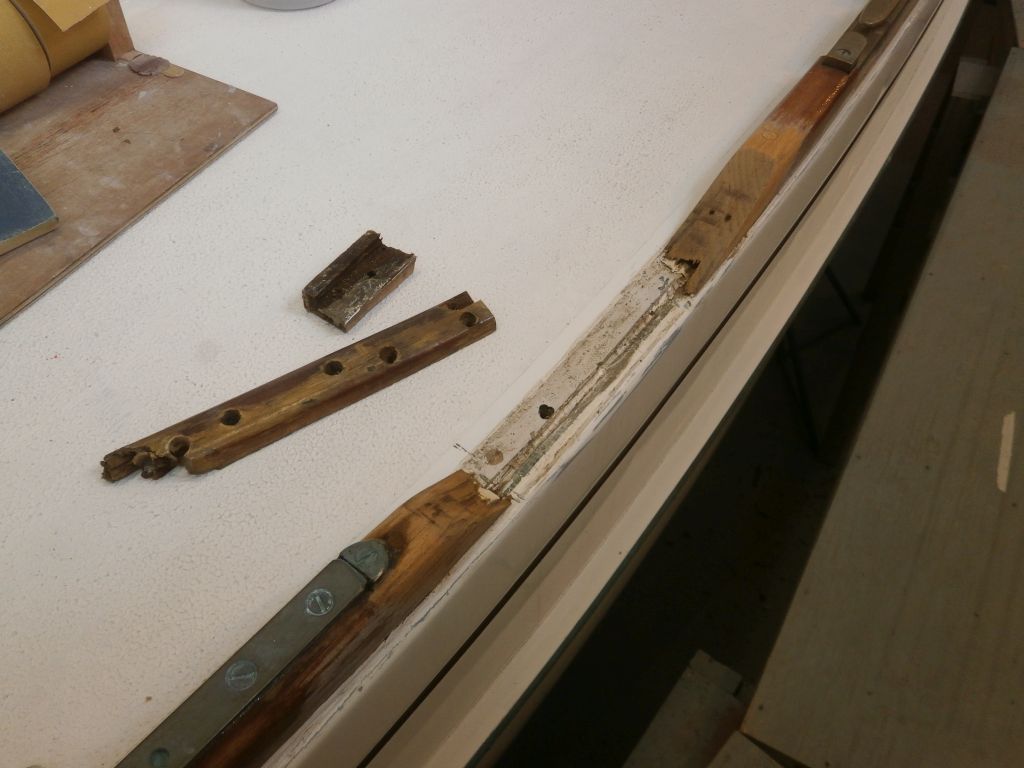
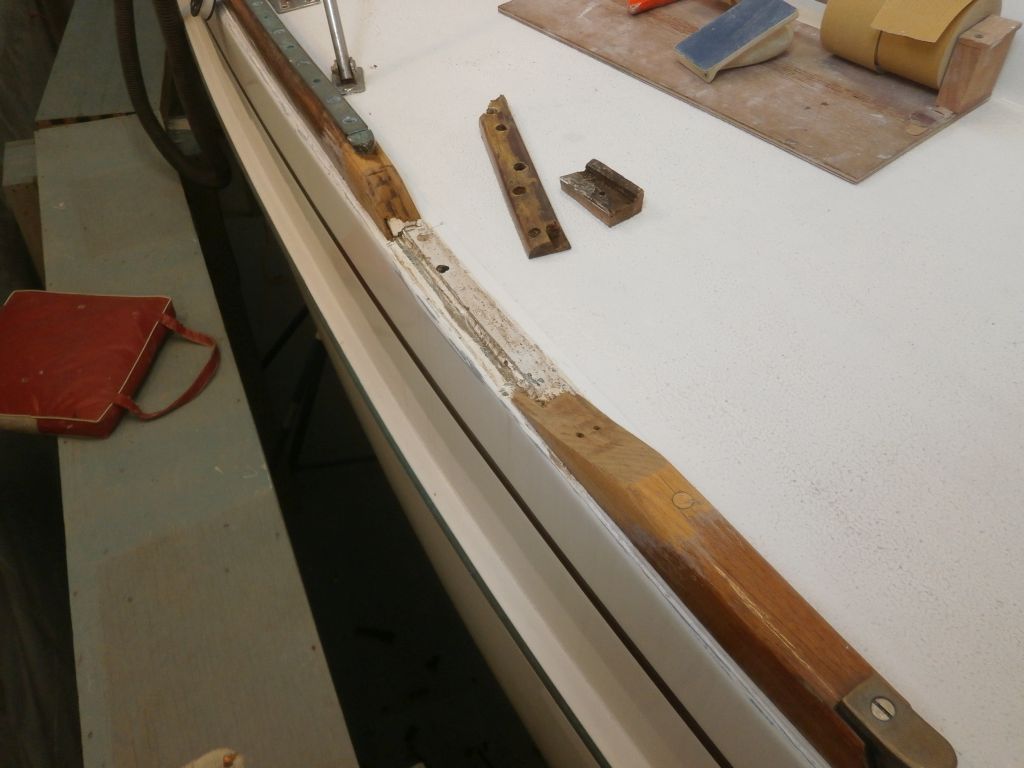
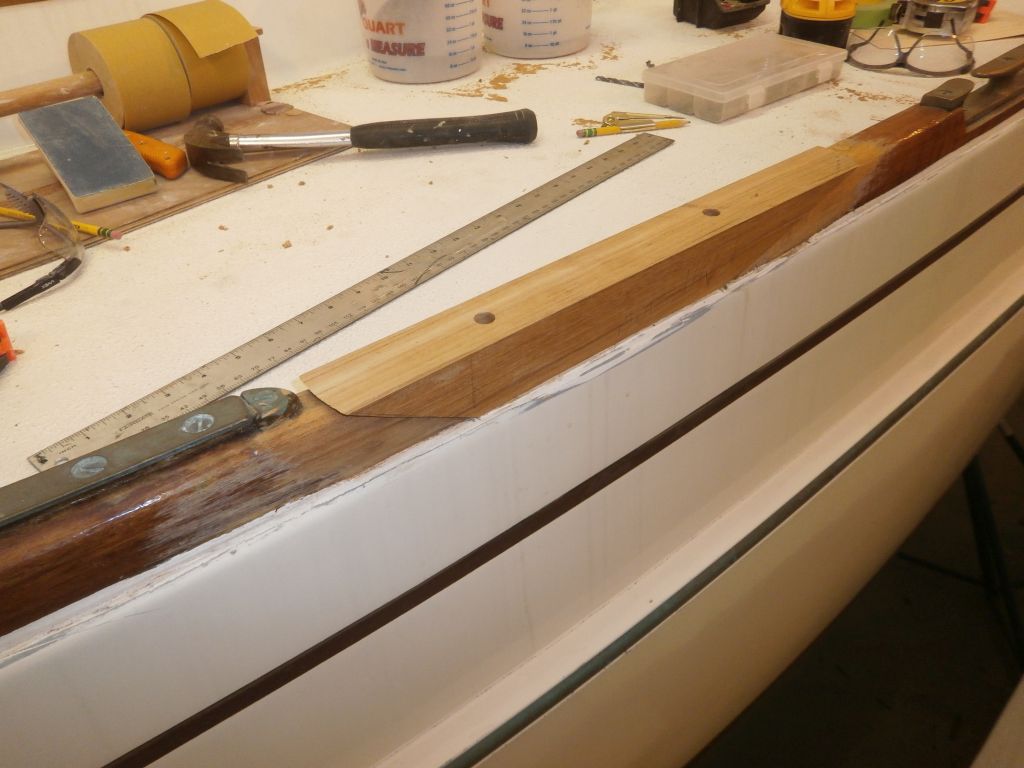
I made a pattern of each side of the toerail opening, securing a manila folder across the area and tracing the shape of each side, since the step in the deck (where the deck overlapped the inward hull flange) and the exact shape of the angled cuts meant that each side of the repair needed its own profile. Then, from a piece of teak stock on hand that was a little bit thicker than the maximum toerail width (1-3/4" at the bottom) and quite a bit taller, I used my patterns, along with plenty of measuring, to mill the angled ends required.
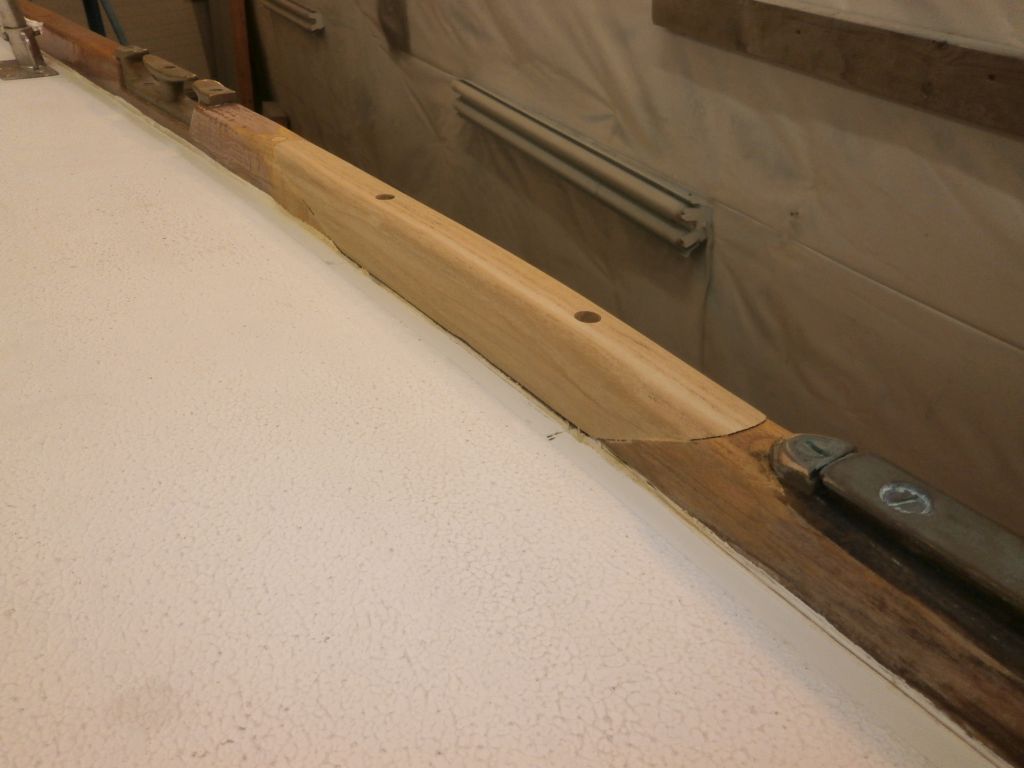
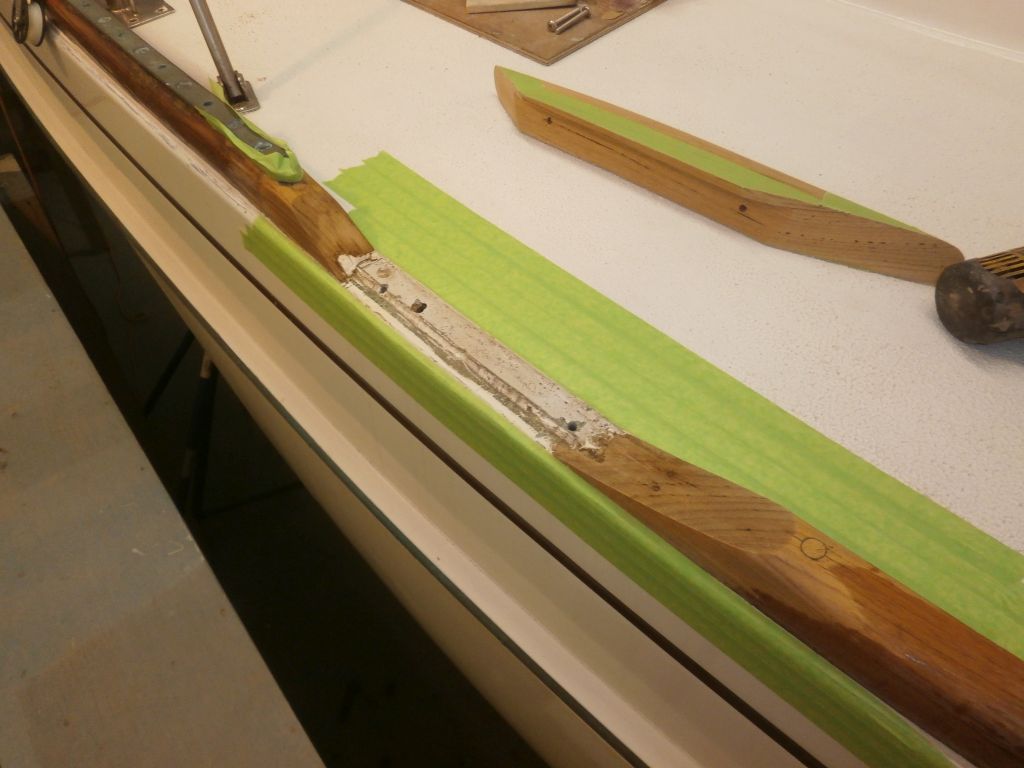
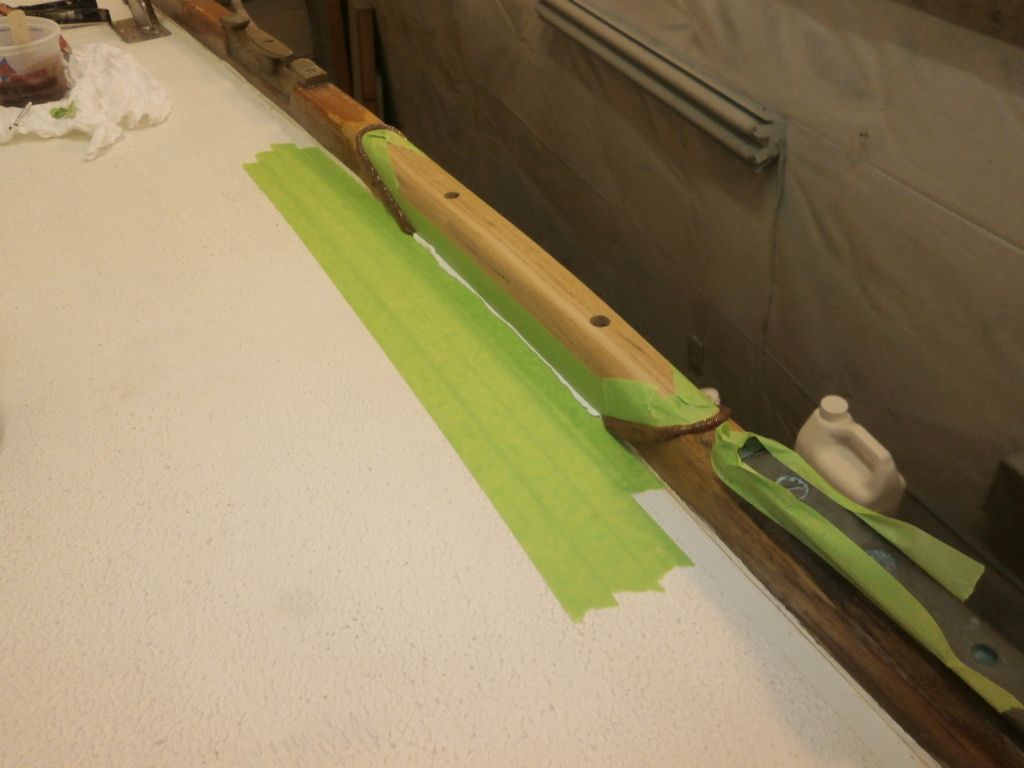
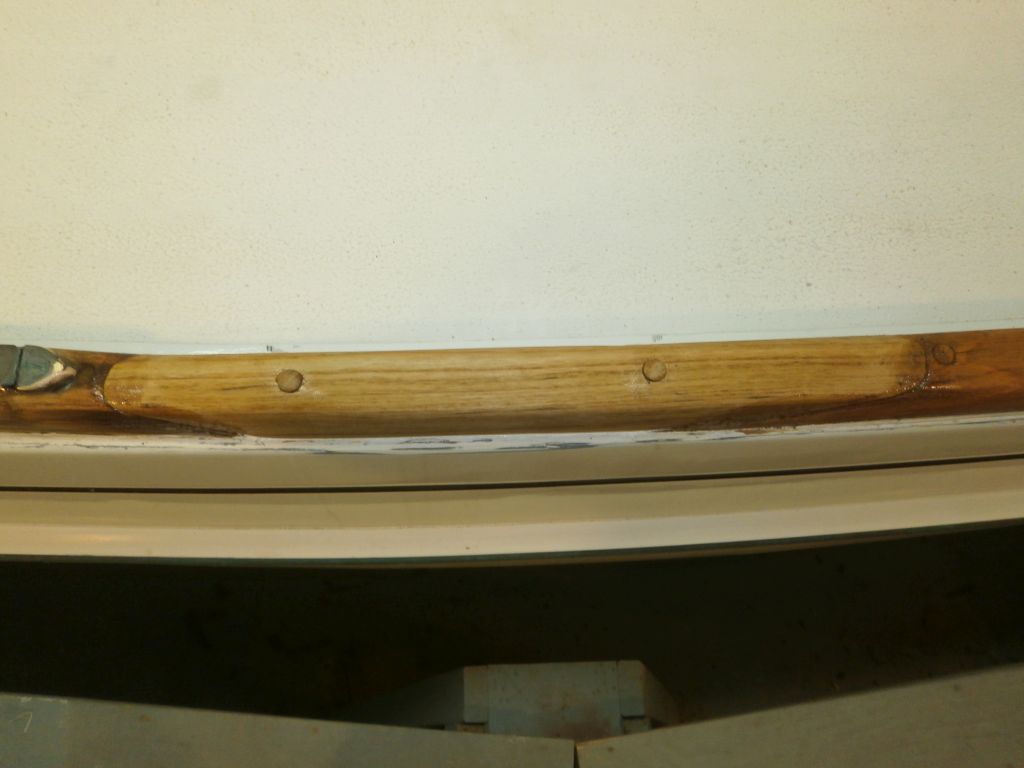
With a lot of back-and forth and fine-tuning of the angle cuts in the original toerail and on the repair, I eventually got the piece to fit into the opening properly, at which point I trimmed the overall height down close to the final toerail dimension (I'd started with a 4" tall piece of stock to give me lots of adjustment space). I bored countersinks and installed the piece with two new screws, which allowed me to complete the final shaping in place. At this stage, the repair section was still straight, and overlapped the edges of the original toerail.

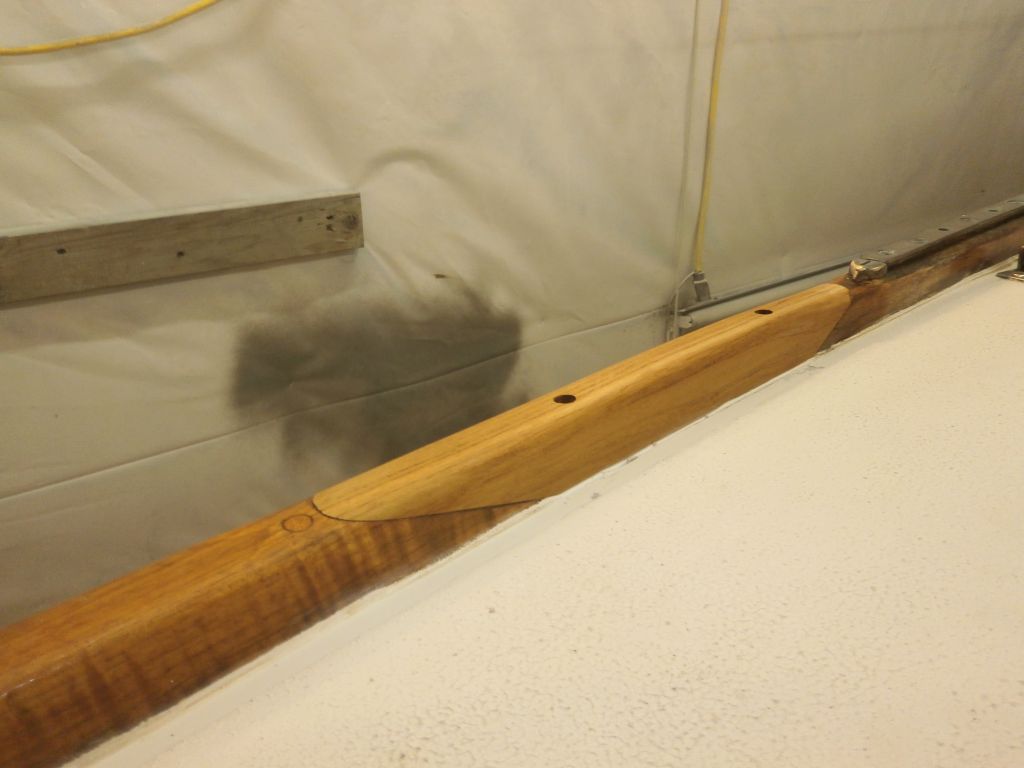
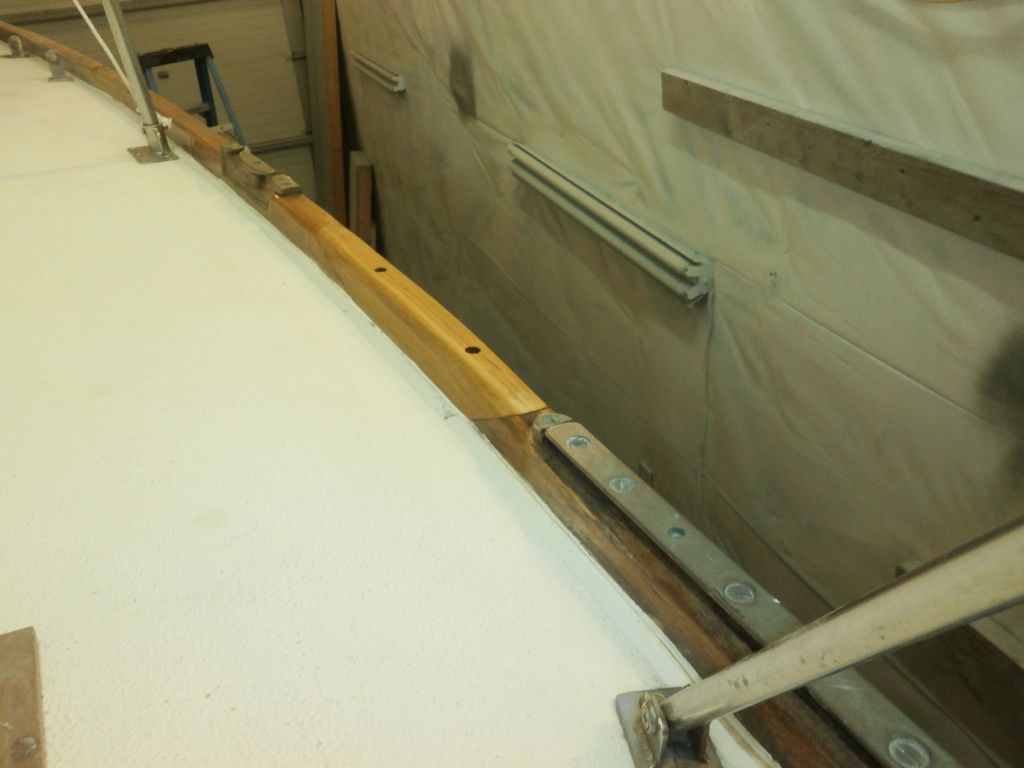
With a sander, I sculpted the new section in place, removing it from time to time to address the lowermost portions where I couldn't use the sander without damaging the boat. I hollowed out the inboard side of the piece to match the curvature of the existing rail, and smoothed in the outboard edges to create the required curve there as well, and rounded the top profile as needed to blend in with each end of the old rail. Using an oversized piece of stock had helped me deal with the problem of properly bending/curving any repair section, as short pieces cannot be properly bent into sweet curves.


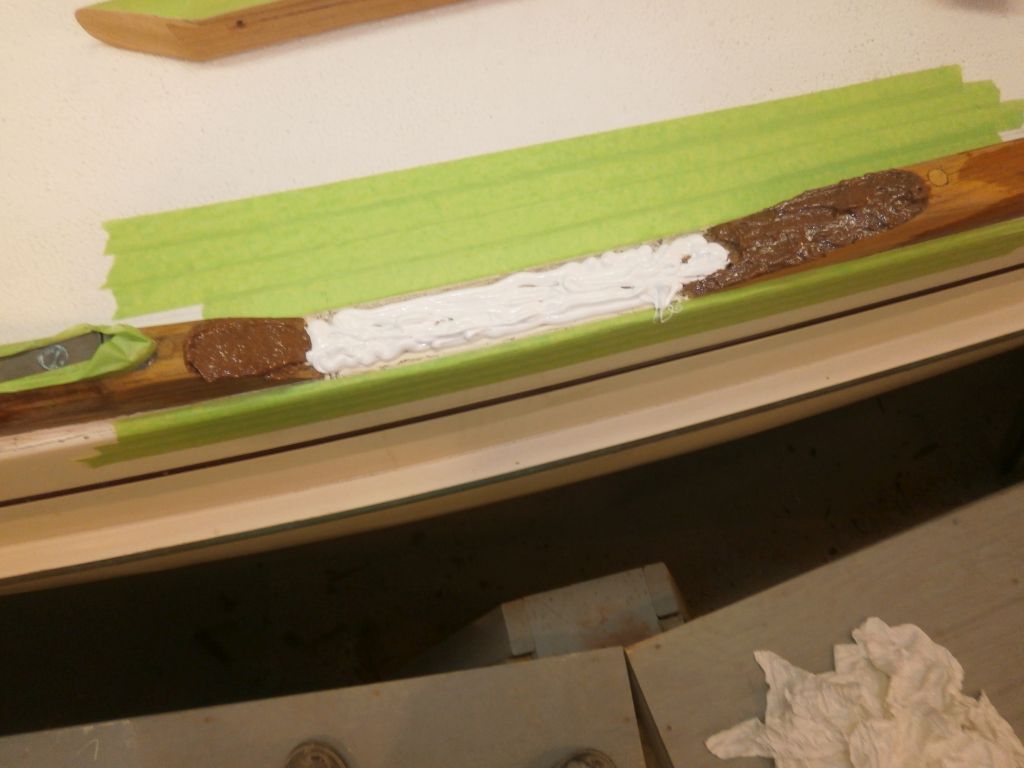
When I was happy with the shape, I removed the section and cleaned all the mating surfaces as needed before masking off the deck and hull for protection. Then, I installed the new piece with sealant beneath, and epoxy thickened and colored with teak dust at the two scarf cuts to join them with the existing rails. After cleaning up the excess, I bunged the two screw holes.
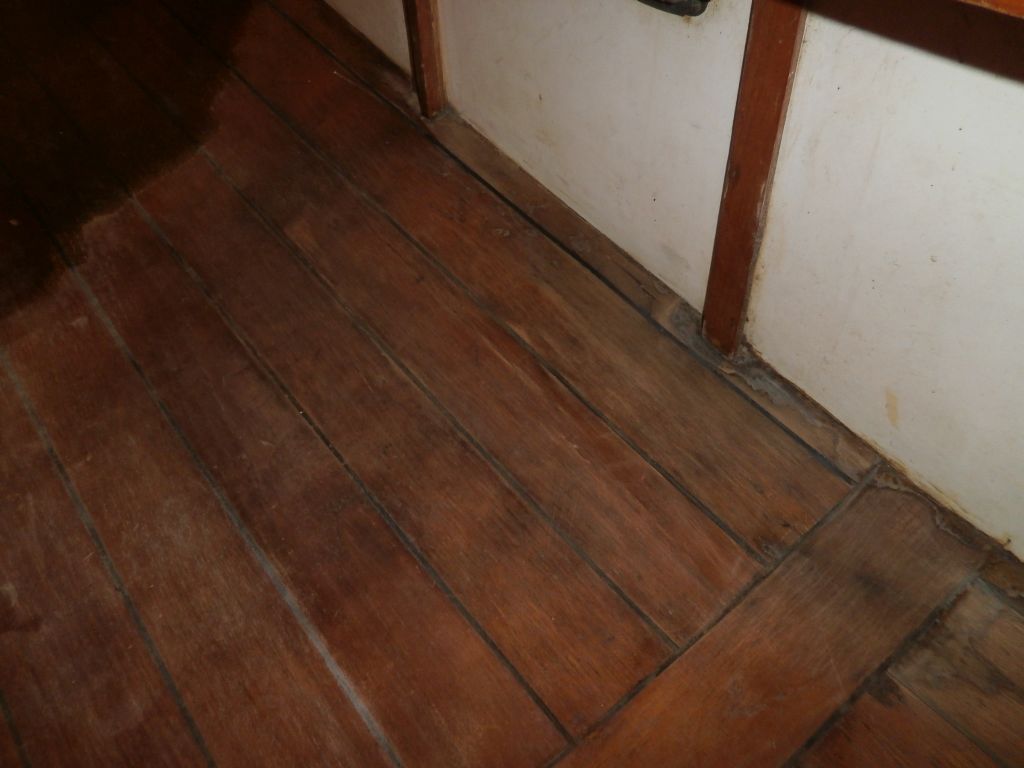
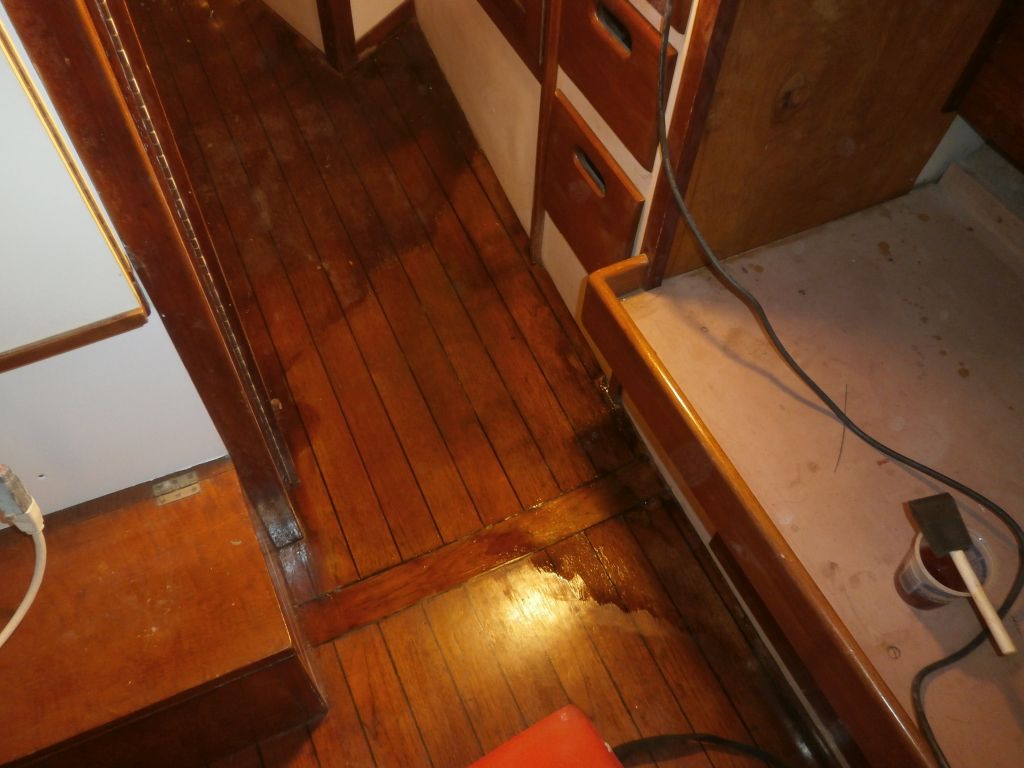
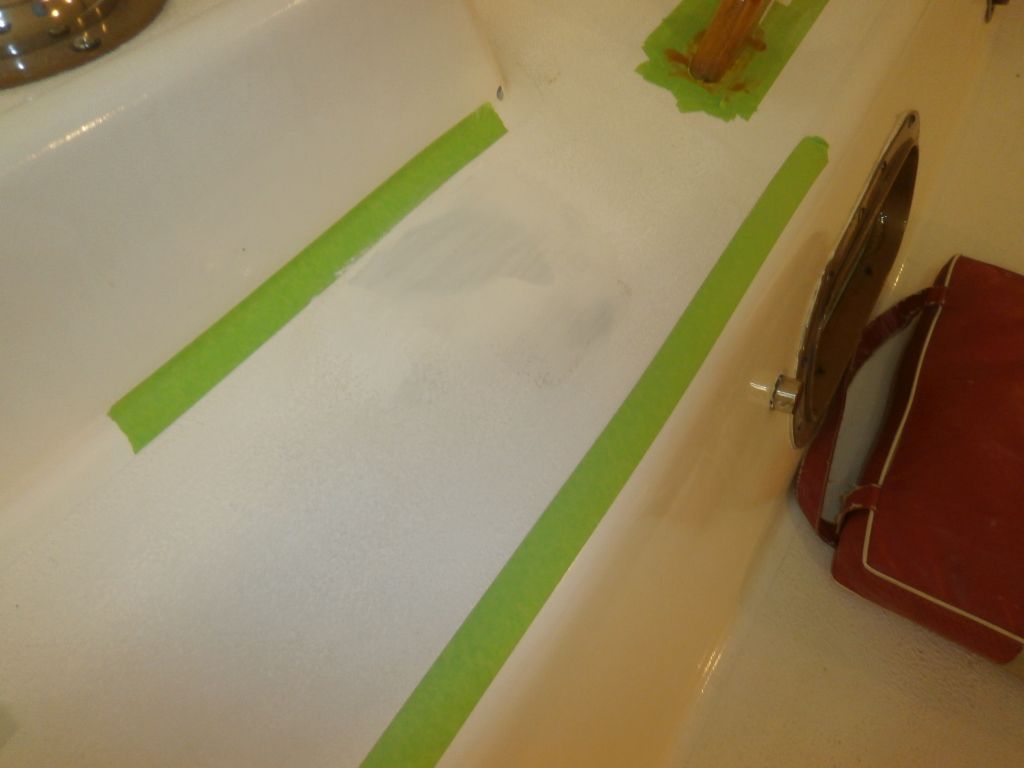
I left enough time at the end of the day to deal with a few remaining small, ongoing jobs on board, starting with the cabin sole. The repairs I'd effected earlier were complete. There was a section of the sole where the old finish had been damaged and basically obviated by the leakage that had been occurring from the nearby hanging locker, and although refinishing the sole wasn't on the project list for now, I went ahead and applied a thinned coat of varnish to the bare wood here just for a modicum of protection.
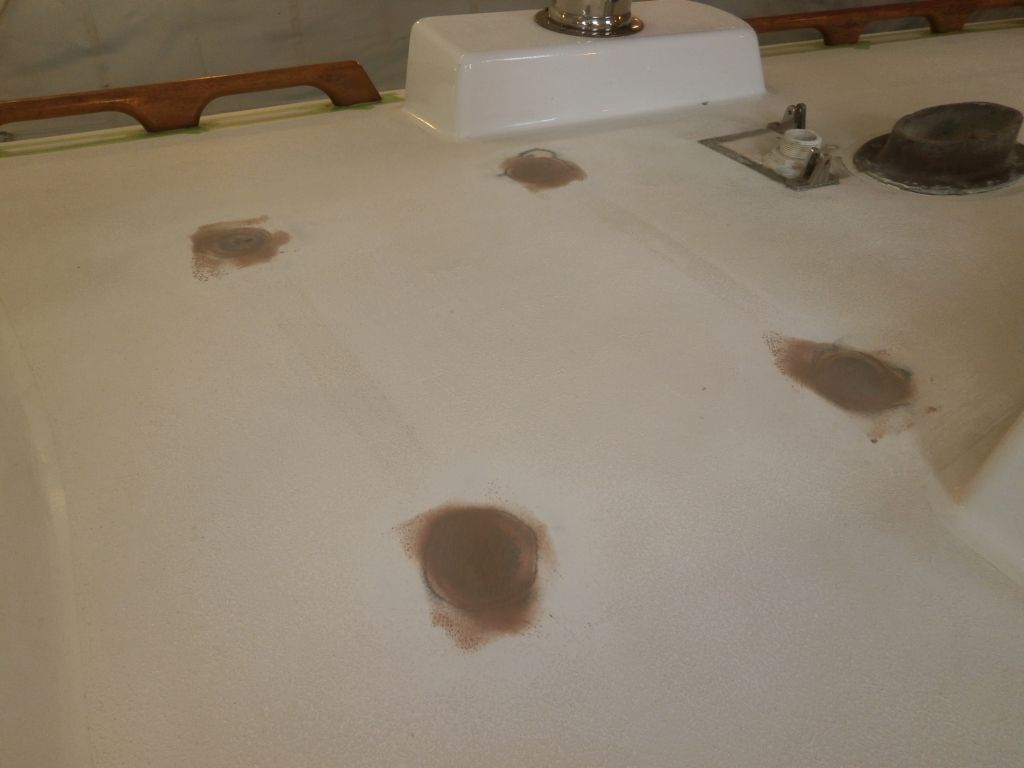
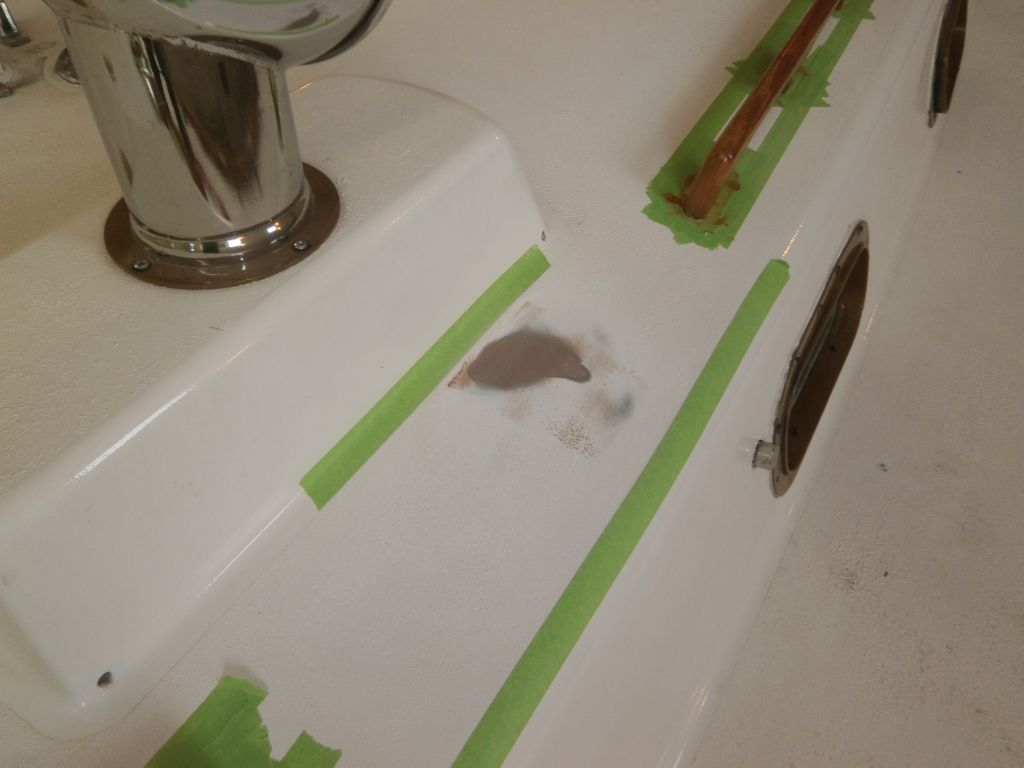
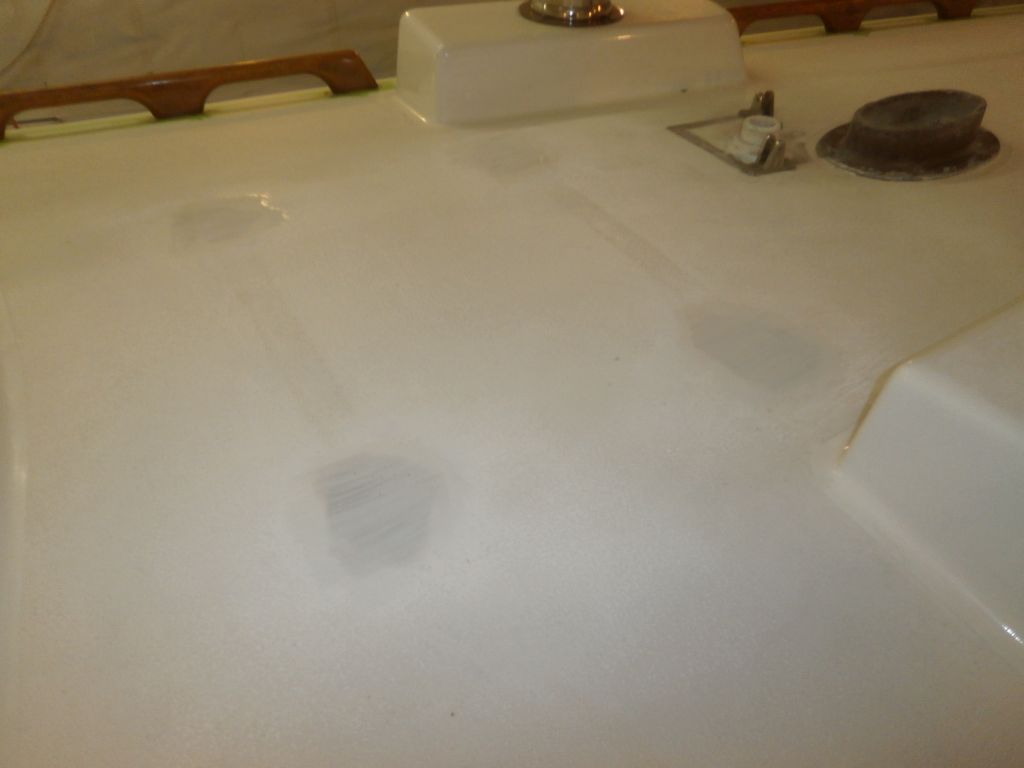
Back on deck, I lightly sanded the epoxy filler I'd earlier applied to the liferaft bracket hole repairs, bringing these areas smooth and fair with the surrounding surfaces. Then, after cleaning up, I applied a coat of epoxy-based primer to seal the new work.
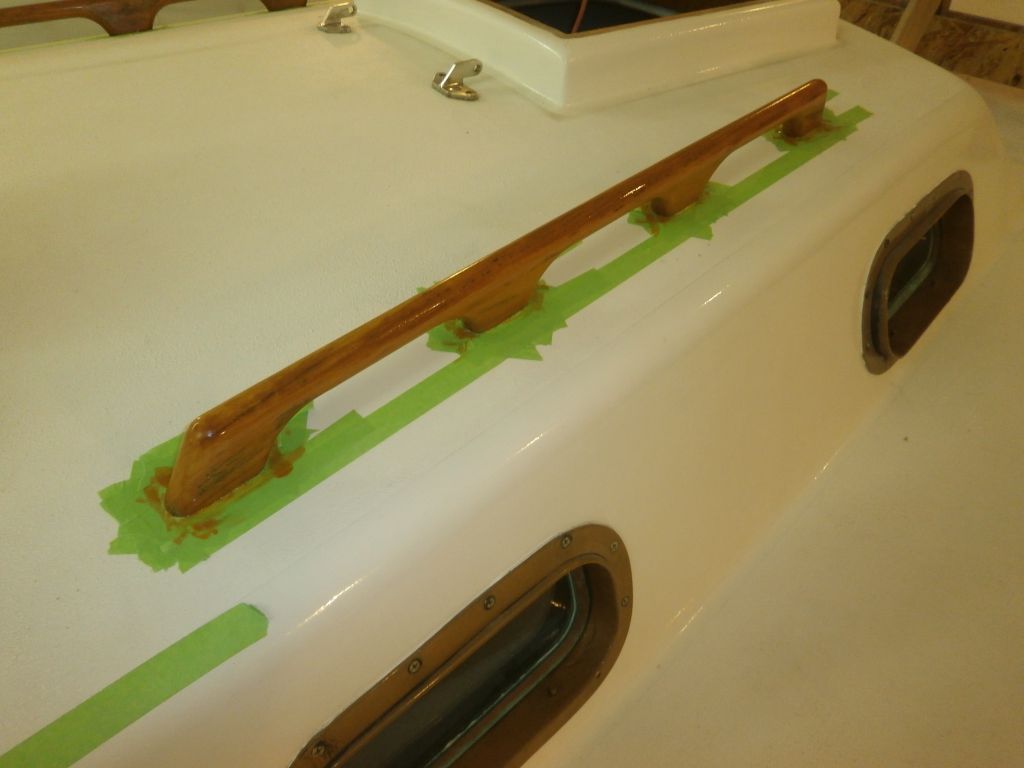
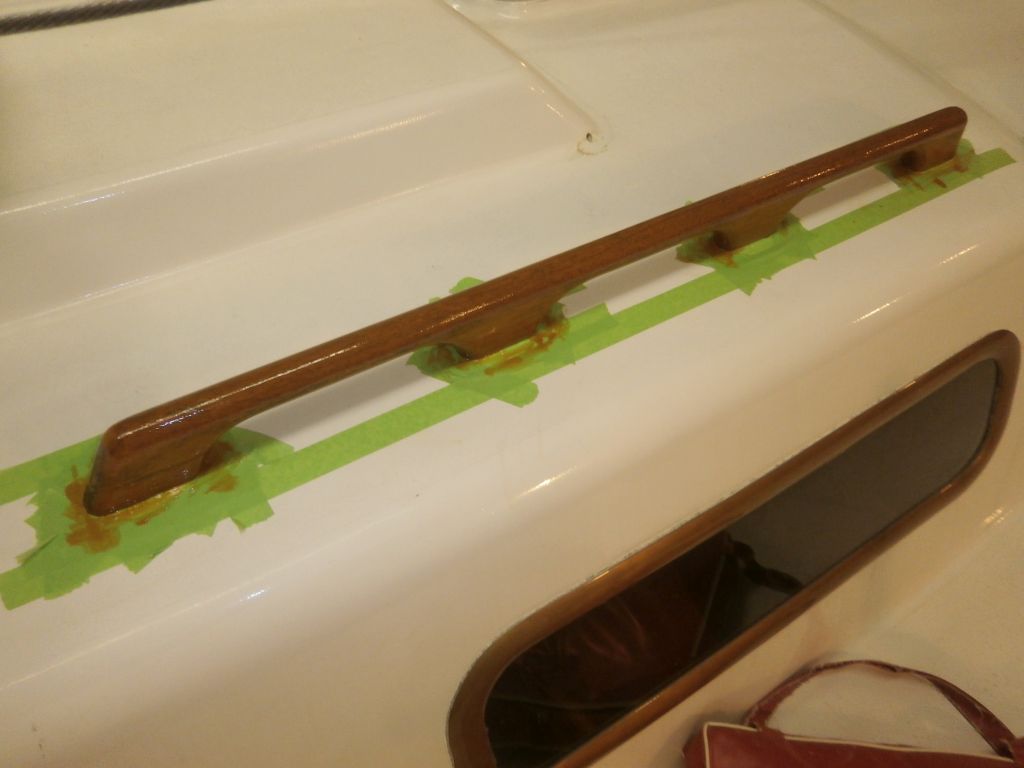
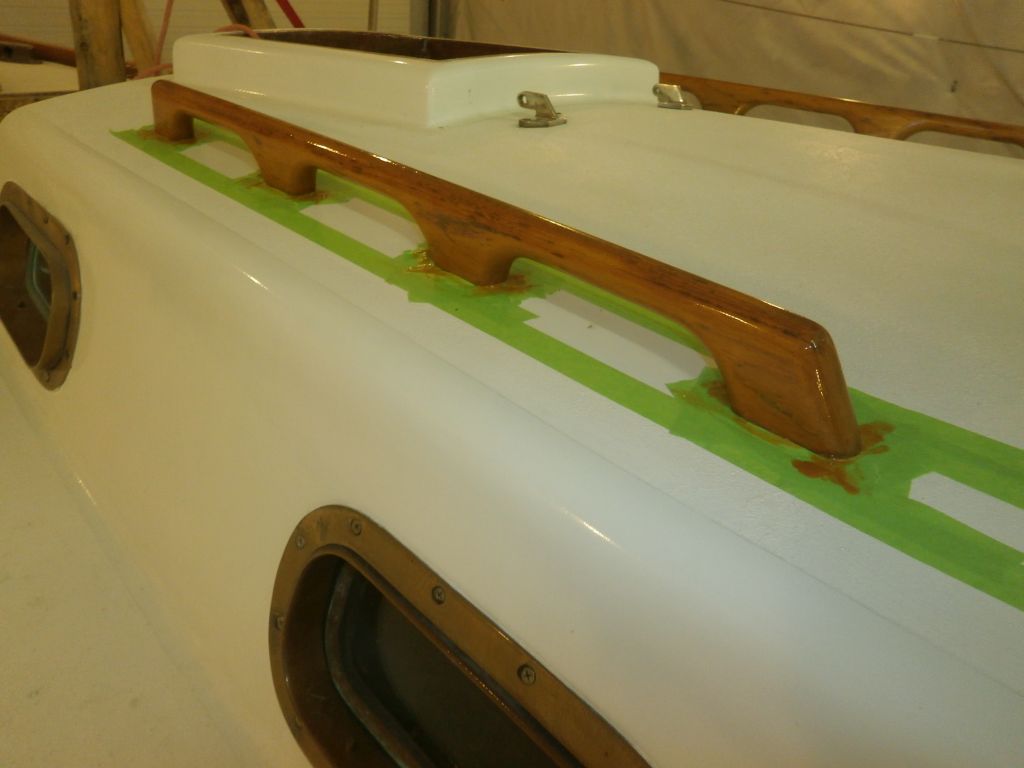
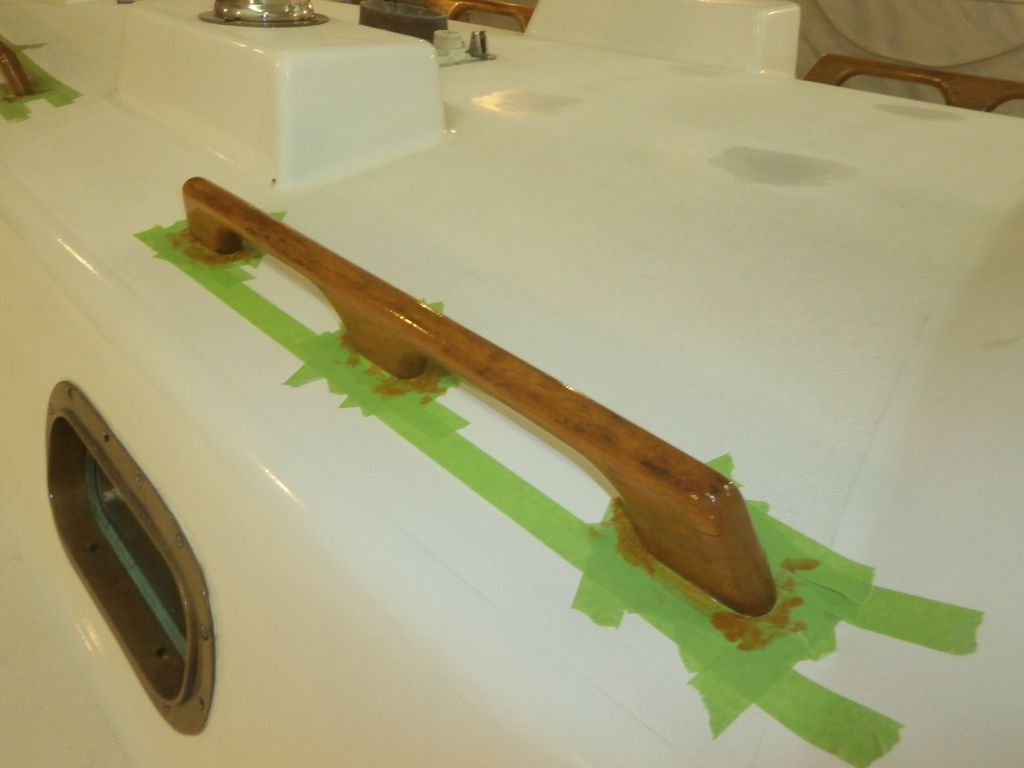
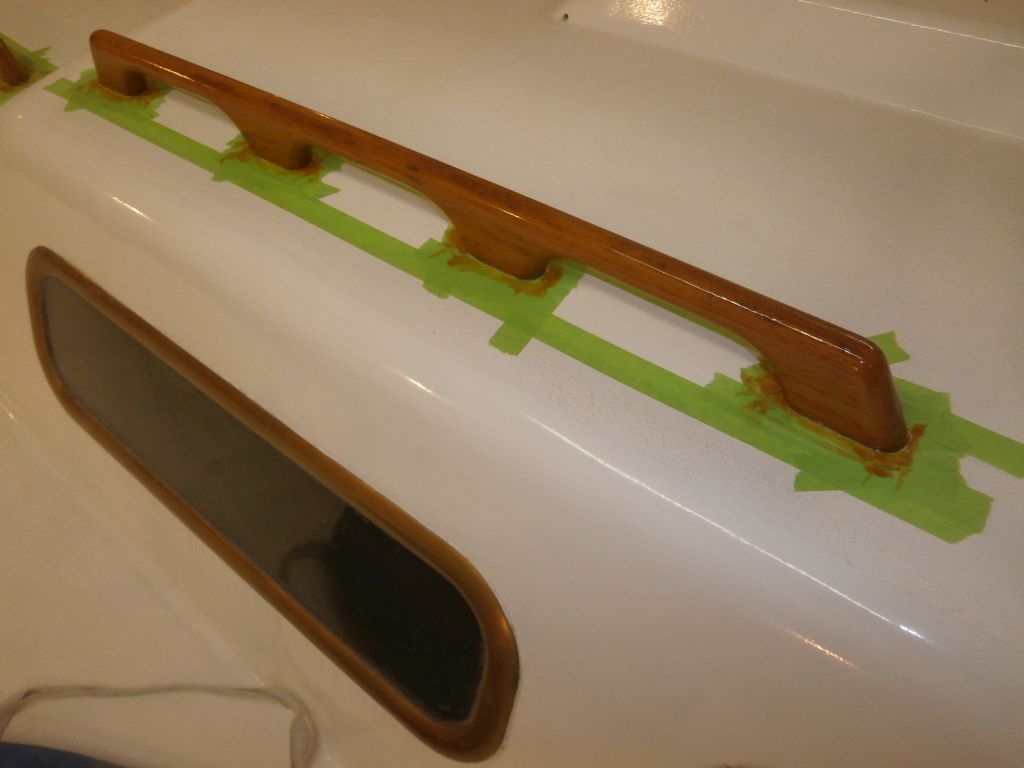
Finally, I applied a third coat of Cetol to the handrails, which I expected would complete the work there.

Total Time Billed on This Job Today: 7.5
Hours
