
110 Cookson Lane | Whitefield, ME 04353 | 207-232-7600 | tim@lackeysailing.com
Snow Lily | Friday, March 29, 2013
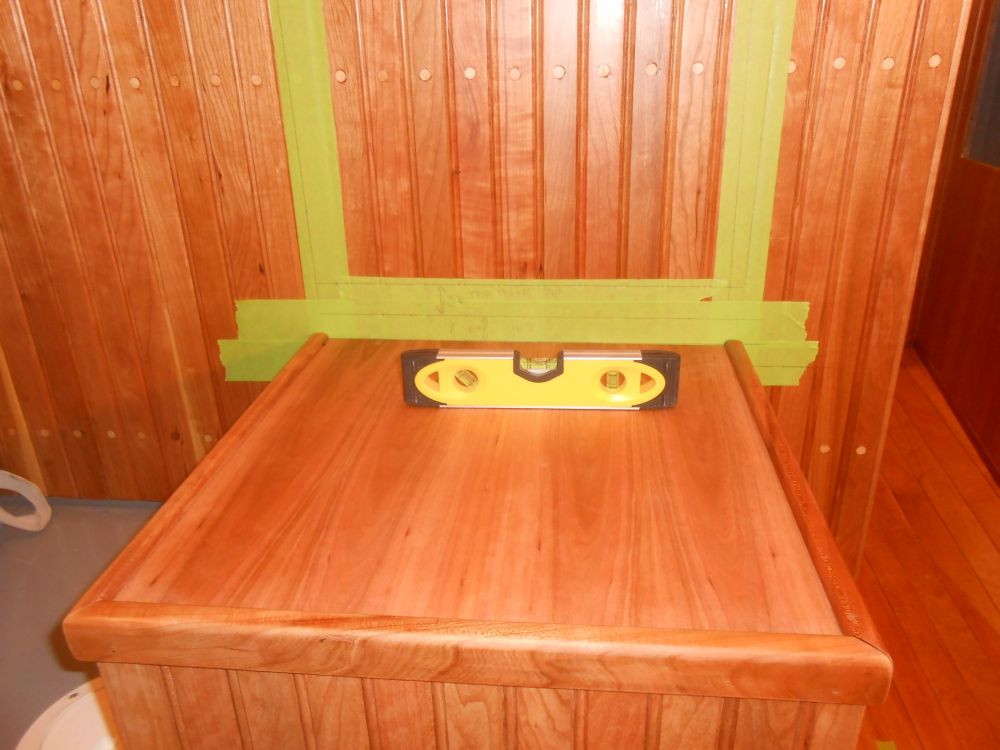
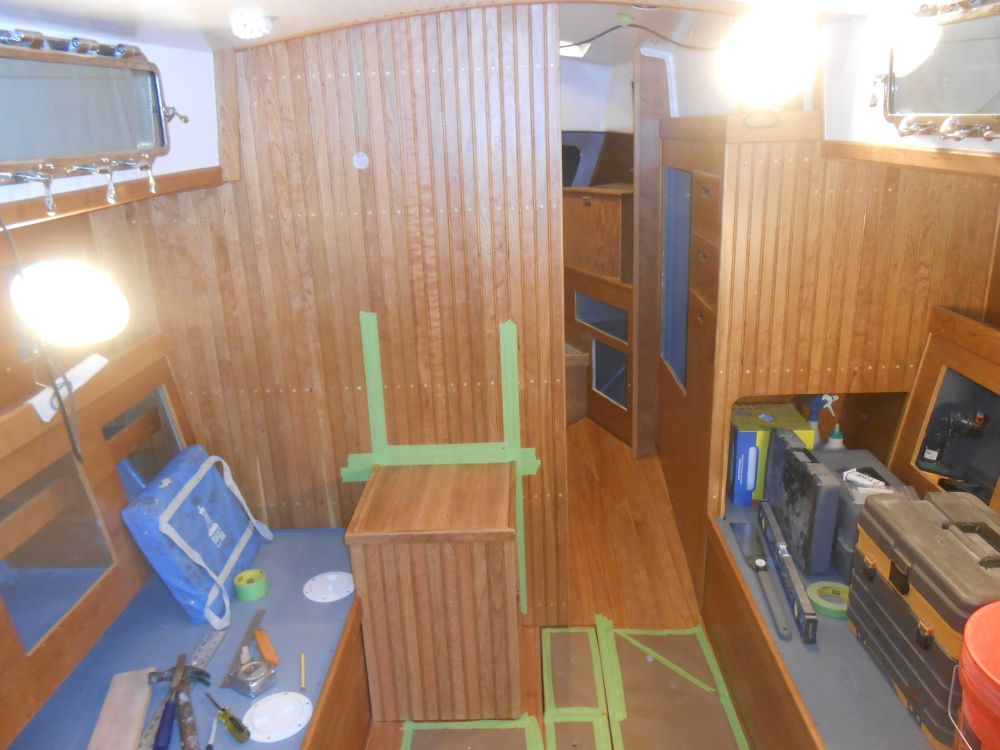
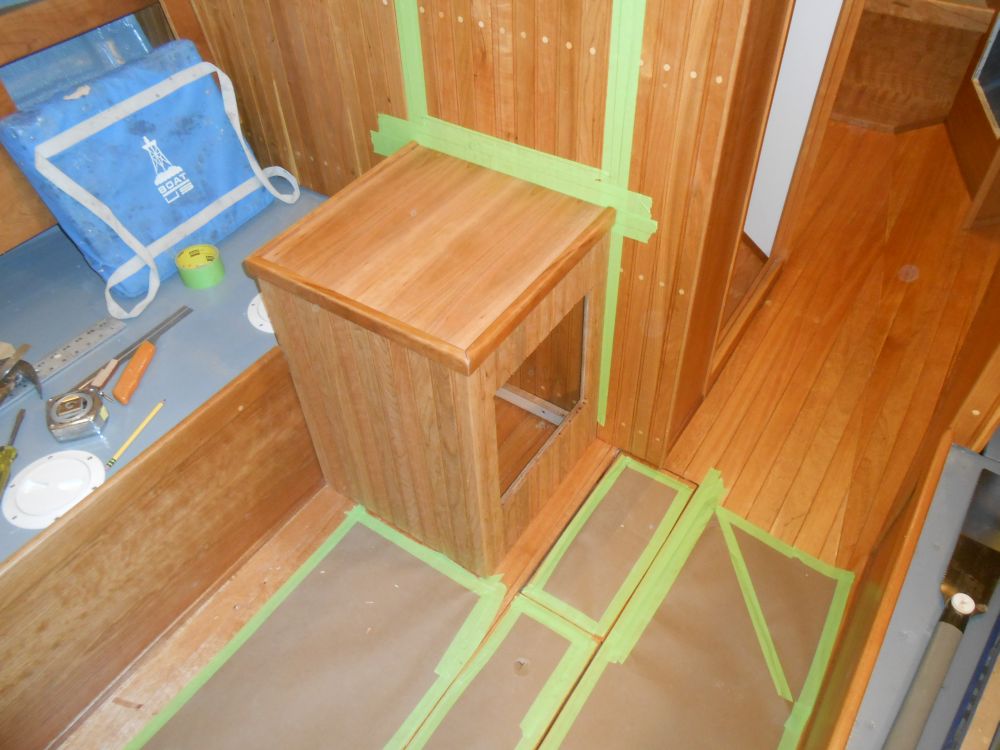
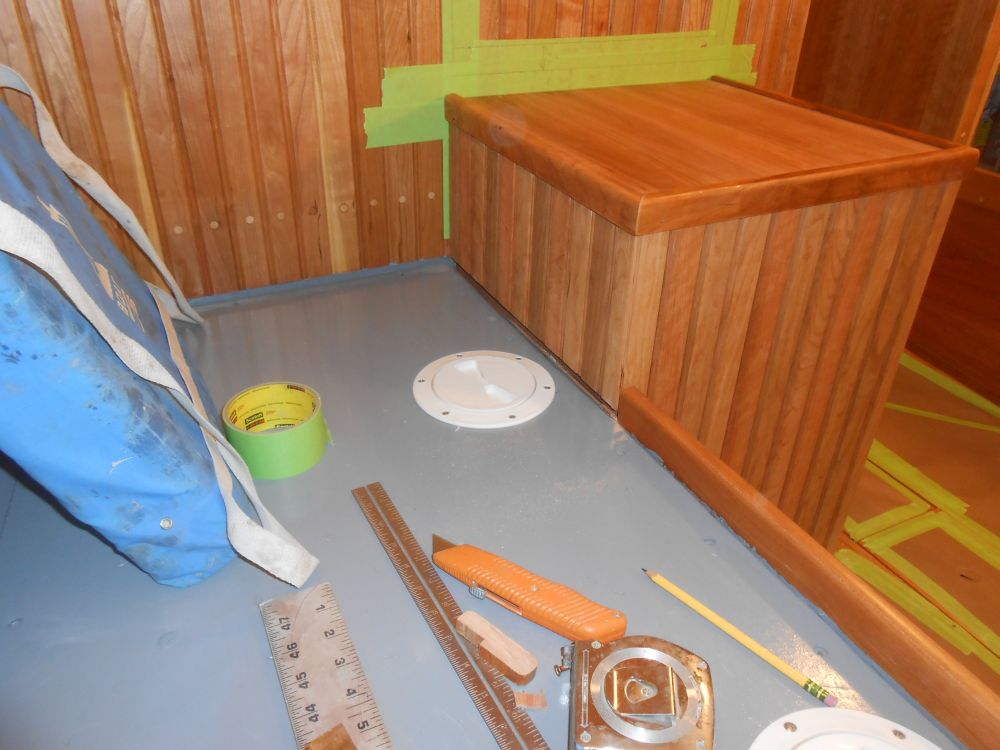
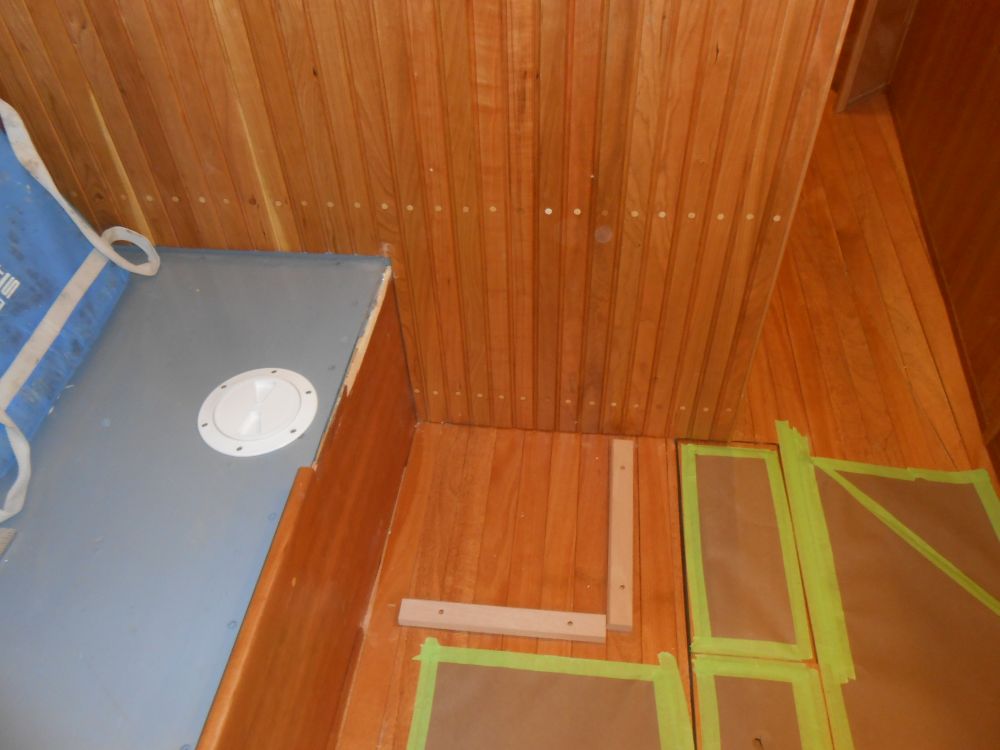
I test-fit the virtually completed woodstove base cabinet in place so I could get final measurements for bulkhead heat shielding, required behind the stove and stove pipe, and also to finalize the details of the installaion. Ensuring the cabinet was level and properly aligned, I secured it temporarily with a few screws before cutting and installing a pair of support cleats on the cabin sole to register and secure the cabinet there as well.
Afterwards, I continued the varnish buildup on the cabinet. I'd complete the varnish work over the next several days before installing the cabinet for good.
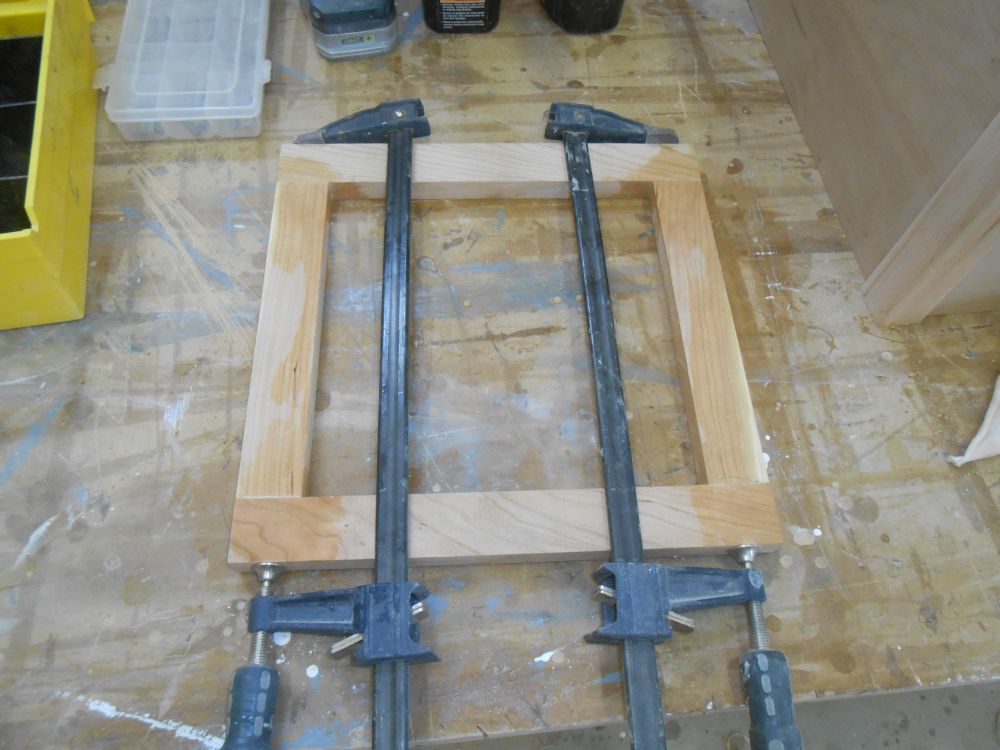
For the cabinet door, I prepared rails and stiles of the appropriate lengths and glued up the frame, setting it aside for now.
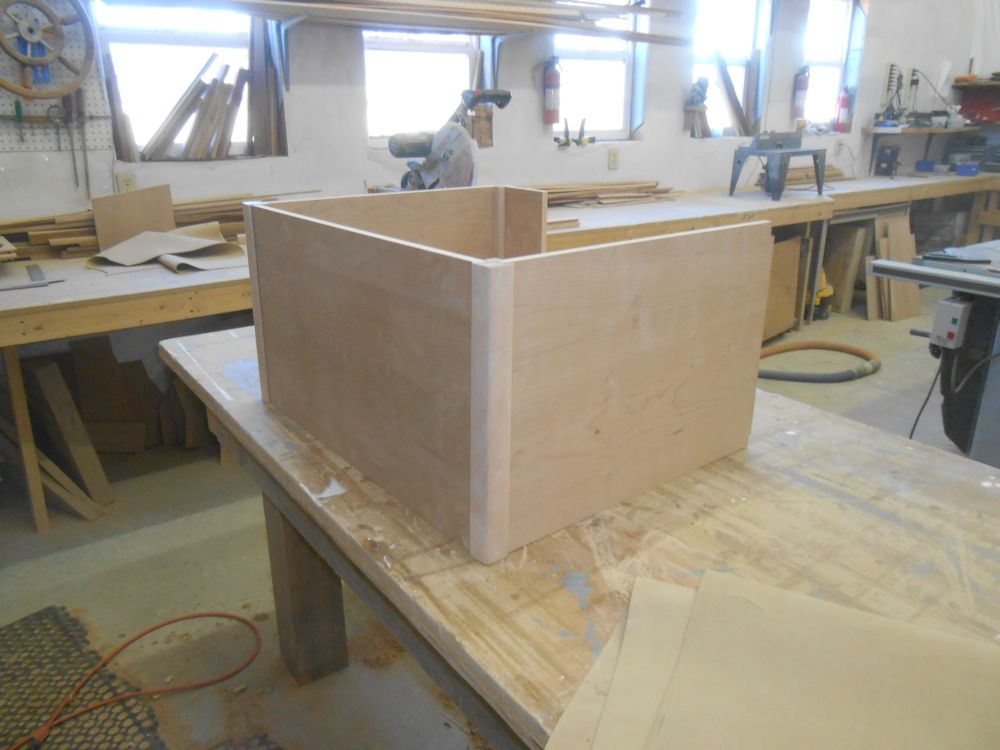
For the engine box, I began by preparing the solid cherry corner trim, which would accept and hide the plywood ends of the panels. I milled dados in two sides of each of the 1-1/2" square blanks I'd made up earlier, creating a 90° corner, then rounded edges and sanded the trim smooth before cutting pieces to the proper size for the cabinet and dry-assembling the piece on the bench.

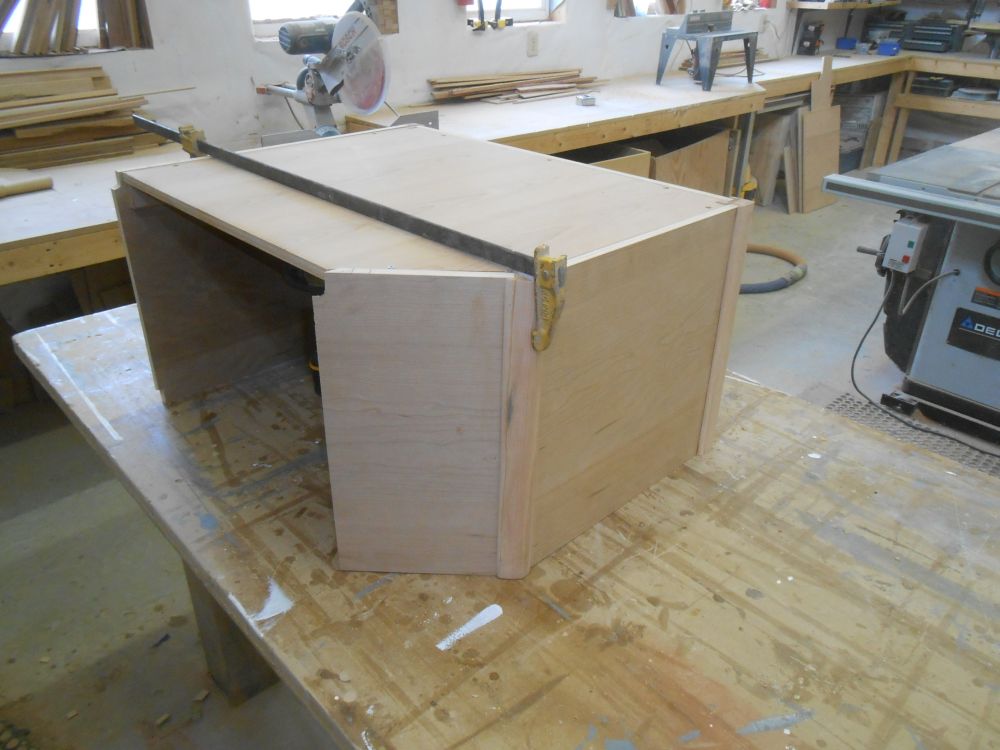
Next, I tested the fit in the boat, and made an adjustment to the length of the longitudinal piece, which was a bit too long. My initial box featured a rectangular shape, with a short leg aft of the settee since the engine room opening extended past, but I found that this blocked the electrical door from opening when the box was in place.
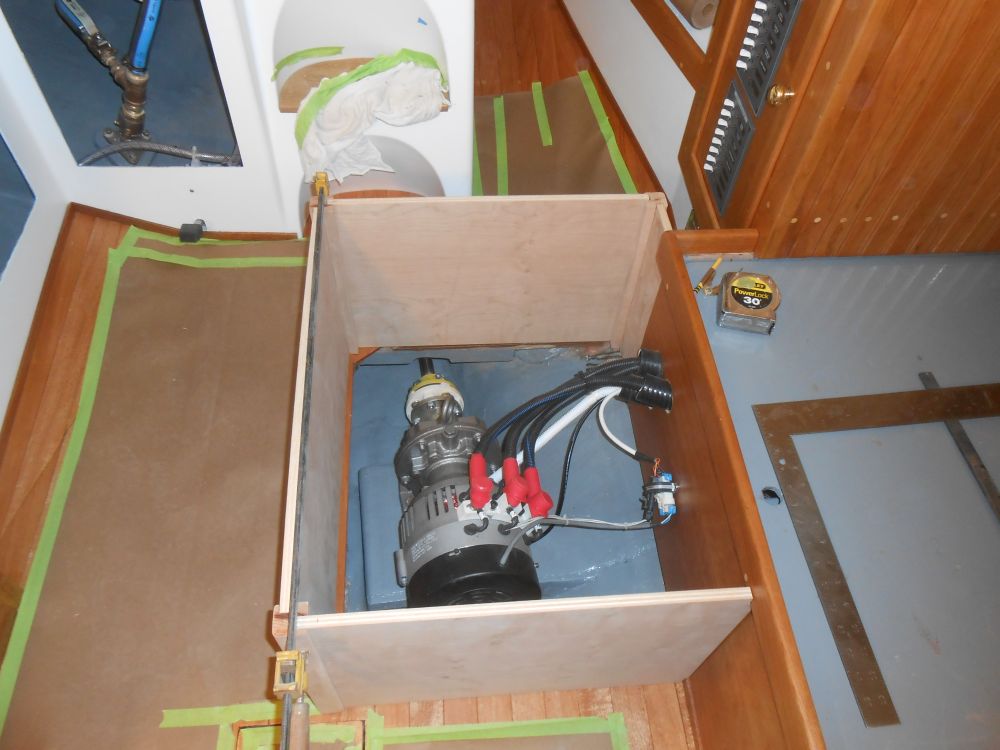
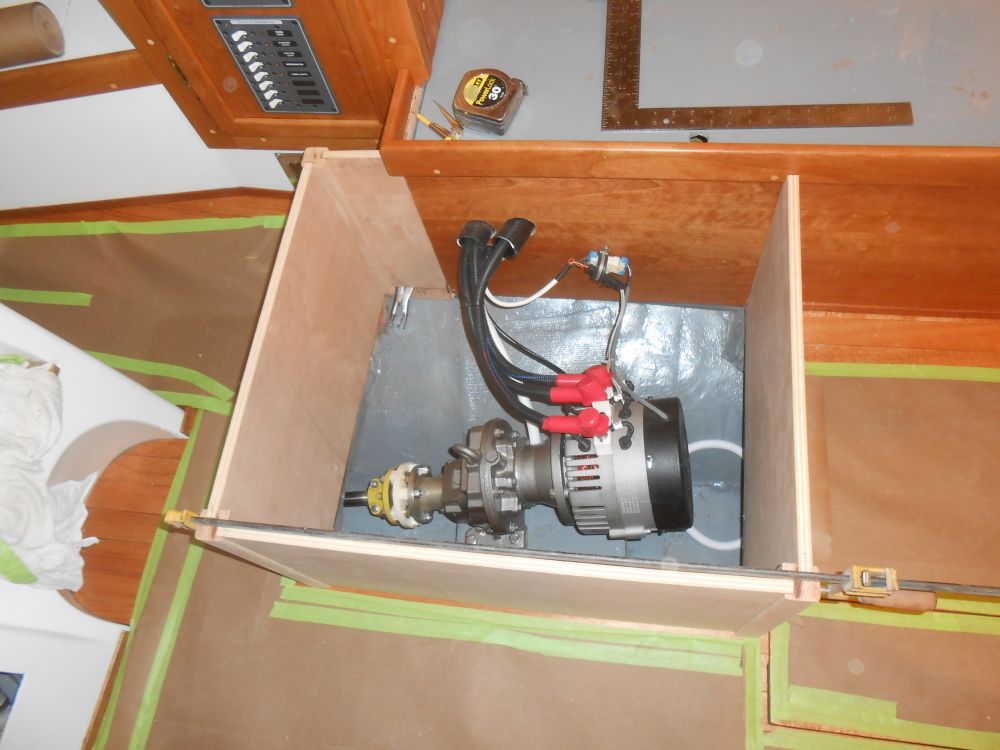
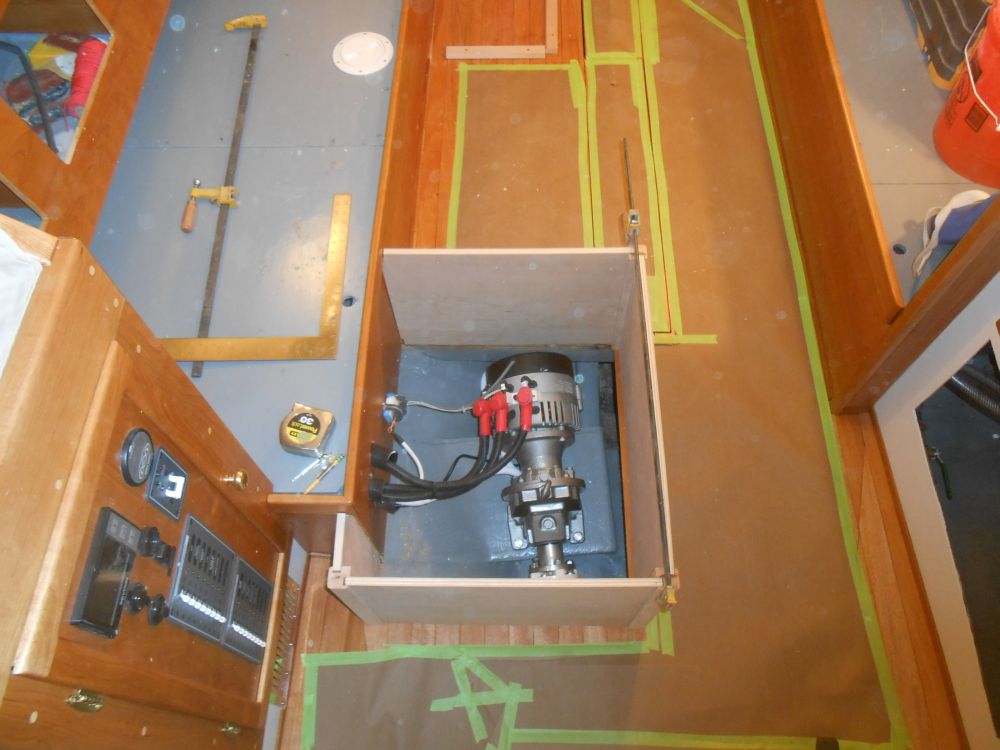
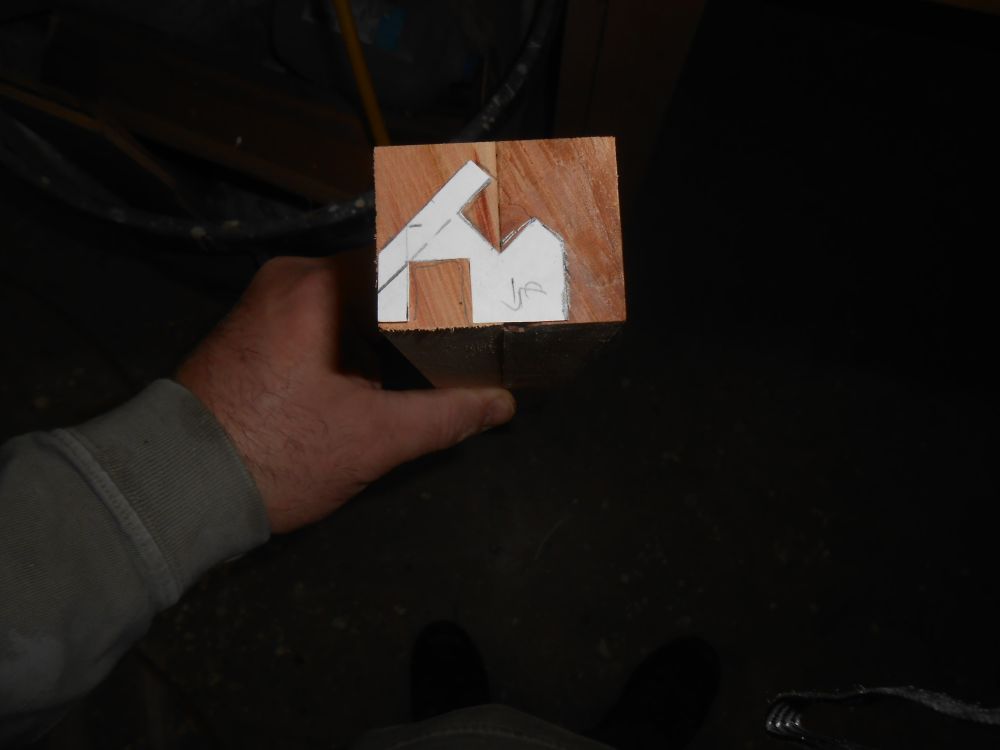
To work around this, I decided to angle the final side, chopping off the corner at such a location as to allow passage of the door, while still bringing the fourth side in to the corner of the settee. This would require a different corner trim piece to form the angle, so after gluing up another blank for the job I sketched out what I wanted the trim to accomplish.
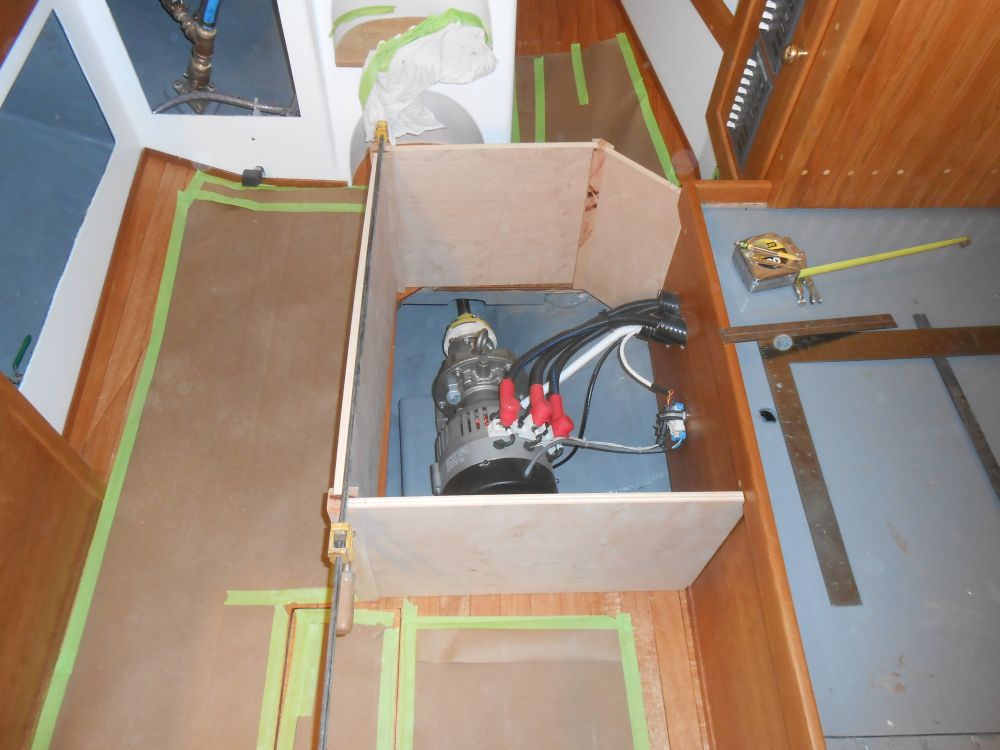
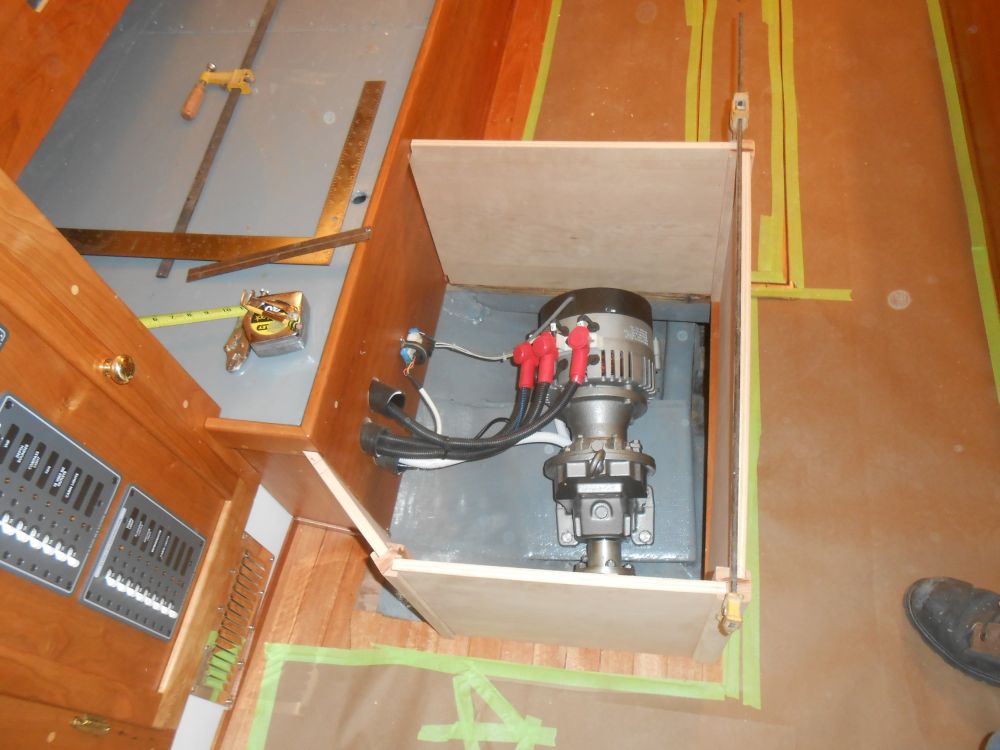
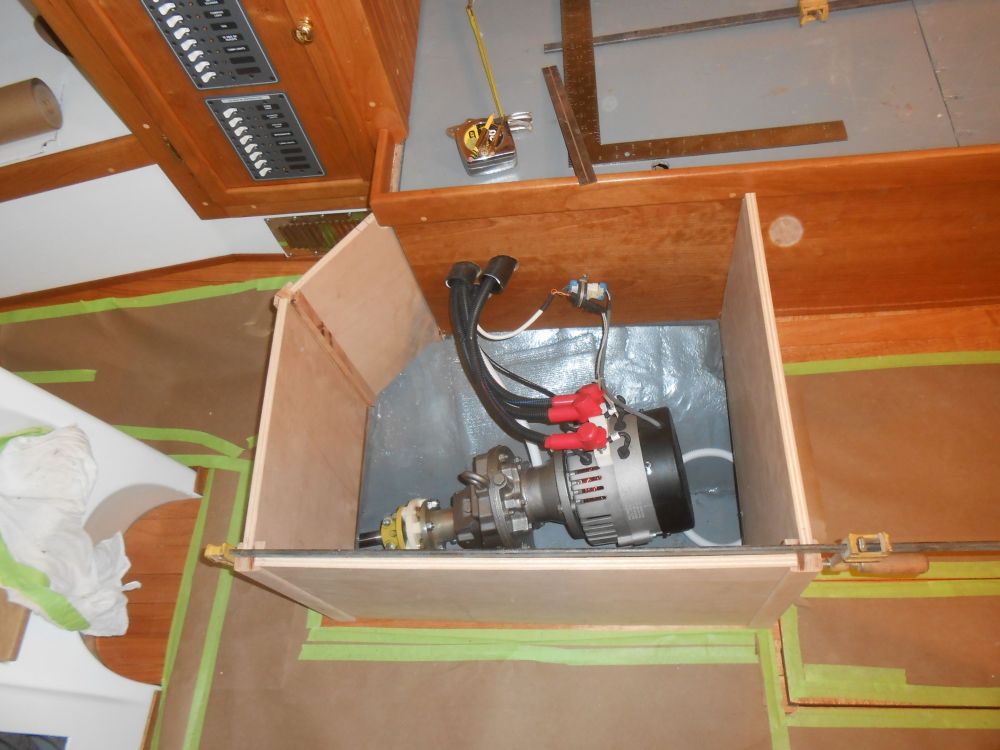
After making the cuts required, with the various pieces in the boat and over several trial cuts, I determined the best position for the final cut on the after side of the engine box, which would allow the final leg to run at the 45° angle into the corner of the nearby settee, while also allowing the electrical door to clear. This left a little opening on the sole where I'd have to fill in a bit, but that was minor.
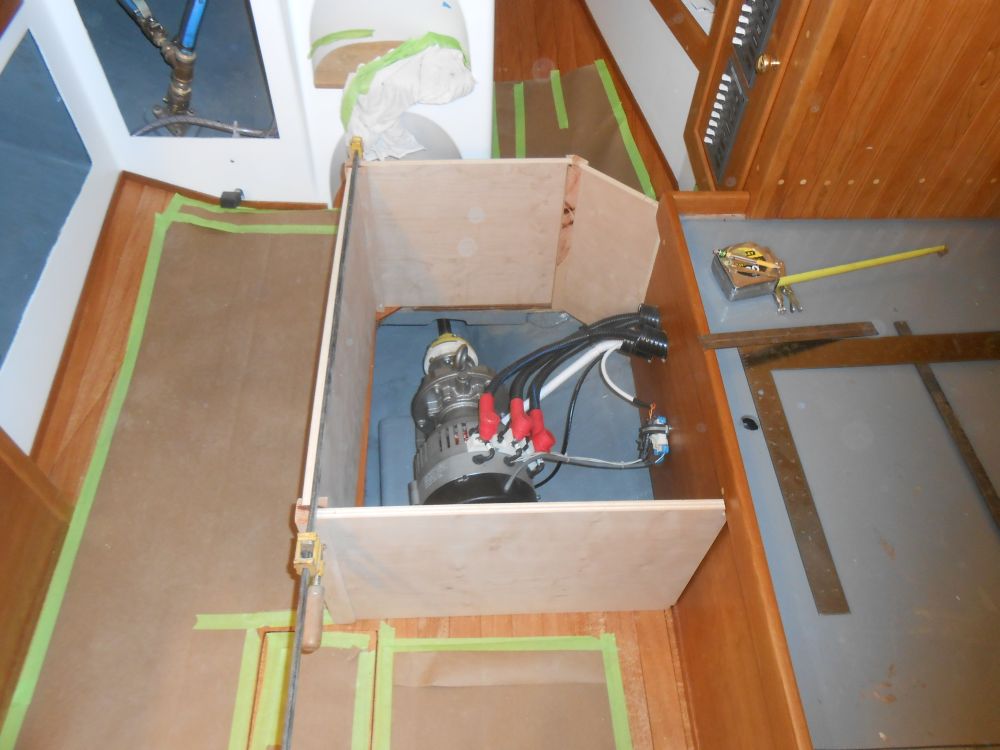
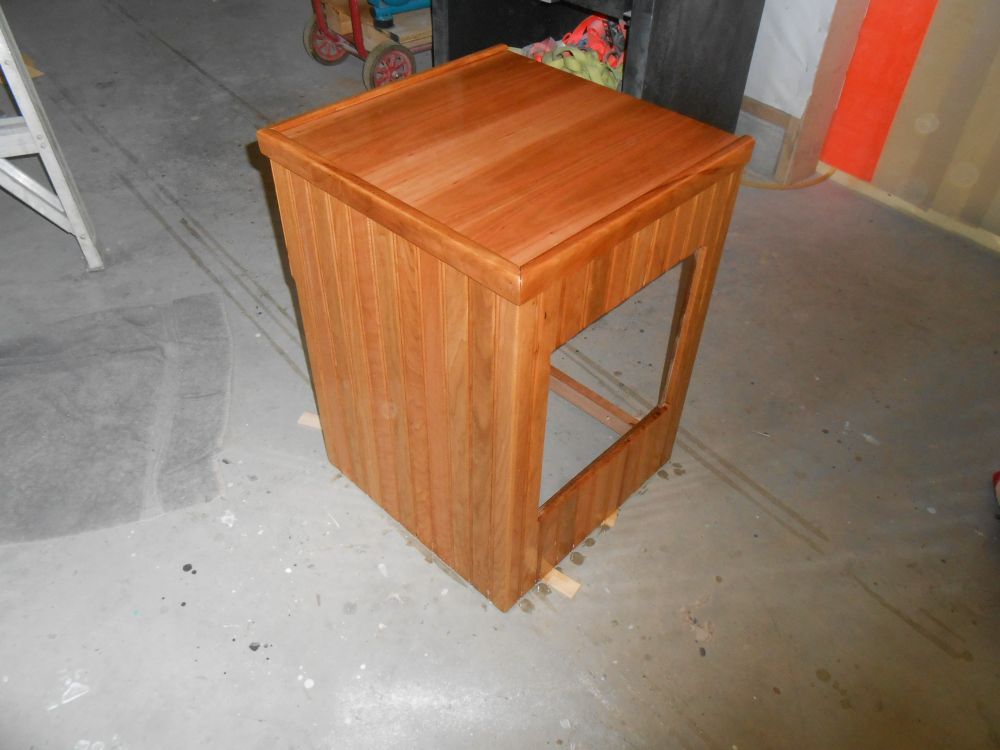
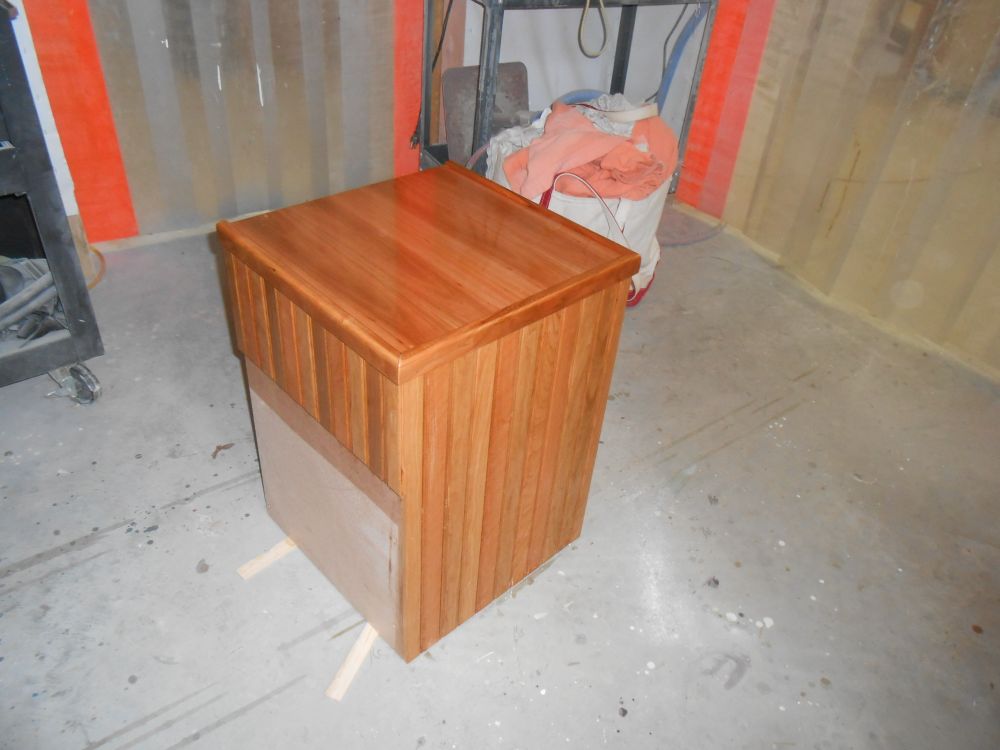
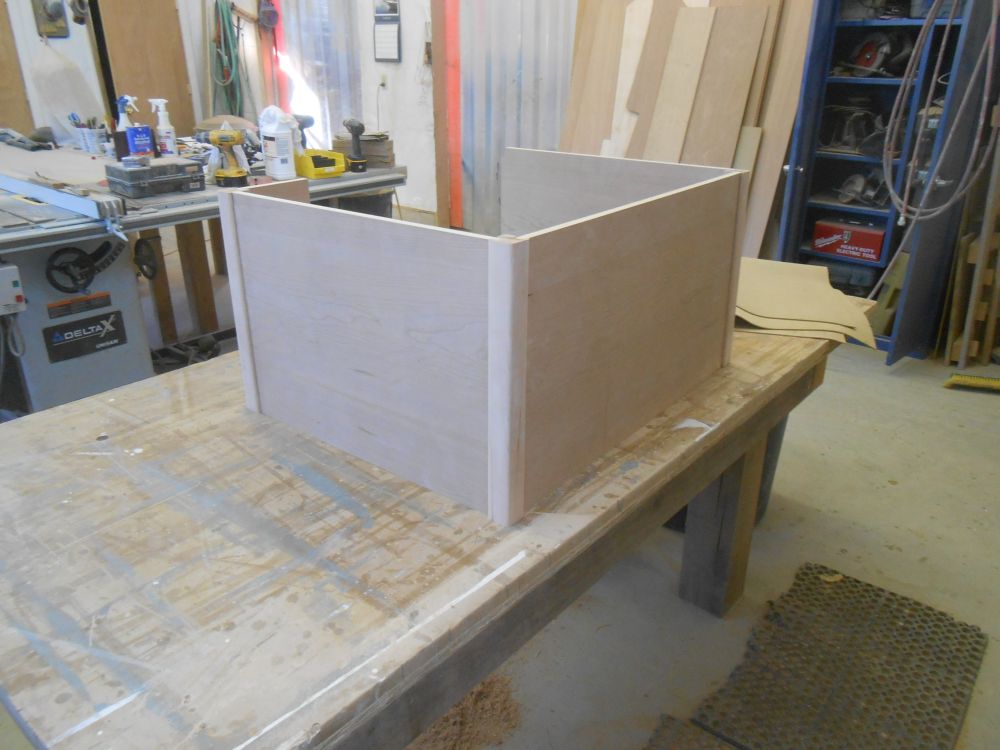
Satisfied with the basic fit, with the engine box back down on the bench I glued up the three main pieces of the box. Then, I cut and installed support cleats within before milling a rectangle of 1/2" plywood for the top, which I secured (for now) with screws to the new cleats to keep the whole box straight and square during gluing.
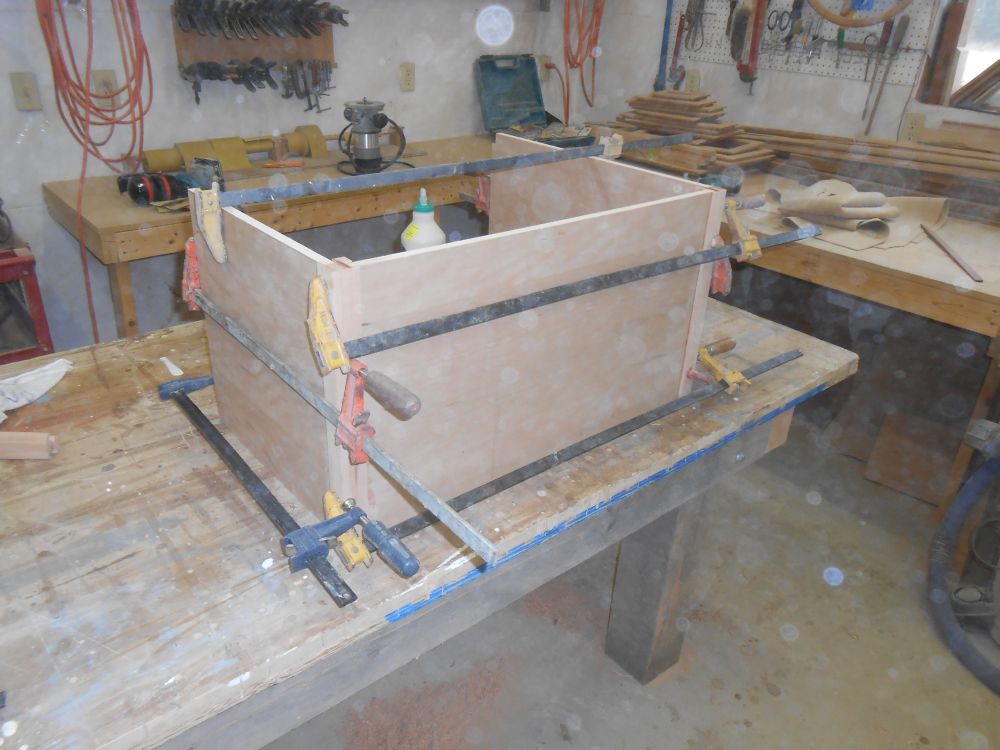
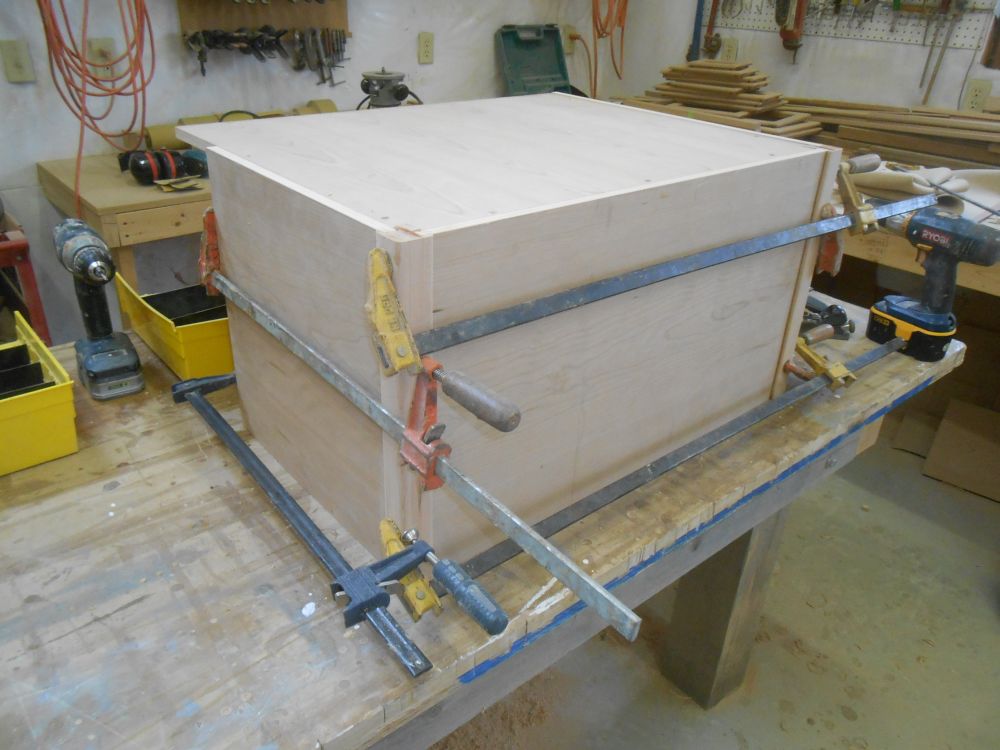

Once the initial joints had cured sufficiently to allow unclamping, I worked on the final, angled section, gluing in the angled corner and final piece of plywood before using them as a guide to trim the plywood top to the appropriate angle.
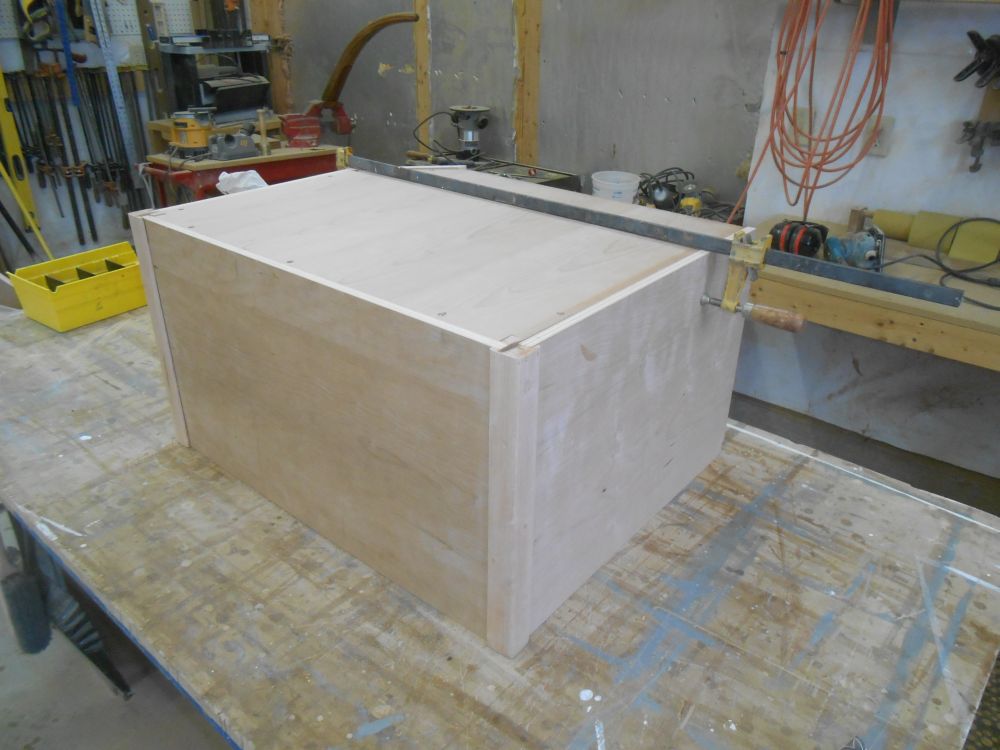
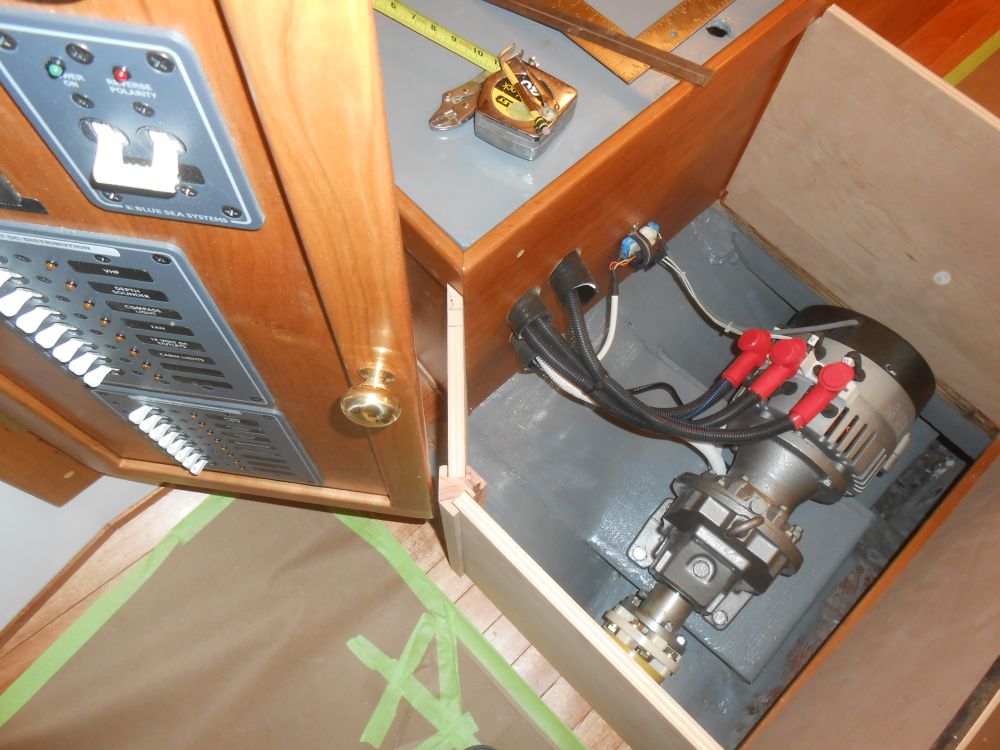
For structural integrity, I planned the top to be an integral part of the box, but to gain access to the space within I intended to install a hatch in the center, necessary since a ventilation fan required for the electric motor would need to be unplugged first to allow the whole box to be removed for servicing. But I left those remaining details for another time while I let the glued-up box fully cure. The top would feature a cushion to match the remaining upholstery, surrounded by a cherry fiddle like other areas.
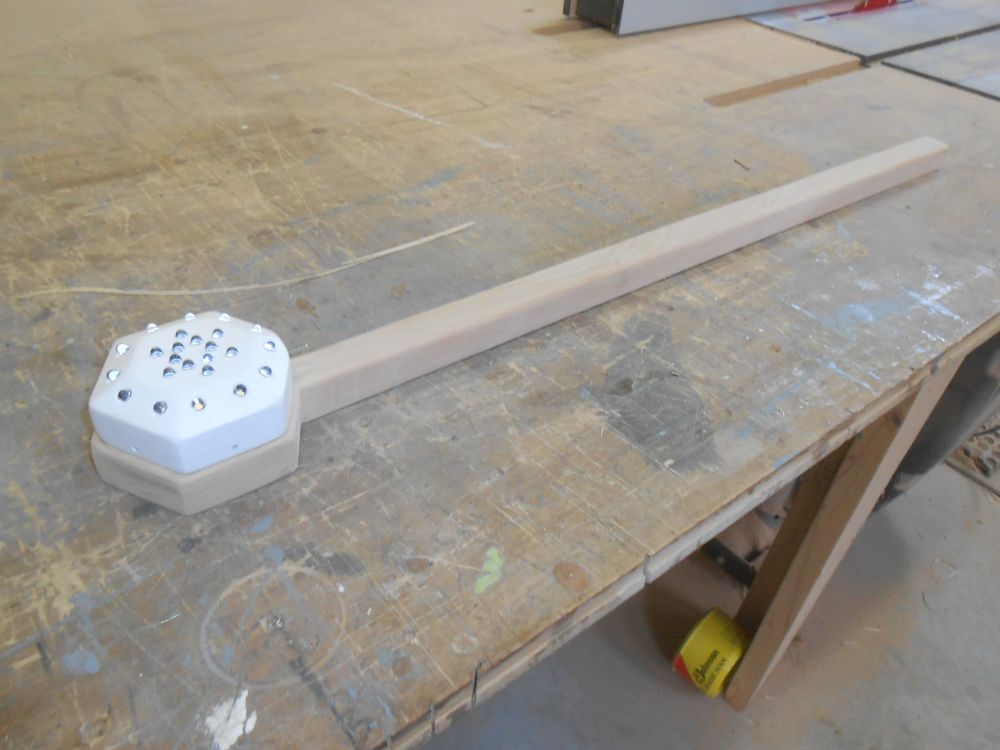
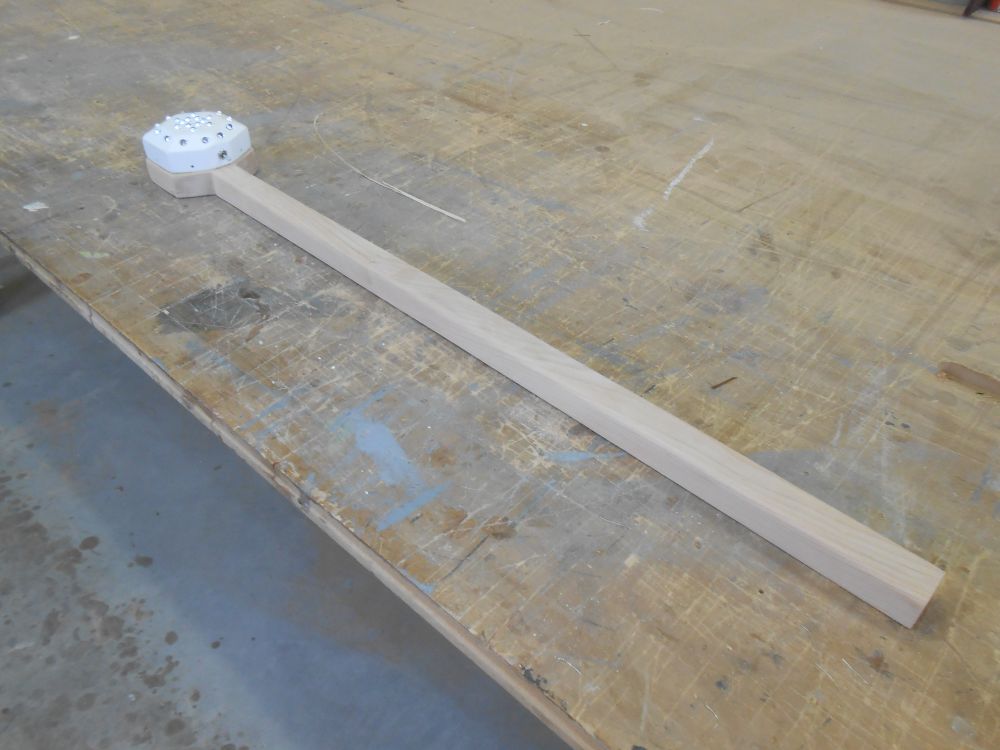
To round out the day's work, I made up a section of wire chase trim for the head overhead light fixture. With no way to get wires within or above the overhead liner there, I'd have to run them externally. I planned to use flexible wire duct to lead the wires from the junction box near the sole up behind the mast in the corner, but where the wires would eventually run out to the roughly centered light fixture I wanted something more finished-looking.
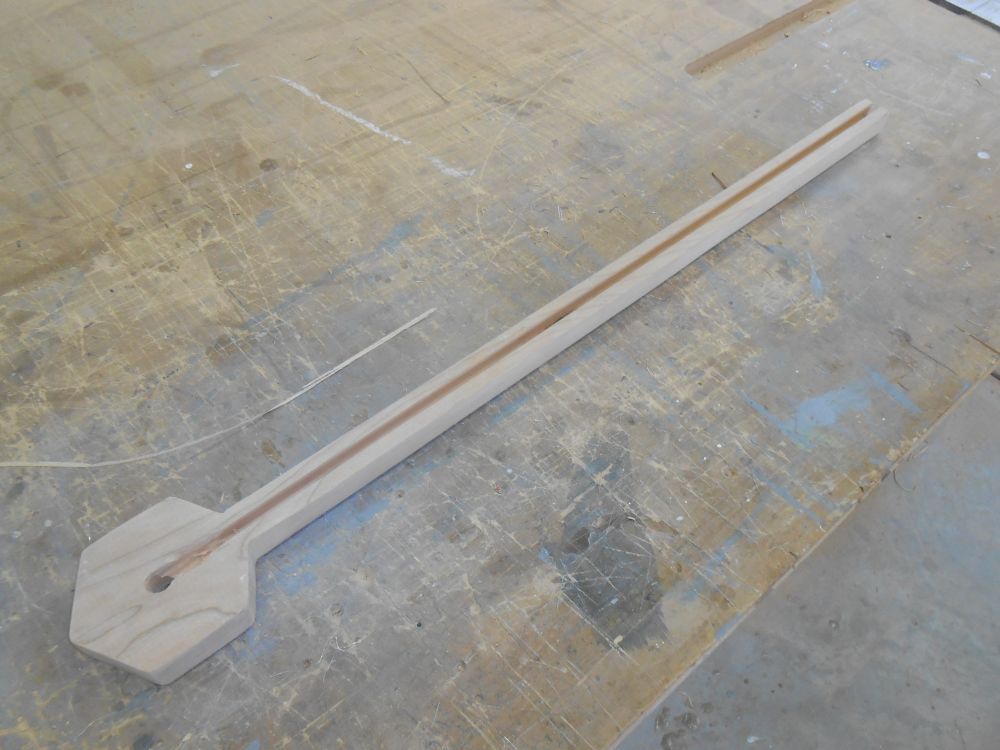
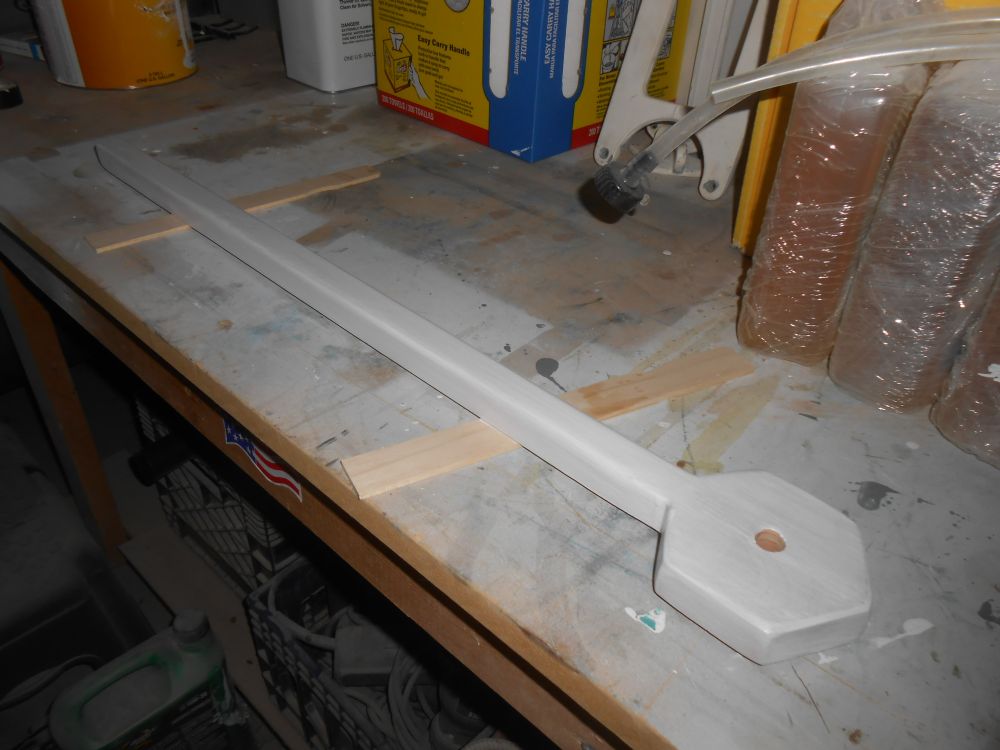
To that end, using the light fixture as a guide, I built a lollypop-shaped trim detail from solid wood, with a base area to accept the light fixture leading into a narrower length of trim for the wire chase itself. Not knowing the final length, I made the piece overlong for now, and would later trim it to length. On the underside, I milled a groove for the wiring. After a light sanding, I applied a coat of primer, since I'd paint the trim white to match the light and the overhead.
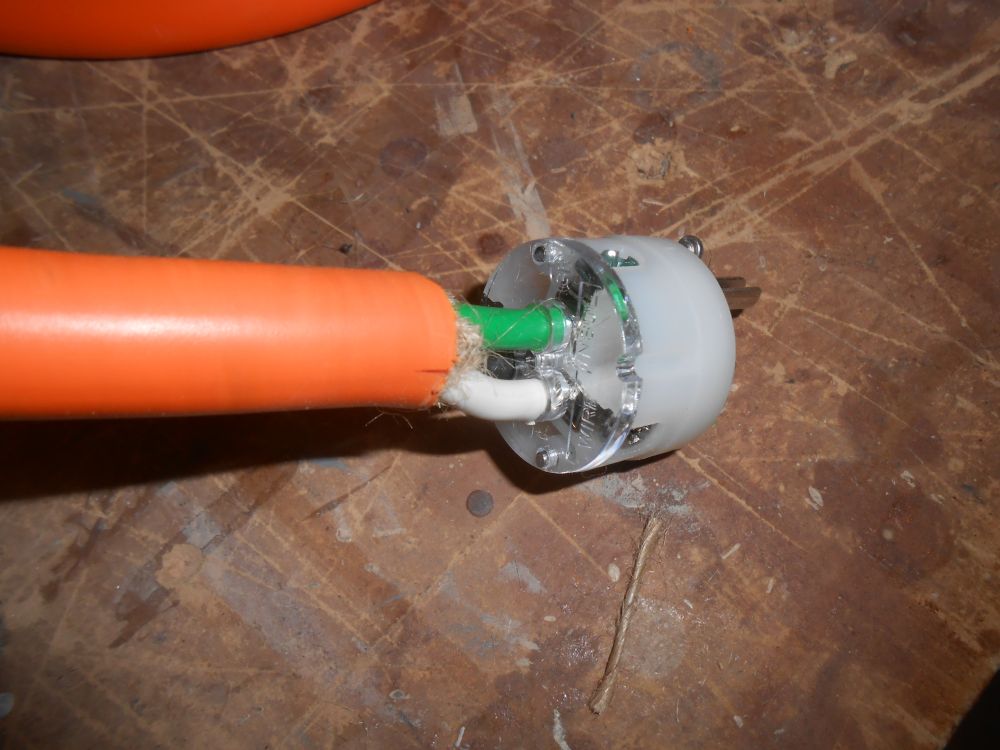
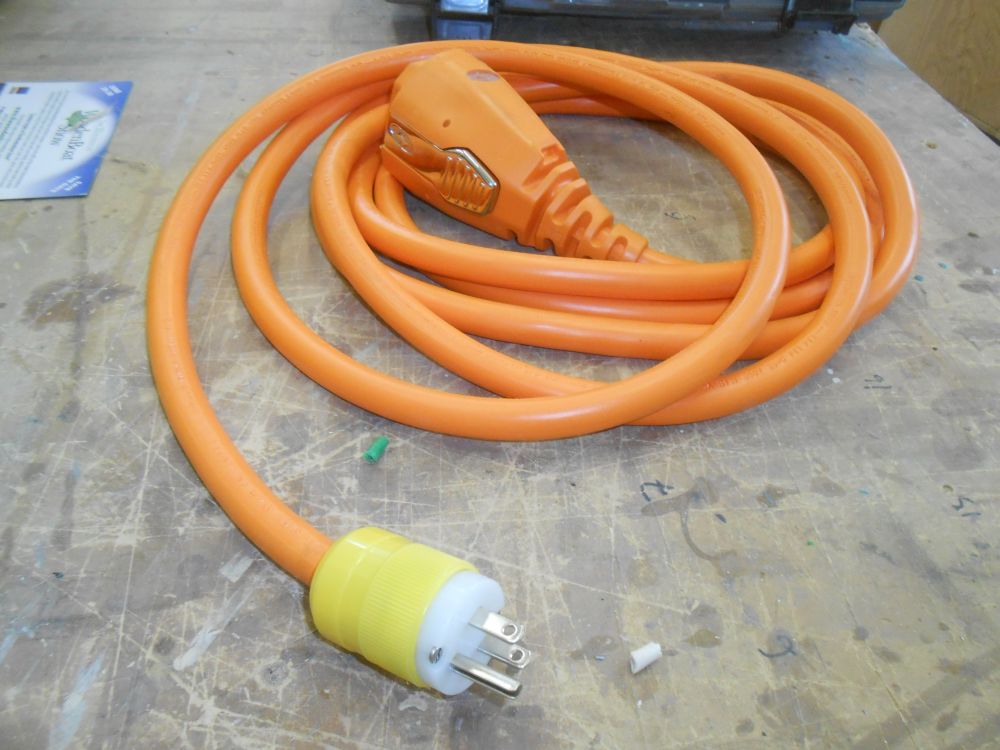
In order to connect the portable generator with the ship's electrical system for charging purposes, the owner specified a length of cord with one end to fit into the shore power receptacle, and a bare second end to which I installed a plug suitable for the generator end, which was just a normal 15A household-type plug.
Total Time on This Job Today: 8 hours
