
110 Cookson Lane | Whitefield, ME 04353 | 207-232-7600 | tim@lackeysailing.com
Snow Lily | Friday, March 1, 2013
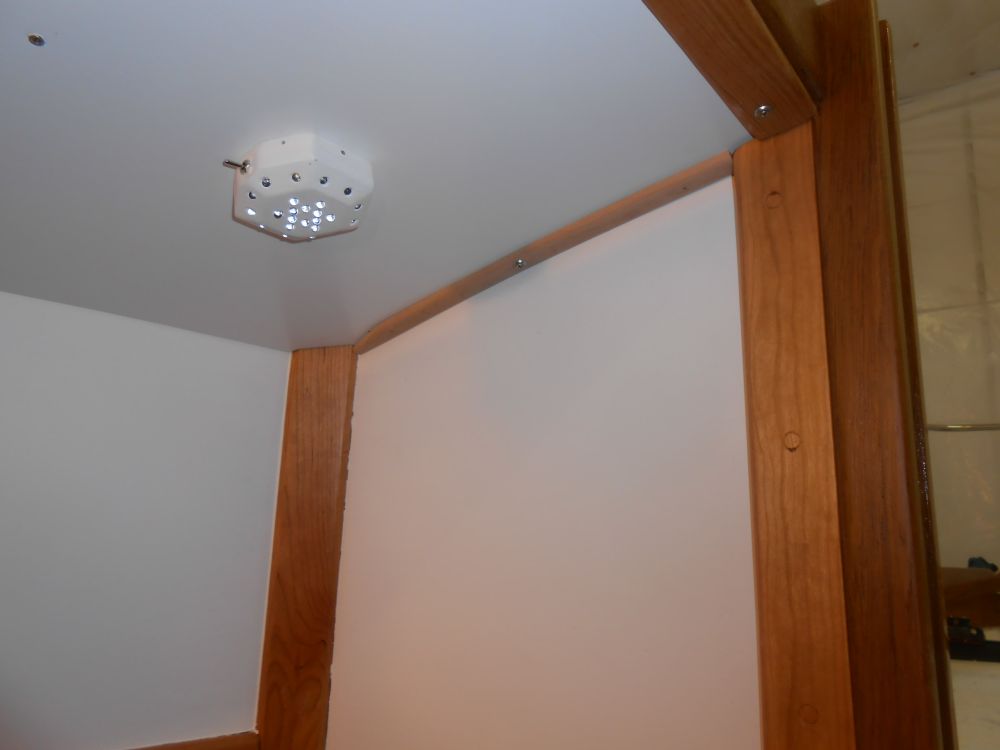
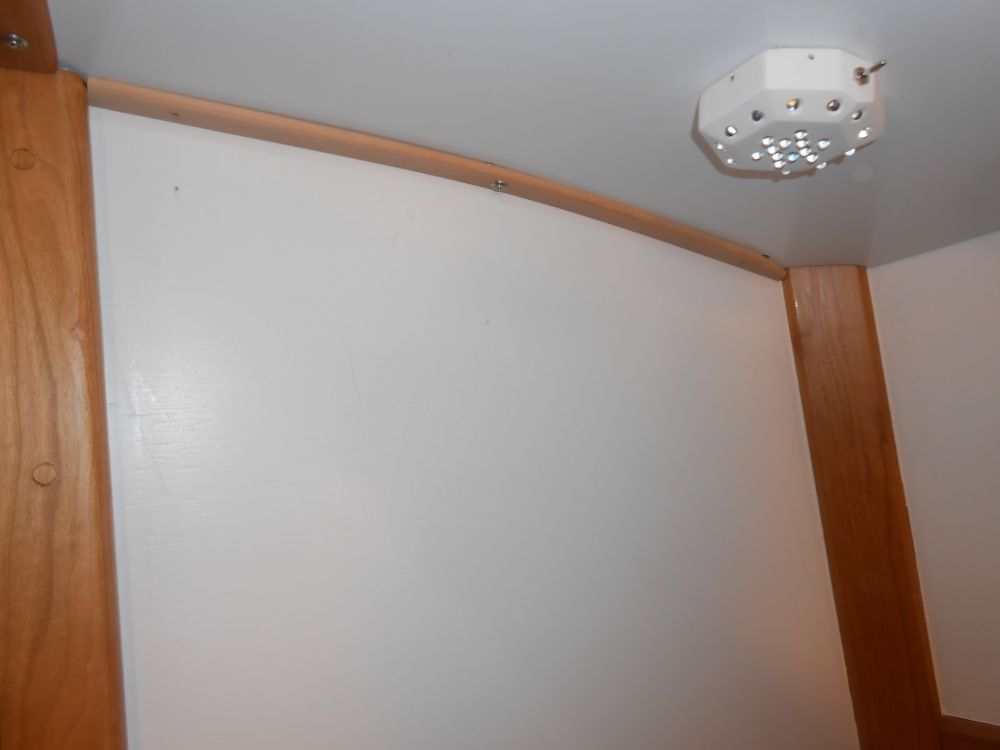
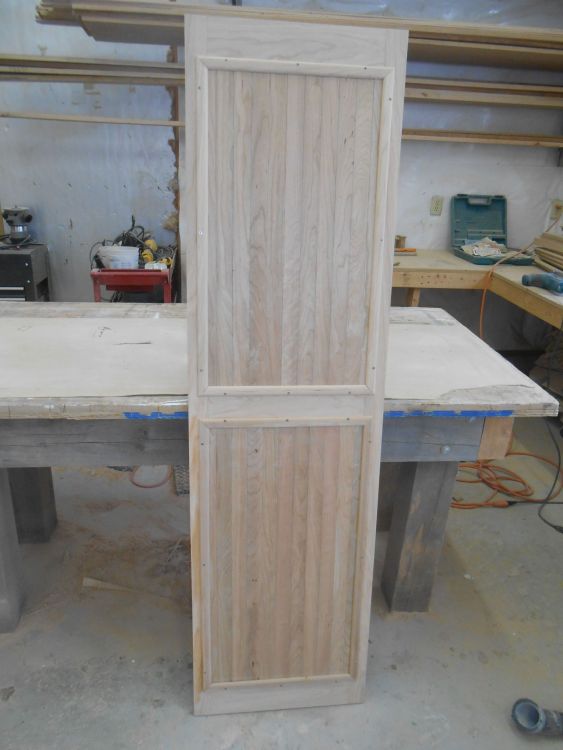
I spent the first part of the morning milling and sanding various slim trim blanks, which I'd use for the after overhead trim and to trim out and secure the beadboard panels within the head door frame.
Once I'd completed the lengths of trim, with two different profiles for the two tasks at hand, I cut and fit two sections for the overhead, temporarily securing them to check the fit before removing them for finish.
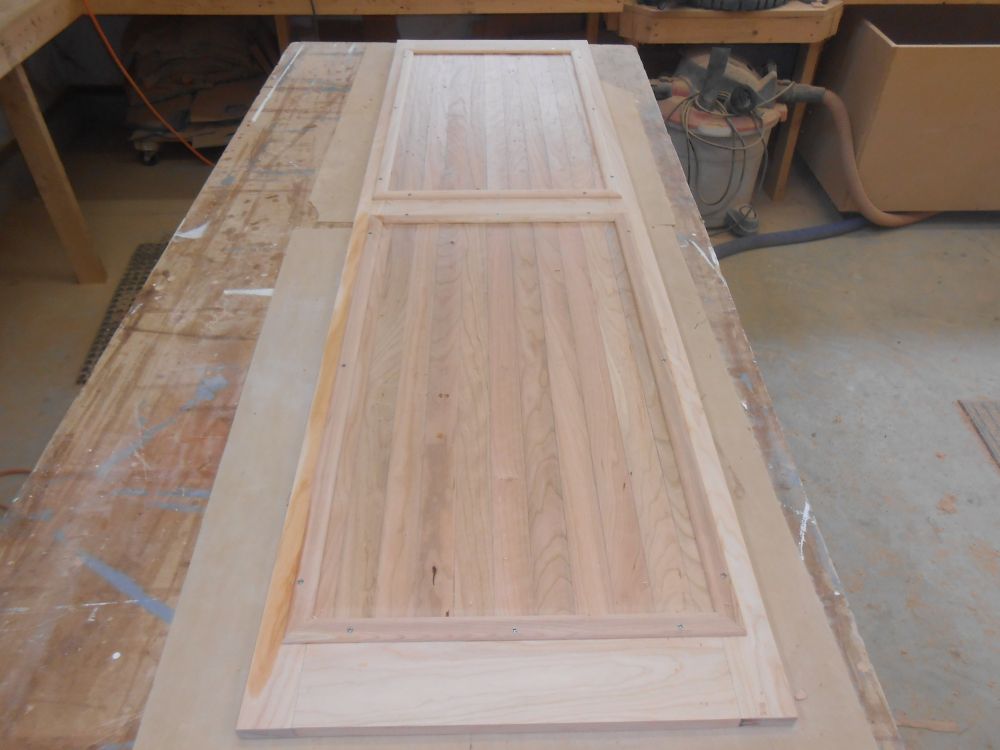
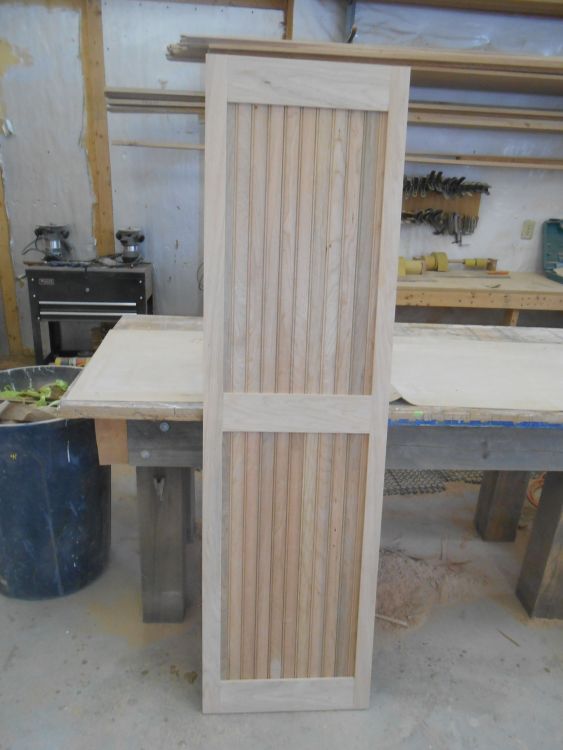
To install the panels in the head door, I used 1" wide trim to frame them in from the back side. The panels rested flush in a rabbet in the door frame, and the trim, which I secured with screws, overlapped the panels to hide the seam and also secure the panels in place. After a light sanding to remove any last pencil marks, the door was ready for the varnish room. I think the door is upside down in the photos below.
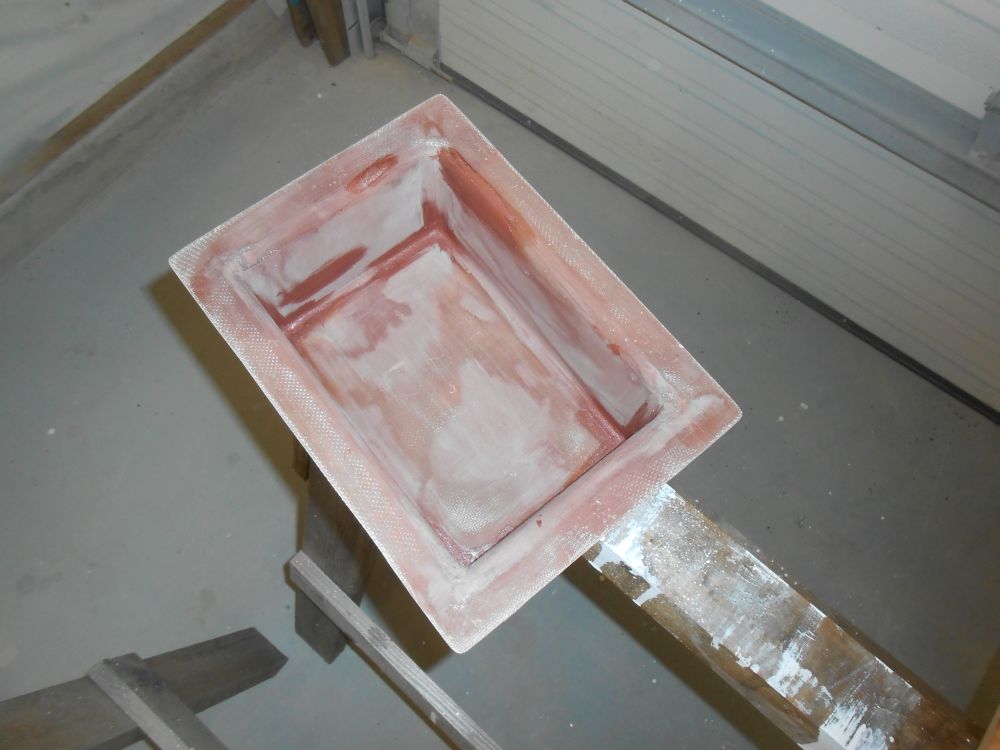
I continued work on the throttle control enclosure. The deep inside corners needed just a little more touch-up to smooth them, so after sanding I applied a little more fairing compound to those areas, which hopefully would mean the piece was ready for primer and paint next time.
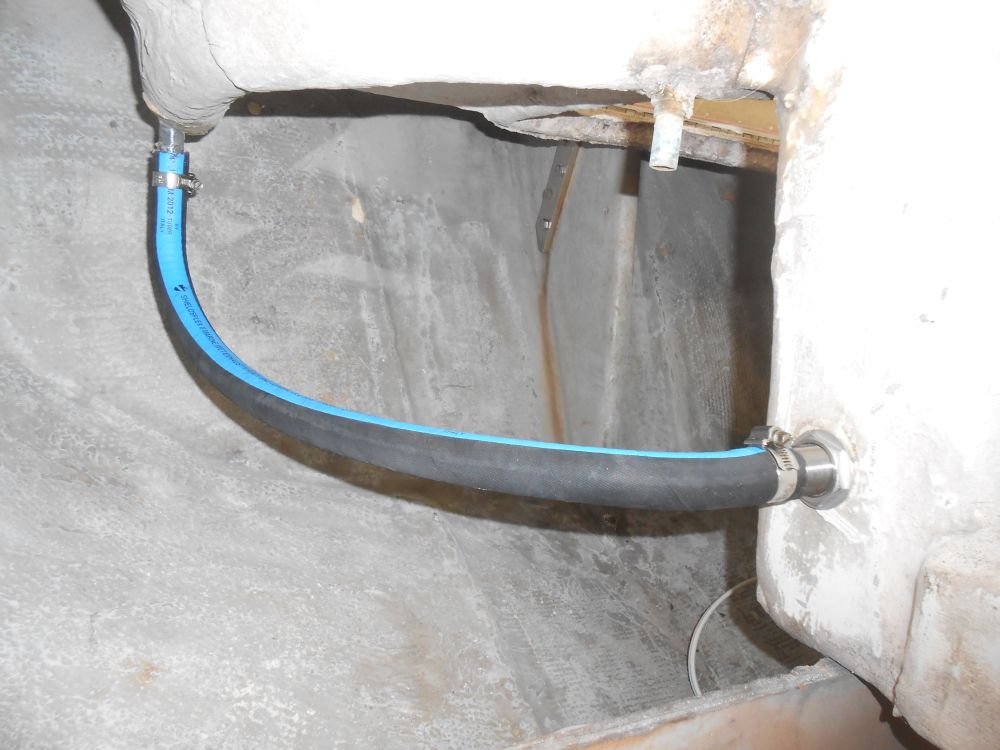
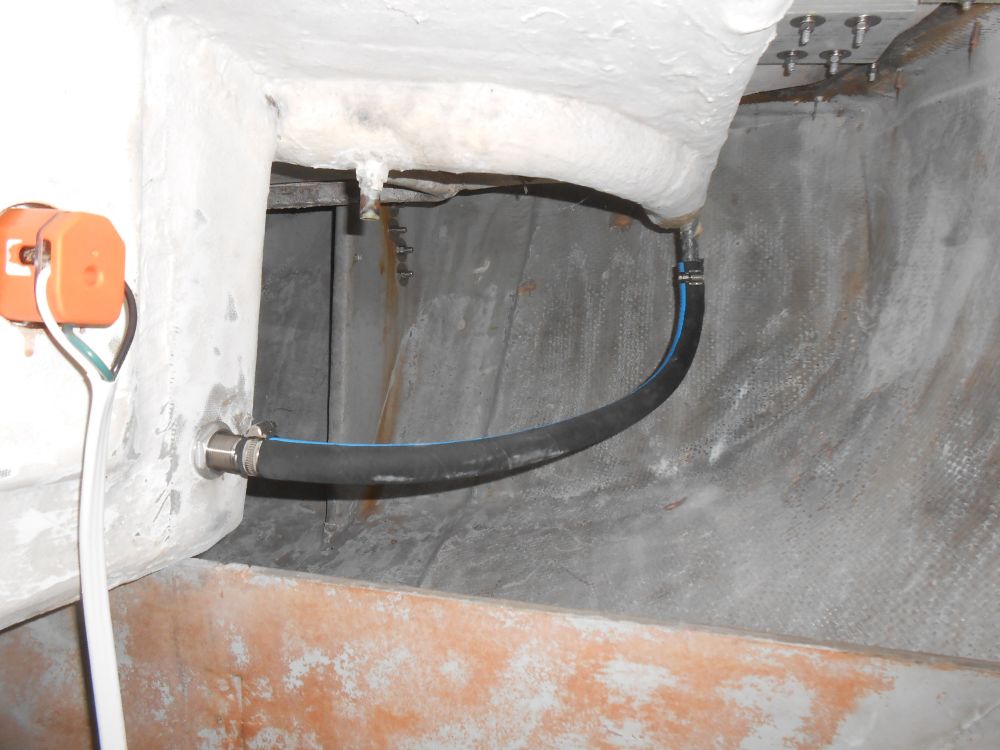
The long drain gutters outboard of the cockpit seats ended at a pair of drains at the aft end, a modification I'd made much earlier in the project. This simplified the overall drains system, and I hoped would make it more reliable than the old convoluted system using molded channels beneath the cockpit to send the water to tiny limbers in the lazarette hatch's drain channel.
To complete the new drains setup, I installed new stainless steel barbed fittings through the cockpit well, at the aft end and using holes that were leftover from similar fittings that had been in place there when the boat arrived here.
I connected the fiberglass drain tube at the gutter with the new cockpit fittings with lengths of reinforced hose, completing the project.
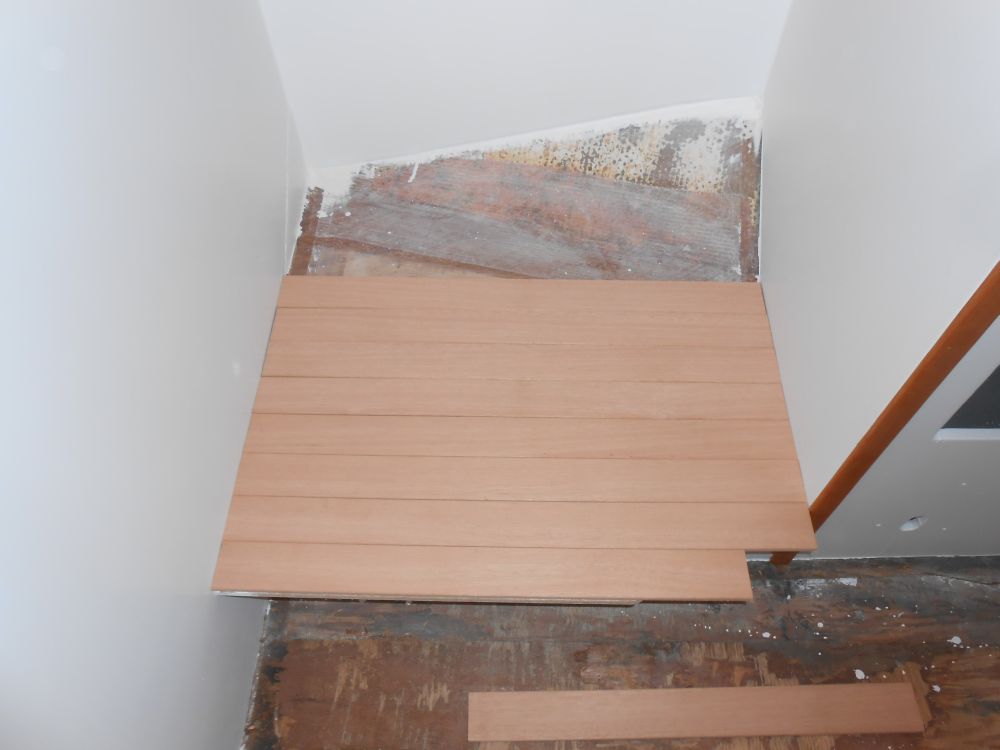
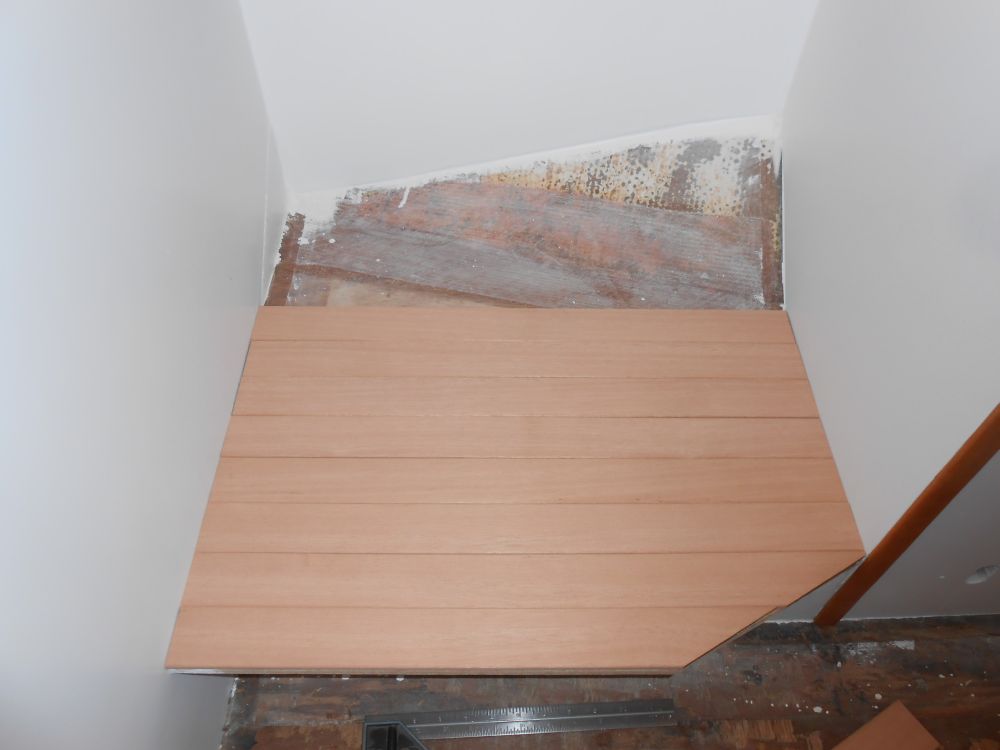
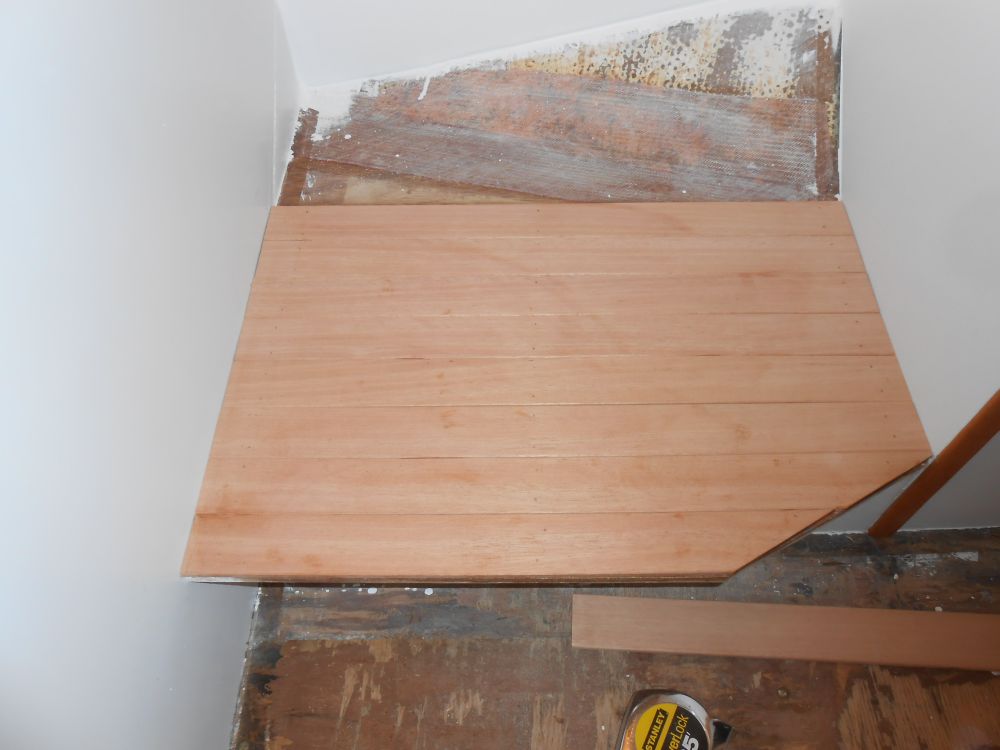
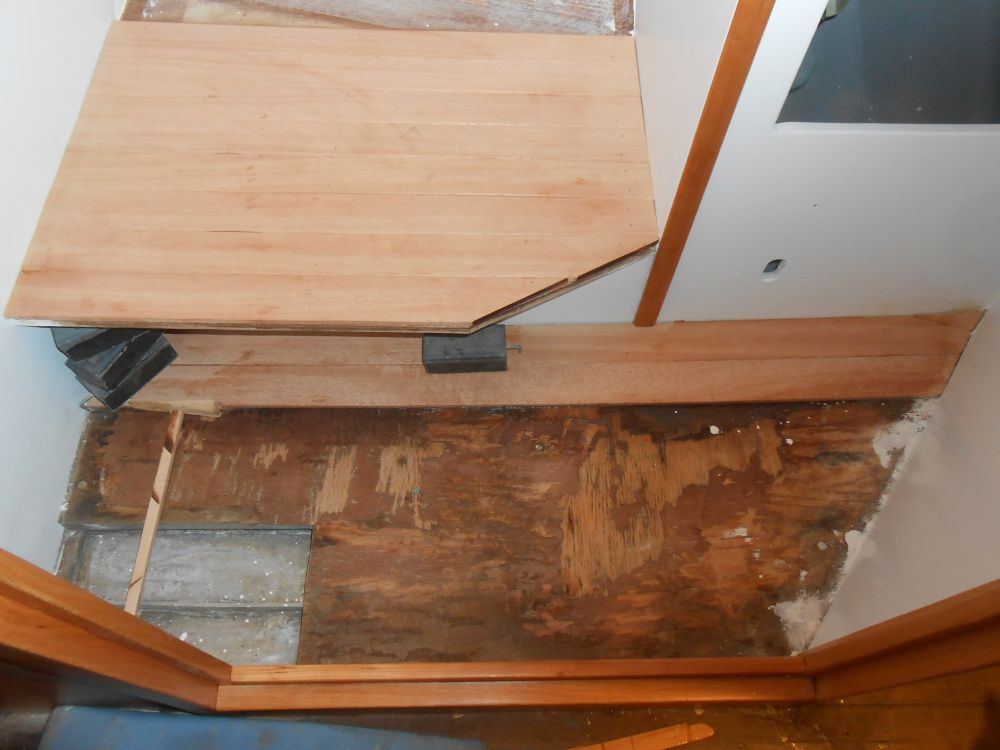
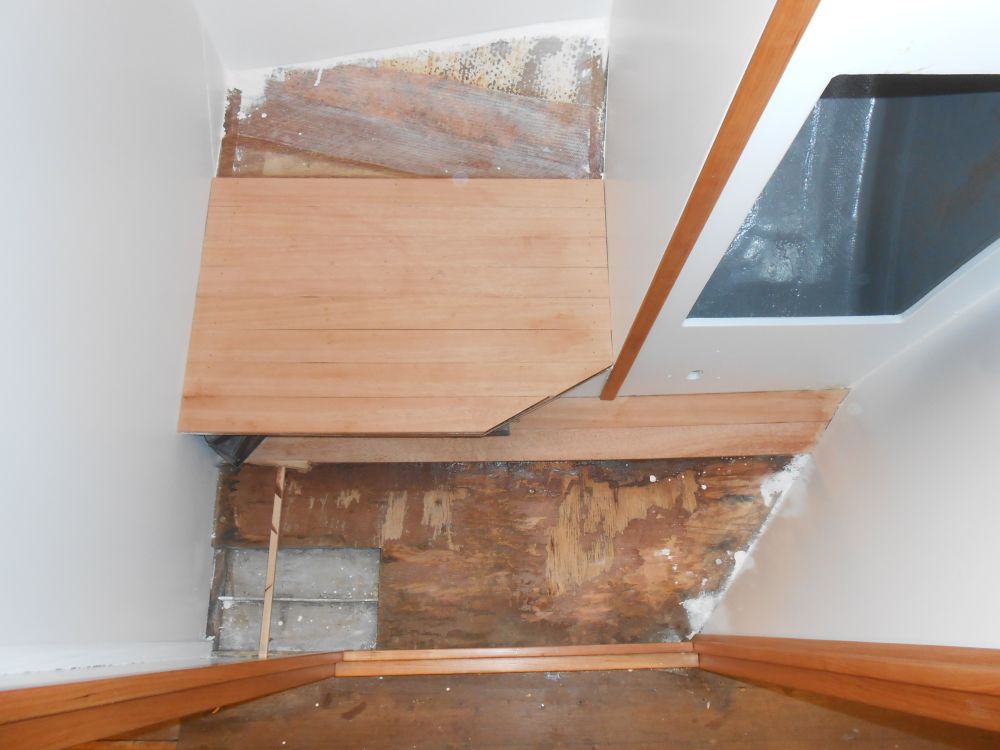
I decided to try my hand at cabin sole installation in the head, a difficult space in which to work but a good area to try out the process. I started with the head platform. After cleaning the substrate, I prepared several lengths of the sole material cut to fit in the space, which fortunately was essentially square, other than the angle at the aft end and the section of exposed hull. Working from the overhanging inboard end, I laid out all the straight pieces, leaving the angles and hull area for the moment. I let the two innermost planks run wild over the angled corner of the platform, then marked them and cut them to the angle as needed. The raw edges would be covered with some trim later.
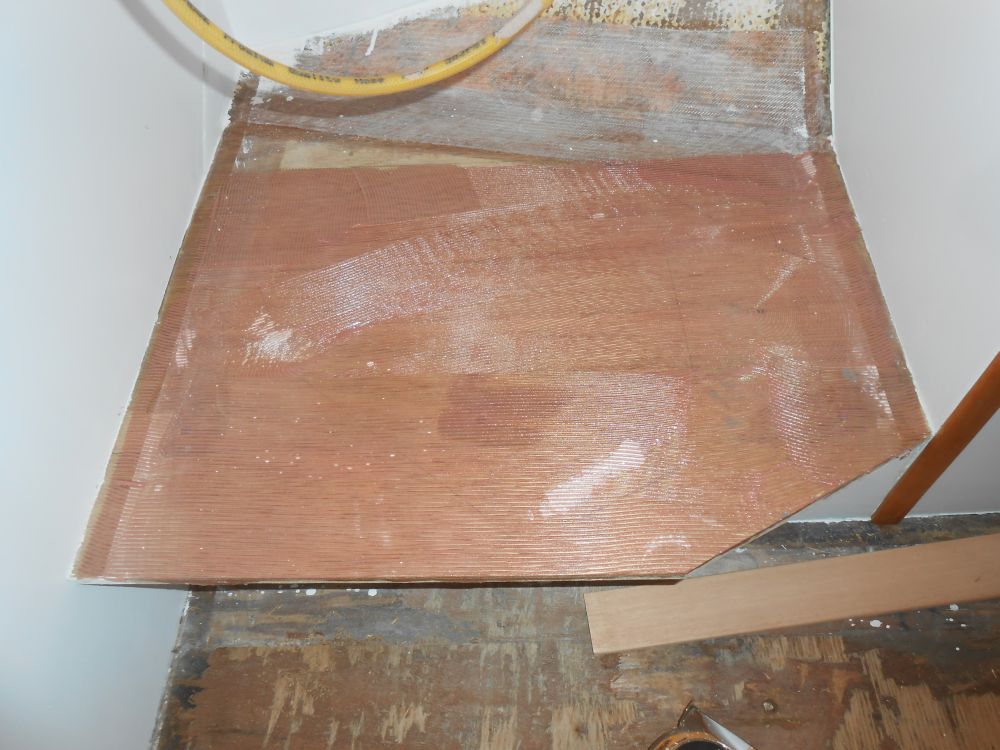
I installed the sole in a bed of epoxy adhesive, spread with a notched trowel, and SS brads. Then, I got a start on the lower section of the head sole, and cut and fit the first two lengths of mahogany against the cabinetry. Where I couldn't install brads, I used some weights to hold the sole in the adhesive. I'd continue in the space next time, but for now I had to clean up the shop from the last couple weeks' efforts.
Total Time on This Job Today: 7.75 hours
