
110 Cookson Lane | Whitefield, ME 04353 | 207-232-7600 | tim@lackeysailing.com
Snow Lily | Thursday, January 17, 2013
To begin, I lightly sanded the overhead, then applied a second coat of semi-gloss enamel.
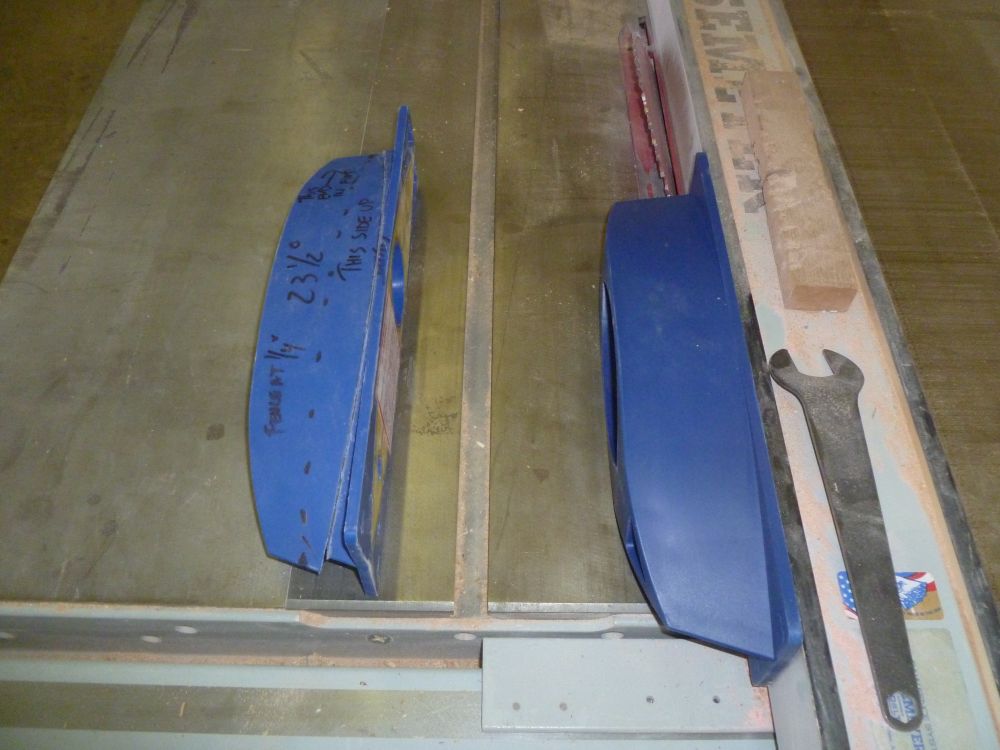
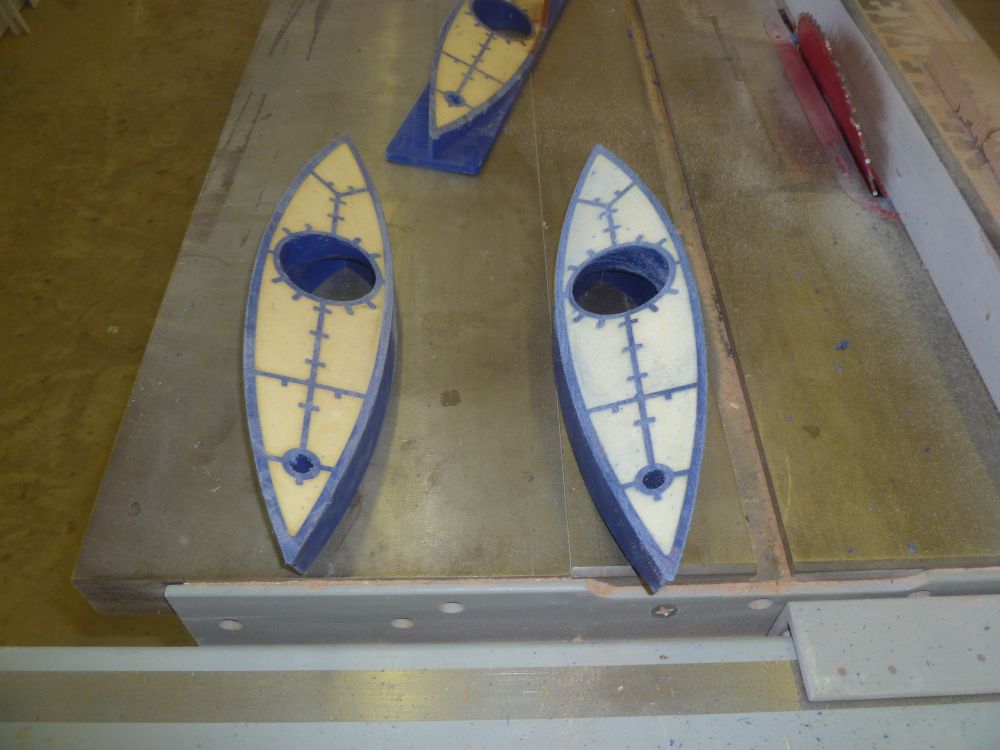
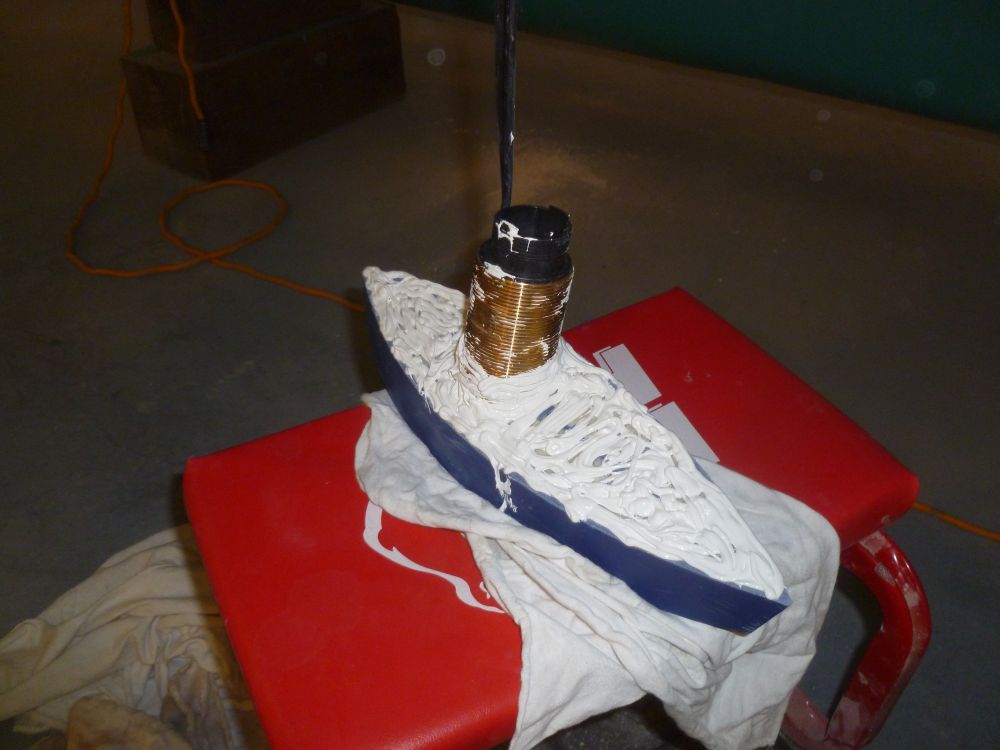
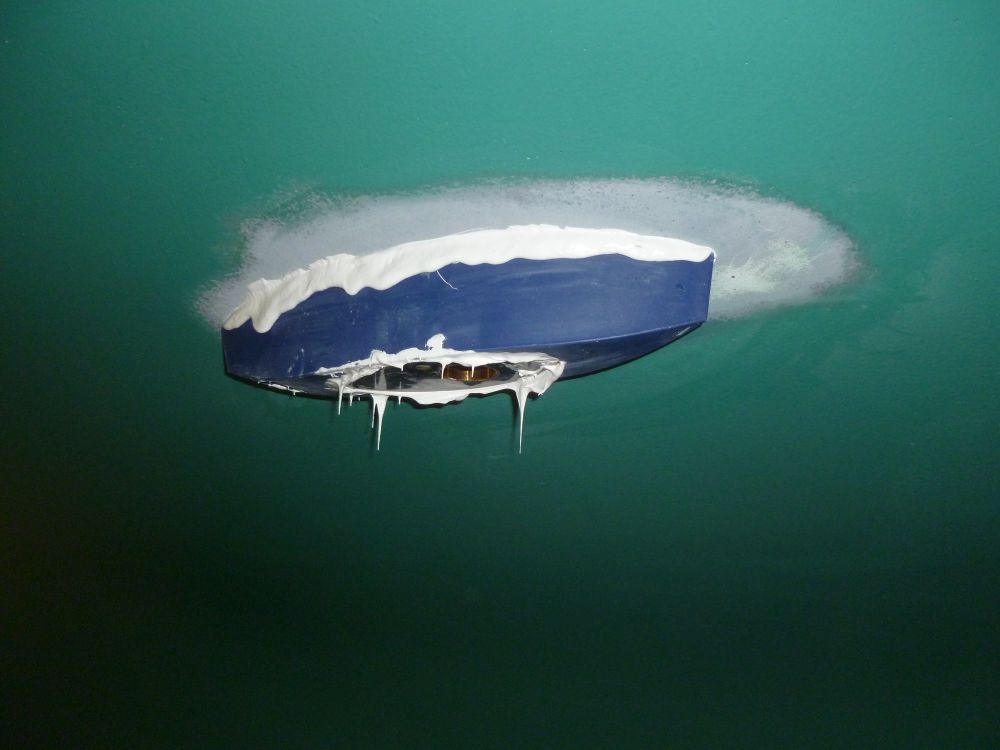
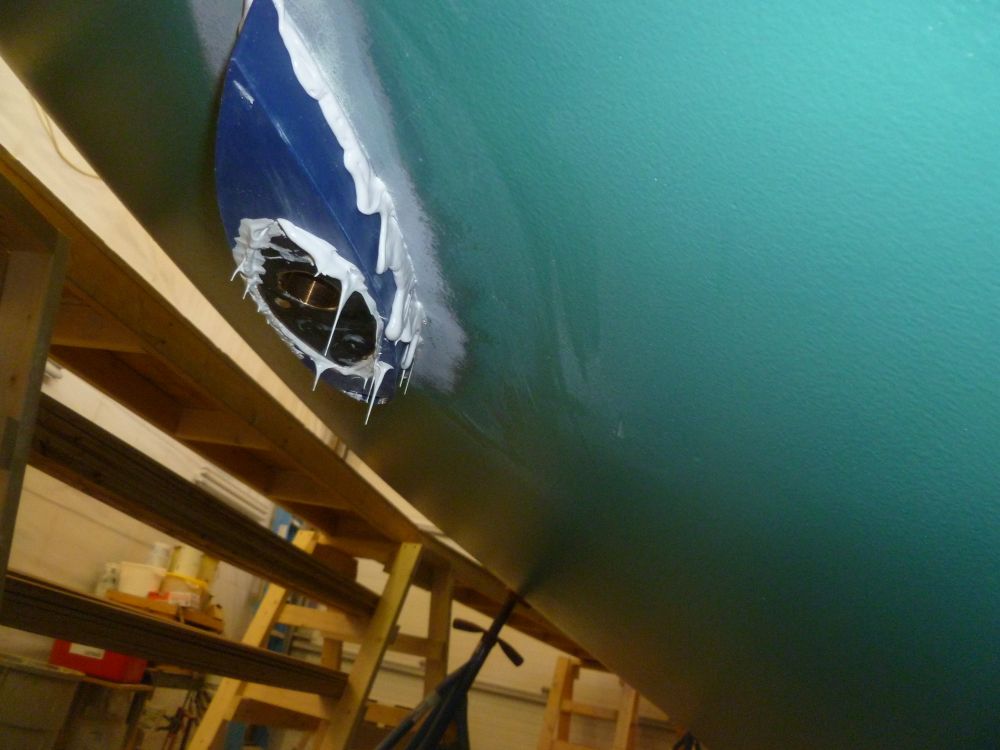
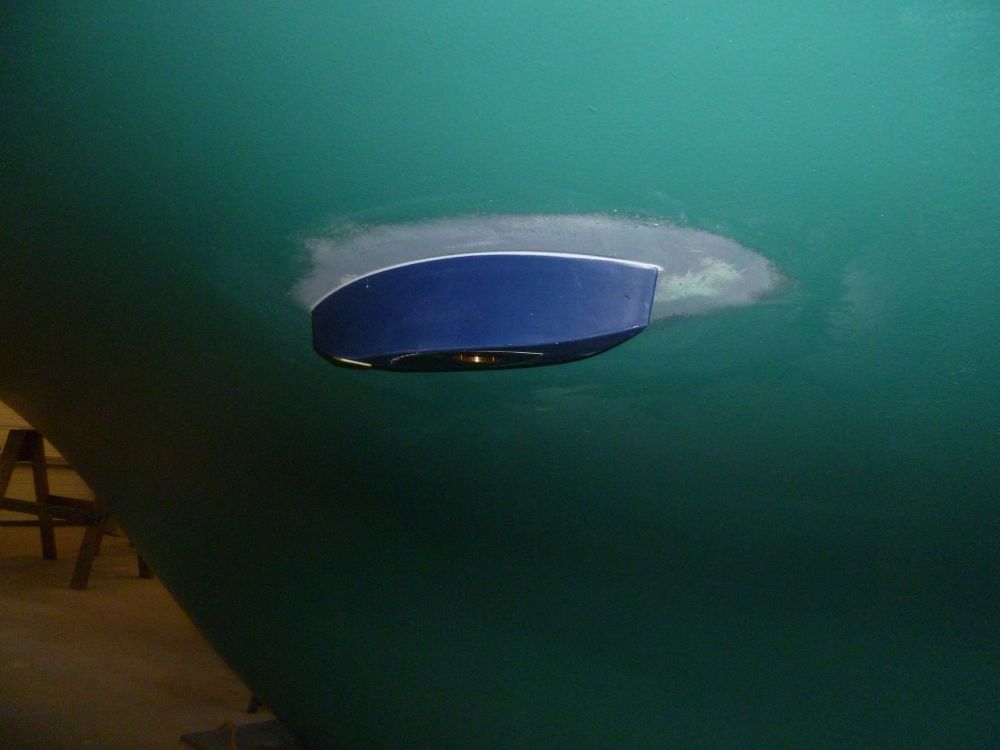
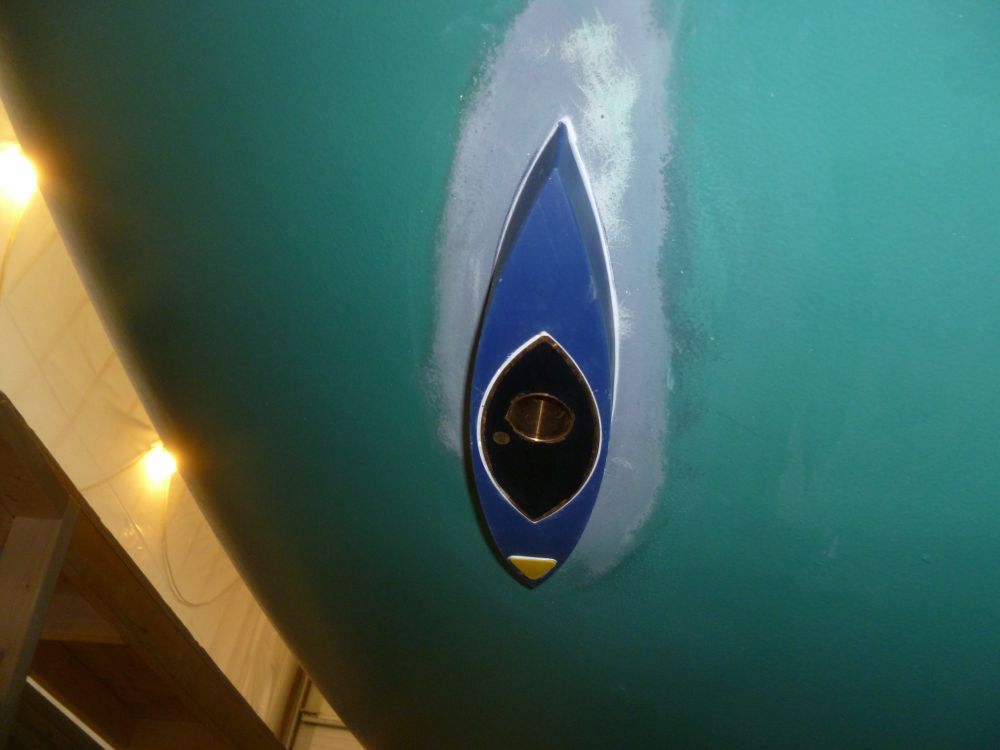
After a long backorder, I received the replacement fairing for the bronze triducer, and after setting the saw up to the correct position carefully cut the angle on the new fairing--in the right direction this time.
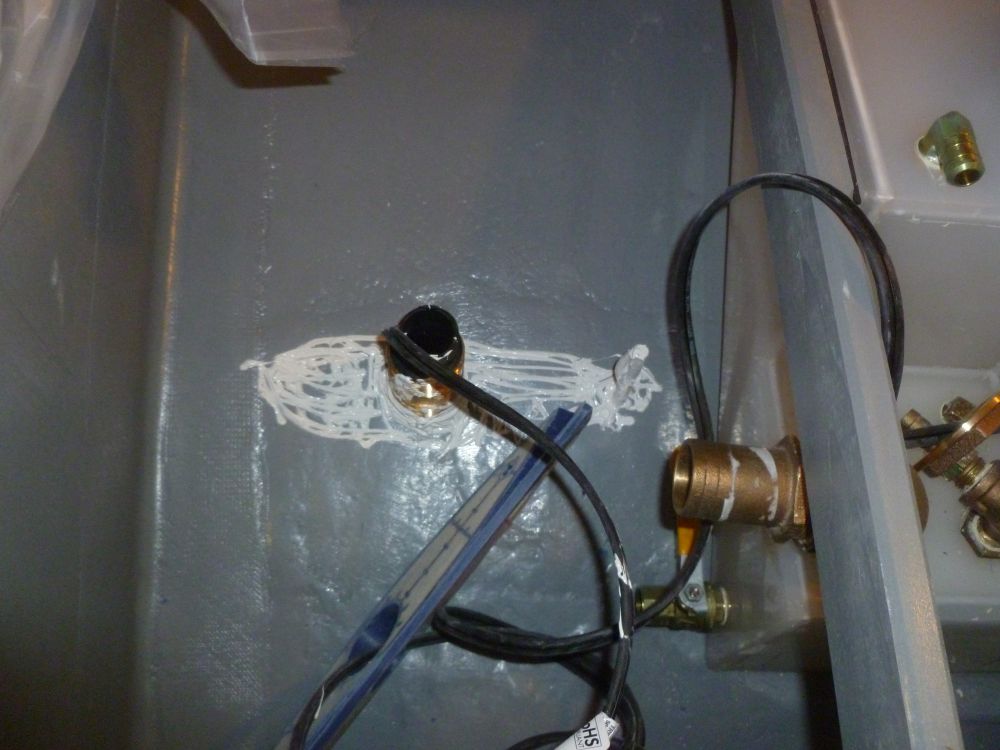
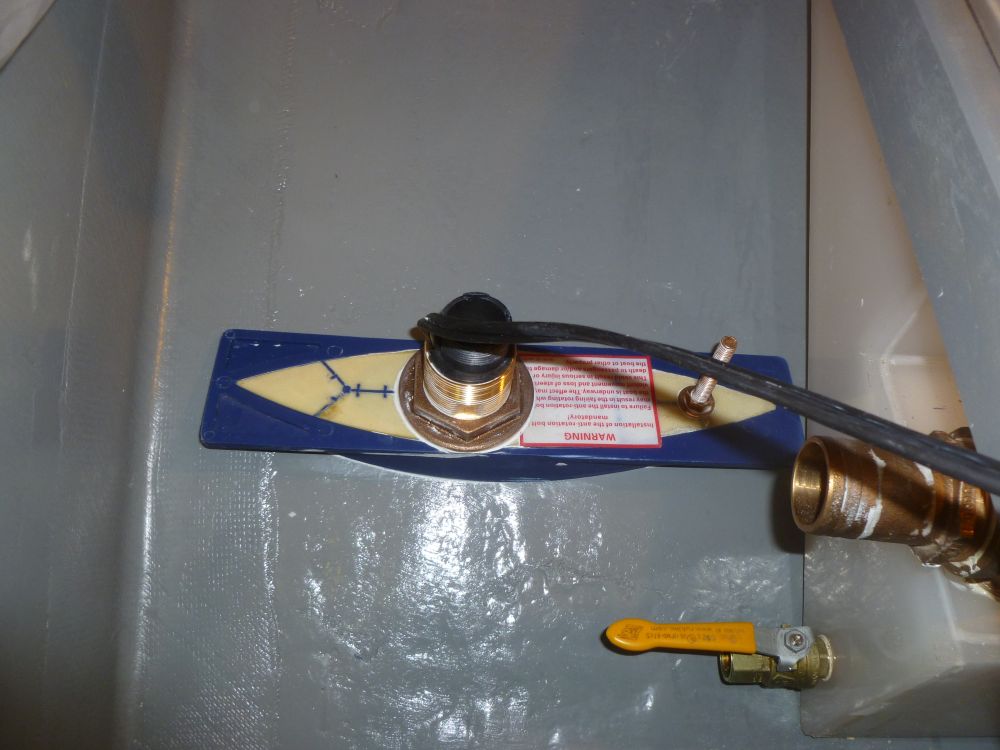
Cuts complete, I proceeded with the installation of the fairing and triducer through hull. Running the transducer cable through the fairing and hole in the hull as needed, I dry-fit the assembly to check the fit and mark and drill an additional hole for the forward anti-rotation bolt. Inside the boat, I pressed the offcut portion of the fairing into service to provide a flat surface for the through hull fixing nut.
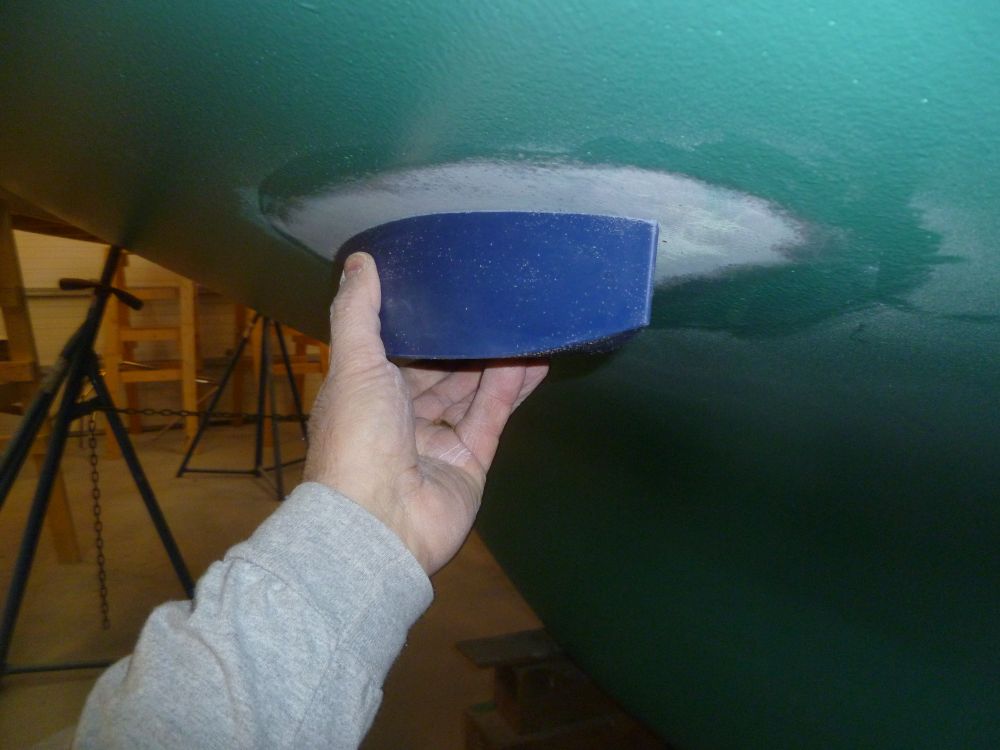
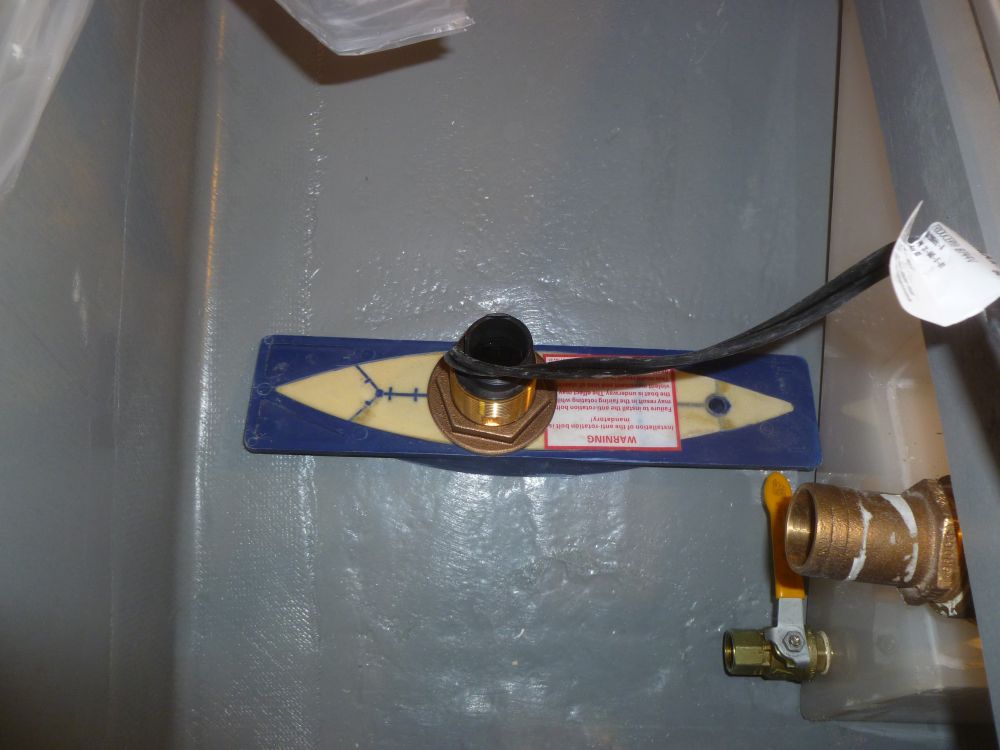
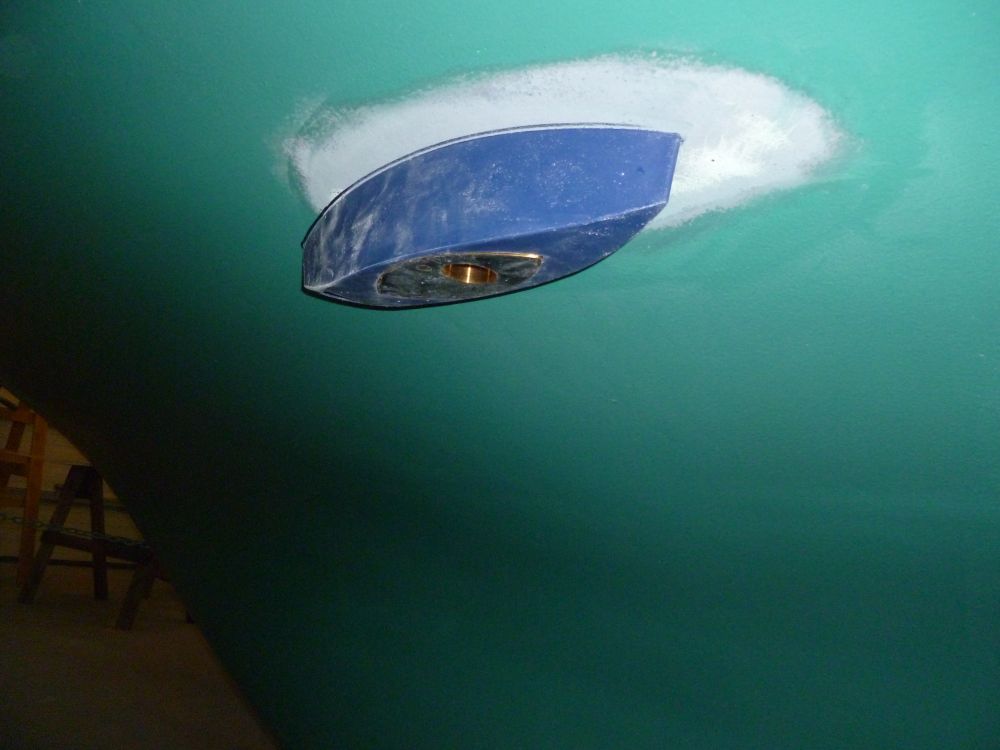

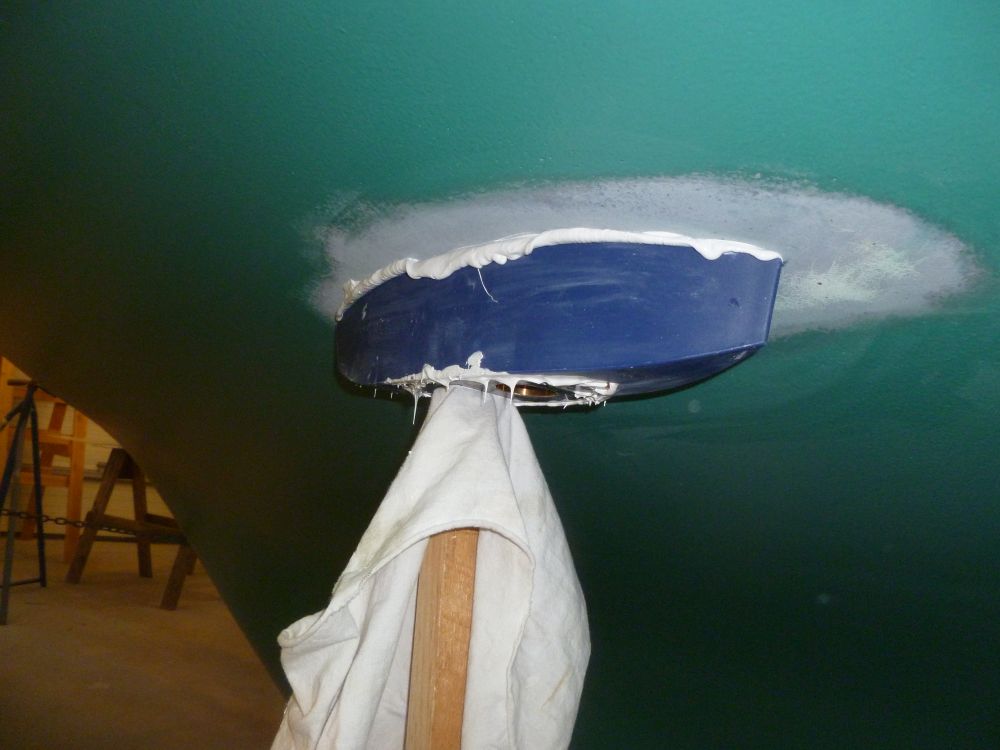
After final cleanup and other preparations, such as removing additional paint from the hull, I installed the fairing and triducer with heavy beads of sealant everywhere. Later, after the photos, I cut off the excess length of the anti-rotation bolt.
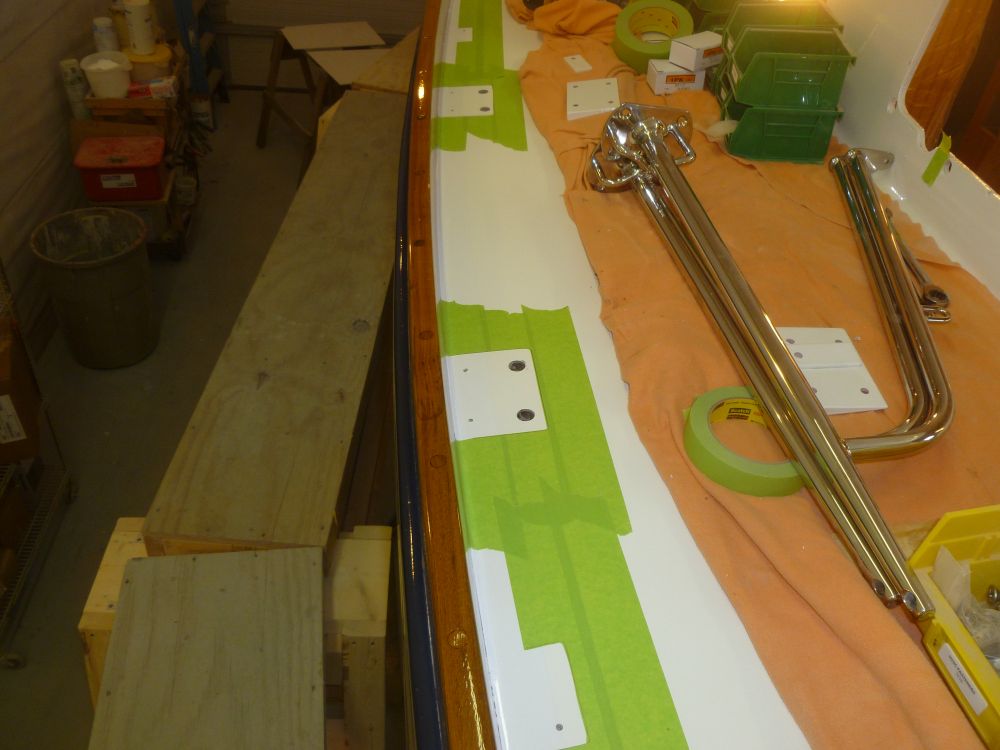
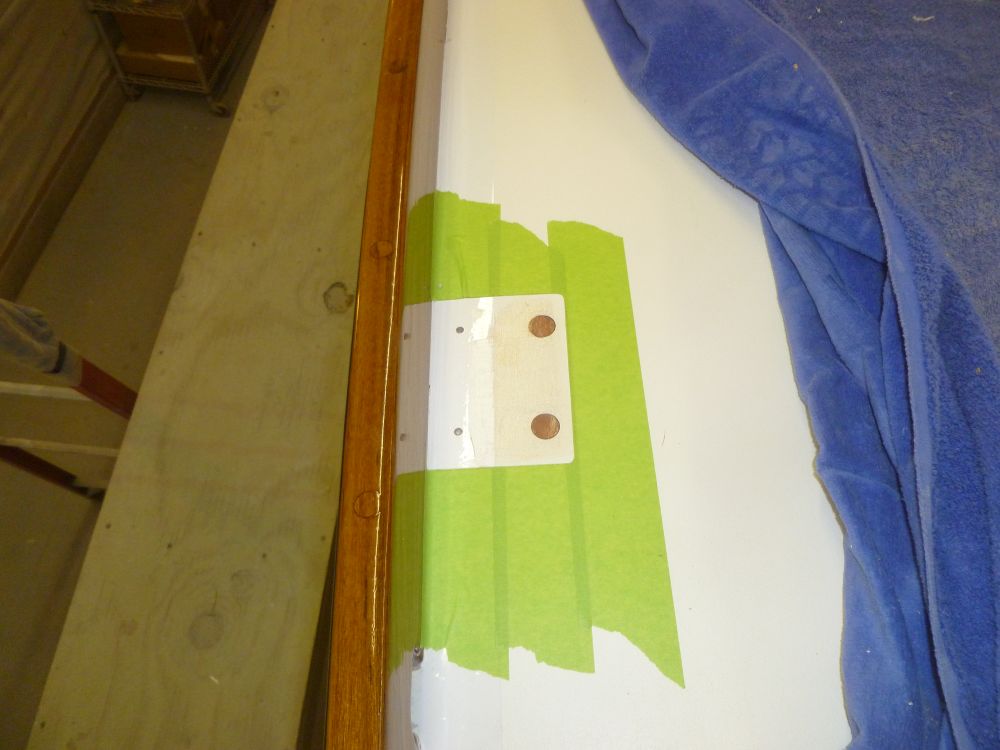
The next step towards the stanchion installation was to overbore and epoxy fill the fastener locations as required. Checking the locations from belowdecks, I determined that a couple of the stanchions were completely within the solid fiberglass flange around the chainplates, and for most of the others only the two inboard holes required this treatment. Afterwards, I bored out these fastener locations with a 5/8" bit, drilling through the top skin and core only, and filled the holes with an epoxy mixture.


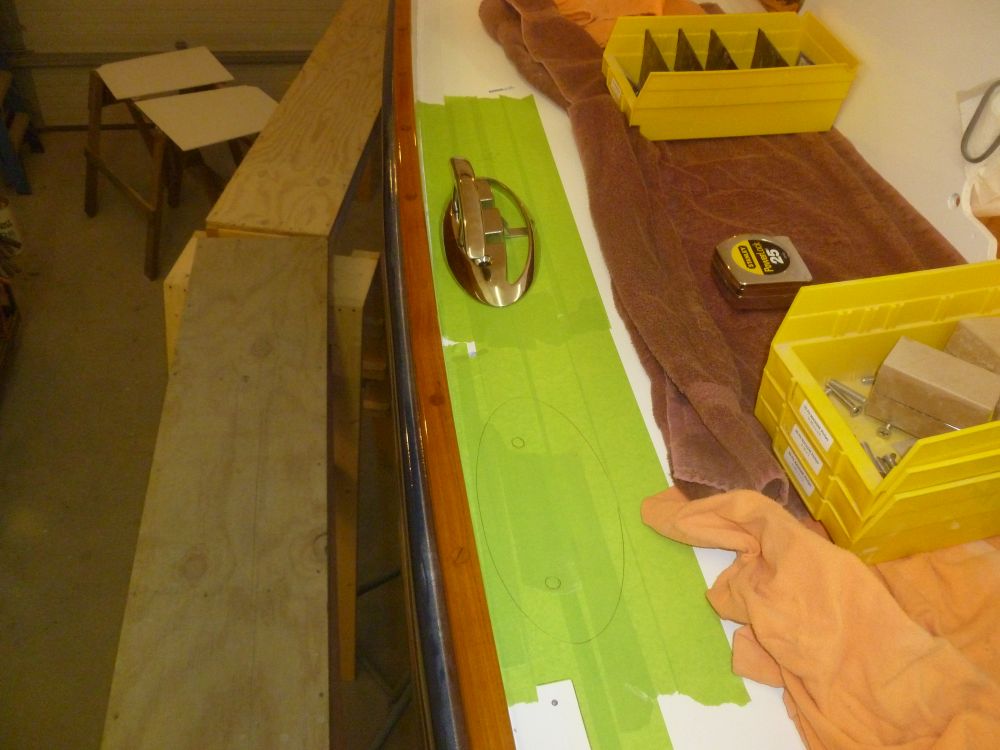
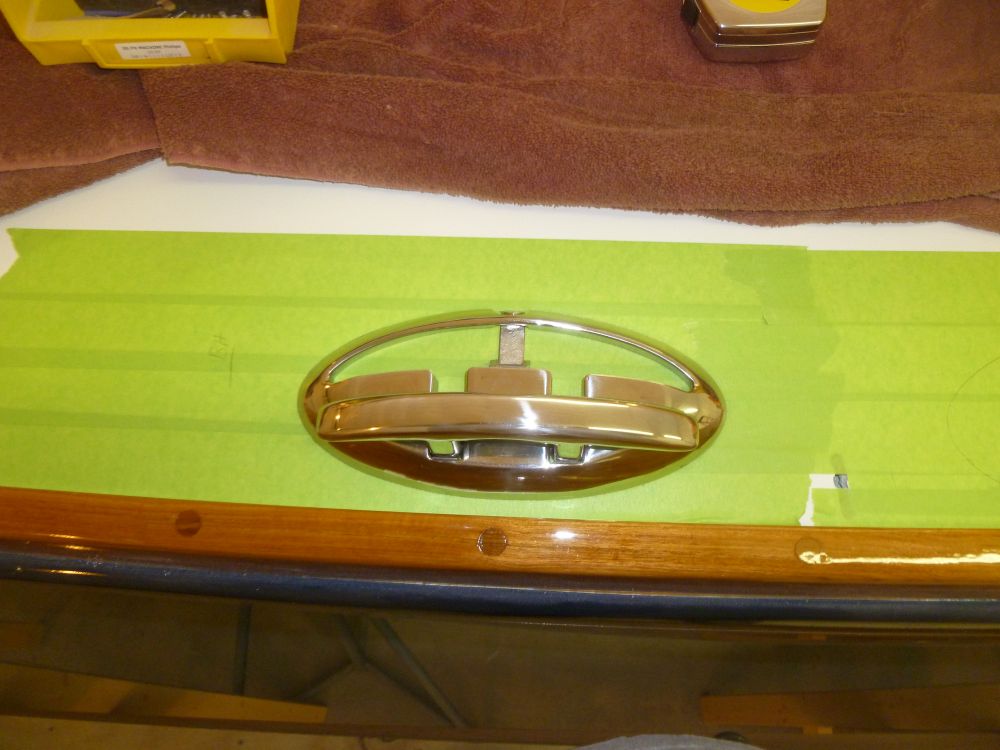
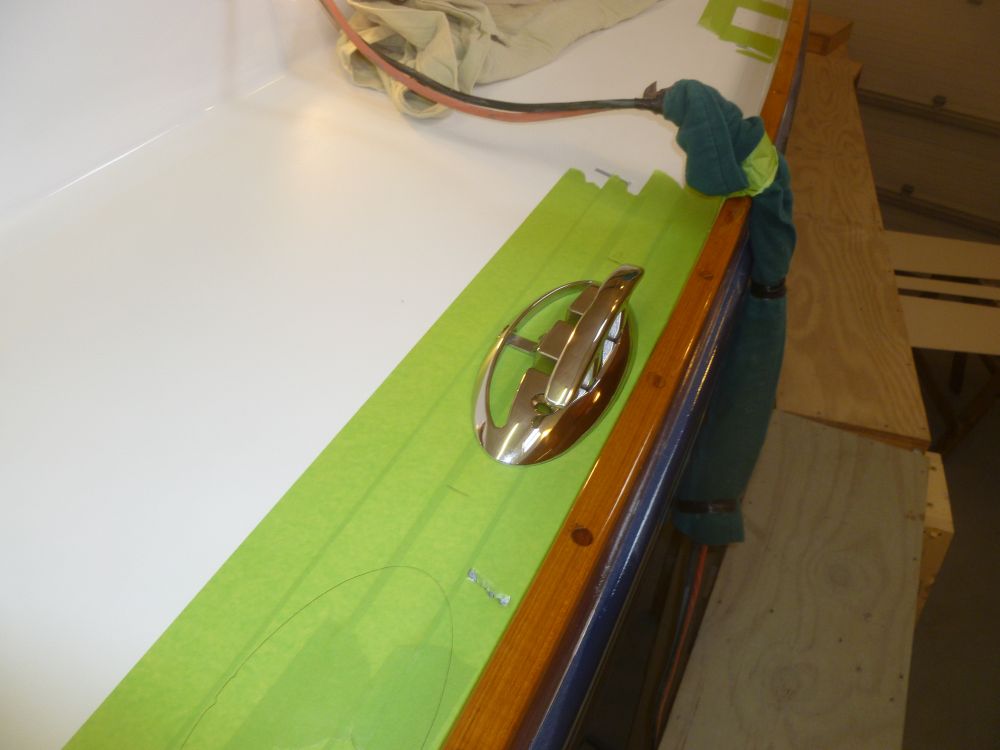
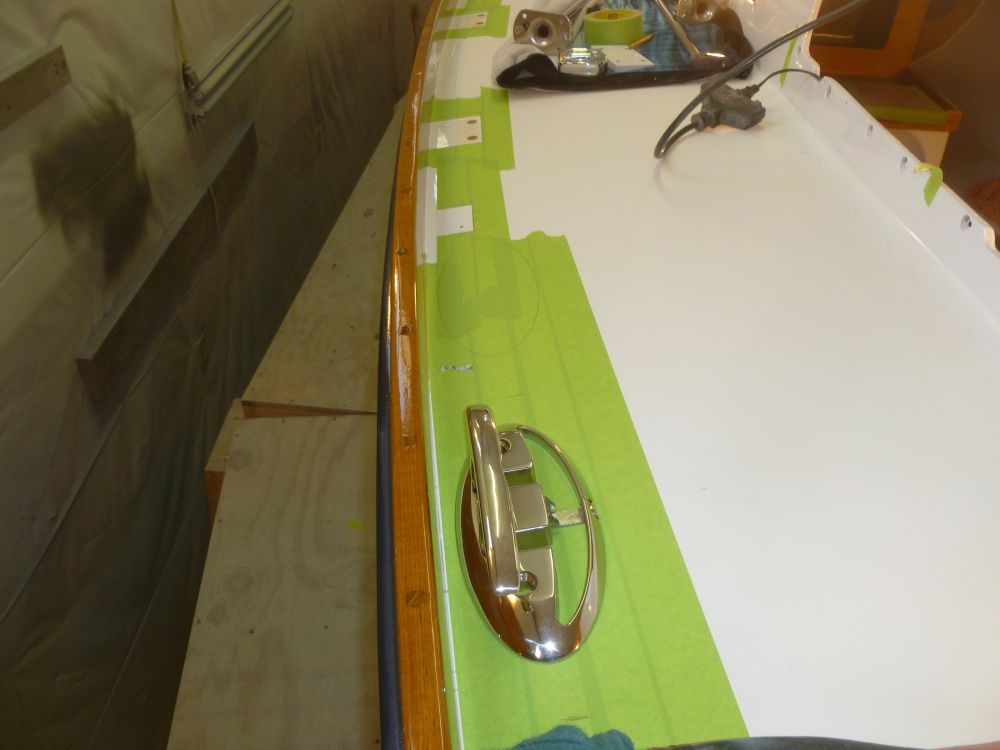
With the stanchions located, I could figure out where the folding breast cleats should go. In order to keep these cleats as central as possible, while avoiding other deck installations and obstructions, the location more or less determined itself--between the aft lower and main chainplates. I toyed around with another possible location just a bit aft of here, between the aft lower chainplate and the forward stanchion gate brace, but this location was going to force things too close together, with no particular gain. Nonetheless, for the moment I left the options open to ponder for a couple days before committing to the locations.
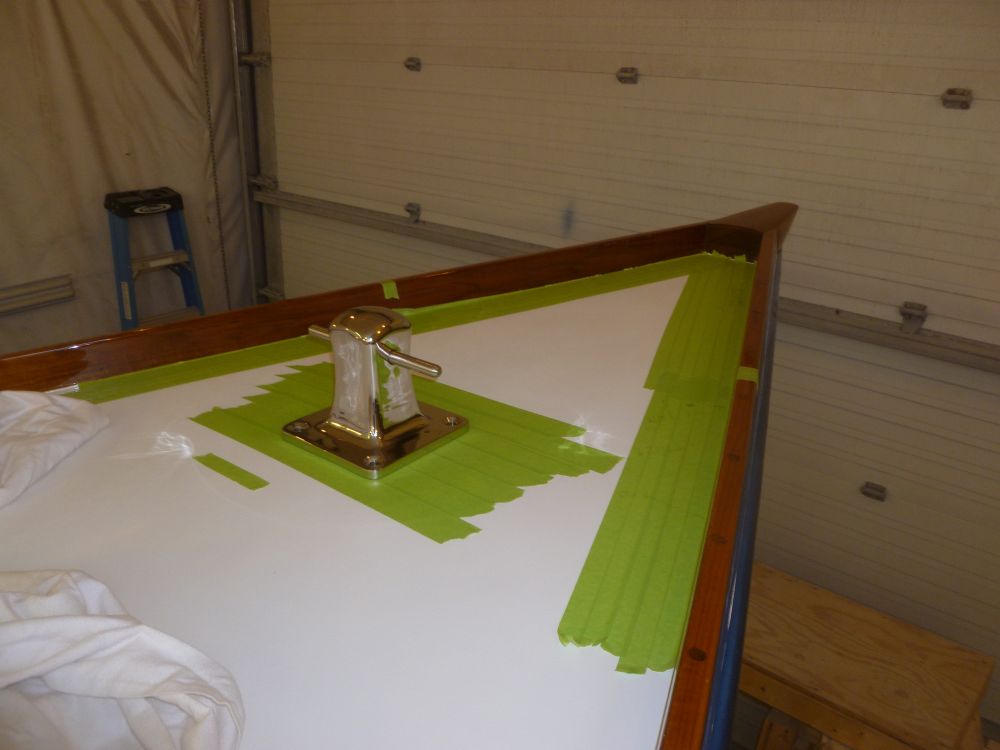
On the foredeck, I determined the location of the chainlocker bulkhead and made a reference mark on deck (demarked with a small piece of green tape) so I could locate the main mooring bitt, which I wanted forward of this bulkhead but relatively close to it. After eyeballing the area, I settled on a central location about 36" aft of the stem; again, I left the dry fit to settle in my mind for a day or two before committing.
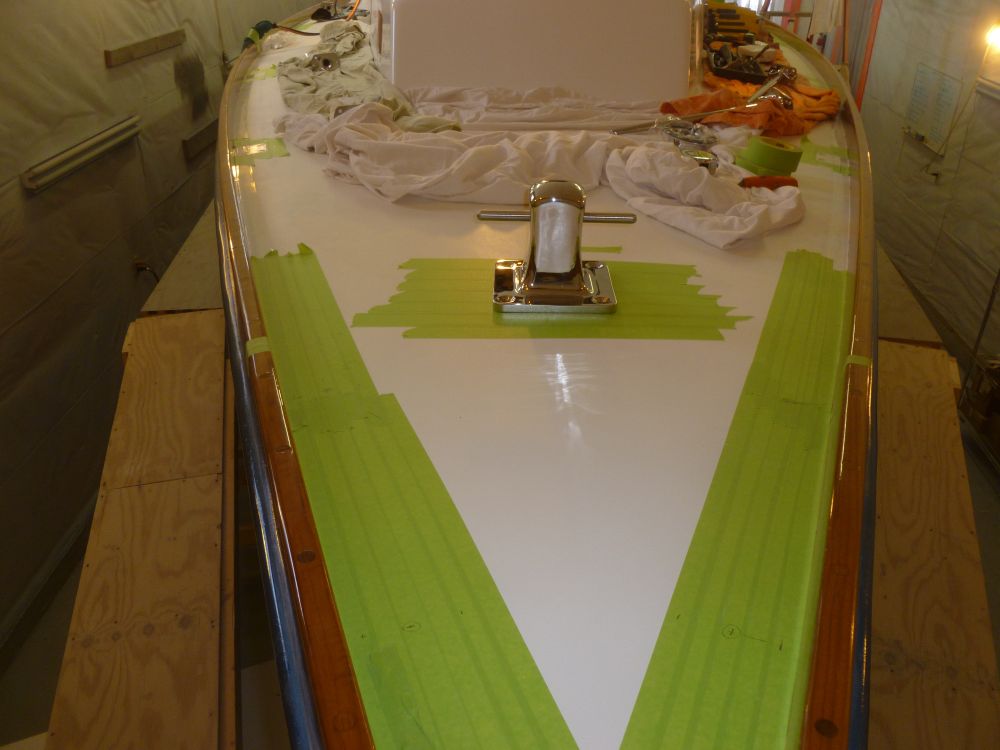
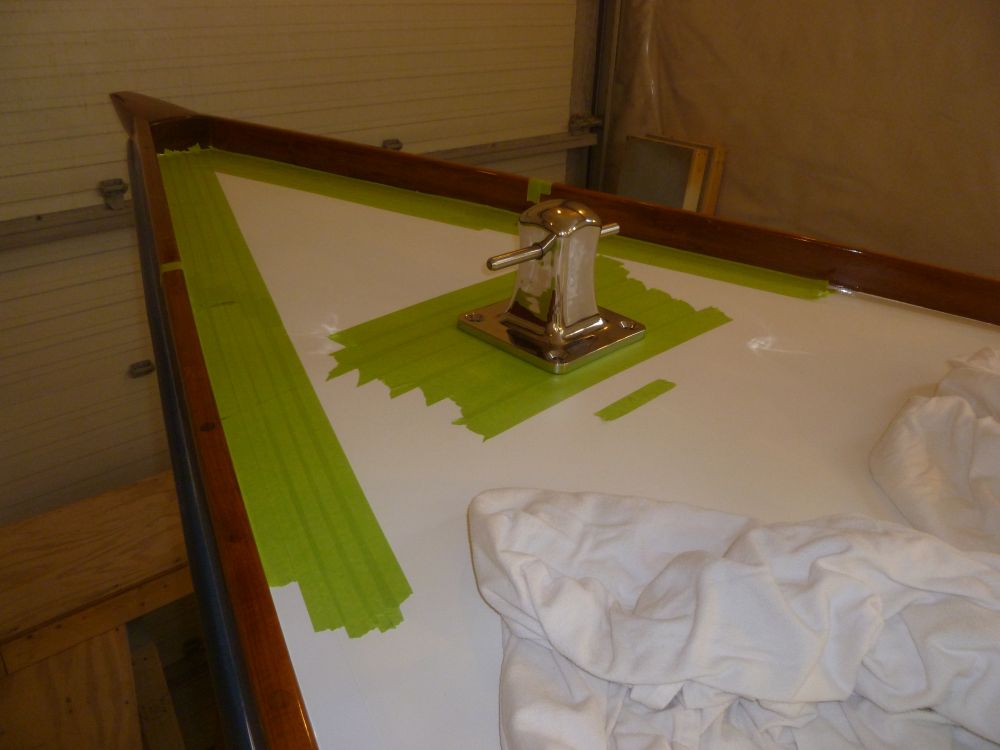
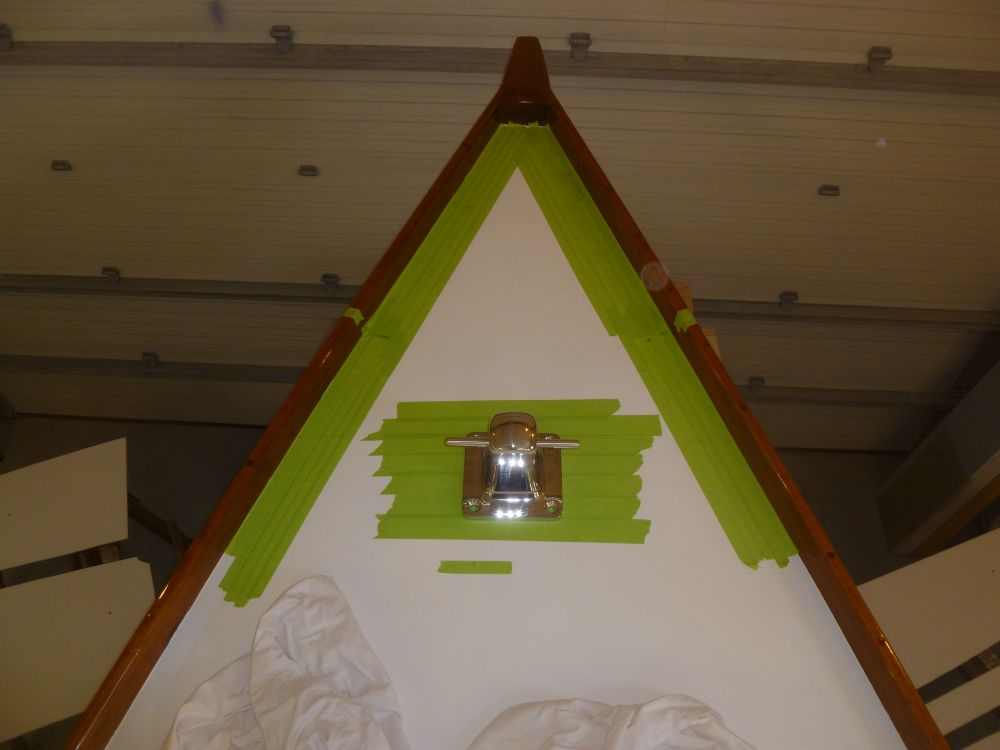
Similarly, I thought about where to install a deck chain pipe for anchor rode access to the chainlocker. This needed to be convenient, yet out of the way. I marked the presumed location of the new pulpit bases and, keeping the chain pipe clear of that, as well as offset from the mooring bit, marked out a tentative location.

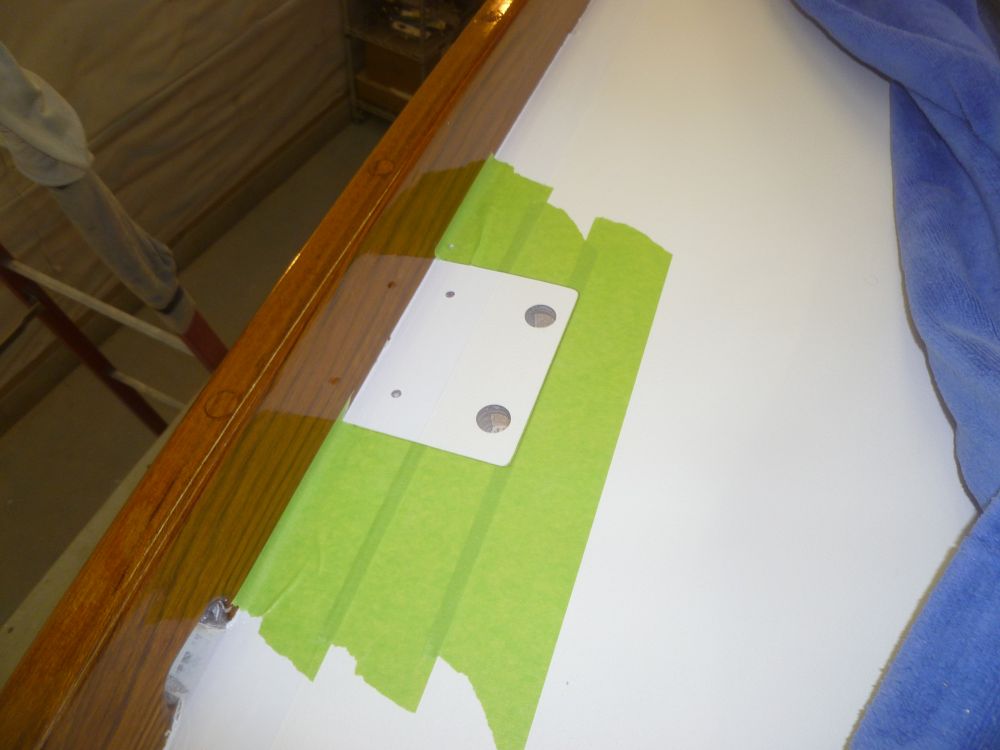
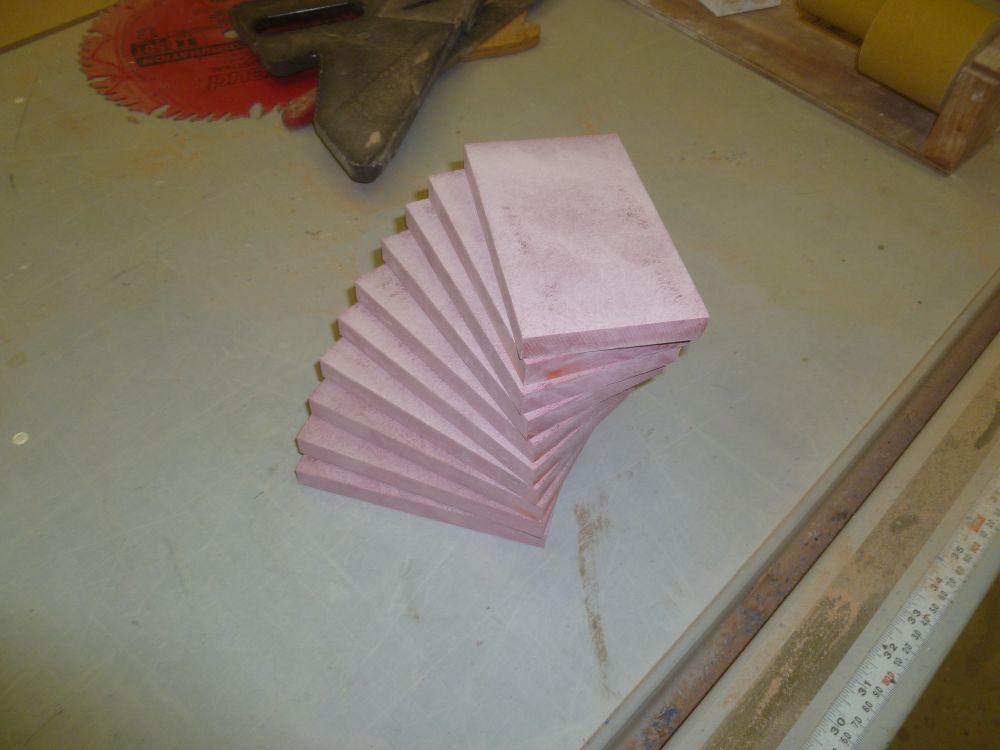
From 1/2" fiberglass backing plate stock, I prepared 10 backing plates for the stanchions.
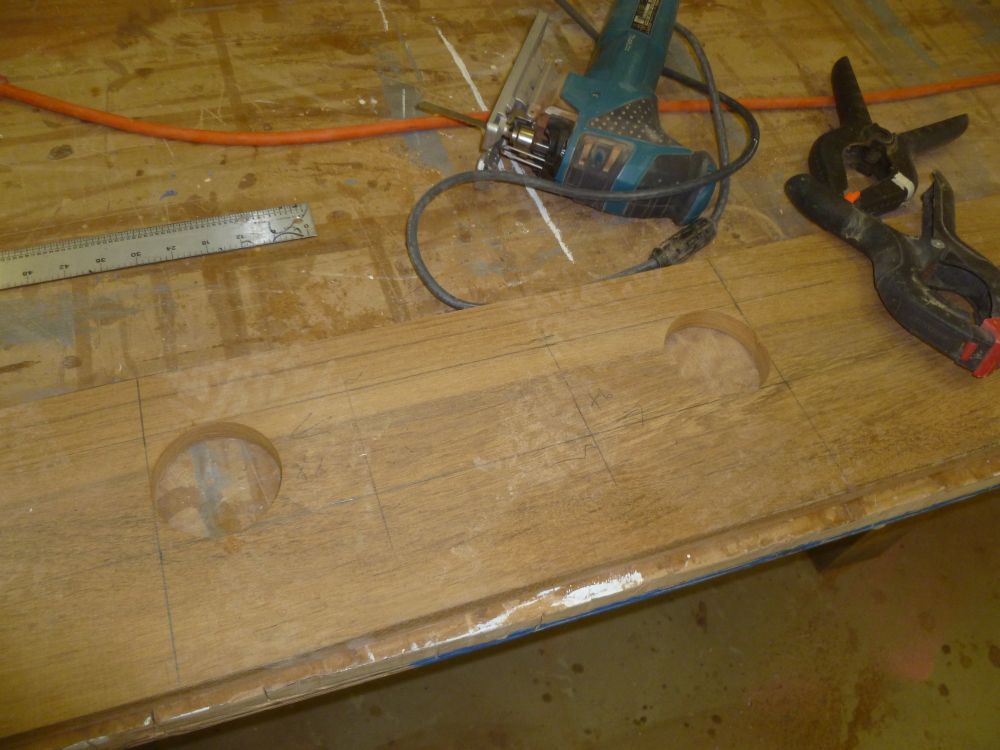
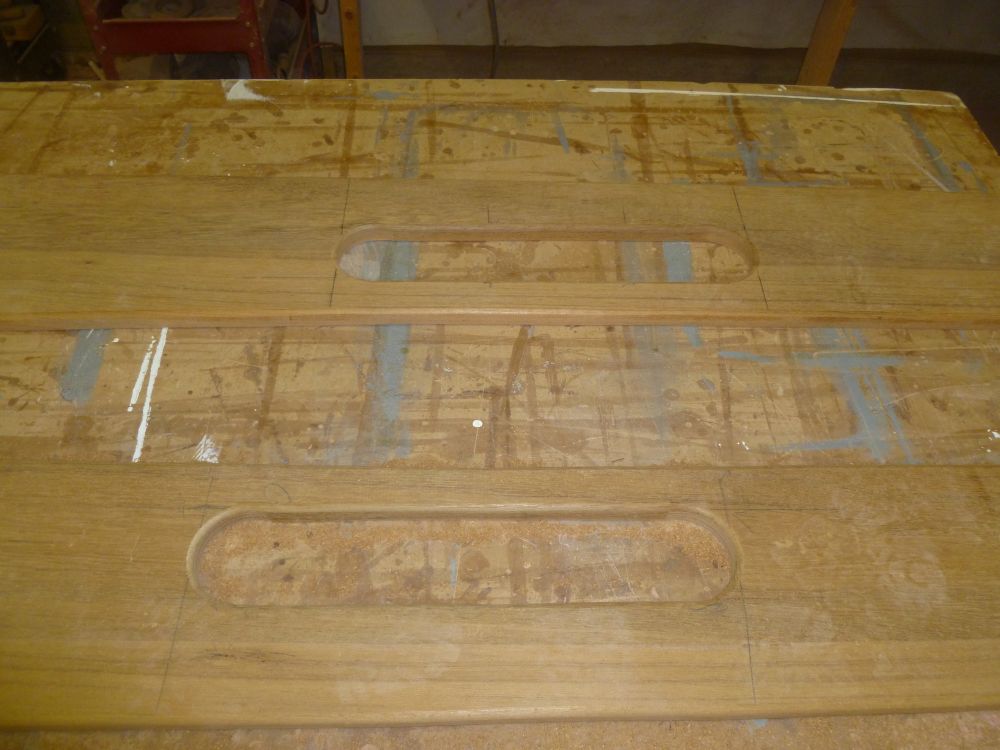
To wrap up the day, I cut the openings in the coamings for the winch island pockets, then eased all the exposed edges of the coamings, including the new openings, preparing the blanks for final sanding and prefinishing in the coming days.

Total Time on This Job Today: 7 hours
