
110 Cookson Lane | Whitefield, ME 04353 | 207-232-7600 | tim@lackeysailing.com
Snow Lily | Monday, January 14, 2013
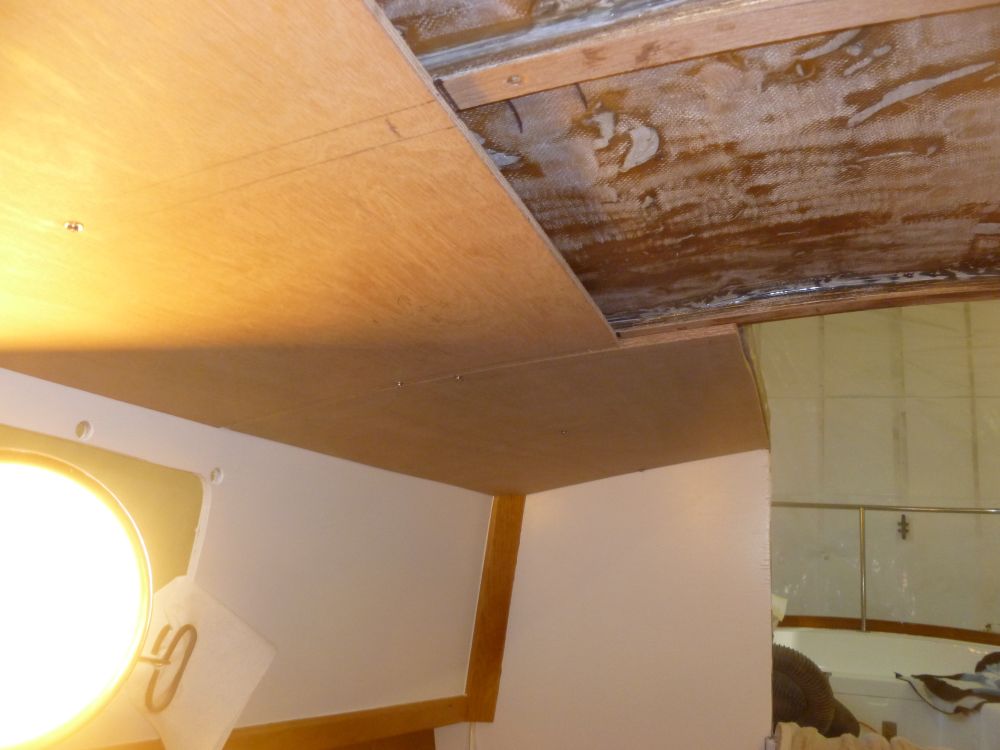
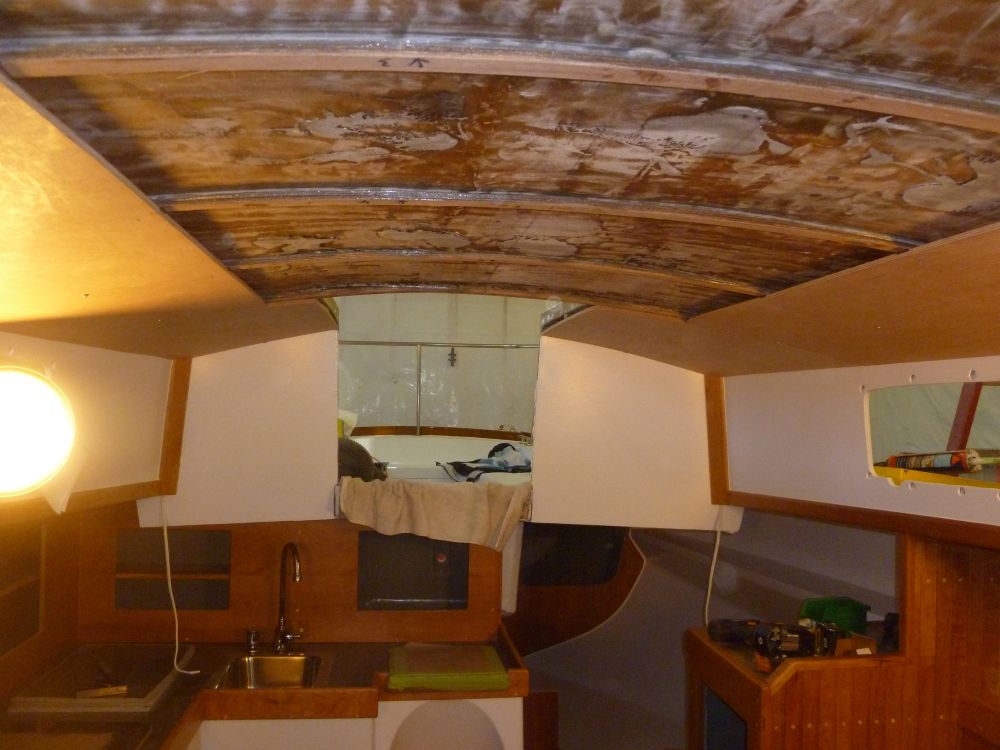
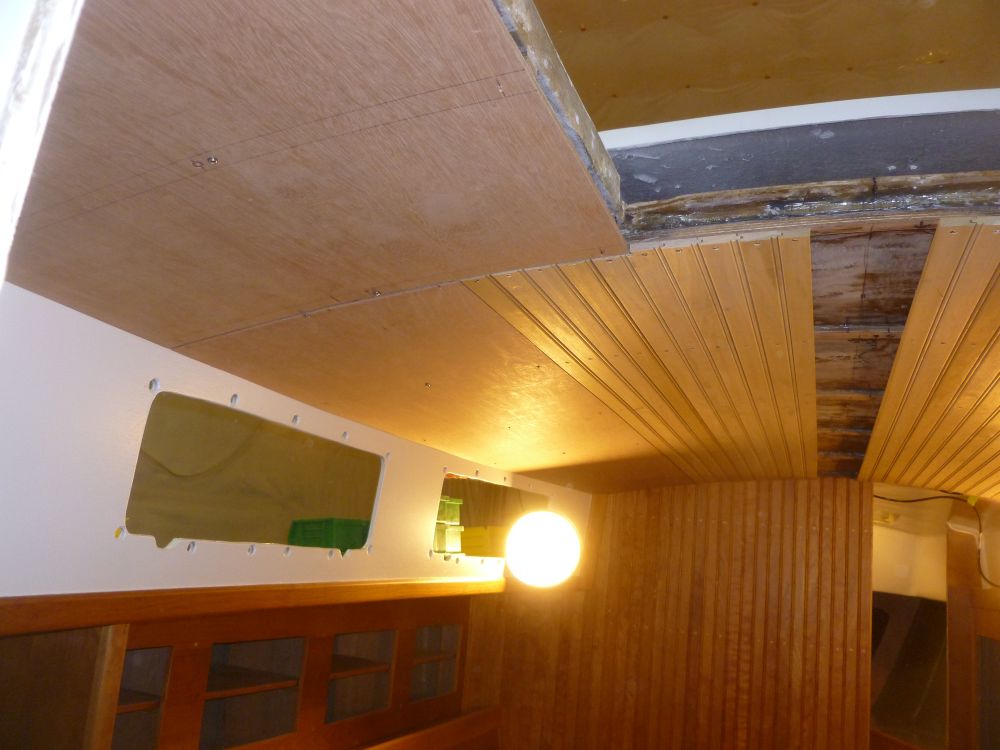
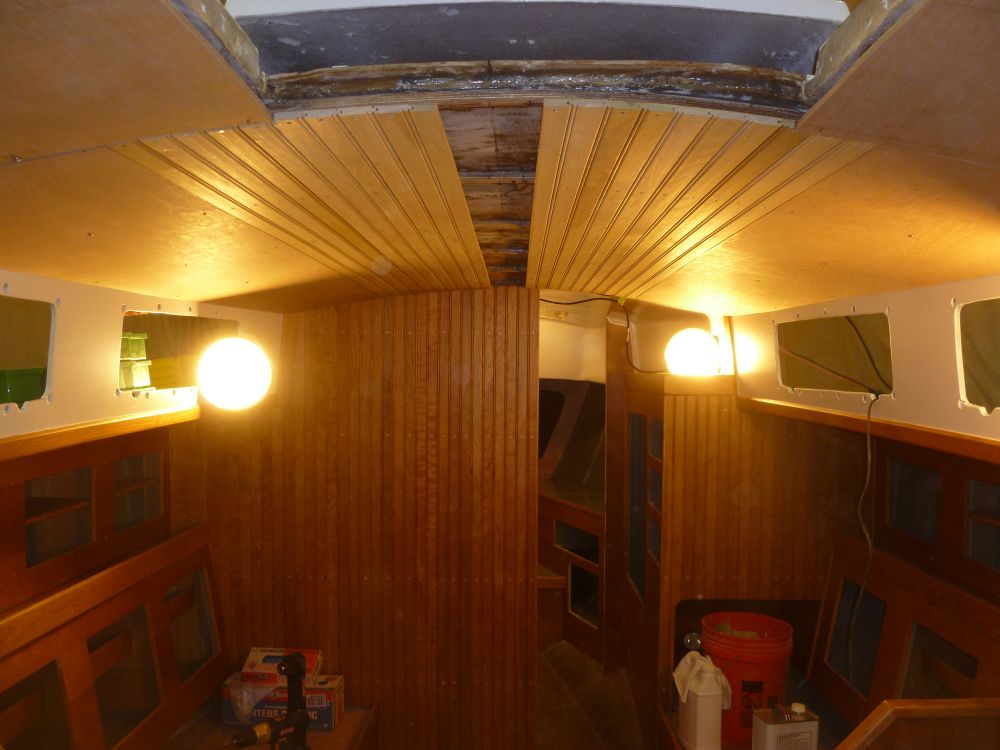
The next major item on the agenda was the overhead in the main cabin, which would be a combination of plywood panels along the edges and painted beadboard, made from solid wood strips, in the field. While a fully-beaded overhead would be attractive, it posed numerous problems in terms of future access. (We won't talk about that trashy beadboard plywood you can get at the home center--using that once, years ago, was more than enough to convince me never to use it again on a boat.)
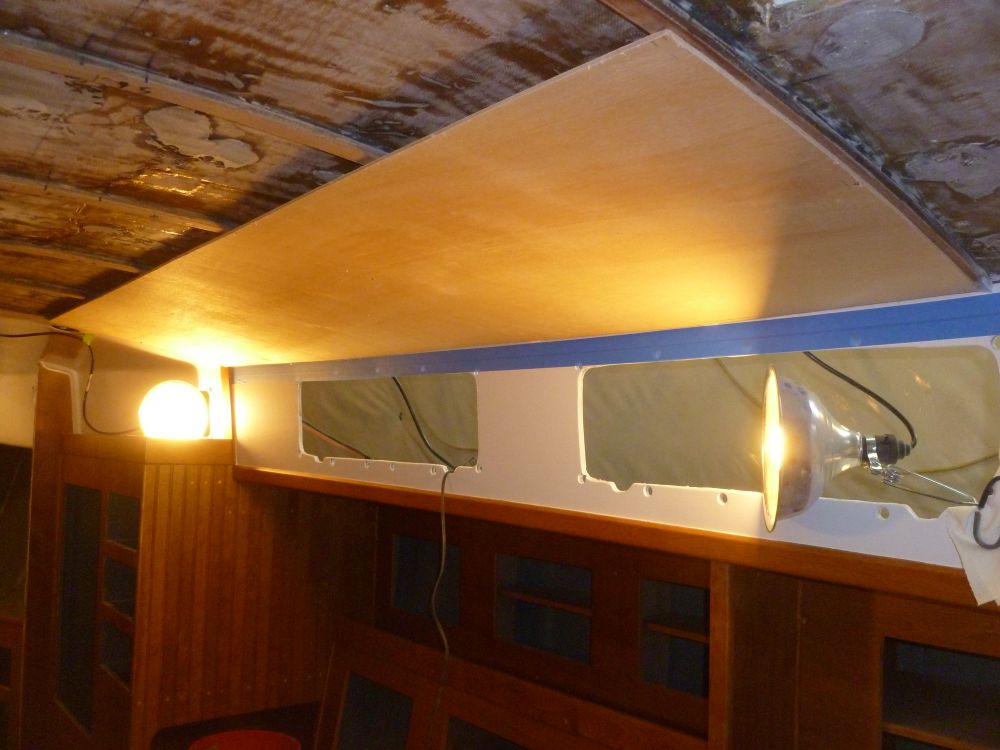
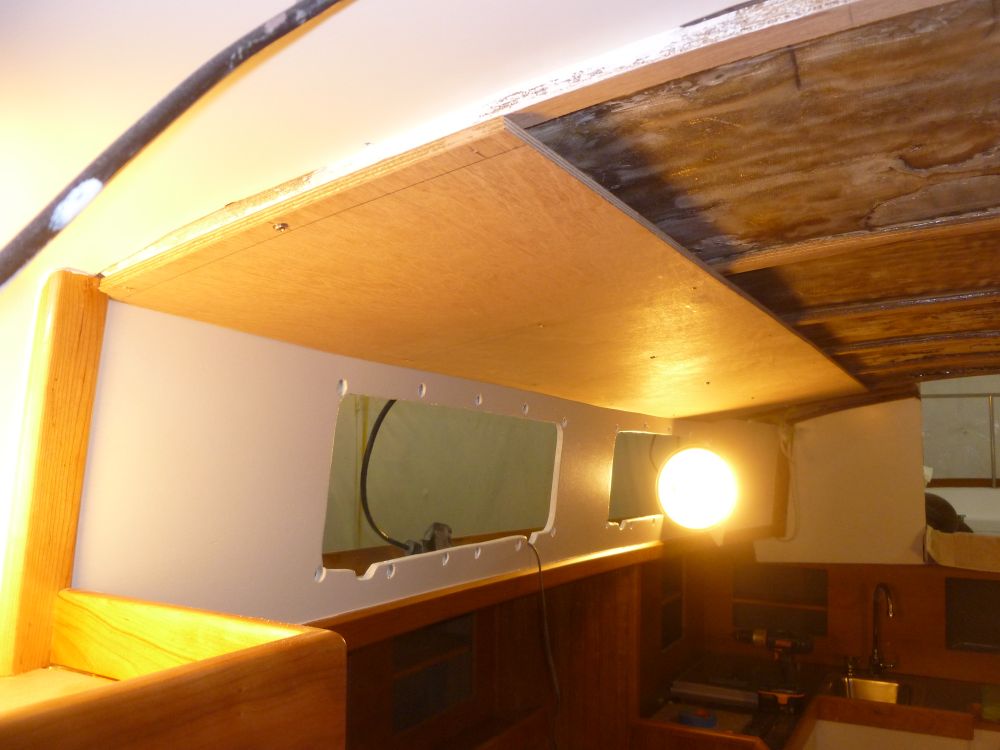
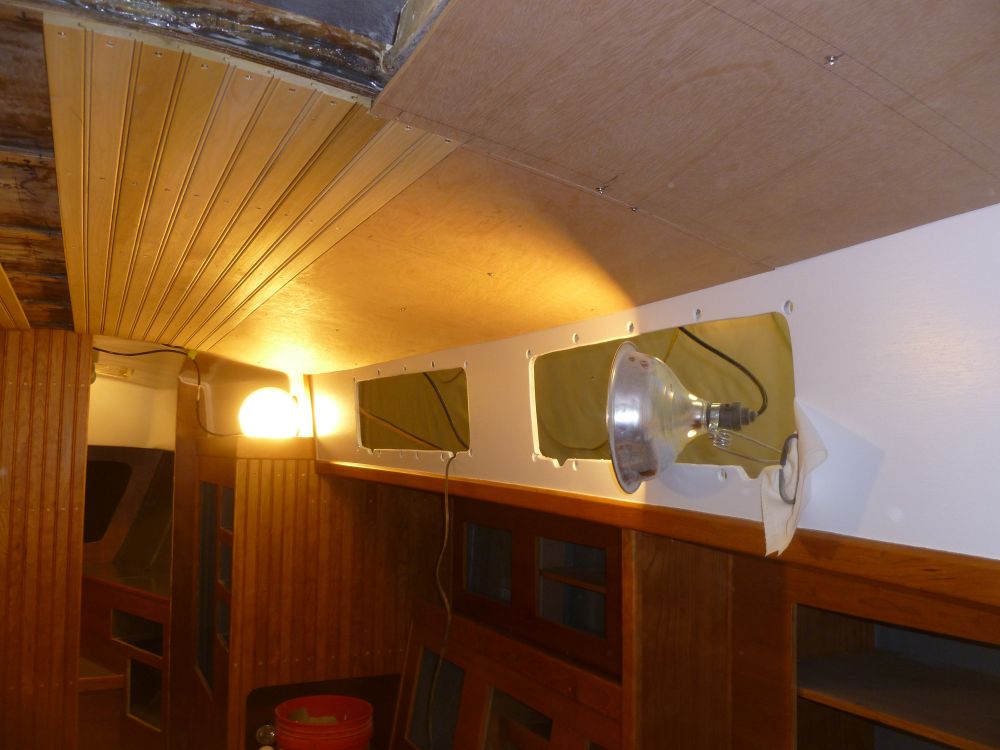
In order to incorporate overhead cabin lighting and the requirement to provide access to the underside of the deck without major problems in the future, we planned side panels of painted plywood, where overhead lighting would be installed, plus along the aft end, to accommodate additional lighting and possible future hardware installations on the aft end of the coachroof. Inboard of the side panels would be a field area of individual beadboard.
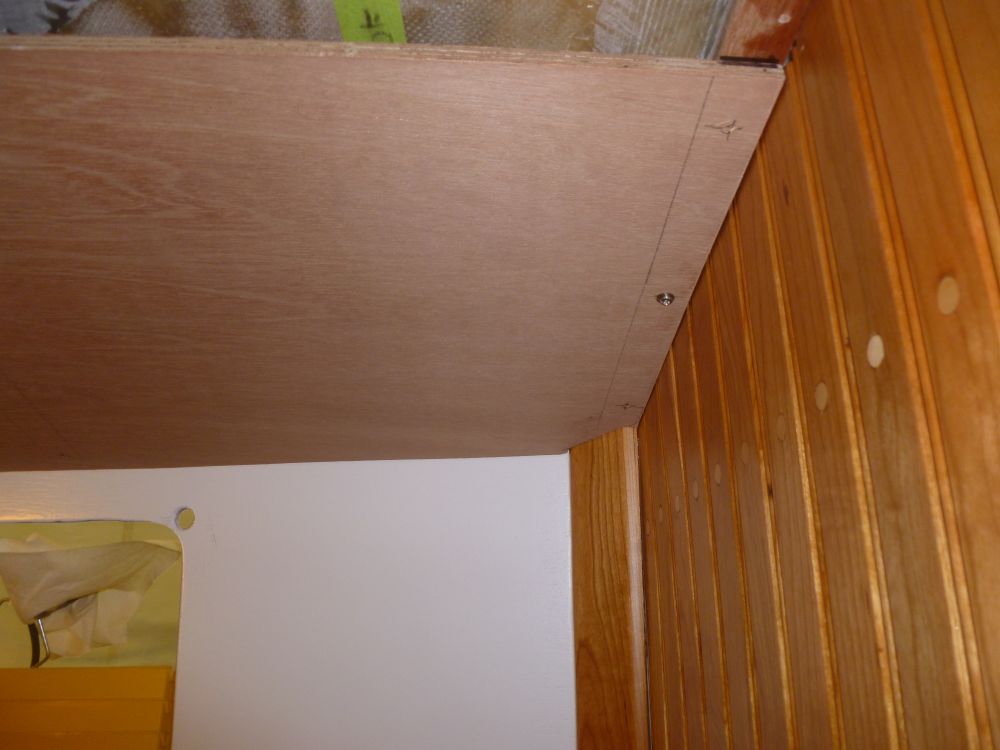
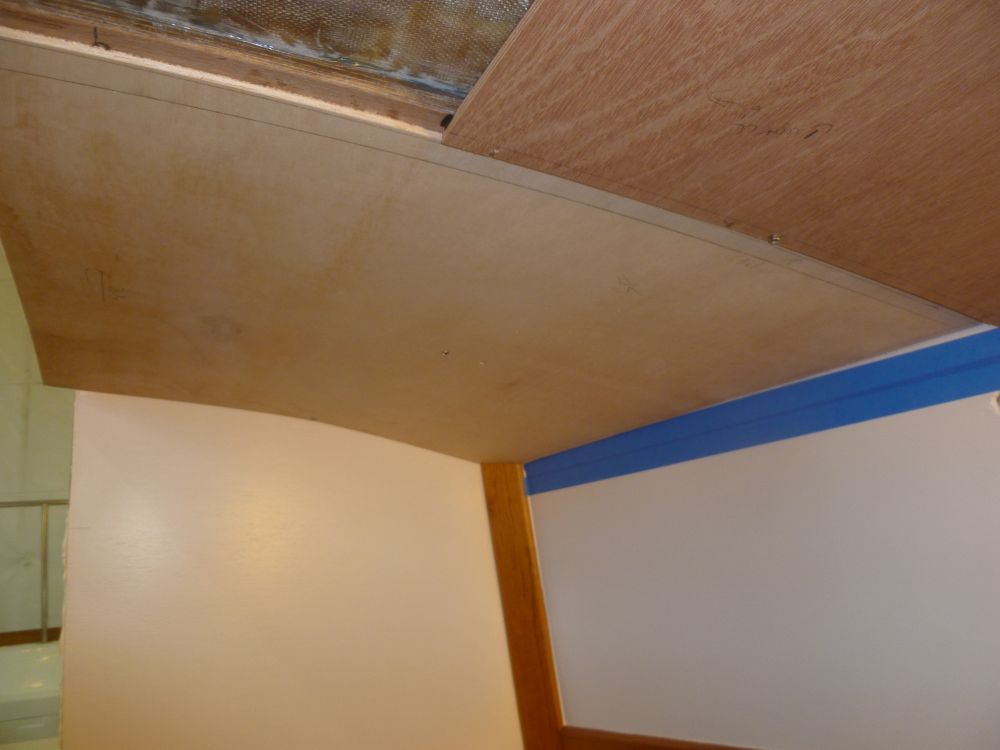
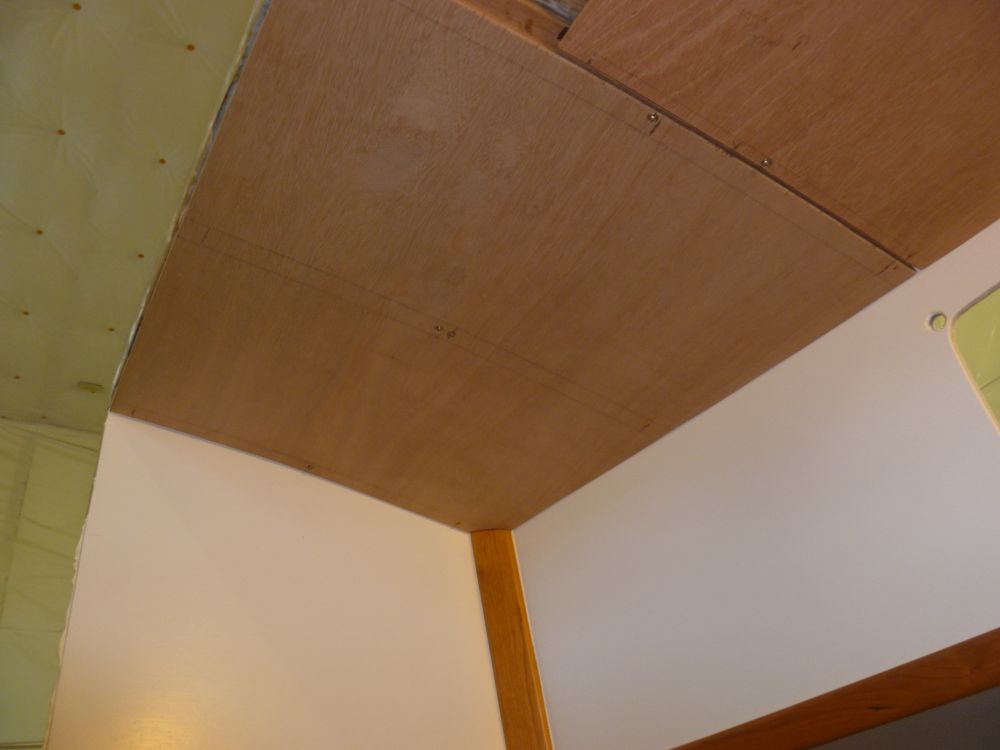
To begin, I prepared a sheet of template plywood 24" wide (wider than the end result would be) and of the appropriate length, and temporarily installed it on one side of the cabin, with the forward edge flush and perpendicular with the bulkhead and the long side parallel to the centerline. Then I performed an initial scribe of the outer edge, marking the profile of the cabin side and trim on the template.
Removing the panel, I cut to the line, then reinstalled the panel for a more accurate scribe of the final shape.

After a final trim, I checked the fit of the template once more.
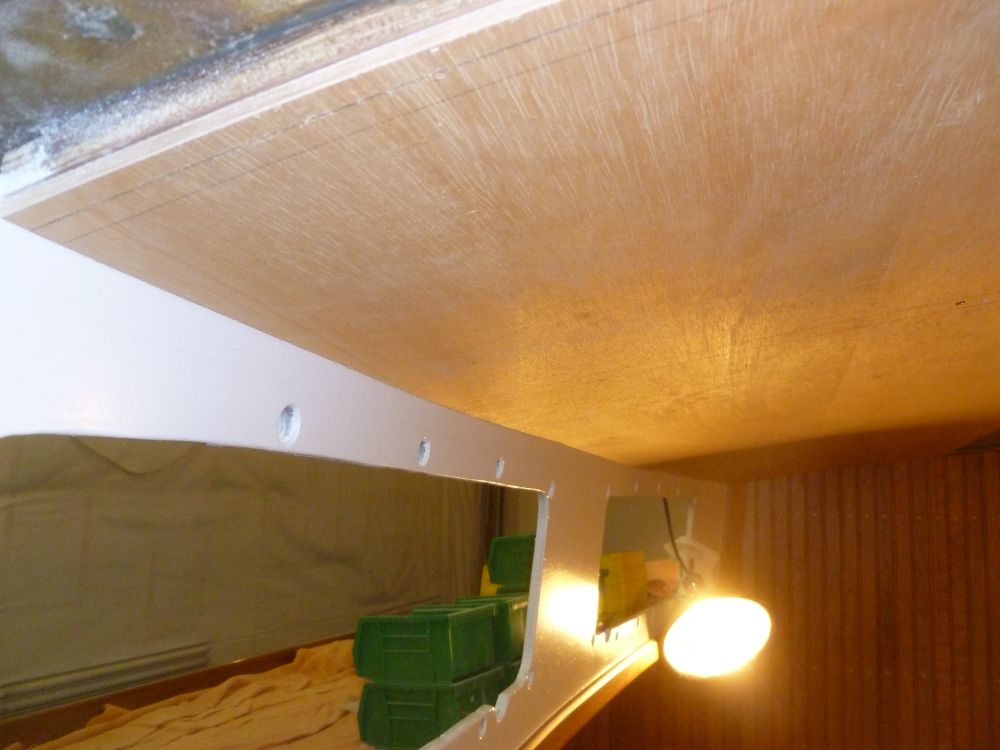
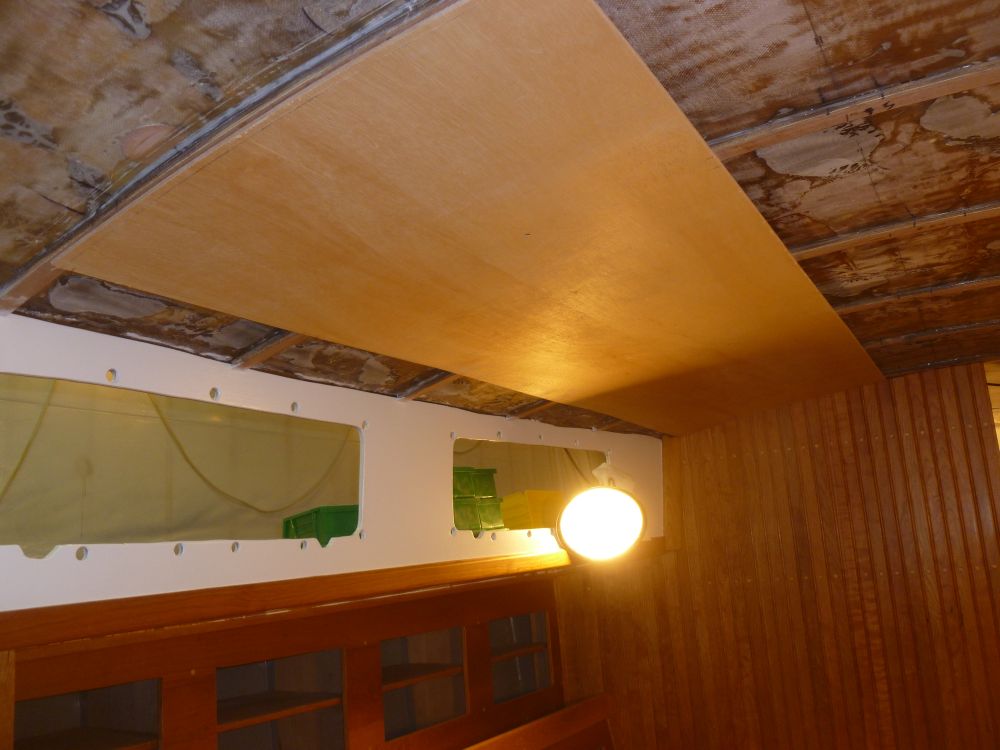
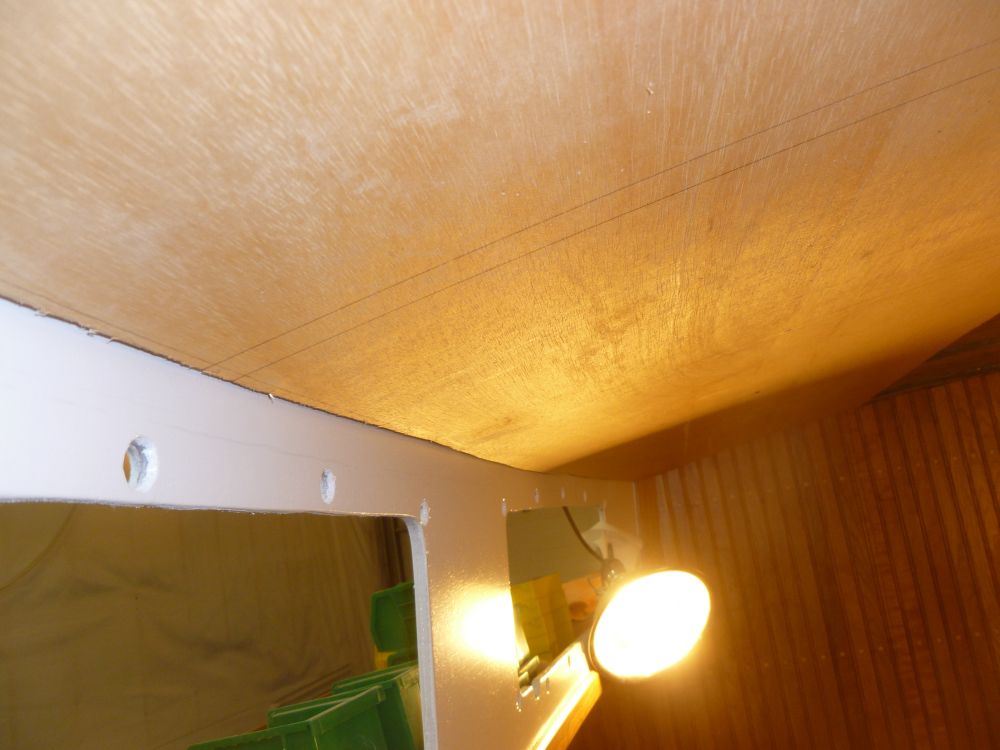
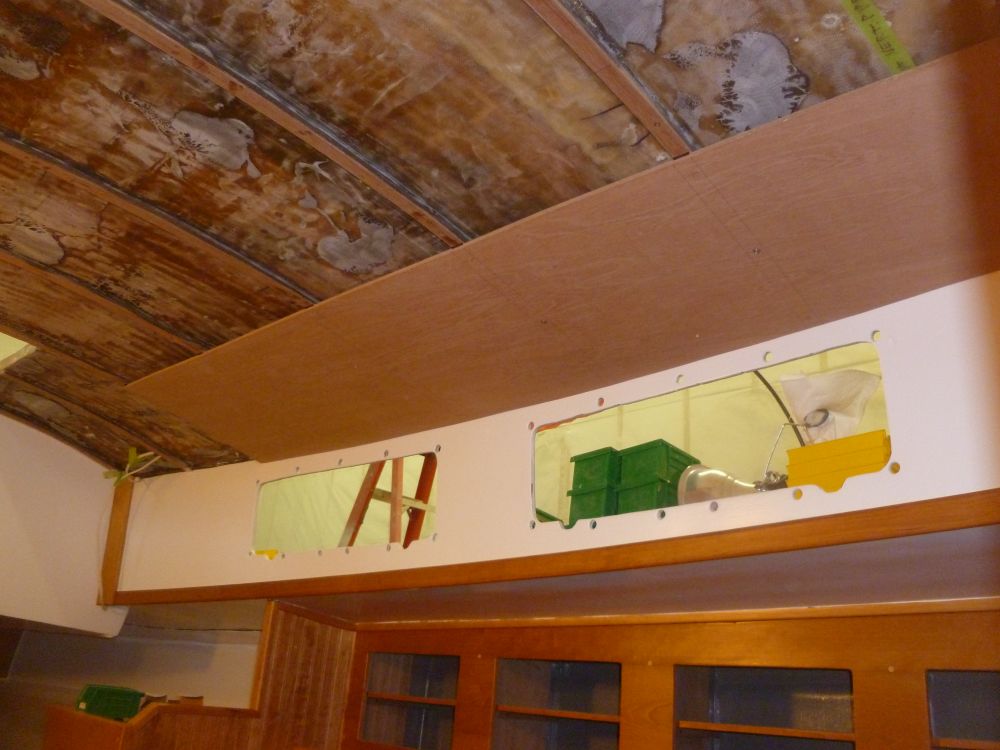
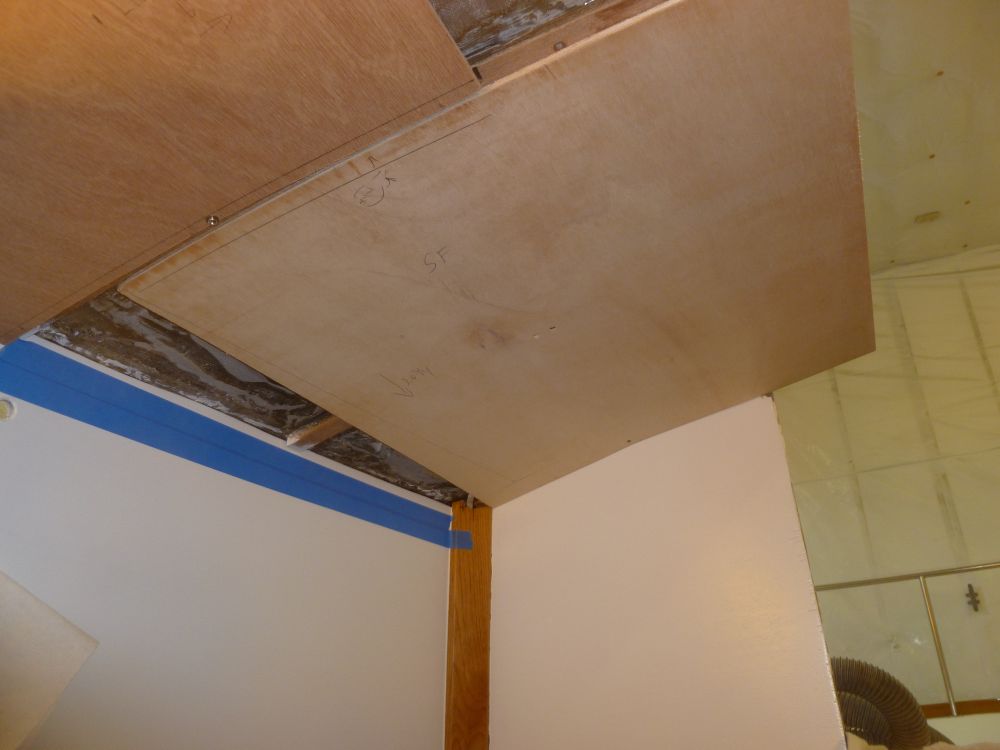
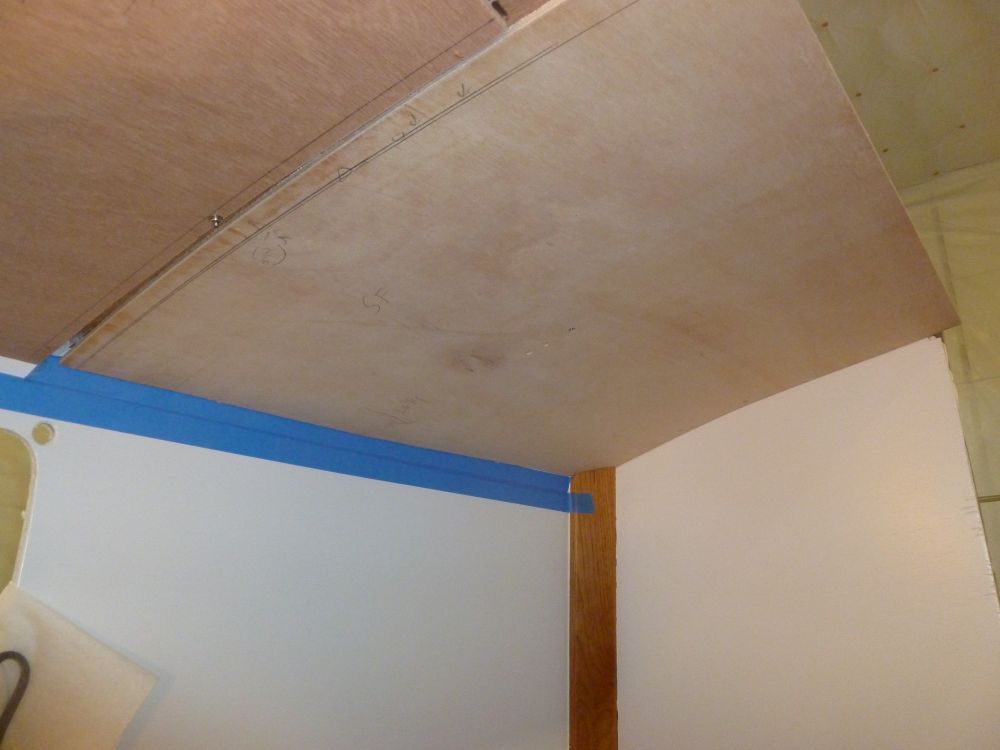
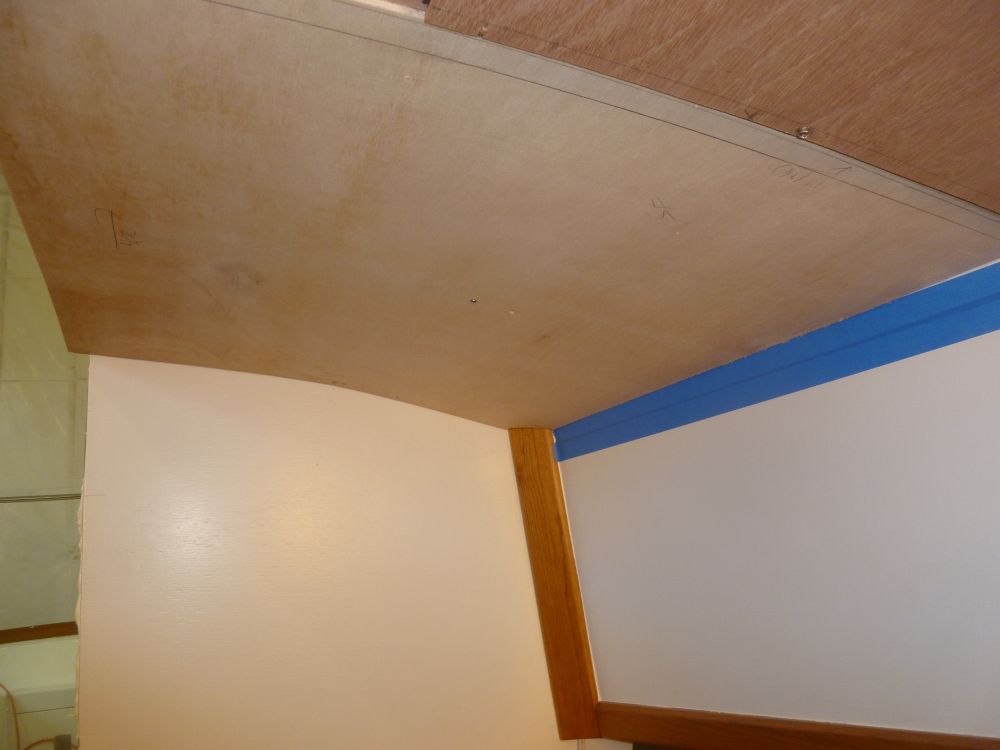
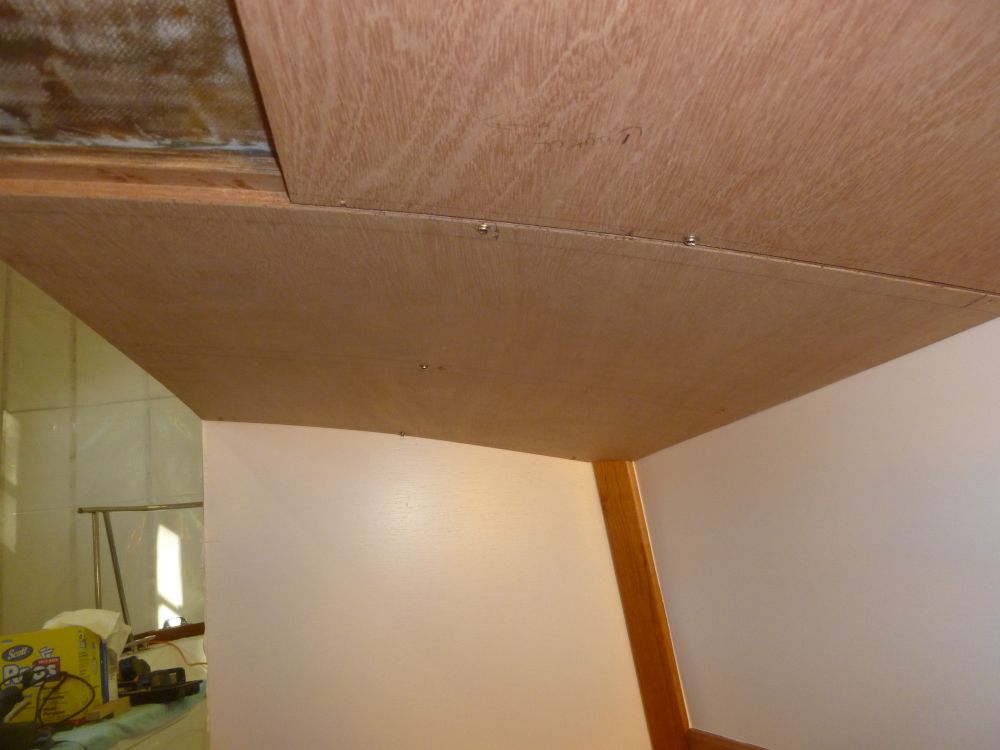
Using the template as a guide, I cut the actual overhead panel from 9mm marine plywood, then installed it temporarily with several screws as needed.
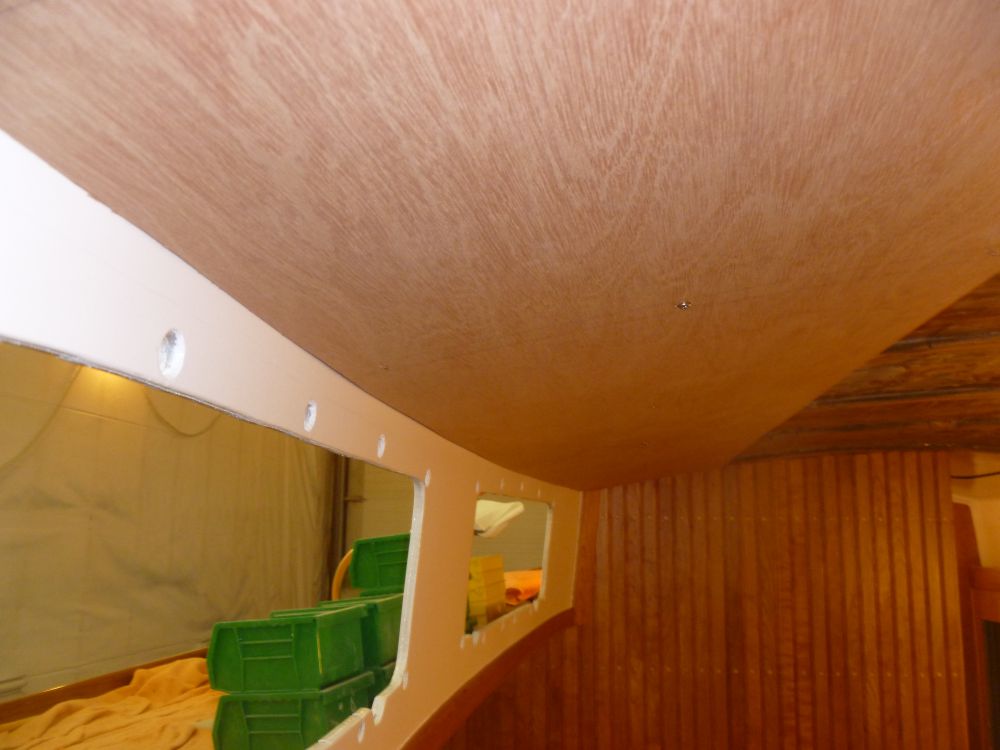
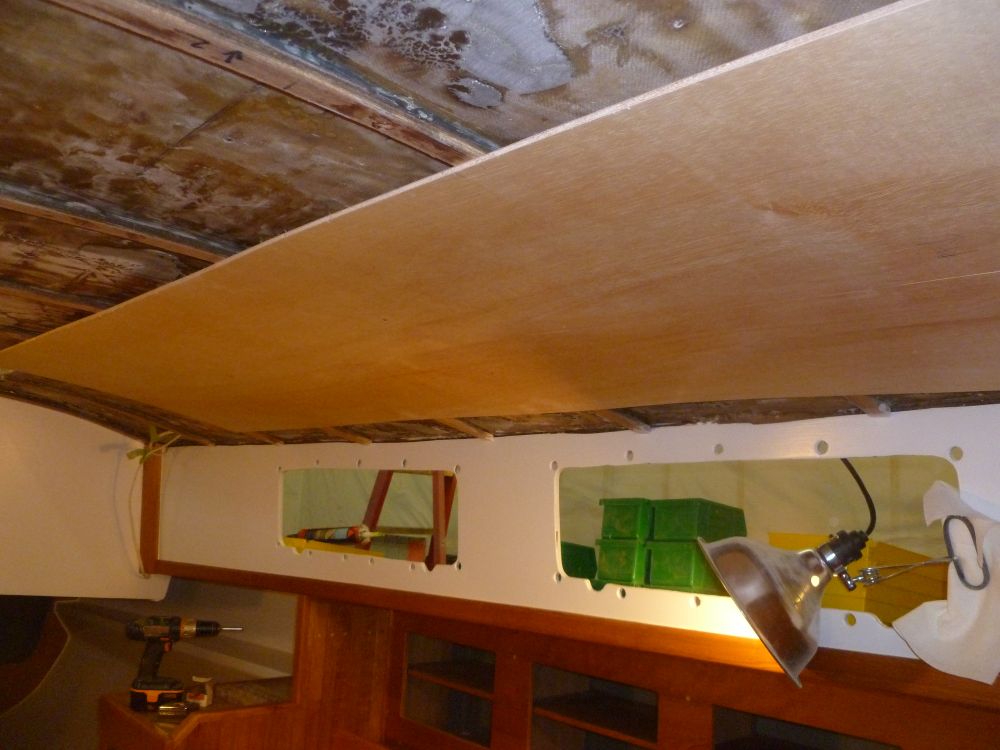
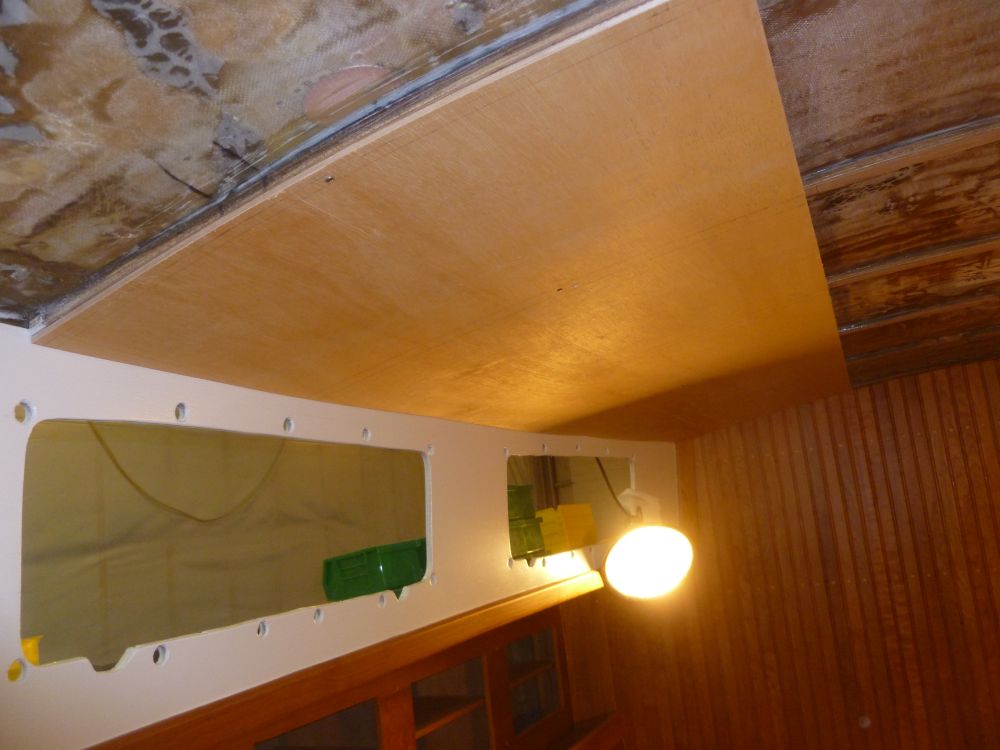
On the starboard side, I repeated the process. In this case, although the two sides were not symmetrical, I could save a step by using the port template to create the rough shape of the starboard, since the curvature of the outboard edge was close enough for this purpose. From there, I rescribed a more accurate line, cut, and fitted the newly-scribed template in place.
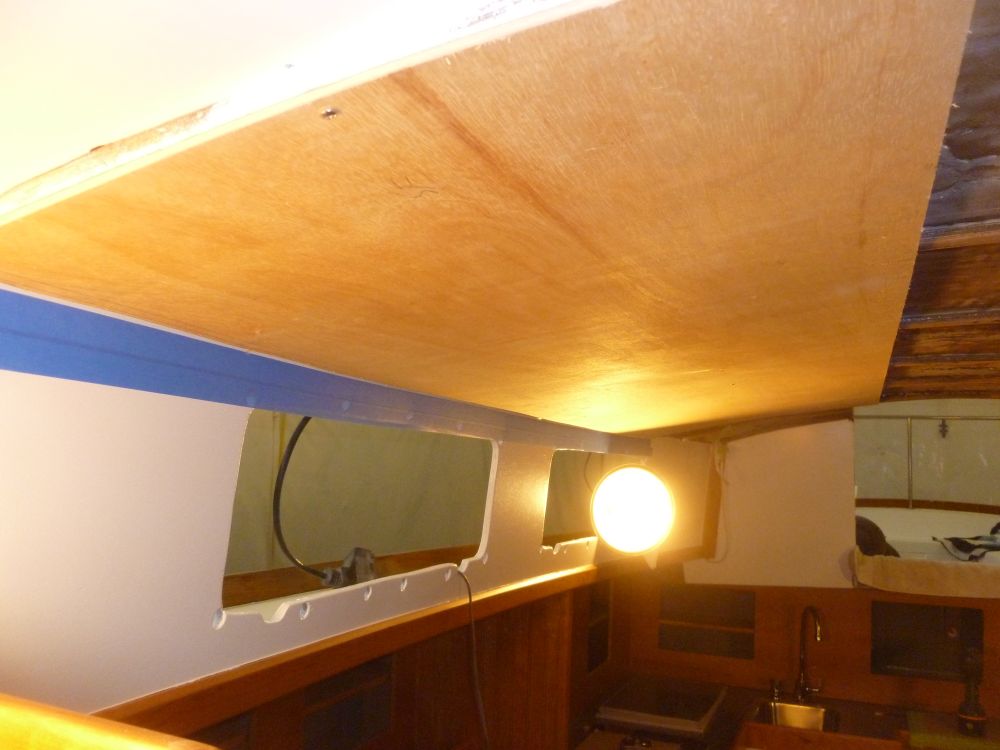
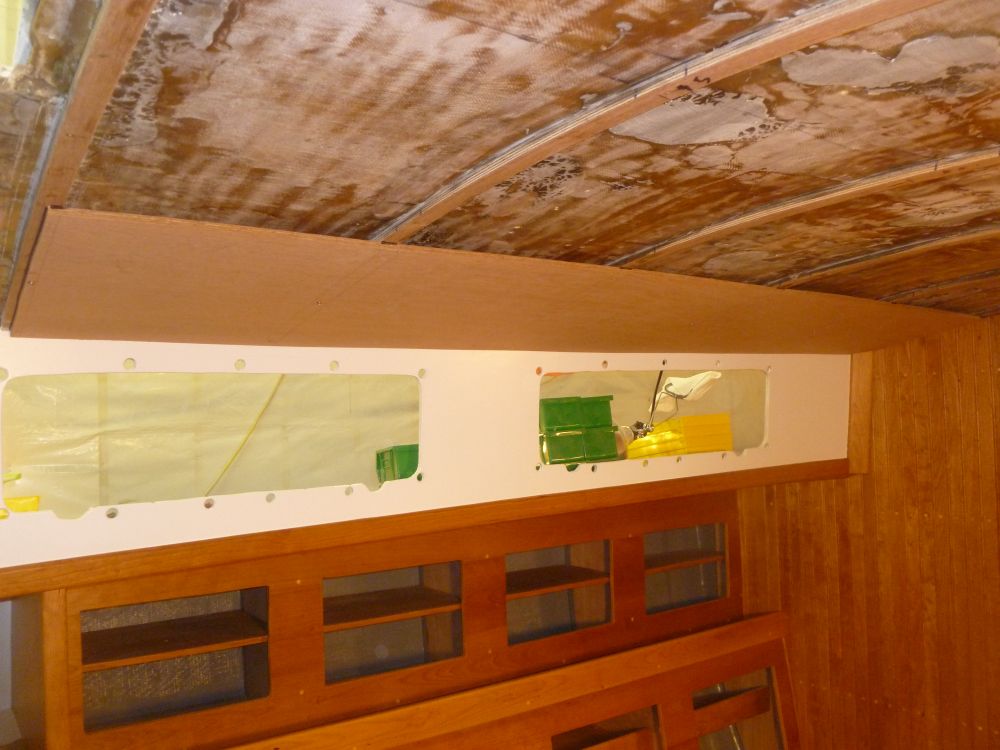
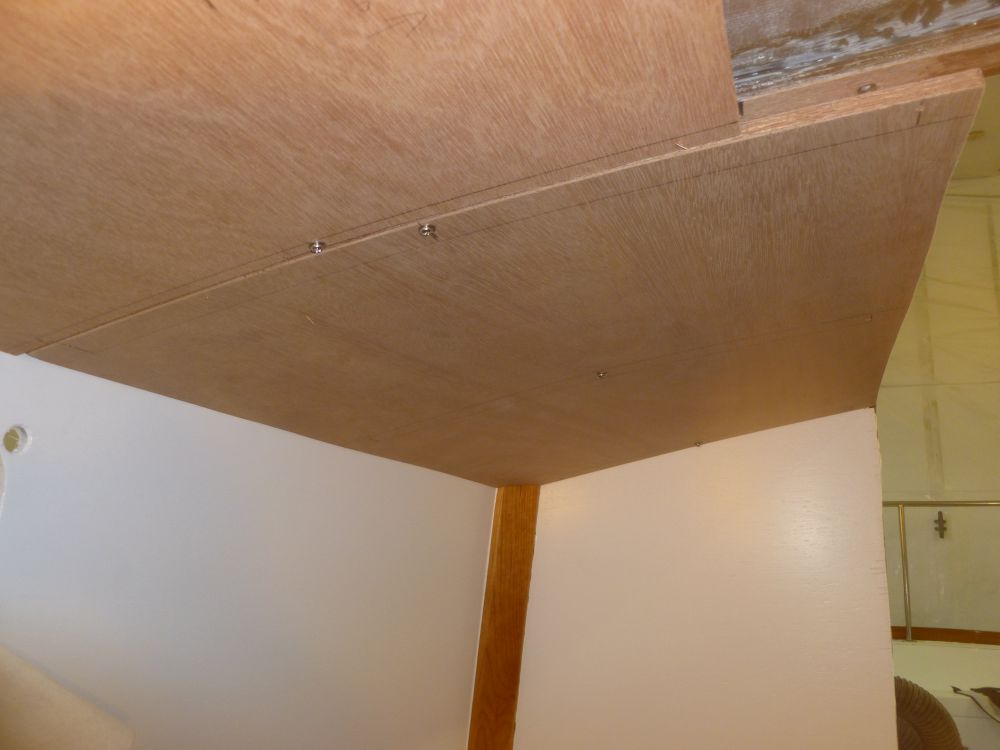
I transferred the templated shape to more 9mm plywood, and cut out the starboard section.
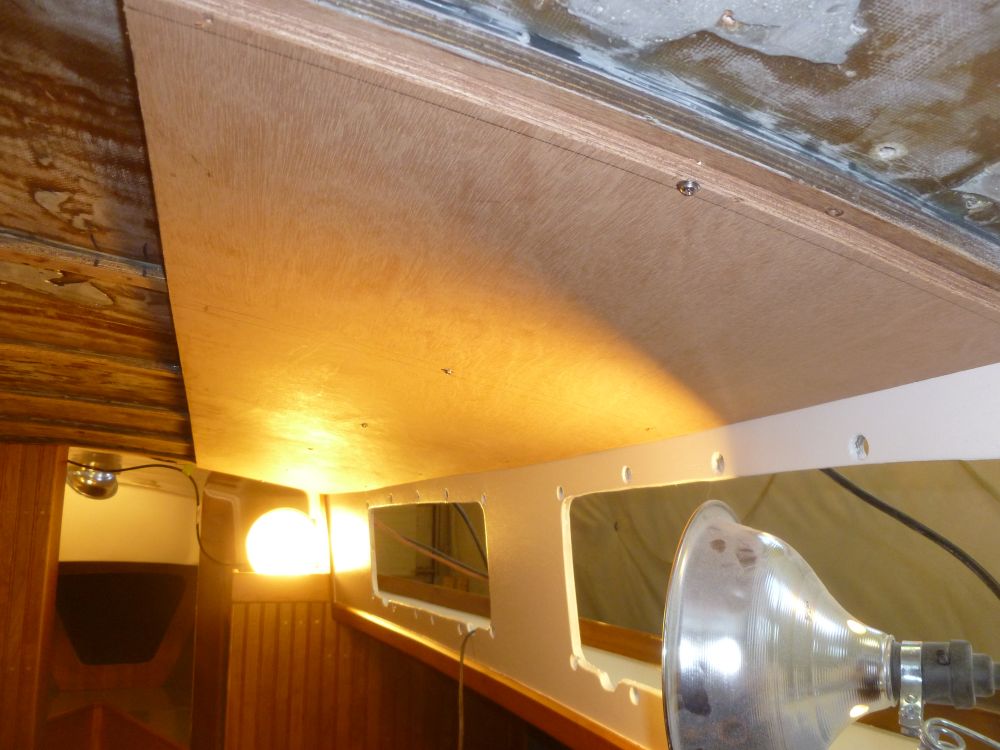


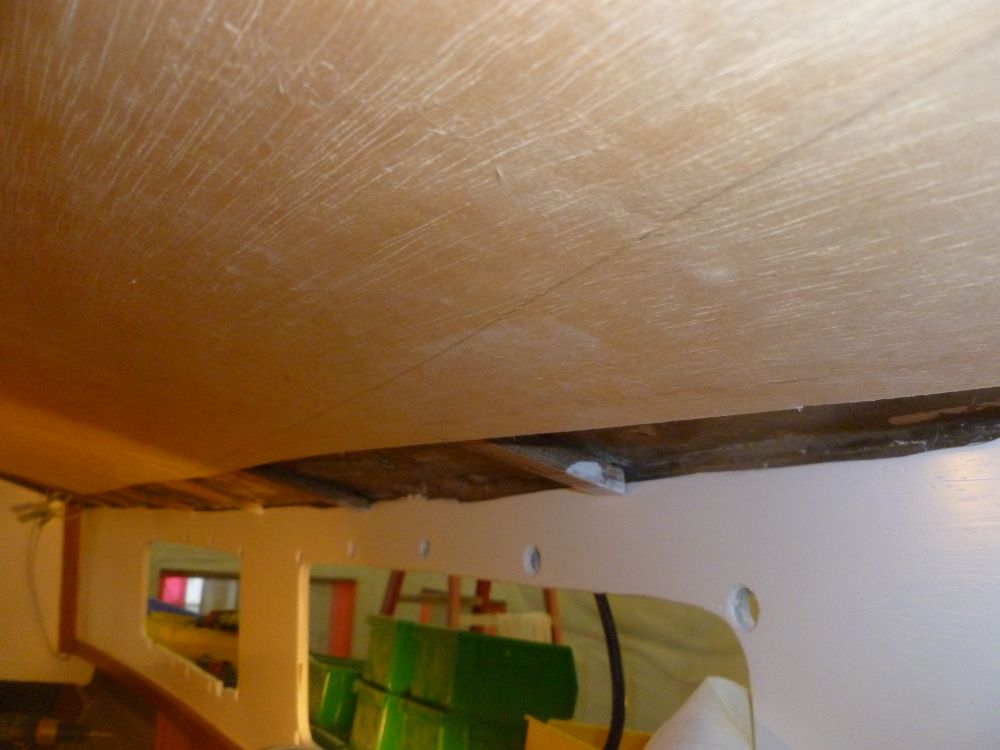
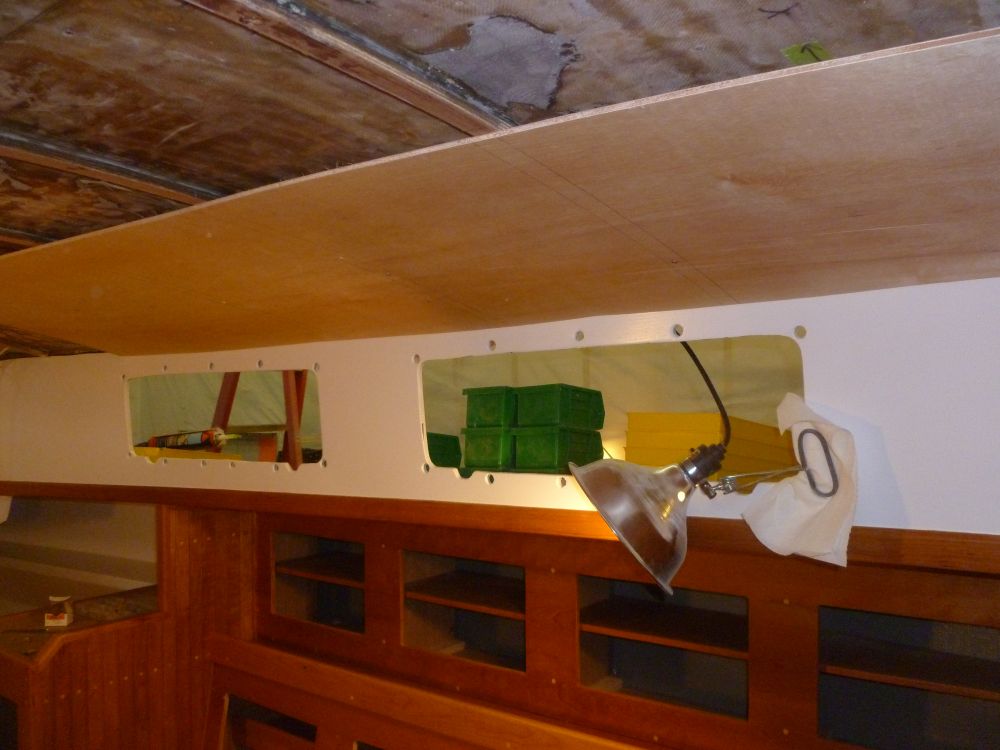
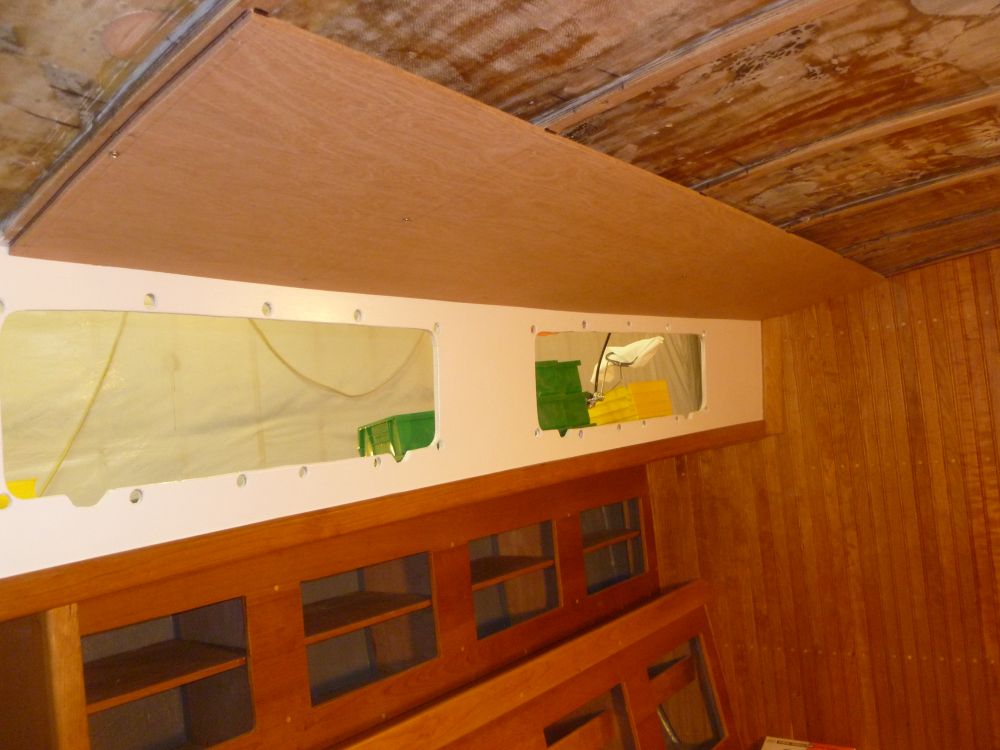
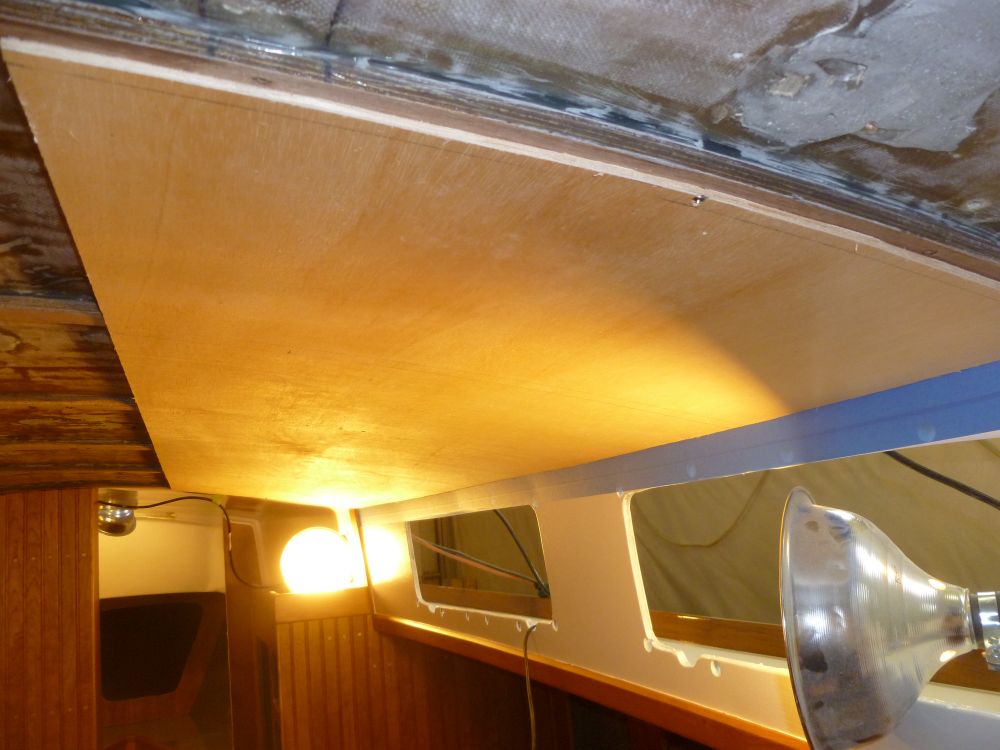
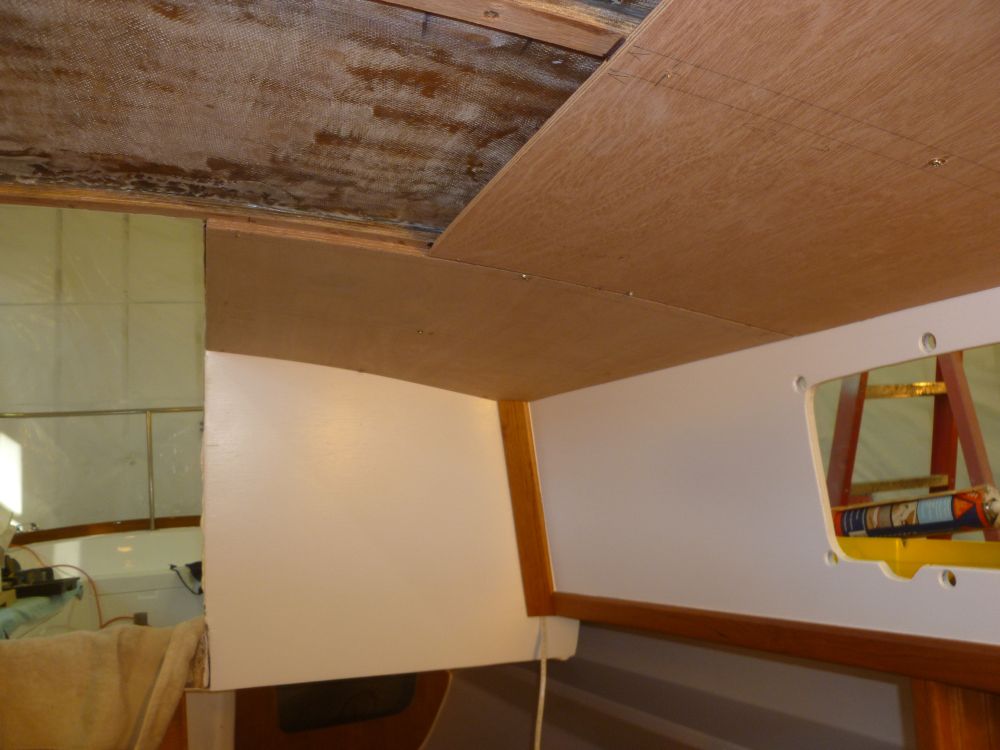
Next, I used the same templating process to create templates of the two after sections, between the companionway and the after edge of the side panels.
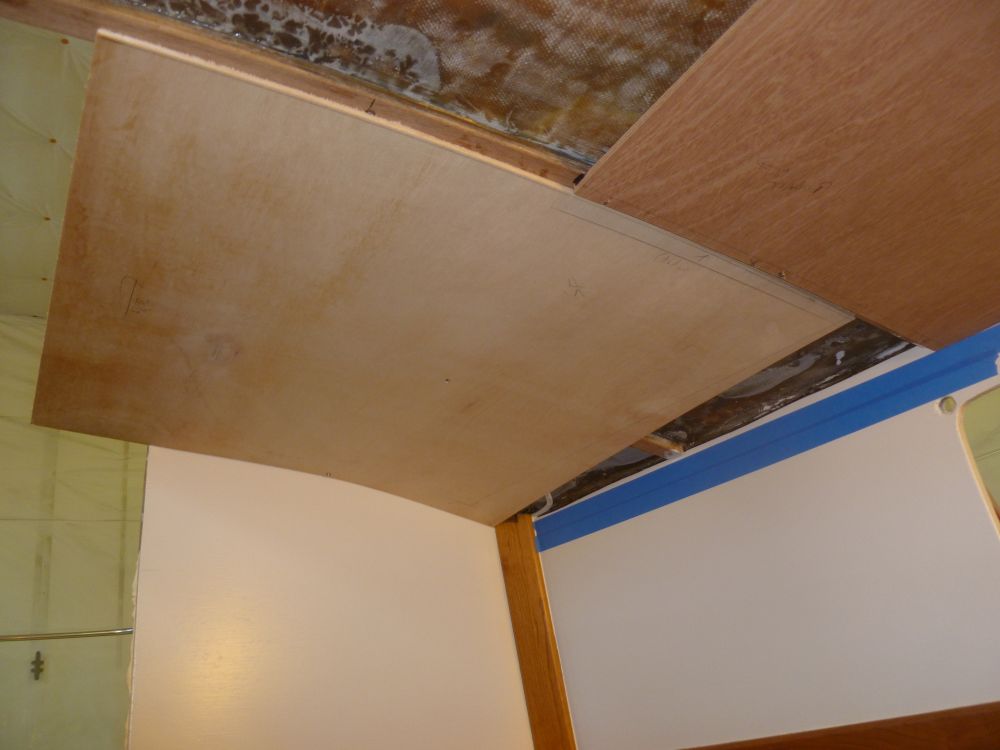
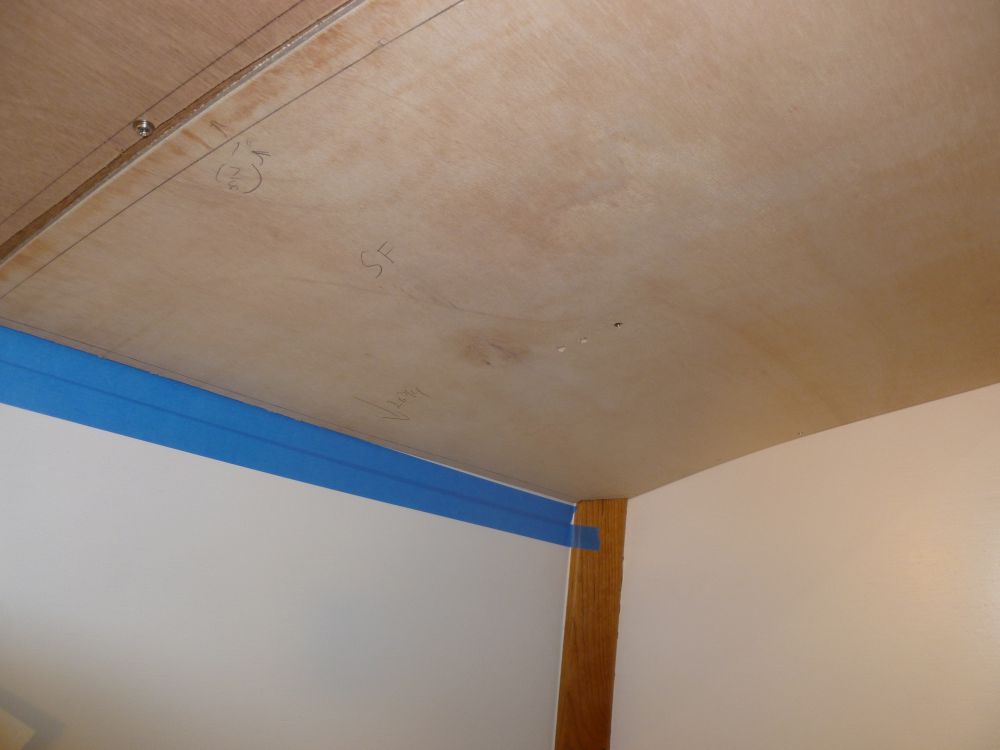
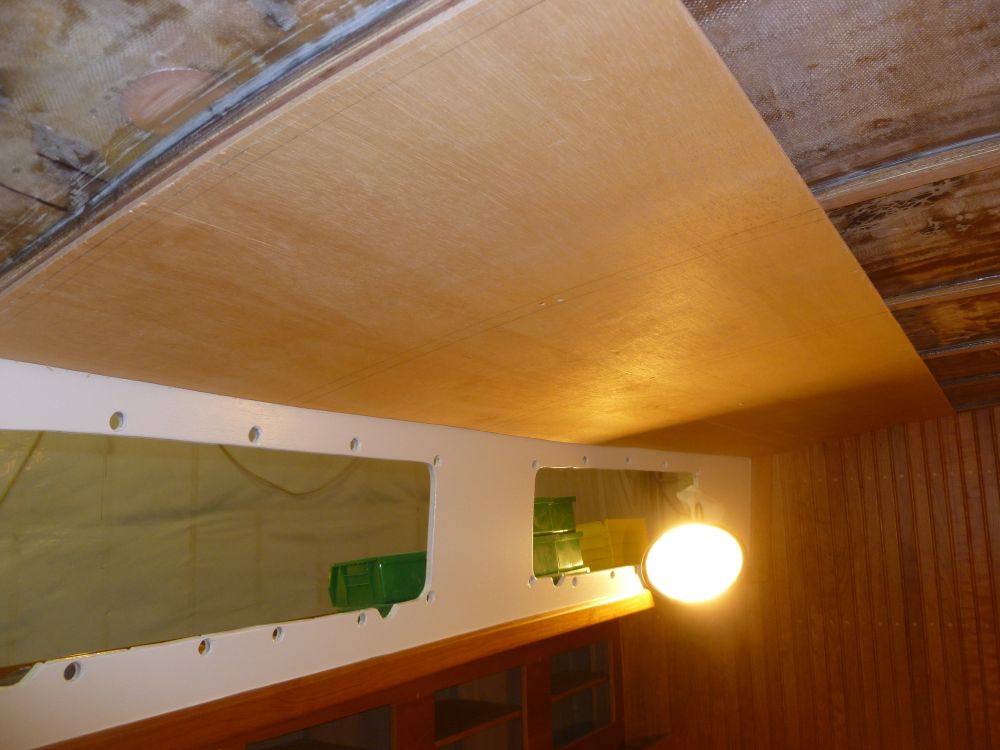
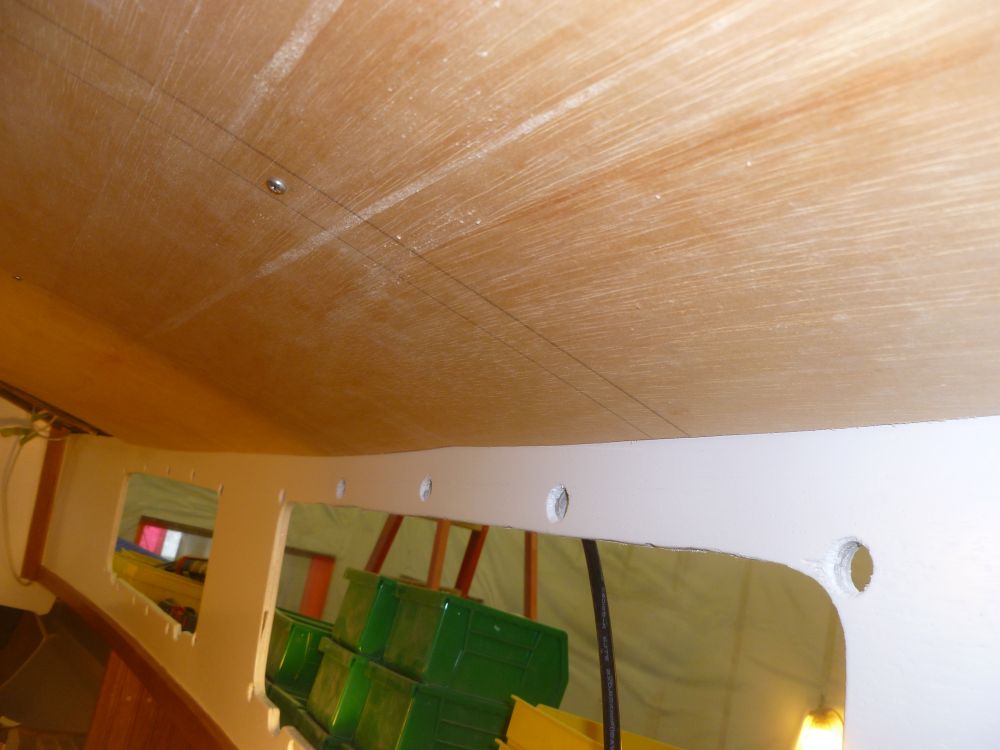
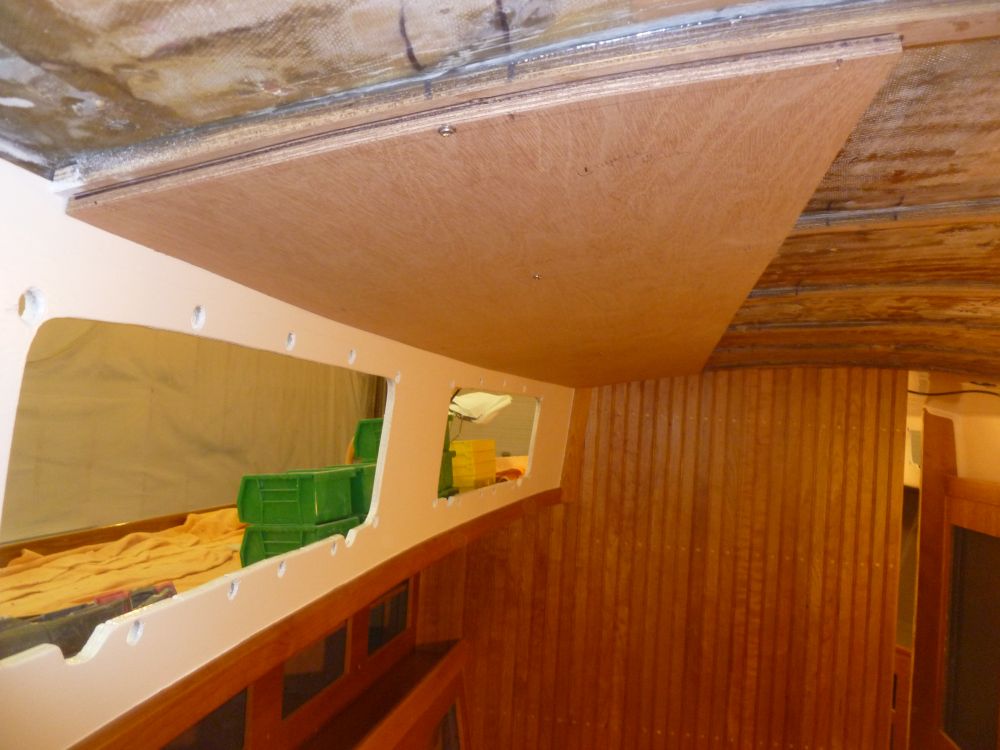
I cut the final panel pieces from more 9mm plywood and temporarily installed them.
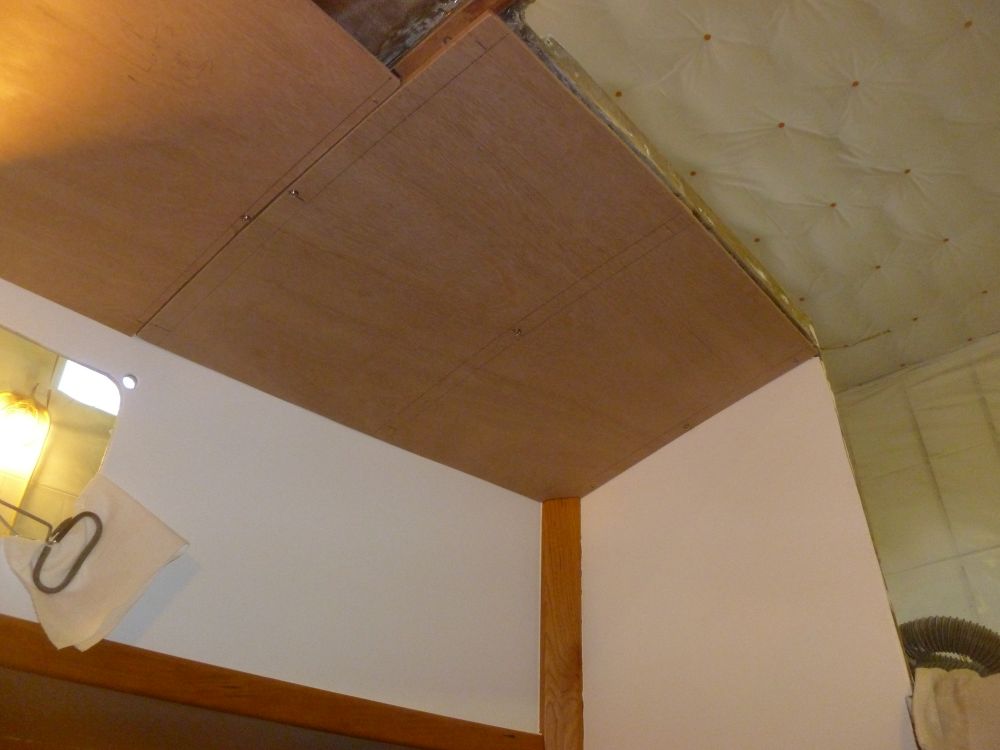
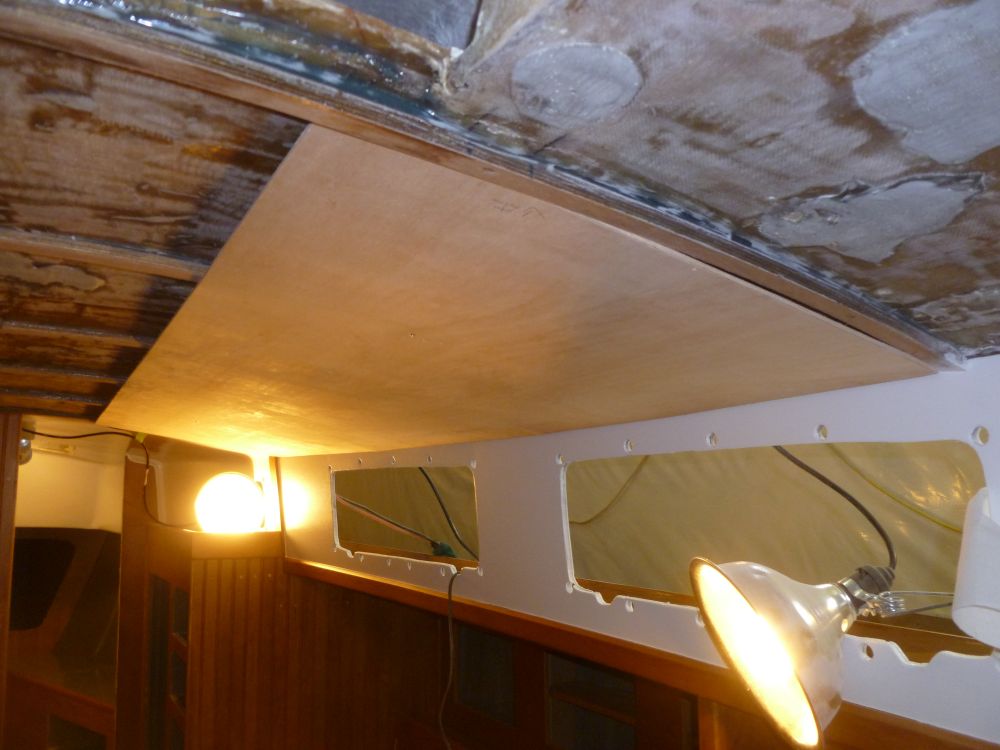
Next, I filled in most of the center field area with beadboard, milled from poplar to the same profile as the cherry beadboard I'd installed on the bulkheads. Butting the boards against the plywood side panels, I worked inboard evenly from each side, screwing the strips in place. The screw holes in these strips and the adjacent panels would later be covered with trim strips that would also provide varnished accents against the painted overhead.
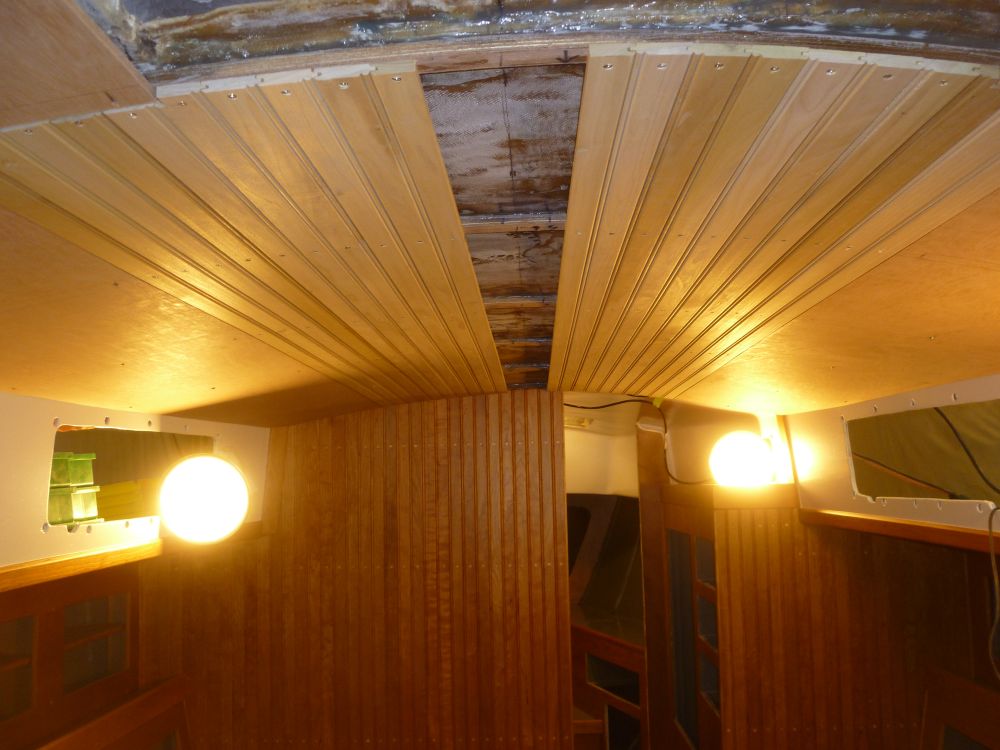
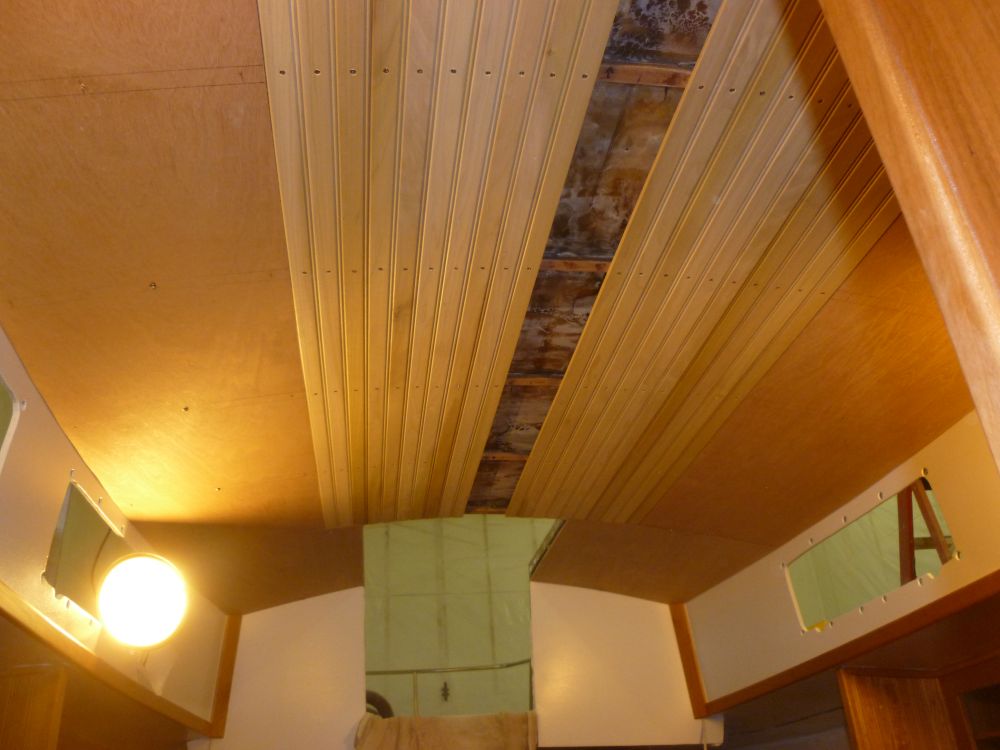
Along the centerline, I left an open area for a central king plank, which would contain several overhead lighting fixtures and would be more easily removed for service. The width of the king plank area was just a bit wider than the dimension of the lighting fixtures. I'd cut and fit this plank next time, as I'd reached the end of the day.
Total Time on This Job Today: 8.5 hours
