
110 Cookson Lane | Whitefield, ME 04353 | 207-232-7600 | tim@lackeysailing.com
Snow Lily | Monday, February 25, 2013
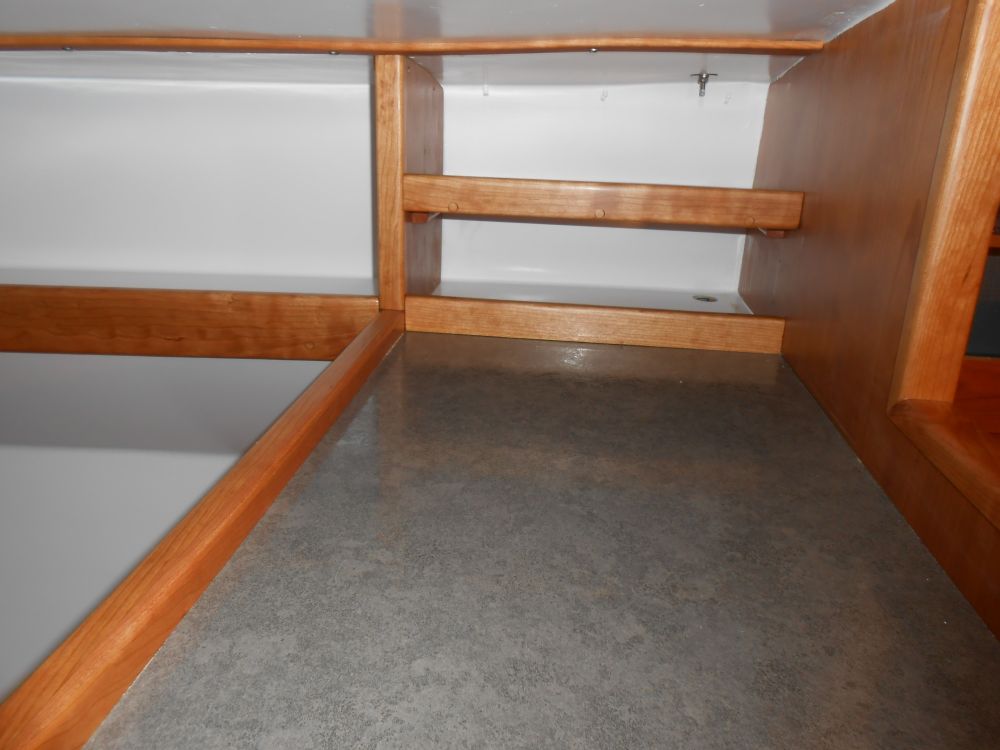
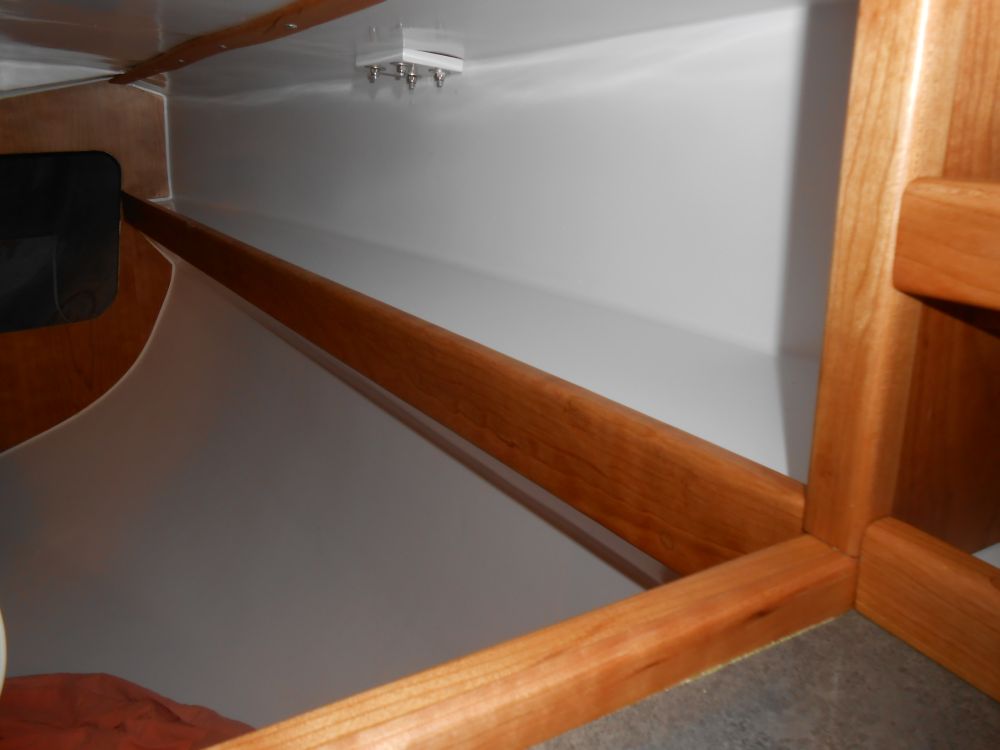
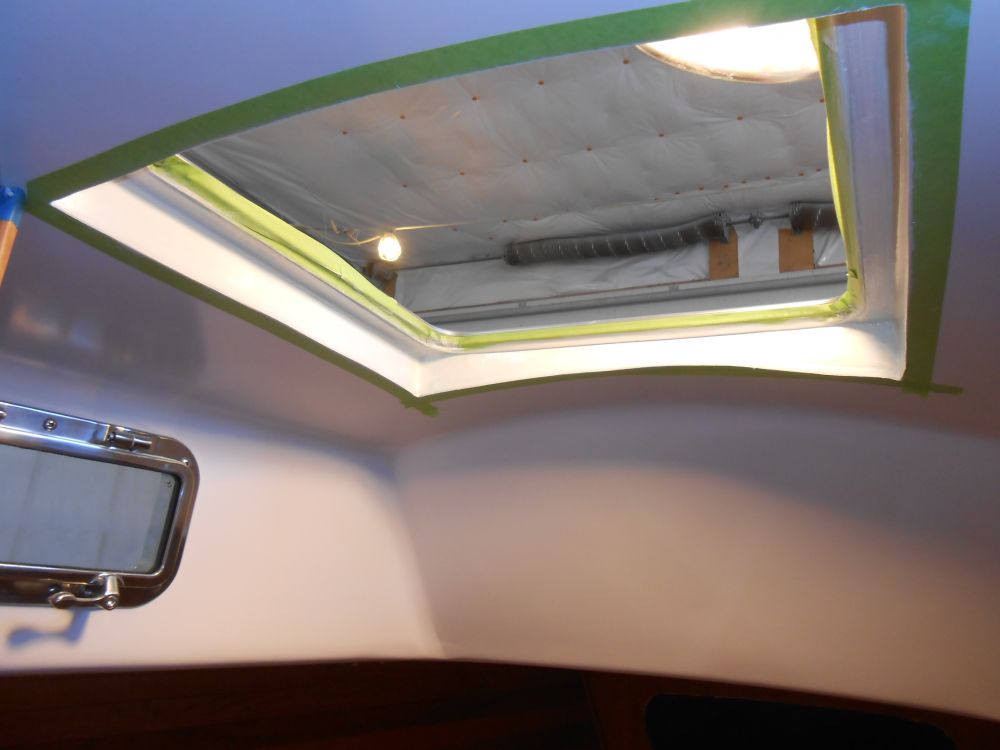
Over the weekend, I finished up the varnish work in the head and quarterberth, so first thing in the morning I removed the masking tape from these areas. Unfortunately, many of my pictures for this day were corrupted somehow, and unreadable, so some of the views I took early in the day were gone forever. I re-took photos the next morning when I discovered the file corruption.
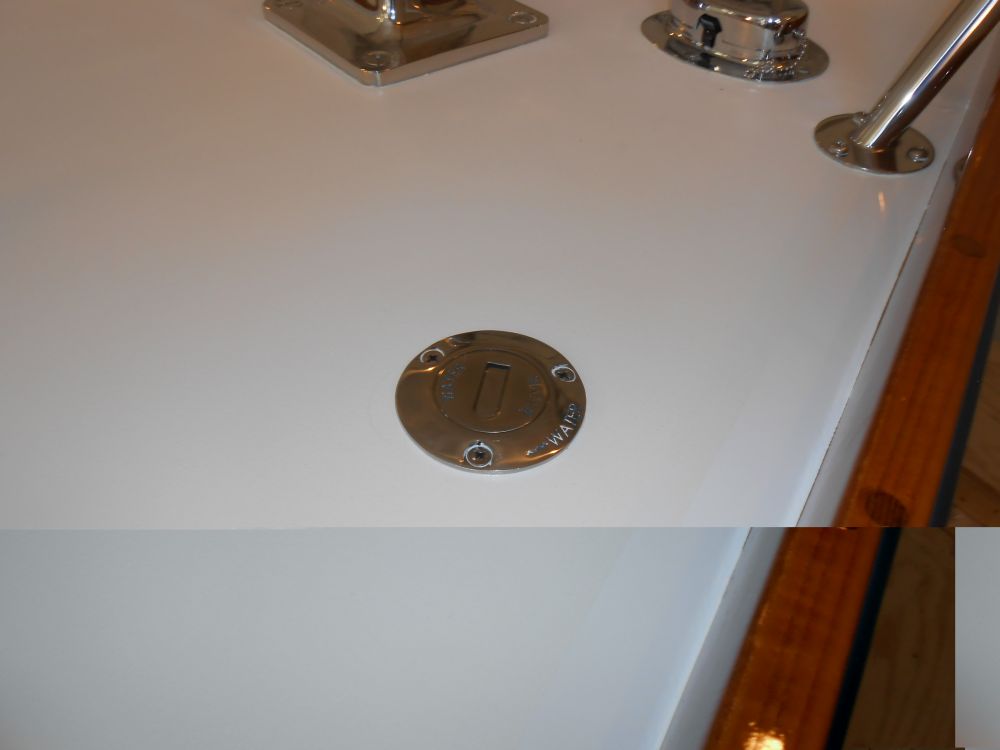
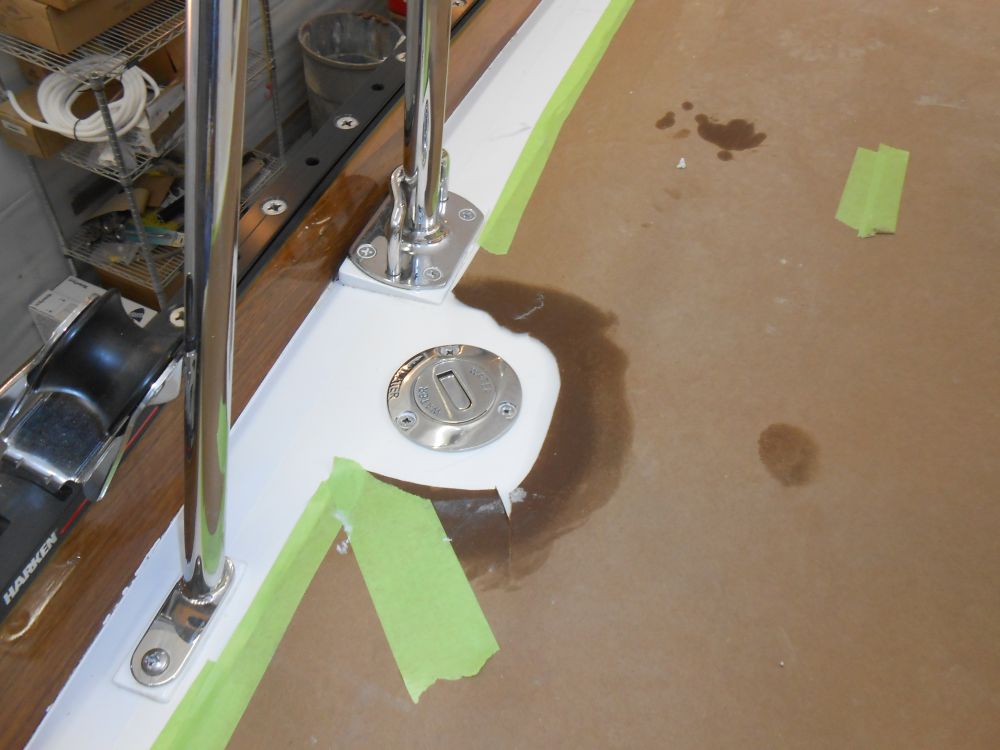
Next, I continued work on the deck fills for the water tanks, cleaning up the insides of the epoxy-coated holes before installing the fittings with sealant and machine screws into tapped deck holes. Most of the in-progress photos of this process were corrupt and unsalvageable, and unreproducible.
Over the weekend I also finished up prep work on the mold for the electric motor control enclosure, waxing it heavily all over several different times. I prepared several layers of 10 oz. woven cloth, which I chose since it would better conform to the shape of the mold, then wet them out and applied them to the mold, leaving them to hang over the edges for now. Later, when the material had partially cured, I trimmed two of the edges with a sharp knife, to make it easier for me to trim the whole flange with the table saw later, since I'd positioned the mold on the plywood base square and straight for this purpose.

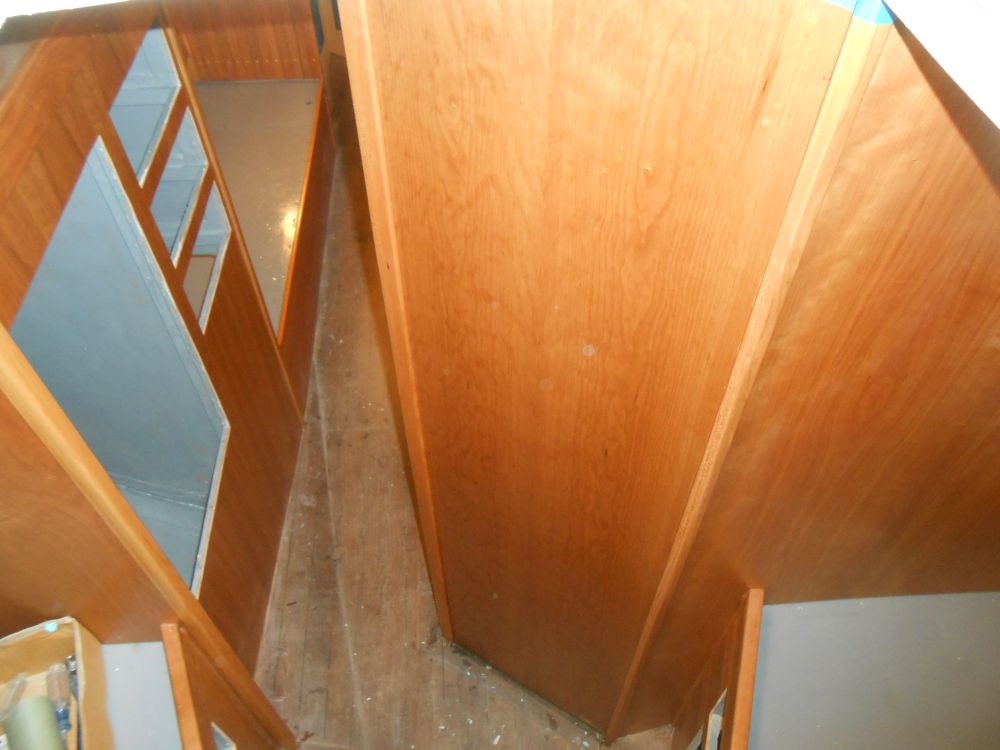
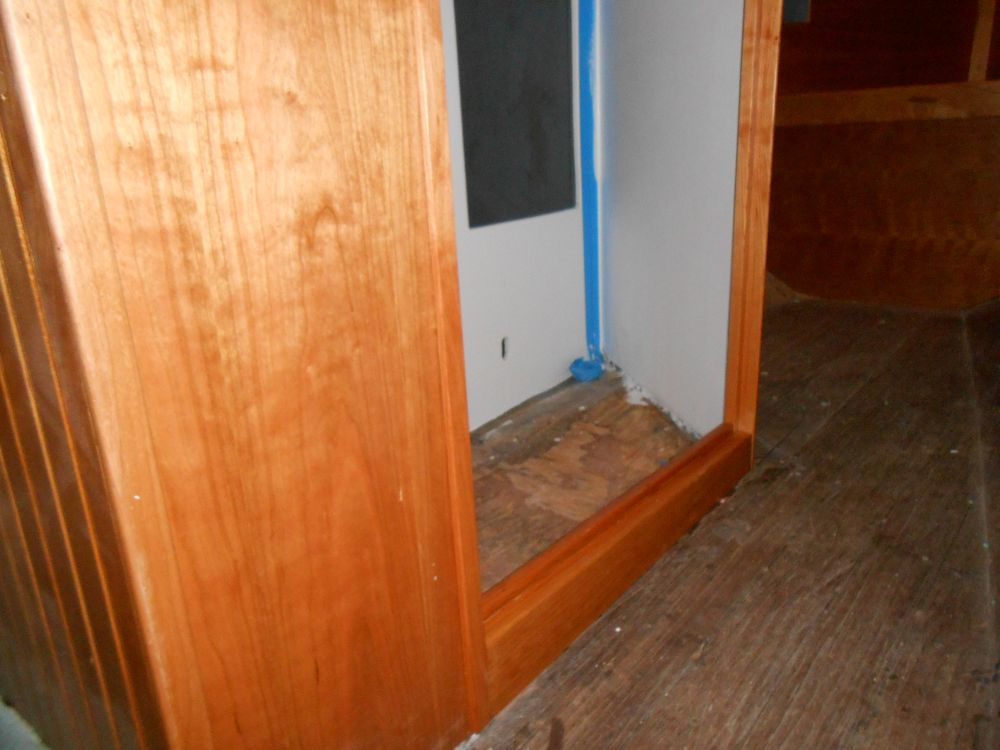
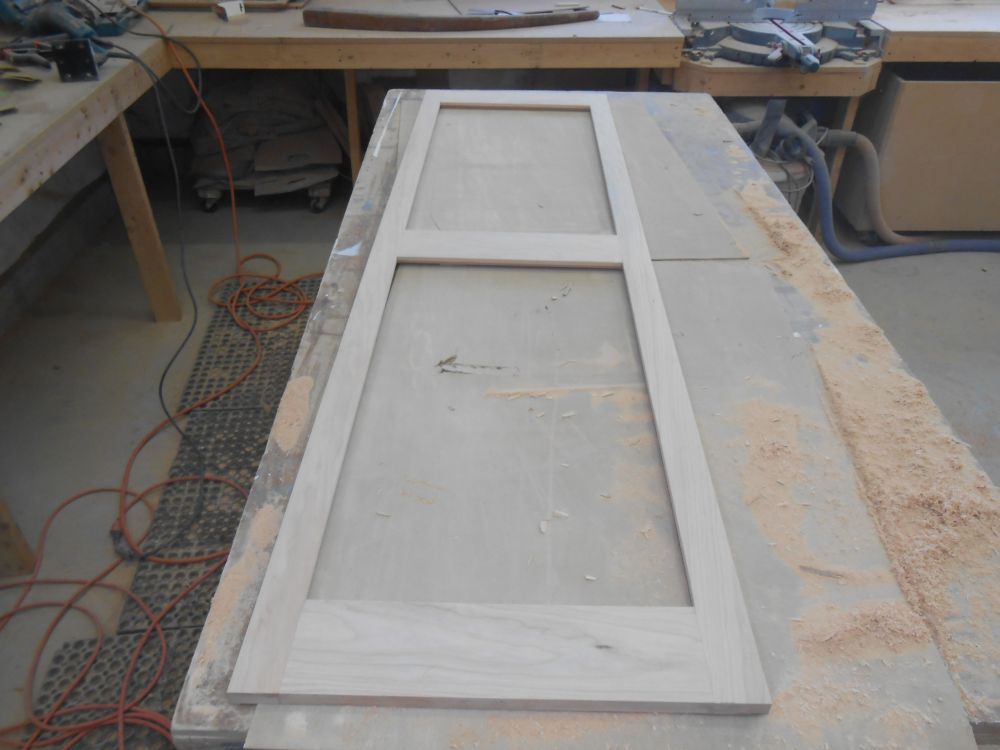
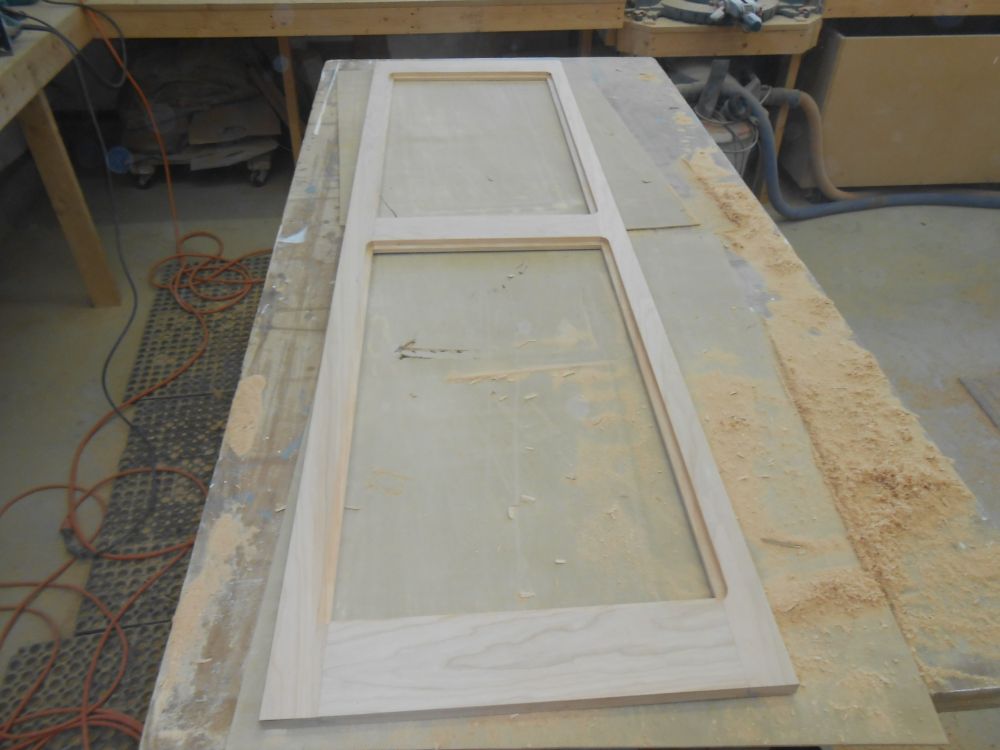
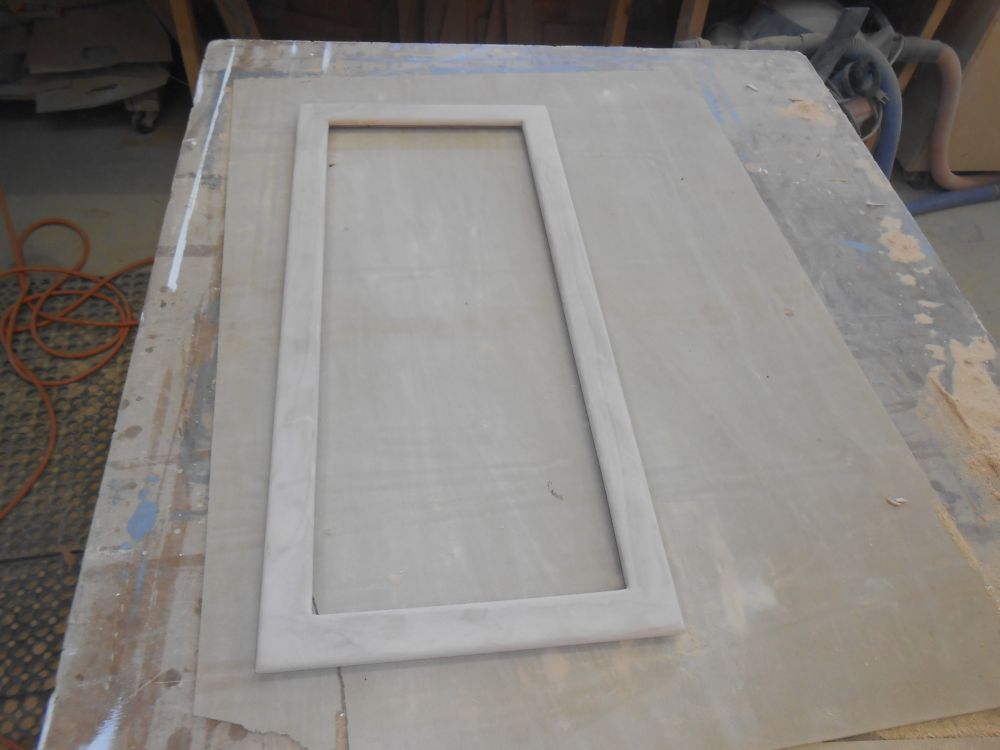
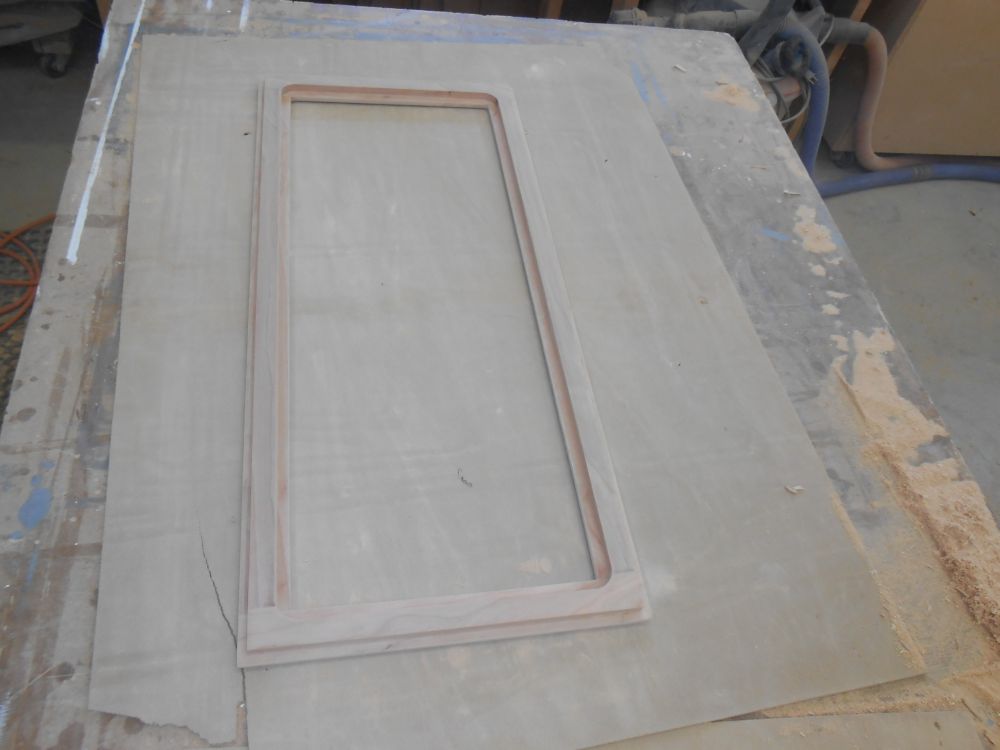
I test-fit the new head door in its opening, and found I had to trim just a smidge from one long edge to ensure enough room for hinges. Afterwards, I sanded the door smooth, and milled a recess in the back side to accept the cherry beadboard field.
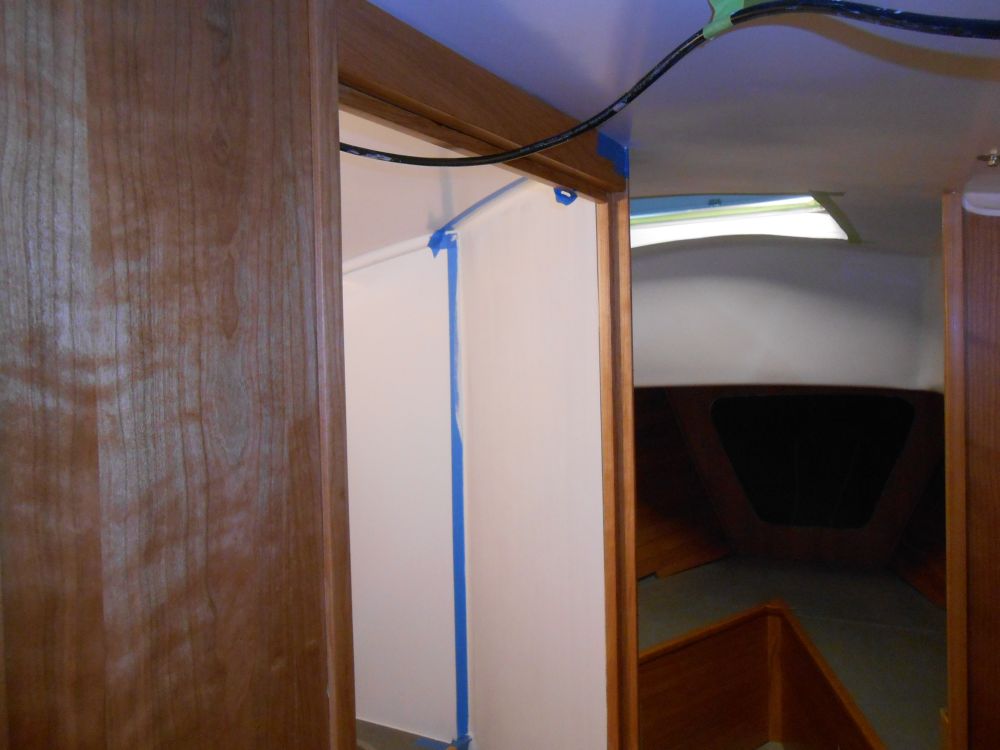
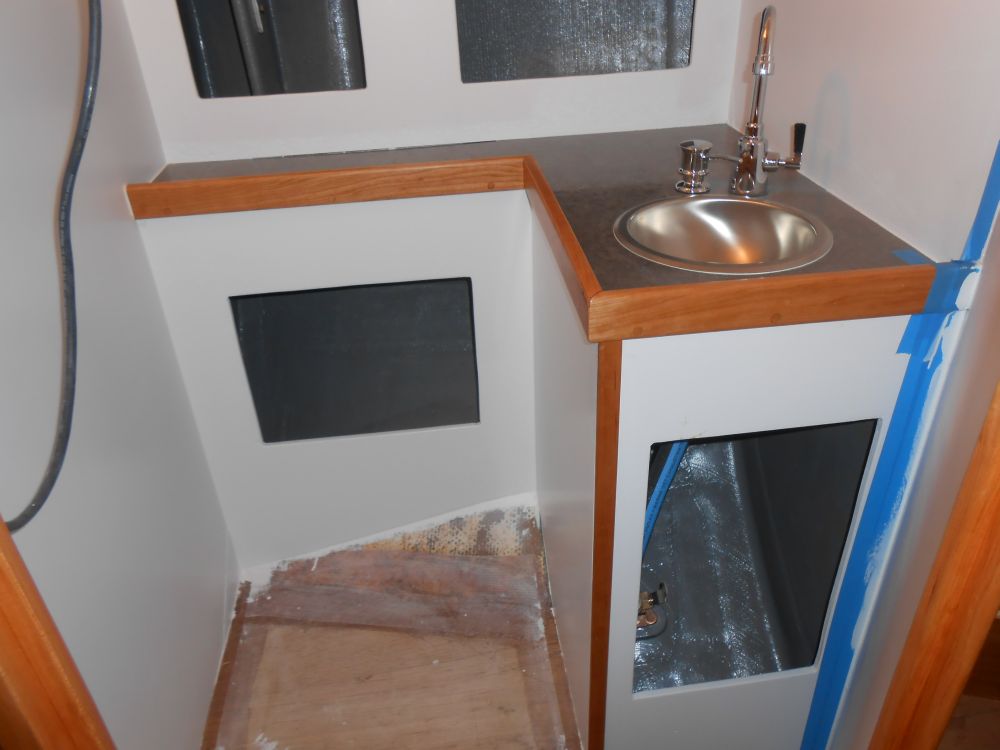
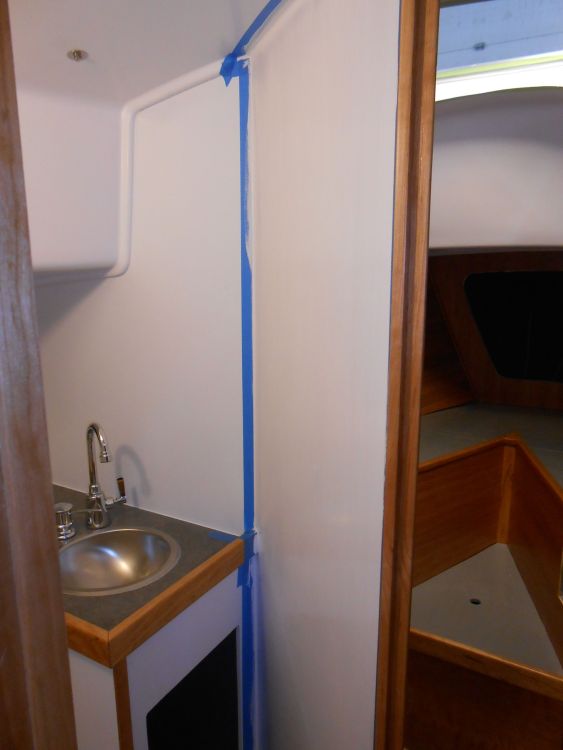
Back in the boat for the moment, I masked off the inside portion of the head bulkhead, and applied a coat of primer to this surface, as well as the area inside the forward hatch.
Continuing with doors and sanding, I cleaned up and sanded the remaining doors that I'd glued up earlier, except for the chainlocker door, which I found I had to reglue. Beginning with the electrical locker door, which would eventually hold the electrical panels and related devices, I edge-milled and sanded as needed, through 220 grit. For the electrical door, I milled a recess to accept the field panel in the back.
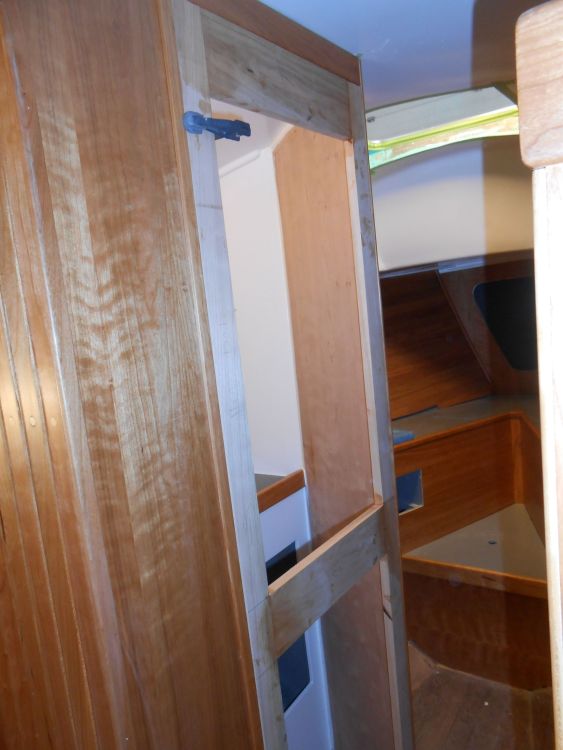
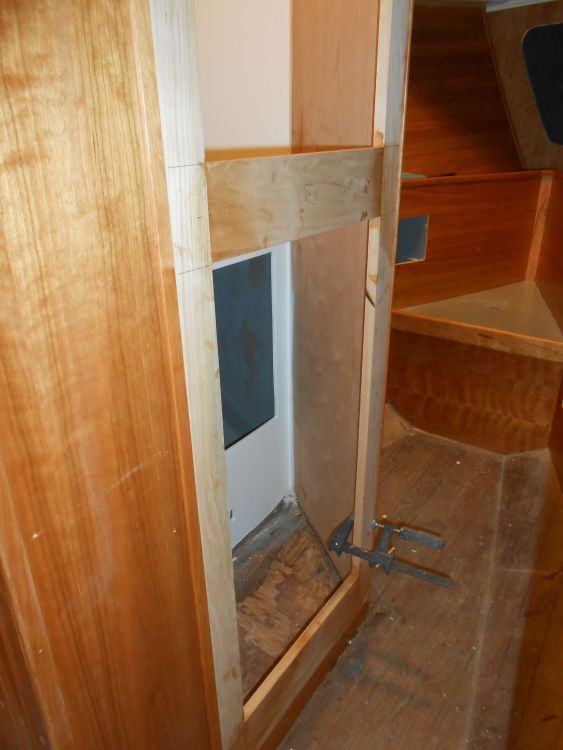
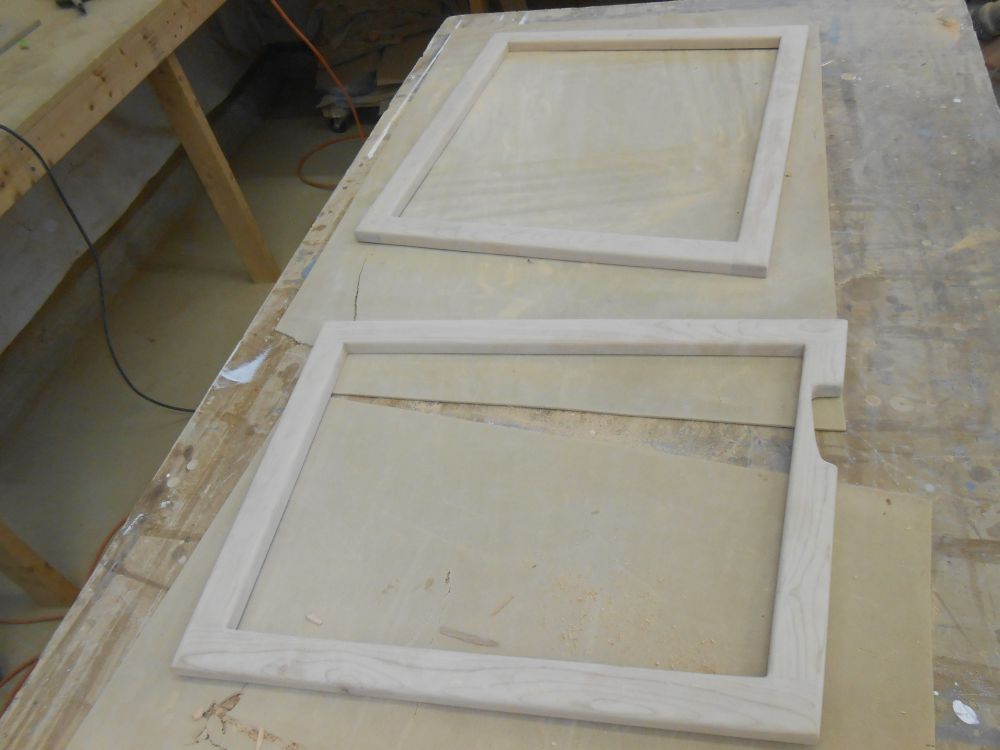
Afterwards, I wrapped up with the quarterberth bulkhead door and a final large door for the opening beneath the companionway ladder. The little bite out of the quarterberth door fits around the fiddle on the molded shelf.
Total Time on This Job Today: 7.25 hours
