
110 Cookson Lane | Whitefield, ME 04353 | 207-232-7600 | tim@lackeysailing.com
Snow Lily | Thursday, February 21, 2013
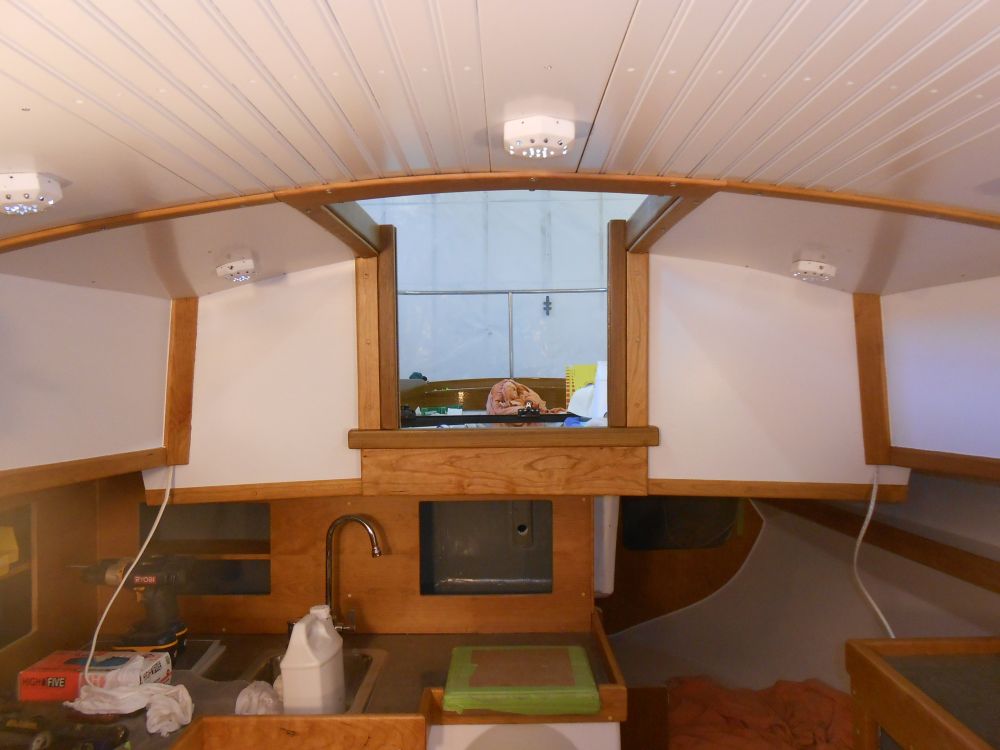
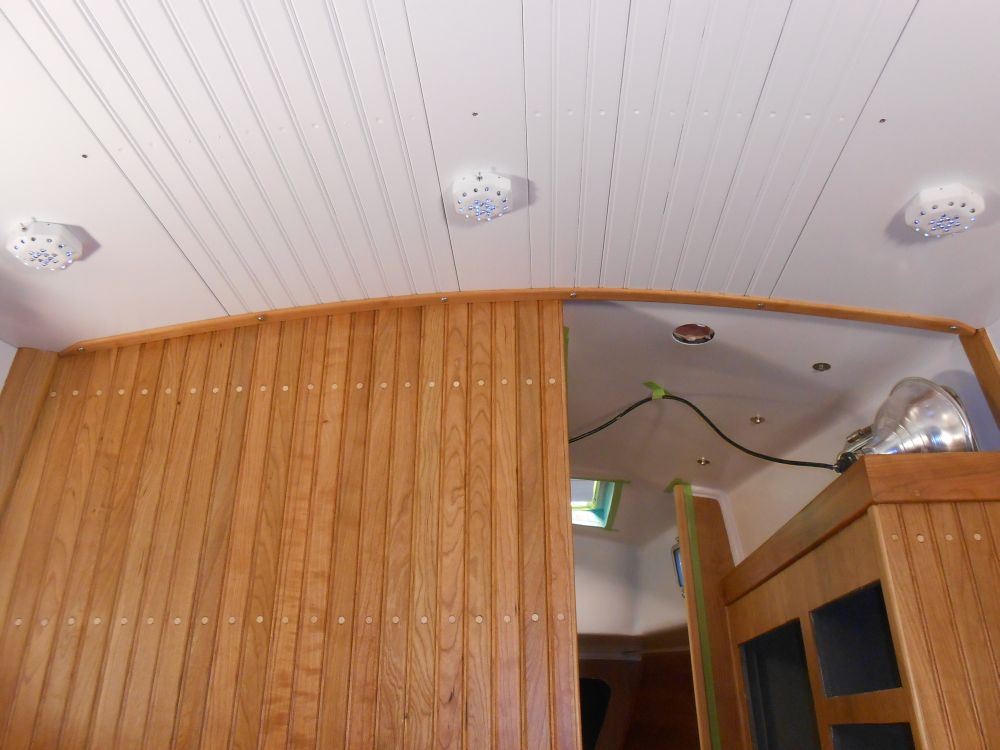
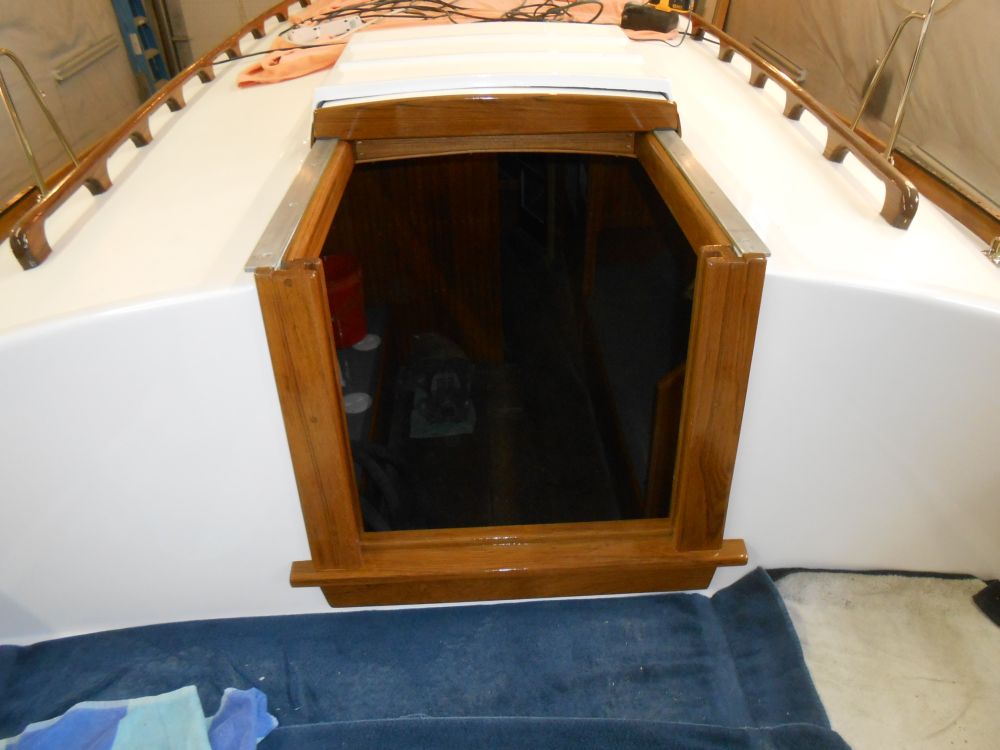
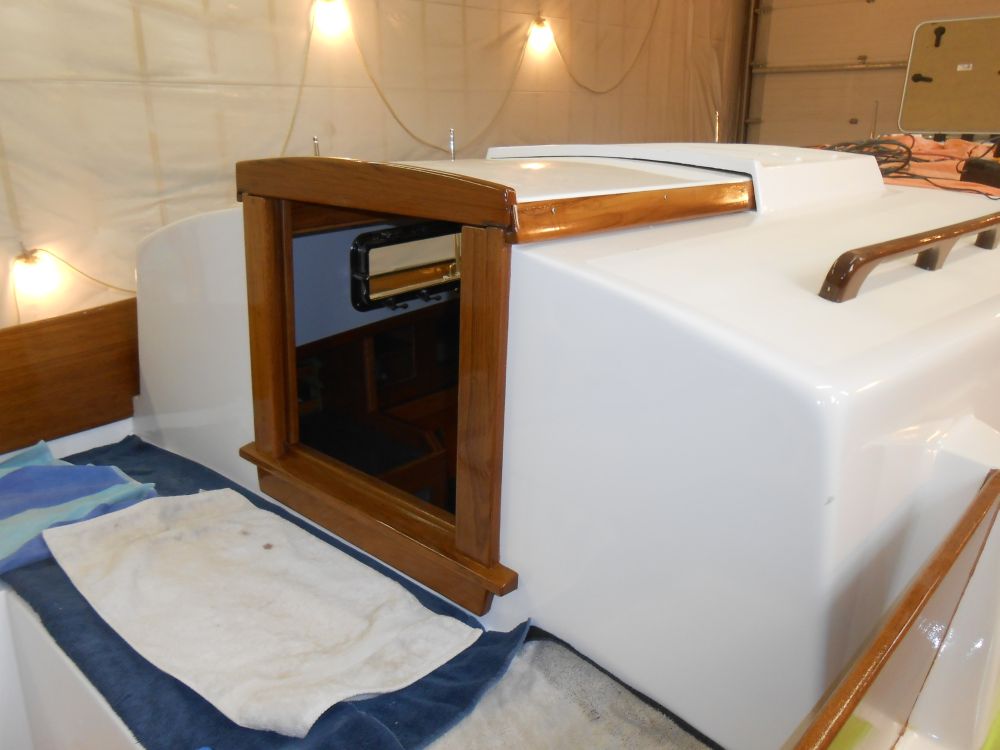
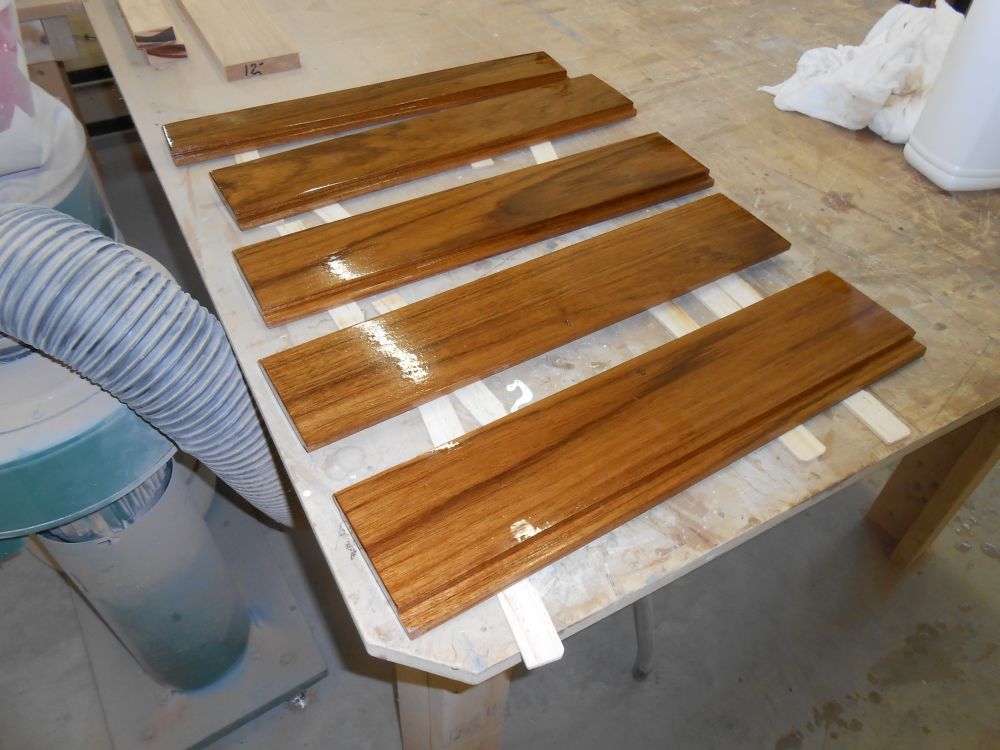
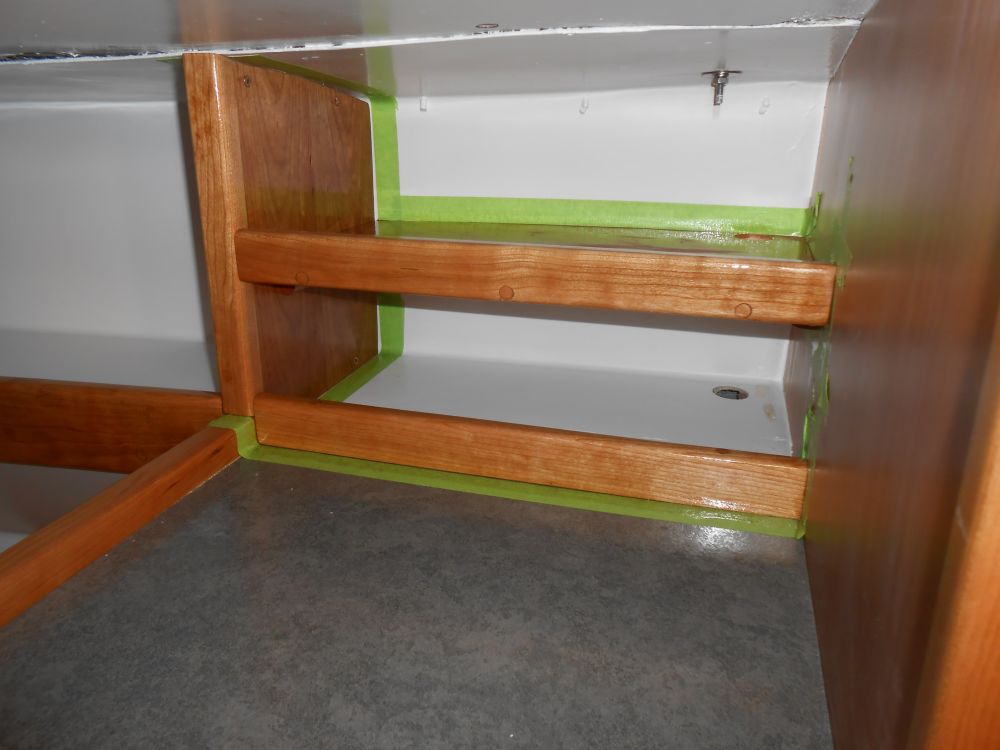
In the cabin, I lightly sanded the various trim pieces and cabinetry in the head and elsewhere to prepare them for additional varnish later in the day. Meanwhile, with the companionway varnishing complete, I removed the masking tape inside and out, and installed the overhead trim around these areas, as well as the forward trim. Using tung oil to finish these small pieces makes it easy and quick to apply numerous coats of finish that matches the adjacent satin varnish.
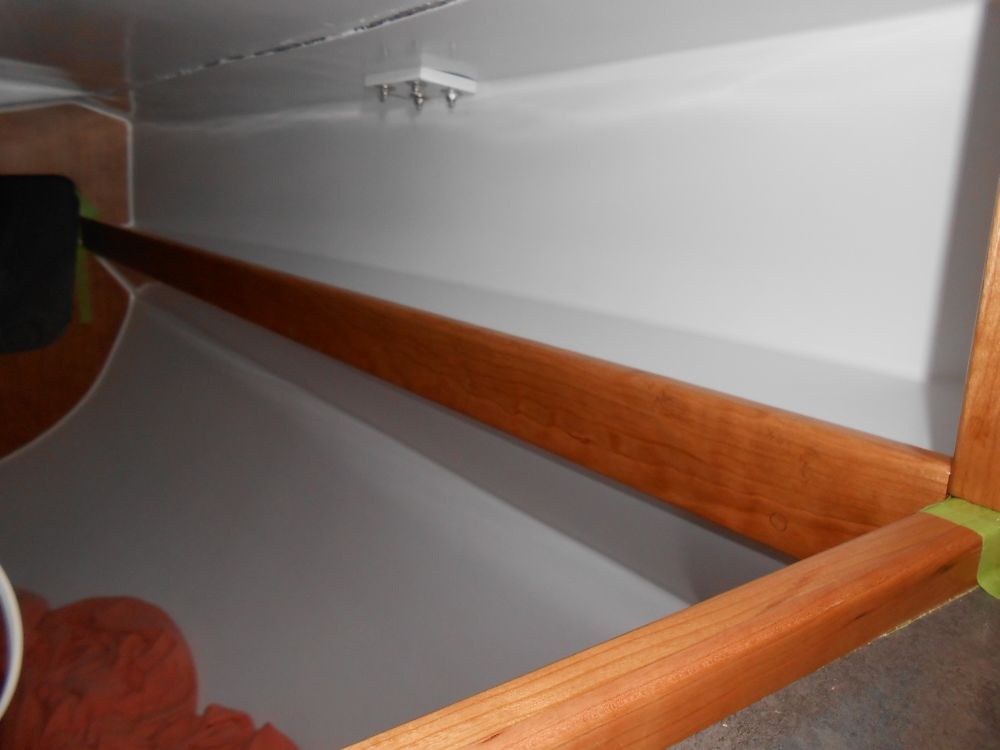
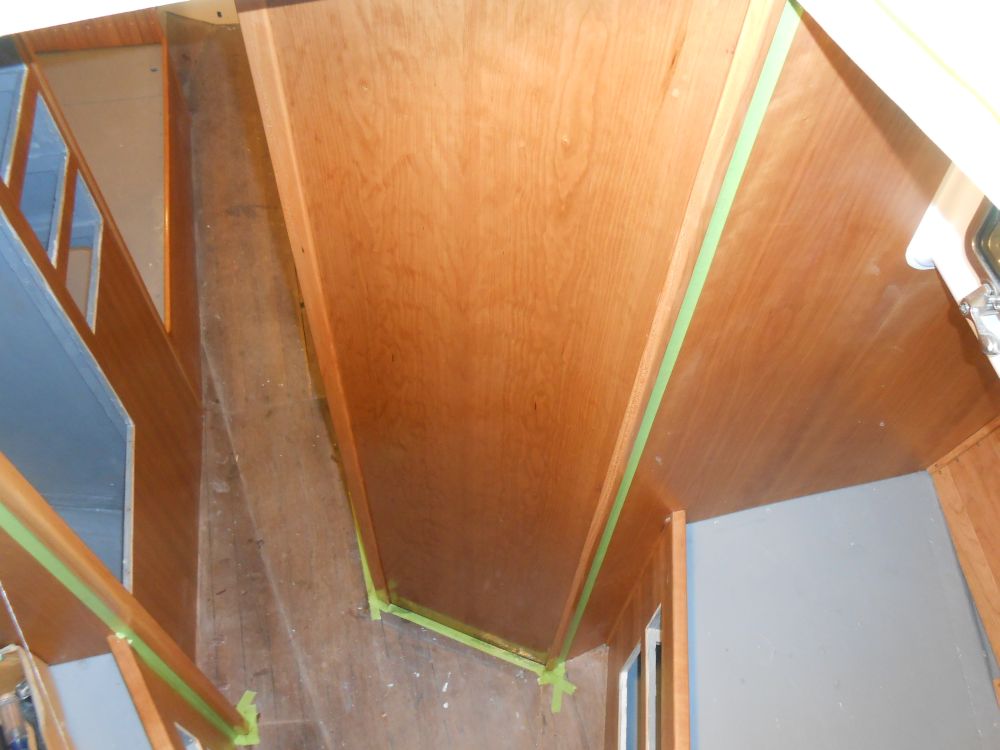
In installing the long trim piece in the quarterberth overhead, to deal with the seam between the molded liner and the adjacent overhead, I discovered that I'd milled and finished the wrong sides, so the piece was upside down. I quickly milled a new section, using the old as a guide (correctly positioned this time), and began the finishing process.
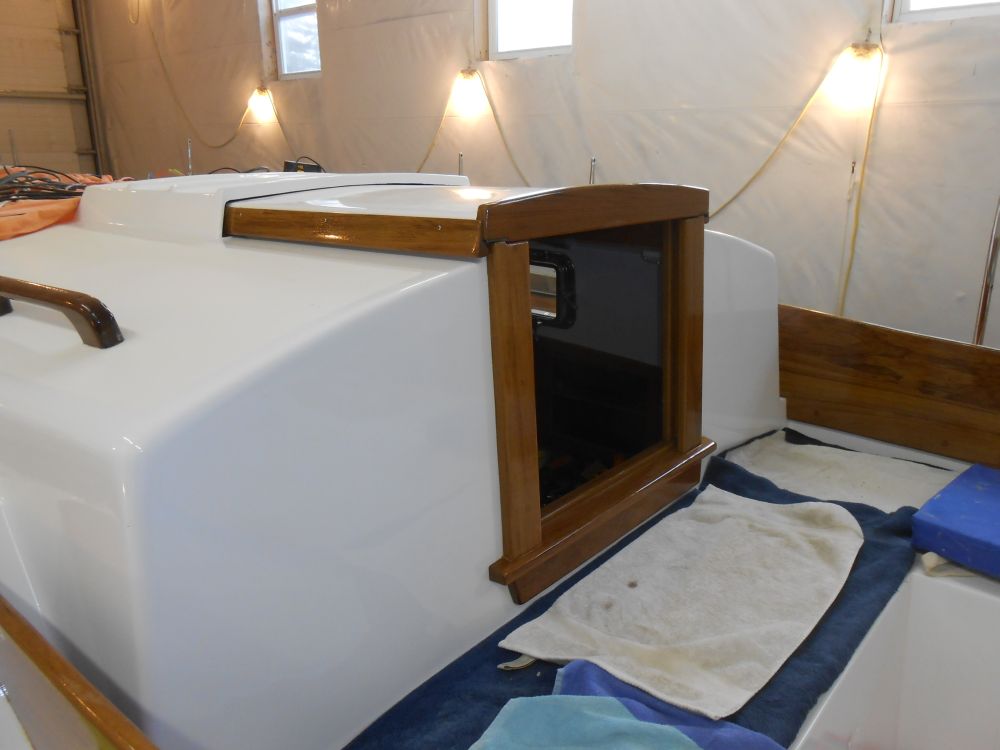
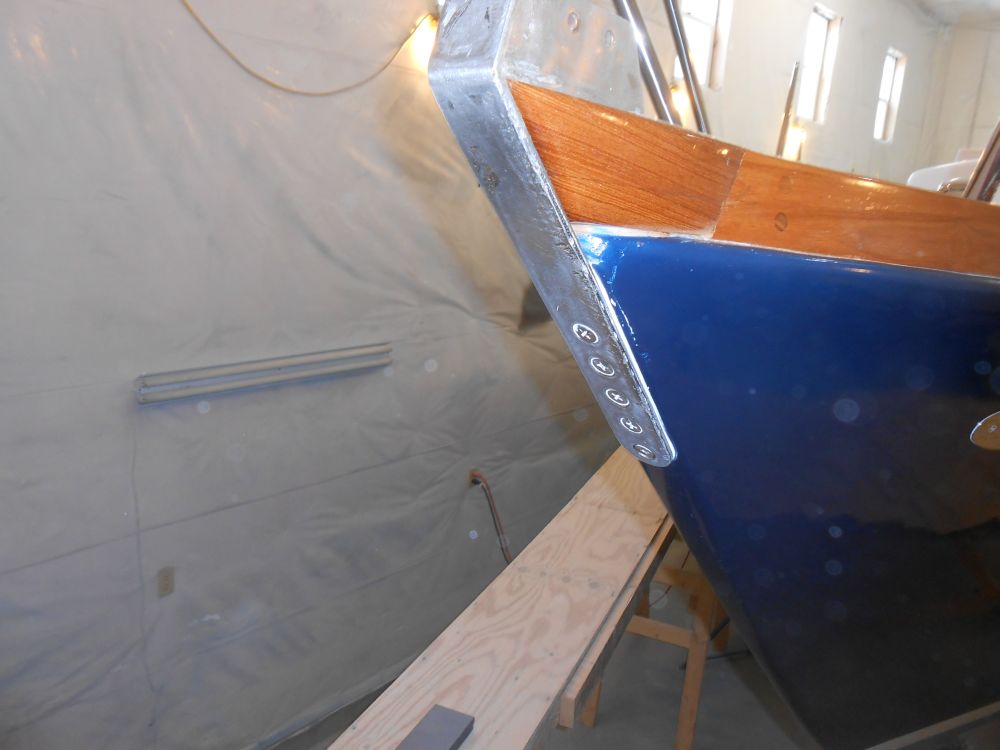
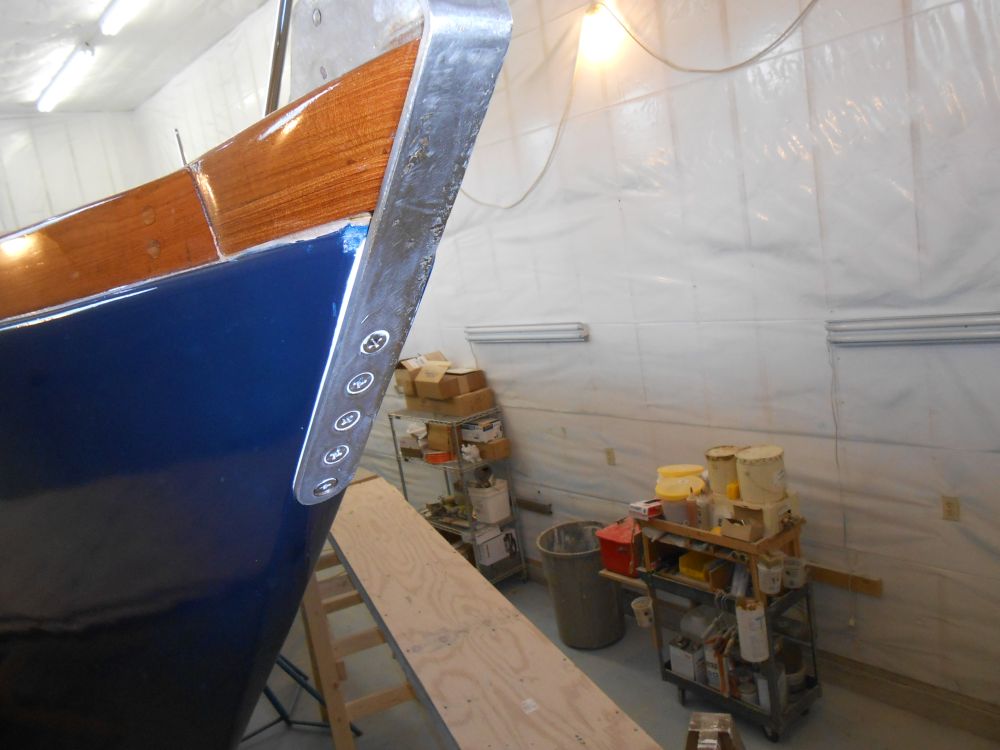
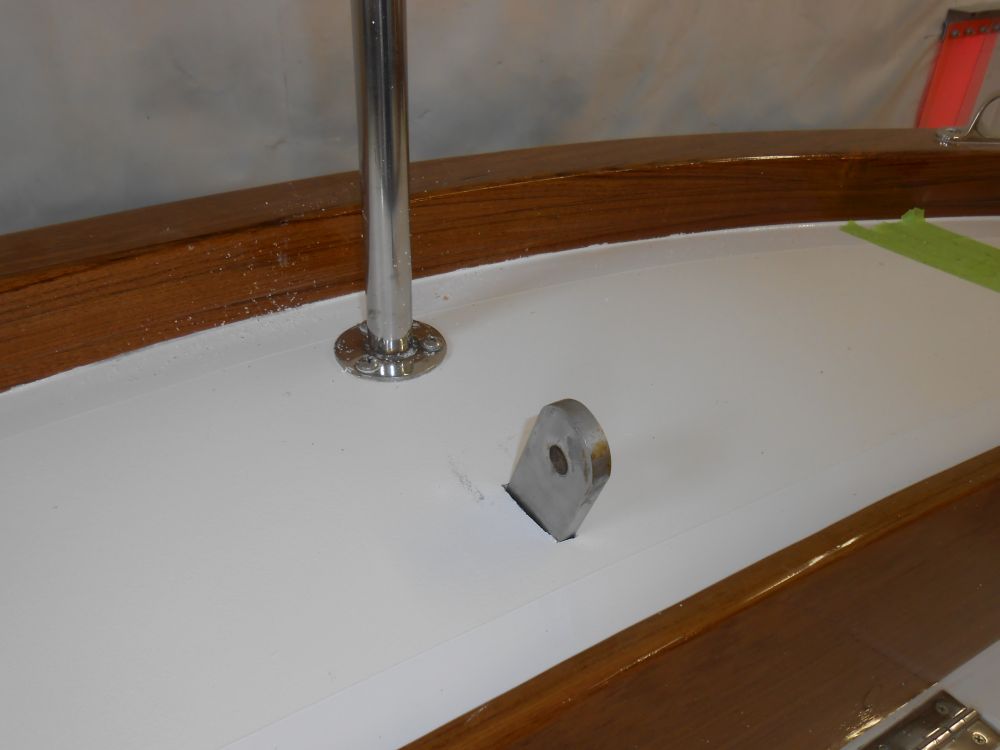
Next, I turned to the stem fitting, and installed it with new fasteners and sealant. This took just short of forever, thanks to the awkward access to the inside of the stem. Because of differences in the toerail, the stem fitting was a bit lower, which I'd planned on, but this required drilling one additional fastener hole through the stem to accommodate the new position; the remaining four holes lined up with the existing holes. Drilling through the stem was difficult since there seemed to be steel embedded within.

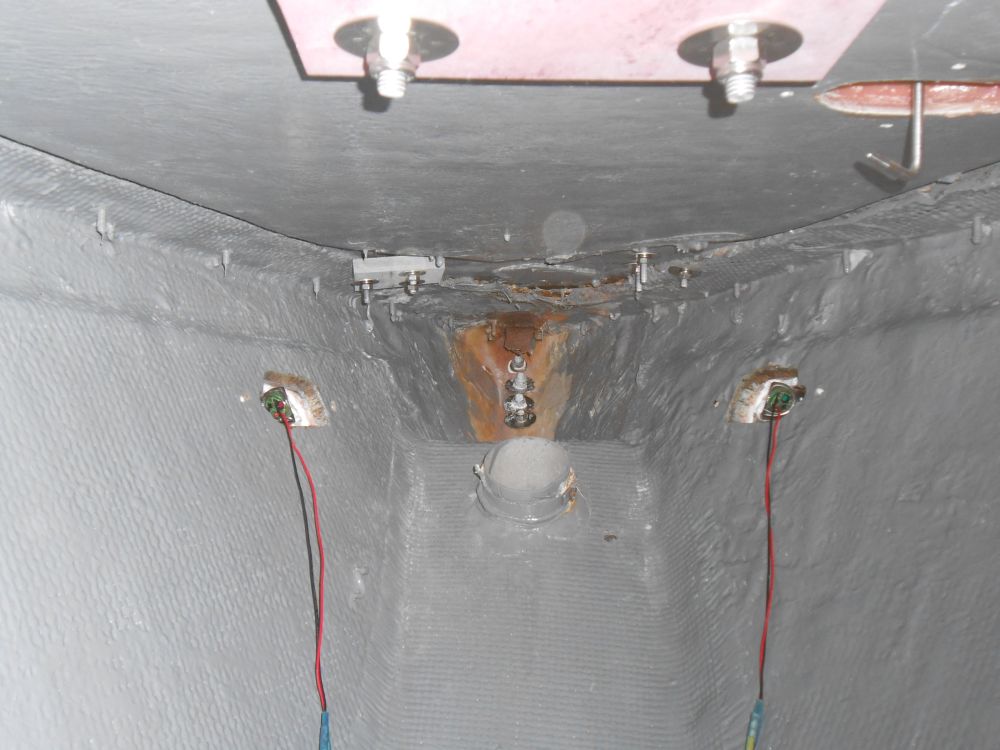
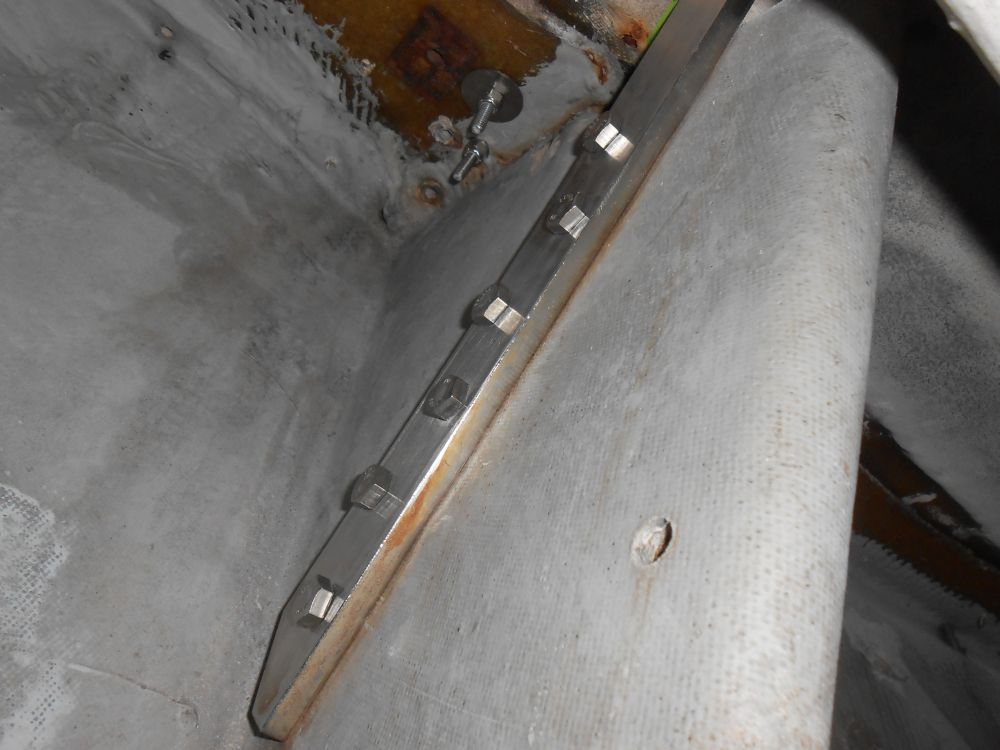
With the stem complete, I installed the backstay chainplate. I wished I'd done this before installing the traveler and lazarette hatch, which would have made accessing the bolts a little easier, but such is the price of progress. In any event, with a modicum of difficulty I bolted the final chainplate in place. I'd install a deck cover place later, when they arrived.
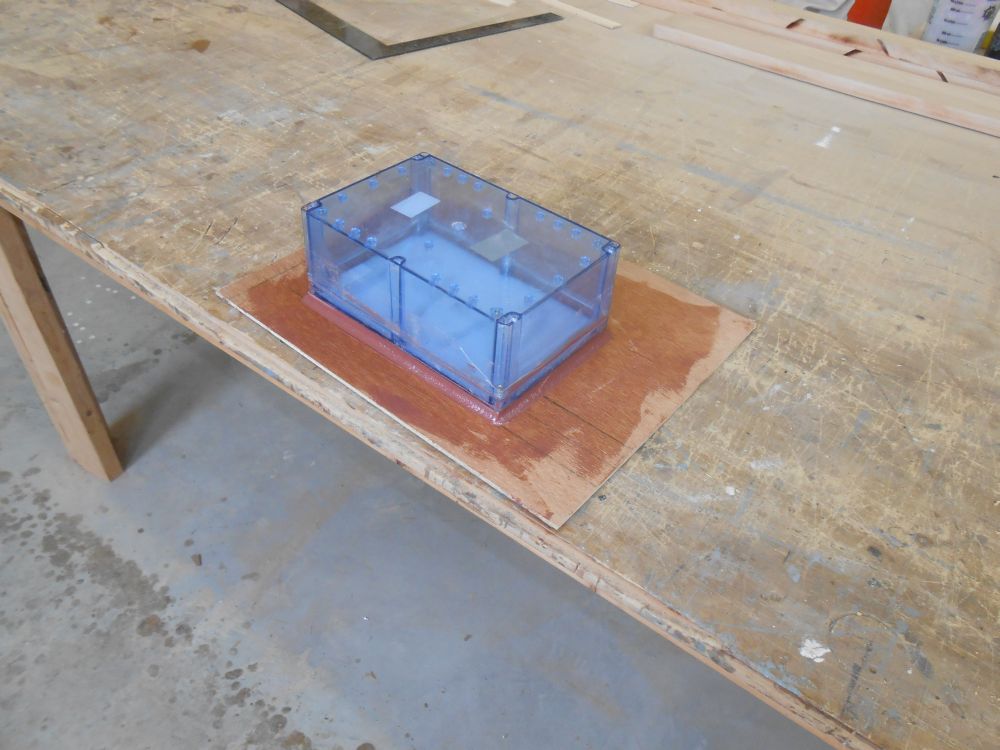
The specifications for the cockpit control unit for the electric motor listed it as "water resistant", not "waterproof". So to help shelter its delicate constitution from undue wetness, in case any should be present, I prepared a mold from which to build a little recess in the cockpit well. To begin, I glued a plastic junction box of appropriate size to a scrap of plywood, then created a fillet around the juncture of the two, and set the mold aside for now while the fillet cured.
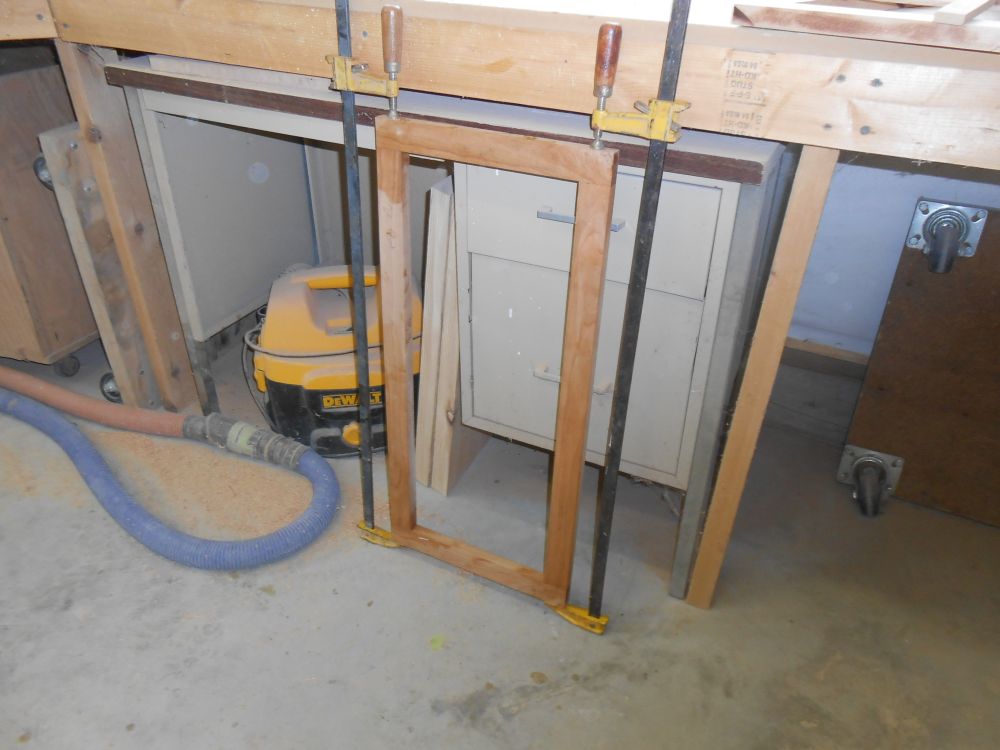
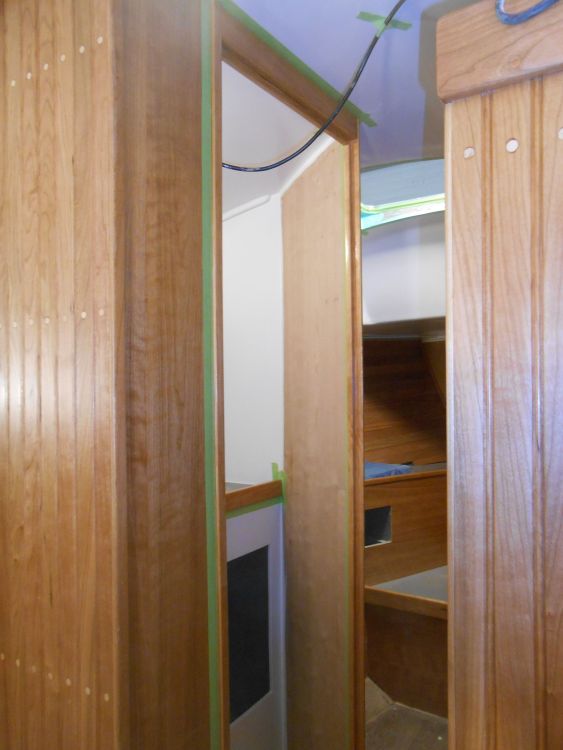
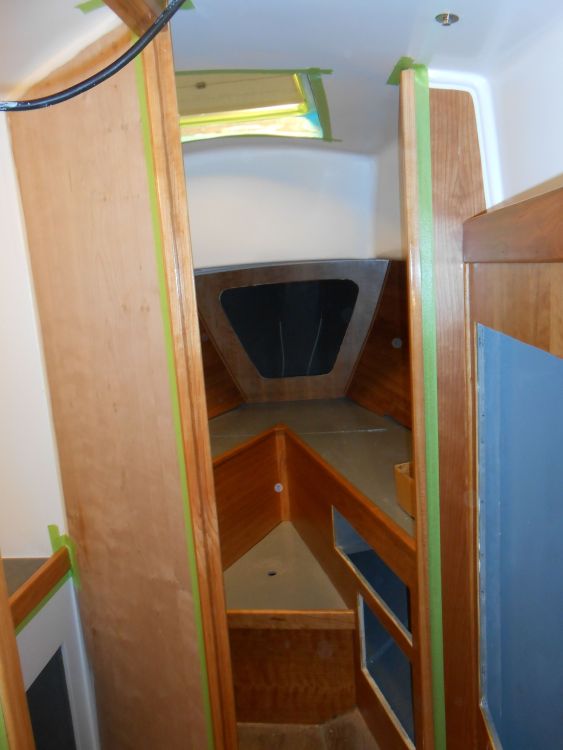
There were several openings in various bulkheads (chainlocker, aft quarterberth, and the space directly beneath the companionway) that required doors or covers. I'd put off working on these for a while since the openings were all oddly shaped, with curved corners; none had had any sort of covers in the boat as she was originally delivered here. Eventually, I decided to build full overlay doors for these openings, obviating the problem of partial overlays and complicated corner constructions required for the radiused corners.
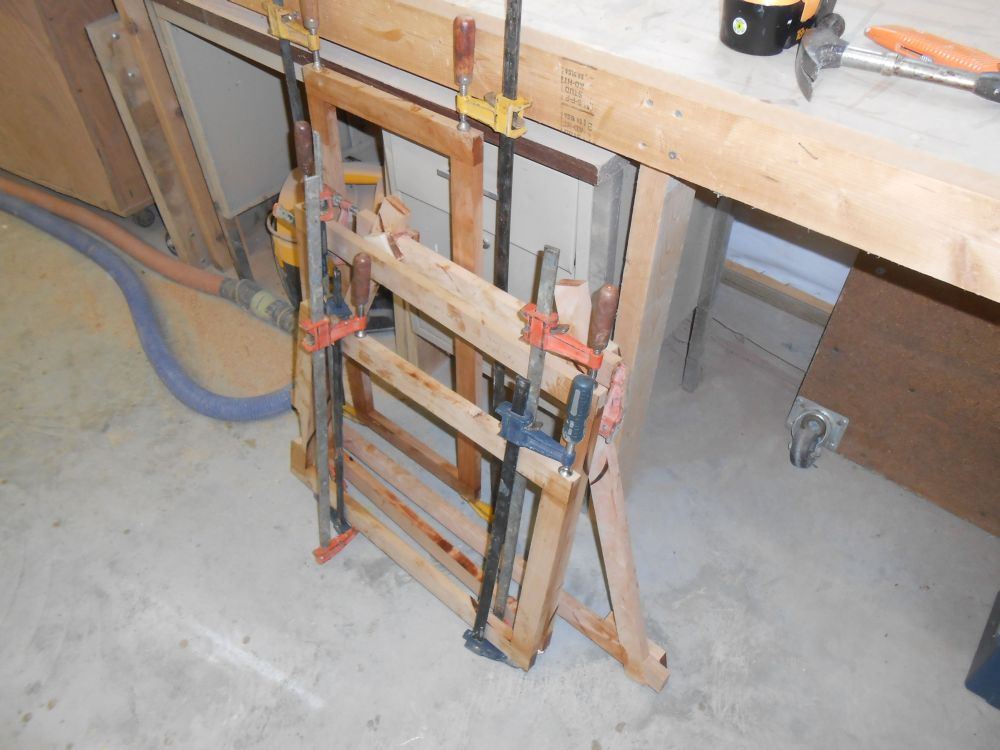
Working with rough-cut lengths of door stock in the actual locations in order to get the angles and lengths correct, over the course of a significant part of the afternoon I laid out, cut, and glued up these doors, along with the "normal" rectangular door for the electrical locker beneath the nav station, which would also provide a mounting location for electrical service panels. I set the glued-up doors aside to cure.
After final preparations, I applied another coat of base varnish to the head and quarterberth cabinetry as needed, along with back side of the companionway swashboards.

Total Time on This Job Today: 8.25 hours
