
110 Cookson Lane | Whitefield, ME 04353 | 207-232-7600 | tim@lackeysailing.com
Snow Lily | Tuesday, February 19, 2013
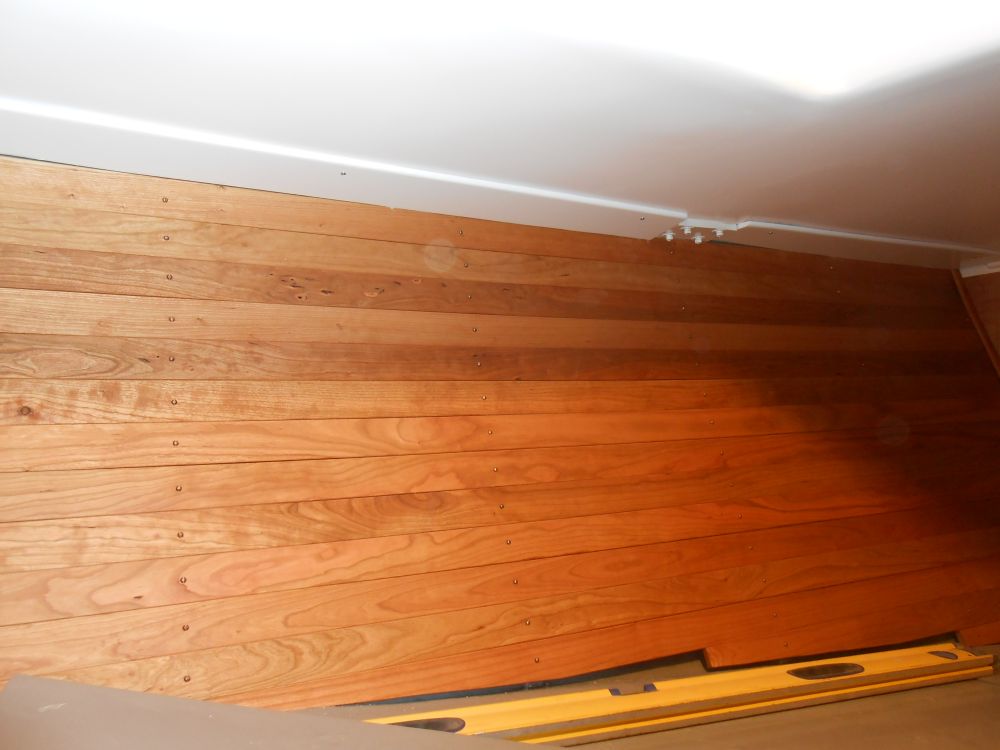
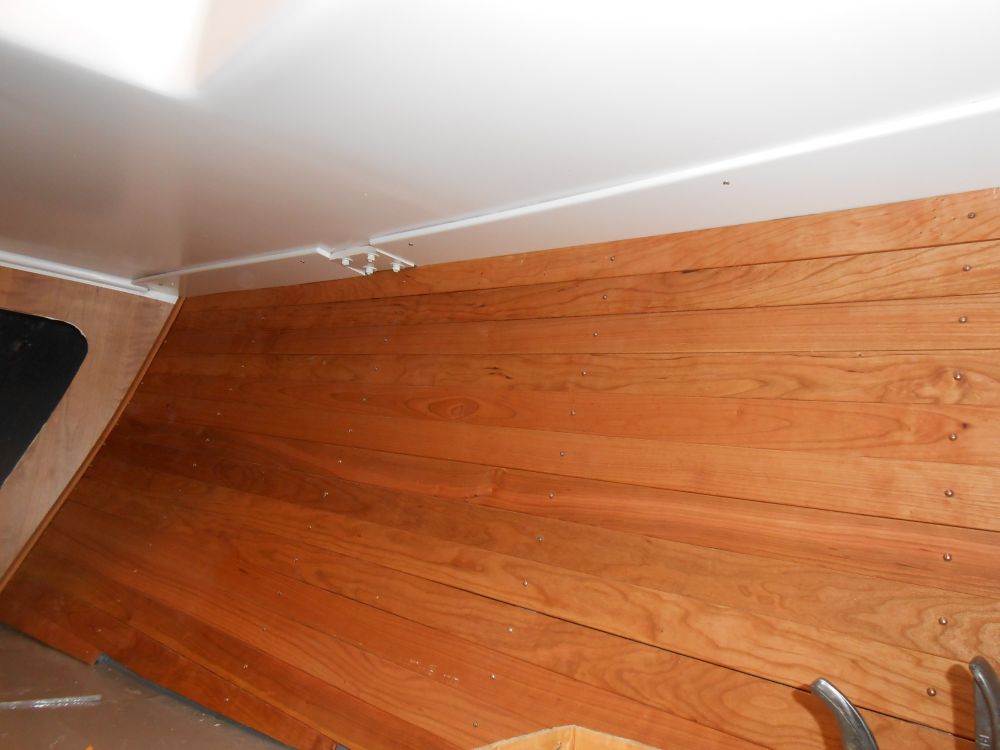
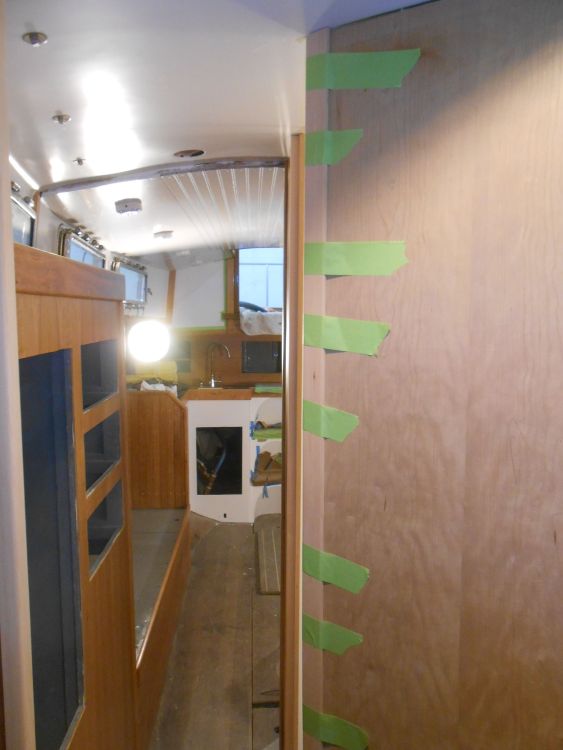
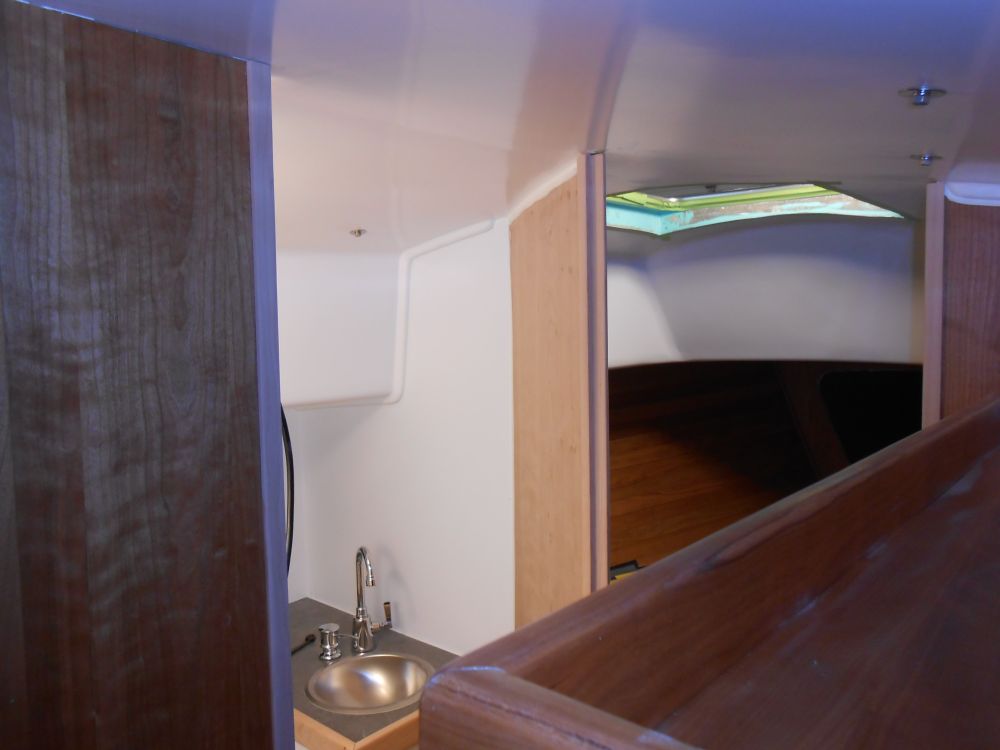
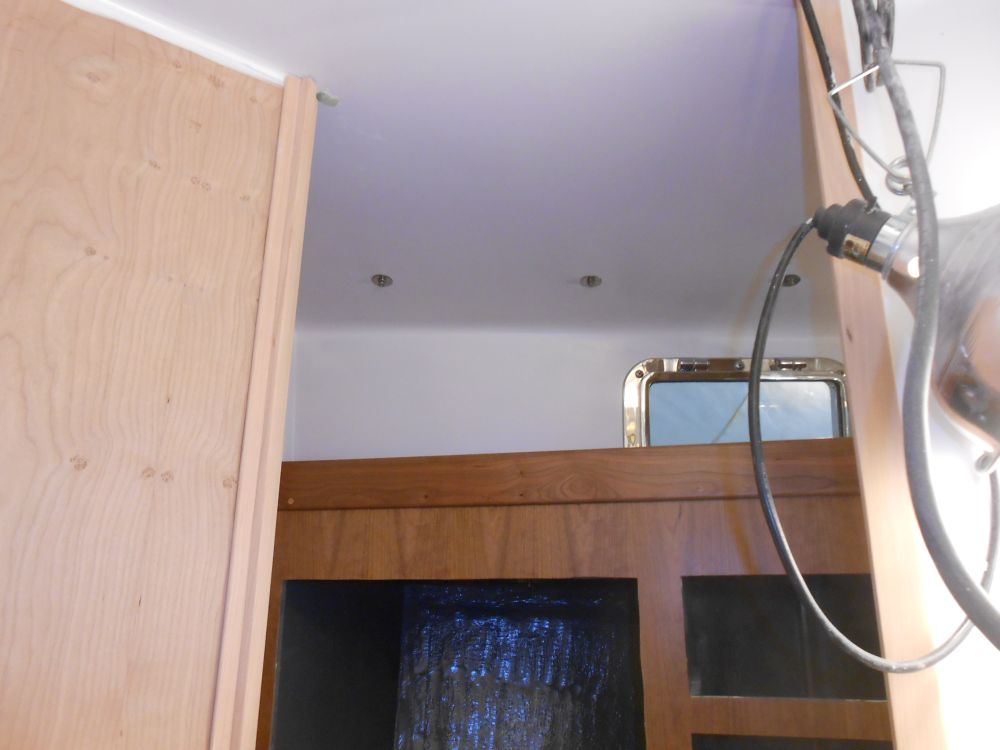
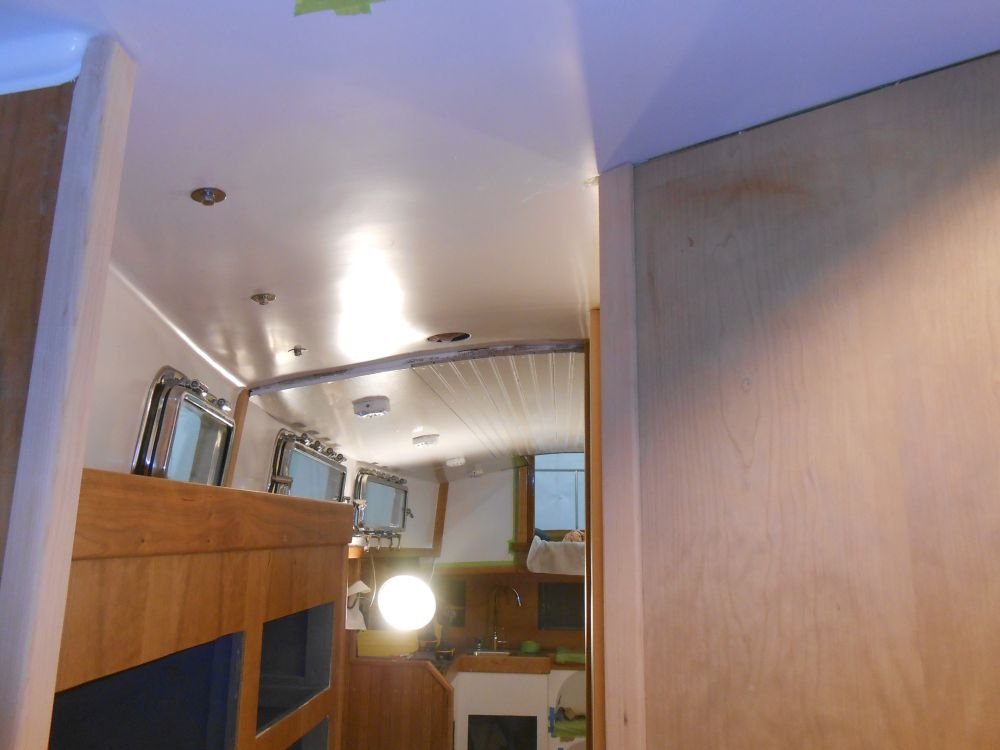
To begin, I installed the new trim up in the forward cabin, covering the gap between the overhead liner and the cherry ceiling.
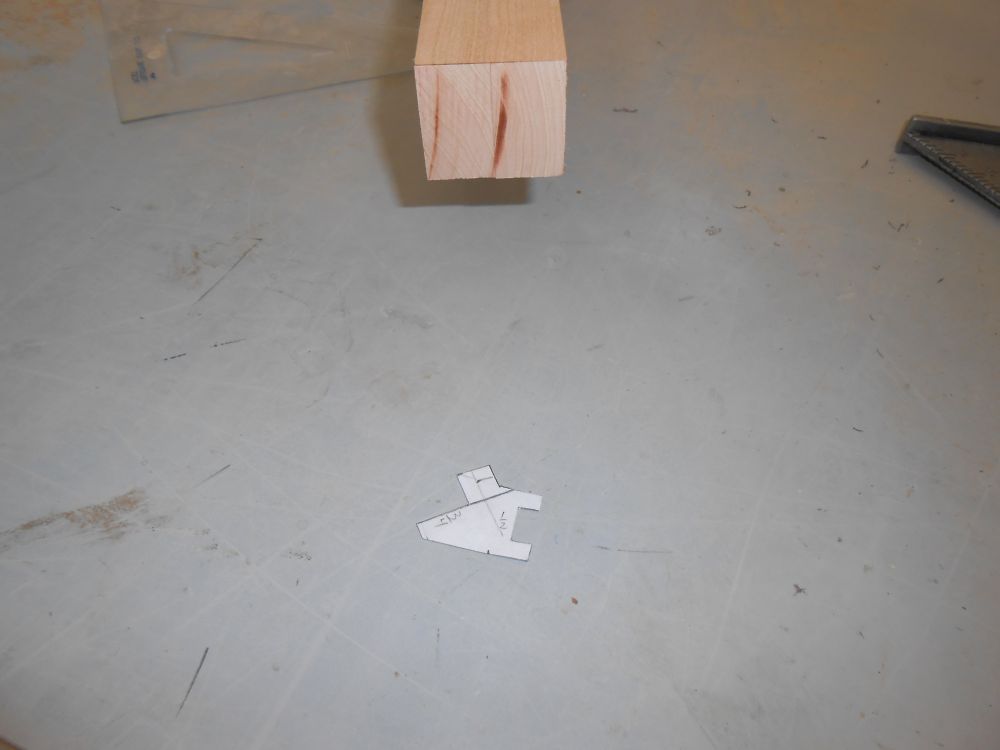
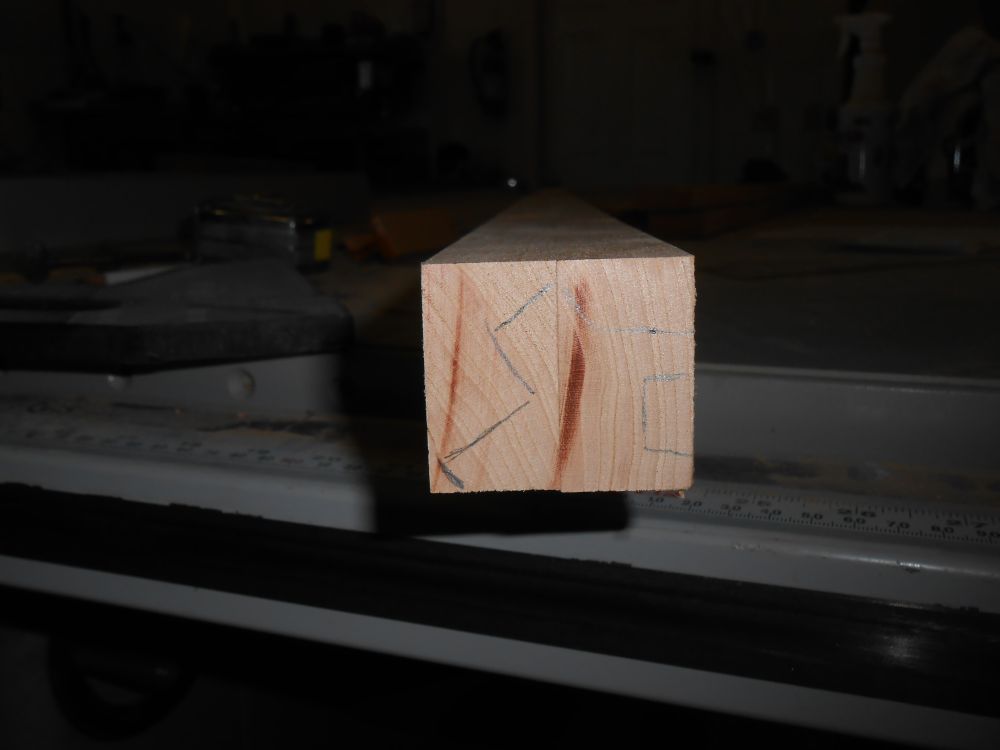
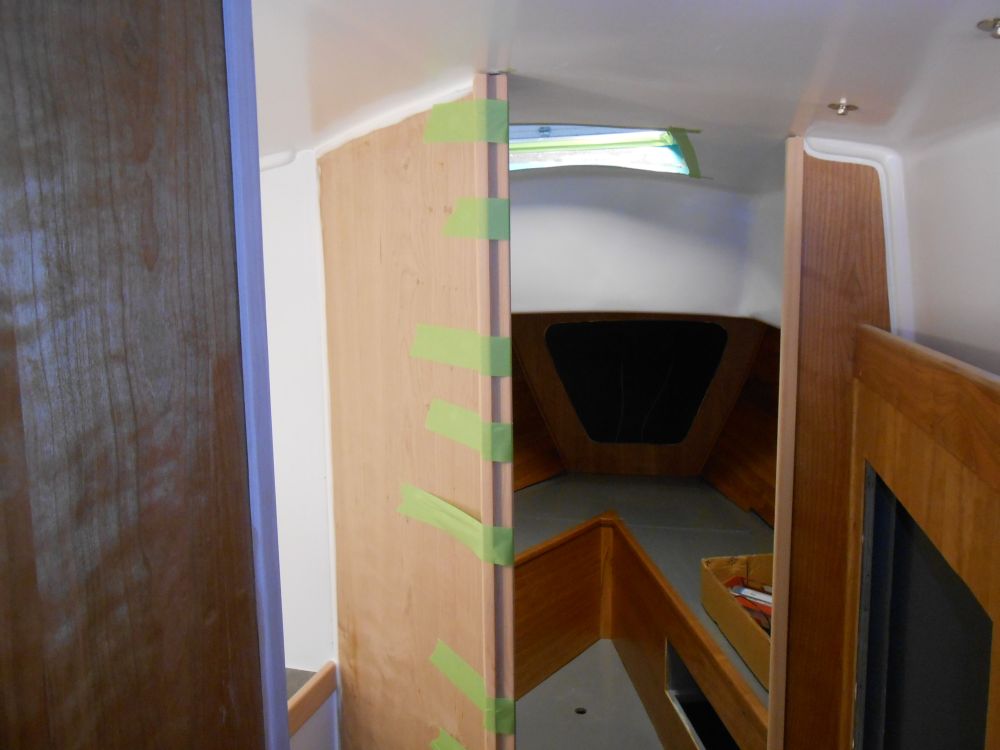
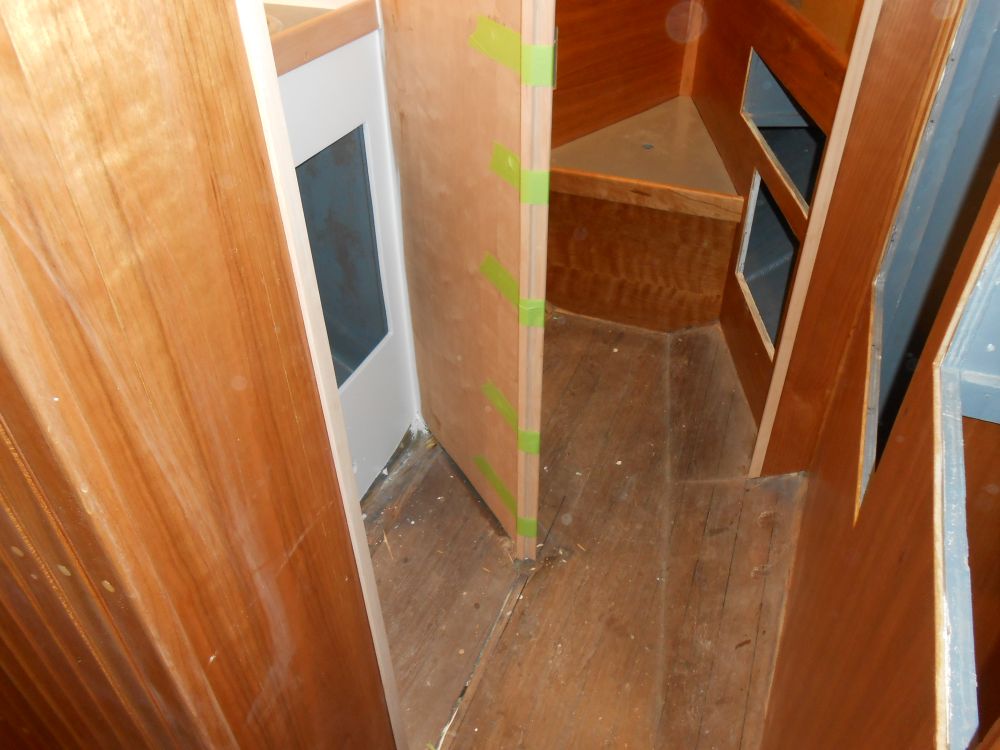
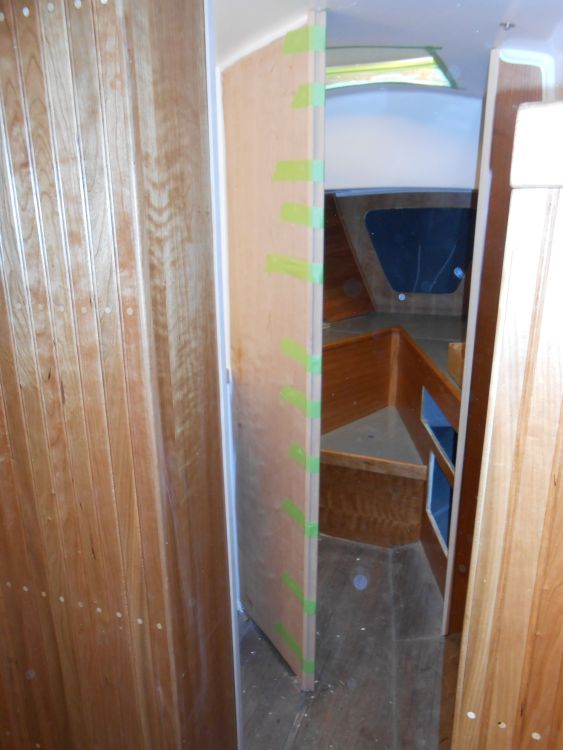
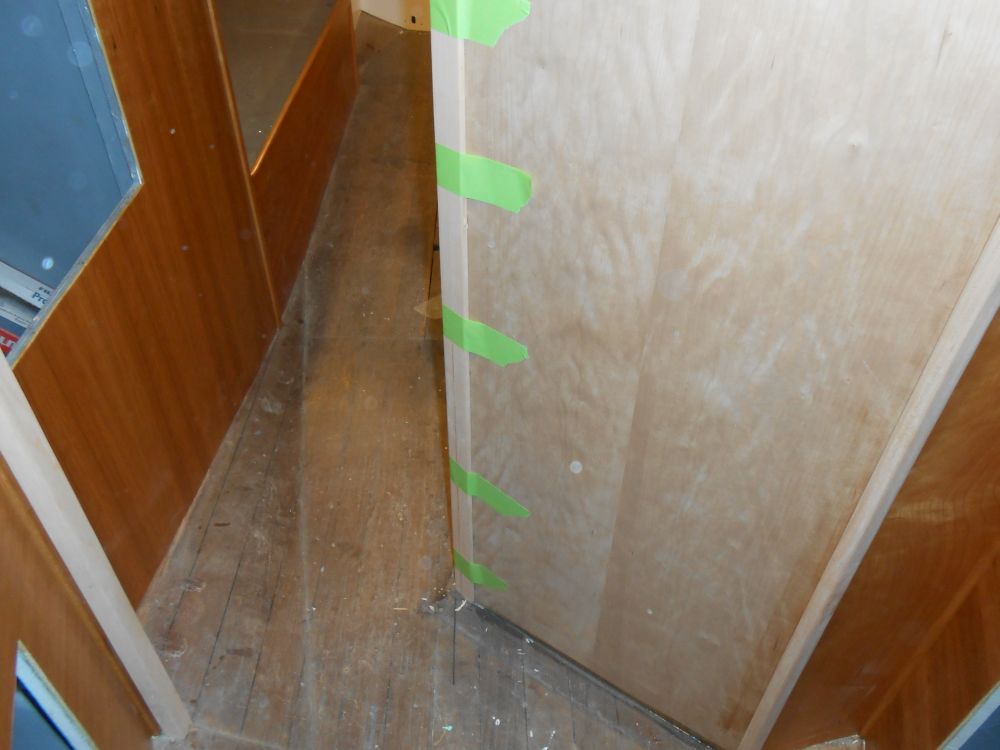
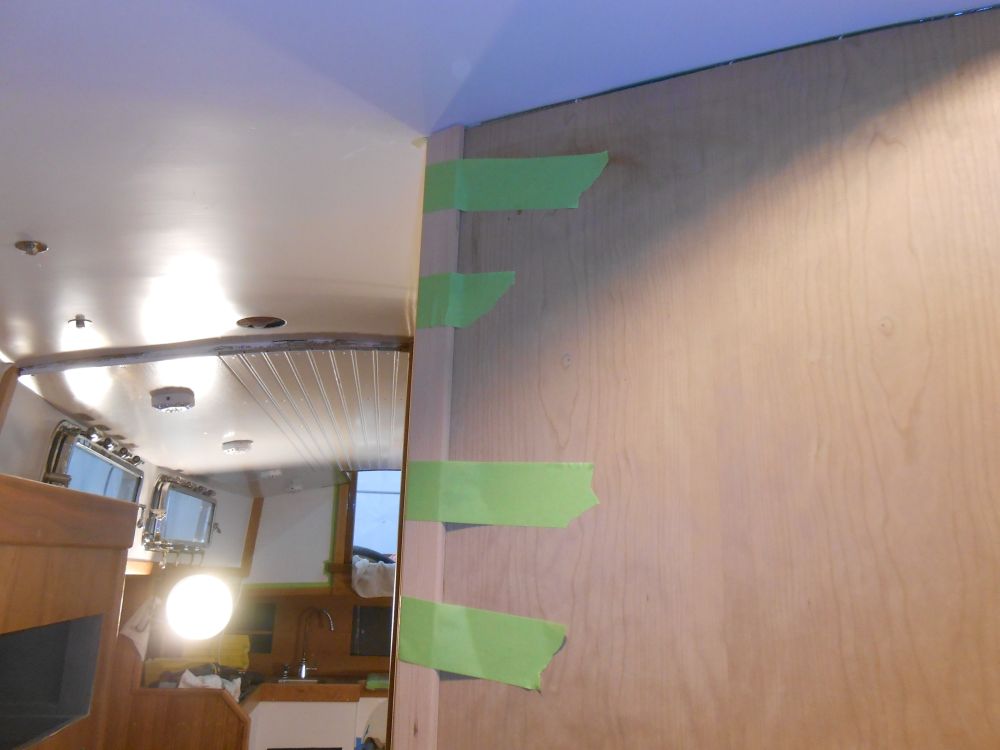
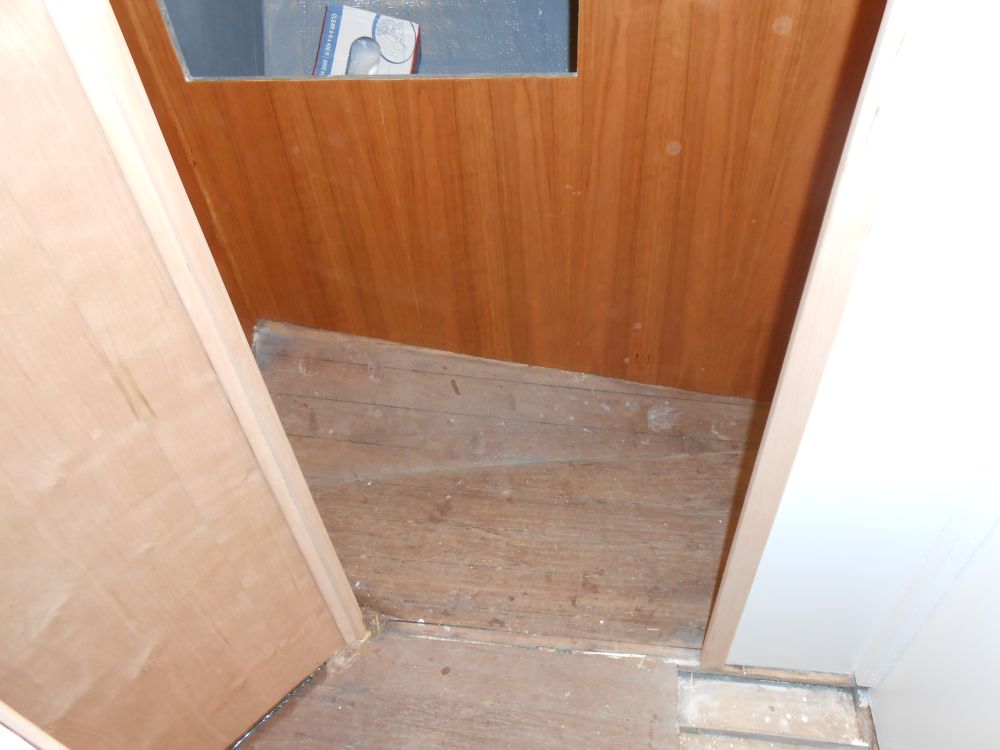
Next, I turned to the forward head door jamb trim. After trimming my rough blank to the largest possible size, about 1-1/4" x 1-3/4", I traced the piece onto some paper, then drew out the profile I needed in order to wrap over the forward bulkhead, angle aft towards the door opening (the angle was 53°, so I'd set the saw at 37° to mill the angles as drawn) and provide the necessary door stop
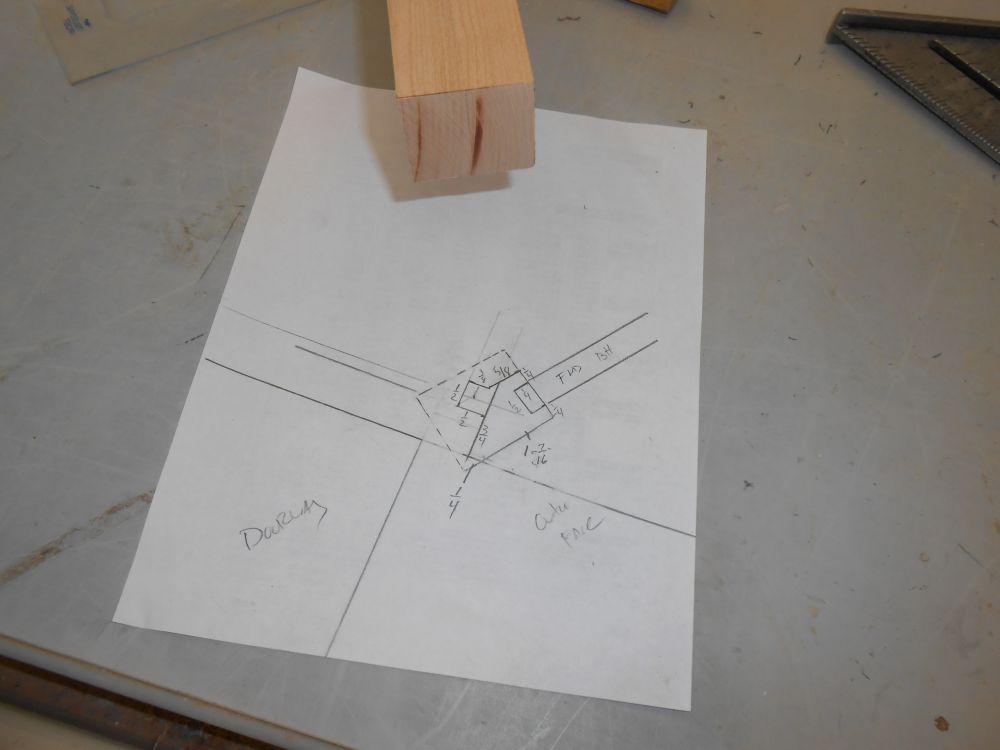
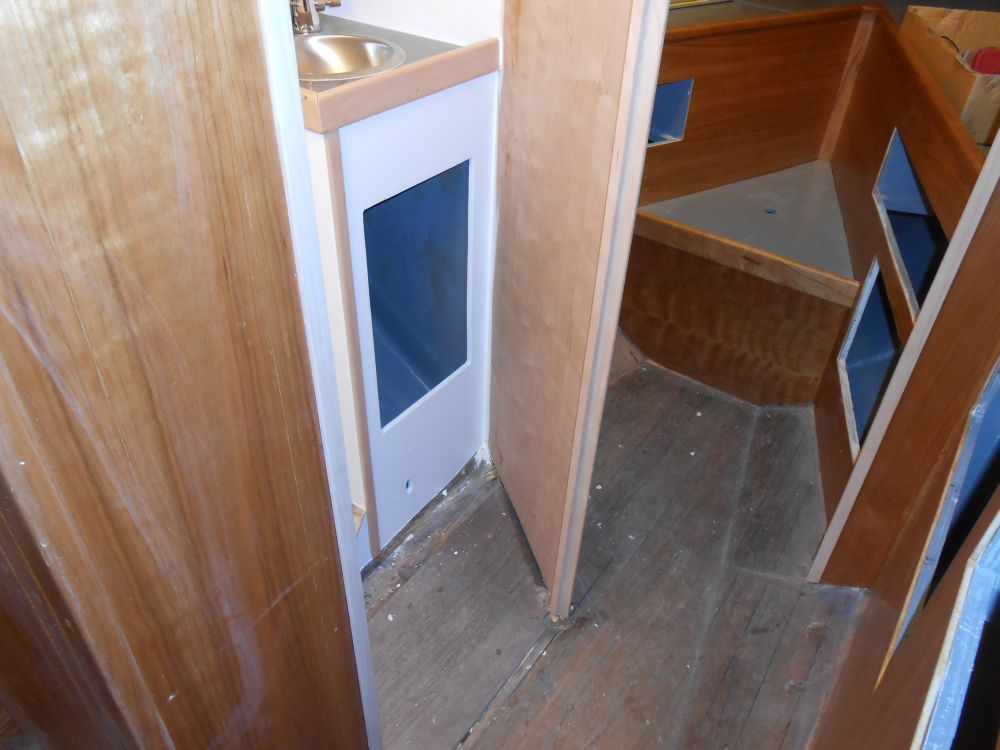
I cut out the pattern and traced it on the butt end of the blank, more as a guideline for the correct cuts than as an actual template, as the precise position of each cut was less important than the relative positioning of all the cuts together, other than a few specifics. Then, in a series of operations, I made all the cuts required to form the final profile, beginning with a 9/16" wide dado to accept the just-over-1/2" thick bulkhead itself, then following with angled and 90° cuts on the table saw as needed.

After cutting to length and a test-fit, I sanded the new trim through the grits to 220, smoothing it for final installation. Before the install, I used a scrap of the trim to determine the correct position for the bulkhead edge. I'd left the bulkhead a bit longer than it needed to be during installation, as I didn't know how much room the trim would ultimately require. I removed about 1-1/2" of the bulkhead along its vertical edge, then glued the trim in place.
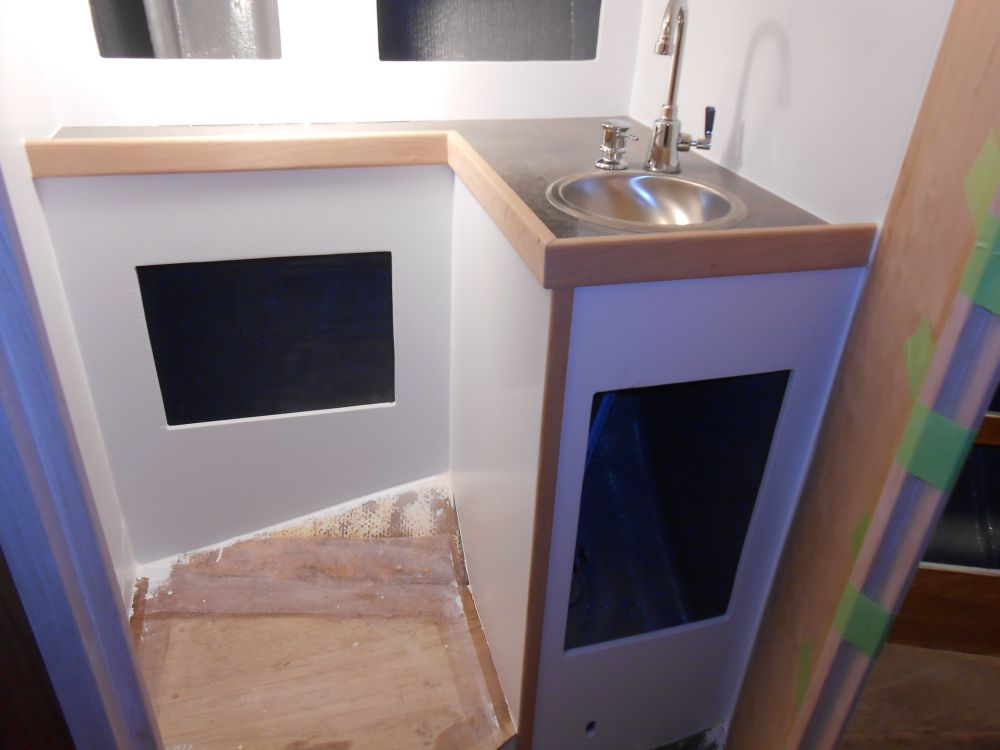
To wrap up the morning, I milled and installed a small piece of trim at the corner of the head cabinet, covering a seam in the plywood structure.
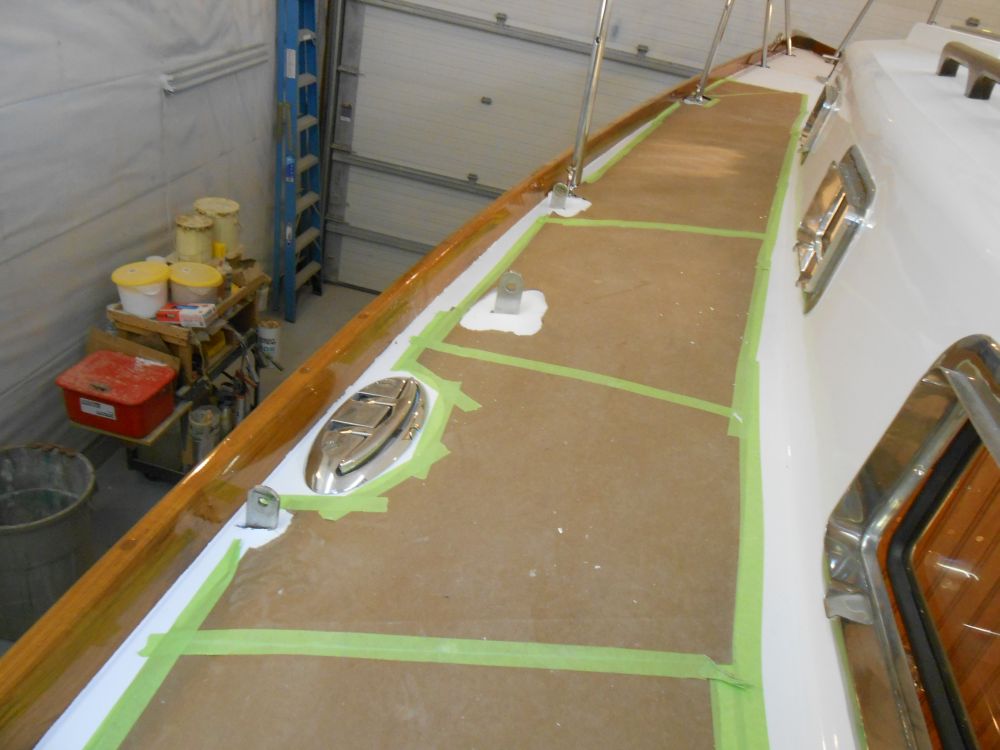
The original chainplates were in basically good condition, with just some surface rust staining from water leakage through the old deck and old installation. I cleaned up the existing fabrications to remove the surface staining and prepare them for installation. On the stem fitting, I cut off the socket that had accepted part of the original bow pulpit, as this socket was now erroneous.
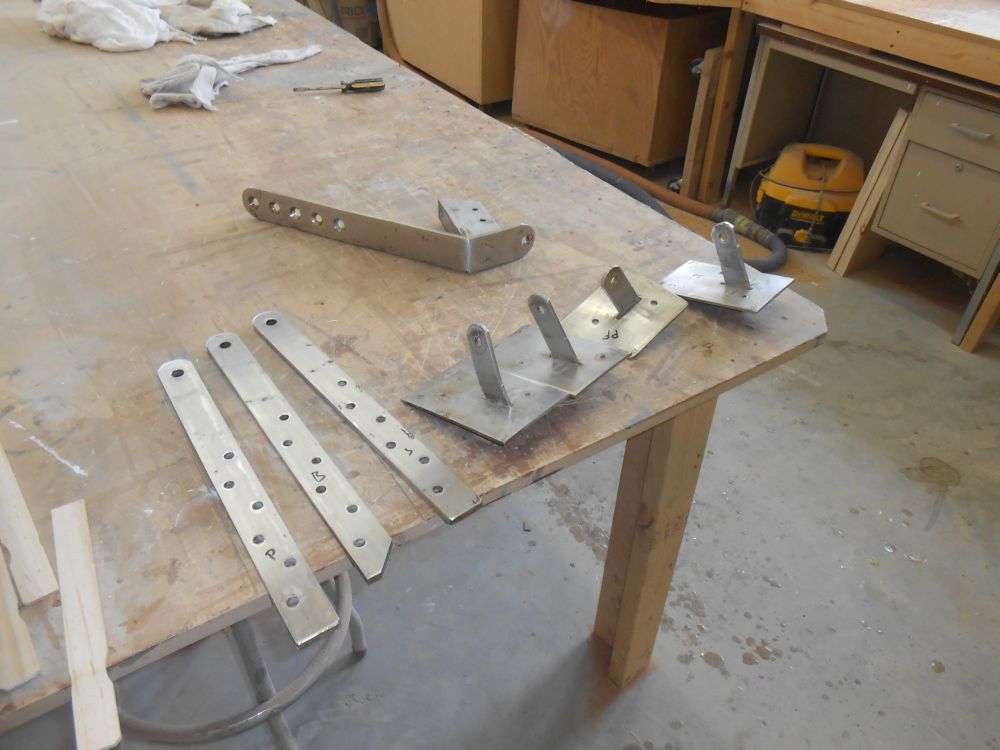
I had enough 3/8" bolts on hand to install the port main chainplate, but had to order more to complete the backstay and starboard sides.
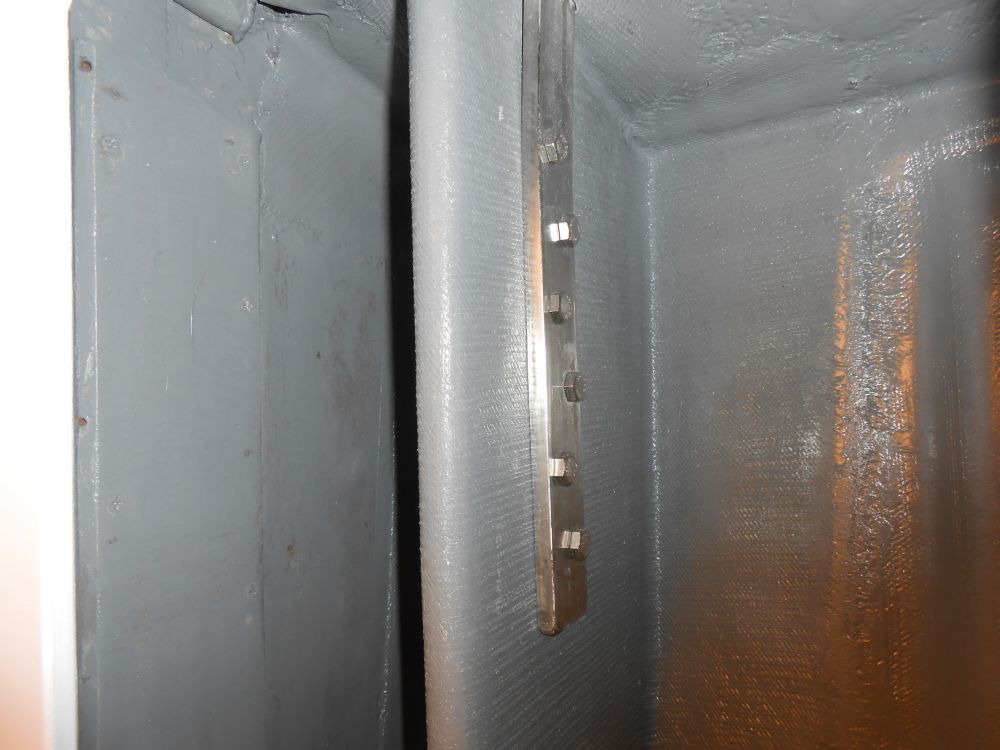
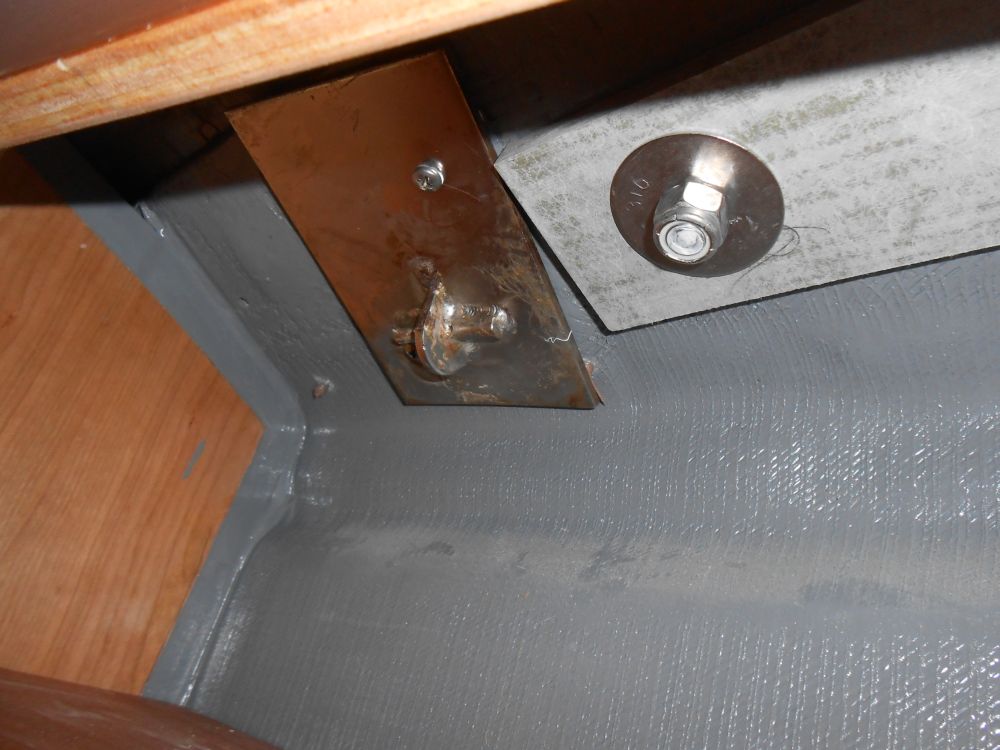
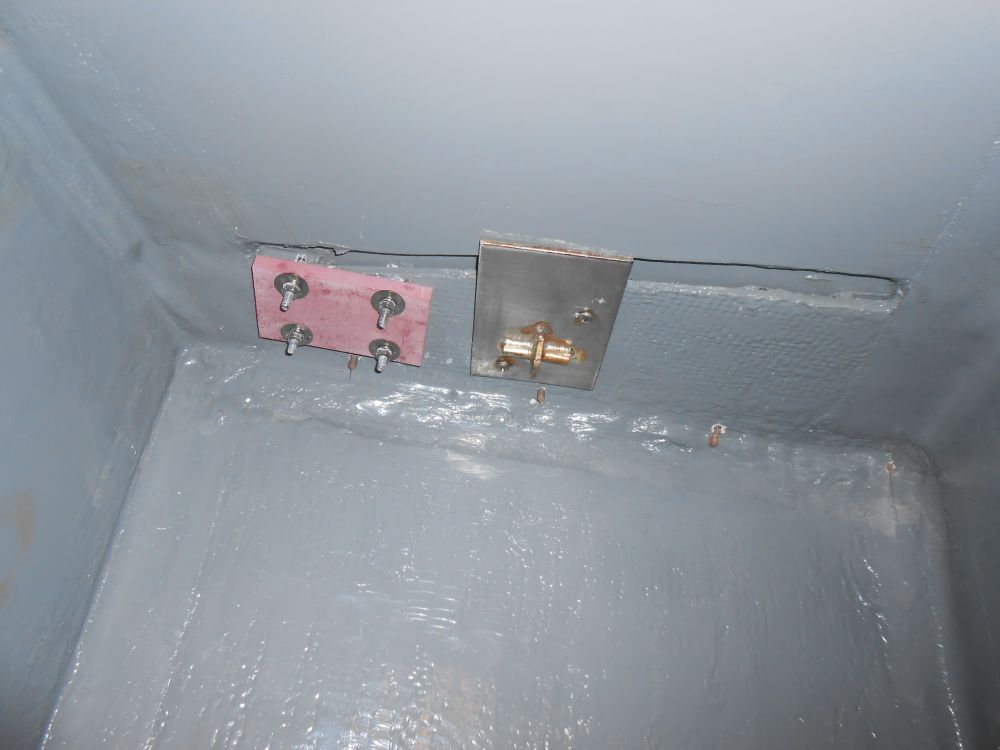
The fore and aft lower chainplates on each side installed from belowdecks, with the chainplate welded through flat plates. These had been covered in fiberglass and bolted through the deck in the boat's original condition, but I had no intention of re-fiberglassing them. To hold the chainplates in place when unloaded (i.e. when the stays were not attached), I installed screws into the inward hull flange from beneath, along with a bit of low-strength polyurethane sealant just to help hold them.
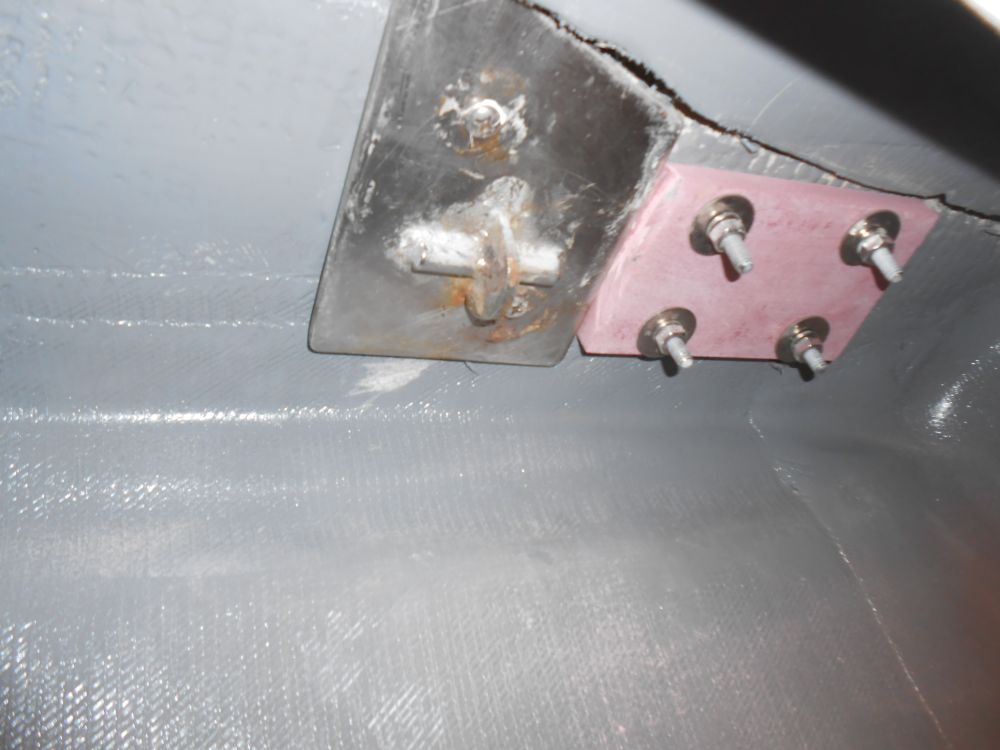
I had to cut one of the plates a bit to fit within the confines of the new cabinetry, and had to trim a bit of one of the stanchion backing plates where another chainplate overlapped it, but otherwise the installation was relatively straightforward. New deck covers to properly seal all the chainplates' deck penetrations were on order, and I'd install them once they arrived.

These processes took most of the afternoon, and other than some miscellany wrapped up the day's work. Before knocking off, I removed the tape that I'd used to clamp the head trim in position.
Total Time on This Job Today: 8 hours
