
110 Cookson Lane | Whitefield, ME 04353 | 207-232-7600 | tim@lackeysailing.com
Snow Lily | Monday, February 18, 2013
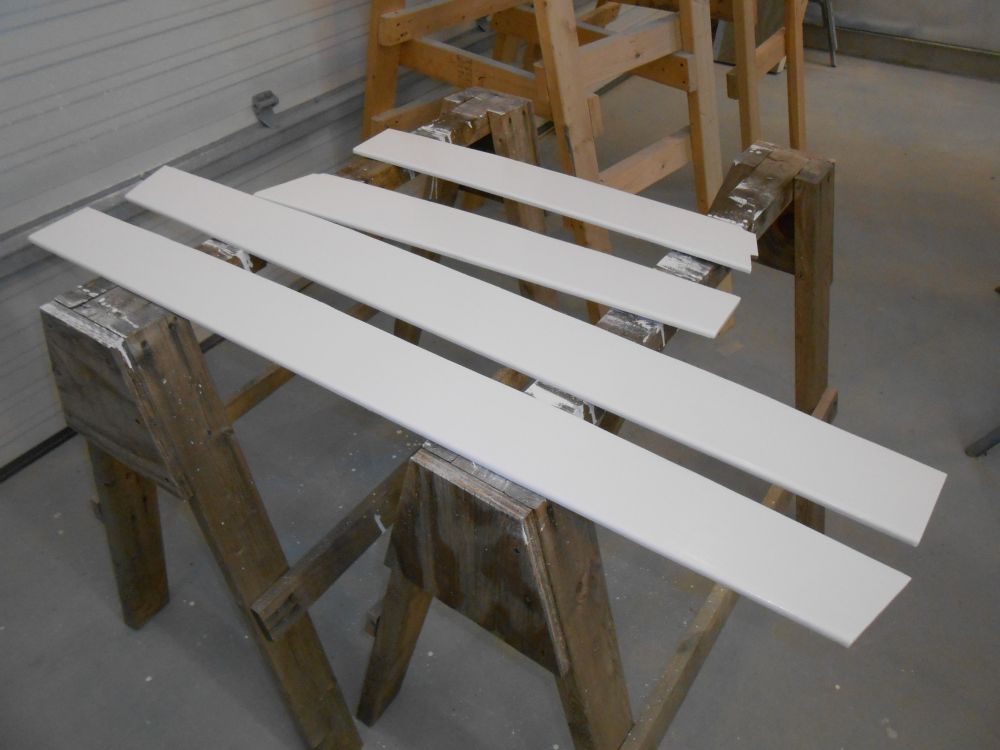
Over the weekend, I applied two coats of semi-gloss white enamel to the new trim pieces for the forward cabin, bringing those to readiness for installation. I decided to give these pieces an additional day to cure before installation.
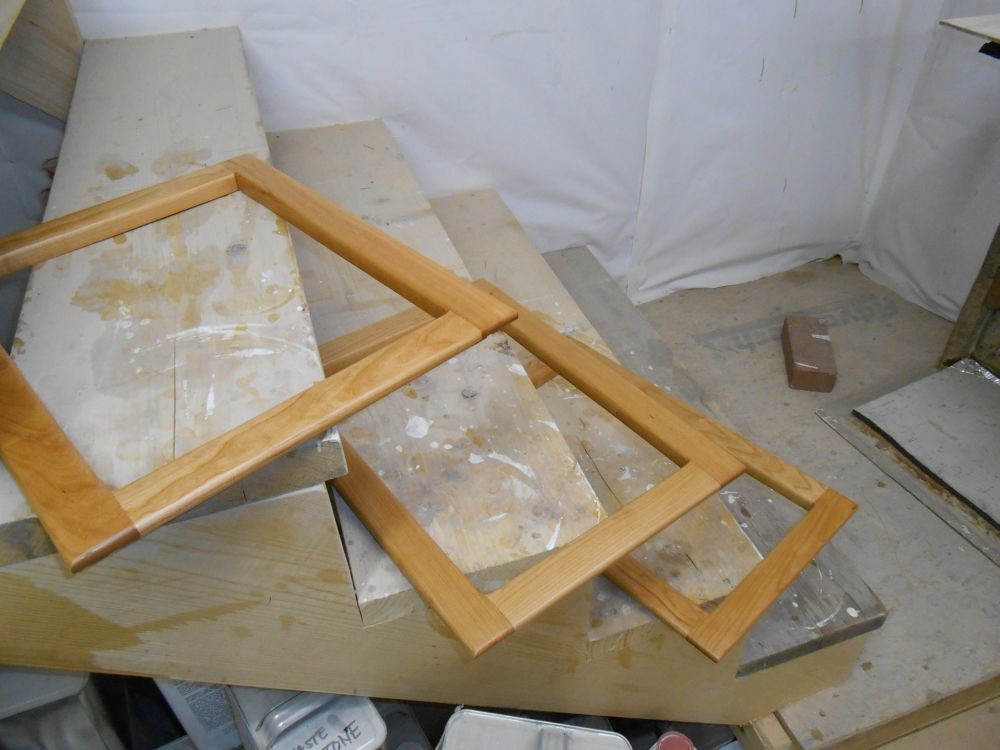
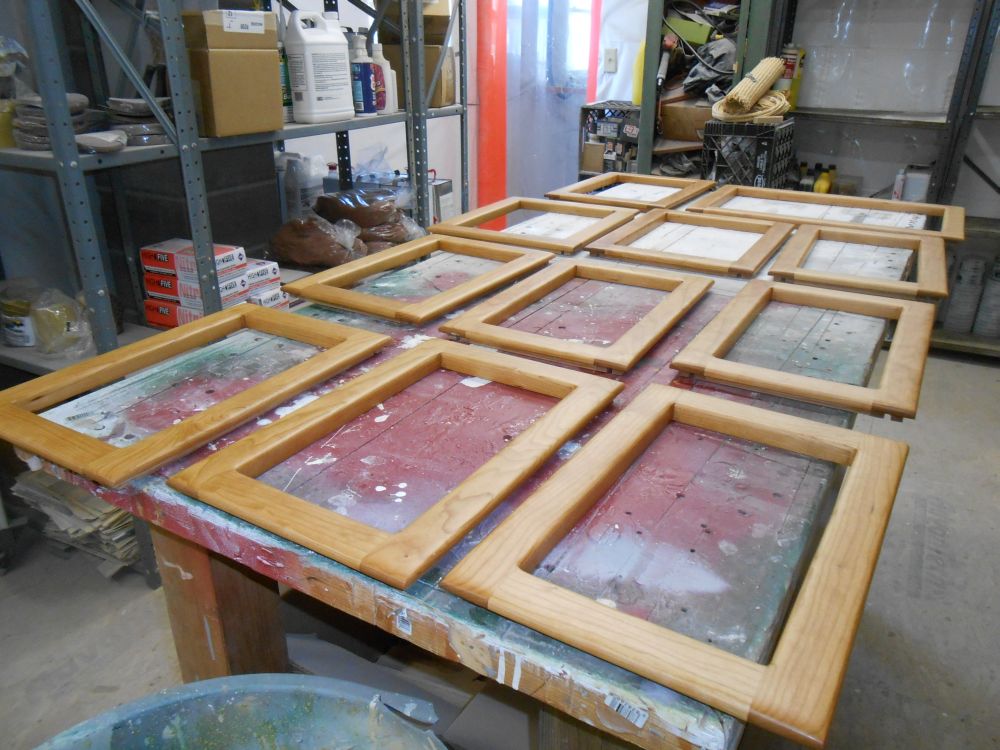
I also did some more varnish work and preparation on the cabinet doors, and with a sufficient base, first thing this morning the doors were ready for a coat of satin varnish.
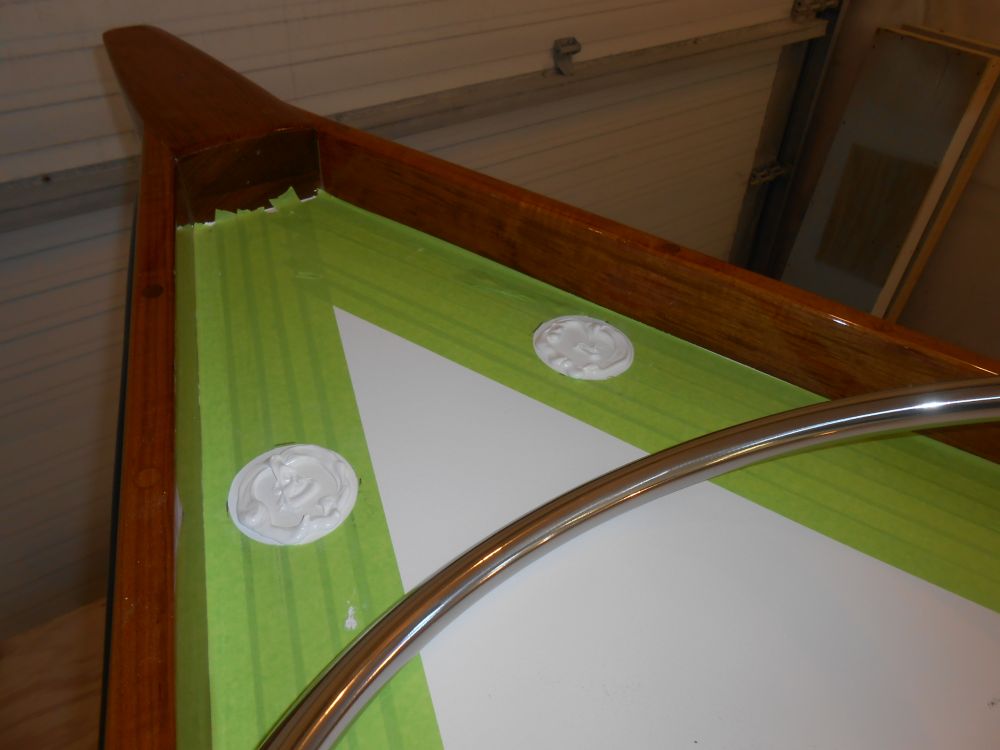
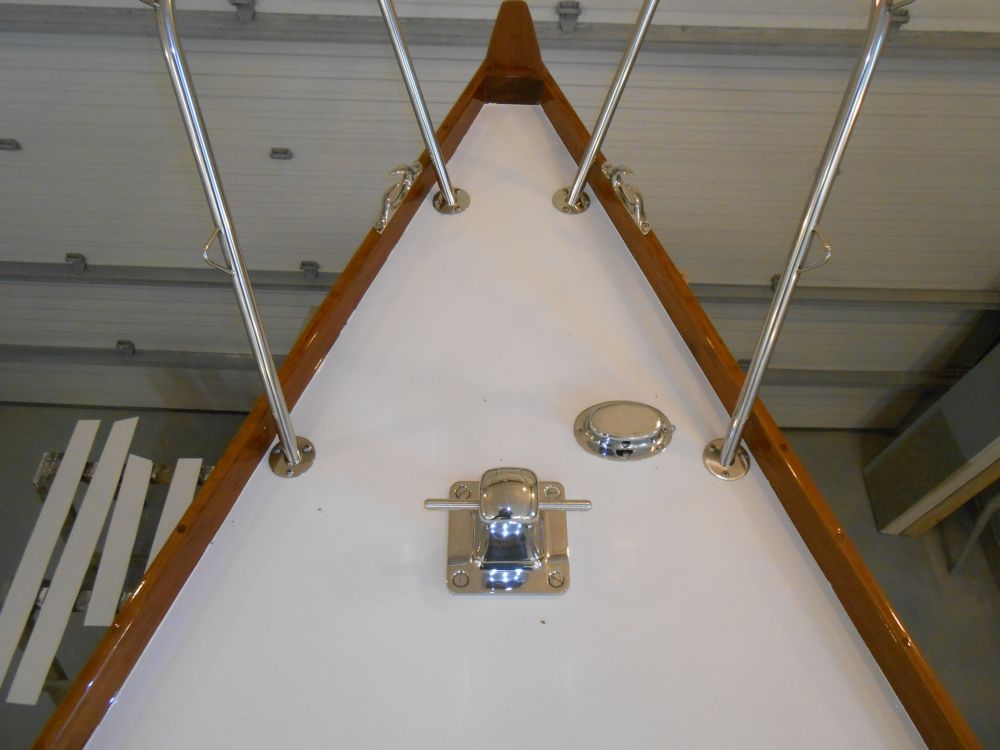
Continuing with the bow pulpit installation, I cut around the bases with a knife to score the masking tape already on deck, so I could remove the tape beneath the bases when it was time for installation. Then, I drilled the remaining bolt holes through the deck, before removing the pulpit and tapping all the holes for 1/4-20 bolts, and otherwise preparing the areas for final installation.
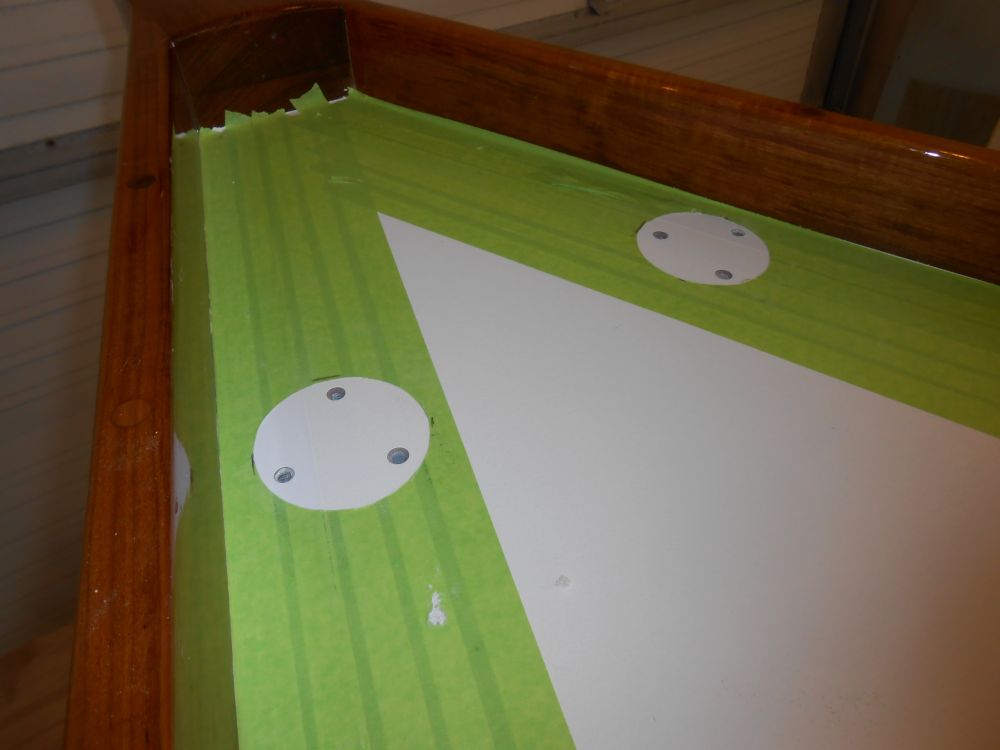
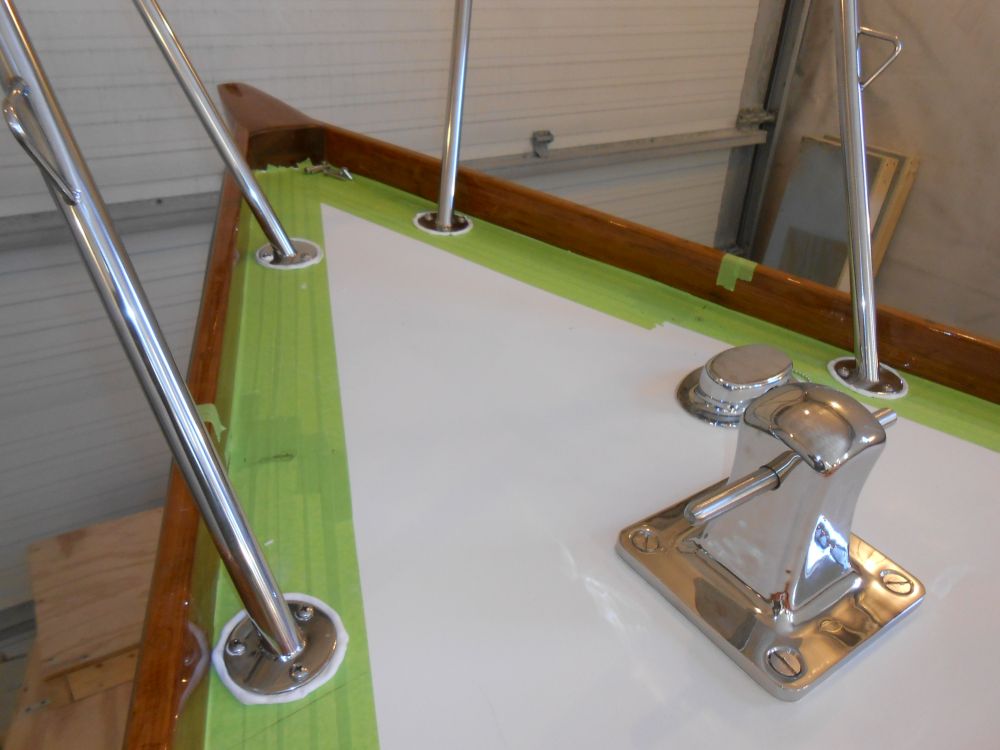
I applied sealant to the deck and around the bolt holes, then installed the pulpit with 12 pan head bolts.
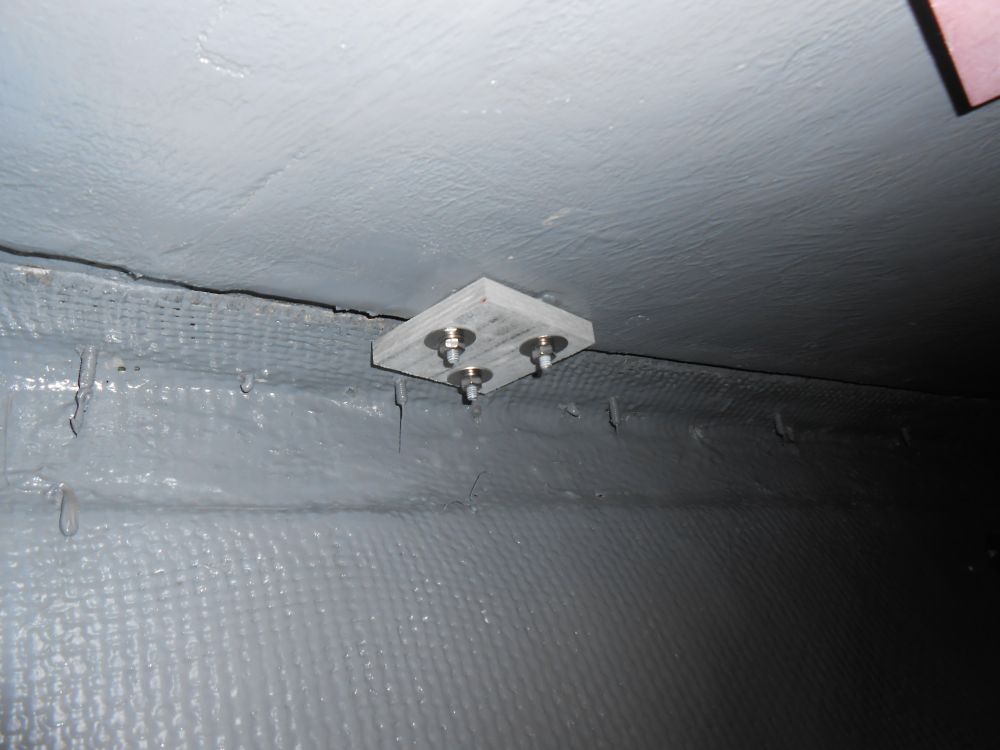
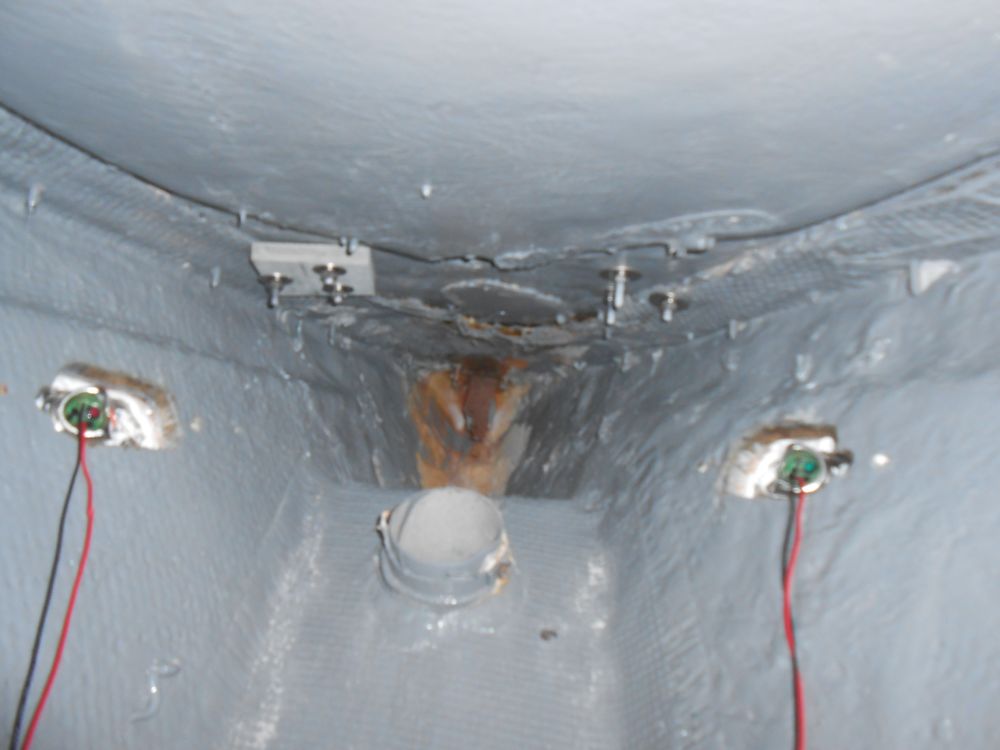
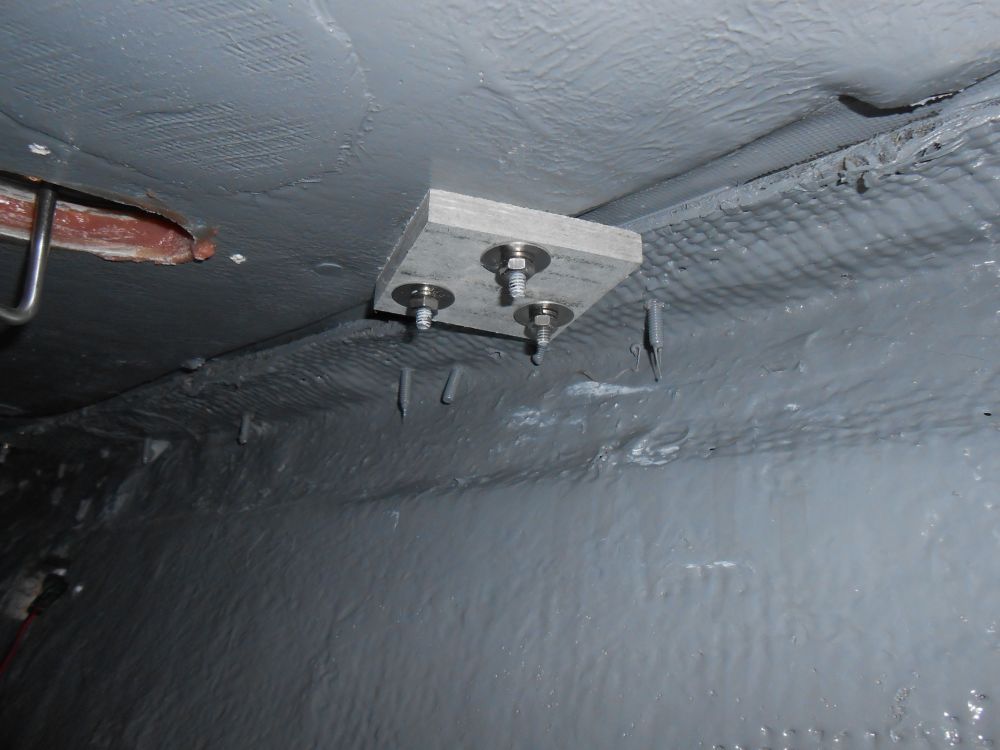
Belowdecks, I installed backing plates, fender washers, and nuts to secure the pulpit bases. The way the starboard forward base landed in relation to an especially thick and messy section of the inward hull flange prohibited use of a backing plate, so I used even larger fender washers for its fasteners.
With the pulpit secure, I cleaned up the excess sealant and masking tape from the deck side, completing the installation.
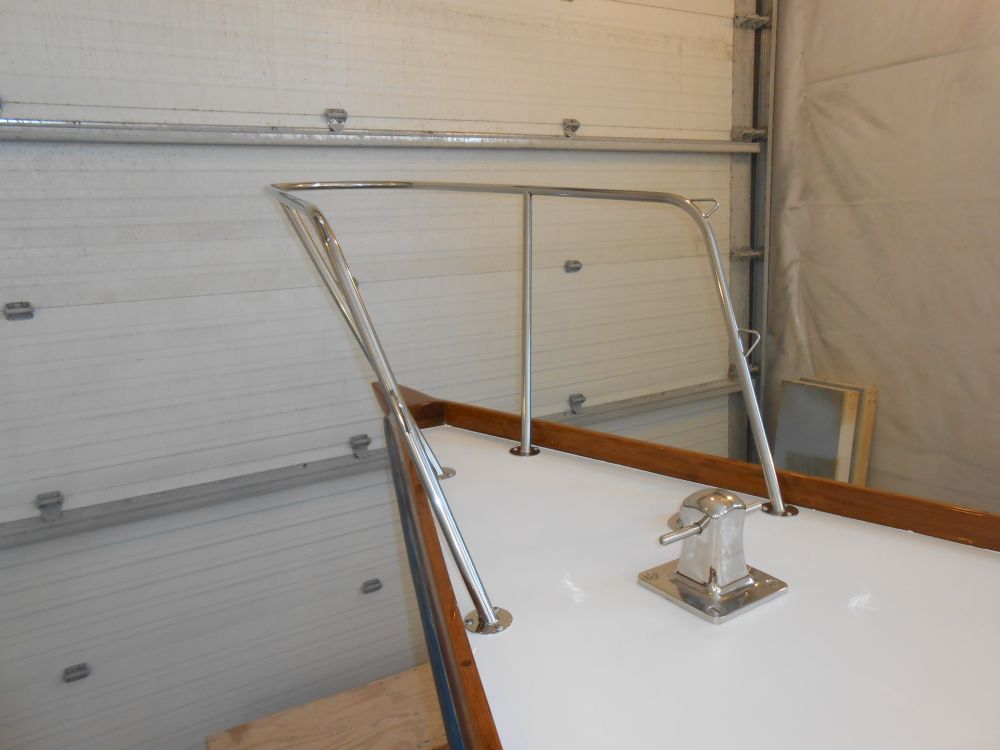

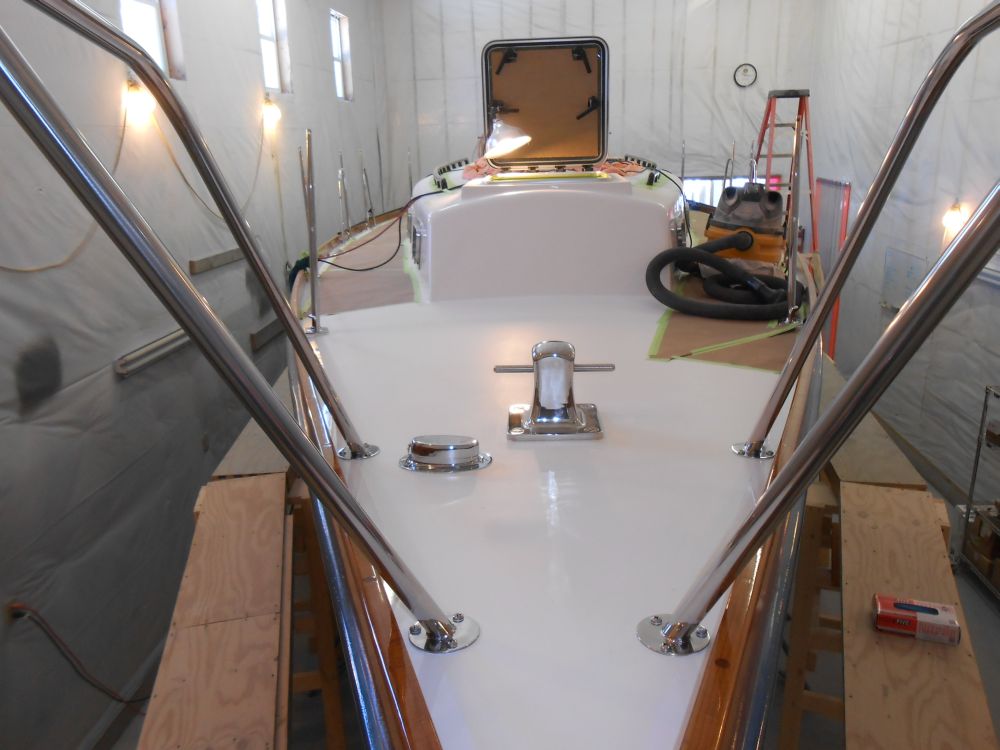
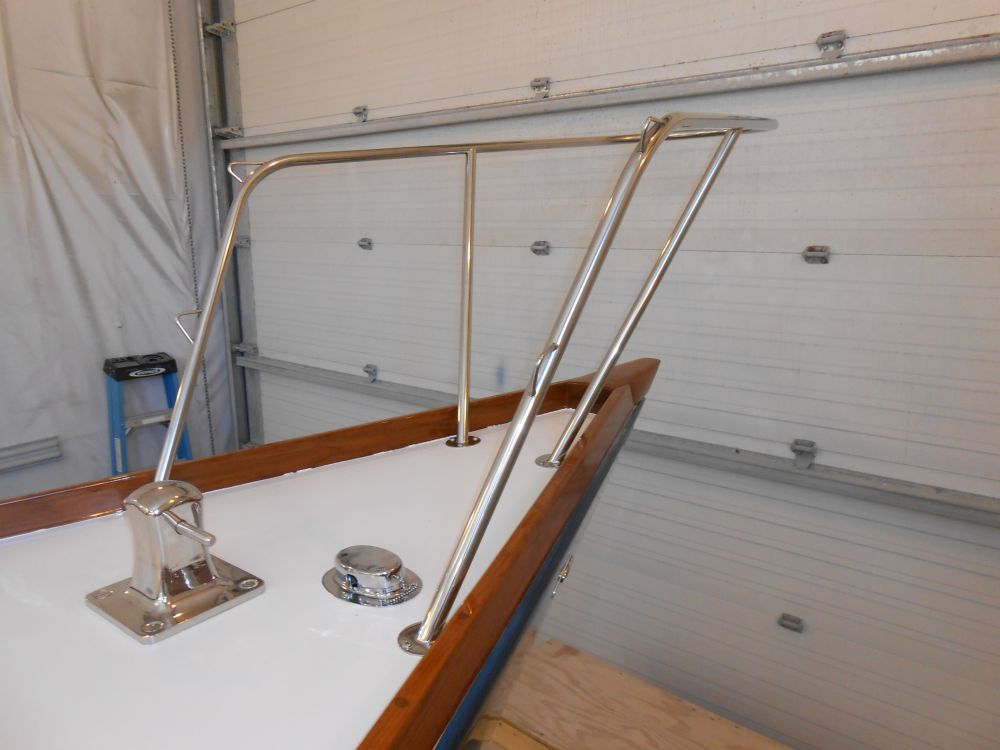
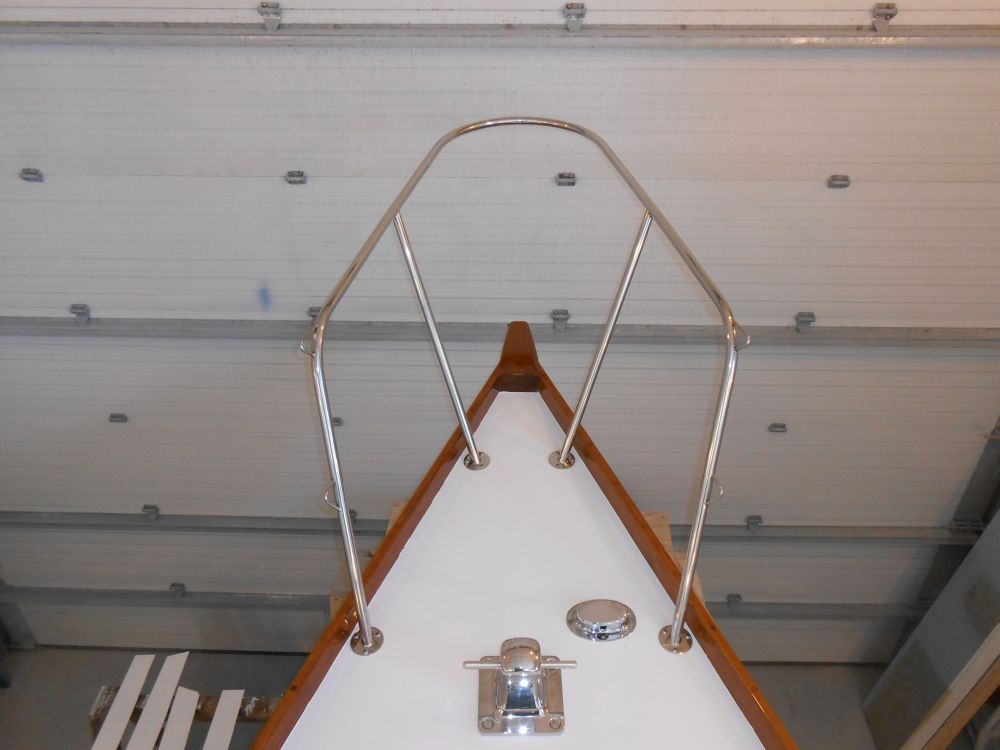
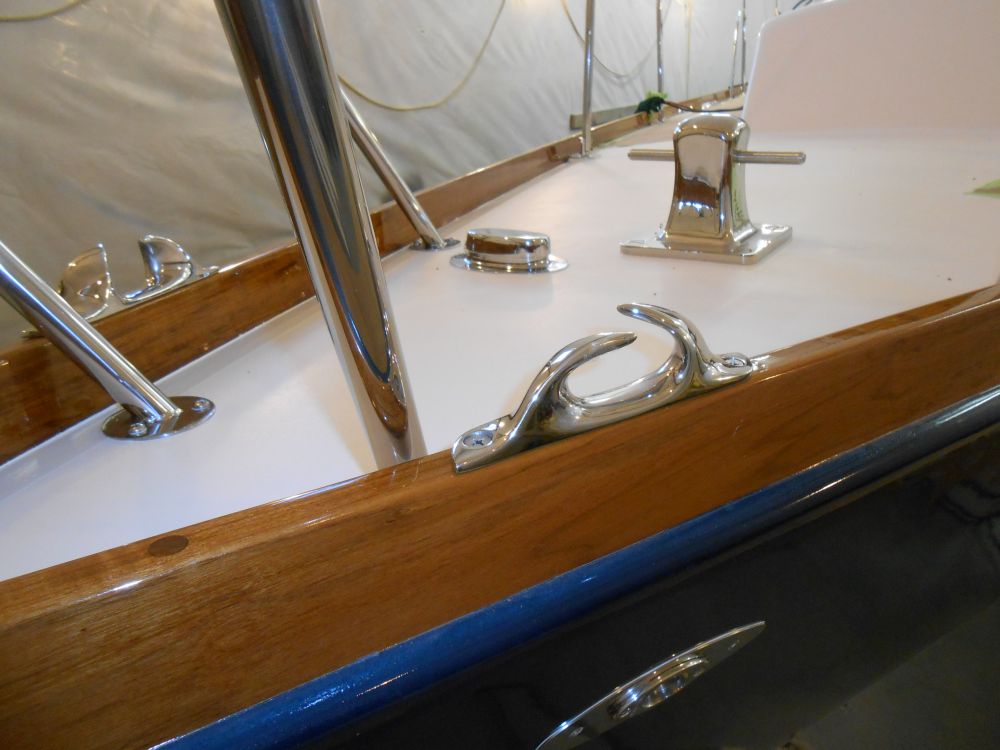
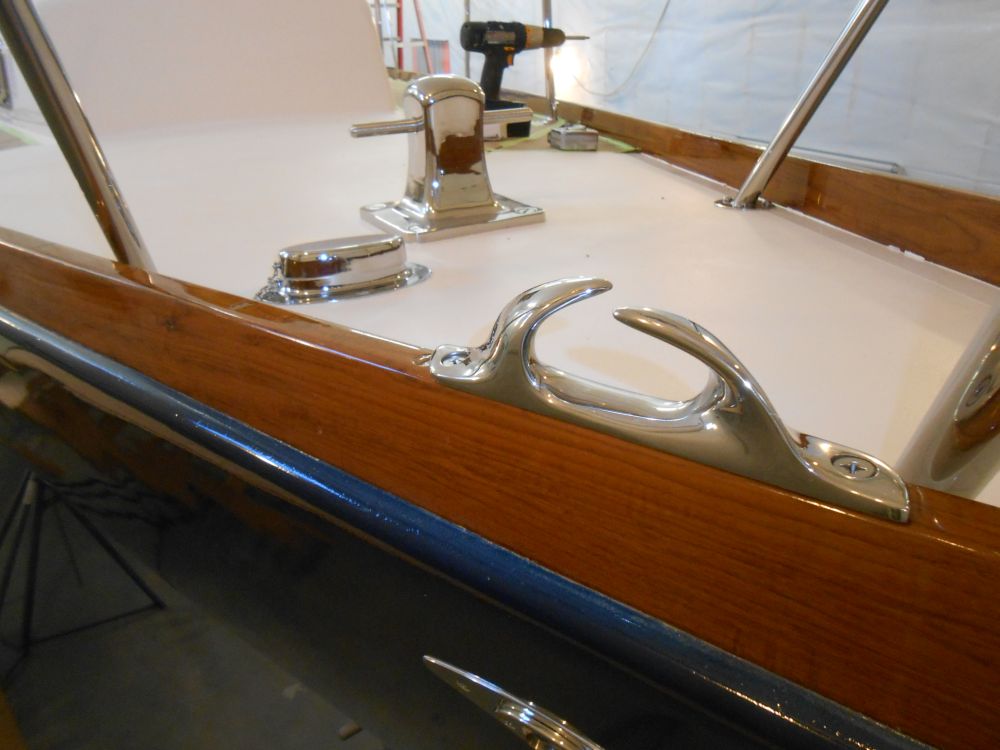
Now that the pulpit was in place, I could install the bow chocks, which I'd been waiting on so I could ensure that the pulpit didn't interfere. I installed the chocks into the toerail with wood screws.
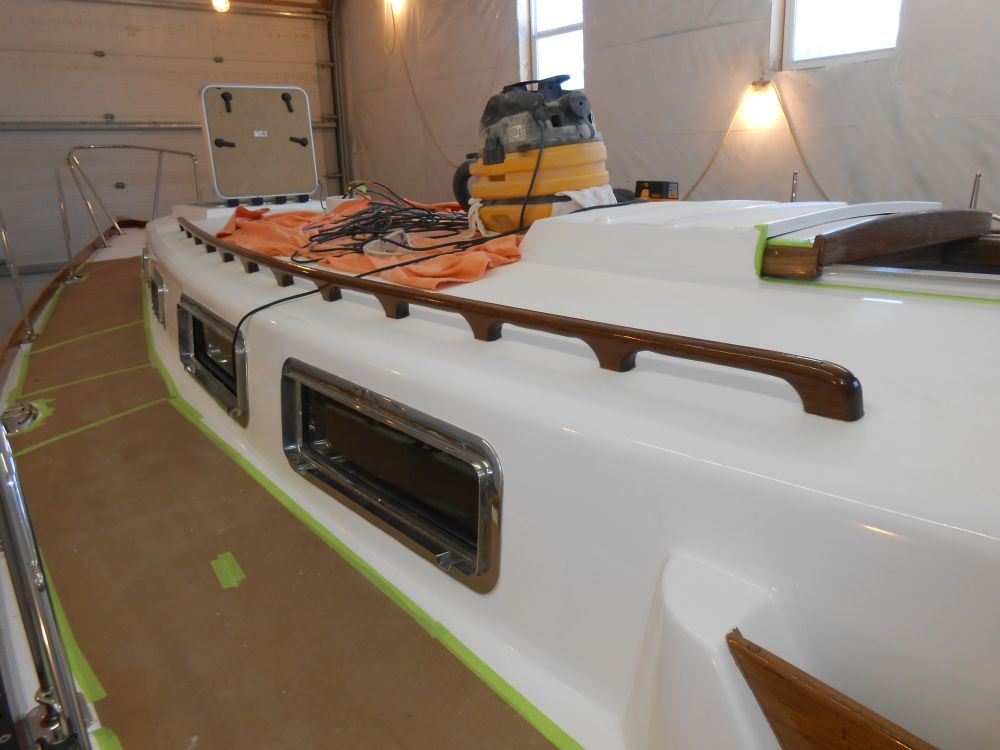
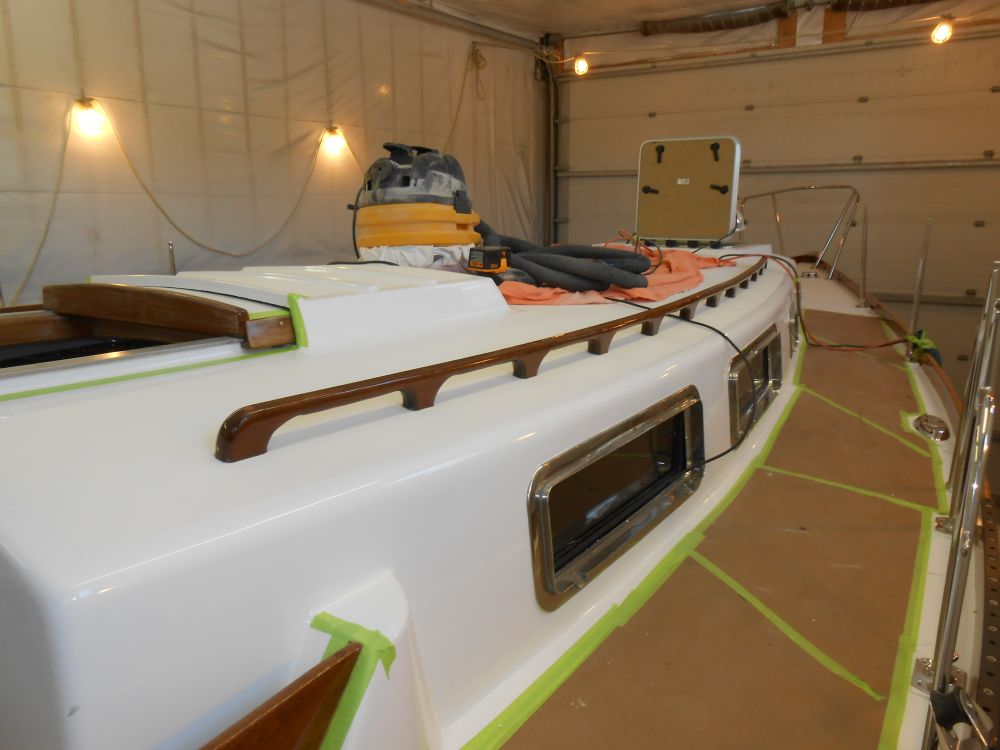
With most of the varnish work on deck complete, save for the companionway area, I spent some time to remove the masking tape around the handrails and coamings.
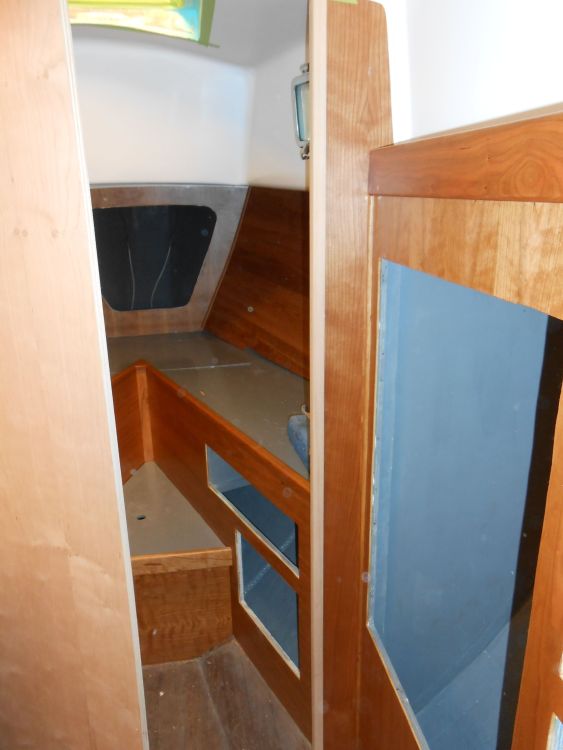
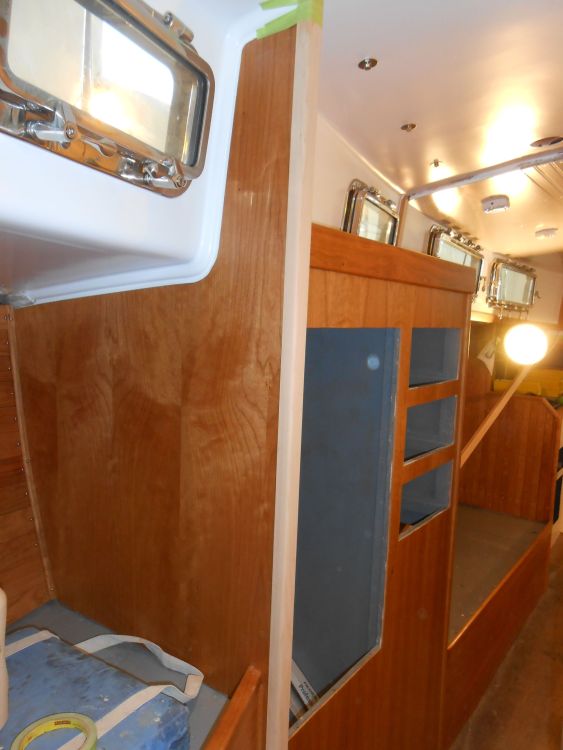
The doorway to the head compartment required jambs to cover the plywood bulkhead edges and to later accept the door itself. Beginning with the after trim, from one of the thicker blanks I'd prepared earlier I milled a section of the required profile (a dado to wrap over the bulkhead edge, plus a stop against which the door could close), and eventually cut and fit a section as needed before sanding it smooth and installing it with glue.
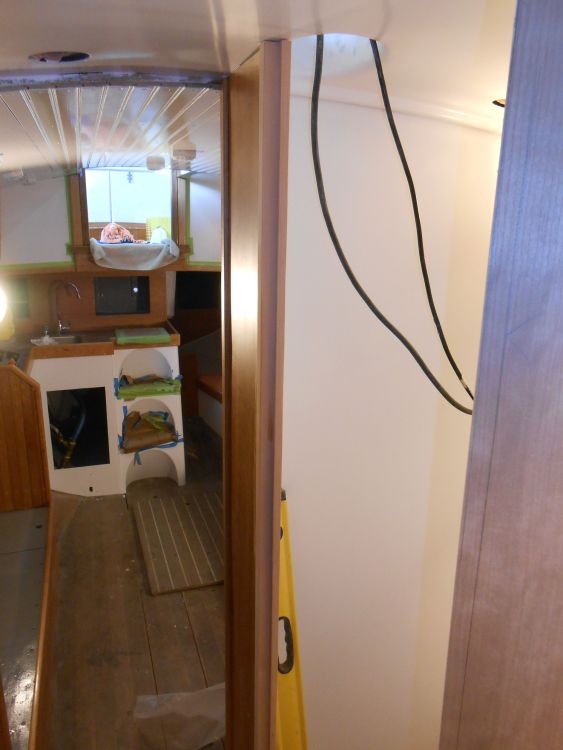
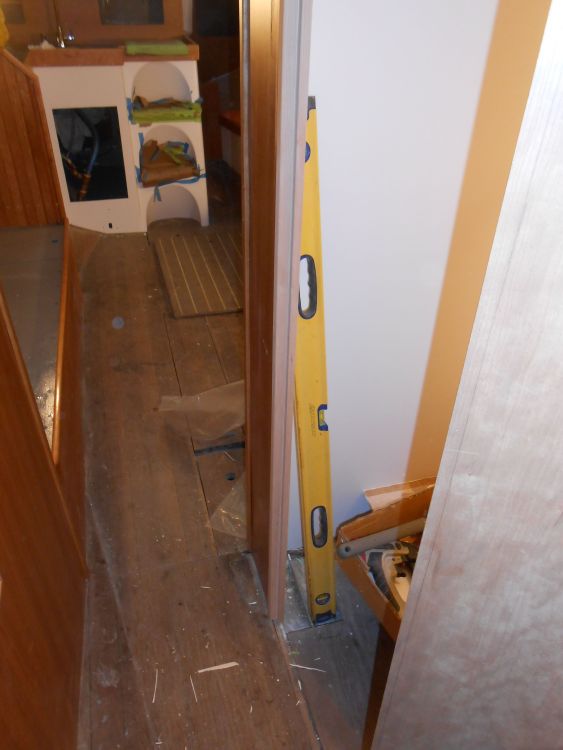
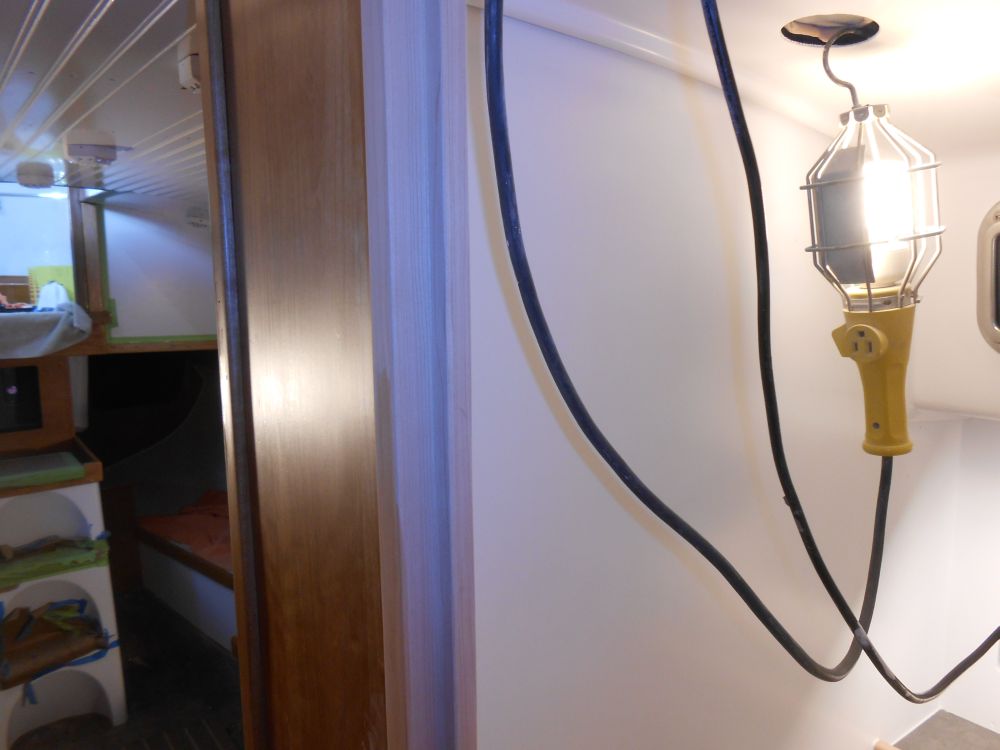
The forward edge of the door opening would require similar trim, but this trim was complicated by the angle of the forward head bulkhead, so since it was getting late in the day I decided to wait on this piece, and instead milled a section of trim to cover the exposed edge of the little starboard forward bulkhead leading to the forward cabin. As with other similar bulkhead edges, I milled rounded trim incorporating a groove in its back side to cover the edge of the bulkhead. After sanding smooth, I installed the new trim with glue.
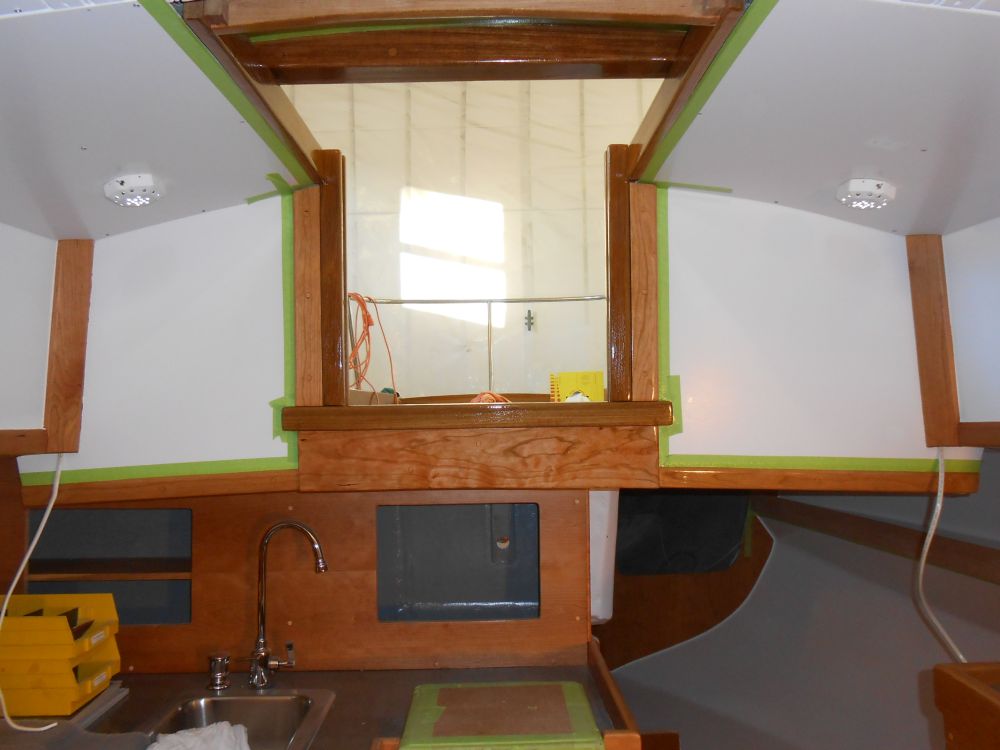
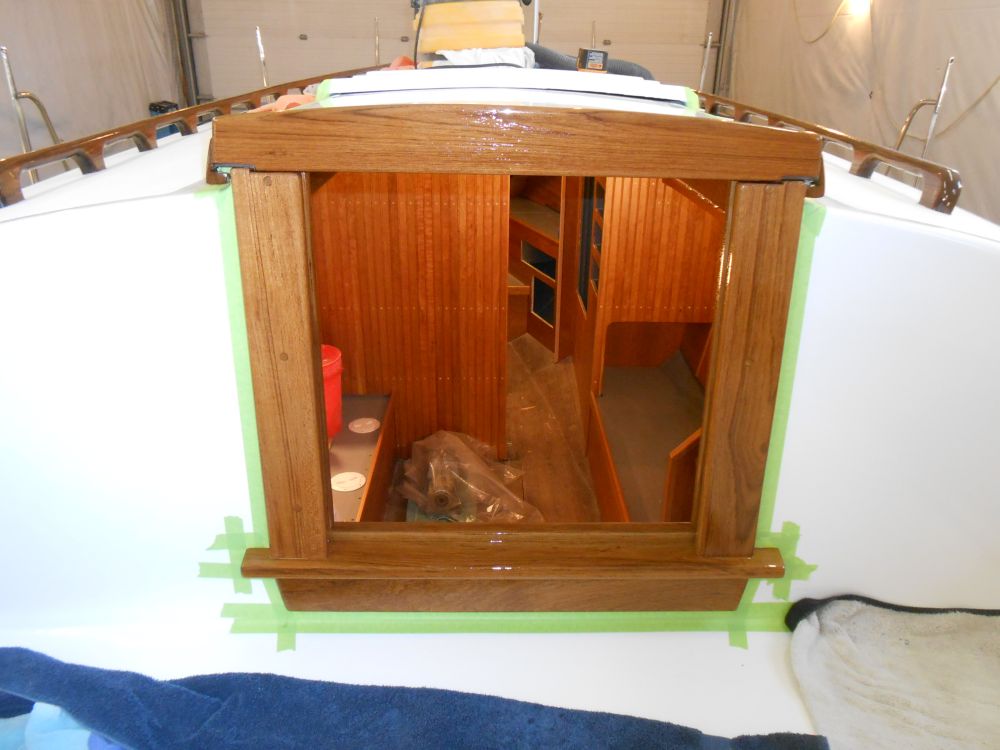
Finally, I made final preparations and applied another coat of varnish to the inside and outside of the companionway and hatch.
Total Time on This Job Today: 7 hours
