
110 Cookson Lane | Whitefield, ME 04353 | 207-232-7600 | tim@lackeysailing.com
Snow Lily | Friday, April 19, 2013
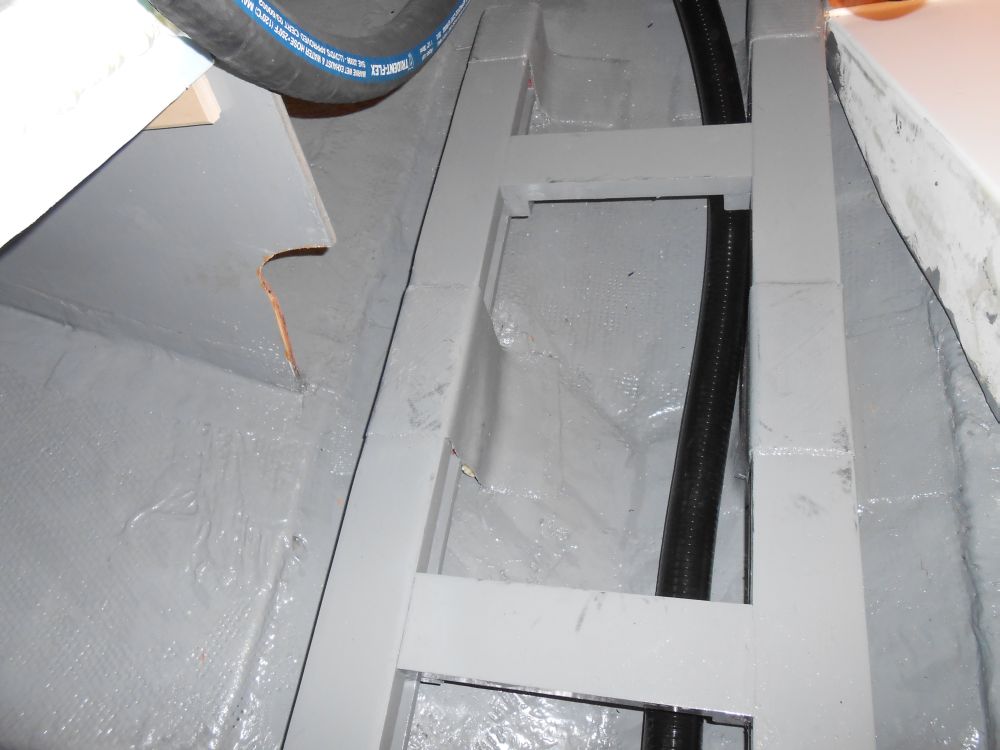
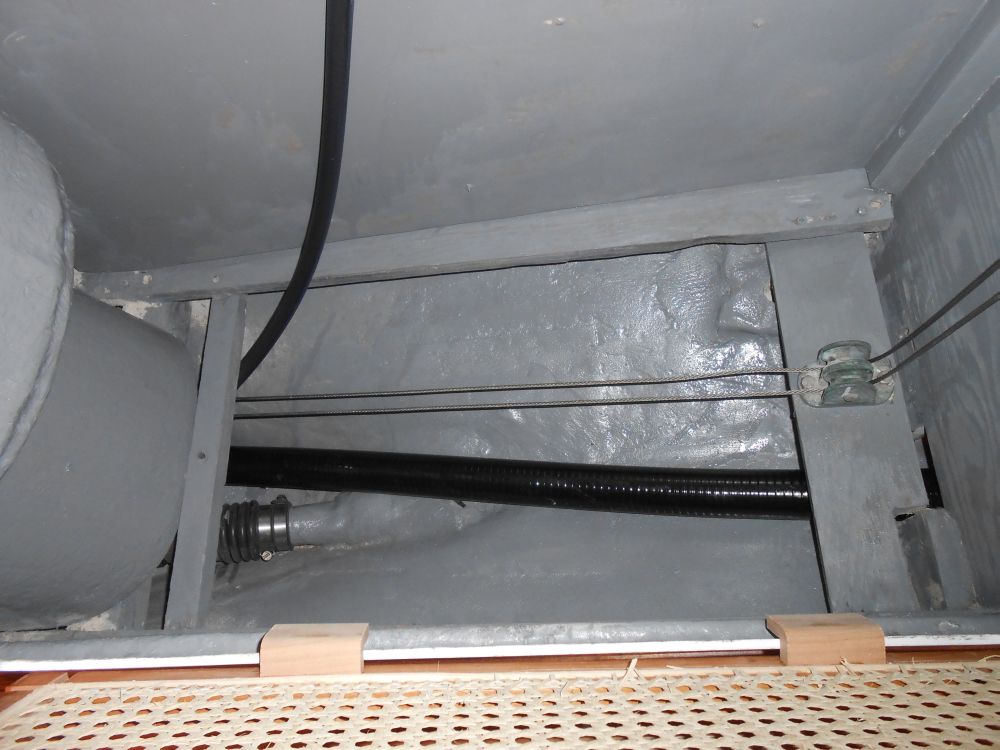
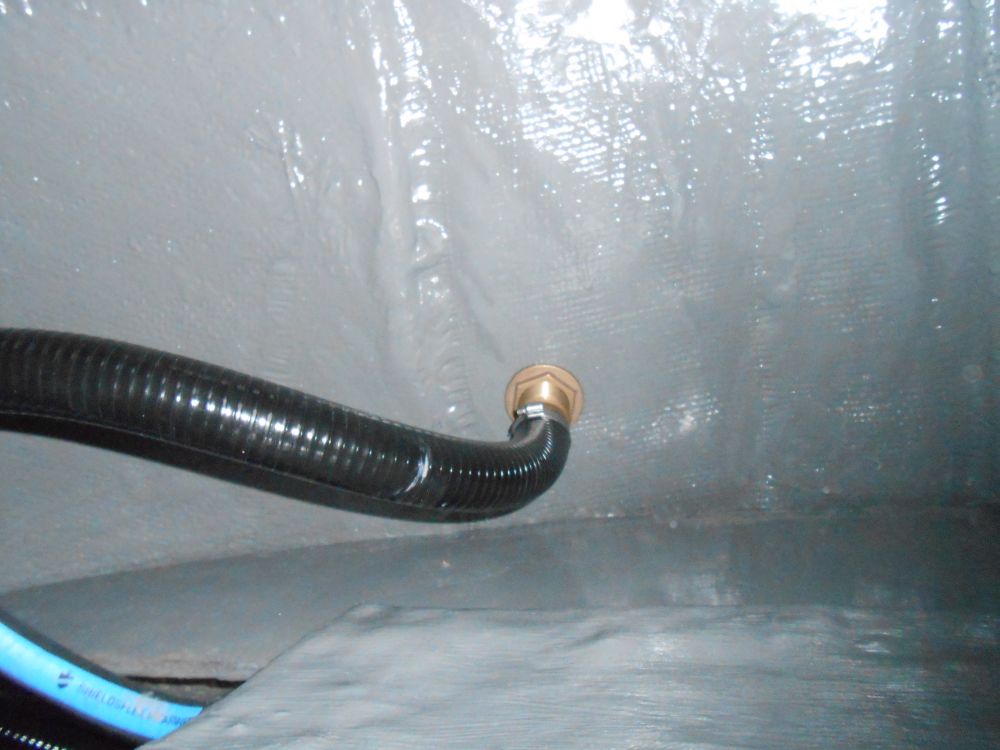
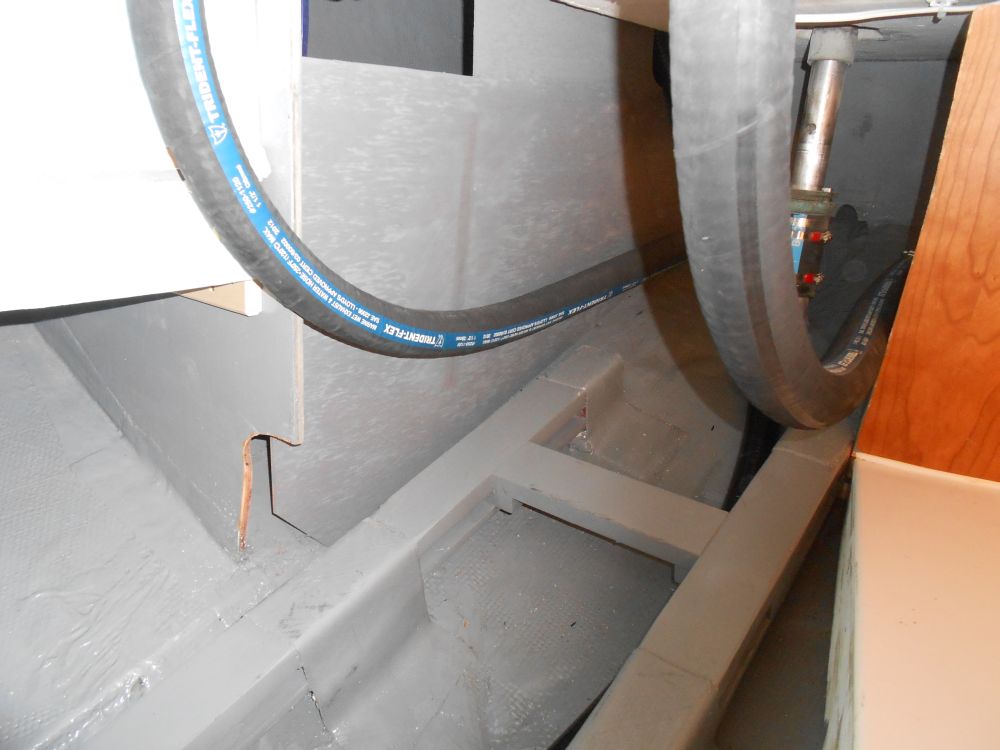
To complete the bilge pump installation, I led 1-1/2" hose to and from the pump to make the final connections. In the bilge sump, I left some extra hose for the moment pending the final routing of the hose vis-a-vis the centerboard lifting tackle. I'd hoped to use a heavy bronze strainer to weight the hose into place, but there was insufficient room; anyway, the space was small enough, and with enough other stuff in the way, that the hose would tend to remain where it should be anyway. In the event, I'd finish up that end presently.

With the hoses run and connected, I installed the new divider panel in the cockpit locker, securing it with a few screws to an existing cleat at the forward end and a new cleat at the aft end.
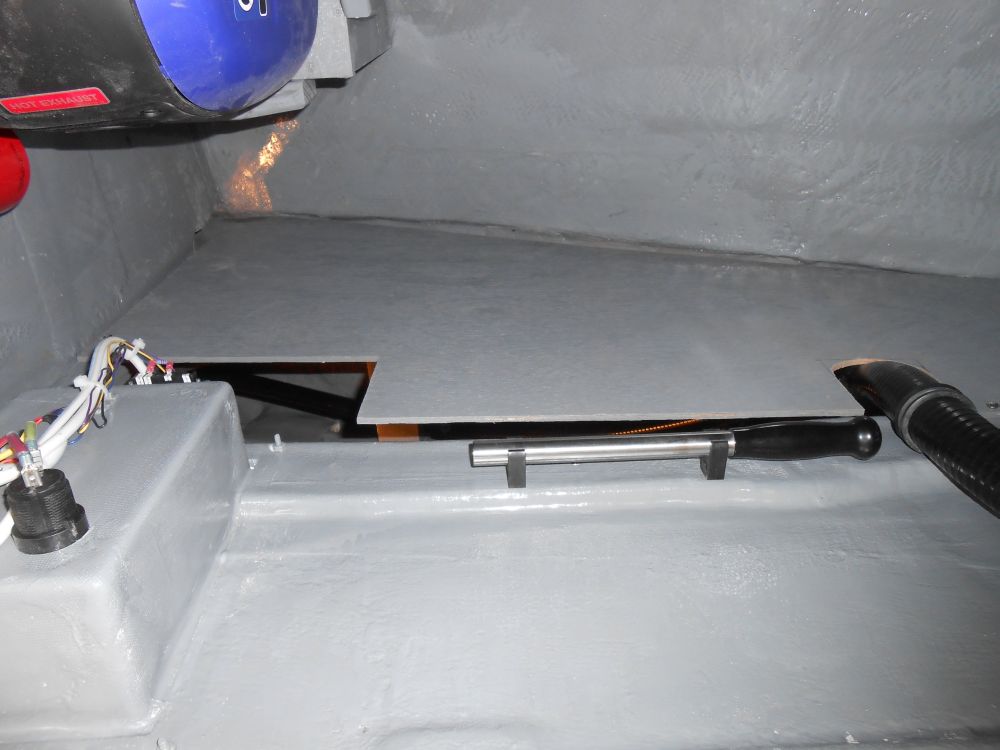
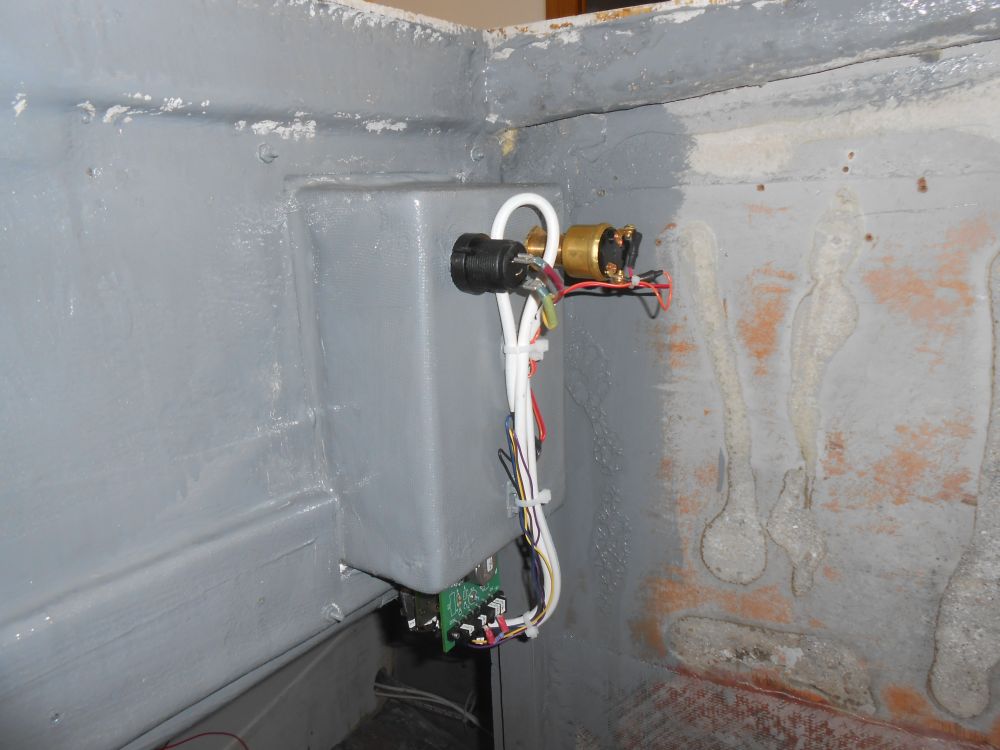
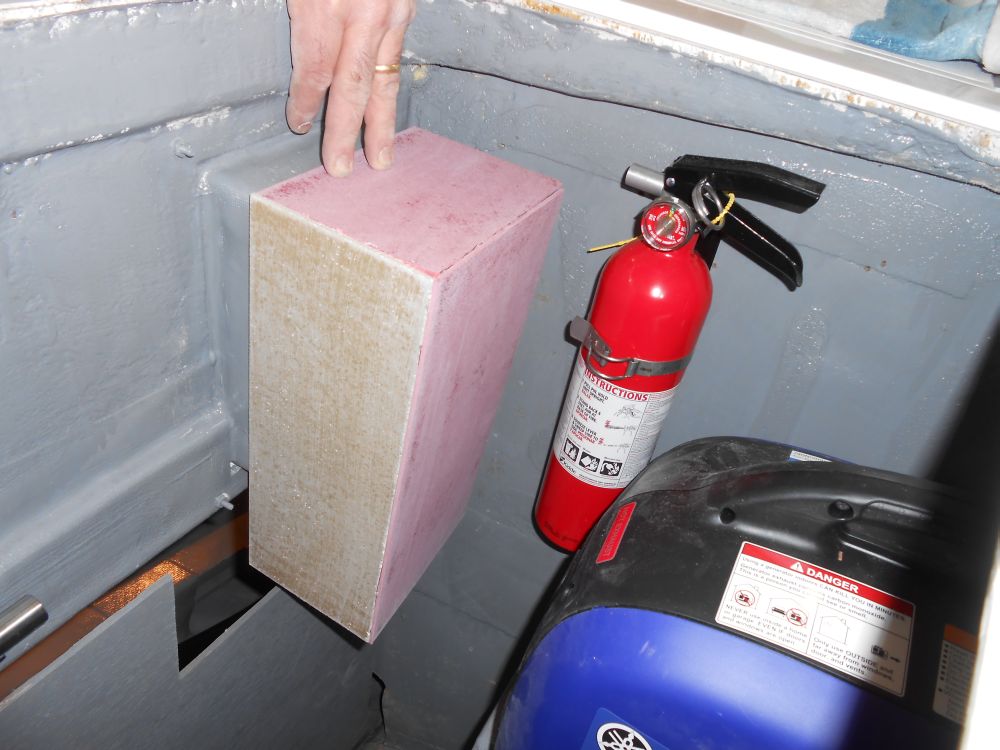
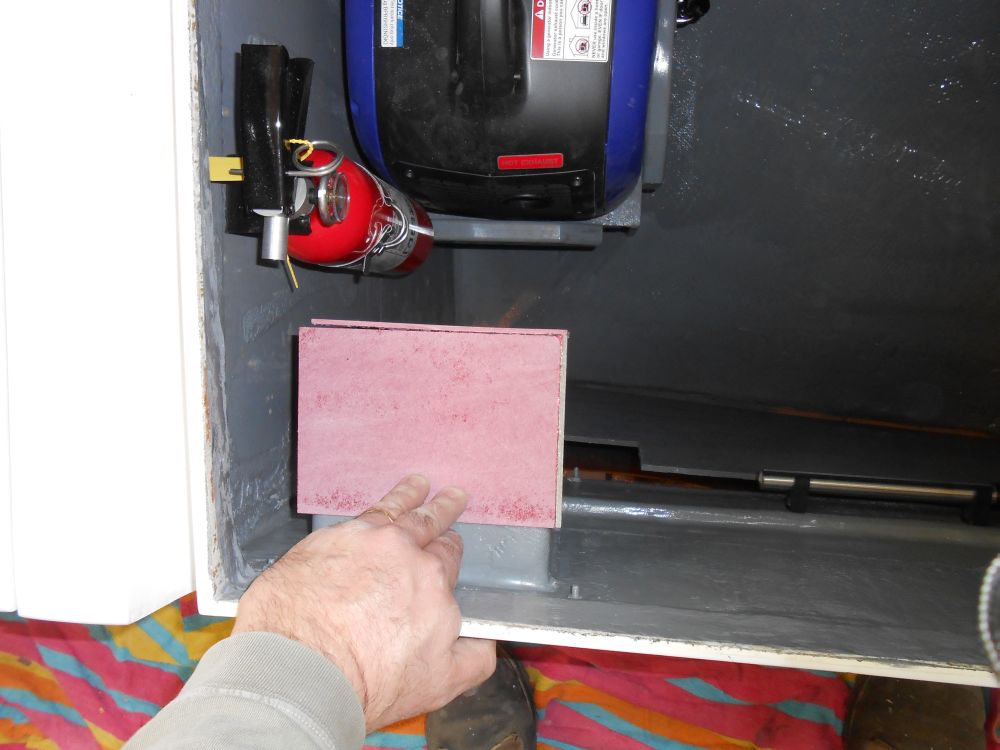
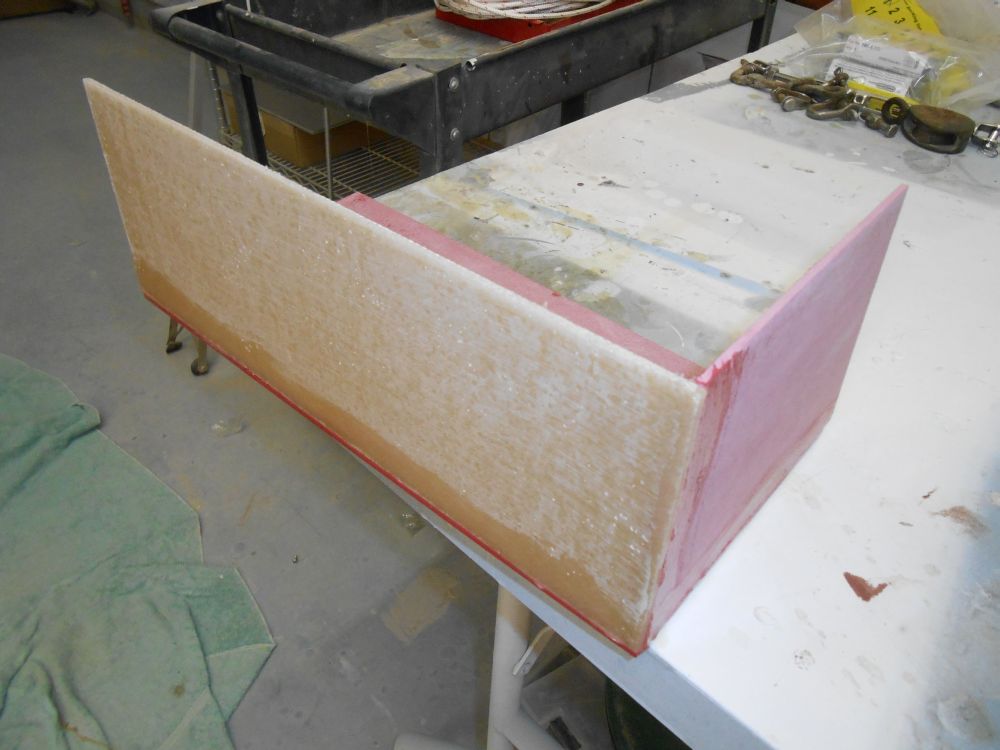
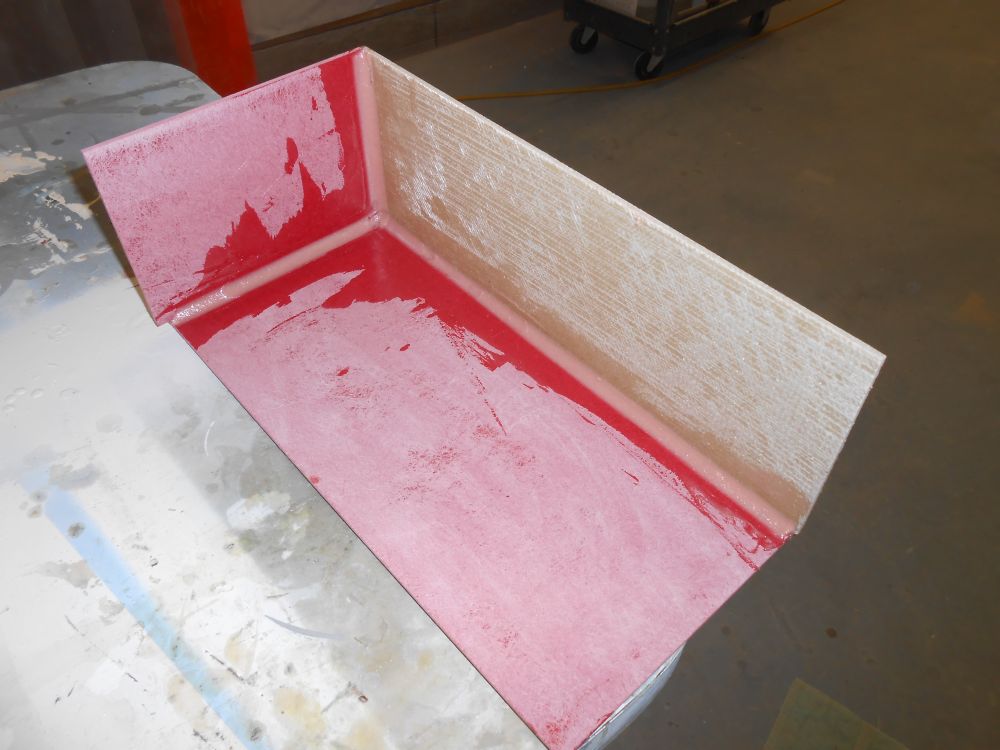
The protruding box and wiring from the throttle control and key switch had seemed somewhat exposed and vulnerable, and we decided to provide some sort of basic protection within the locker. From scrap fiberglass sheets leftover from other parts of the project (I think the natural-colored piece is a leftover from building the new locker lids), I created a simple three-sided box that would wrap over the soft underbelly of the wiring and provide a modicum of protection from accidental mishaps with locker contents. After tacking the pieces with hot glue, I applied epoxy fillets to the inside to finalize the connections.
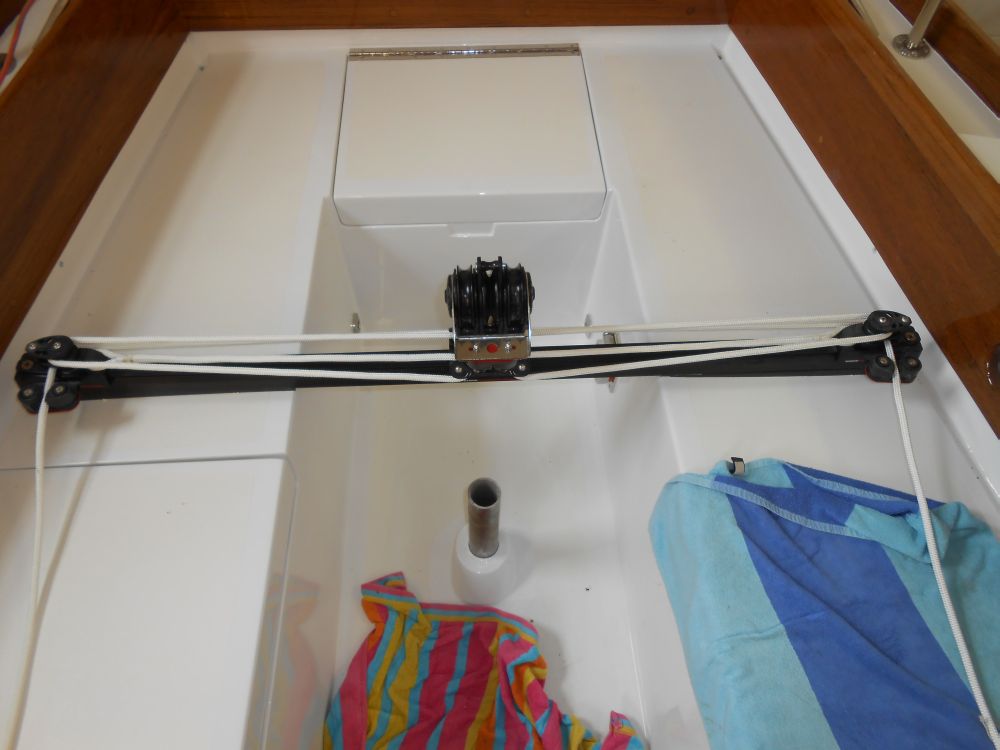
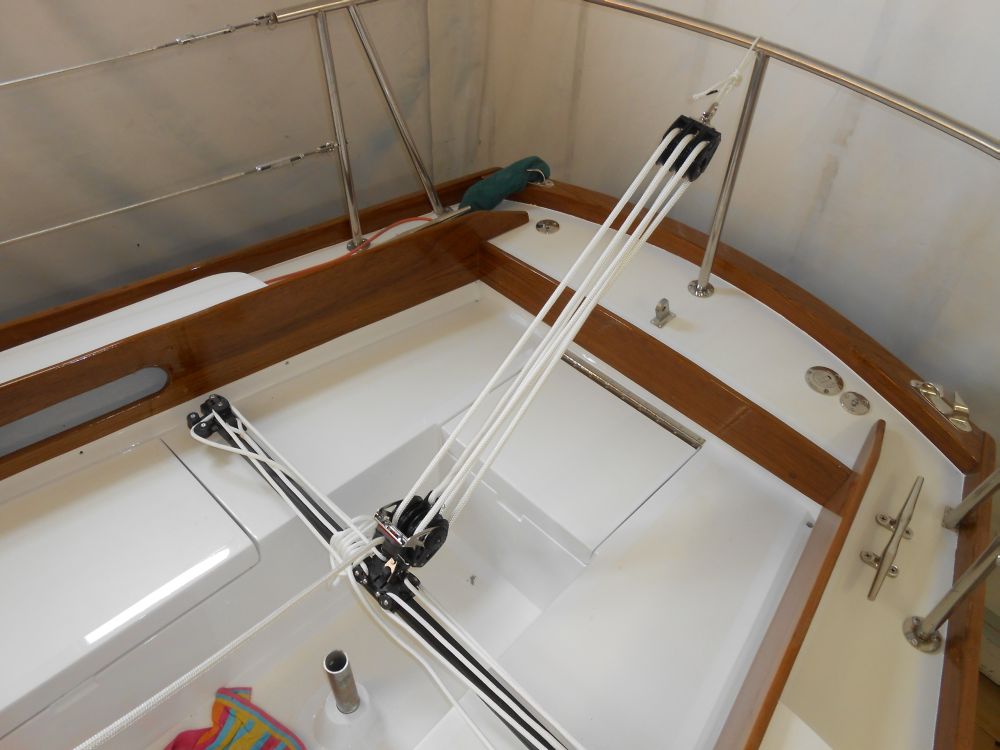
While awaiting UPS's usual afternoon delivery so I could continue with the installation of the woodstove deck iron, I turned to several other tasks on the ever-decreasing (and becoming ever more insignificant) punch list, starting with the traveler control lines. I'd had the line on hand from the rigger for a while, but saw no reason to put the shiny new line in harm's way sooner than needed.
In order to install the line, with its spliced ends, I had to partially disassemble the various traveler blocks to allow passage of the bulky splice (on the smaller blocks on the car itself), and to install the splice on the becket at the ends. This was easy enough, but took additional time. My heart almost stopped as I disassembled the first block and the sheave fell into the cockpit; despite assurances to the contrary, my initial worry was that all the ball bearings would come out. Fortunately, they were captive, which I knew on some level, but sometimes only seeing is believing.
With the traveler complete, I installed and reeved the mainsheet blocks and mainsheet, a 6:1 purchase using Harken Carbo blocks.
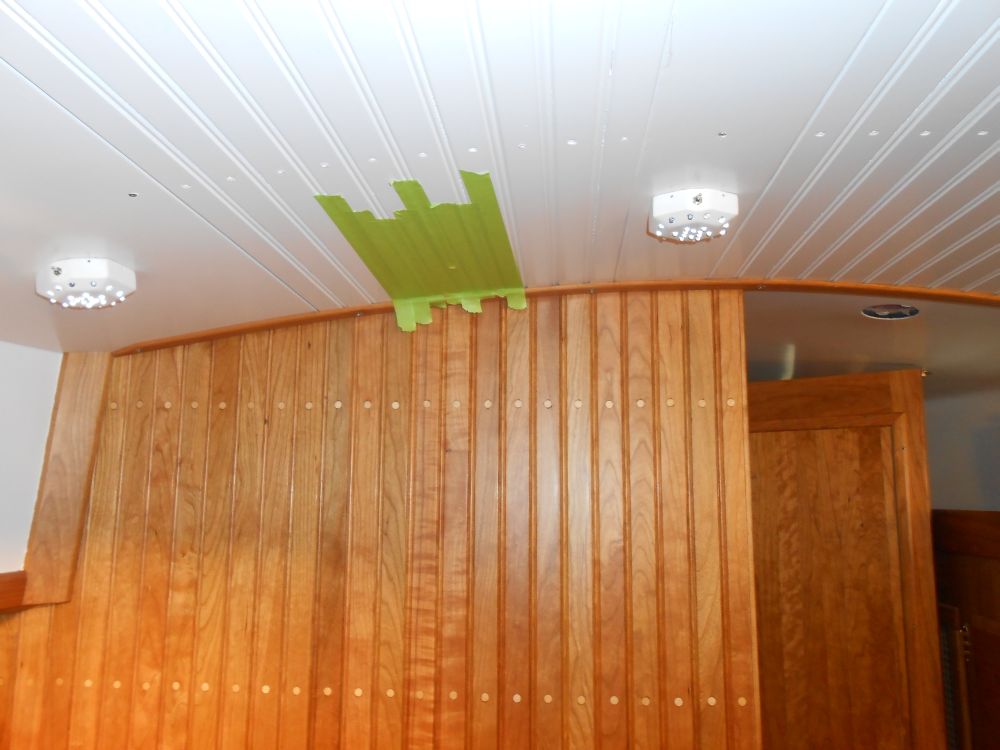
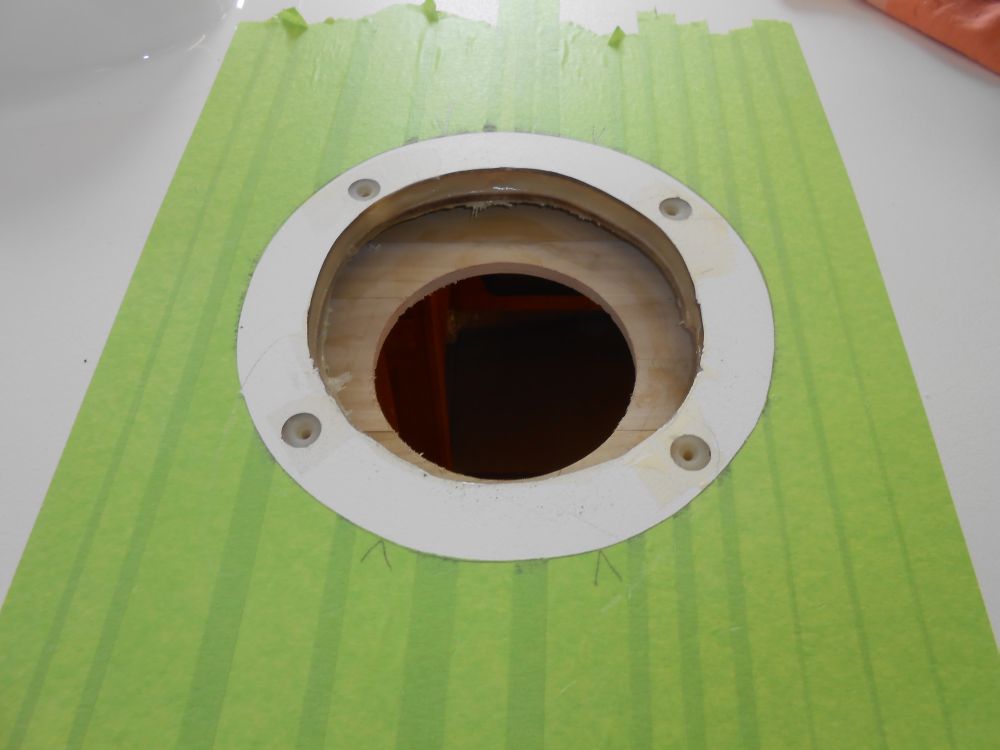
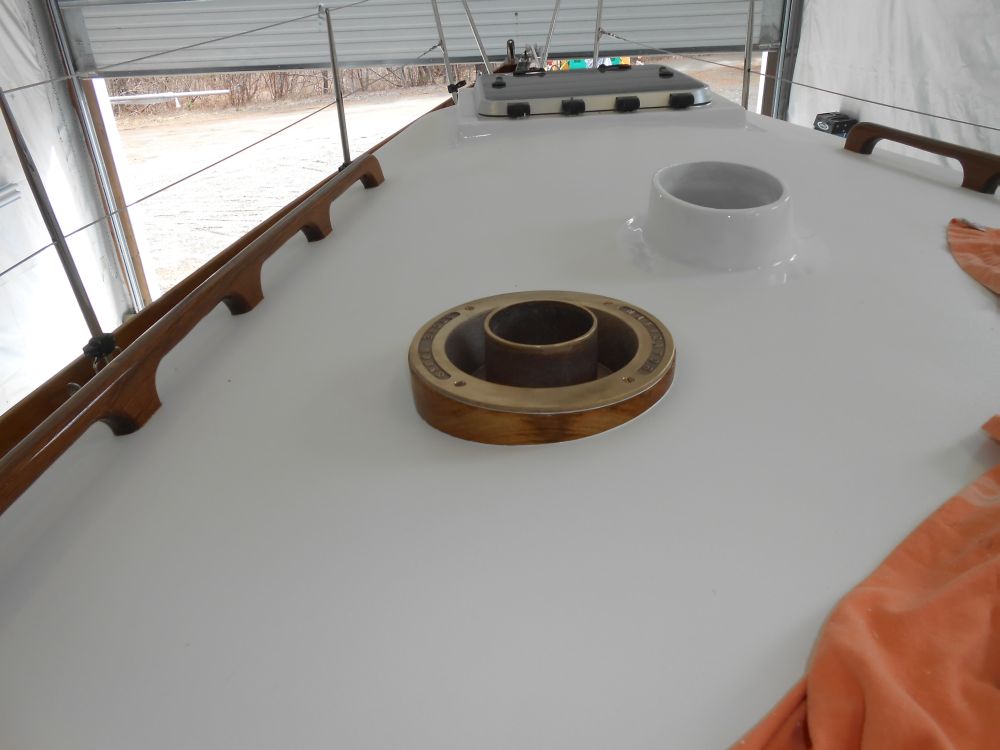
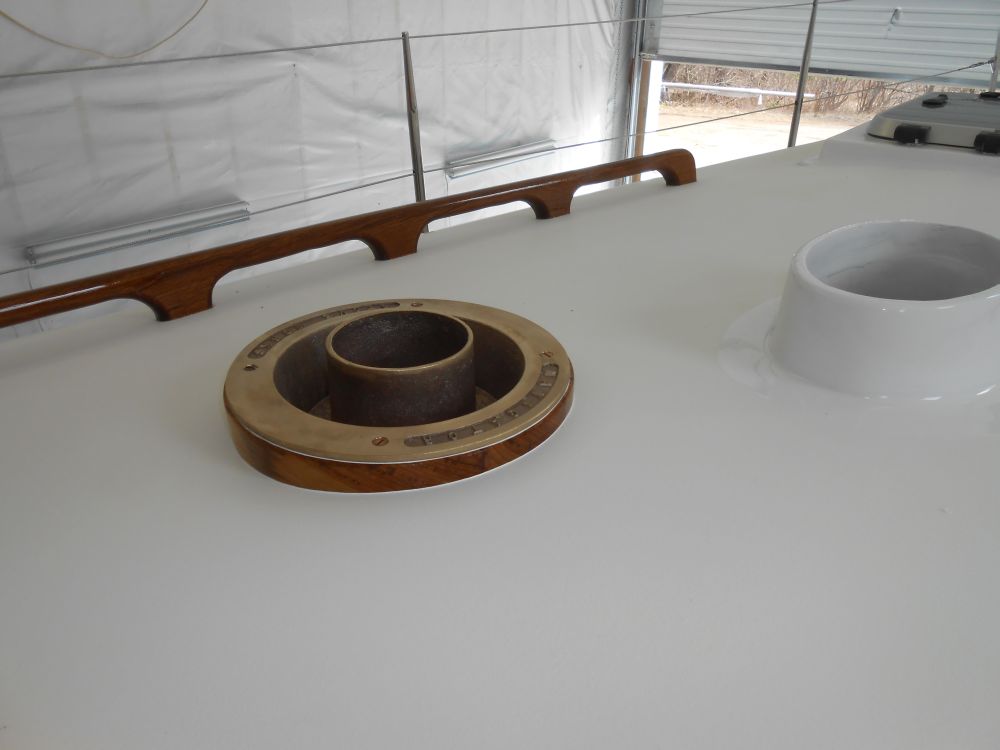
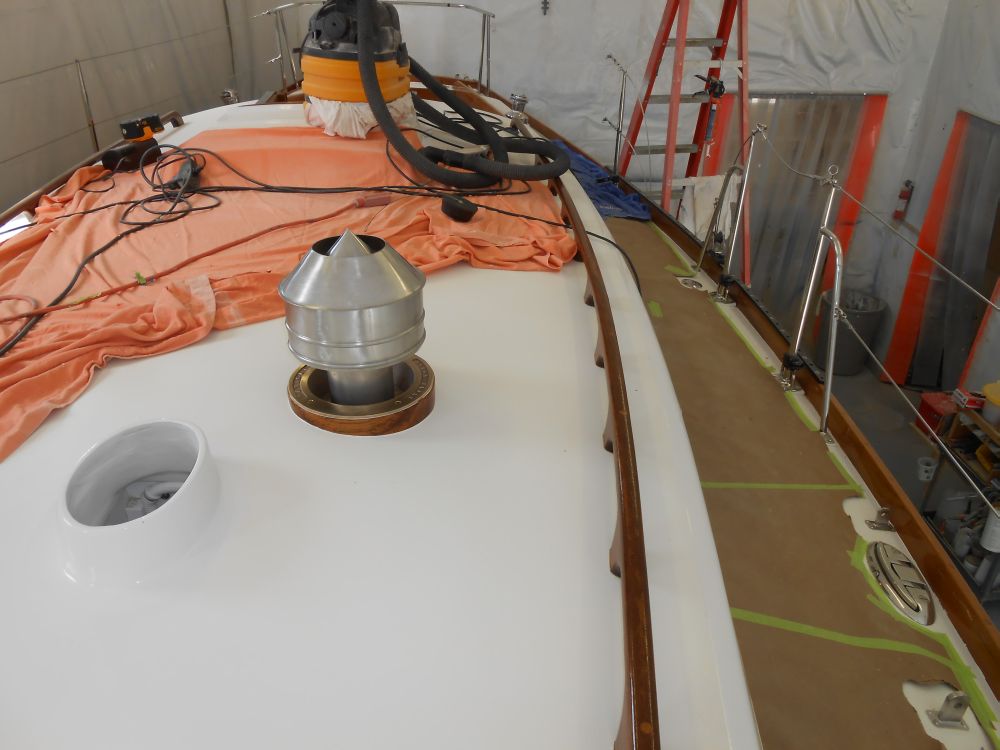
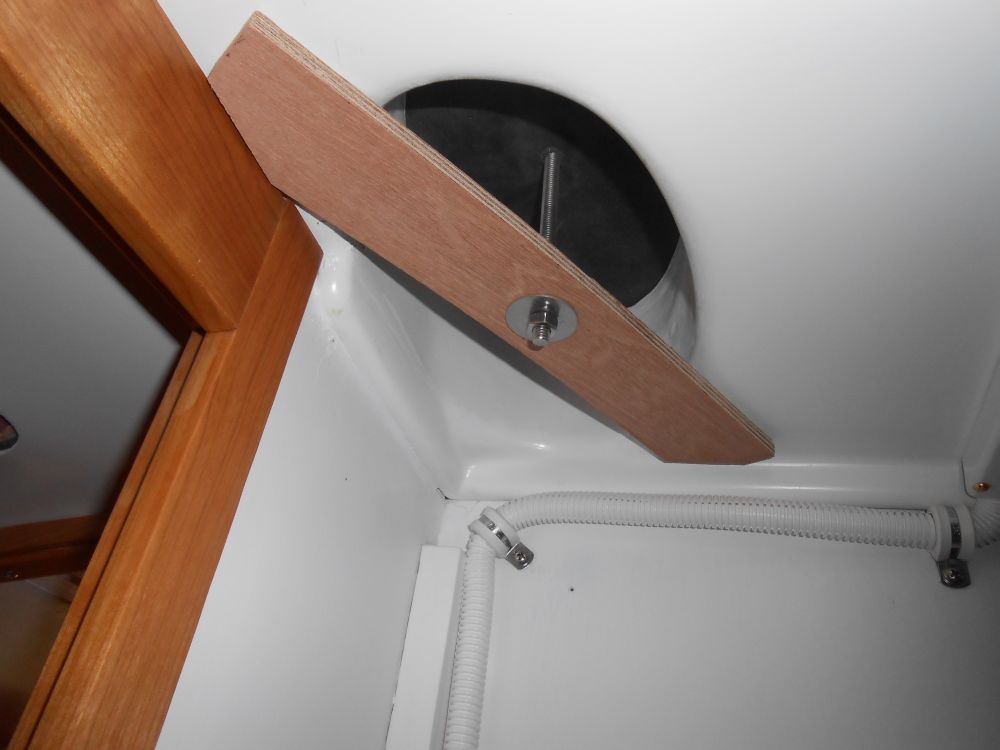
With the delivery of a new hole saw required to cut out the overhead for the woodstove, I completed the deck iron installation. From inside, with protective tape in place, I sawed out the opening, creating a clean cut. It looks off center from the top, but that's an illusion.
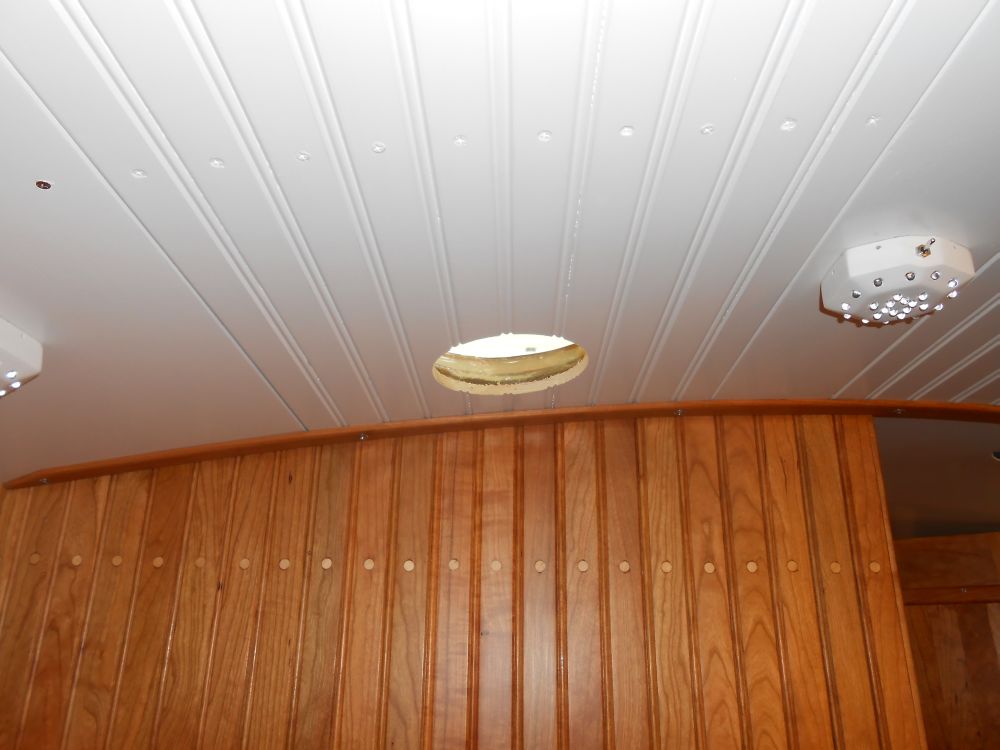
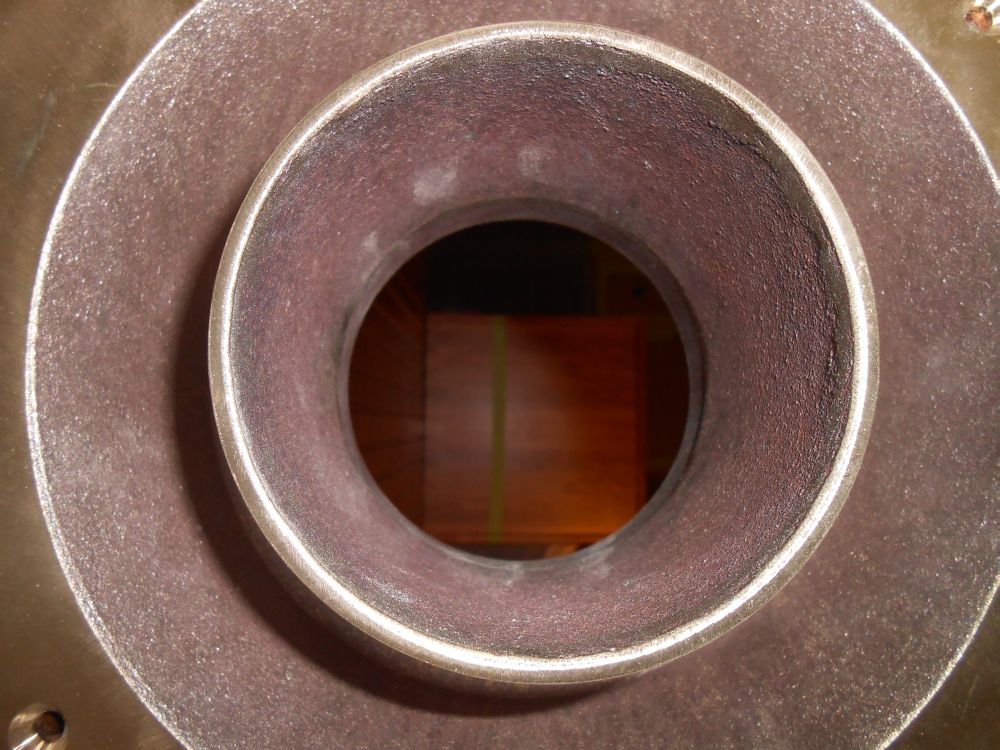
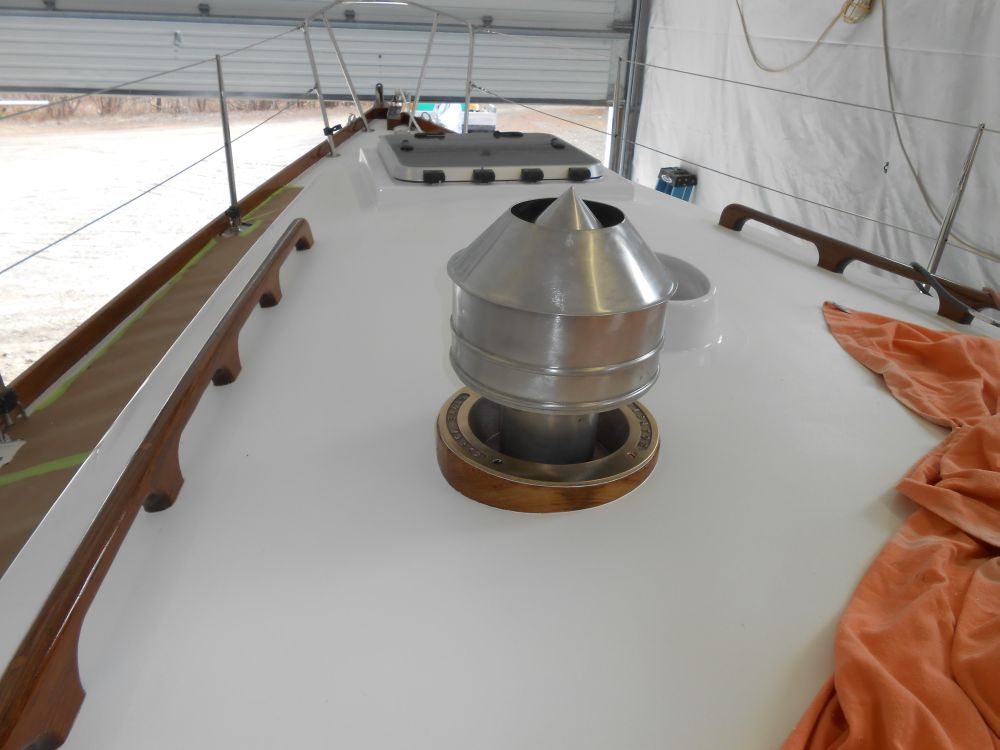
Now I could test-fit the deck iron fully for the first time. I was pleased with the fit and the alignment with the overhead cutout, with the pipe end of the fitting almost perfectly centered in the opening, and well aligned over my original marks below.
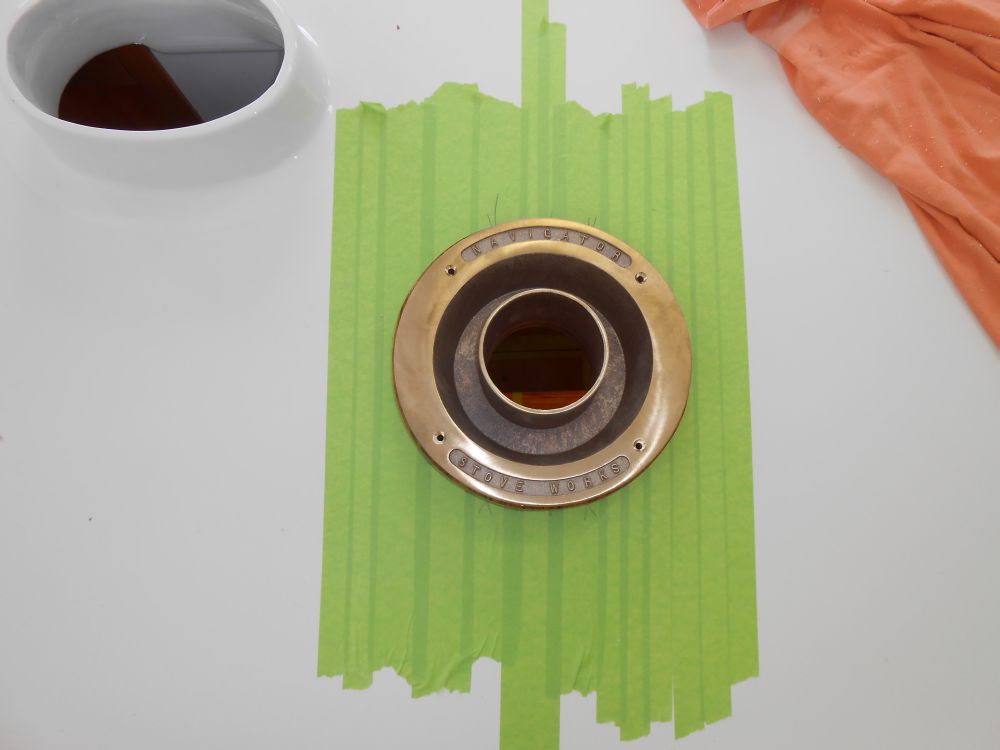
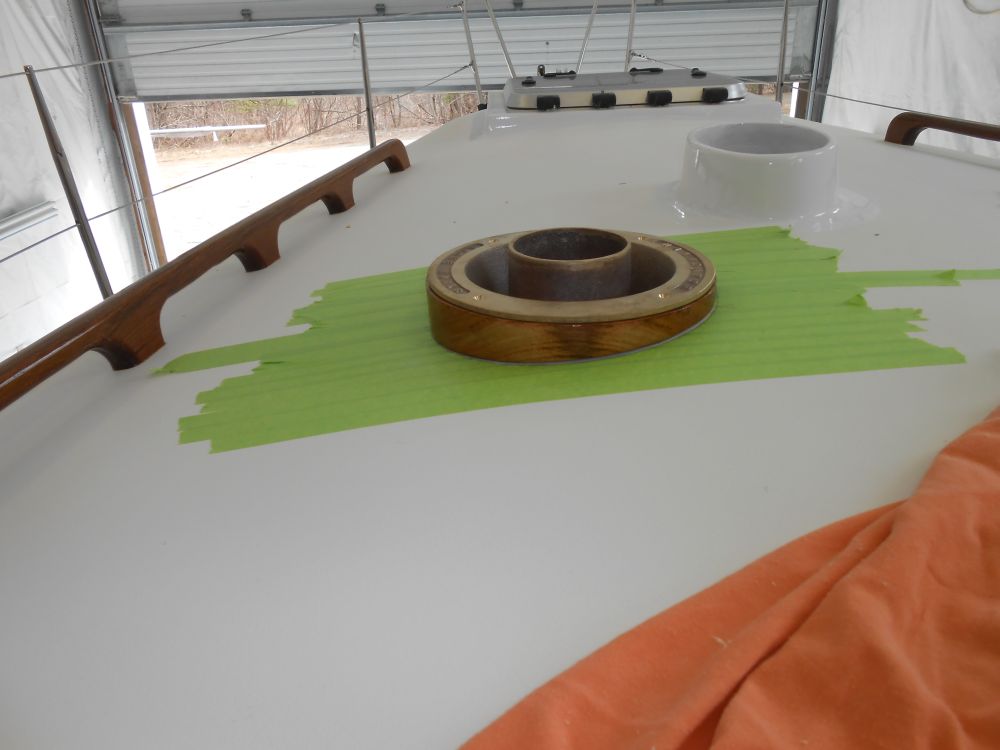

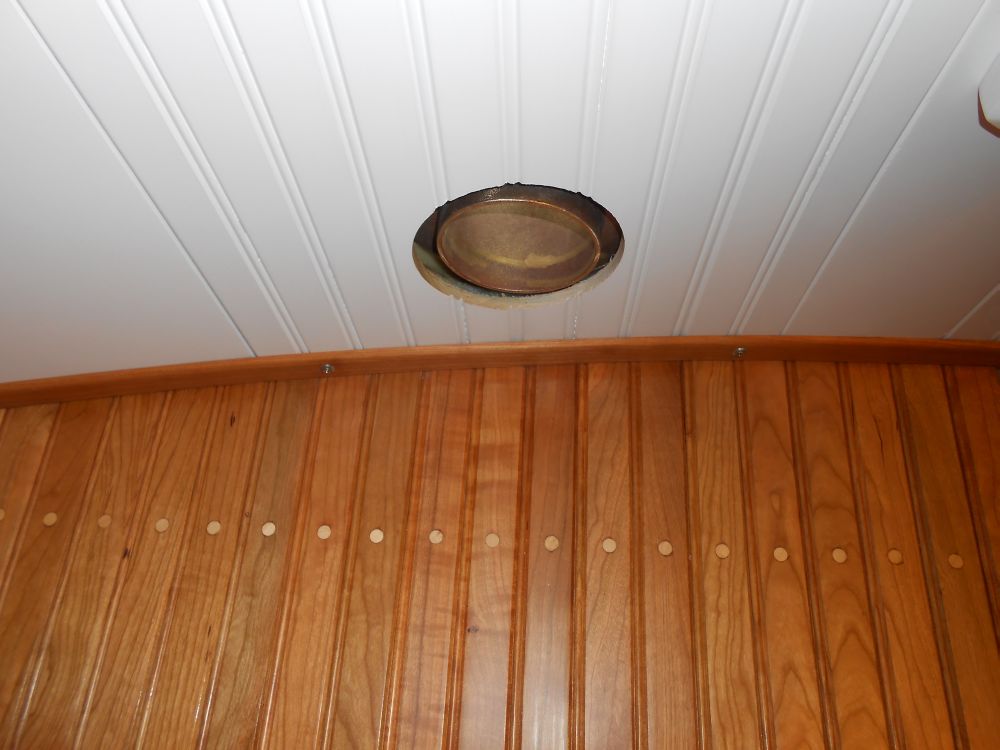
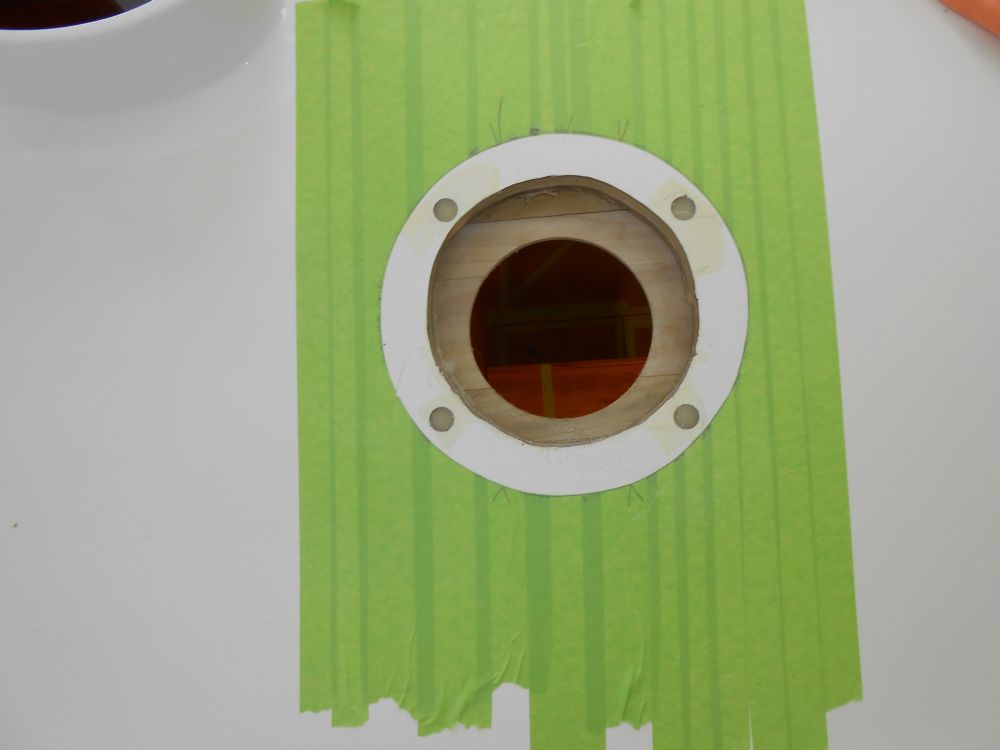
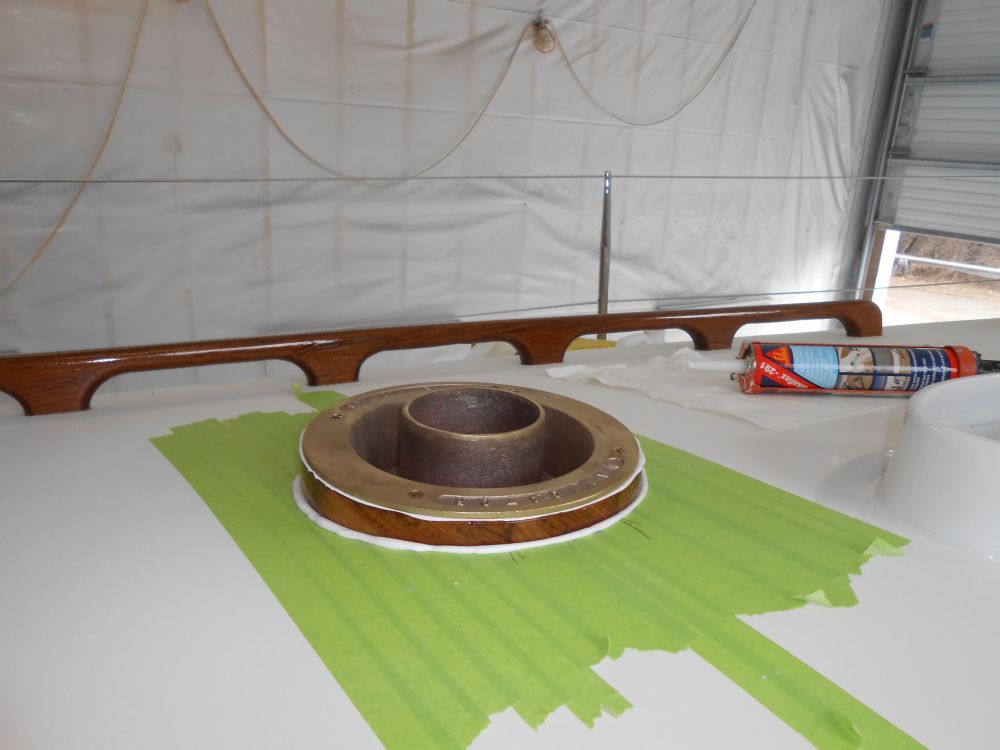
Next, I prepared the fastener holes in my habitual way, drilling and tapping the deck through the new epoxy plugs and lower deck skin for #10 machine screws, and milling a small countersink at the surface. After cleaning up, I applied sealant to the deck and top of the trim ring, and installed the deck iron with four screws. Afterwards, I cleaned up the sealant and removed the tape
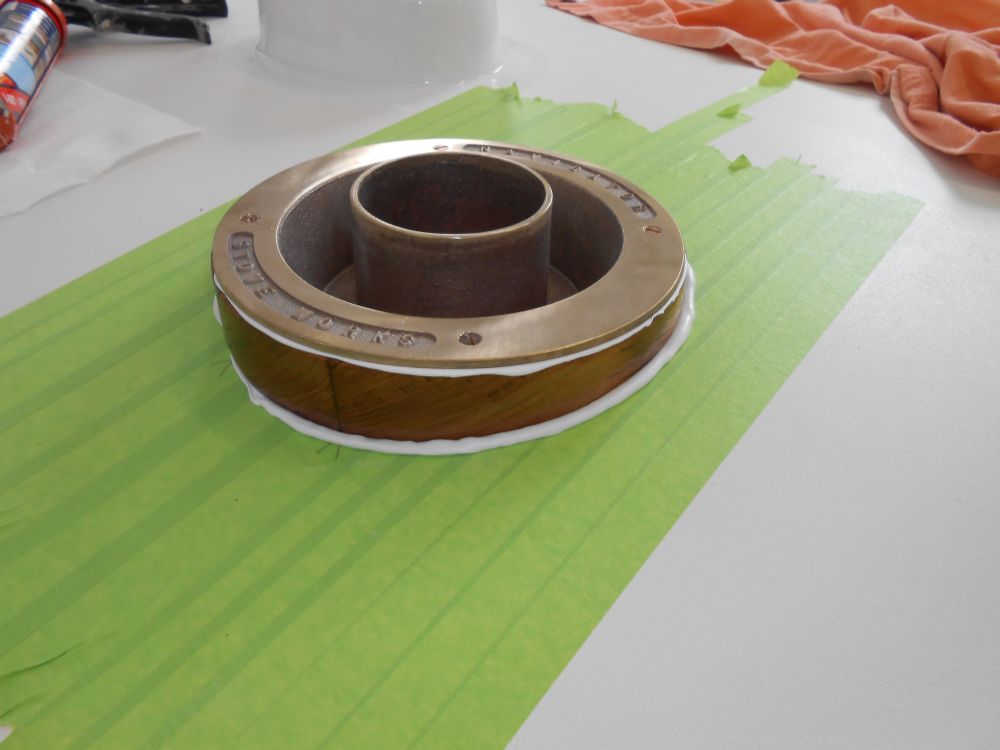
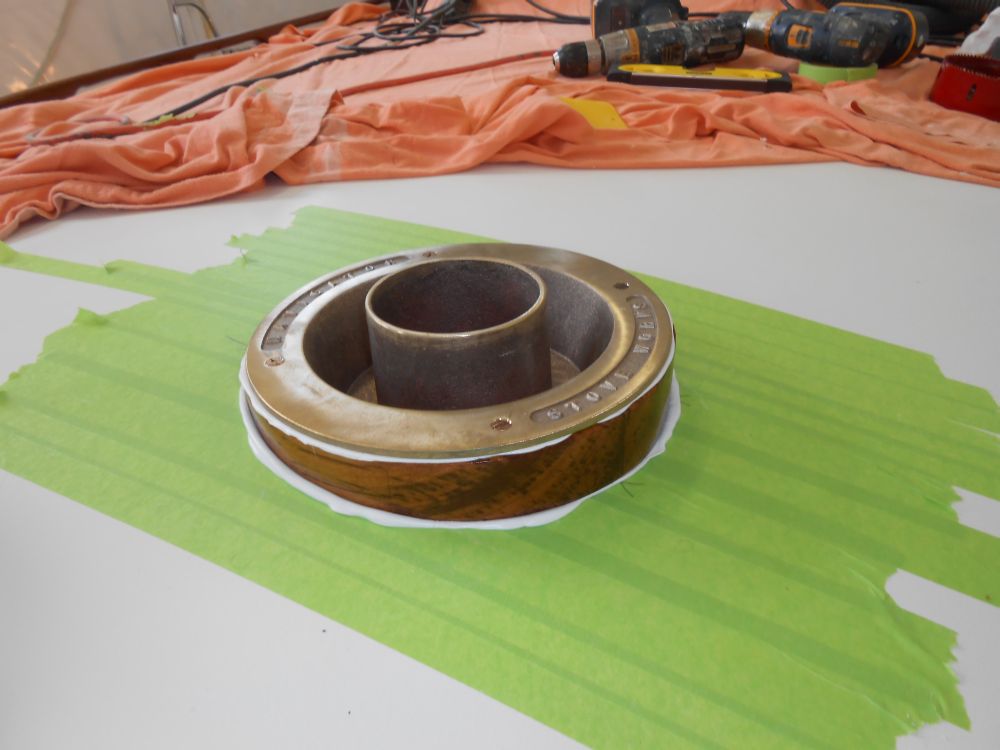
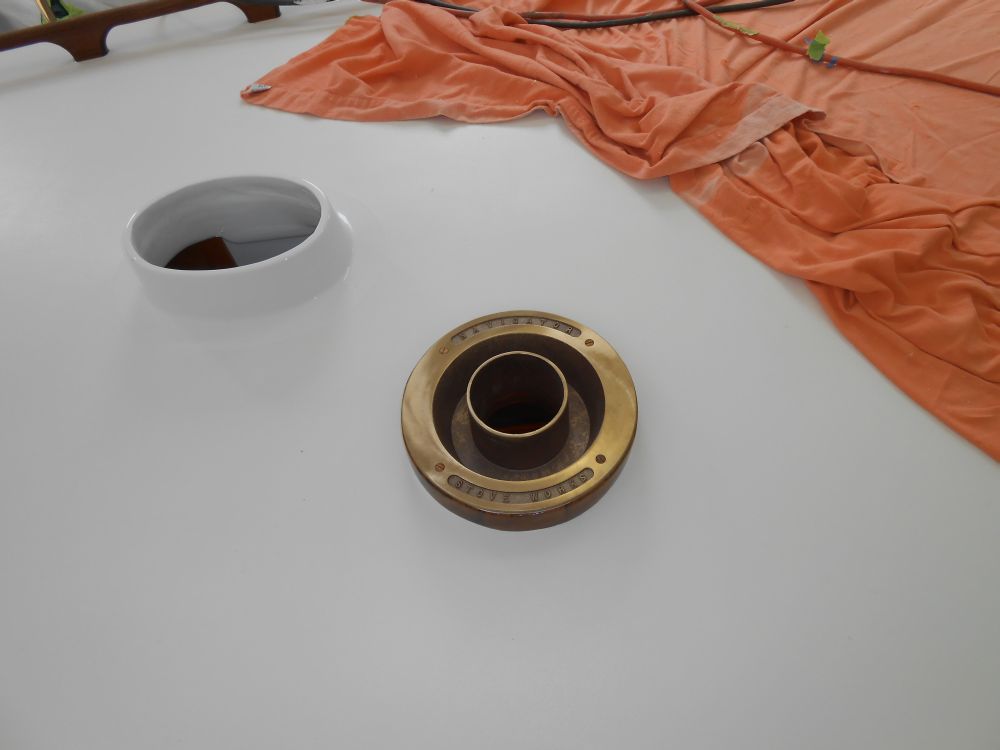
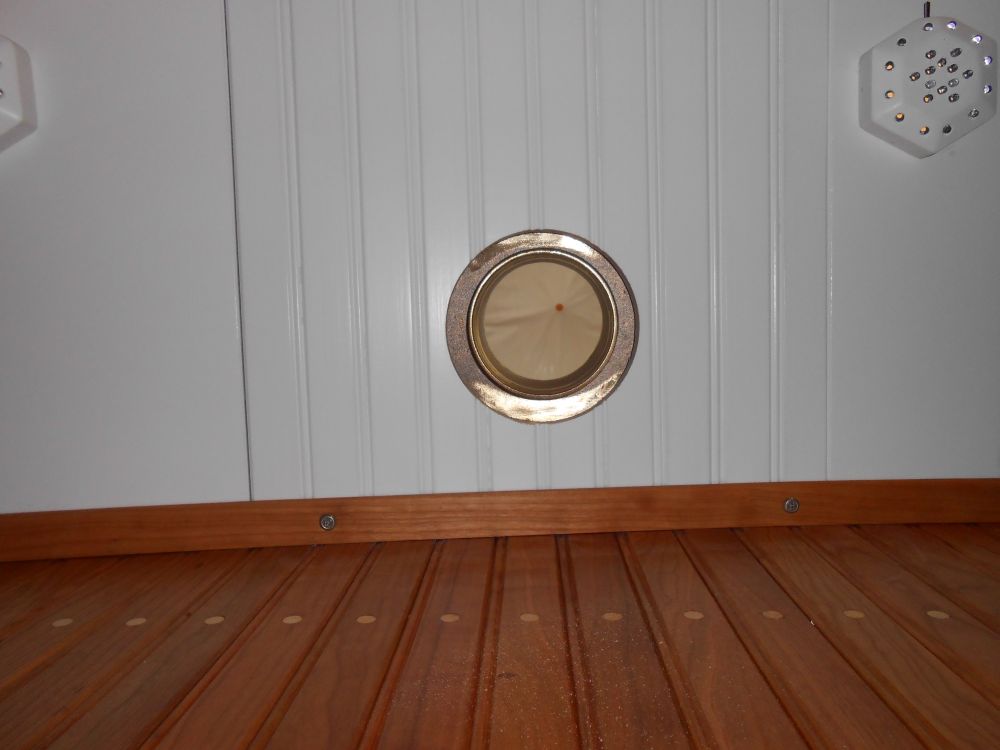
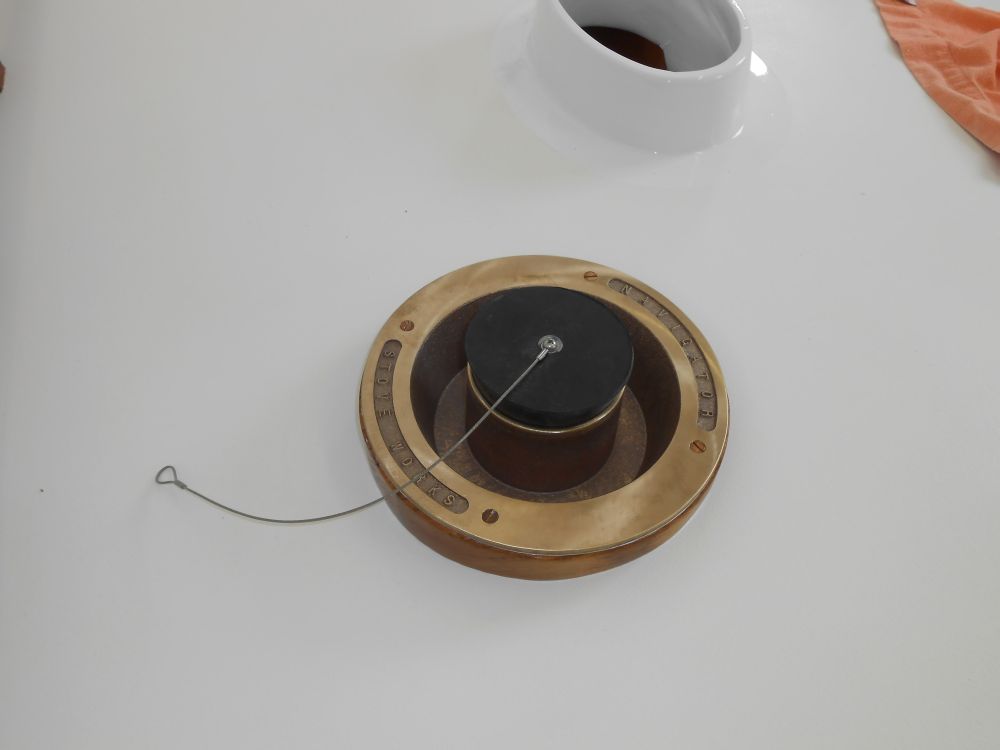
To seal out the weather when the Charley Noble was not installed, there was a heavy rubber tapered plug for the top of the fitting. The smoke head itself was a standard 10" tall conical fitting that slipped over the inside of the deck iron.
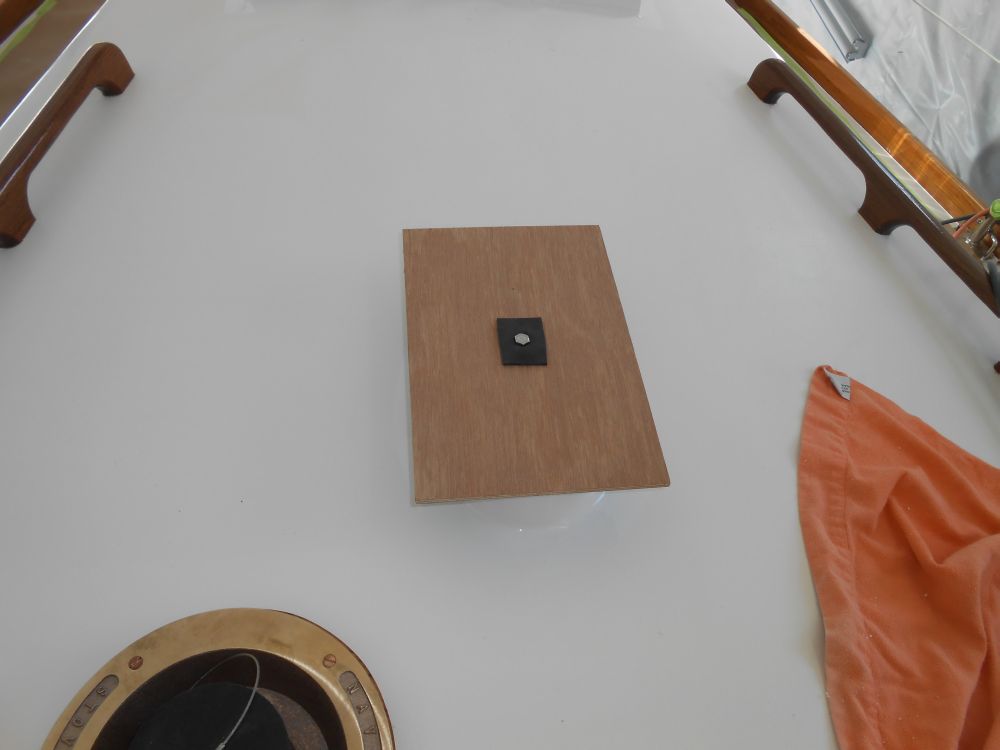
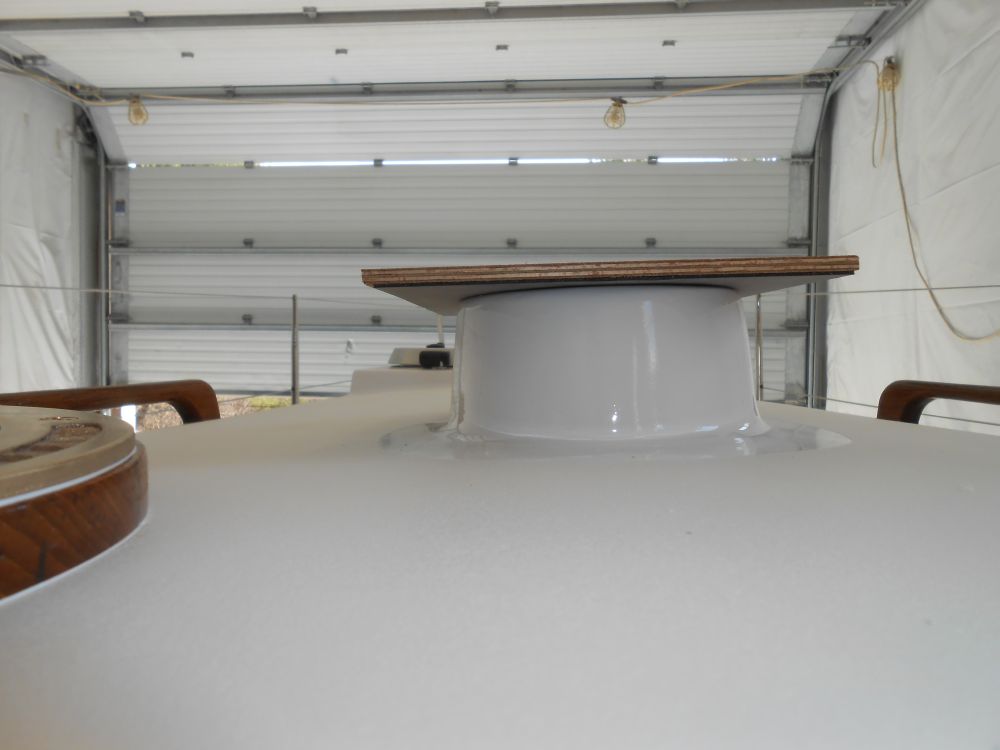
With the major work lists wrapping up for now, and with a need to accommodate other projects soon, I began to prepare the boat for her move outdoors in the near future, where I'd complete the remainder of the project as additional required pieces and parts arrived. To that end, I built a simple cover for the mast partners to seal out water, with a sheet of plywood with an adhesive gasket on the bottom, secured from beneath with a through bolt and little cross bar.
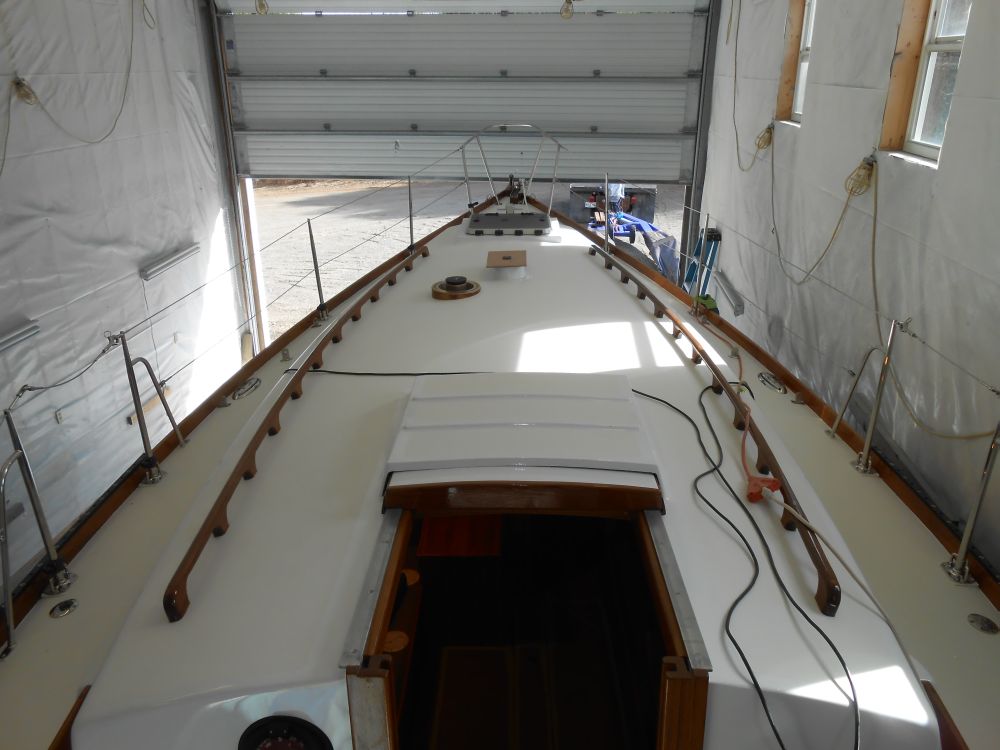
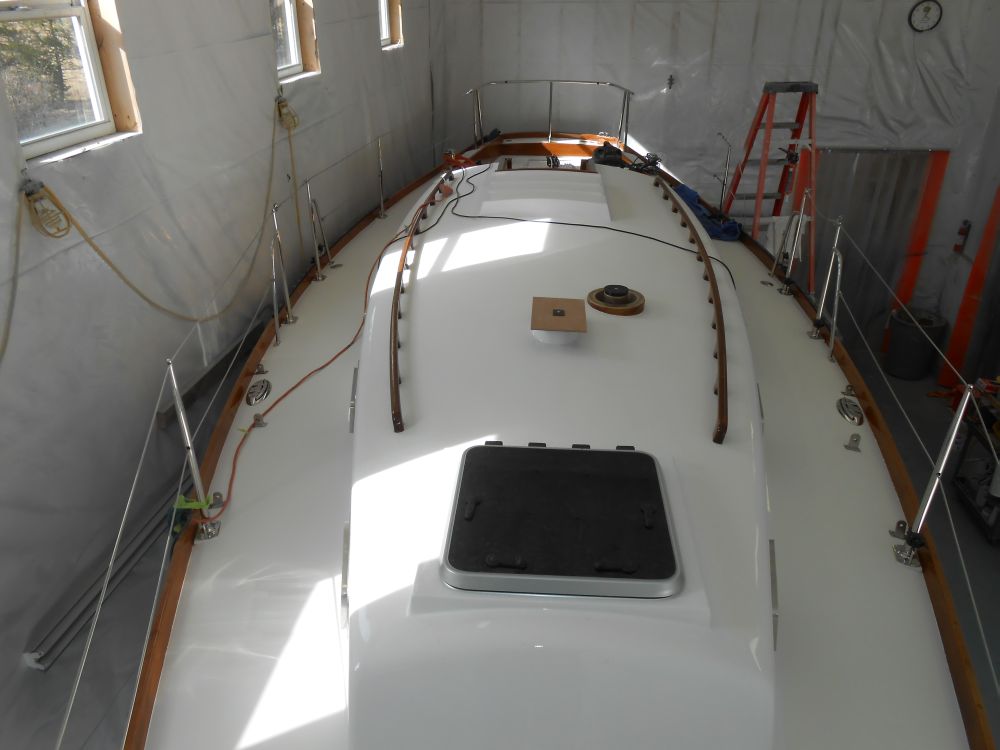
Most of the deck work was complete, and I removed the protective paper I'd applied to the surface. In the coming days, I'd continue work on several of the small ongoing projects, while at the same time beginning to shift gears into the next phase of work.
Total Time on This Job Today: 6.75 hours
