
110 Cookson Lane | Whitefield, ME 04353 | 207-232-7600 | tim@lackeysailing.com
Snow Lily | Wednesday, October 24, 2012
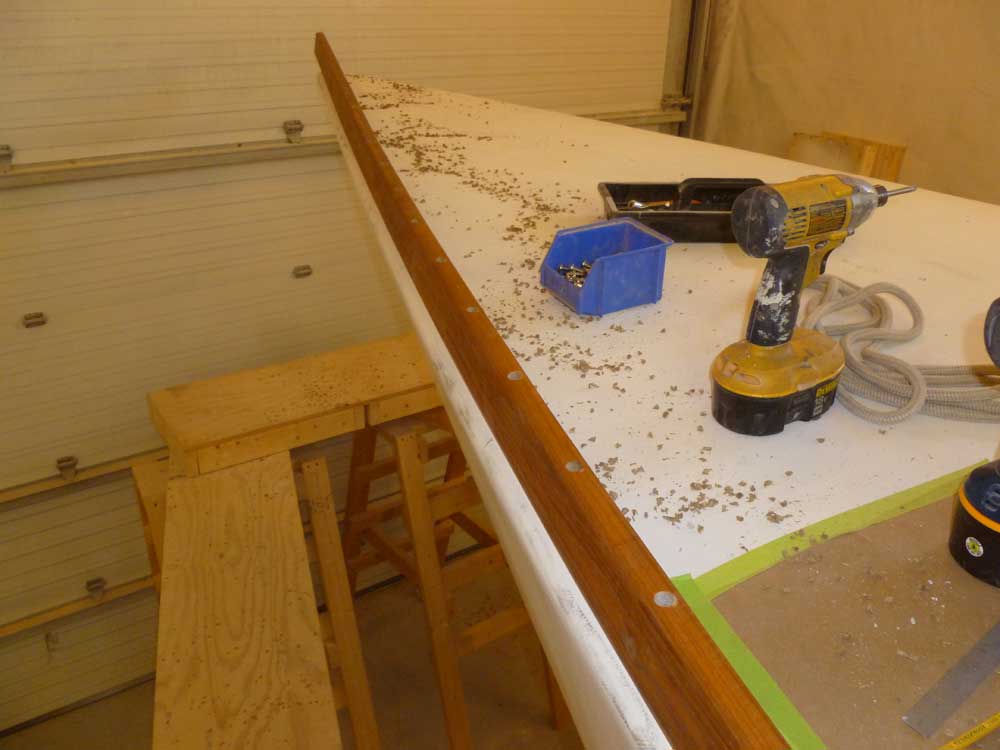
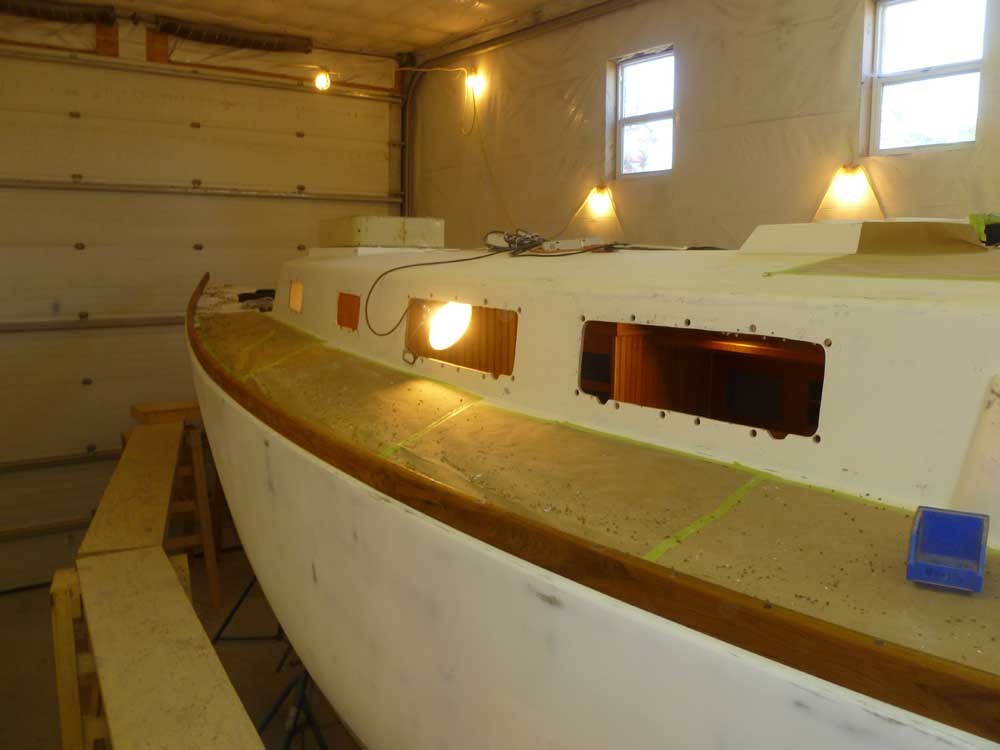
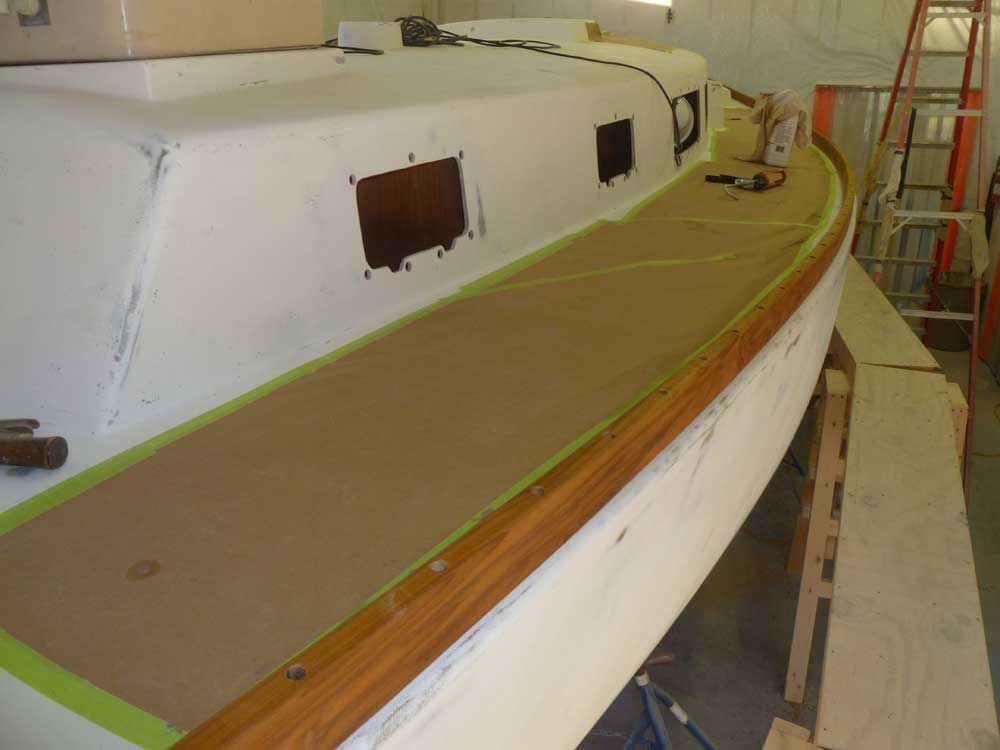
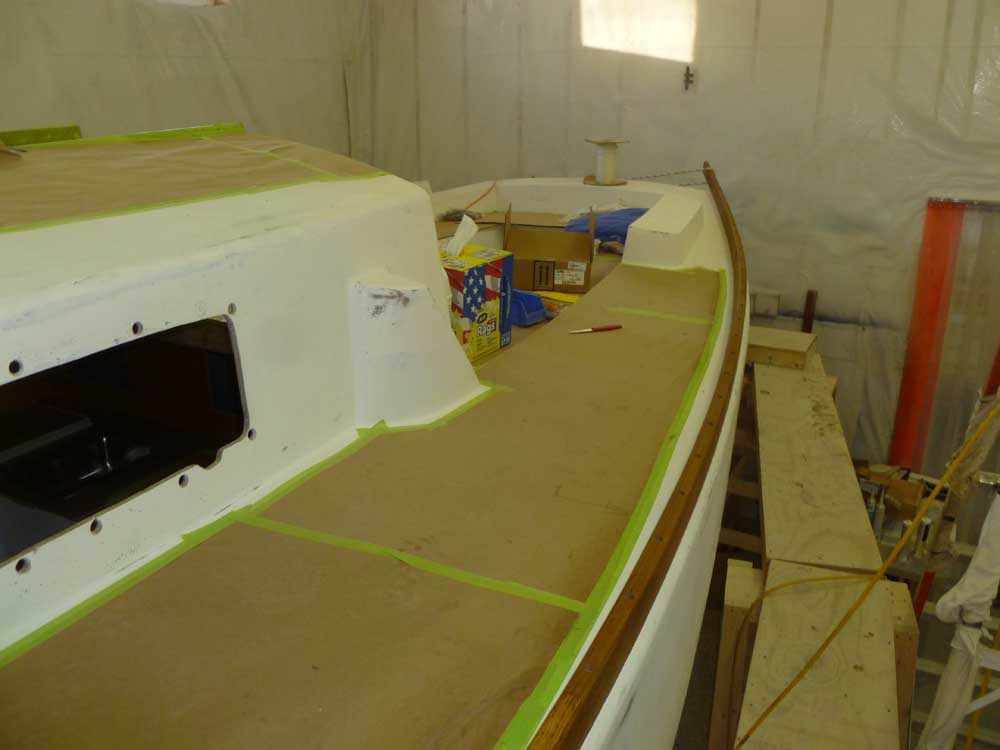
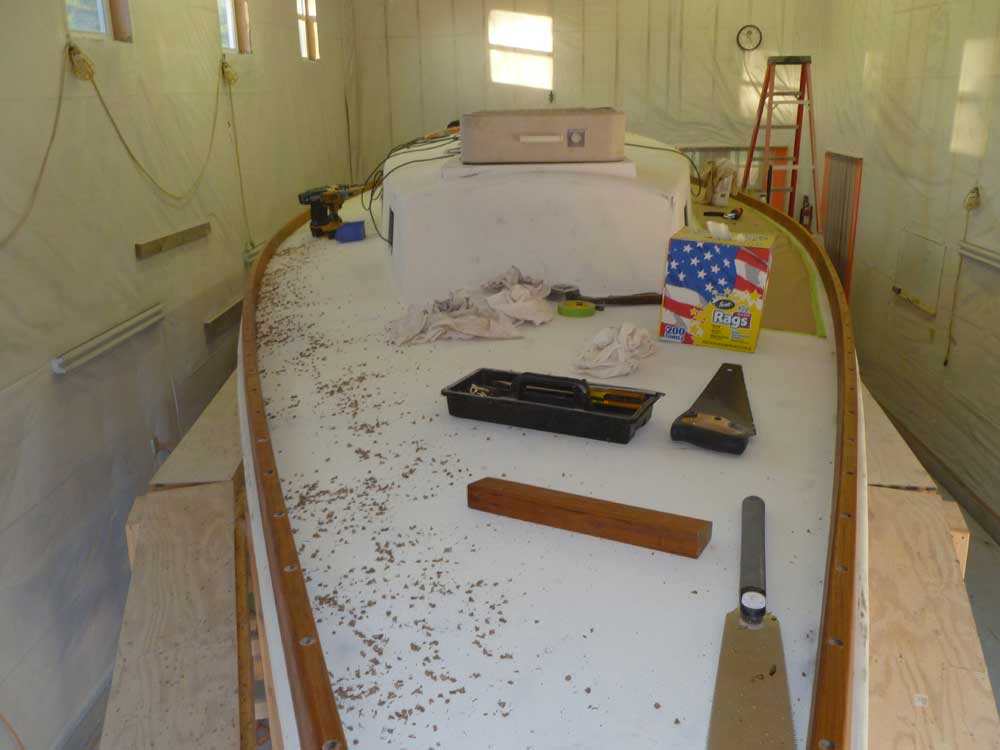
I lined up a helper to assist with the toerail installation, to make handling the unwieldy pieces easier and to streamline the process. With everything ready to go, we jumped right into the process with the port toerail. After lifting the rail up onto the boat, we supported the after end temporarily with some lines to prevent drooping until it was time to start bending the after part of the rail back onto the boat. Meanwhile, up at the pointy end, I aligned the rail to my marks on the deck, as well as by eye, leaving about a foot of excess hanging off the stem, and worked to install several fasteners to help hold the rail properly.

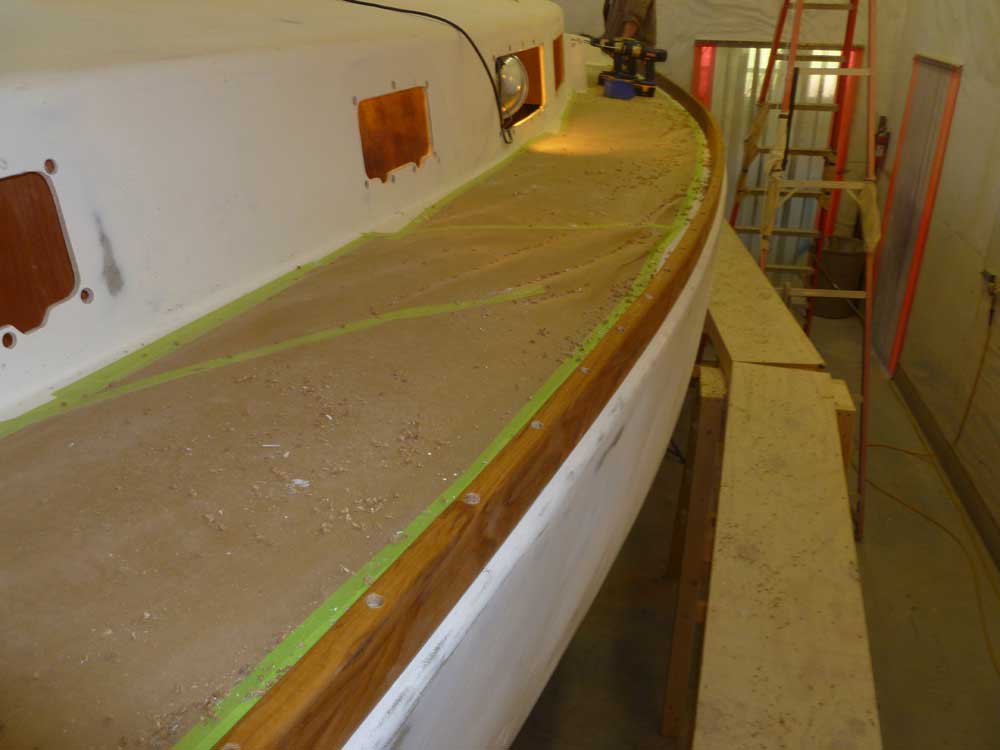
With the newly glassed-over hull-deck joint, I held the rail back from the edge to leave a curved reveal requiring no additional trim.
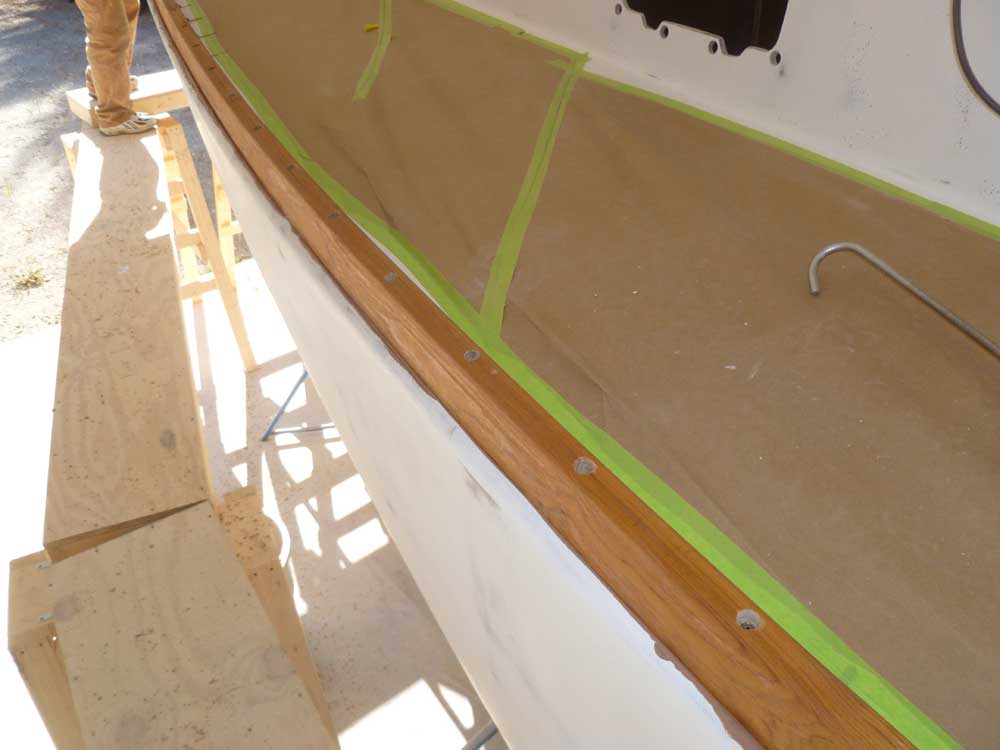
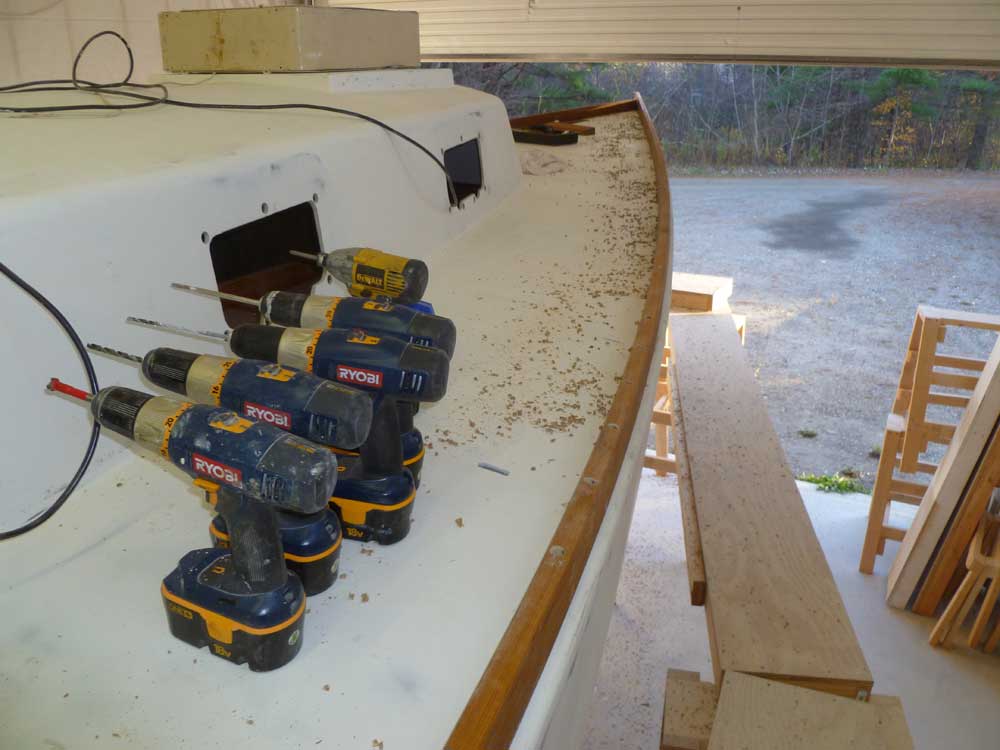
The design of the original hull-deck joint on this boat incorporated an aluminum plate within the flanges, through which the original--and now the new--toerail could be secured. So for each fastener, I drilled and tapped for machine screw threads, through the deck and hull flange. This meant that each hole was a five-step process: countersink; drill a pilot hole through the wood only for the screw shank; drill the pilothole through the deck for the threads; tap for the threads; and install the screw. I used 3-1/2" long 1/4" pan head machine screws, stainless steel.
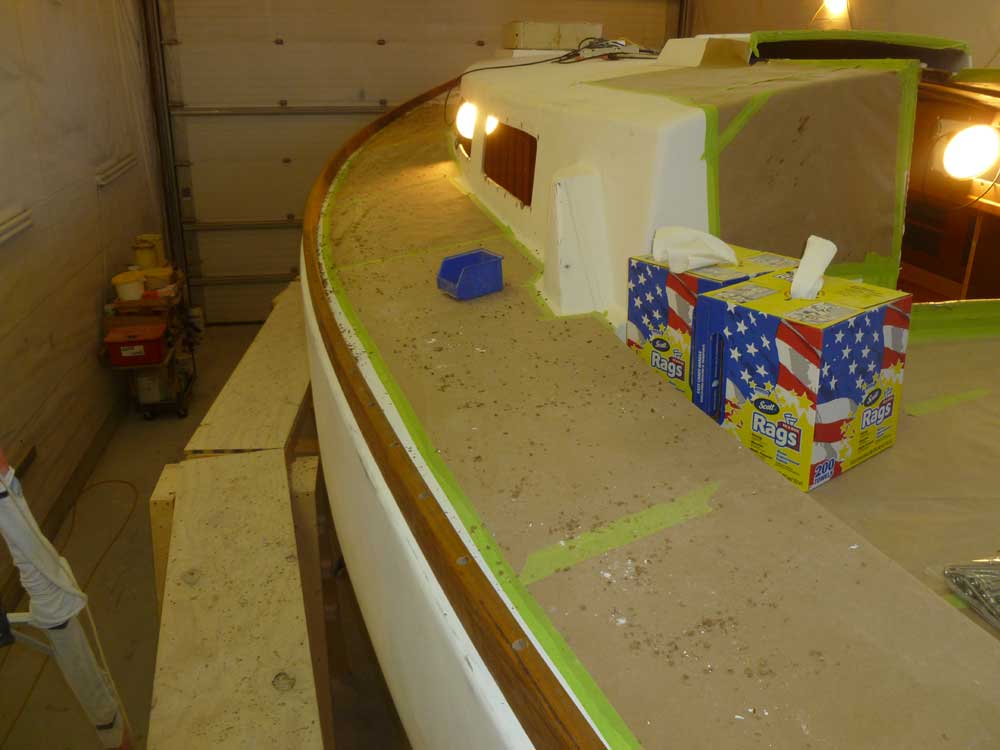
In this manner, with my helper bending and holding the toerail as needed while I performed the fastening operations, we worked our way back to the transom, leaving a couple feet of excess rail hanging off the stern for now.
With the dry-fit complete, we removed all the fasteners and the rail once more. Then, I milled small countersinks at each hole location in the deck, to provide a bit of extra room for sealant where it would be needed most, and thoroughly cleaned the sidedecks and toerail of drilling debris, dust, and other contaminants.
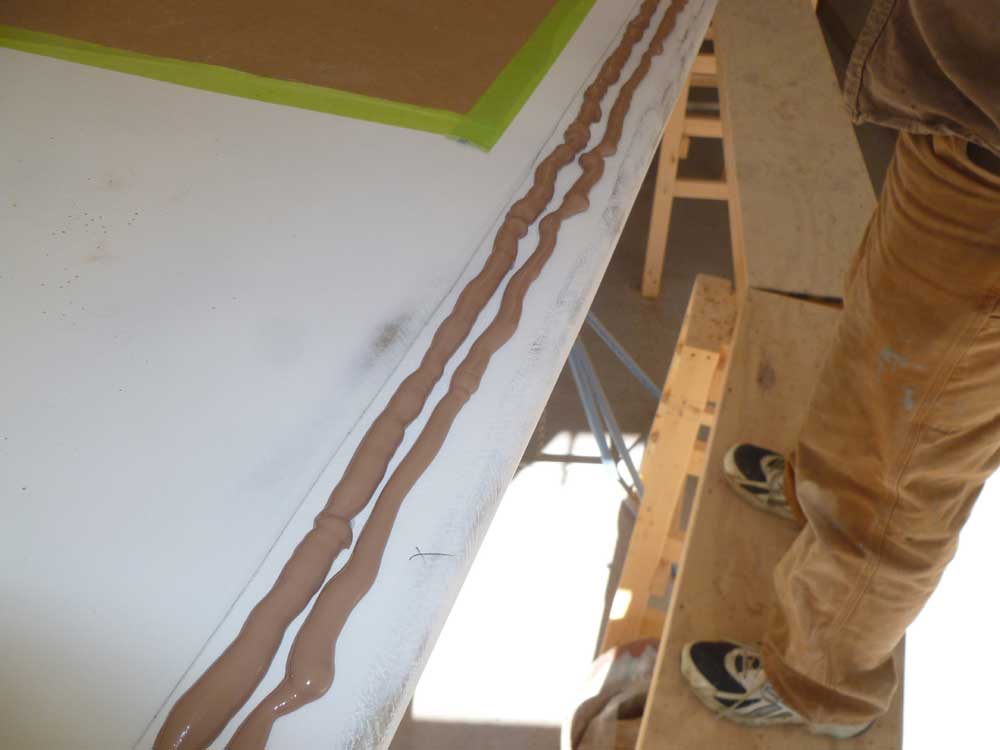
We applied heavy beads of teak-colored polysulfide sealant to the deck surface in way of the rail, then reinstalled the toerail permanently.

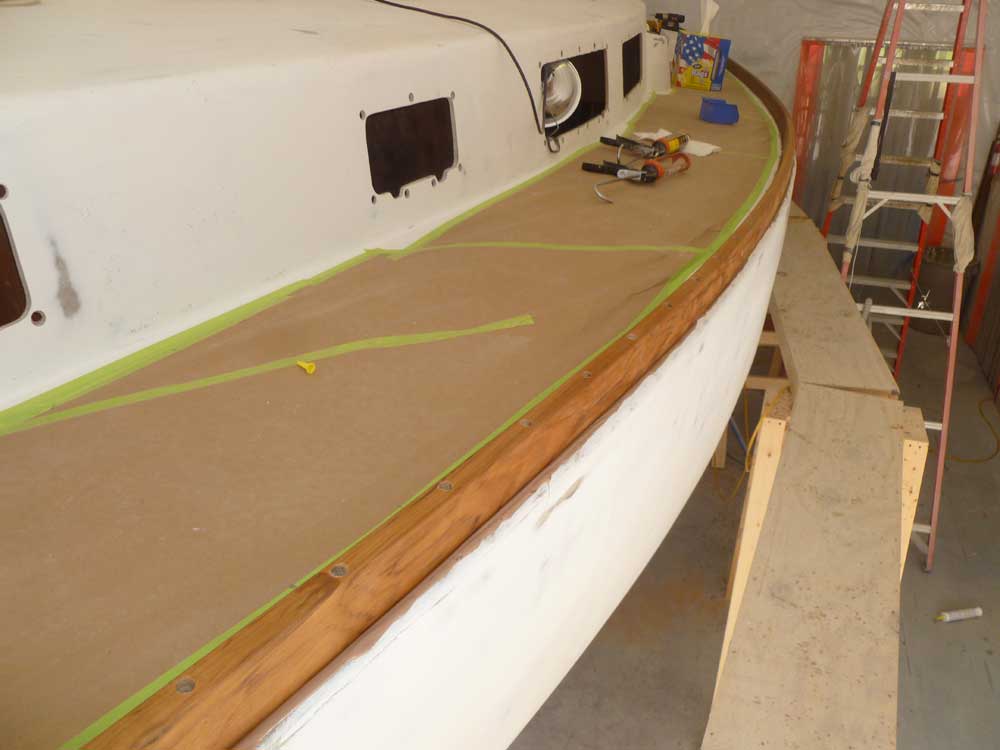

With the rail tightly secured, we cleaned up all the excess sealant squeezeout. There was one area where the screws didn't grab well, roughly amidships, so I went below and installed nuts and washers as required to pull the rail tightly into the sealant.

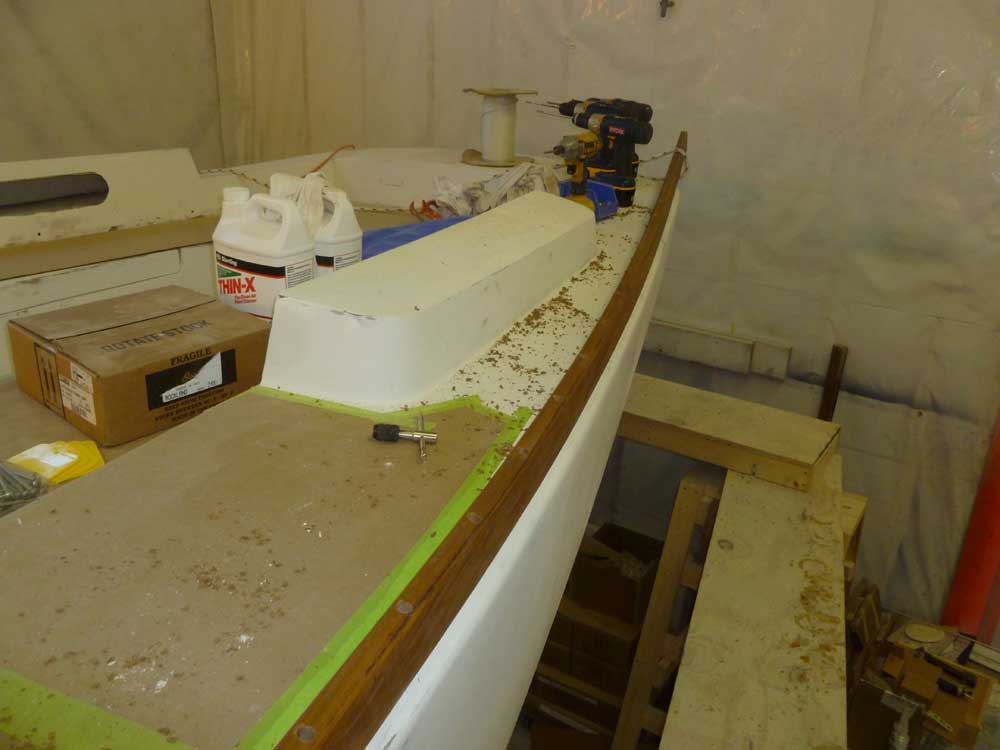
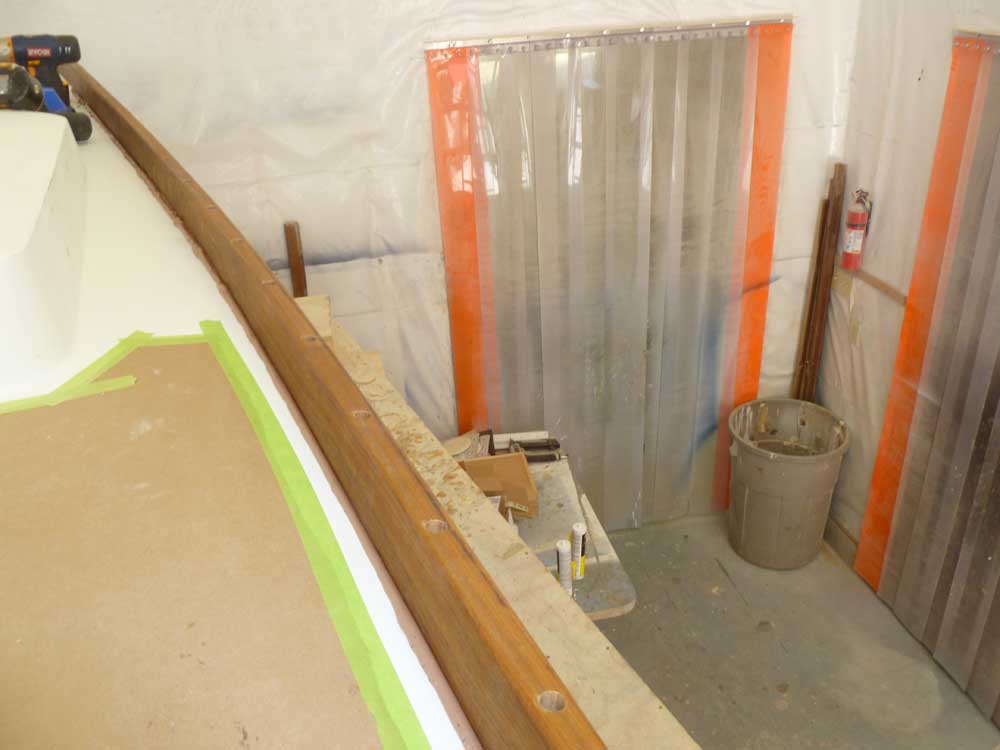
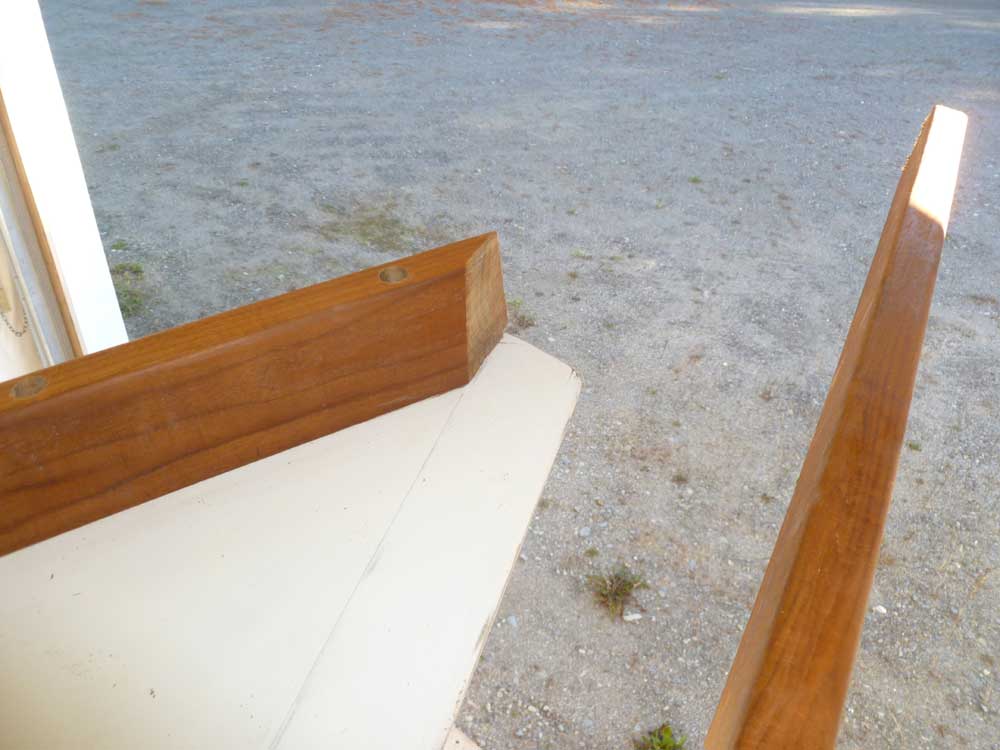
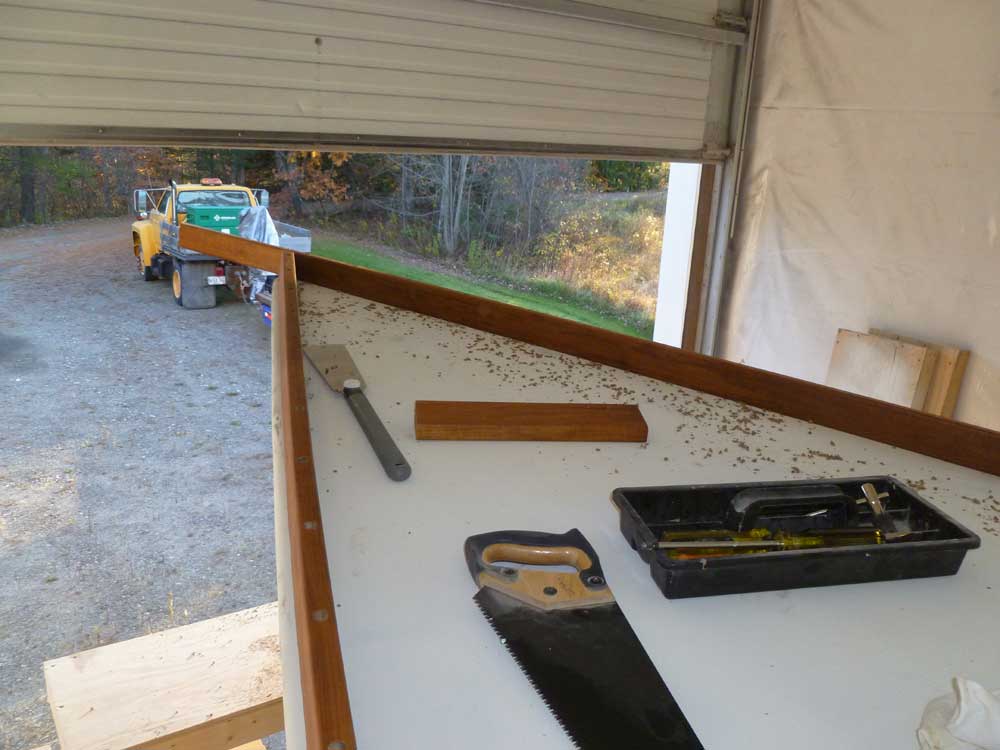
With the port side complete for now, we moved to the starboard. To begin, I had to trim off the excess toerail at the stem, as it was in the way of the starboard rail. Not sure yet of the details of the eventual breasthook that I intended to install to finish off the bow, I trimmed the port rail as minimally as I could to allow the other rail to pass by.
Then, with the starboard rail supported on deck and with a line as before, we repeated the dry-fit process on the starboard side, working aft roughly 1/3 the way to the transom before running out of time for the day. We'd wrap up the starboard installation next time.

Total Time on This Job Today: 14.5 man-hours
