
110 Cookson Lane | Whitefield, ME 04353 | 207-232-7600 | tim@lackeysailing.com
First thing, I removed the clamps and braces from the cabin sides, now that the adhesive had had plenty of cure time.


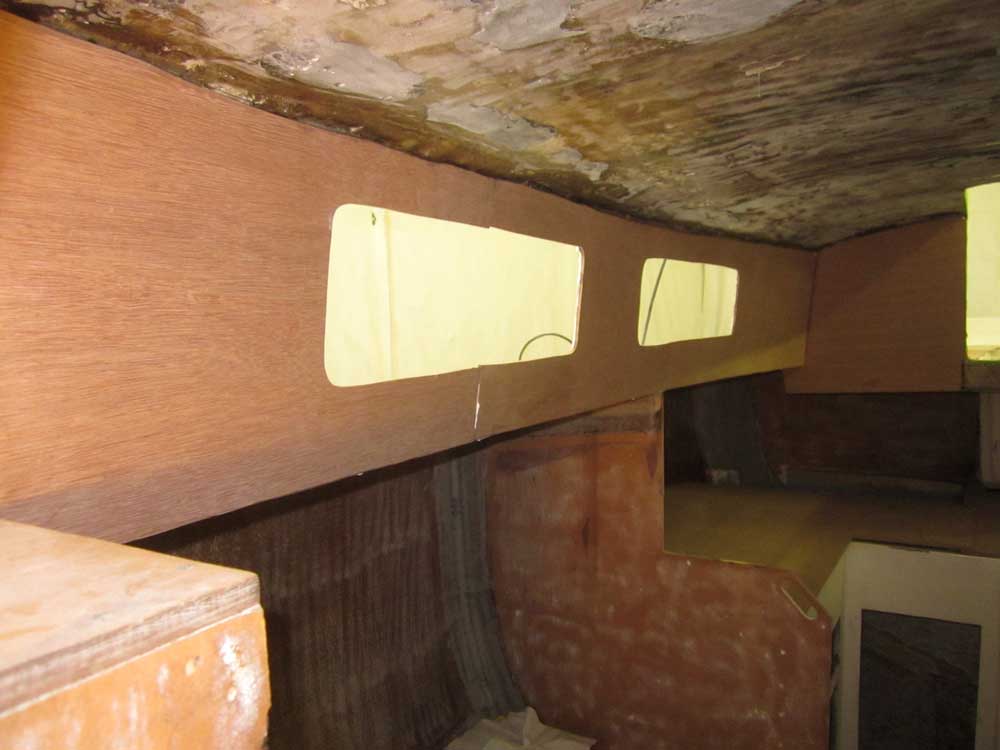
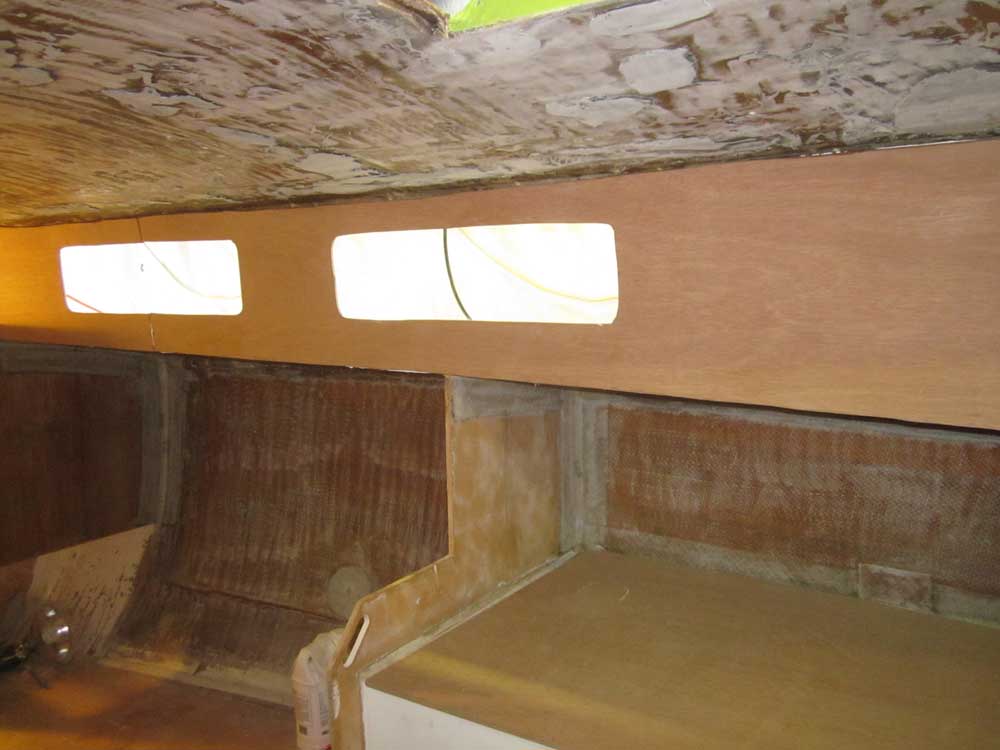
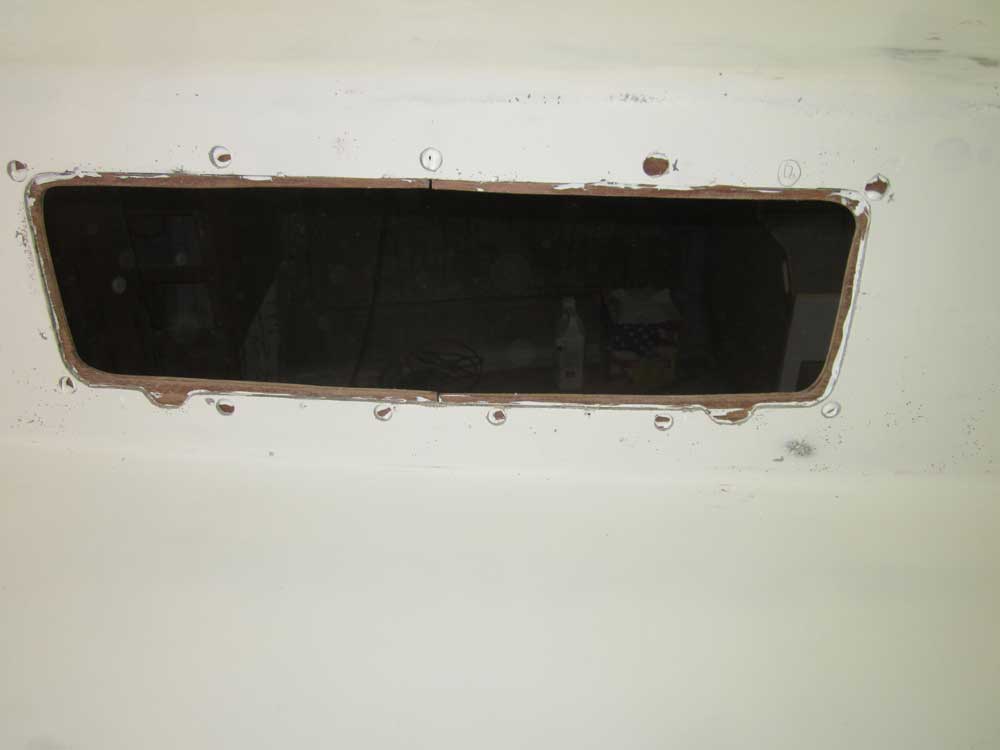
There was squeezeout around the insides of the port openings, where the plywood overlapped the openings. I planned to trim the plywood flush with a router, but before I could do that I had to trim the squeezeout, which I did with a sharp knife and chisel. New router bits for the job were on the way, and I'd finish the trimming later.

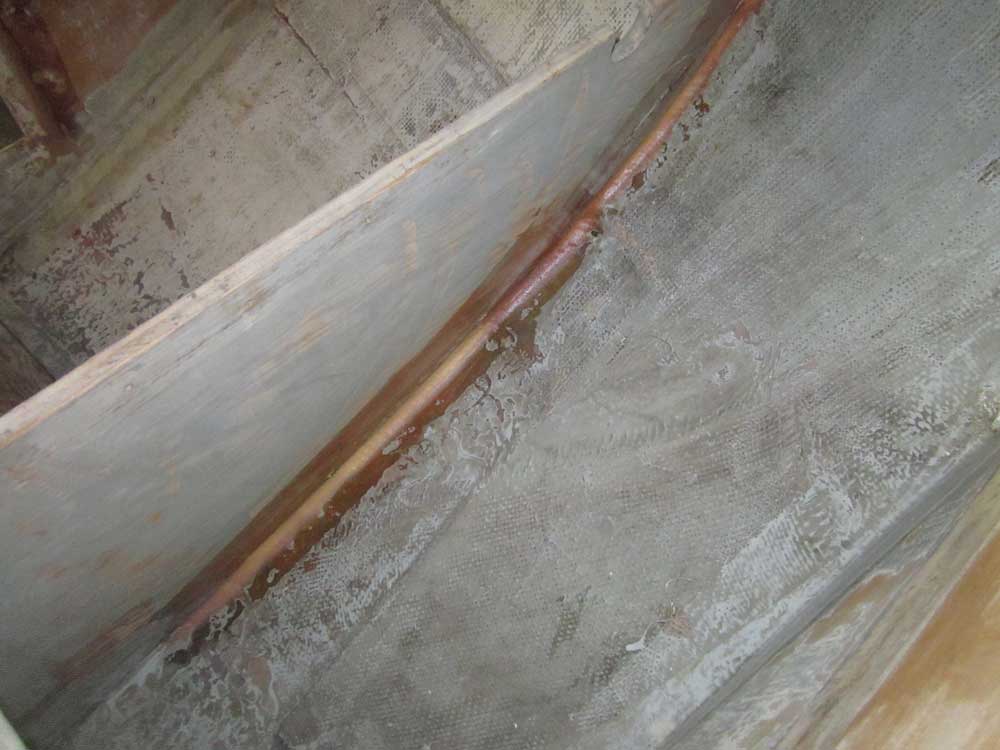
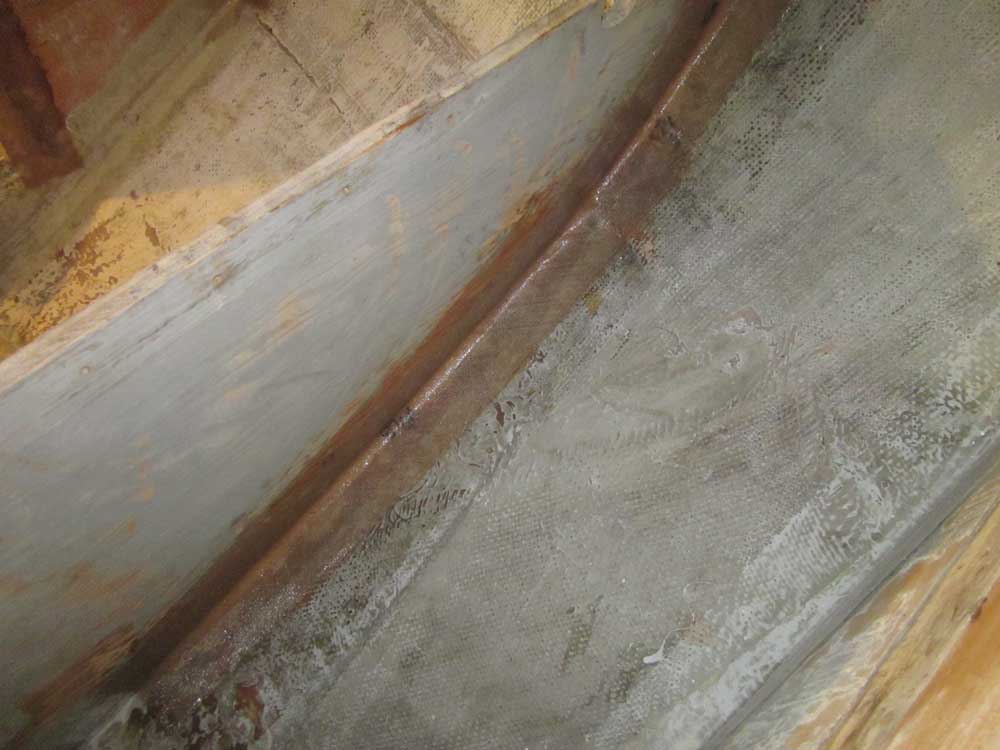
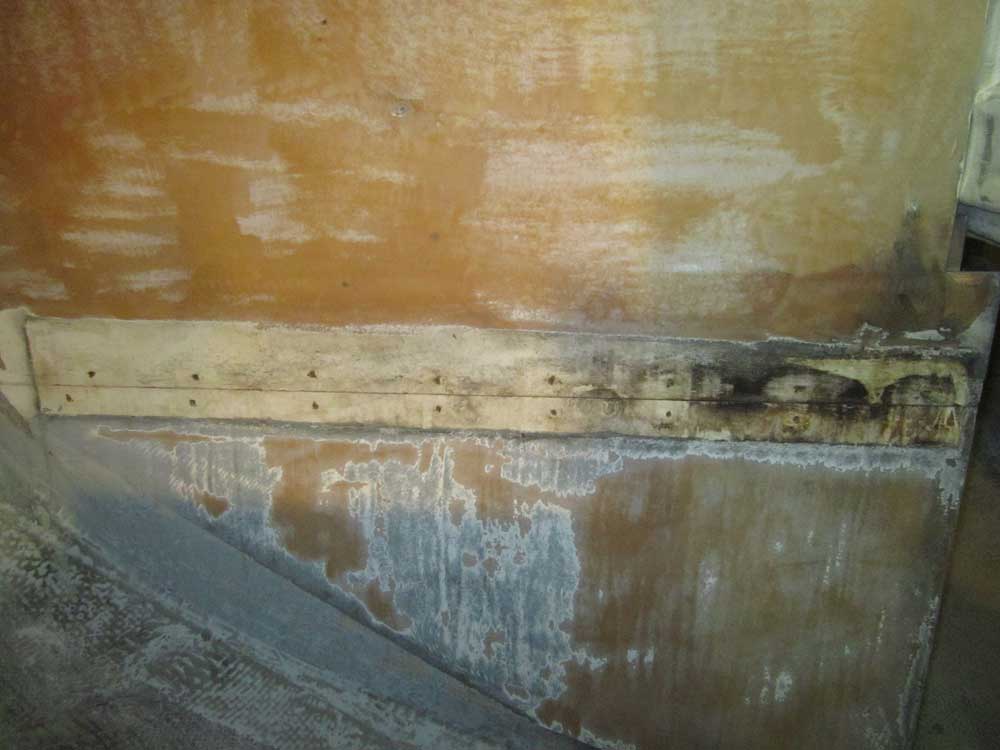
I removed some old, obsolete cleats from within the galley cabinetry so I could prepare the areas for new tabbing, paint, and other installations. With the old cleats out of the way, I peeled away more anemic original tabbing from the bulkheads in and around the galley, and then sanded these areas as needed to prepare for new tabbing. I'd actually planned to make do with some of this tabbing, as at first glance it had seemed sound, but I soon found that it peeled away with only minimal hand pressure, and felt it would be best to redo the entire areas. During previous strengthening rounds, I'd already done new tabbing in some areas of the galley, but the removal of the countertop and icebox in the weeks since had exposed additional areas for attention.
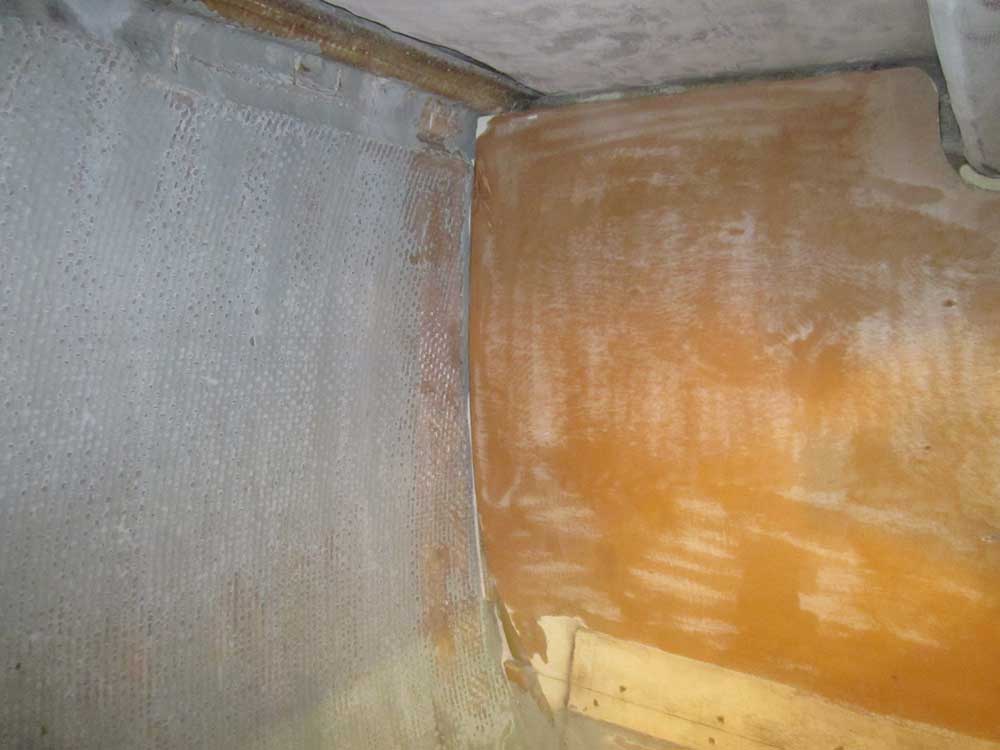
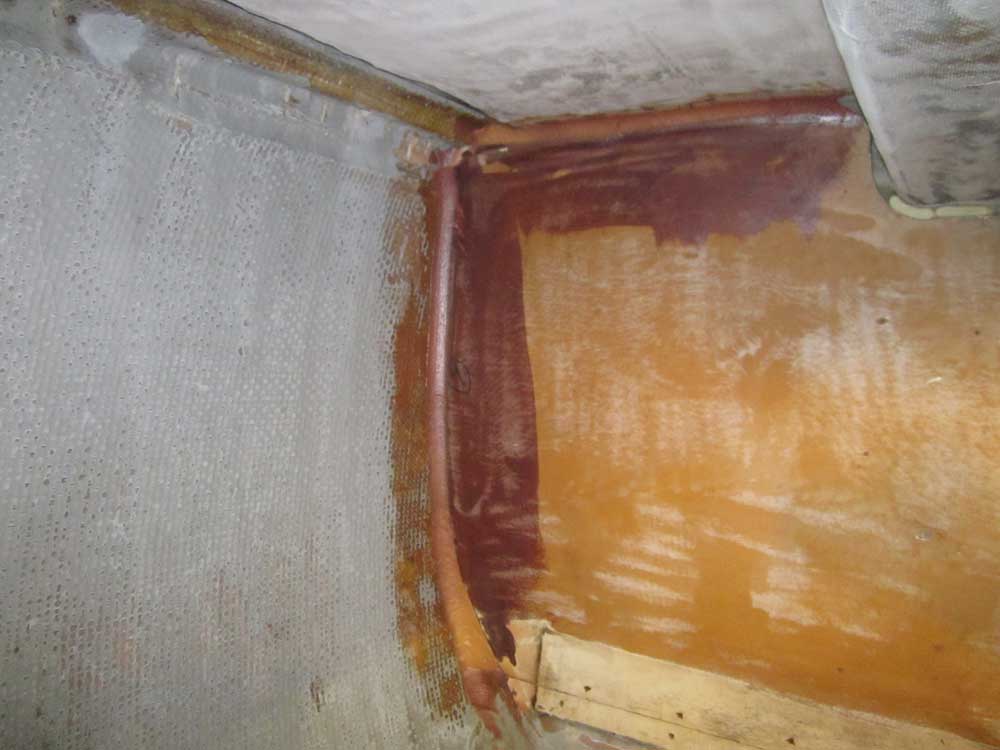
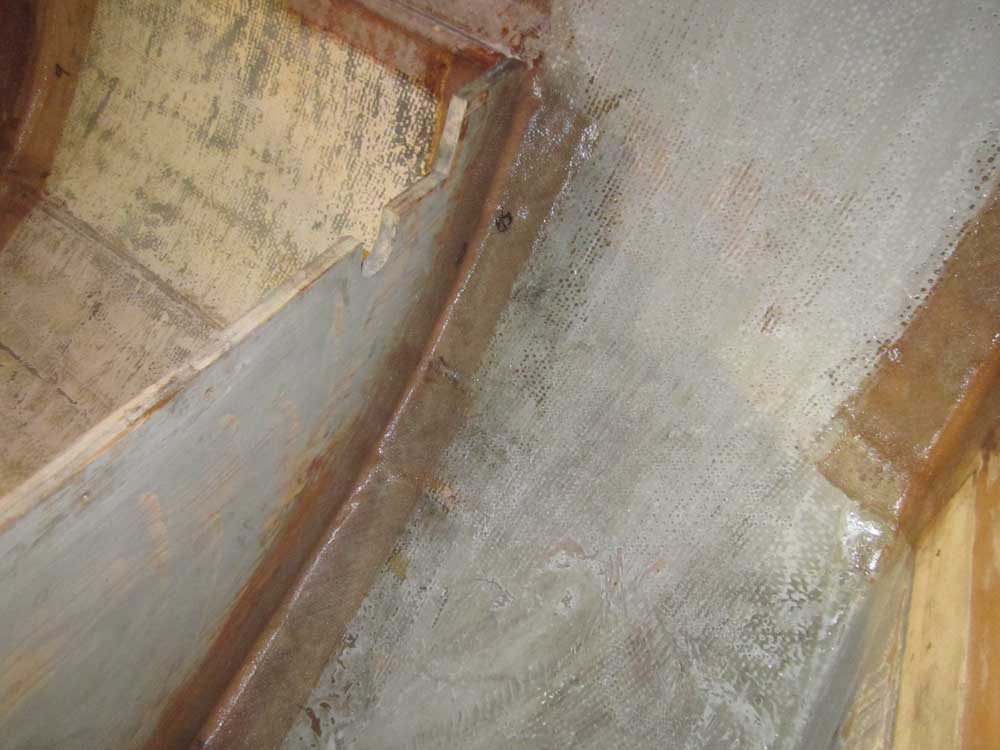
After cleaning up and solvent-washing, I measured and cut tabbing for these areas: two layers in most spots, with a single layer for the central divider beneath the galley countertop. Then, I applied epoxy fillets to the junctures between bulkhead, hull, and deck as needed. As elsewhere in the boat, these bulkheads featured wide gaps between the vaguely boat-shaped plywood and the actual hull.
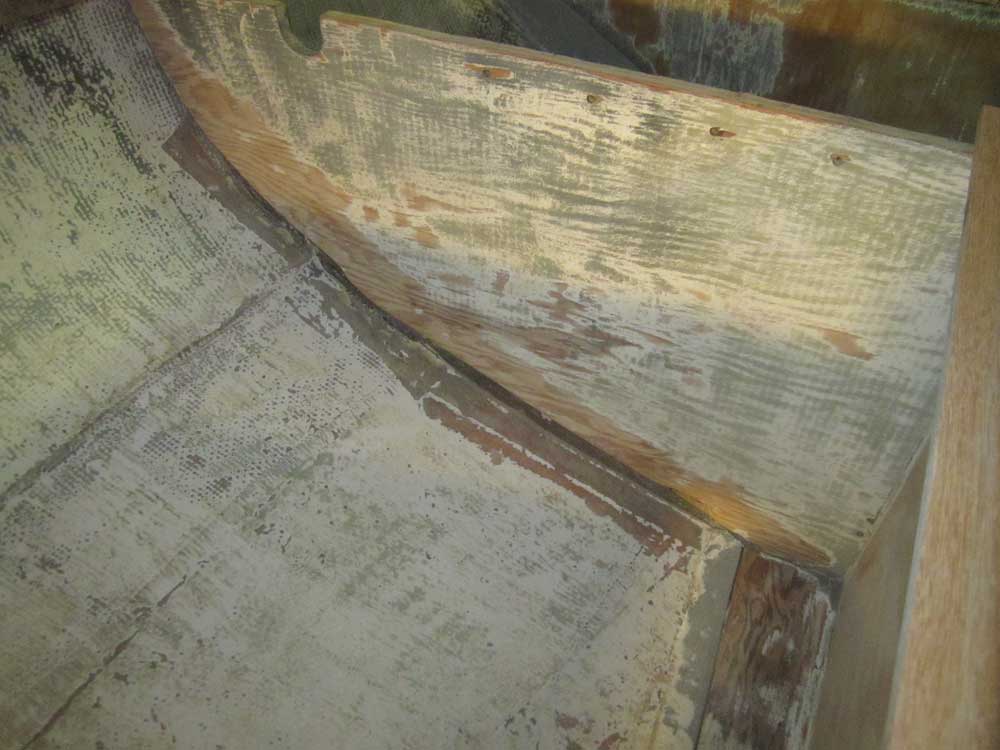
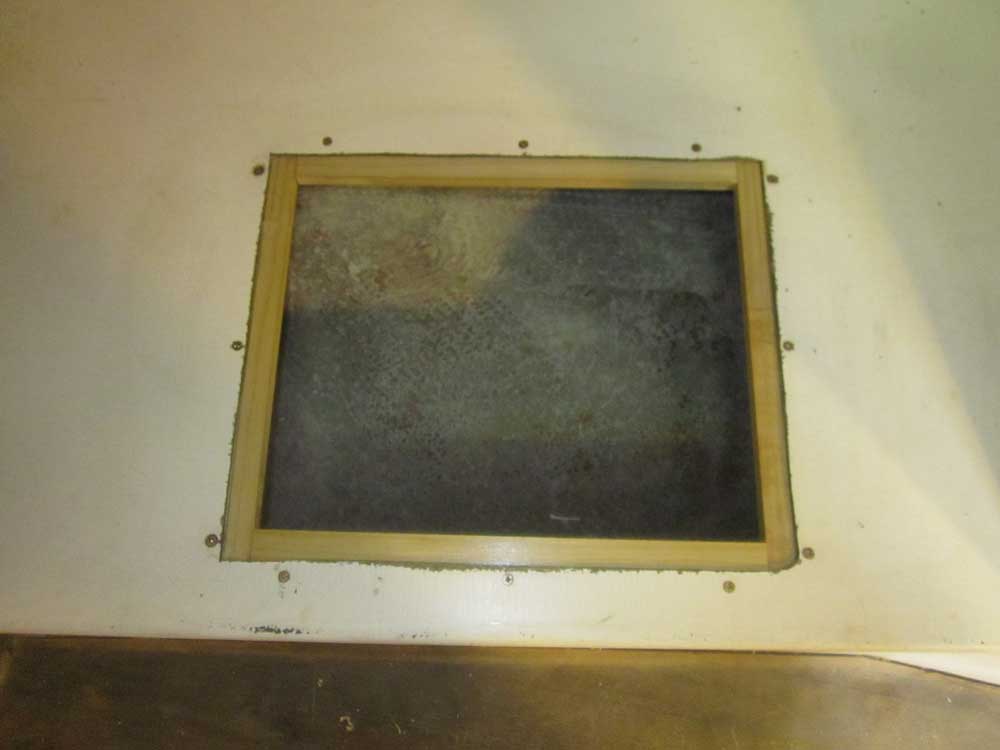
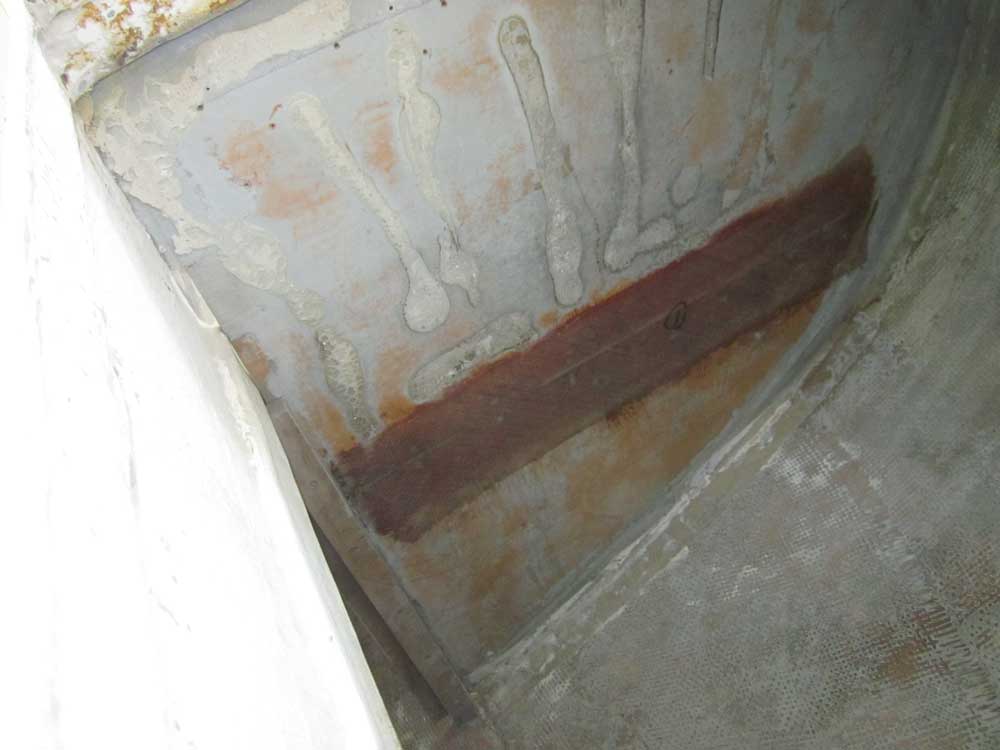
One are that had been a constant annoyance during the project to date was a small hatch that someone had cut into the molded fiberglass quarterberth platform. While the hatch provided access to the area beneath the molding, handy for storage, the installer had used a pair of wooden cleats that barely supported the hatch. Since the hatch, like the platform from which it was cut, was just 3/16" thick unsupported fiberglass, the narrow support cleats meant that the hatch could bend enough when weight was applied so that it fell through the opening. During the previous months, I'd mostly left the hatch open to avoid this particular mishap. With the hatch opening located right where one tended to place weight upon entering the quarterberth for whatever reason, the installation needed to be stronger.

In the event, it was time, finally, to replace these cleats. After removing the old cleats, I cut new ones to fit, then installed them with epoxy adhesive and screws. With wider reveals, now on all four sides, I thought the new cleats would allow the hatch to be left in place safely. And since I'd glued them to the platform, I hoped they'd also add some needed stiffness to the area.
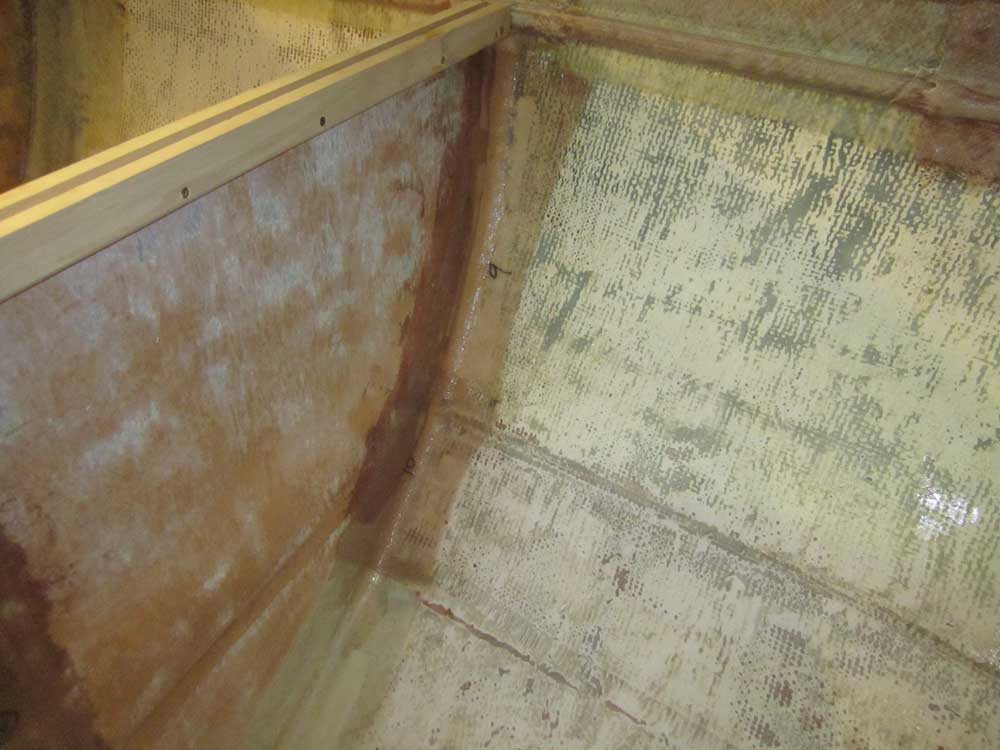
By now, the fillets had cured enough for me to continue, so I wet out and installed the various tabbing pieces, starting at the aft end beneath the icebox opening and working my way forward.


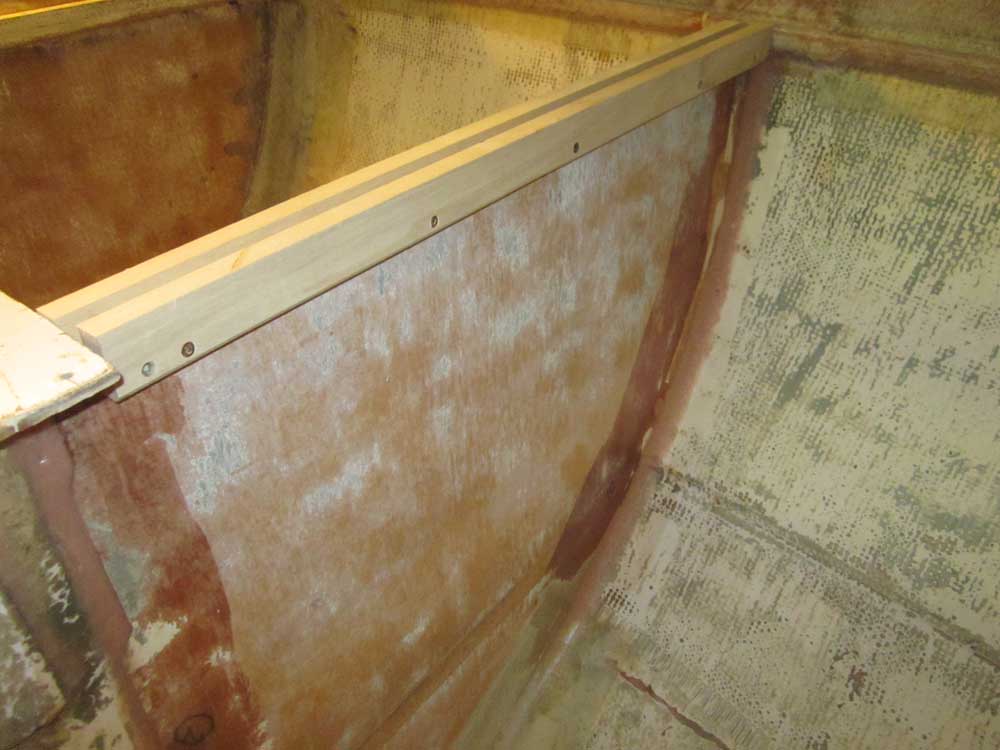
The bulkhead defining the forward end of the starboard cockpit locker was built in two pieces, which had been joined with a 2x4 block on one side and screws from the other. Earlier, I'd removed the 2x4, as it'd be in the way of future plans, and prepared the aft side of the bulkhead for fiberglass tabbing that would span the gap between the plywood sections. For the moment, not wanting to shake the bulkhead before resecuring its two sections, I left the aft-facing side alone, but later I'd sand away the paint that had been beneath the blocking and add fiberglass there as well.
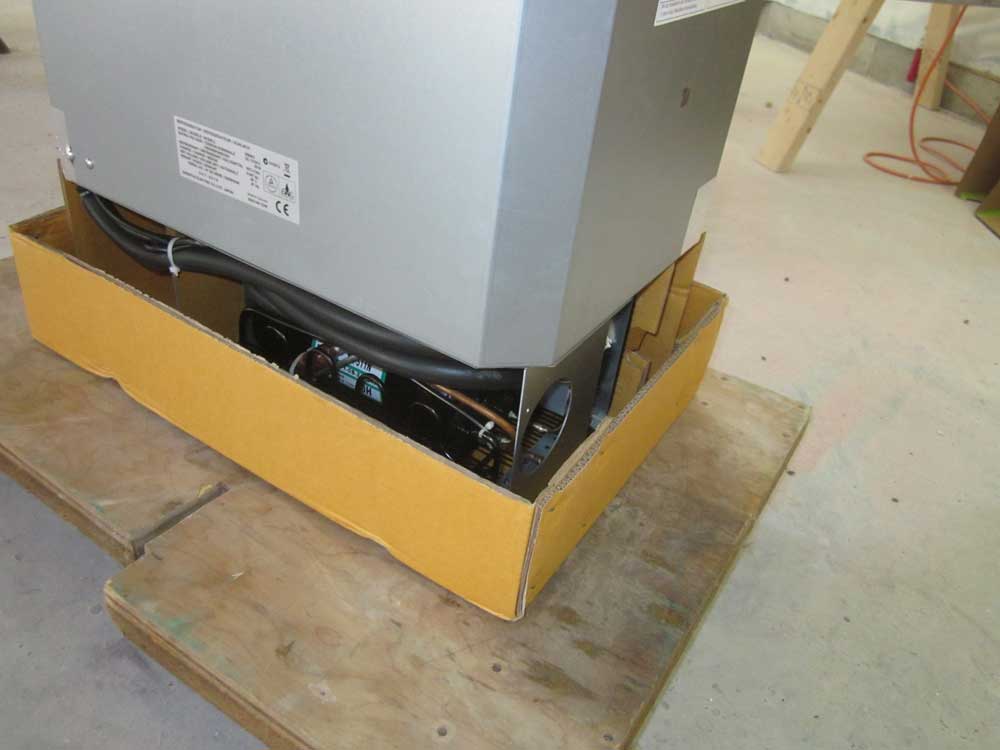
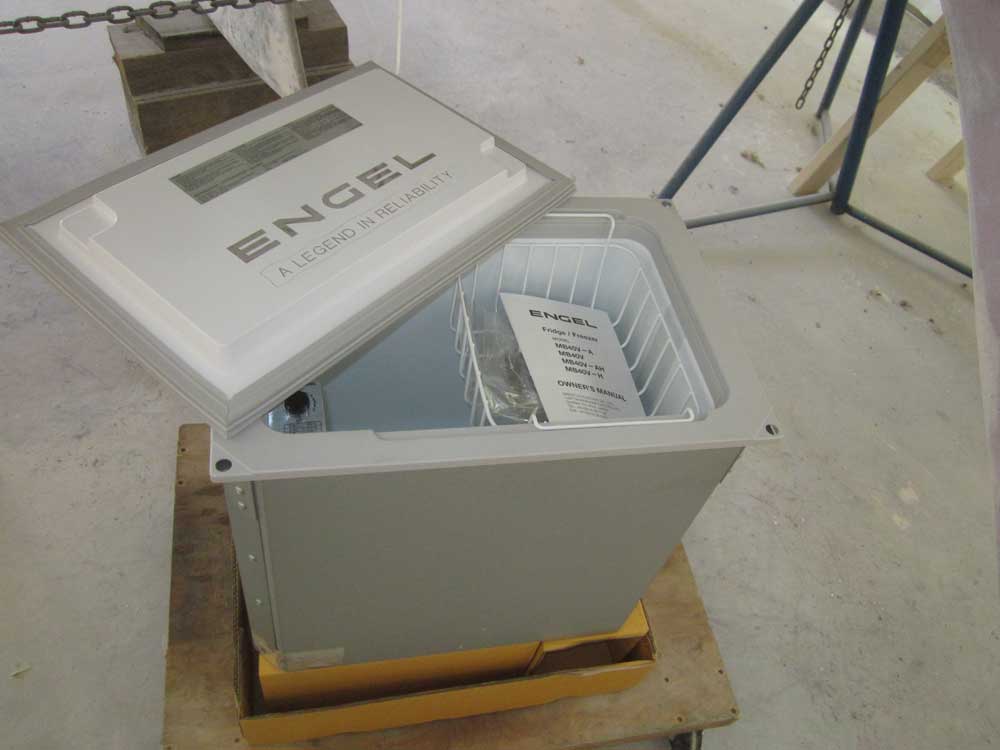
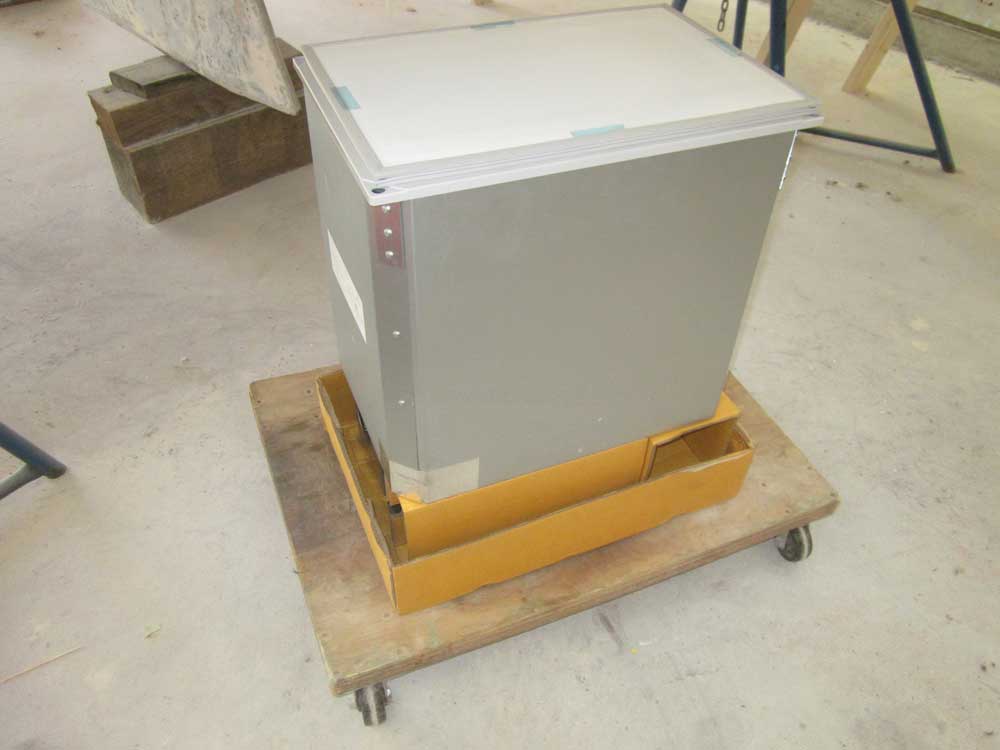
The new Engel drop-in refrigerator for the galley arrived, and I unpacked it for inspection. Having the unit on hand would allow me to continue building the countertop, and eventually the surrounding areas, as logic dictated. I was a bit surprised to find that the lid just rested on top and had no means of latching or even compressing the gasket, though I'm sure a solution to this minor issue would eventually present itself. The compressor beneath the box could be detached and located within the boundaries afforded by its wiring and hose attachments, which was the key to allowing this unit to fit in the designated spot.
Total Time on This Job Today: 7.75 hours
