
110 Cookson Lane | Whitefield, ME 04353 | 207-232-7600 | tim@lackeysailing.com
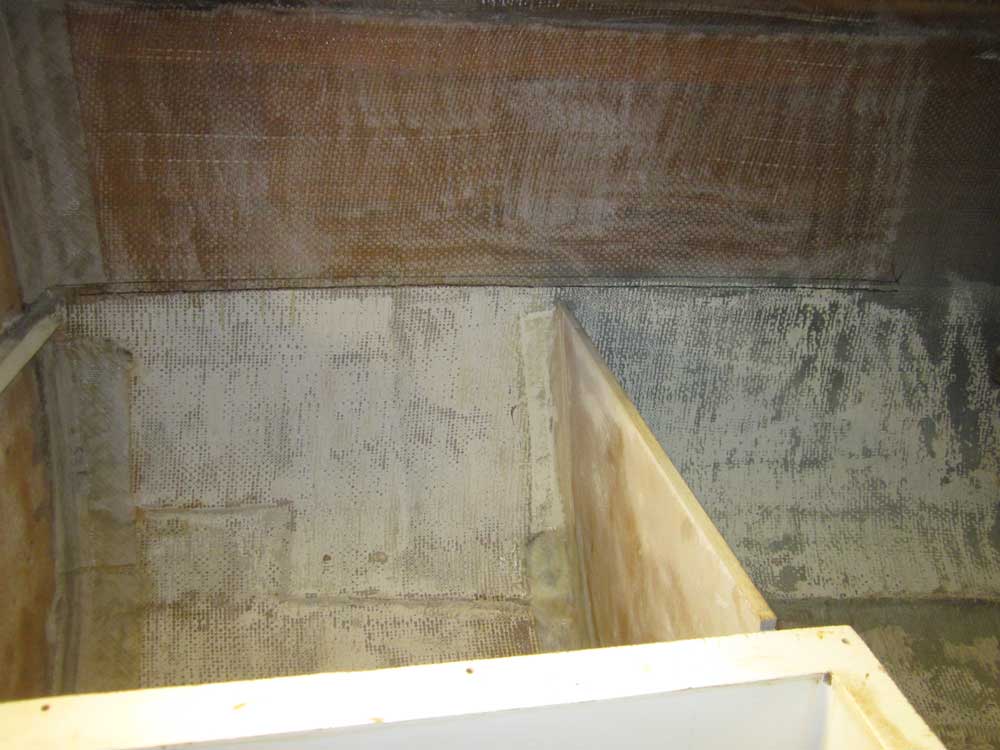
After a day off-site to attend to some time-sensitive pre-launch work on another boat, I got back to work on the new bulkhead in the main cabin. After some final preparations, I test-fit the bulkhead once more, then screwed it into place against the molded liner that supported its aft end, holding it in place for final alignment and other installation steps.
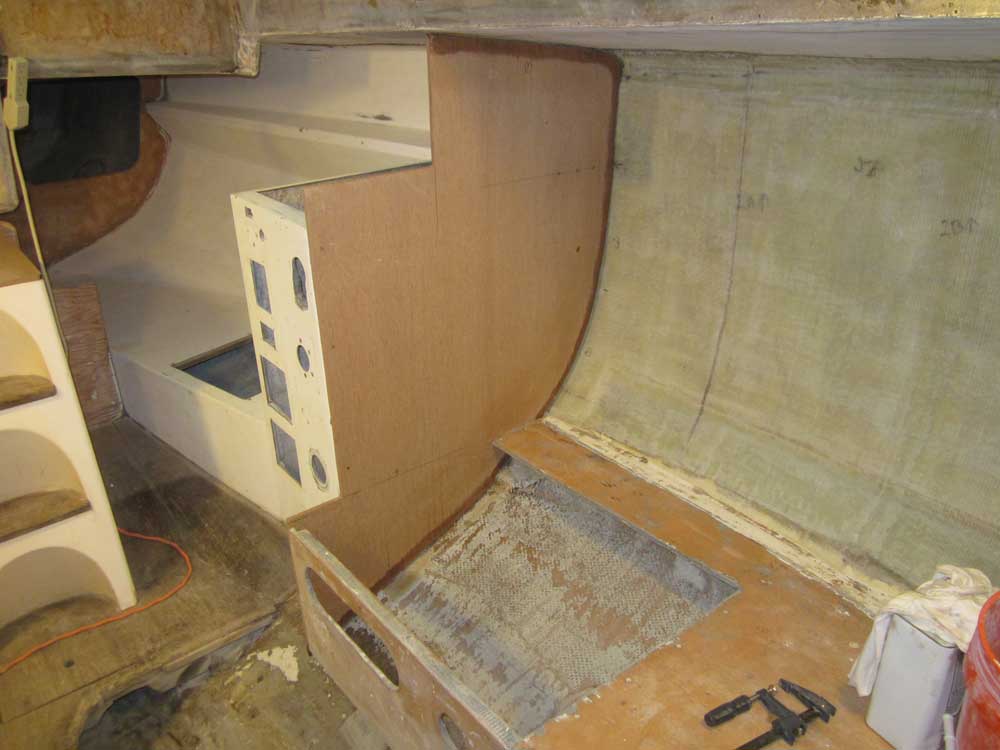
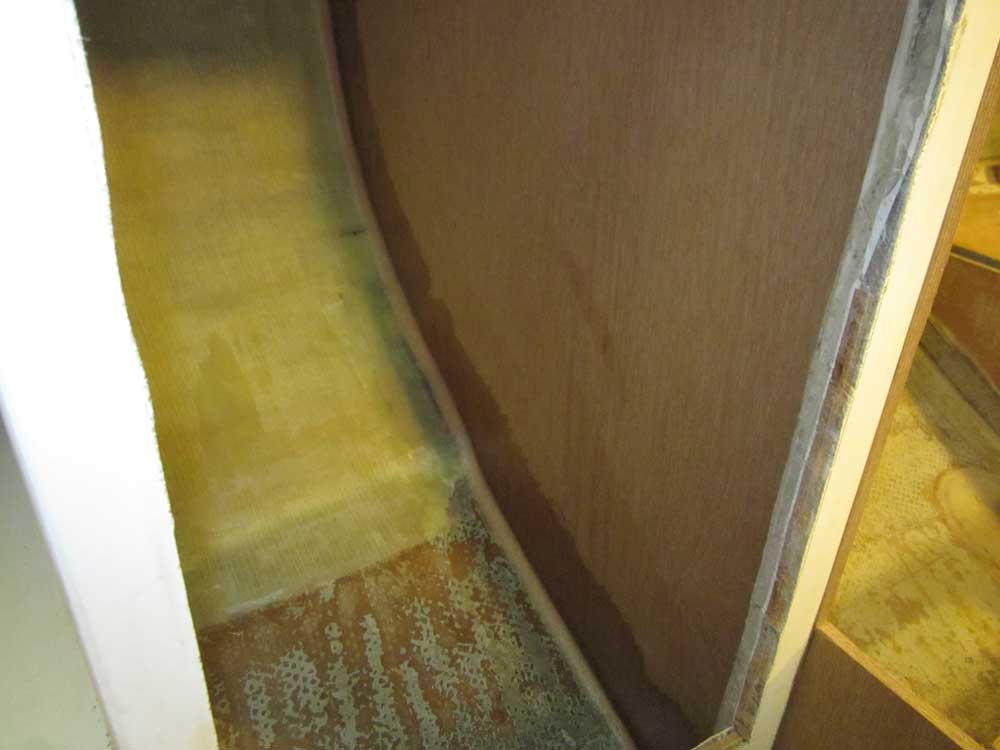
Unlike the original installation, I wanted to tab both sides of the new bulkhead wherever possible. For a while, I contemplated the task of tabbing the aft side of the bulkhead, where access was limited by the high, molded nav station/quarterberth unit. I was prepared to hang myself down into the deep locker from above as needed, but realized there was better way.
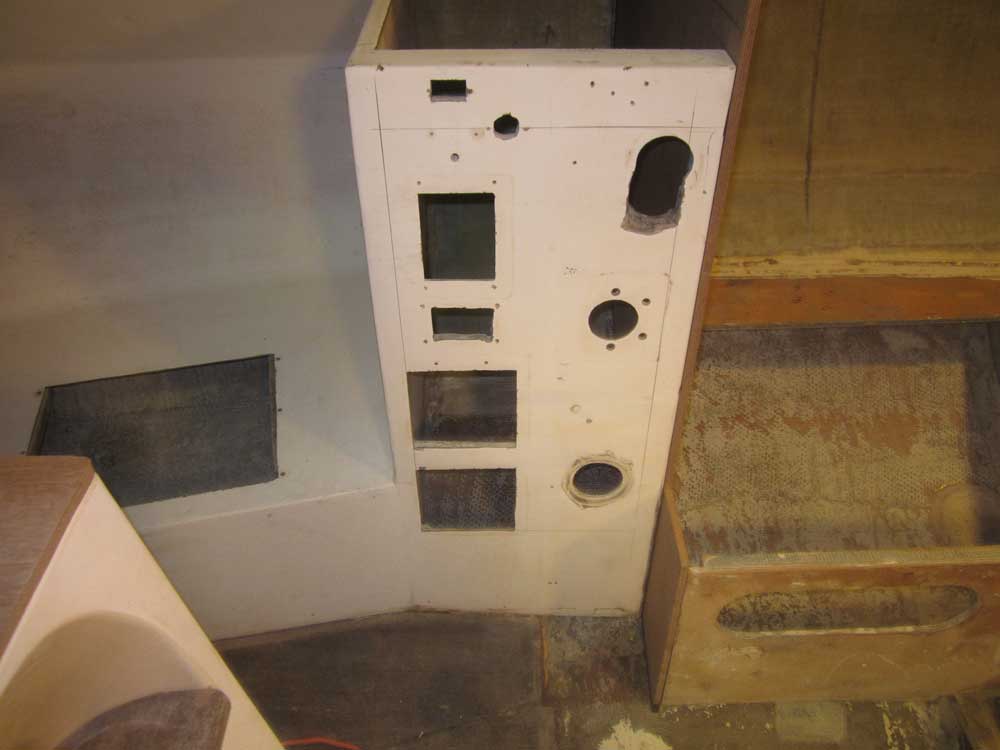
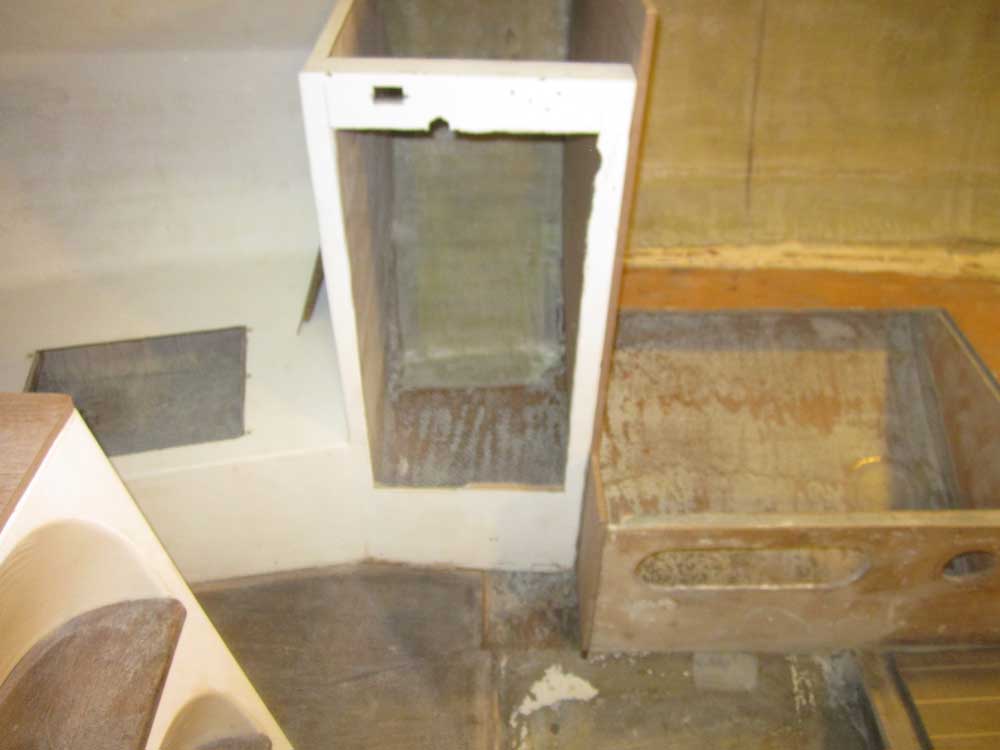
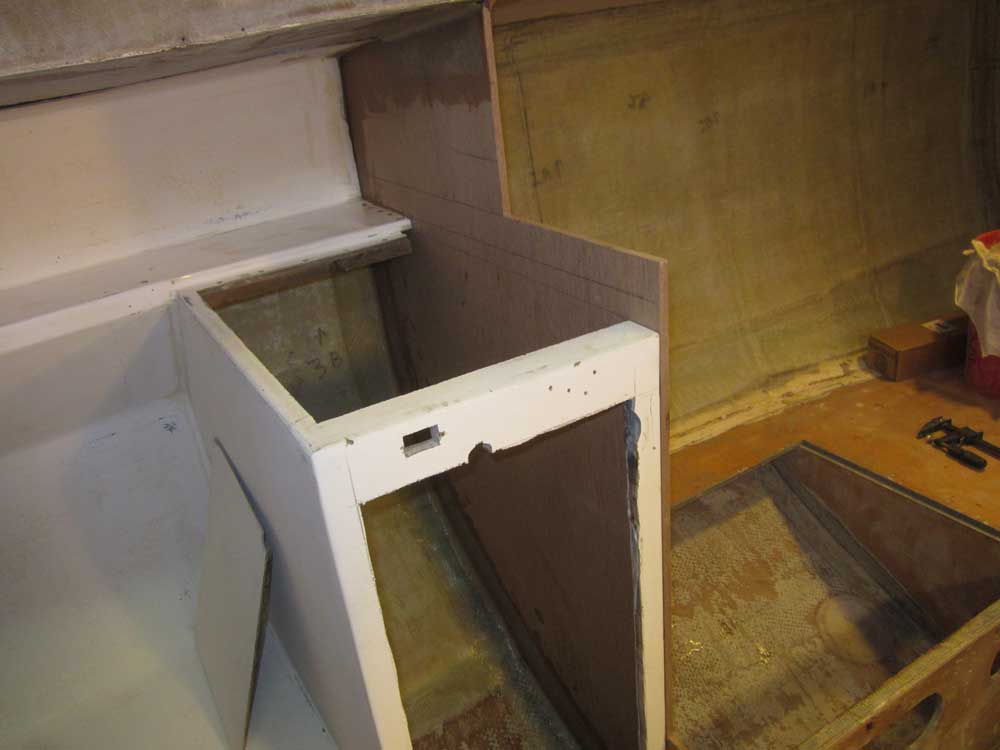
The inboard panel of the molded nav station area was riddled with old openings from old installations. With plans to reconfigure this area anyway, and needing access to the inside of the cabinet in order to tab the bulkhead in place, I decided to cut a large opening, which would not only give me better access now and in the future, but also provide a better basis for the new configuration (this seemed the perfect location for electrical installations). Using the edges of old openings as a guideline, and leaving ample material at the perimeter to build off of later, I marked and cut a rectangular opening. I'd clean up the edges of the opening later.
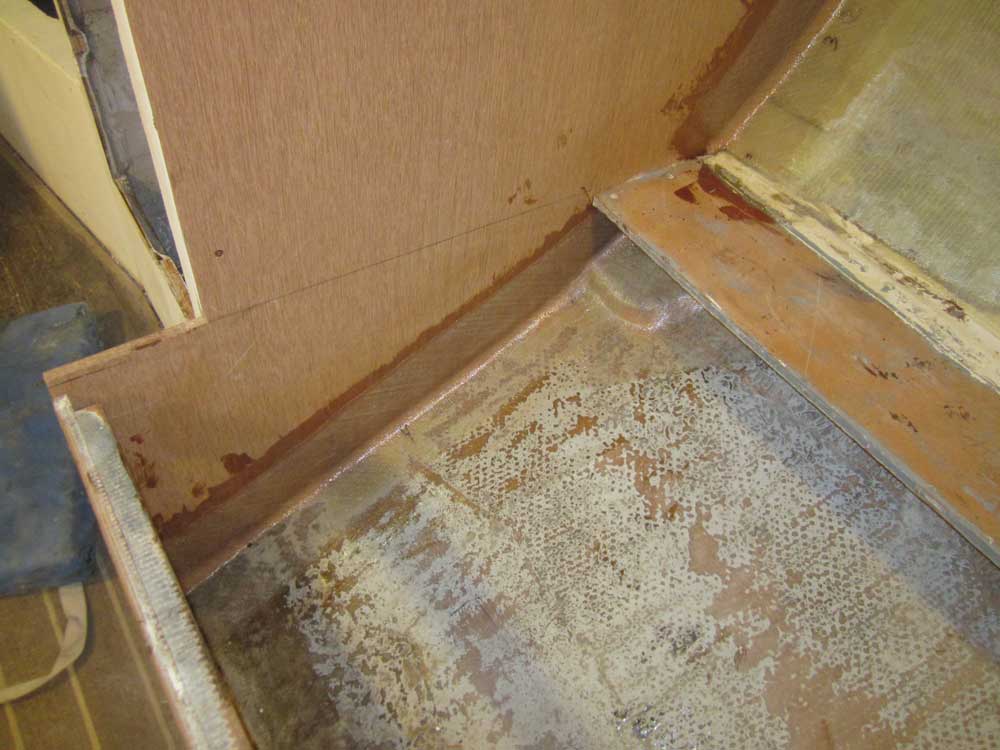
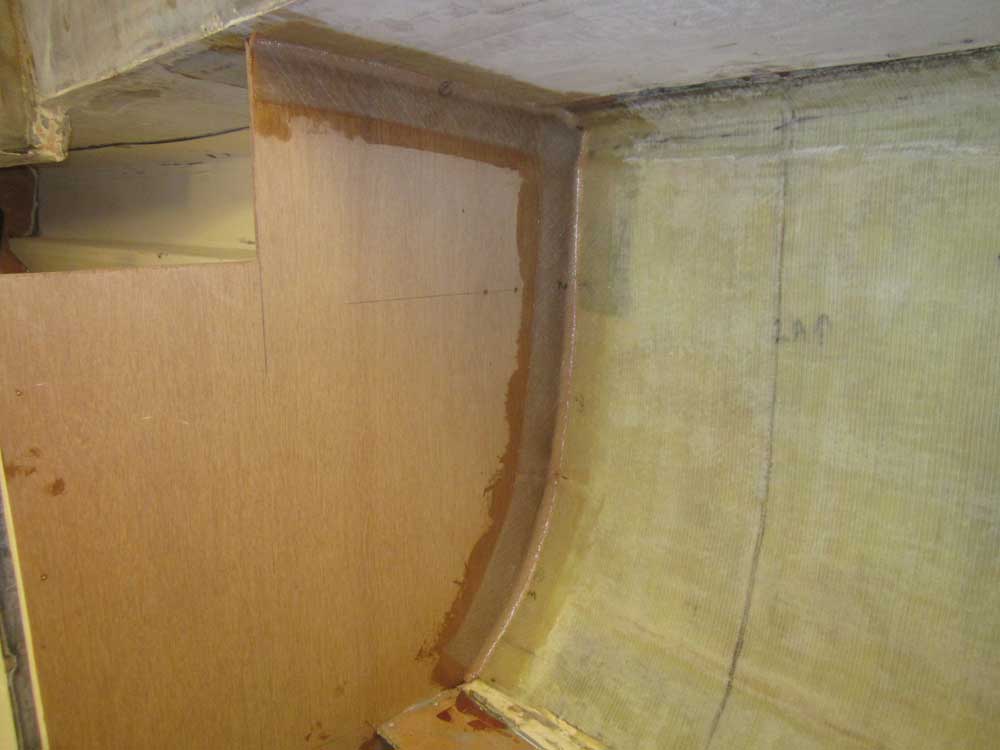
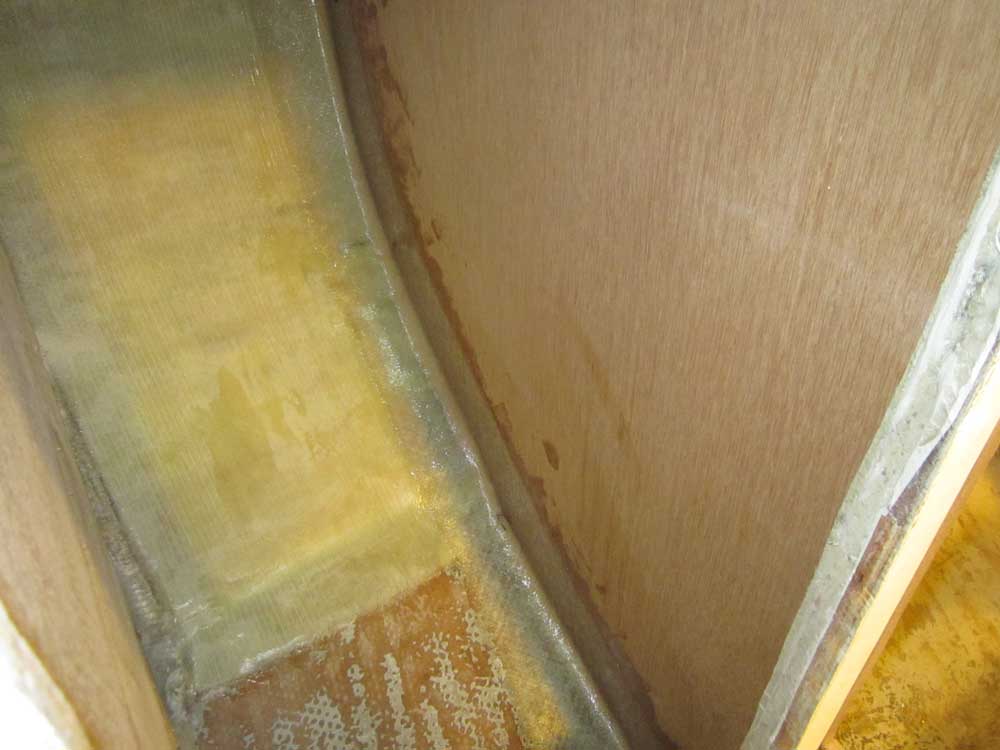
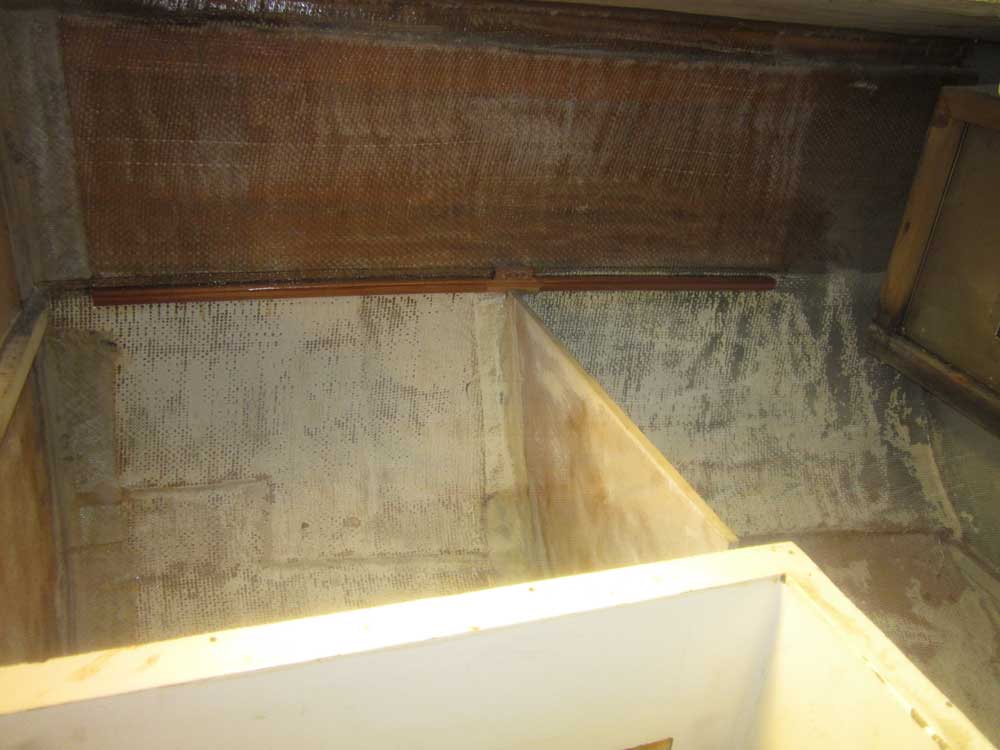
With everything ready, I secured the bulkhead with epoxy fillets where it met hull and deck on both sides, and wet out a portion of the plywood near the edges where tabbing would go. While waiting for the fillets to partially cure, I prepared sections of 6" biaxial tabbing for the bulkhead.
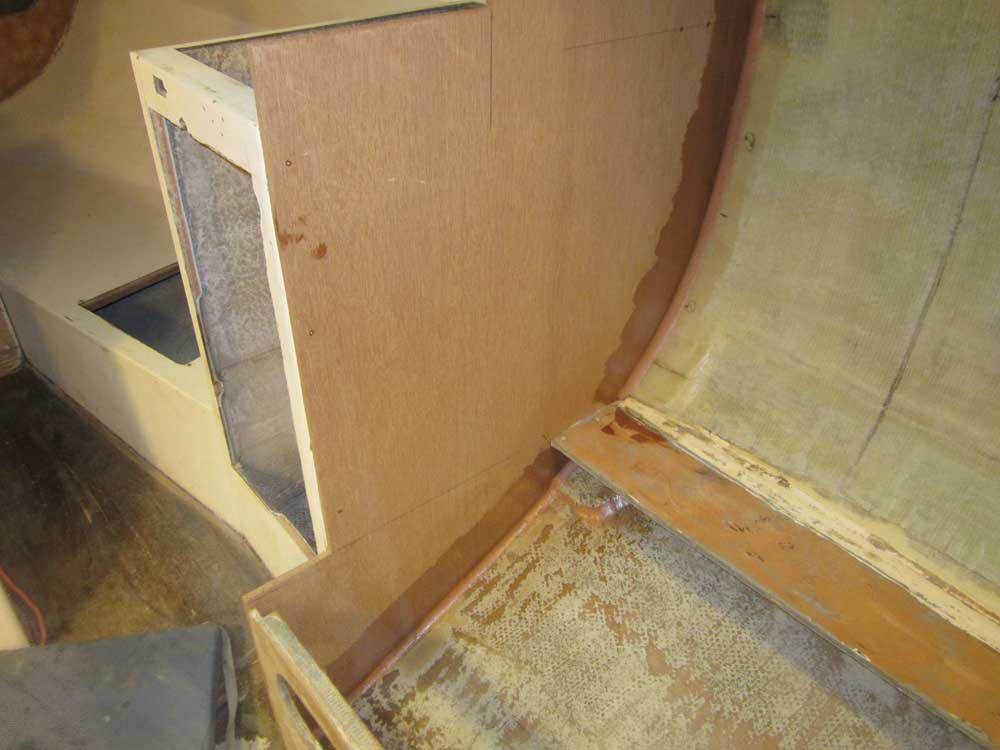
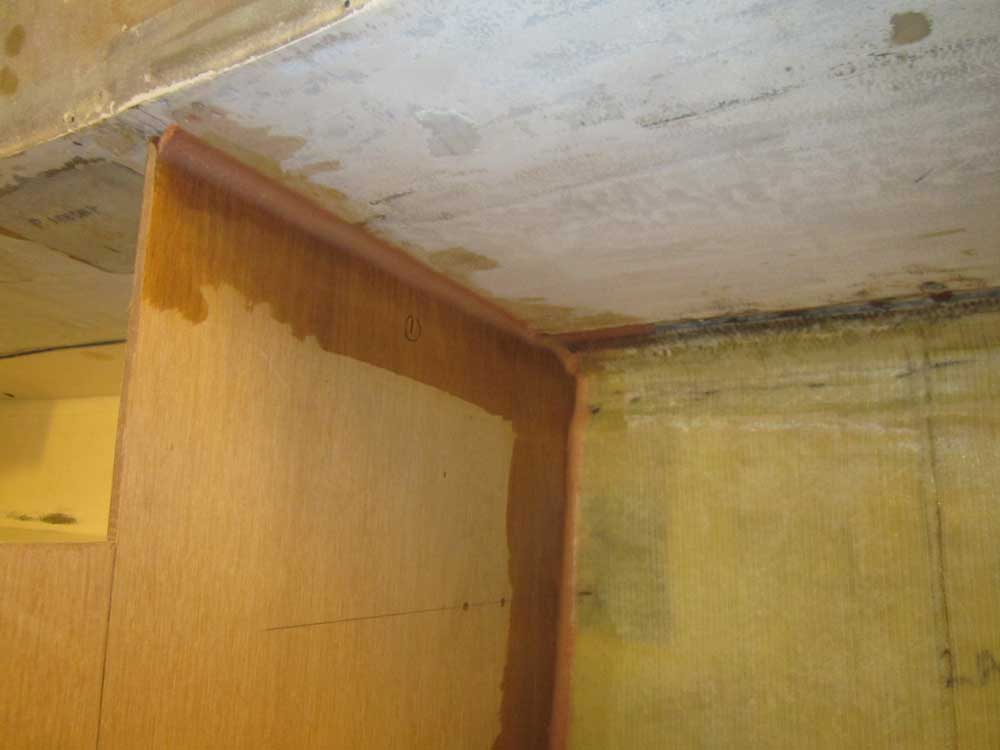
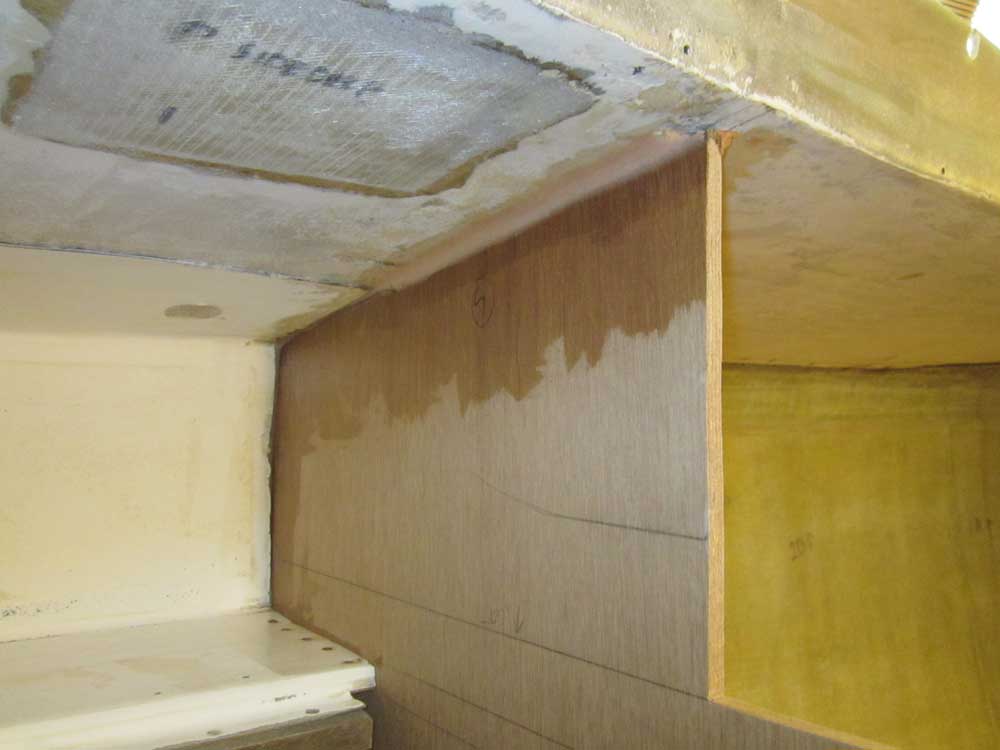
After a relatively short while, the bulkhead was ready for its next steps, and I wet out and installed the new tabbing on both sides.
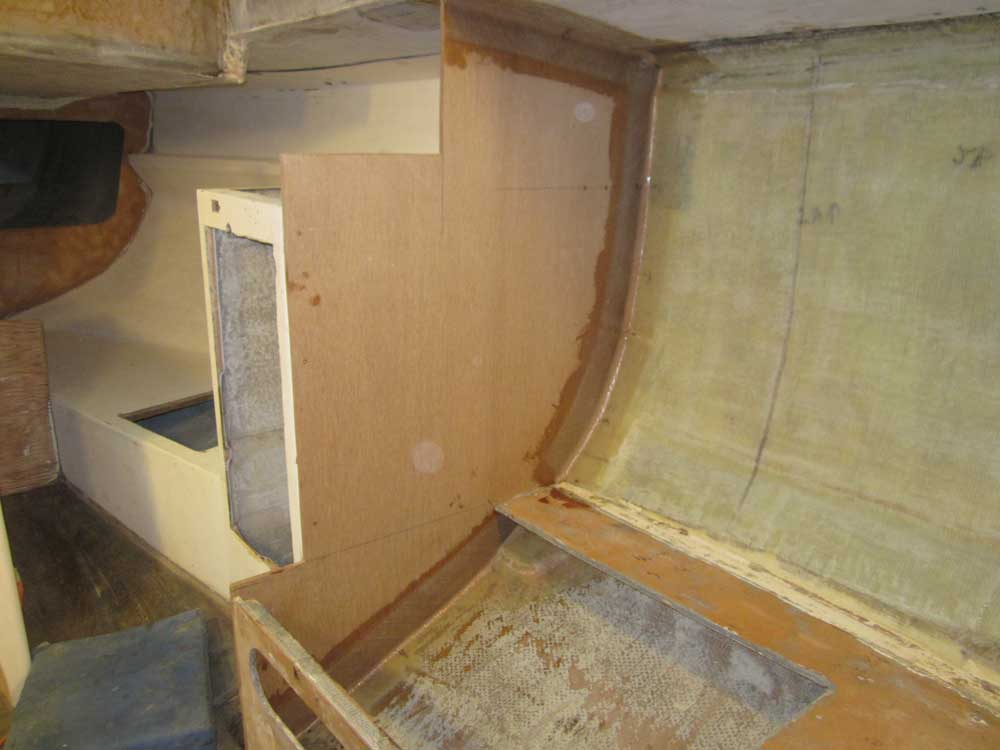

The galley countertop required a support against the hull. After marking the hull where the top of the plywood substrate met it, I removed the countertop and transferred the mark down about 1/2" for the thickness of the countertop. I would have traced this from inside, but there was no access with the countertop in place. Then, from some scrap mahogany, I milled a support piece to fit against the hull, creating a profile that was fiberglass-friendly, so I could glass it to the hull.
There was a slight curve to the hull in this area, but a convenient interim bulkhead provided a place to wedge the wooden support against the hull for gluing. After final preparations, I applied epoxy adhesive to the hull in way of the new wooden cleat, then pressed it into position, holding the center portion with a bit of hot glue, a temporary support block, and some wedges against the small transverse bulkhead.
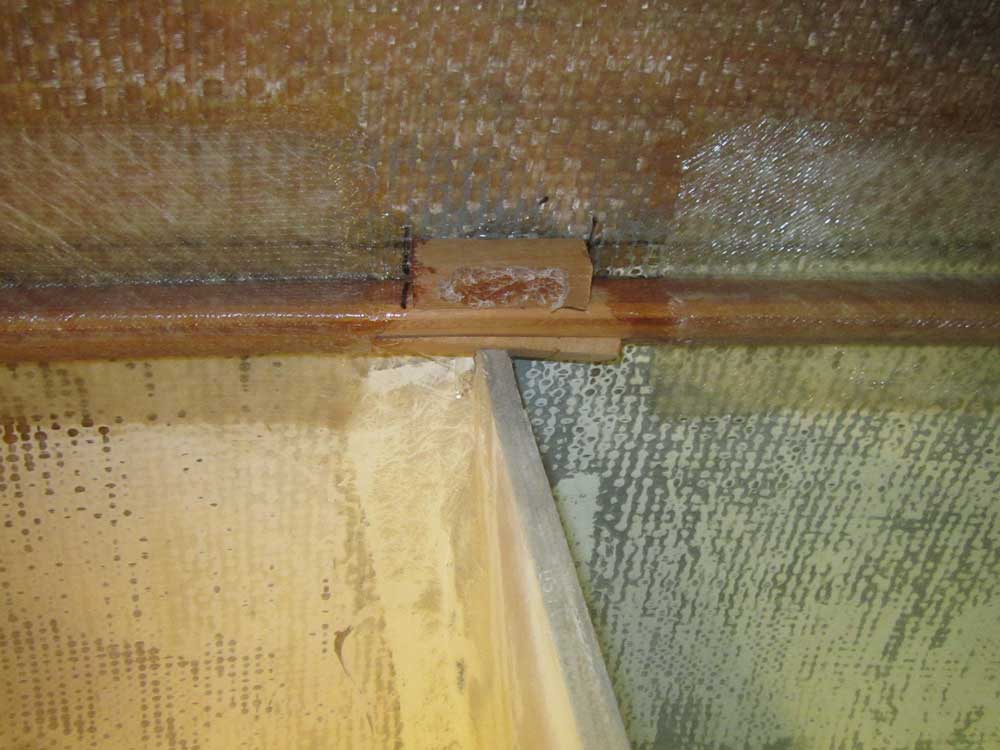
Then, I tabbed both ends to the hull with an overlay of fiberglass, leaving the center section alone for the moment; I'd fill that in with additional tabbing later.
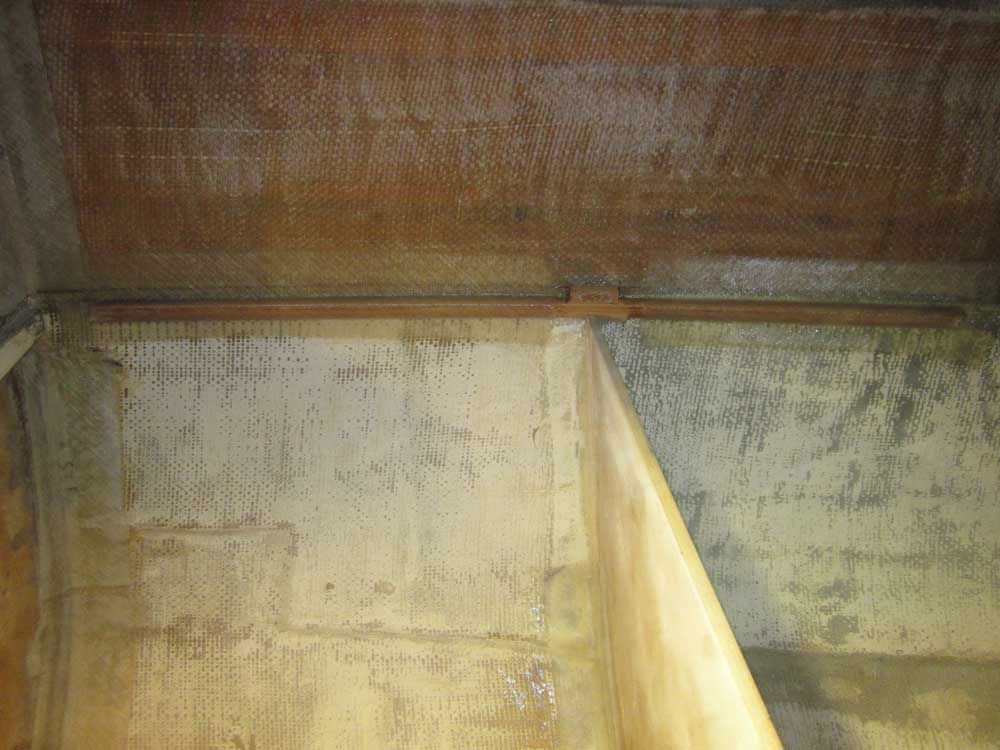
The countertop would require additional support and fastening cleats later, but I didn't have any suitable cleat stock on hand at the moment.
Total Time on This Job Today: 5 hours
