
110 Cookson Lane | Whitefield, ME 04353 | 207-232-7600 | tim@lackeysailing.com
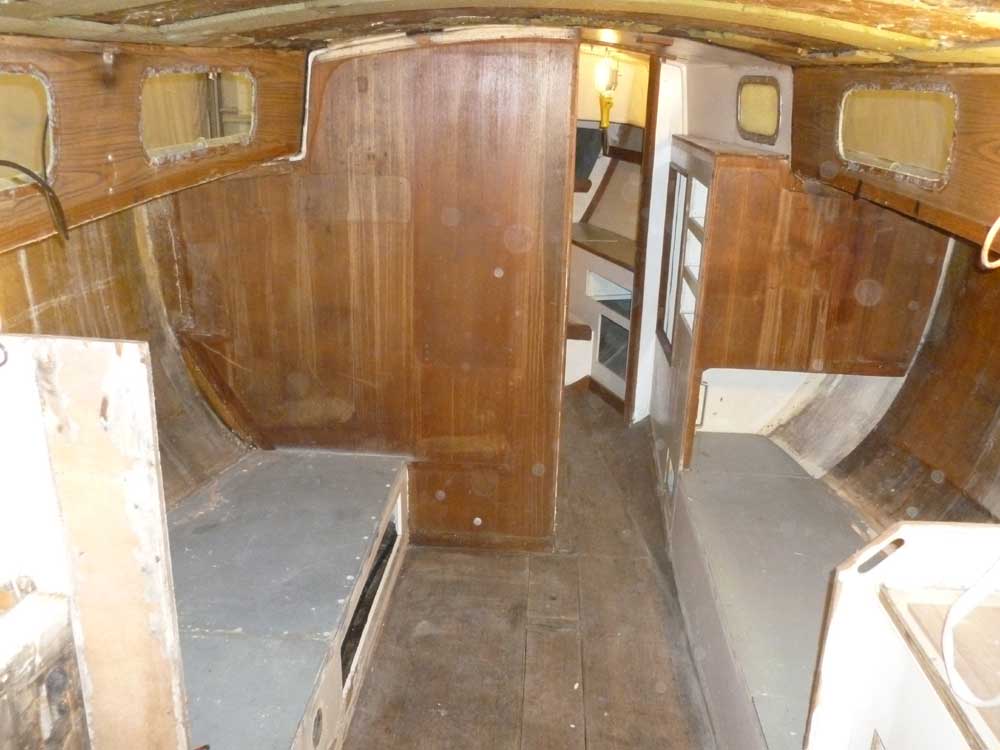
The galley was next on the list. Armed with the knowledge of how the other cabinets in the saloon were constructed and installed, removing the galley upper cabinet was straightforward: first the trim, then the face frame, and finally the cabinet itself.
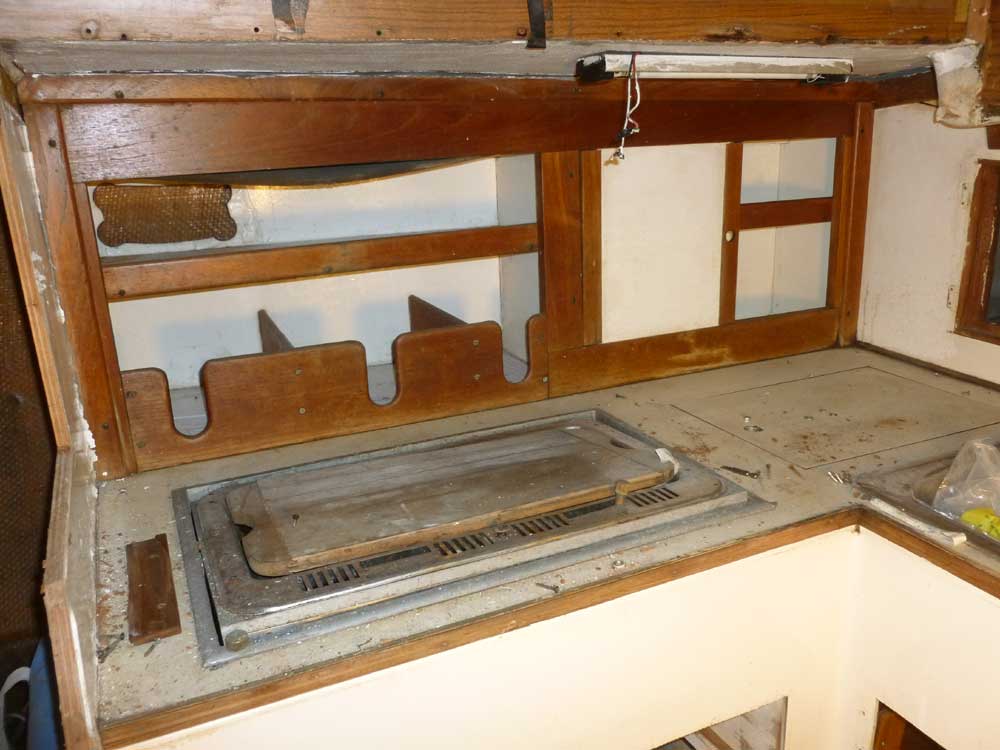
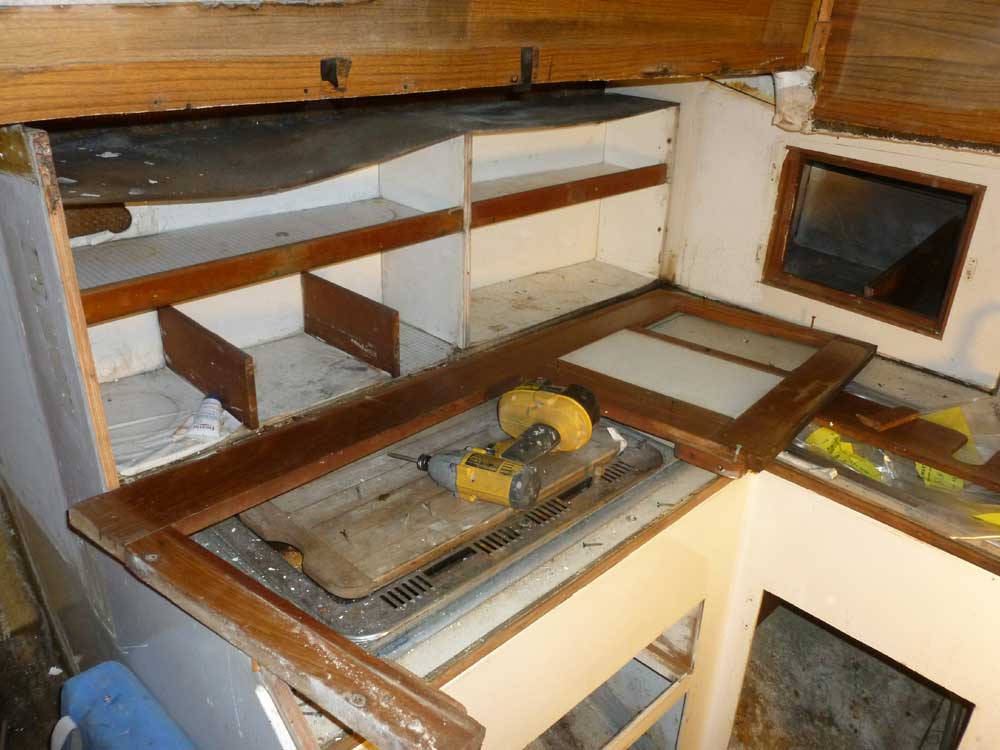
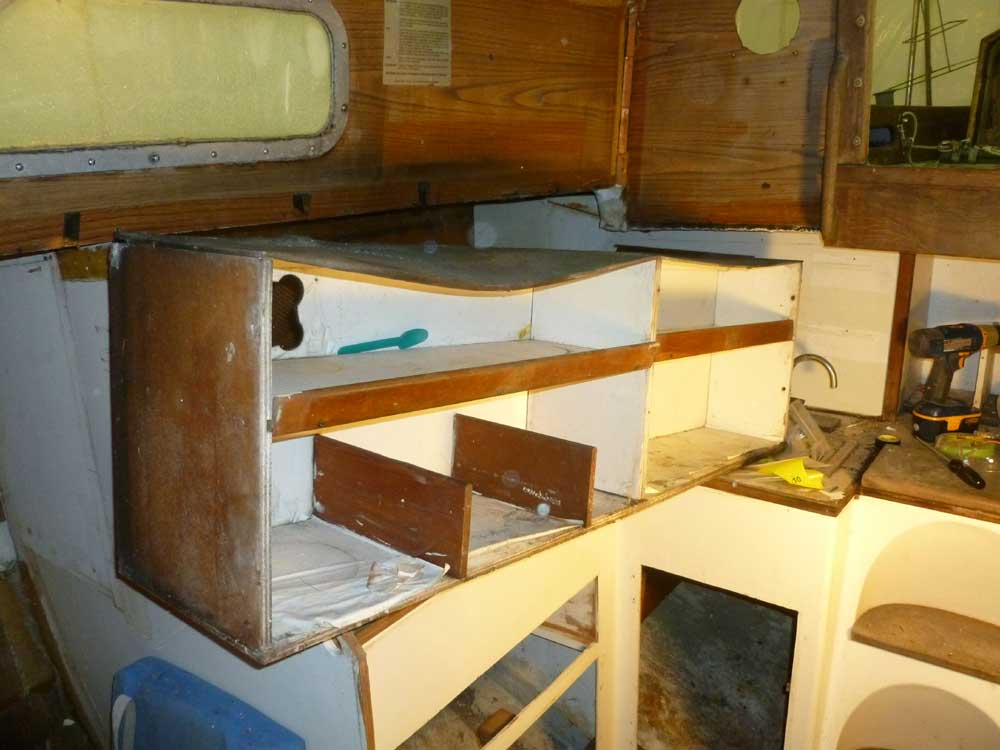
The galley cabinet was in poor condition. The masonite top and back panels were covered with mold, and damp-to-saturated with water. I set the cabinet aside in the shop for now, but I had a hard time envisioning reusing any of these dumpy old cabinets.
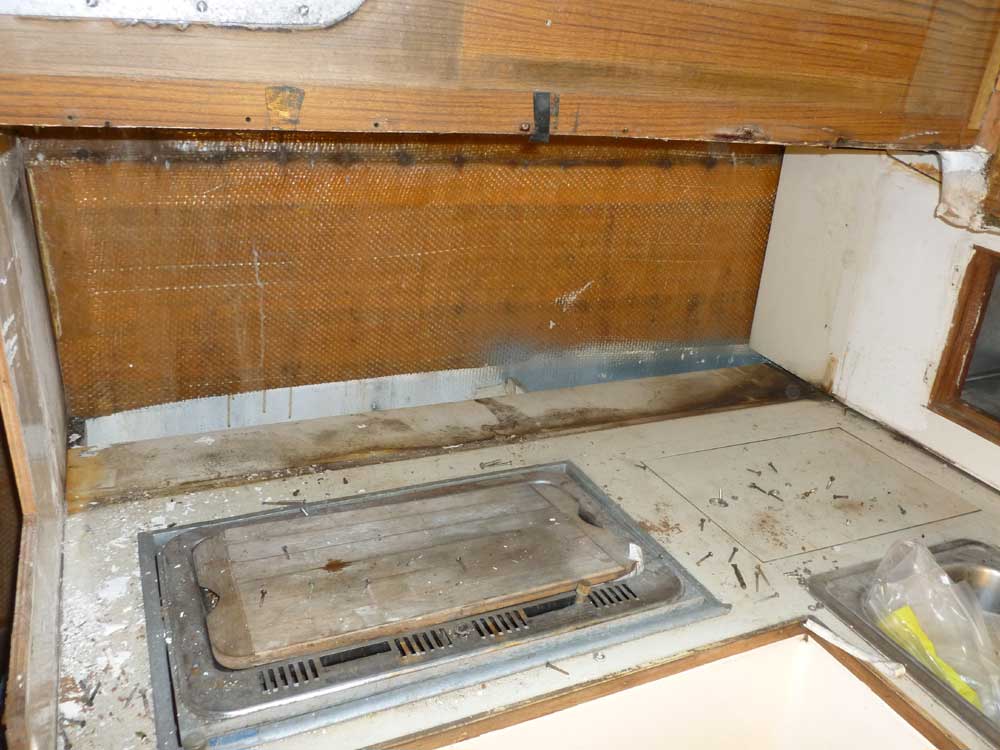
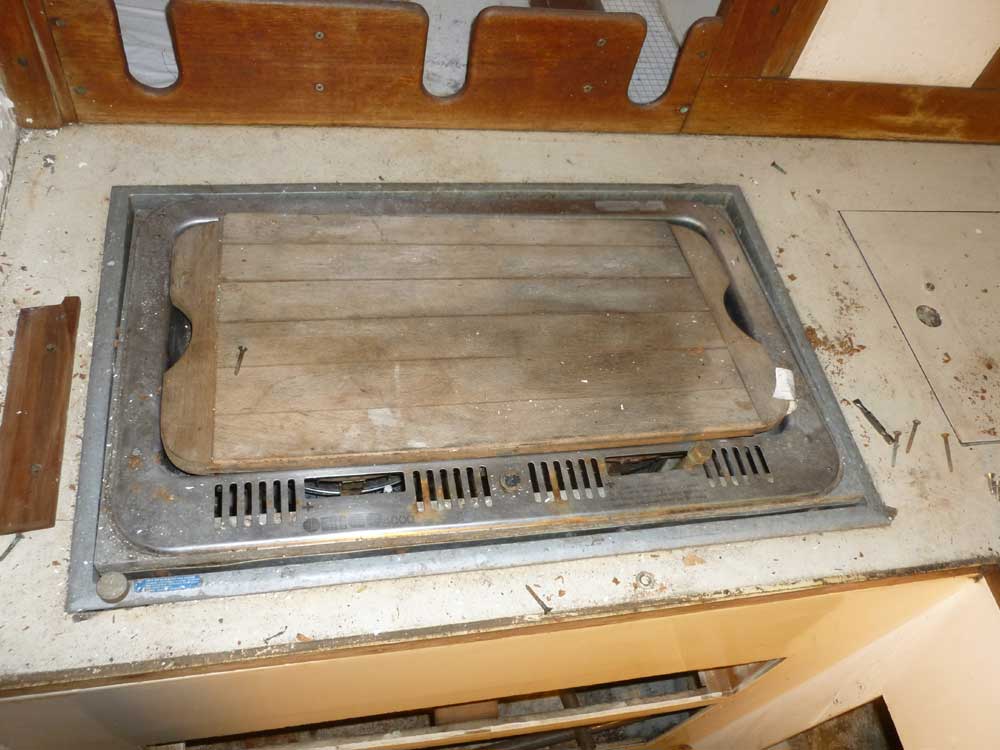
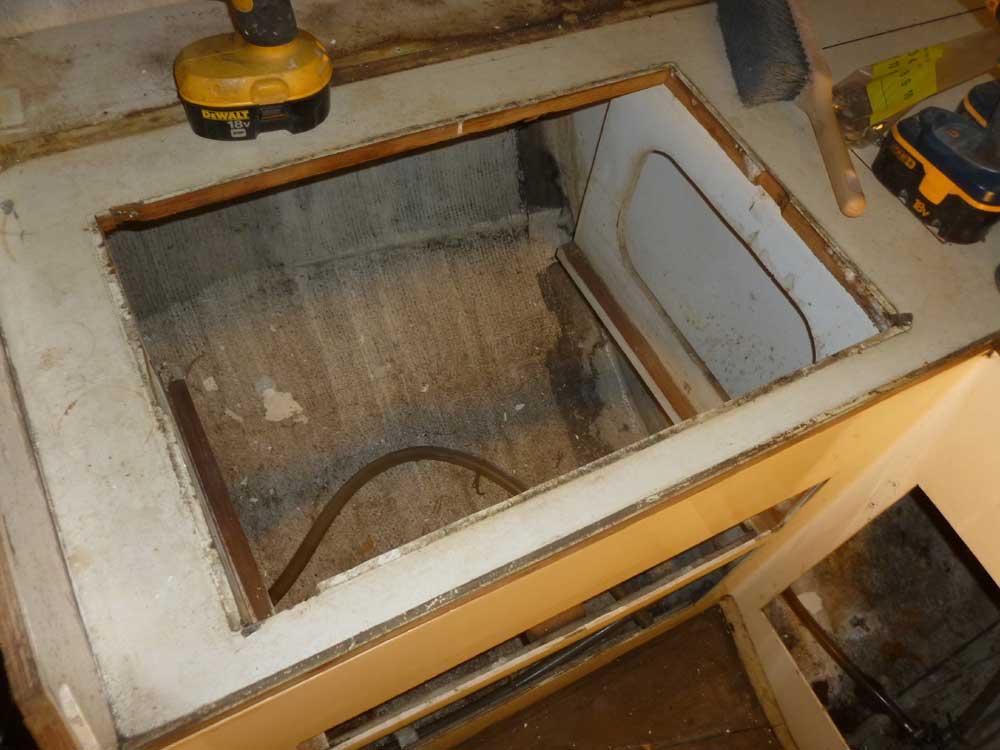
Next, I removed the old 2-burner alcohol stove. I discovered that the stove was full of water.
Afterwards, I removed various hoses from beneath the galley and companionway areas.
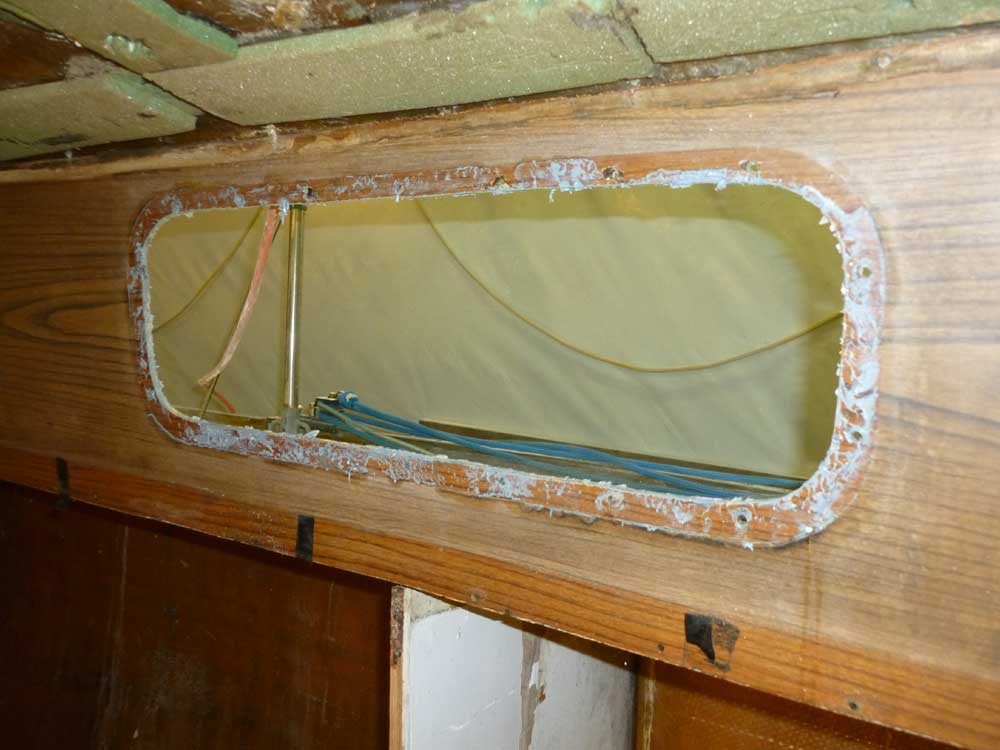
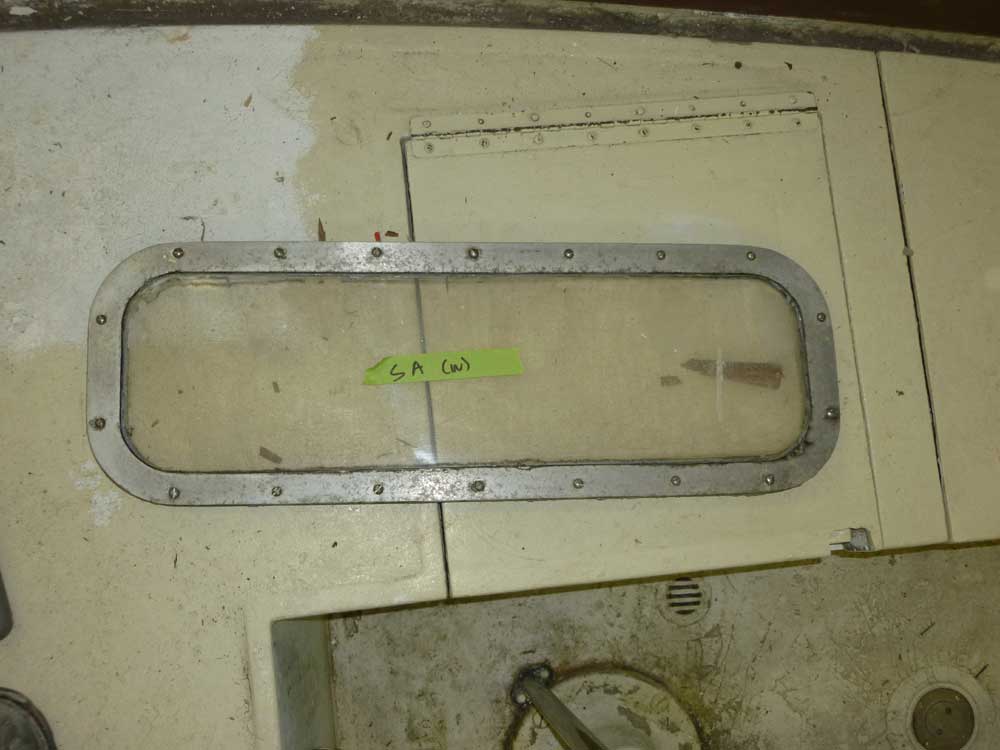
Next, I decided to try my hand at the deadlights' removal. I was anxious to get some natural light (the old plastic was so heavily crazed as to be barely translucent) and fresh air into the boat. Examining the aluminum frames, I determined they were secured with barrel nuts, leaving a clean appearance on each side.
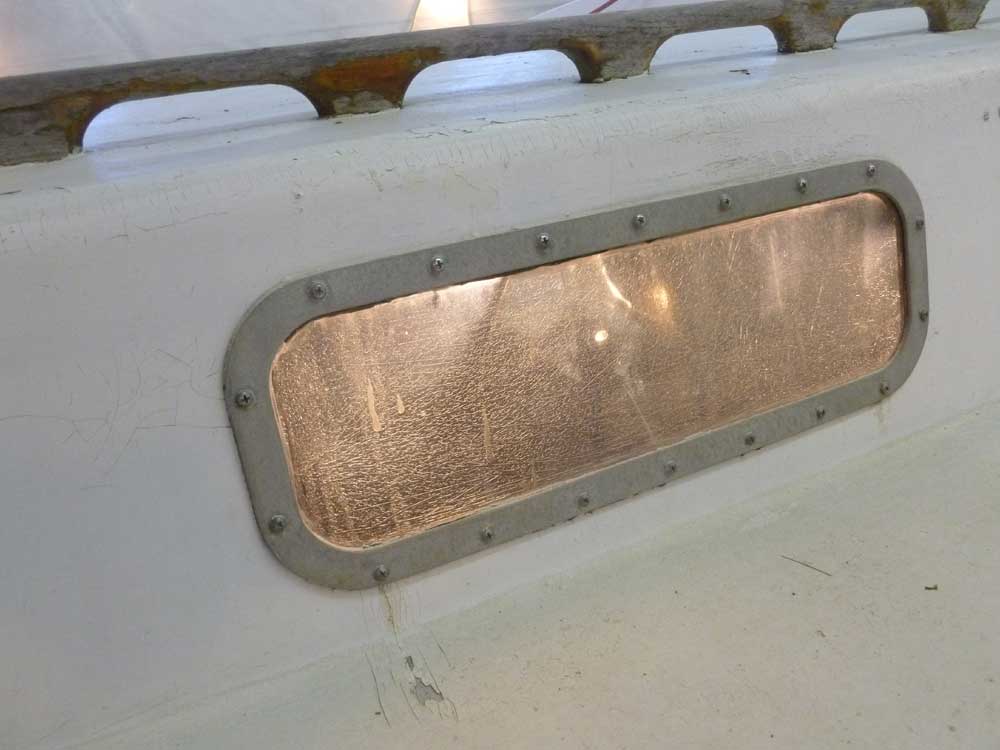
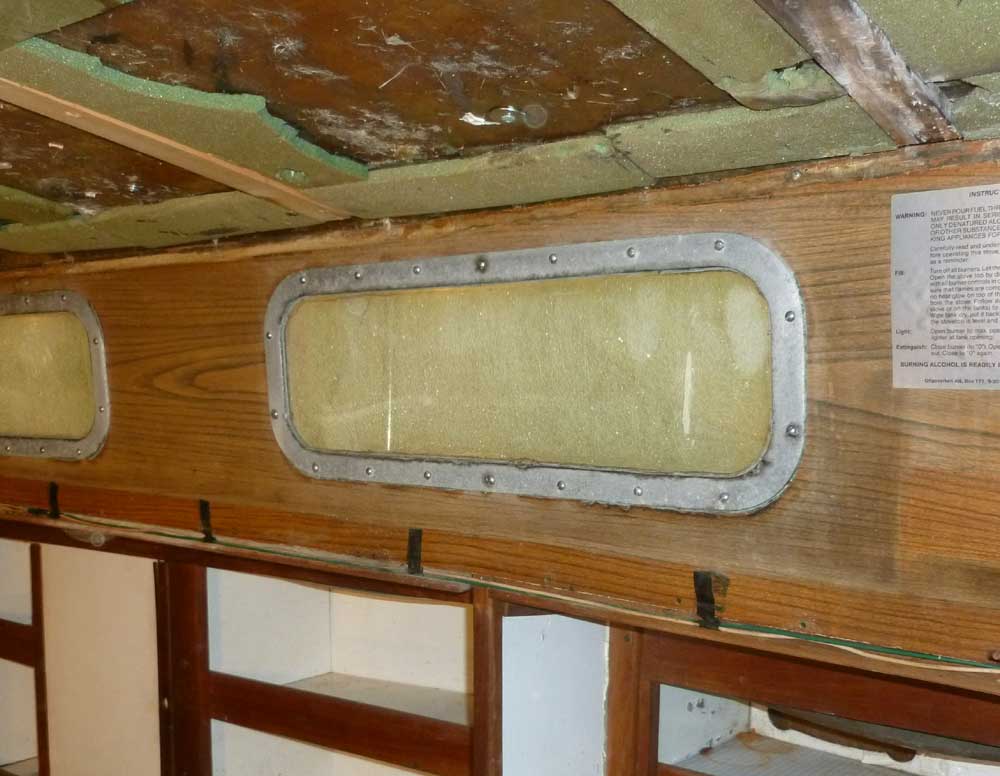
Hoping that I'd be able to unscrew the fasteners from the inside without a need to hold the outside section, I got to work, and was pleased to find that there was no trouble undoing the screws. Unsure whether it made any difference or not, I placed the screws in their proper position relative to the frame as I removed them, in case the lengths of the fasteners varied from one to another. (They didn't appear to.)
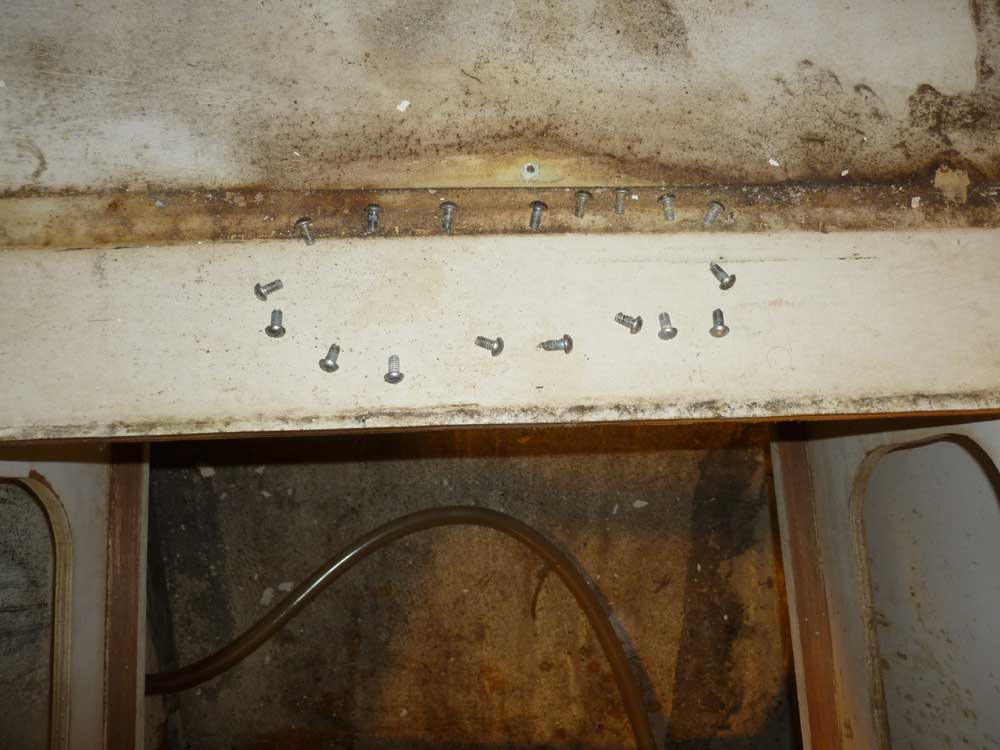
The frames were sealed with gray butyl tape, which remained flexible and effective for a long time and still appeared to be essentially working today. It also made for relatively easy removal. I carefully pried the frames apart from both sides, then resecured them together for storage with the reserved screws. In this way, I removed all four of the large deadlights in the saloon.

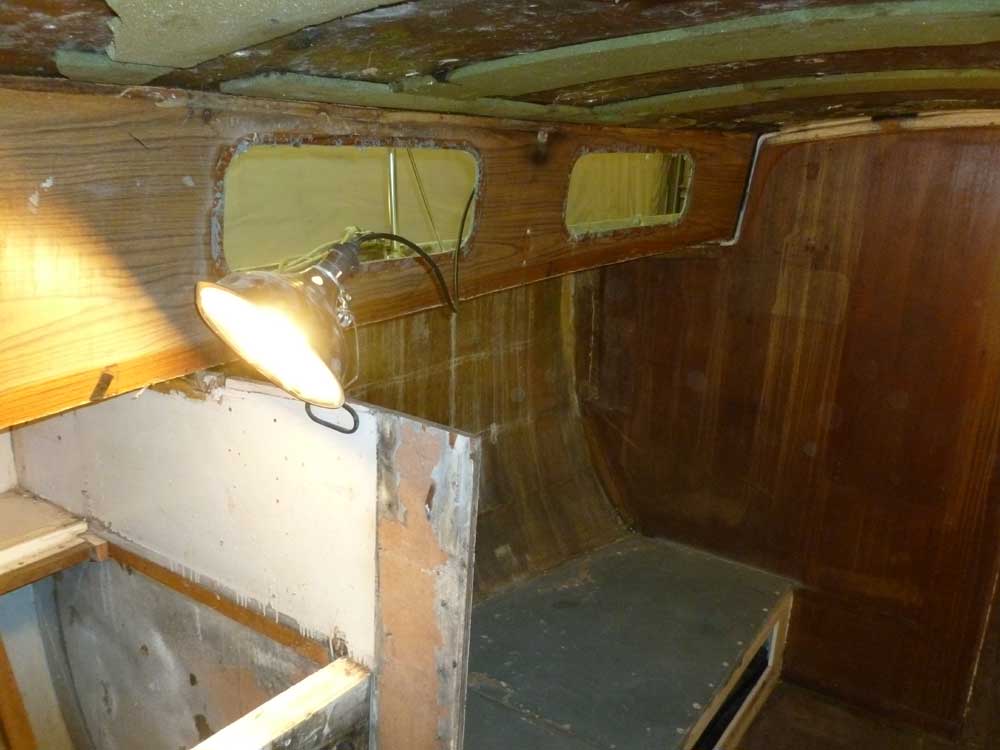

Meanwhile, I removed several pieces of deck hardware from the coachroof--a padeye near the mast; a bullseye fairlead; and a winch and cleat from the aft end near the cockpit. I also removed the lower portions (more barrel bolt inserts) of the fasteners securing the handrails on deck. For now, I left the dusty green foam in place; I'd remove that later when I was properly equipped with breathing apparatus during the interior surface prep stage.
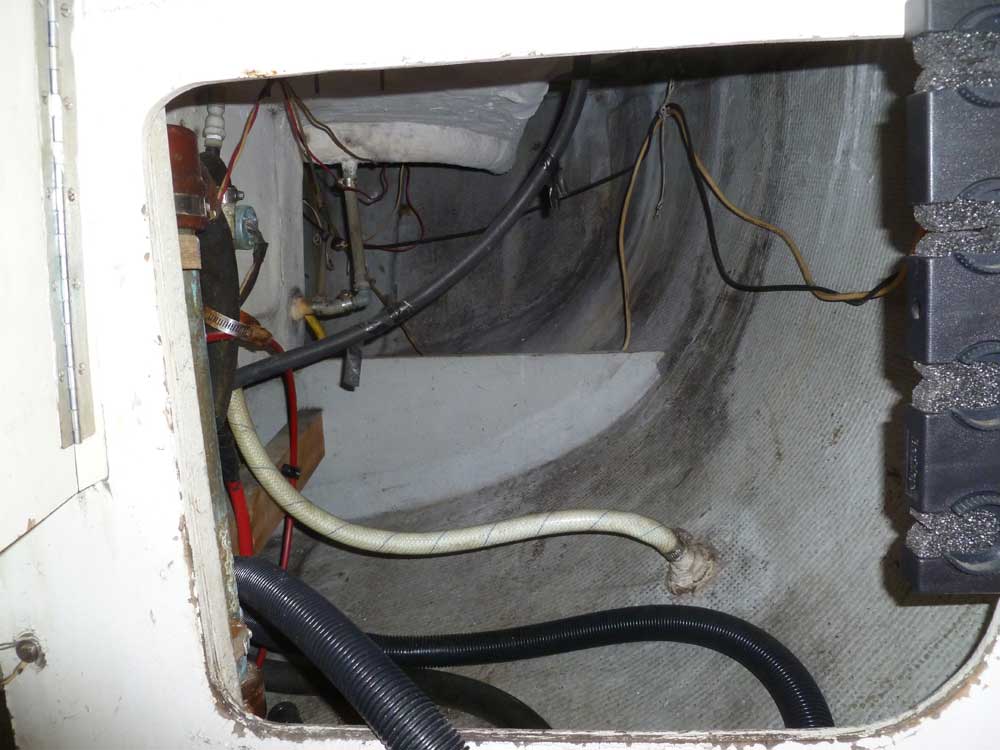
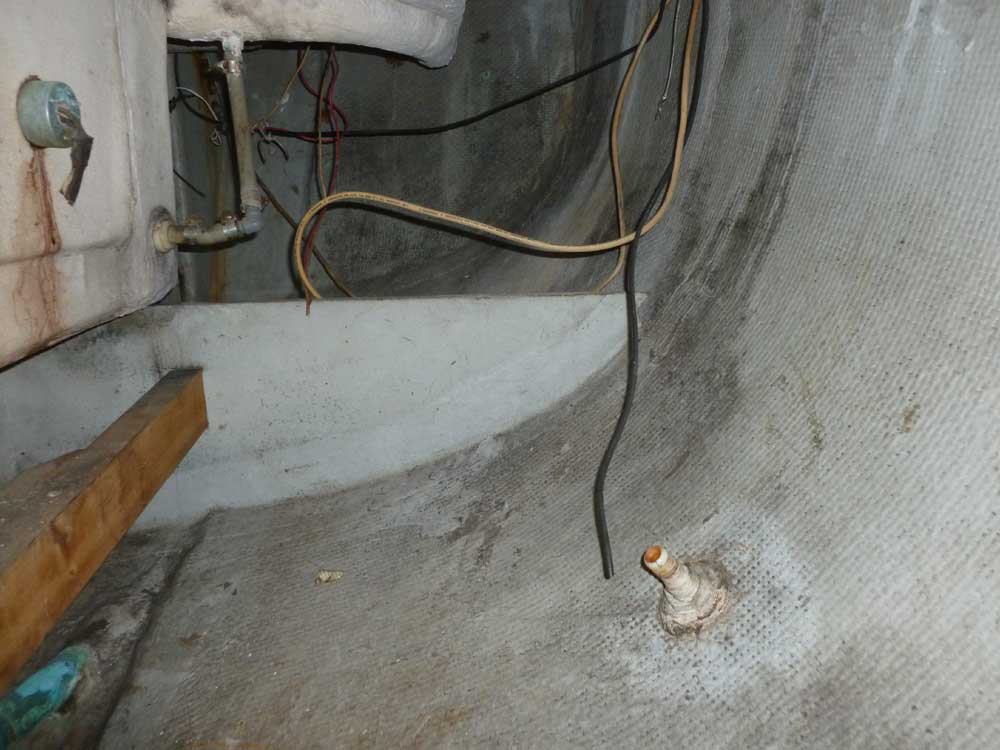
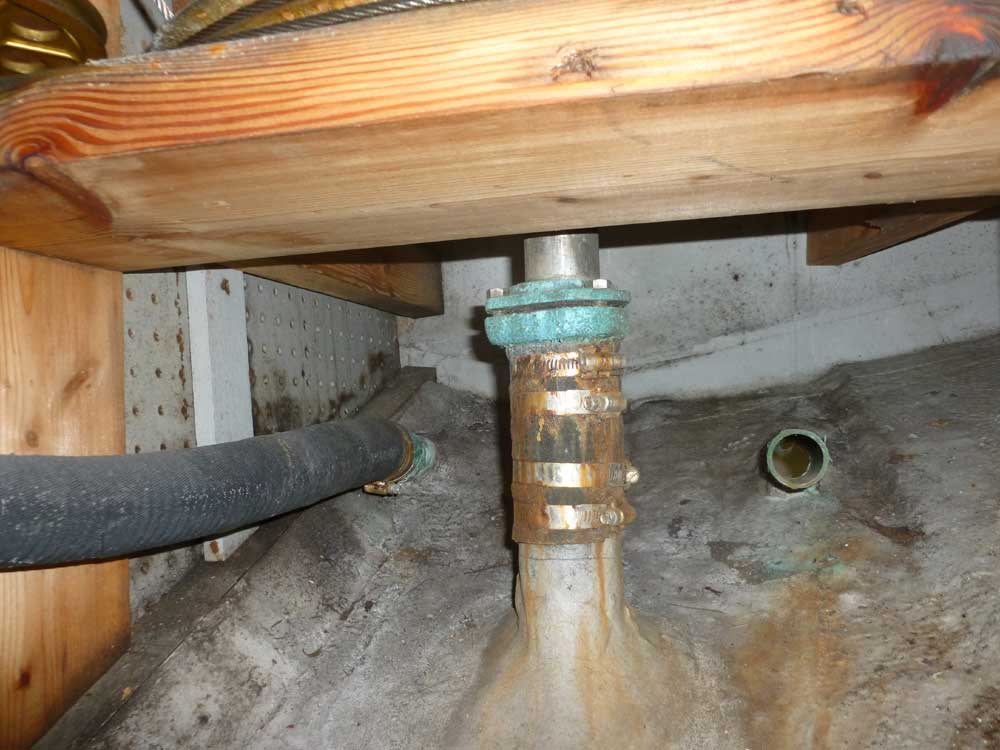
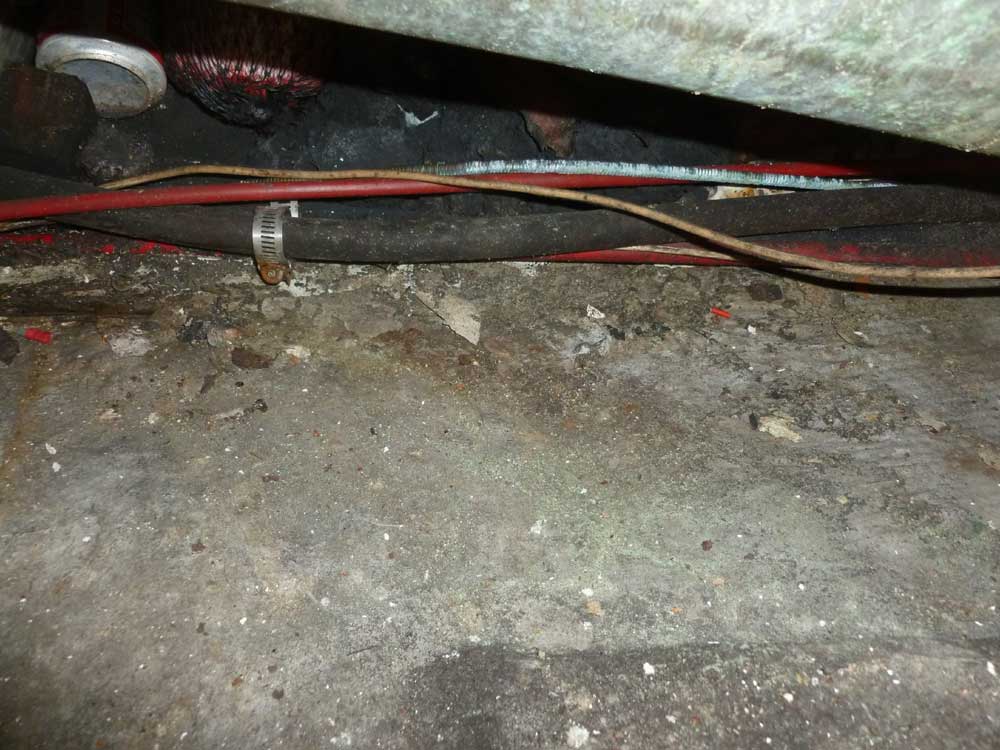
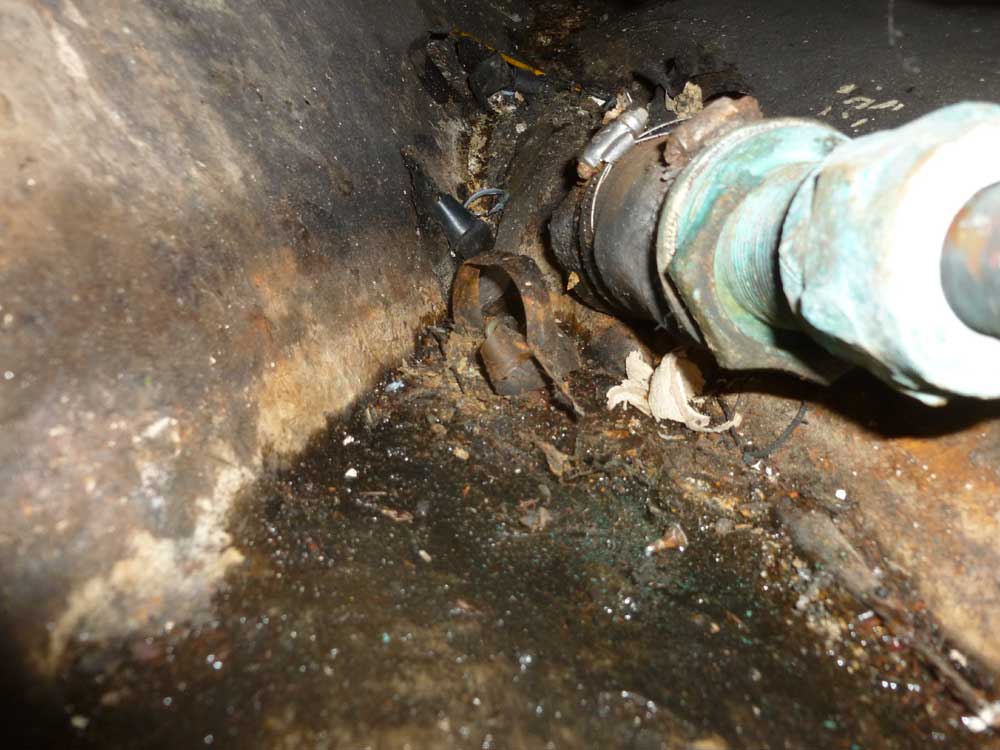
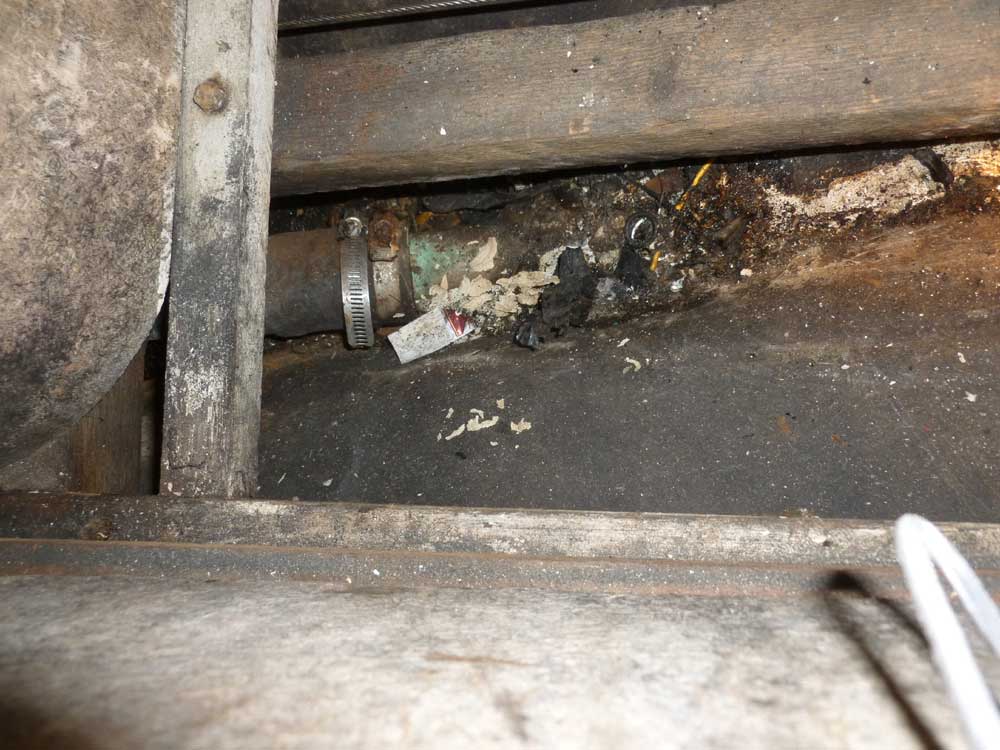
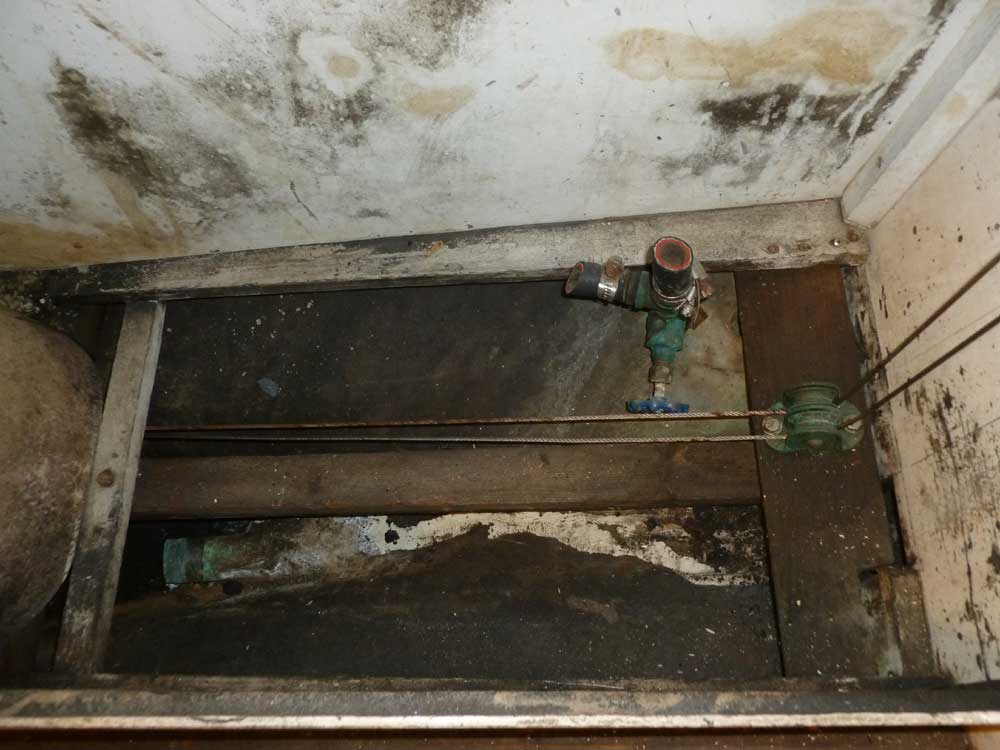
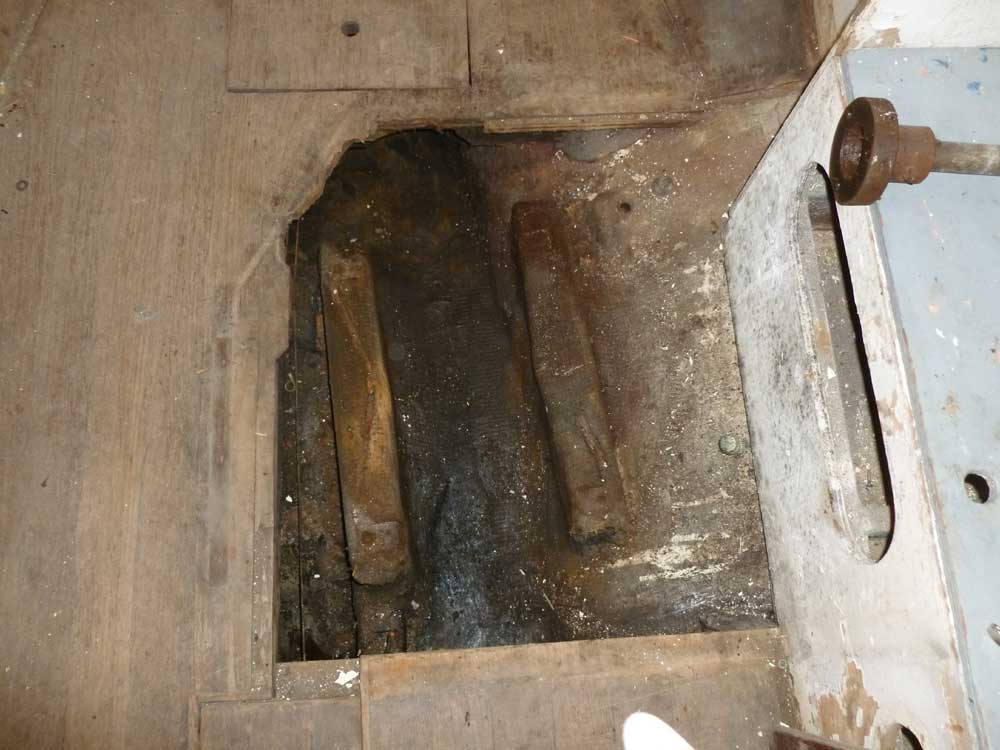
My next task was to attack most of the remaining wiring and hose runs that led from the engine room aft beneath the sole, through the so-called wet locker beneath the companionway, and onwards to the after portion of the boat. Working from where I could, I cut the hoses and wire runs (including some semi-rigid plastic conduit filled with wires) into shorter sections and pulled them out of the nasty bilge, including the area beneath the fuel tank inboard of the quarterberth.
Removing the engine throttle and gear cables from the side of the cockpit, so I could remove them from the bilge, precipitated my clearing out much of the wiring and hoses and other installations from the utility area aft of the quarterberth, leaving just the installations far aft in the lazarette, into which I was not quite ready to insert myself; I'd save that for another day.
The rudder tube stuffing box would clearly need replacement; dismantling and removing the quadrant and pedestal steering would provide the necessary access later.
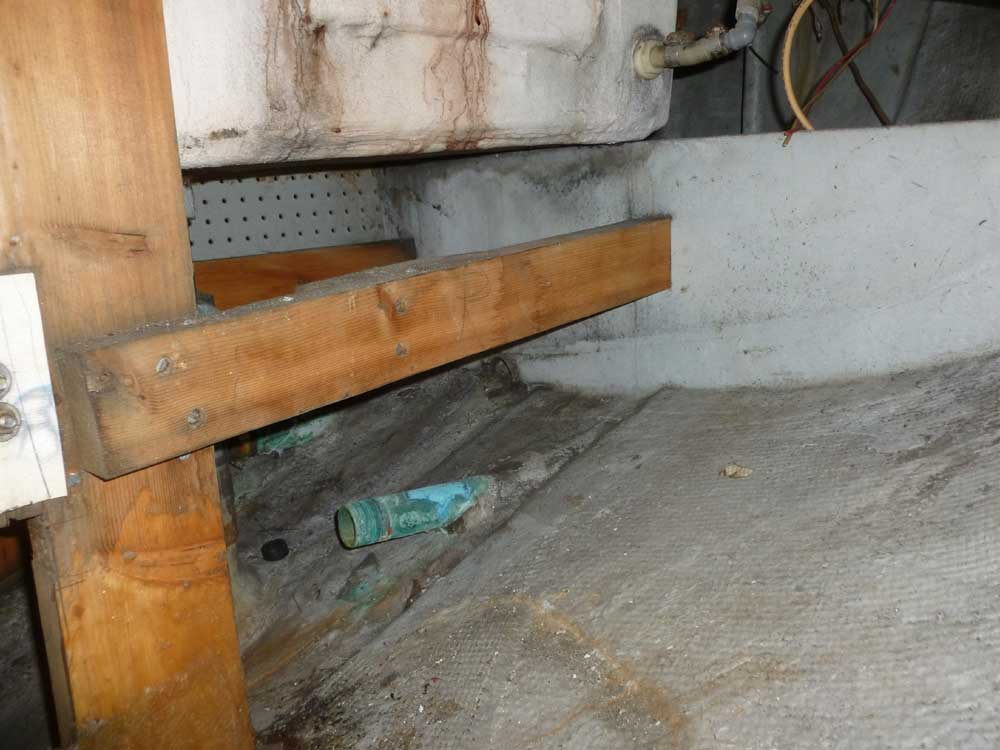
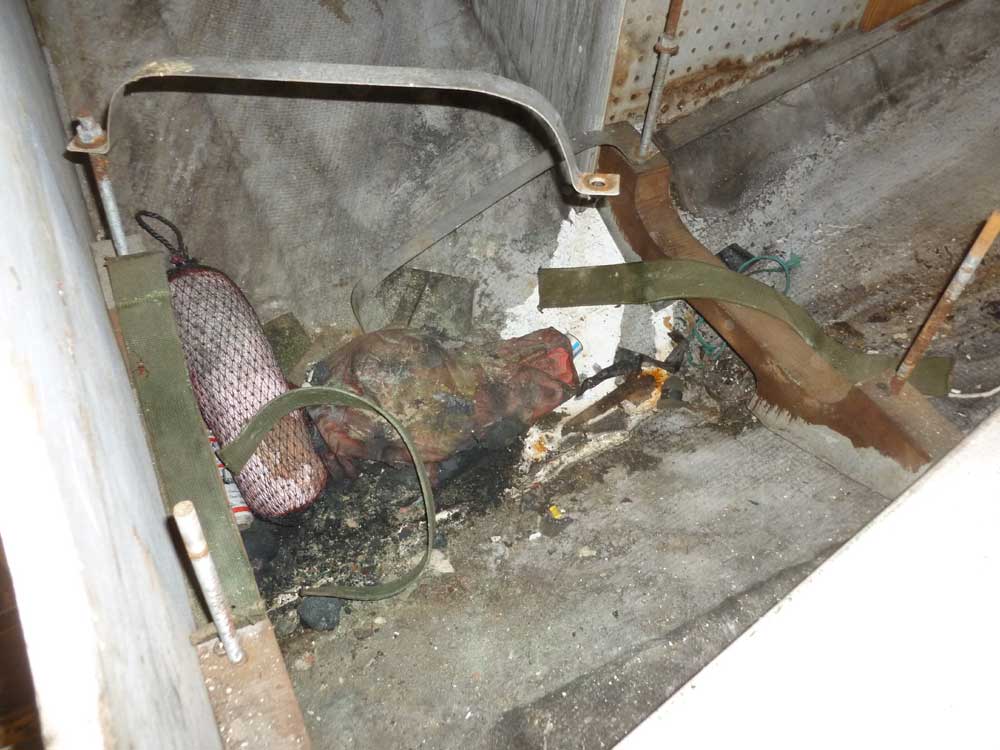
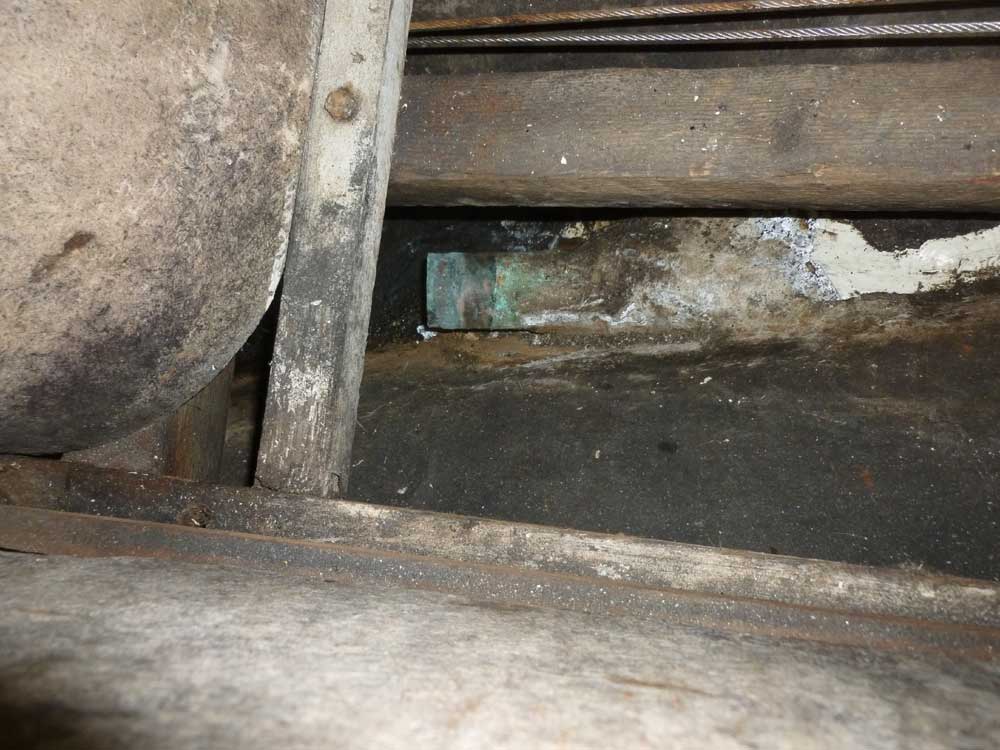
The fuel tank was strapped in the bilge beneath the cockpit. It needed to come out, whether or not it would be reused later. Peering beneath, I got a sneak preview of what awaited me.
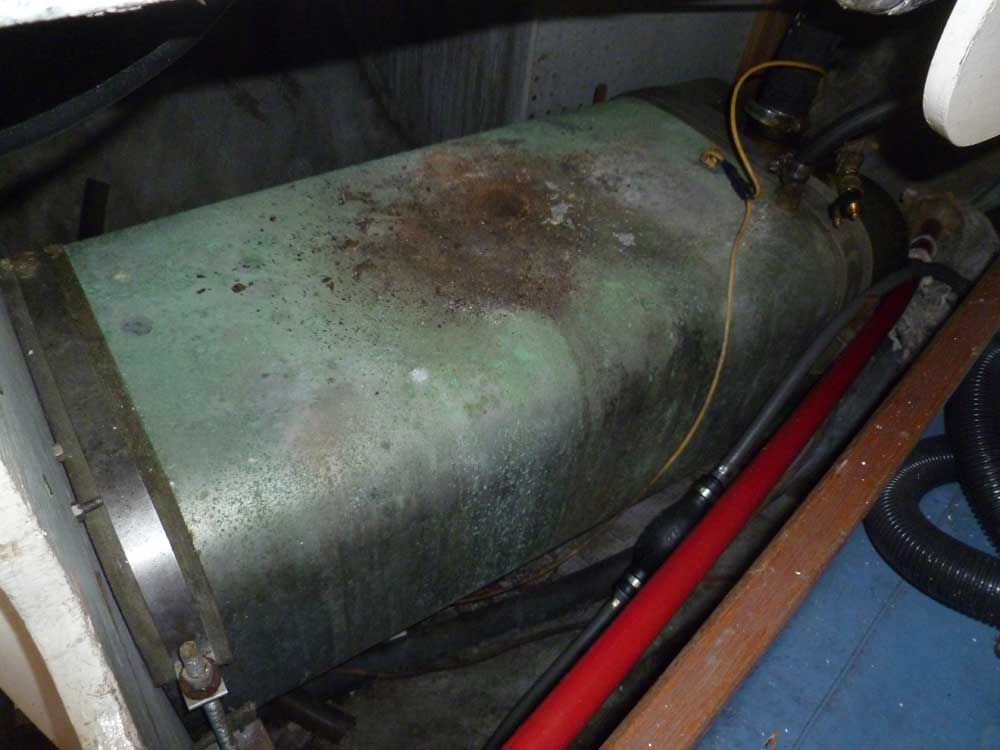
The metal straps securing the tank to wooden cradles beneath were held in place with long carriage bolts. The nuts and threads were corroded, but I was pleased to find that the nuts unthreaded without undue effort, and in short order the tank was free. There was some gasoline still in the tank, but I found I could lift it out of its space, then up into the cockpit. In order to get the tank down to the shop floor, however, I'd have to at least partially empty it first, so for now I left it in the cockpit, after taping up the cut hoses.
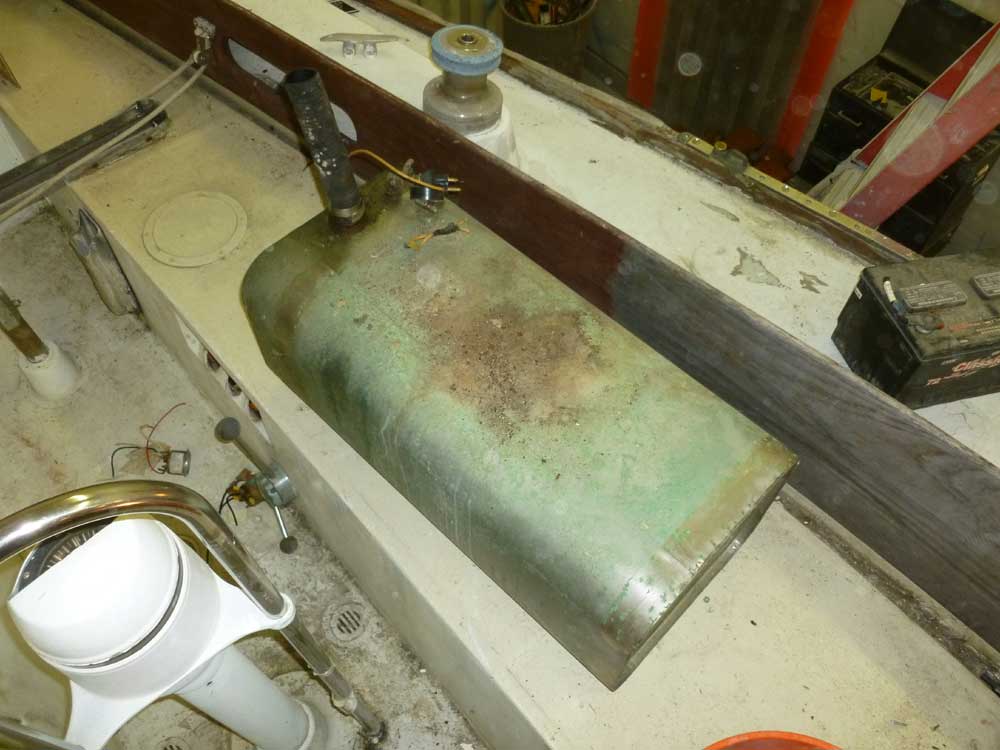
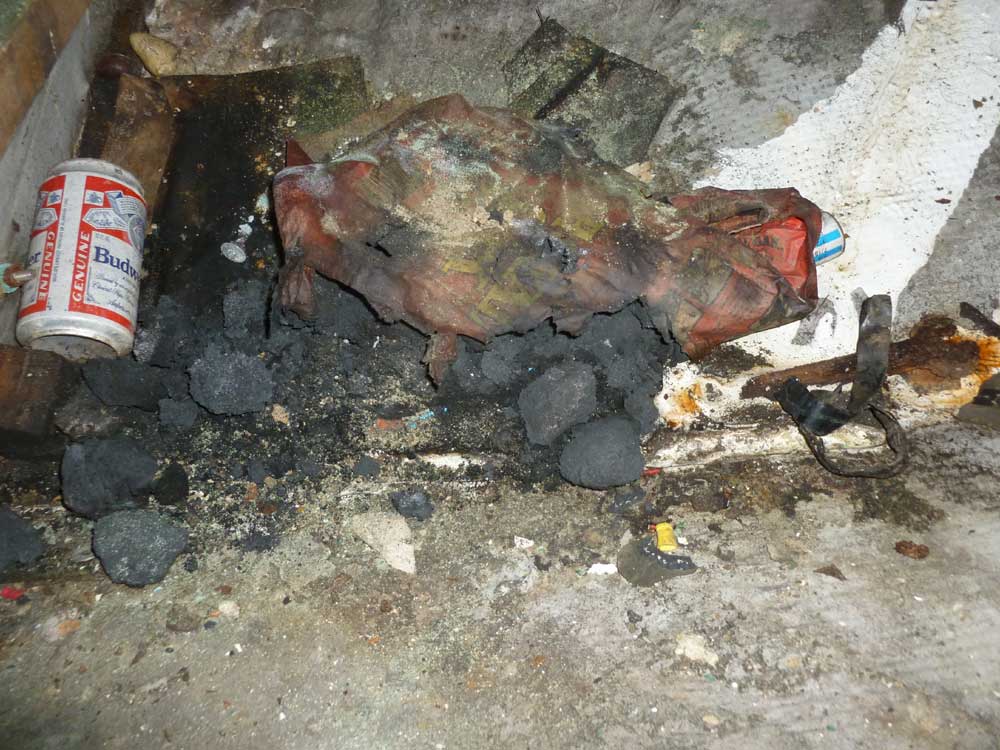
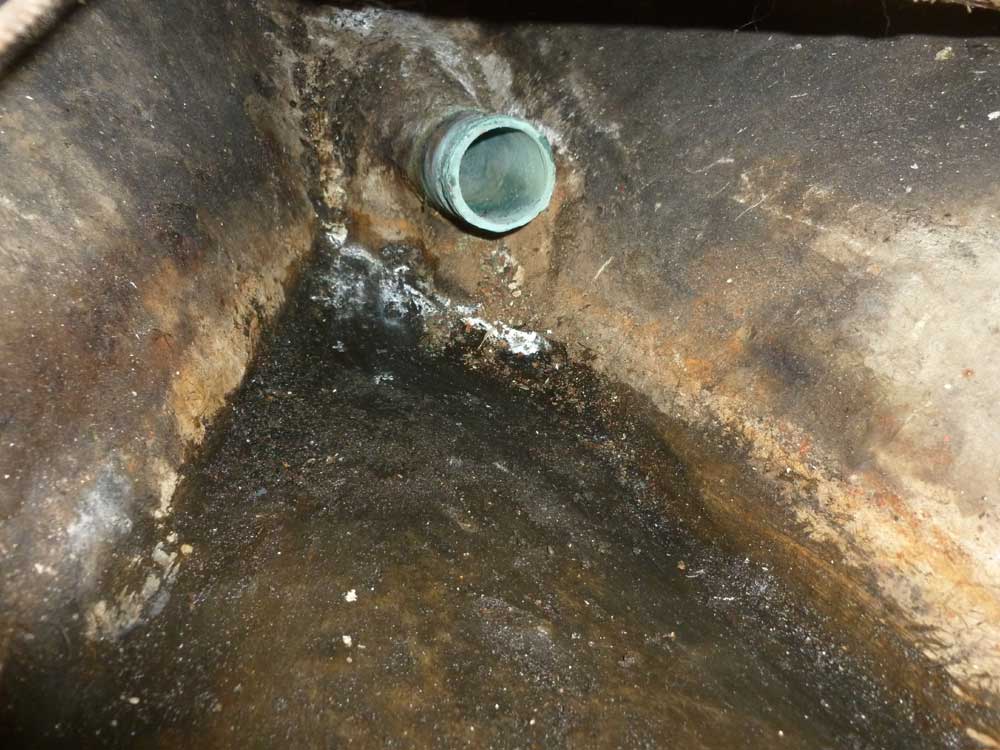
The bilge beneath the tank contained an old oil sock, beer can, and the ubiquitous moldering bag of charcoal, all bound together with white paint that had oozed out of a rusted can originally stored in the starboard cockpit locker. I cleaned out the worst of the mess and found that the after wooden chock supporting the fuel tank was completely loose and no longer secured to the boat; the forward chock was screwed/bolted to the adjacent bulkhead.
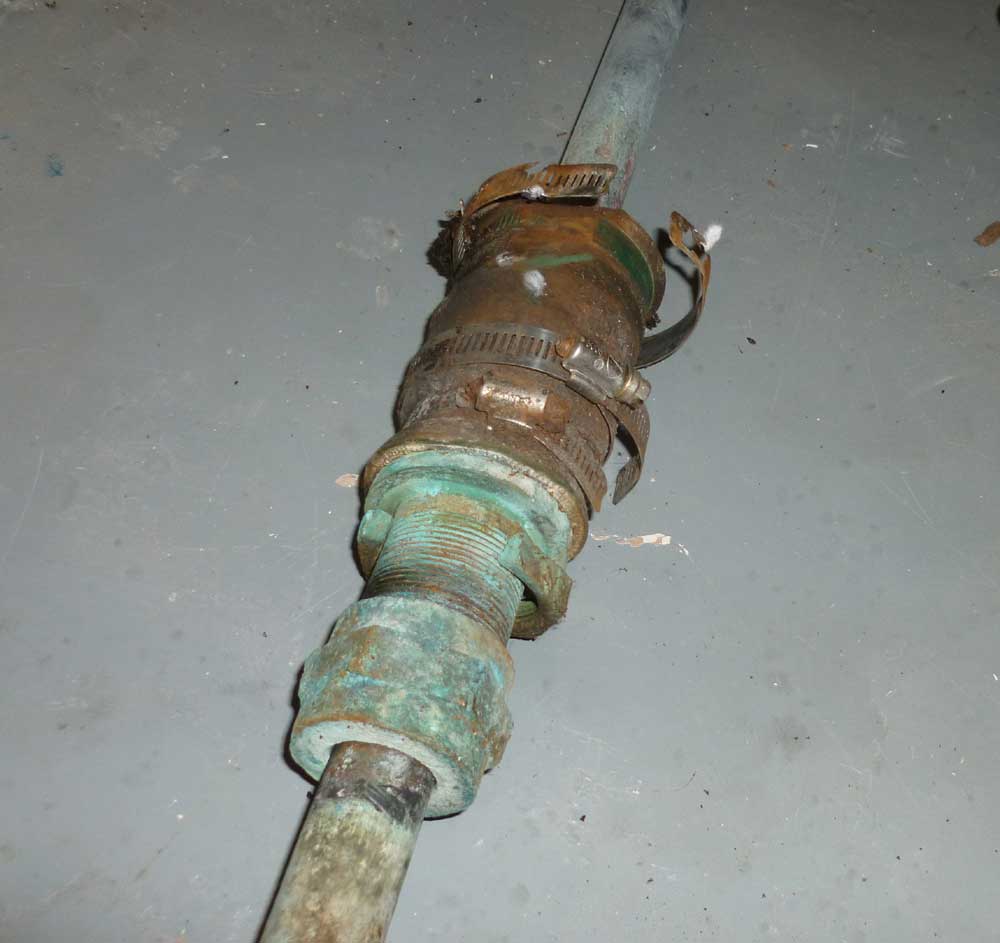
Knowing that we'd never be reusing the original prop shaft and oddly snipped propeller, I cut the shaft outside the boat and pulled it through from the inside, choosing not to waste time trying to remove the coupling or propeller. Inside the boat, I removed the stuffing box; I had to cut through one of the clamps, as it was so badly rusted. The stuffing box and hose was in horrific condition, with badly rusted and overtightened clamps, bloated, weak hose, and a damaged locknut, victim (apparently) of dissolution in the corrosive mess of bilge debris.

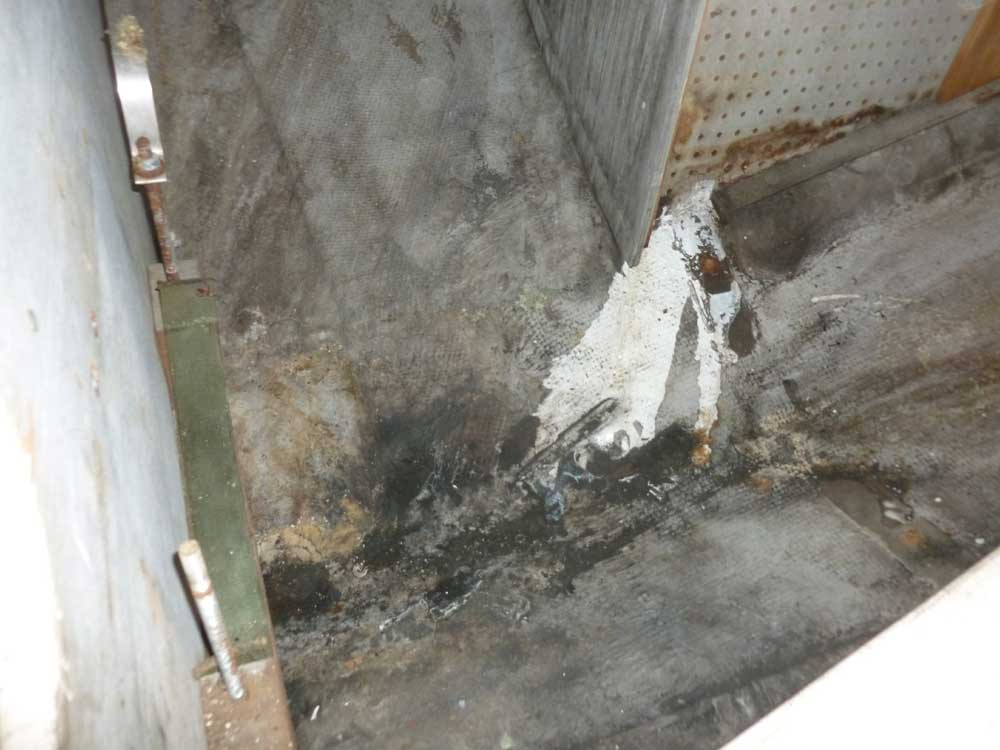
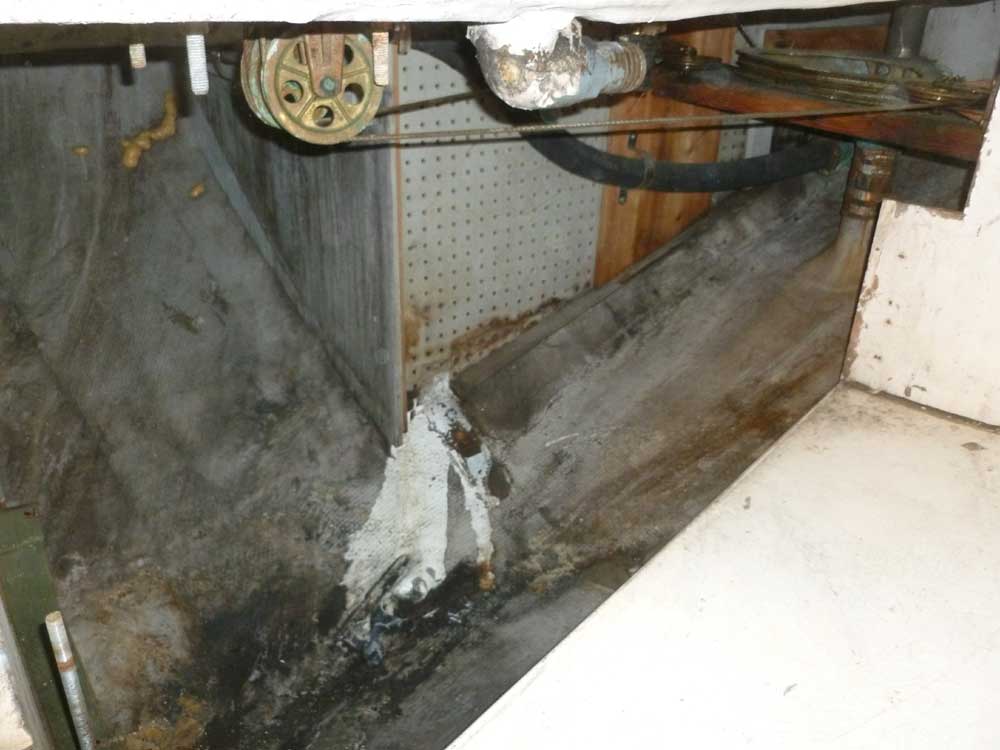
Afterwards, I scooped out most of the thick debris, which consisted of rust, oil, dirt, and other unmentionables. The bilge areas would require significant additional cleaning steps, but the first round made a satisfying difference.
Finally, I cleaned up from the day's efforts, both inside the boat and out.

Total Time on This Job Today: 6.25 hours
