
110 Cookson Lane | Whitefield, ME 04353 | 207-232-7600 | tim@lackeysailing.com
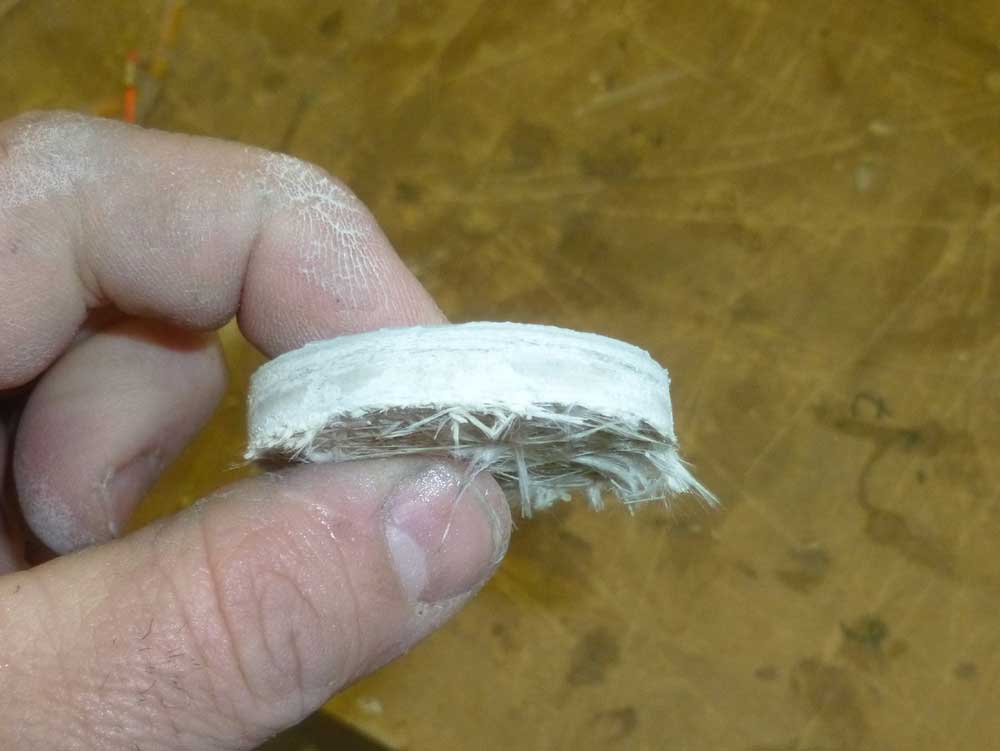
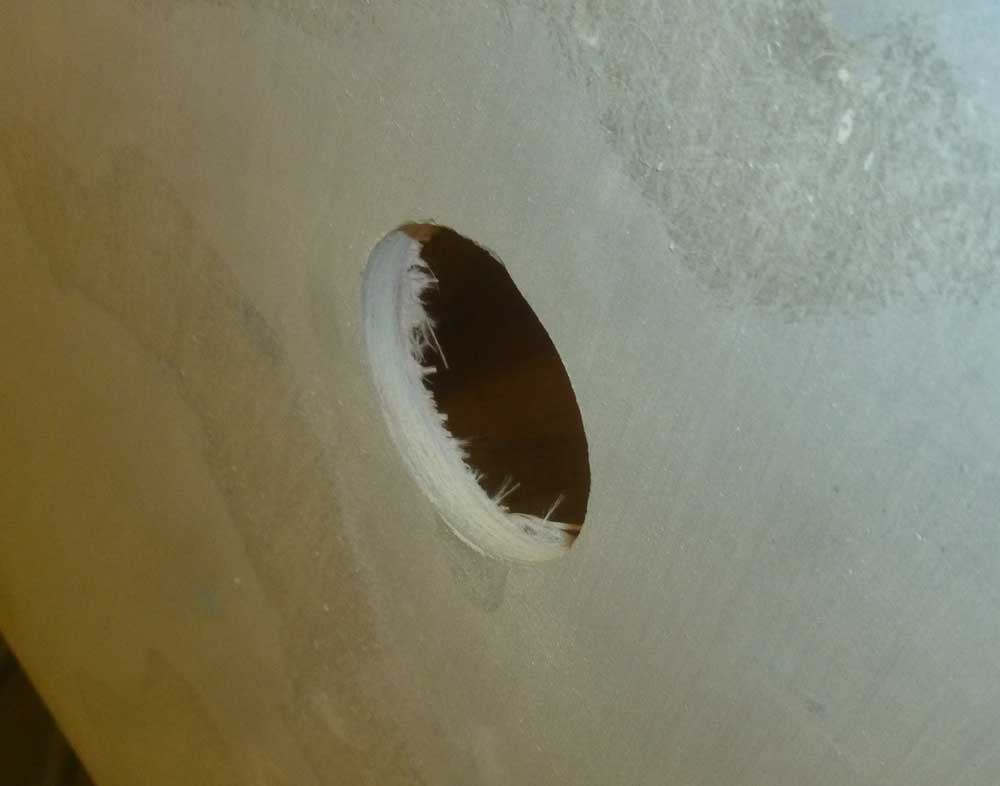
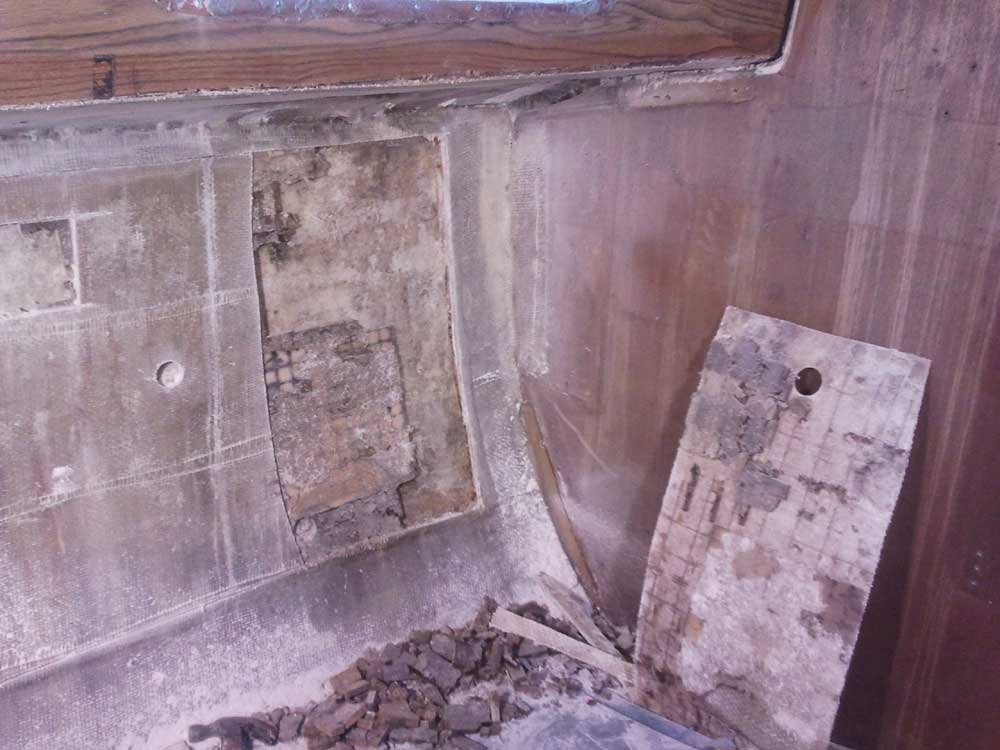
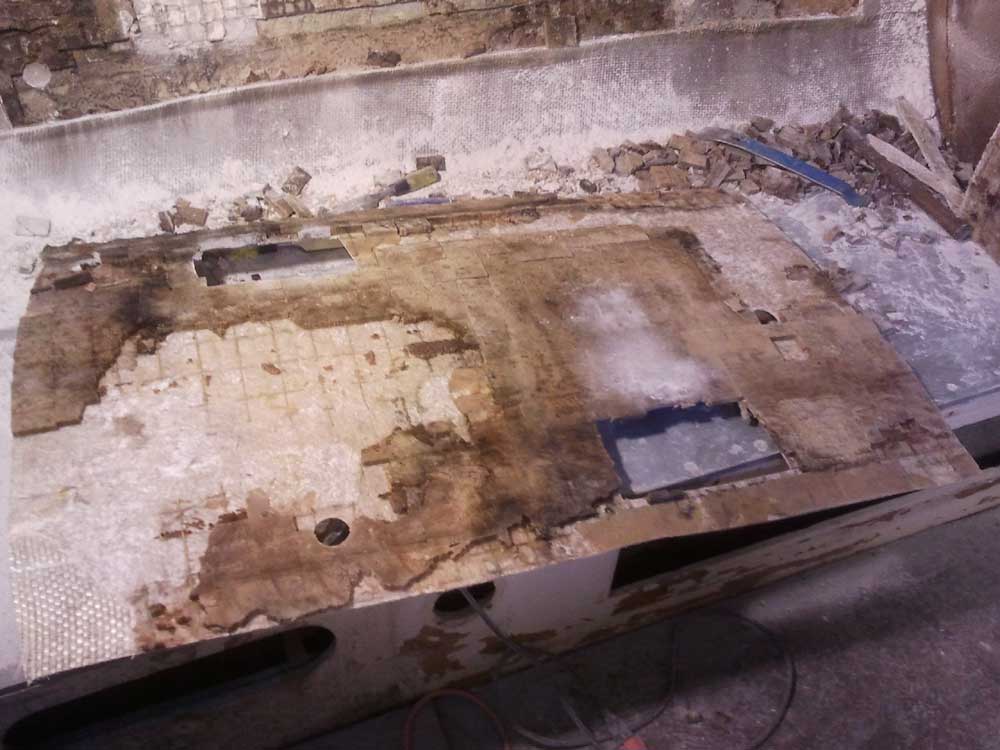
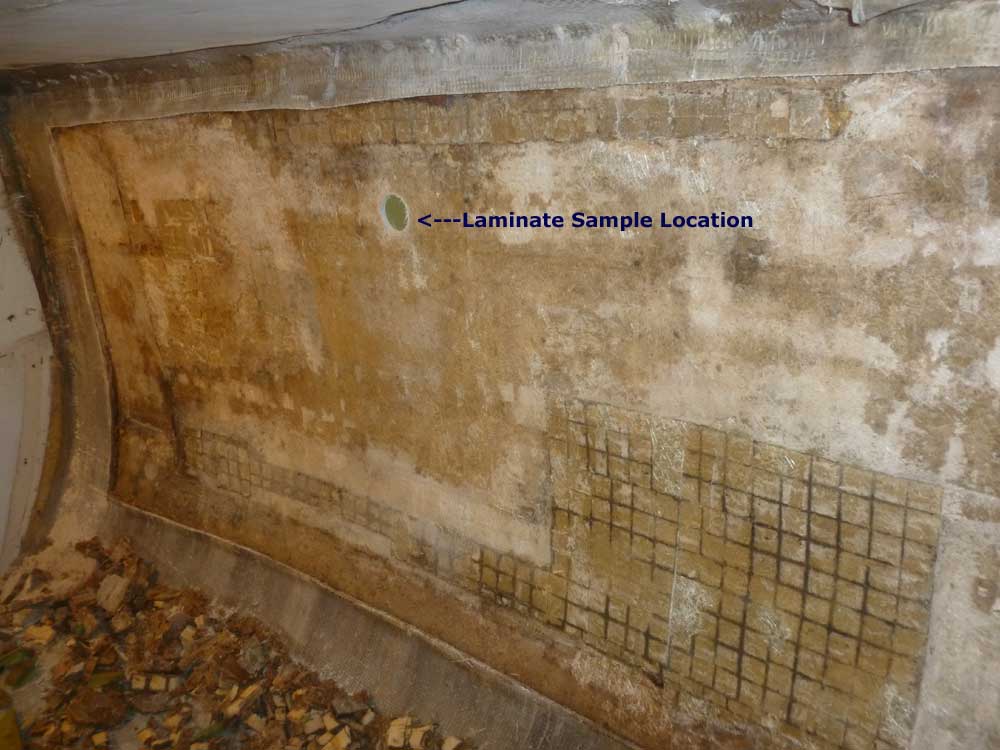
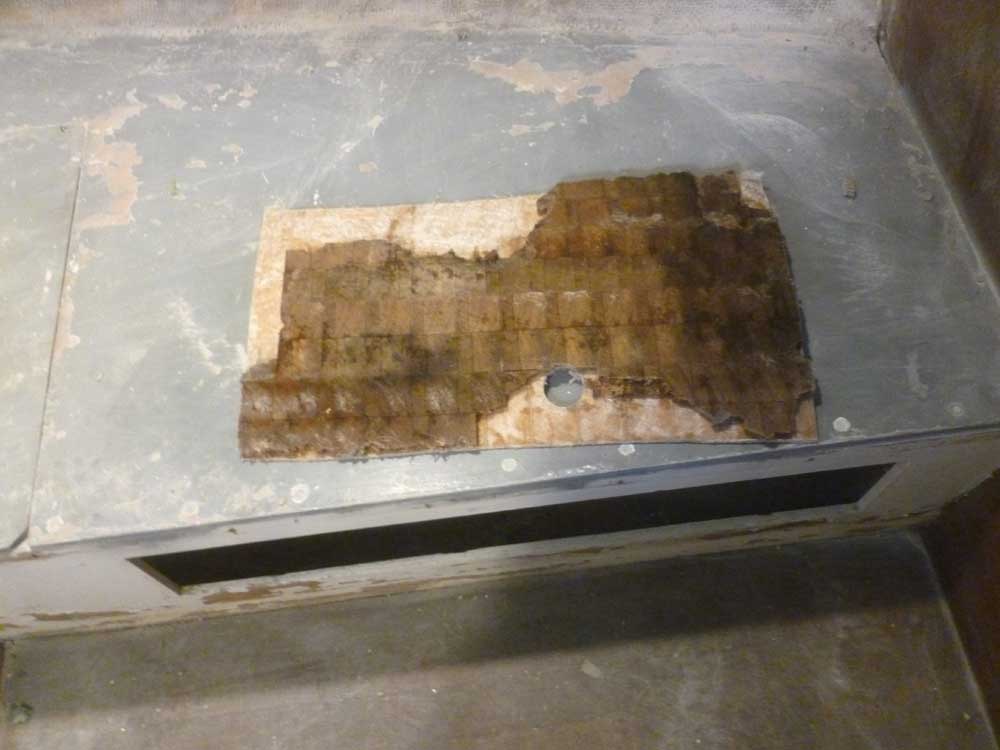
The big unknown that remained a concern first thing in the morning was the quality and condition of the outer laminate of the hull in the large repair, outboard of the worst section of internal core damage. Armed with a 2" hole saw, I cut through the outer laminate from the inside, right in the middle of one of the rectangular areas I'd accessed yesterday. If the outer laminate seemed suspect at all, it would drastically change the prospects of successful repair.
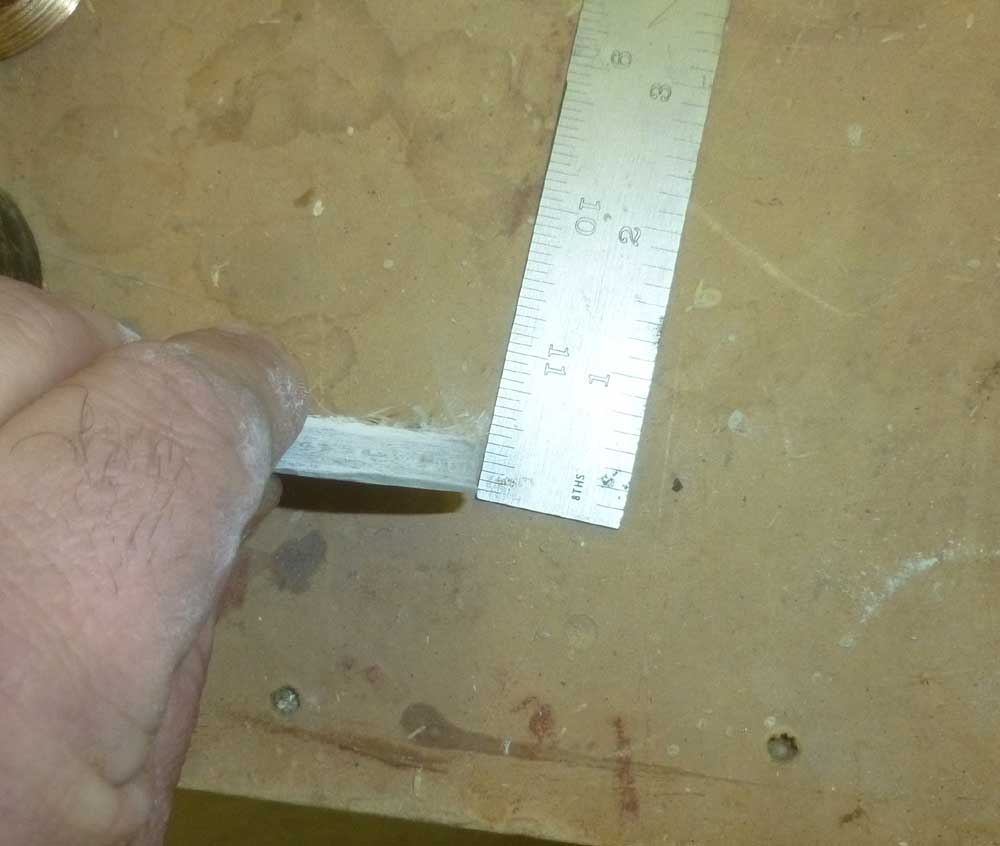
Fortunately, the outer laminate was better than I could have hoped for. Although the innermost surface was a fairly dry layer of chopped mat (probably the vehicle by which the core was "attached" to the laminates on each side)m the meat of the laminate was solid and sound, and about 1/4" thick. I was encouraged by what I saw. With the sample taken towards the top of the repair (it was the topmost portion that concerned me the most), I felt as if the information was pointing to a feasible direction forward.
After an early morning phone consultation with the owner (on US mountain time), during which we discussed the issues and current conditions and what they meant for the scope of the project, I got back to work to complete additional exploration to help ensure that proceeding with repairs was a sound direction. I was feeling more positive about the process, all the more so thanks to the positive attitude and support from the owner, so armed with new confidence I cut away the inside laminate from the large hull area on the port side, working in the space above the port settee.
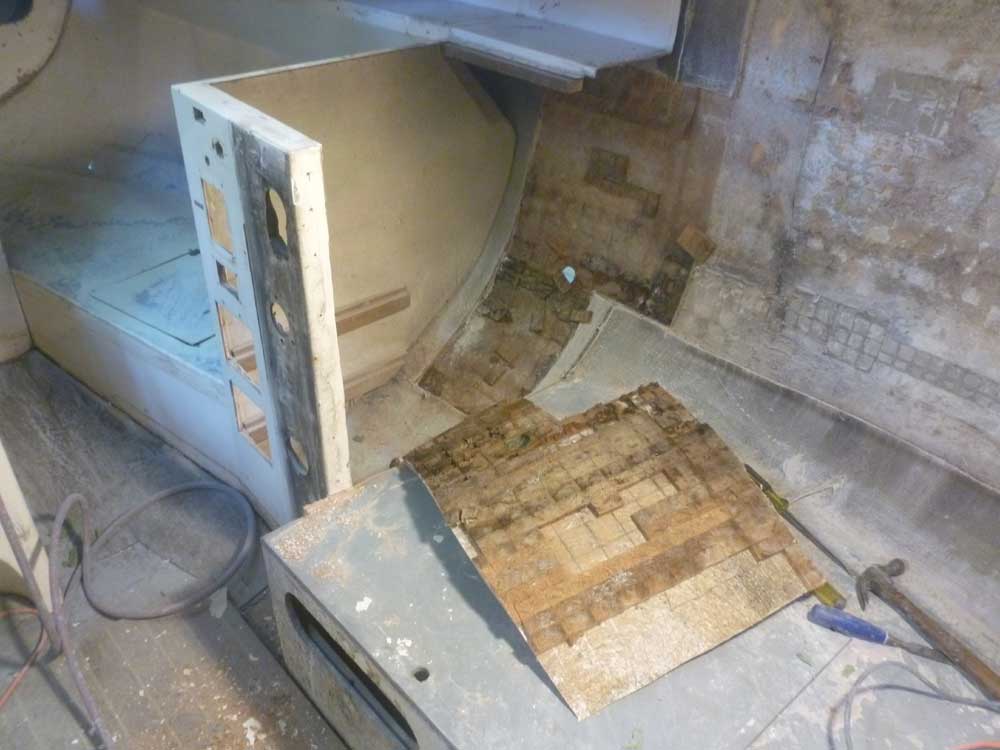
After cutting around the perimeter of the cored area, stopping a few inches shy (for now) of the after bulkhead, I found that I could easily pry away the entire panel (minus a small section forward that I'd cut separately) in a single piece, bringing with it much of the core.
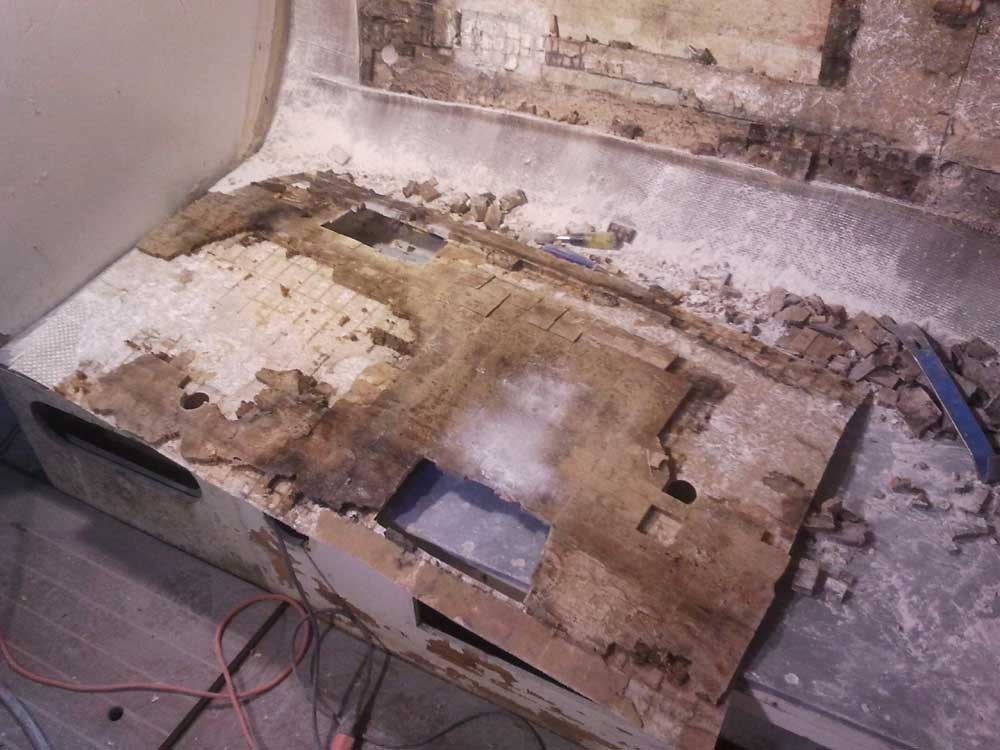
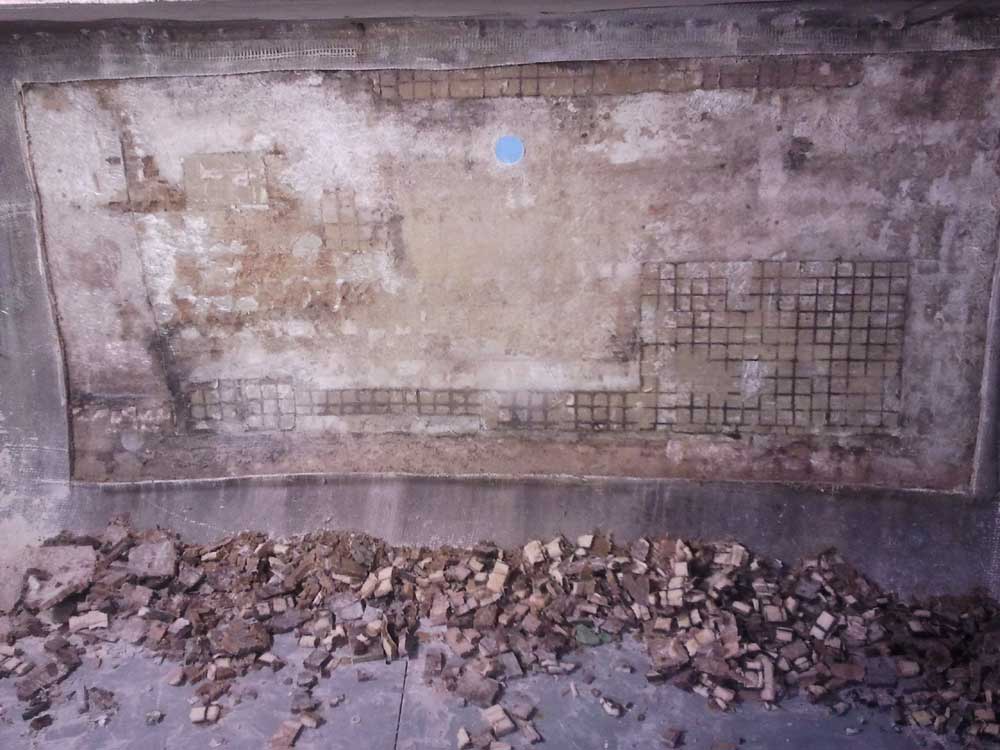
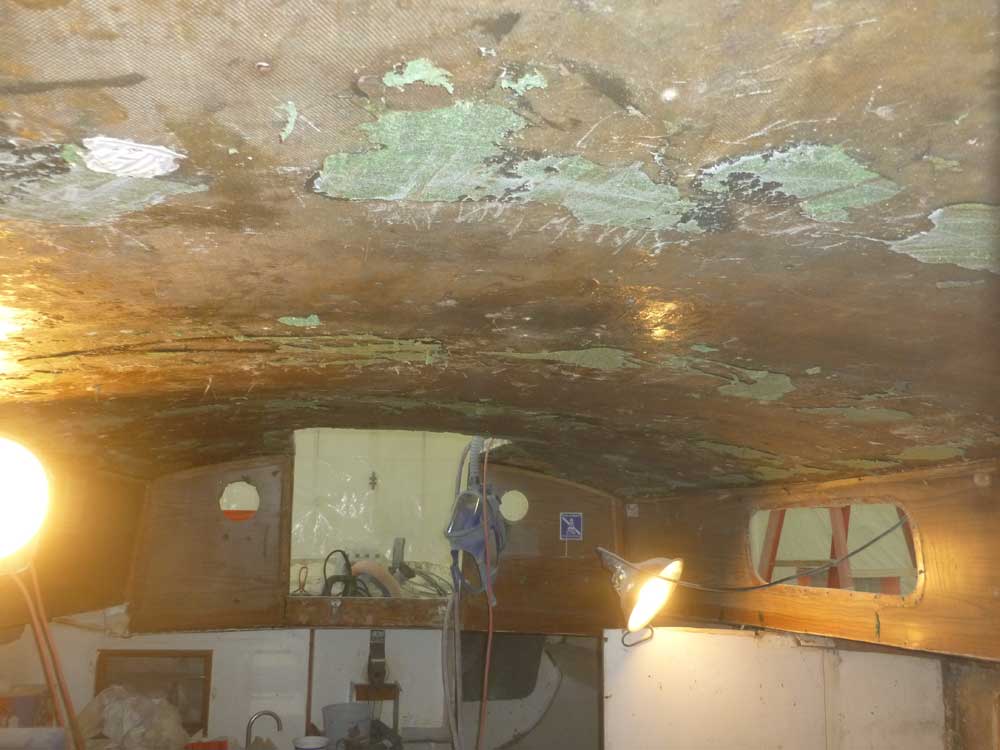
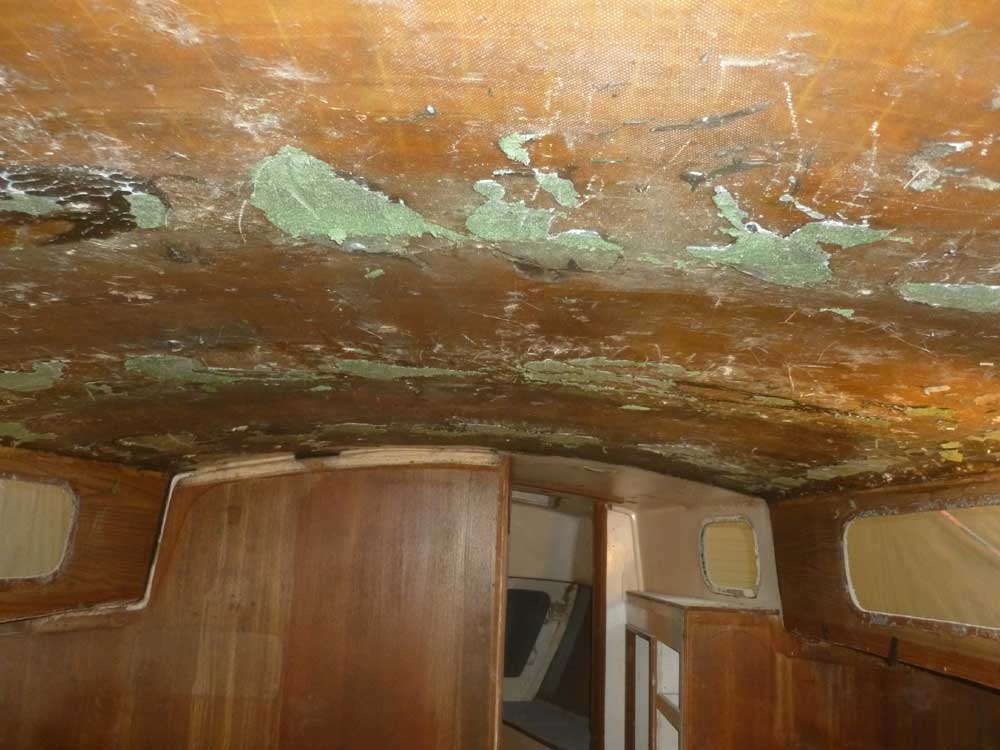
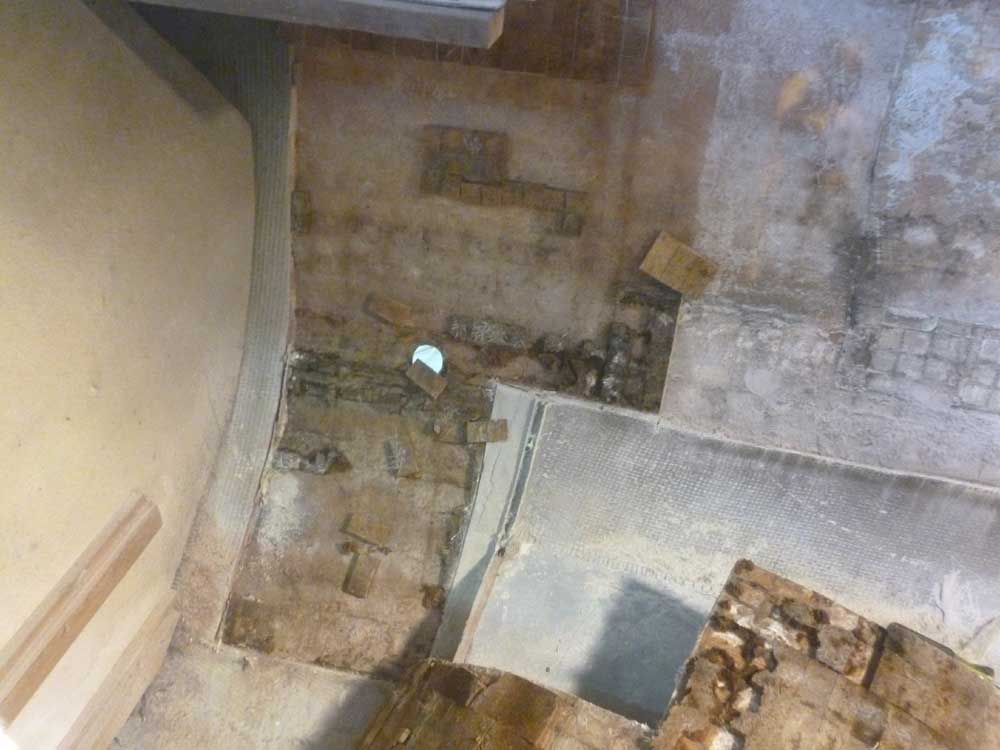
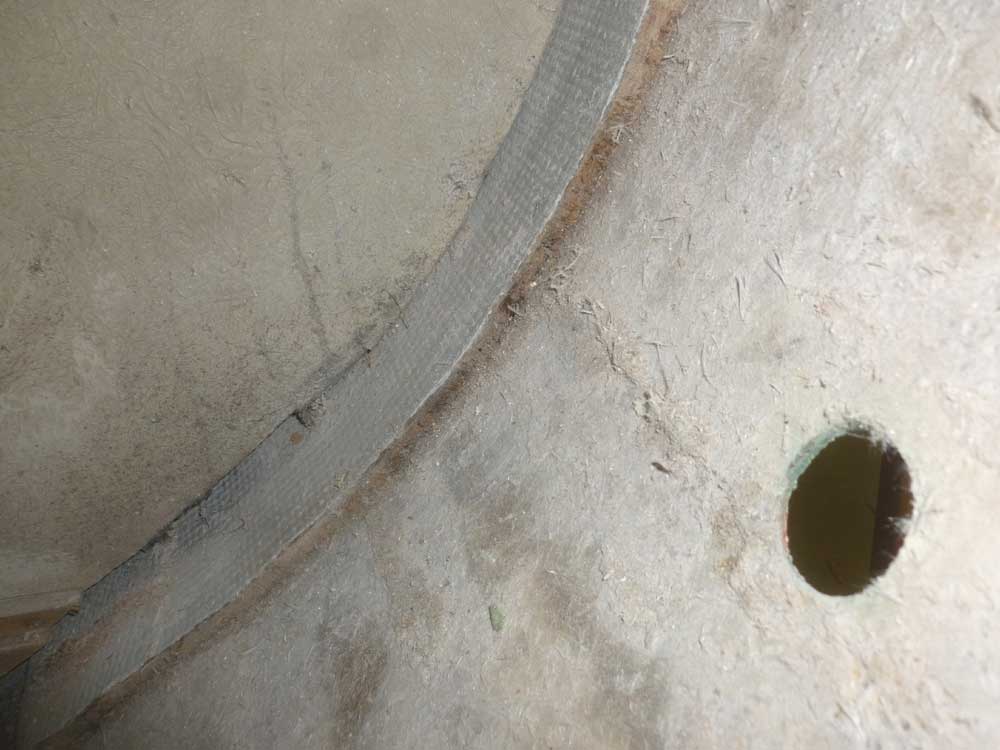
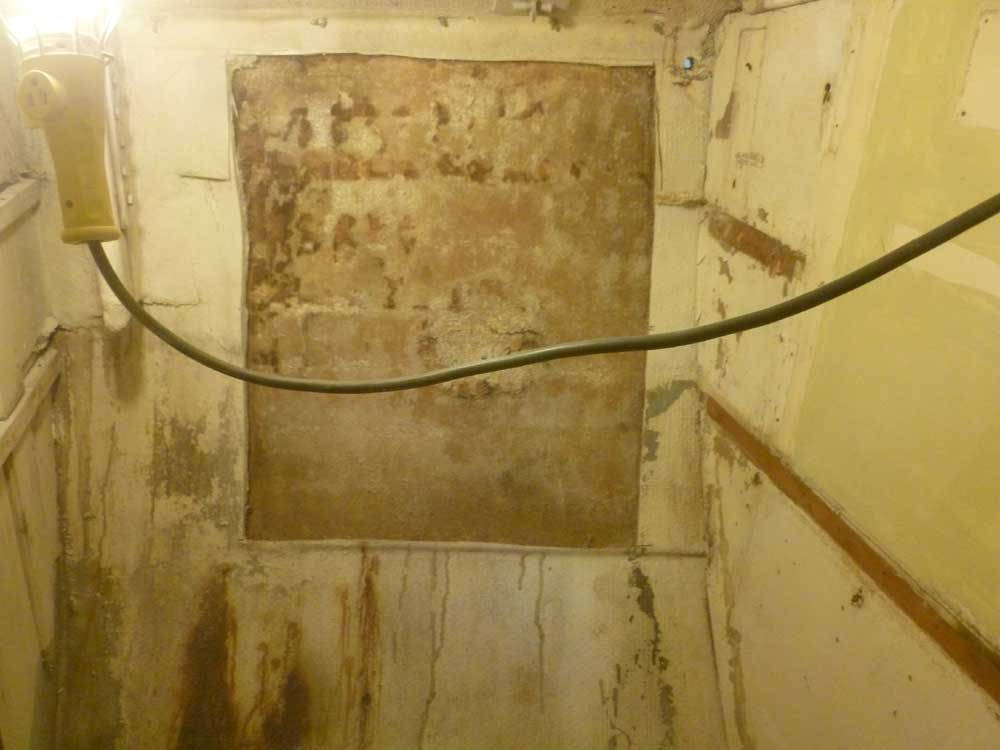
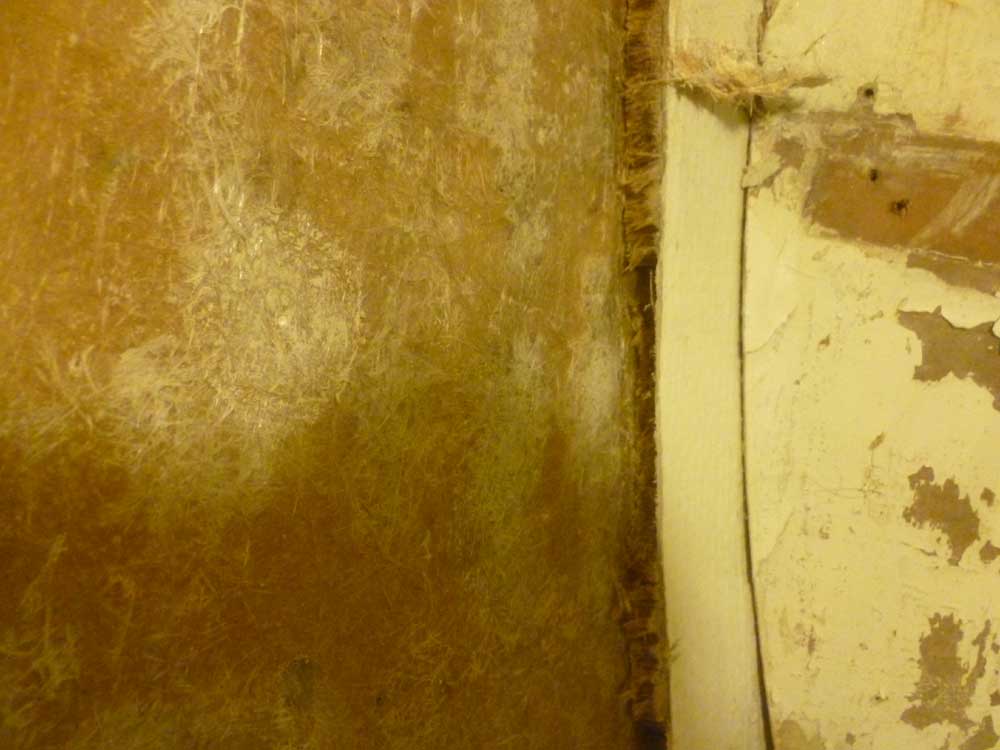
After marveling over how poorly bonded the core was to either surface, I removed the remaining core from the hull. There was a vaguely L-shaped (lying on its back) section along the lower third of the area where foam core (it appeared to be Airex foam) had been used, but the remainder was balsa. The balsa was all wet and stained, and took virtually no effort to remove. The foam was also wet, but was still bonded to the outer skin of the hull, but yielded easily to a wide chisel. The black lines in the photos below show the boundaries of the foam core; the lines are where water migrated between the individual core blocks.
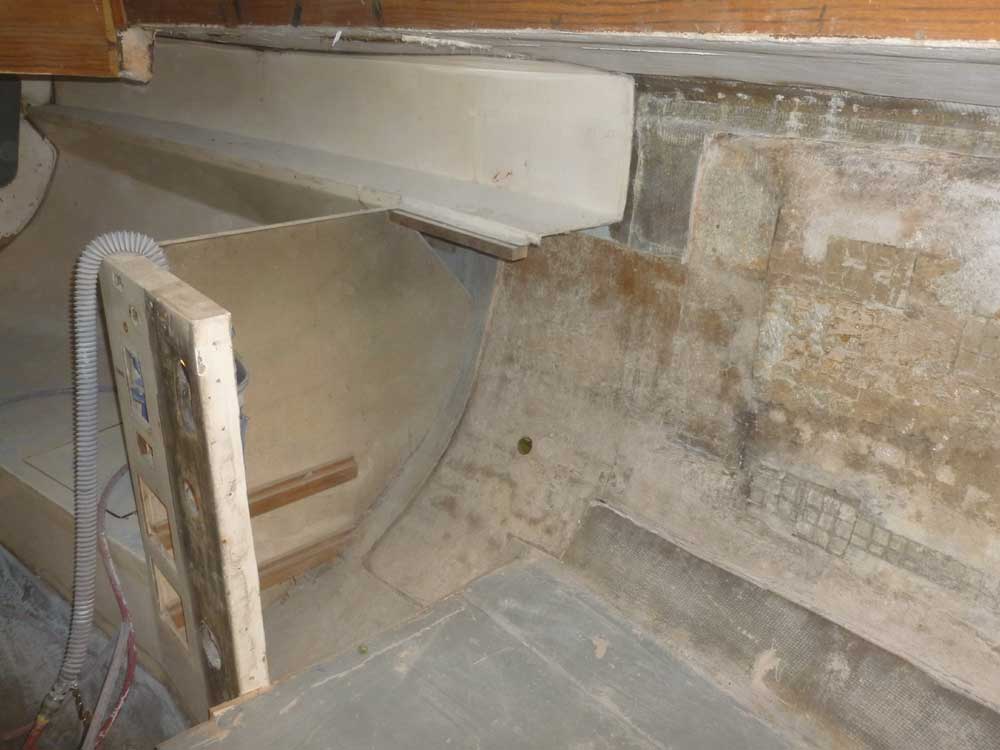
While I had a mess going inside, I took the opportunity to chisel (easily) the remaining green insulating foam from the overhead.
After cleaning up enough to continue working, I removed the bulkhead at the aft end of the port settee--the tall bulkhead defining the nav station and quarterberth. I removed the bulkhead so I could gain access to the narrow space behind, where I'd also located bad core earlier. Once I'd cut out the bulkhead down as far as the top of the settee (sometime later, I'd remove the rest, but needed it now to support the settee), I removed the rudimentary drawer frame supports from inside the space.

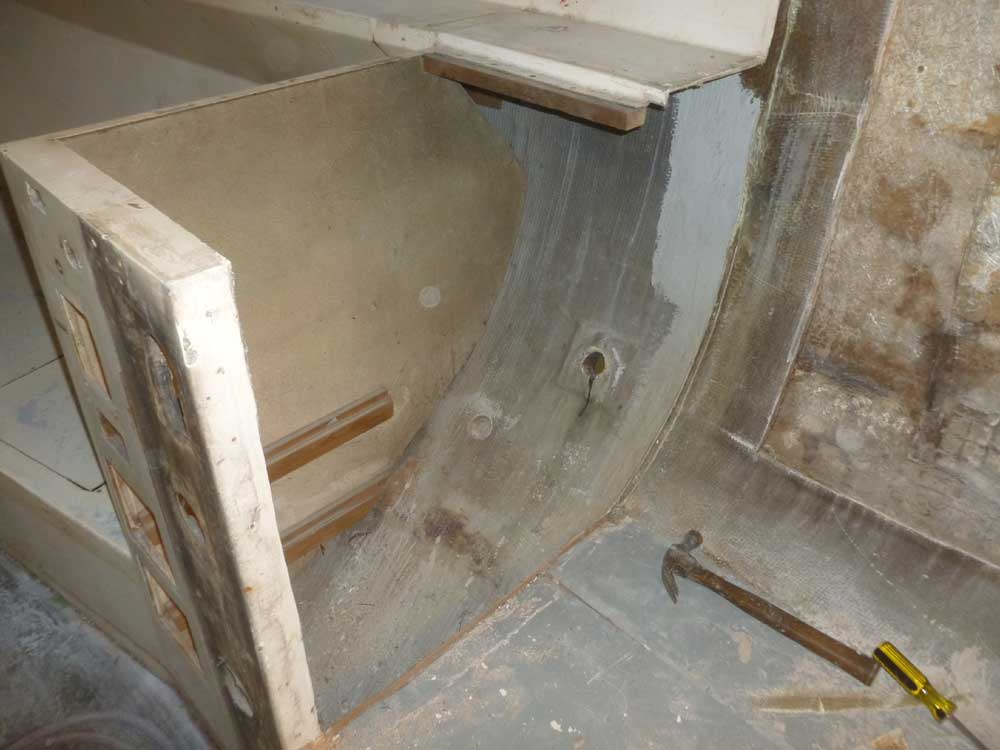
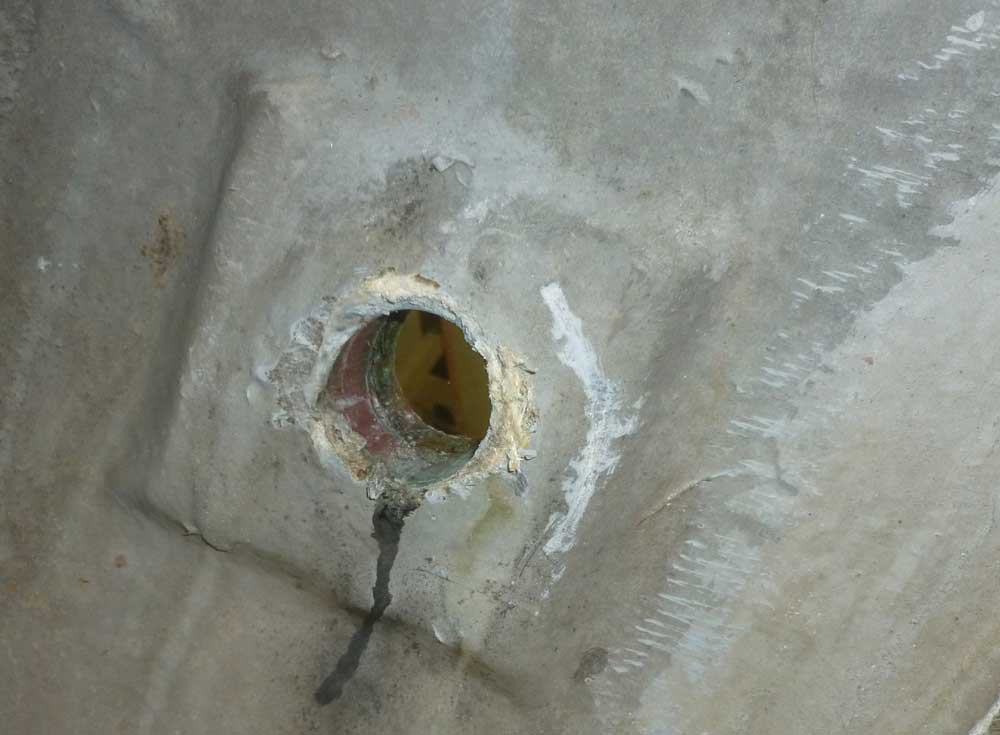
I cut off what remained of the bronze engine exhaust pipe protruding inside the hull, and with some ease banged the remains out and onto the floor below. This poorly-sealed pipe was probably largely responsible for the core damage in this area.
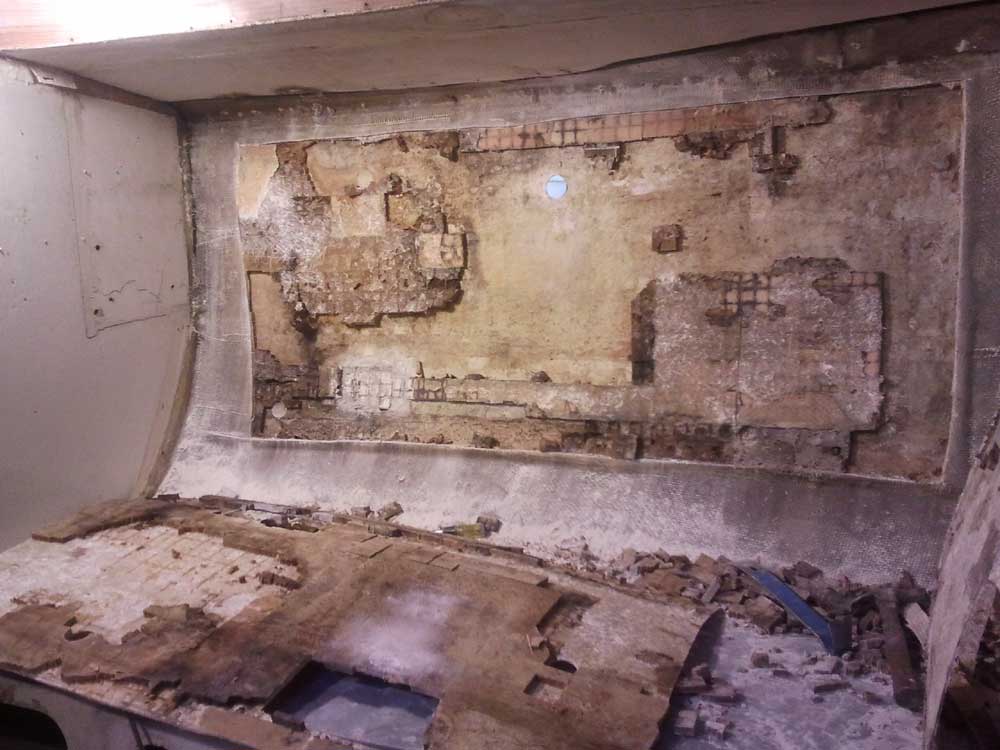
Next, I cut away the inner skin as needed, hoping to find acceptable core around the edges. I kept the cut lines far enough away from adjacent structures to allow me to tie in the new material later, assuming the boundaries of the repair didn't expand. This would remain to be seen.
As elsewhere, the inner skin fairly jumped off on its own, bringing with it about 50% of the core material.
I removed the remaining core and cut away some fiberglass lips at the edges of the cutouts, where the old inner skin had draped over the edge of the core; sometime later, I'd sand and otherwise prepare all these areas for new work.
Dealing with uncertainty is the greatest hindrance to progress. Just the act of removing the bad material and exposing the essential boundaries of the issue seemed like great bounds forward, and with this the whole repair job suddenly seemed straightforward.
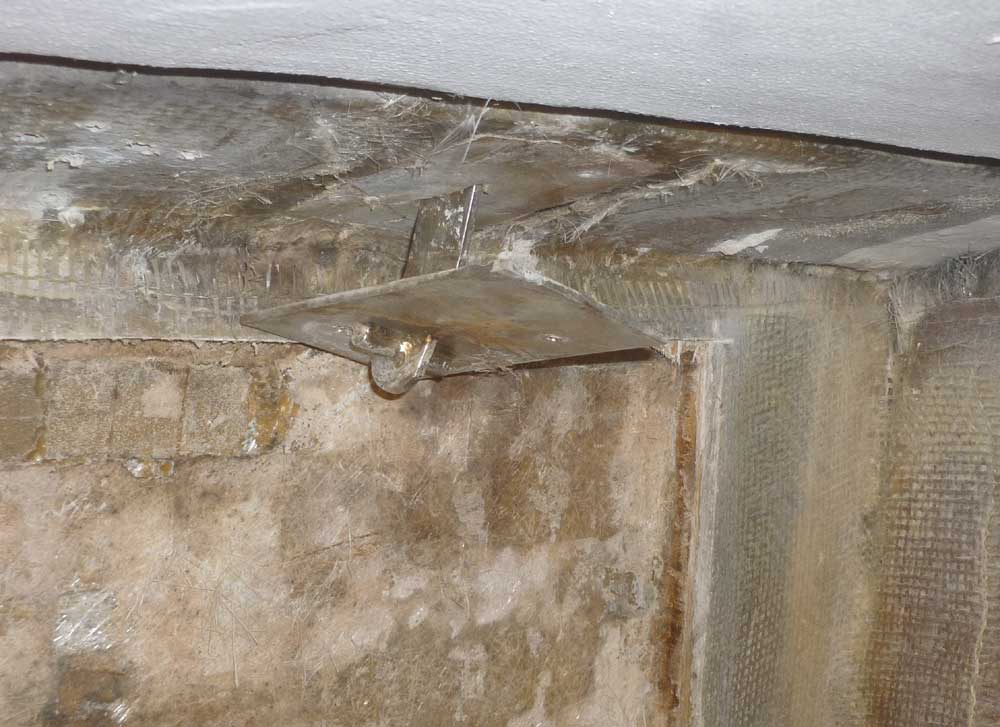
Since it was in the way, I removed the port aft chainplate. The fiberglass covering the metal plate pried off with zero effort with a chisel, and, as I'd already removed the two bolts that had been in place, the chainplate was easy enough to pull through from beneath. The top of this chainplate was bent (in the wrong direction). Sometime later, I'd remove the remaining chainplates for inspection as well.
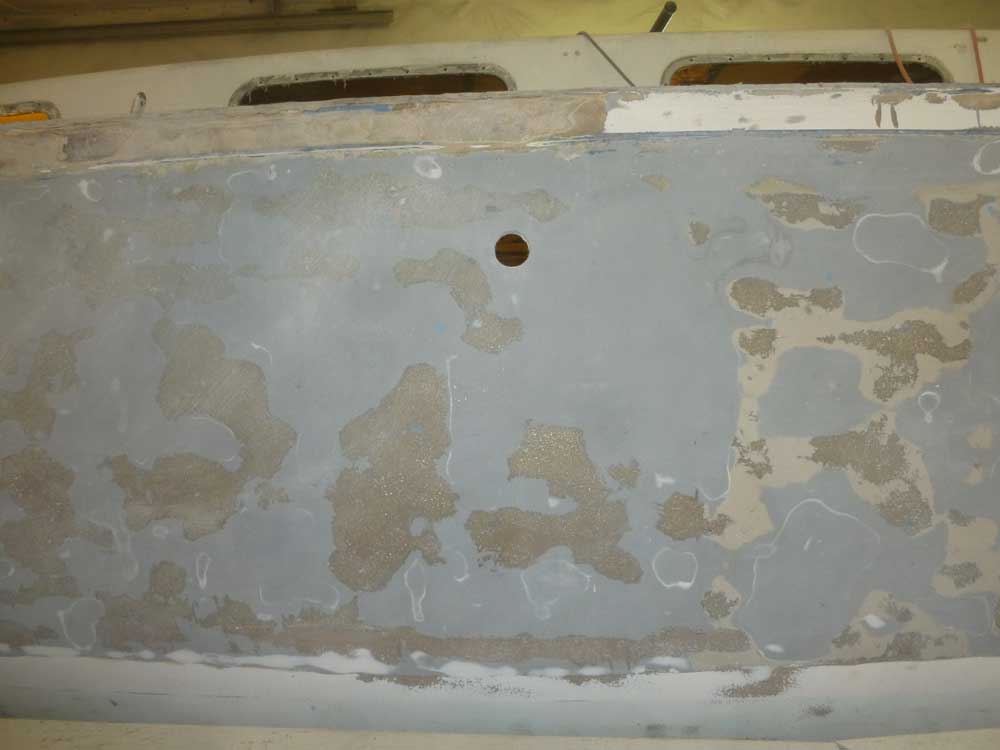
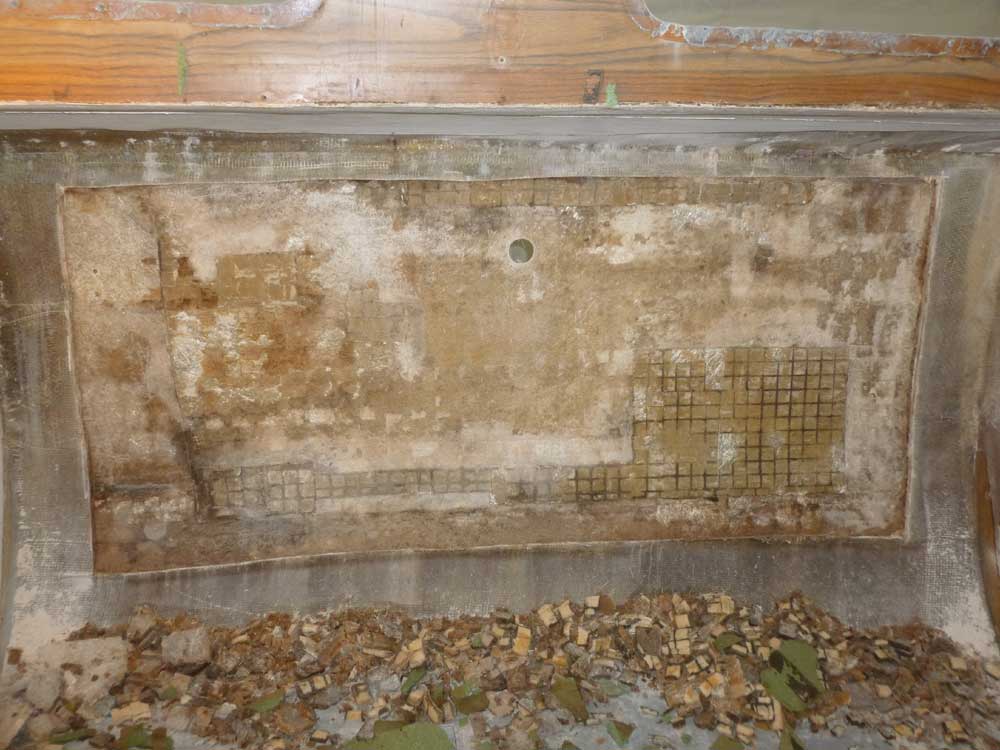
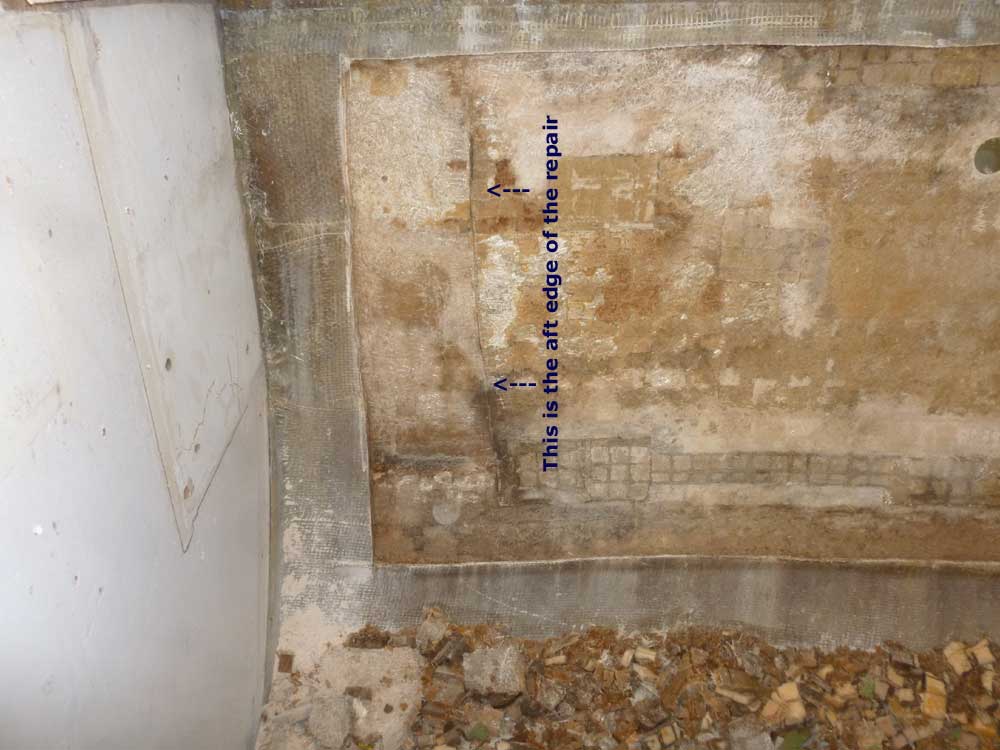
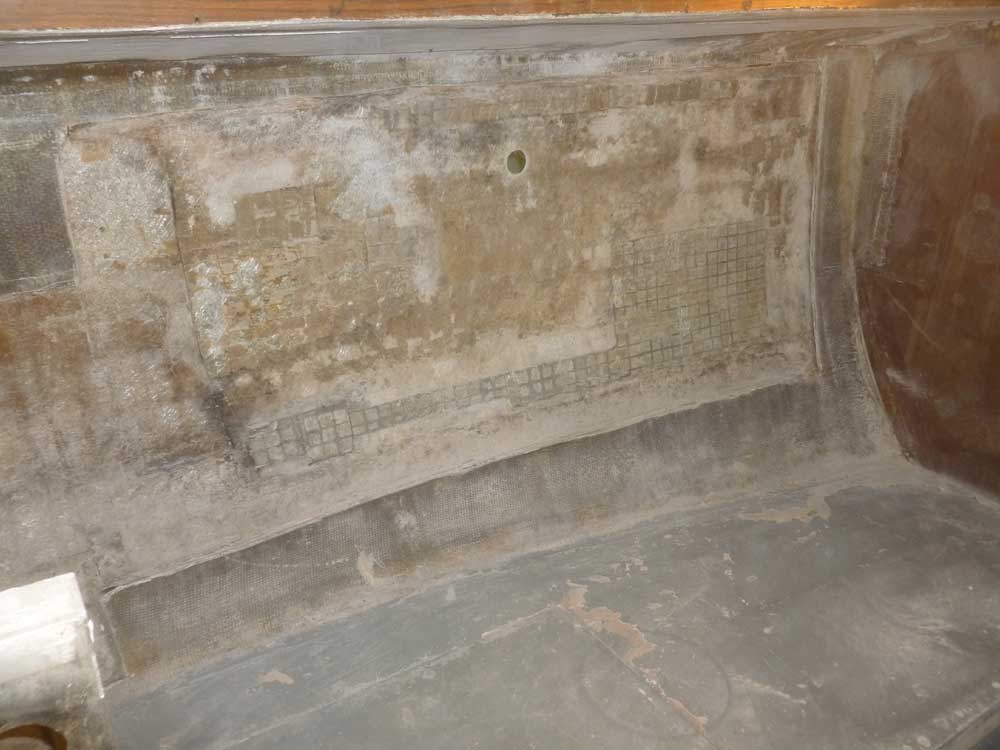
The cut lines at the aft end of the port side revealed some wet core (towards the bottom edge), but largely it seemed that the openings I'd created had been far enough to reveal sound core. To extend the cuts further would have other implications, so for the moment I thought I'd leave things as is and reconnoiter later. The large hole seen below is the old engine exhaust location.
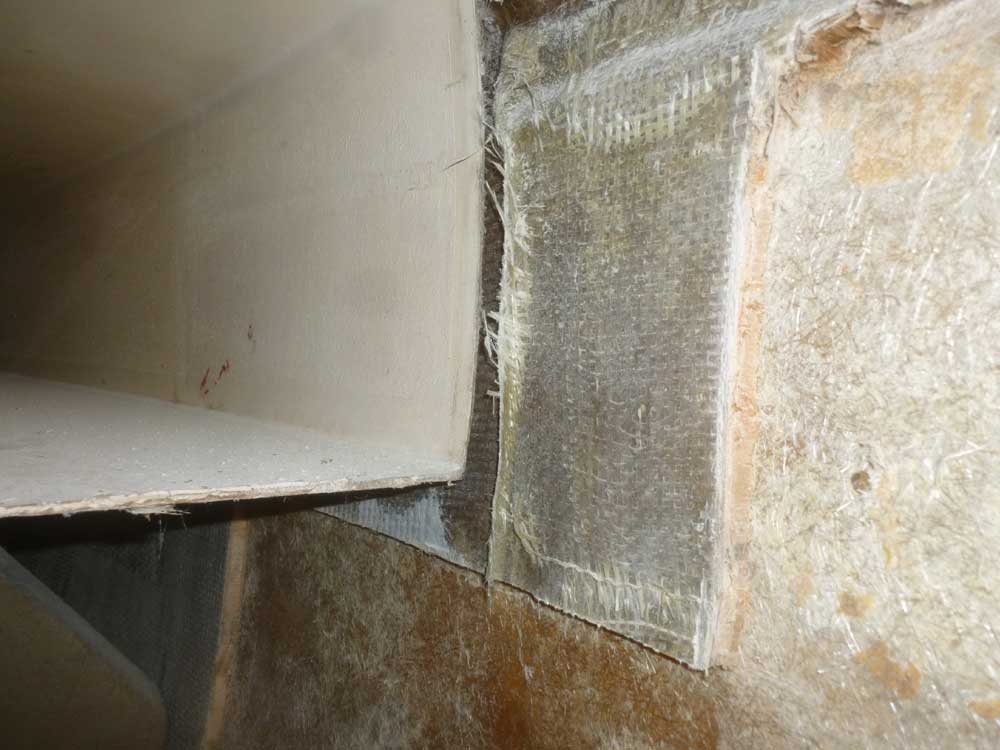
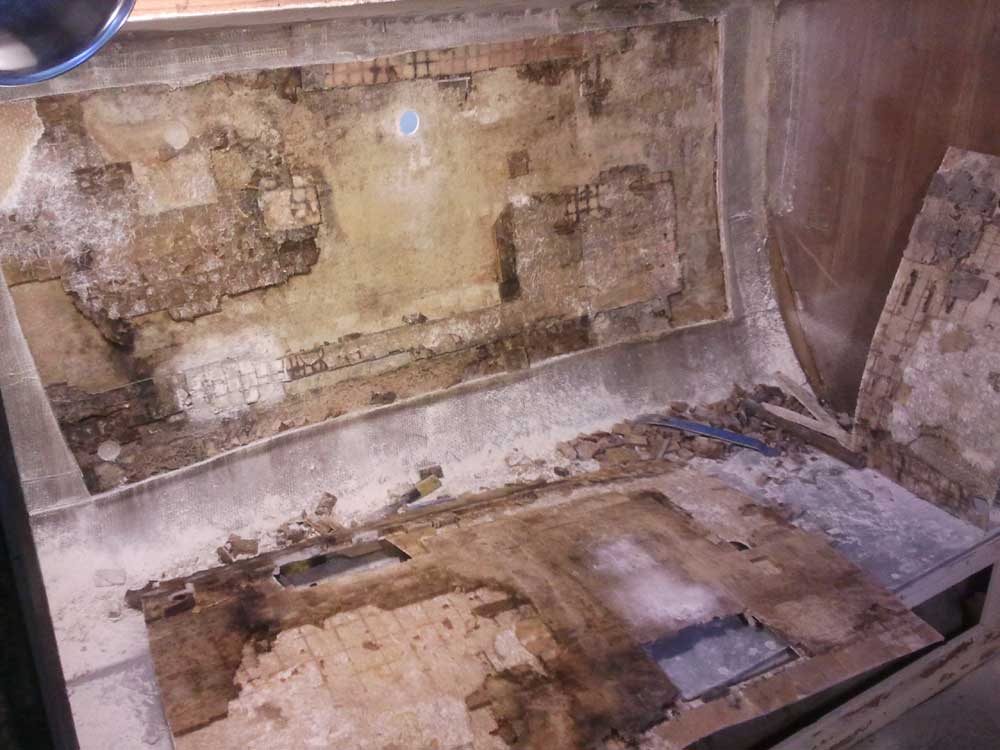
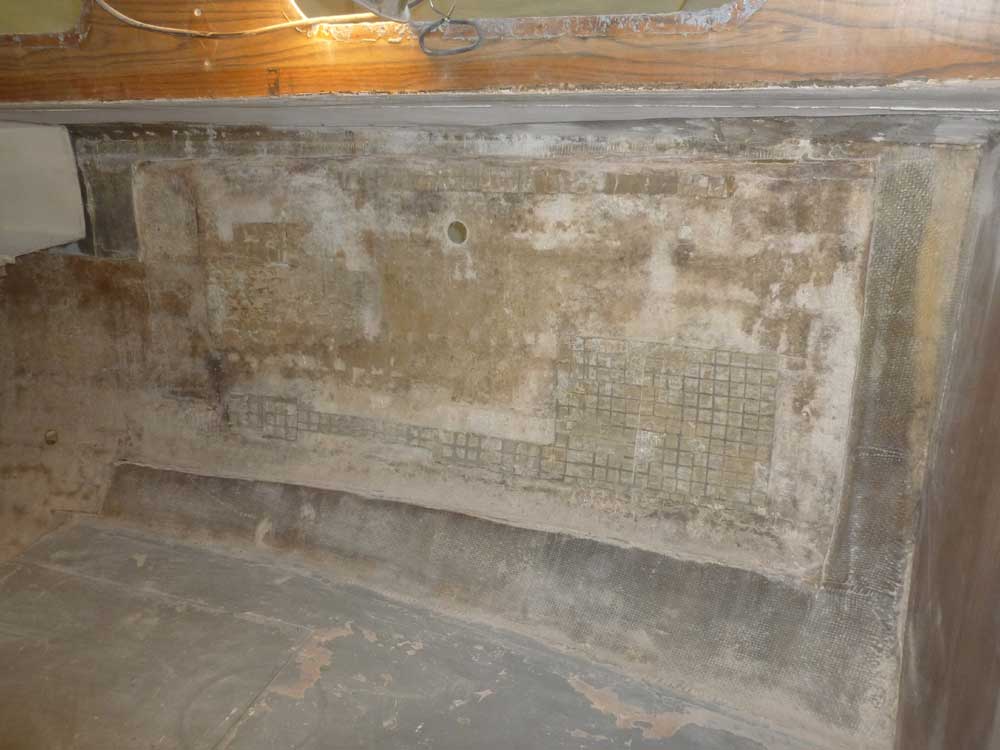
I repeated the process in the head, removing the inner skin as needed to reveal and remove the core beneath. I cut the panel into two pieces, since at first I wasn't able to pry it all away at once, but with the core poorly bonded it didn't take too much effort to remove the inner skin and then the remaining core.
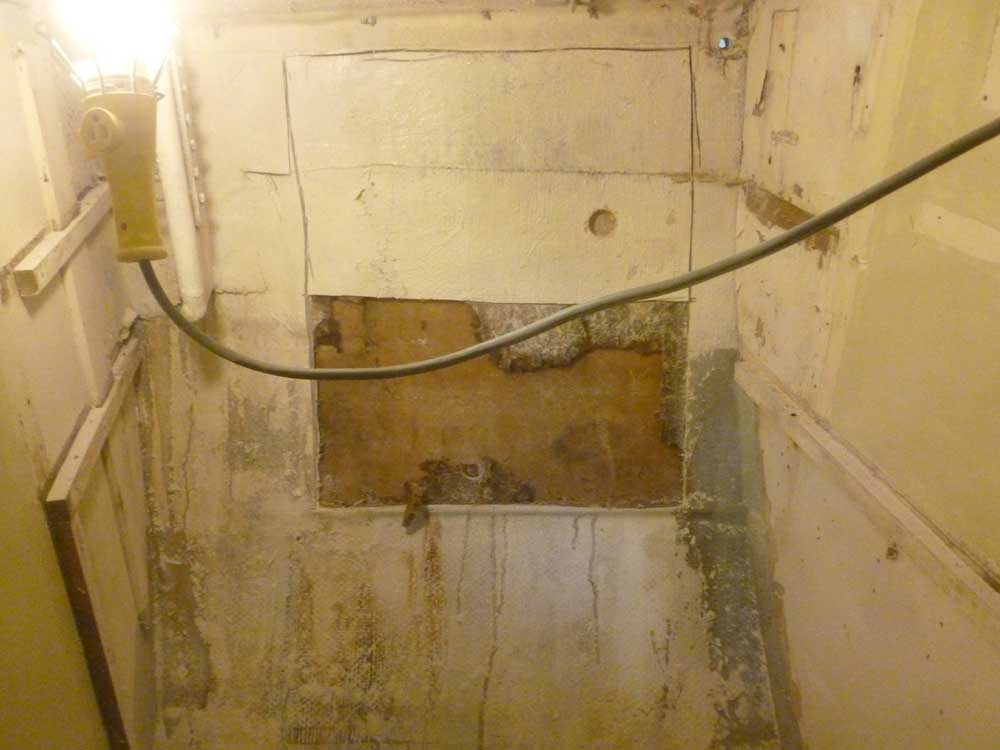
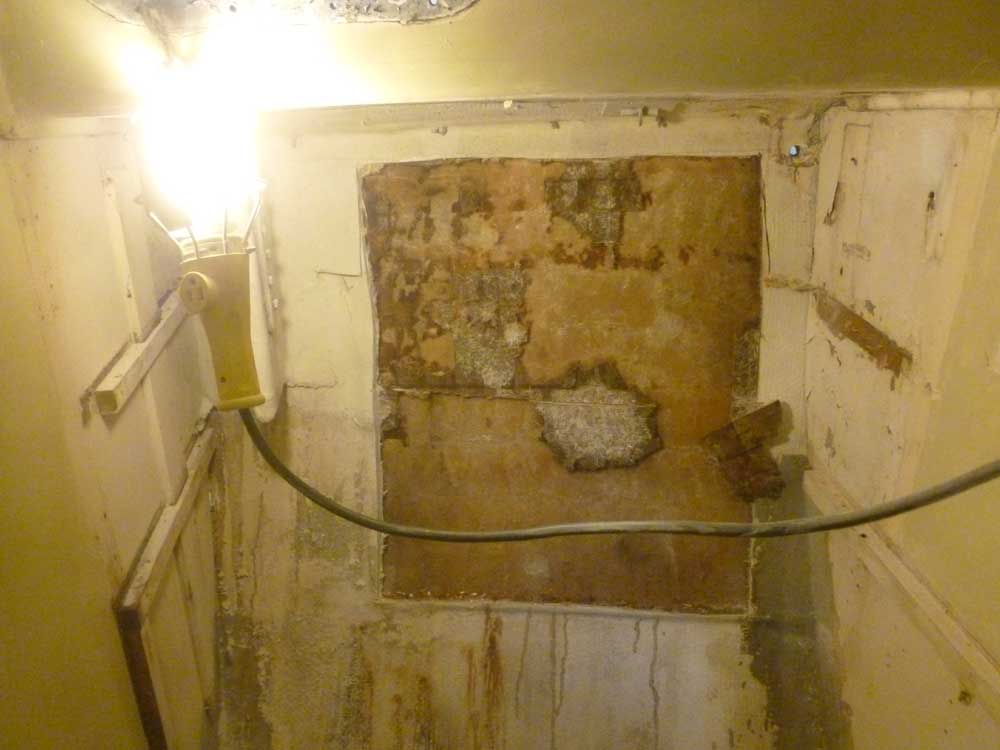
I kept the cutline at the forward edge (right side of the photos) a few inches from the bulkhead to allow for future bonding. However, the wet and unbonded core continued for some distance beyond my cut, but for the moment I left this question for another time.
Total Time on This Job Today: 5.75 hours
